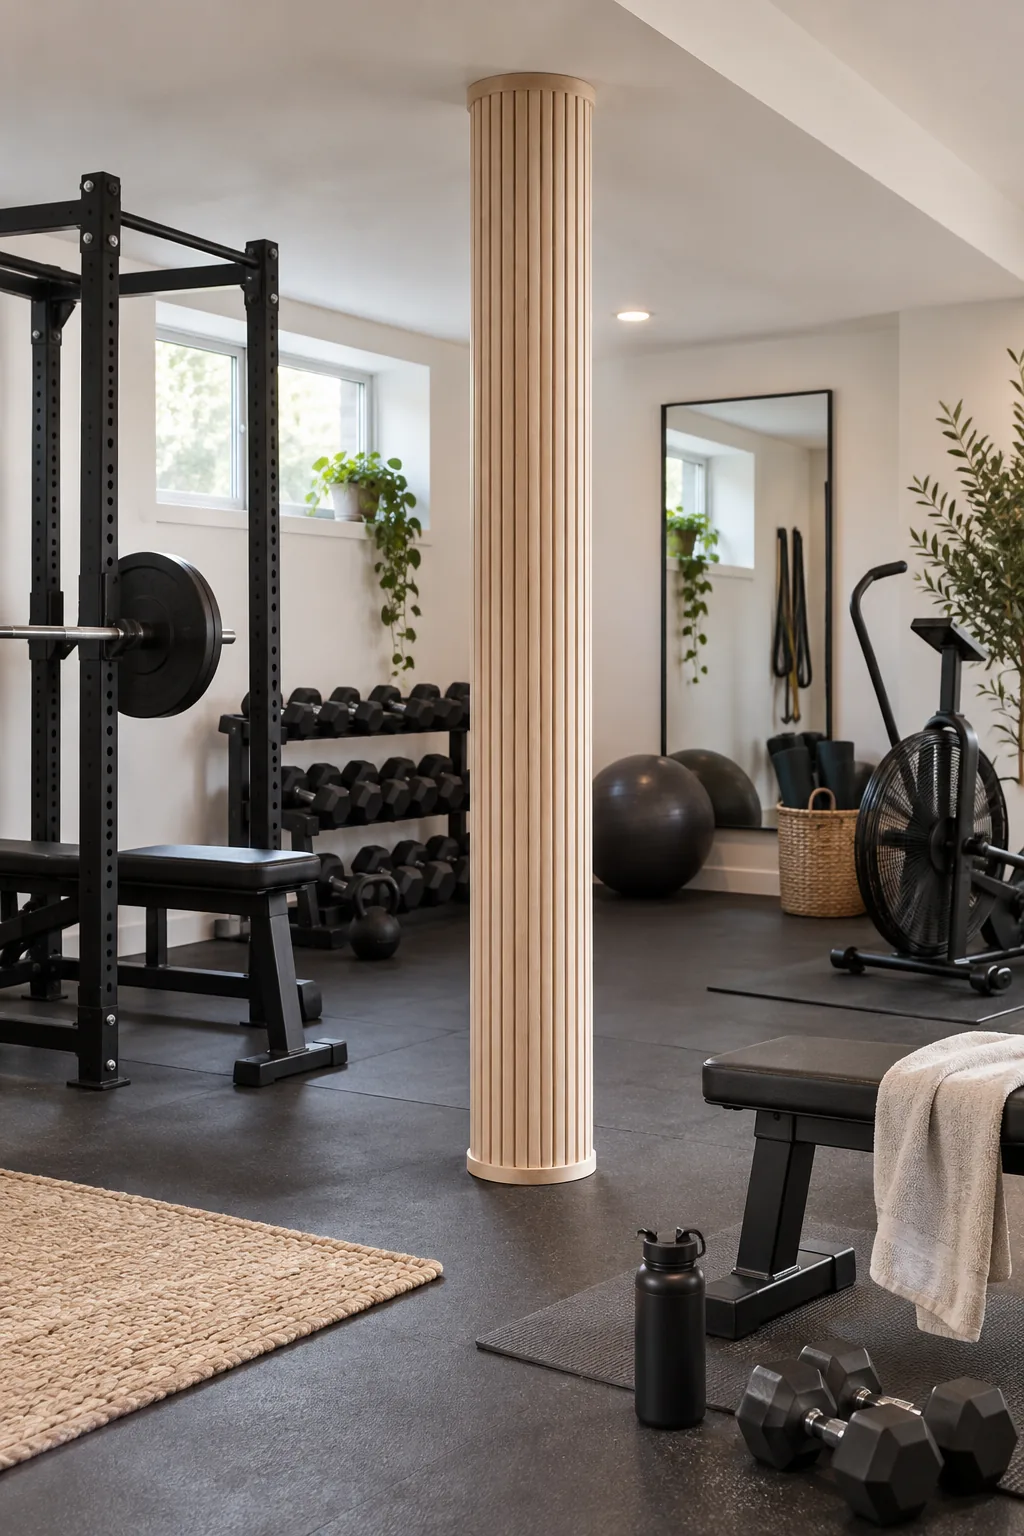
DIY Fluted Basement Pole Cover: Sizing Guide & Wrap Trick
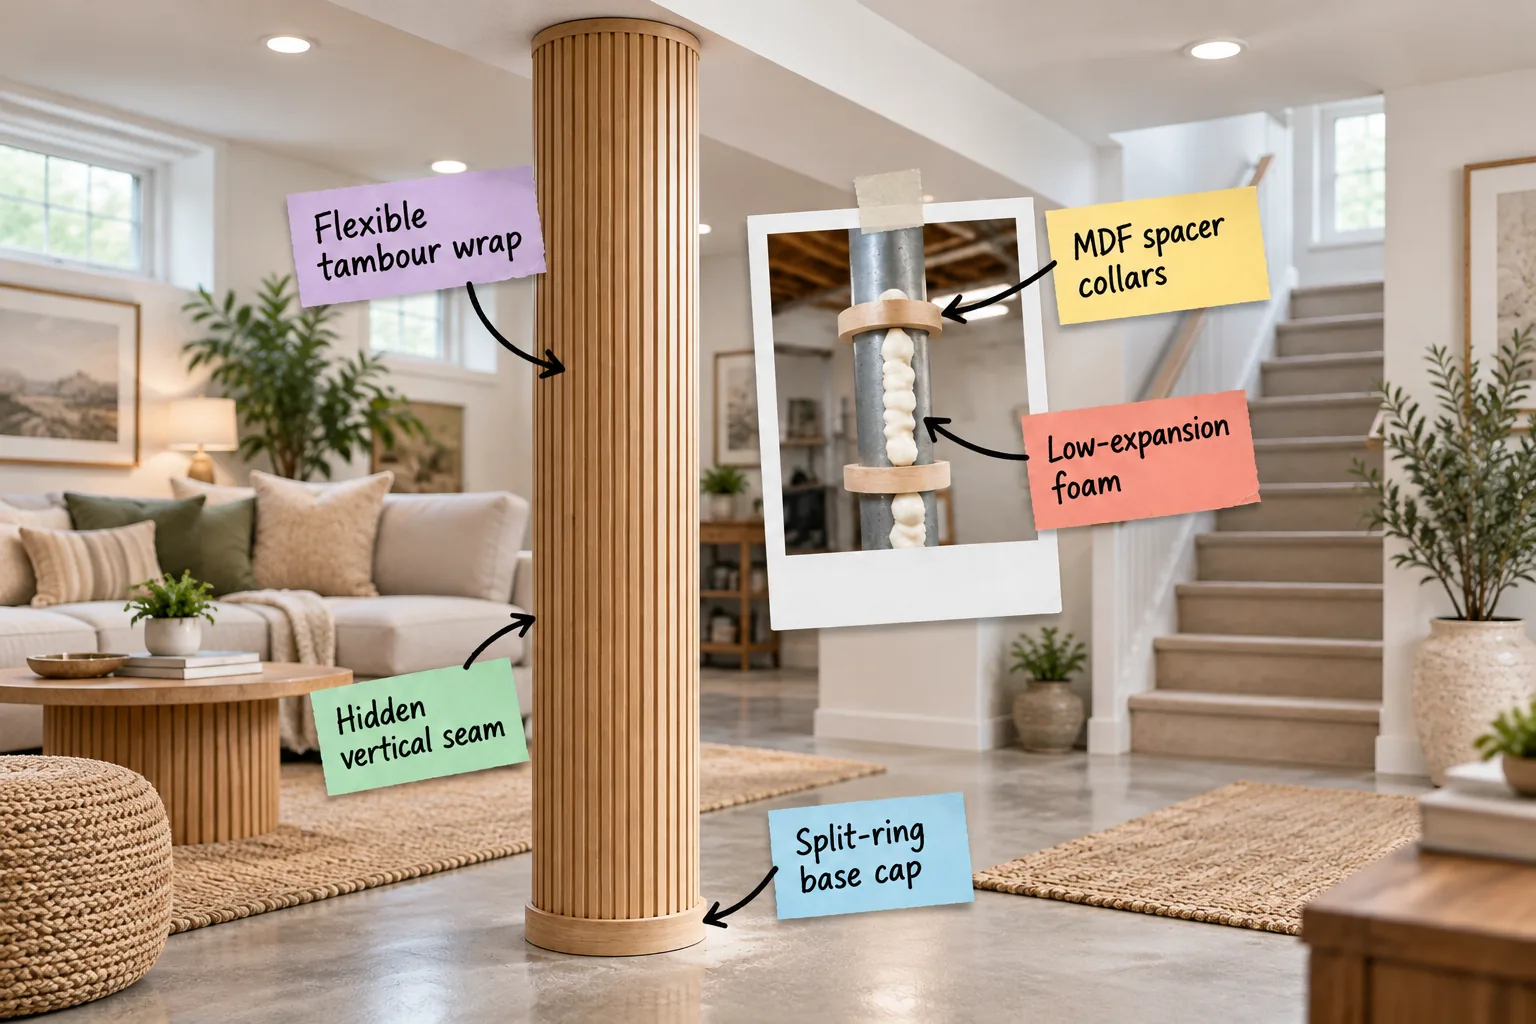
Transform your structural basement pole into a stunning architectural feature with this complete pole wrap sizing and cut guide. You will learn exactly how to measure, cut, and seamlessly install a fluted wood wrap around any standard lally column without drilling into the steel.
Pole wrap sizing and cut guide
Calculate the exact width of flexible wrap needed by multiplying the total diameter—your steel pole plus two spacer collars—by 3.14. Precise diameter calculations ensure the tambour panel meets perfectly at the back without stretching or leaving awkward gaps.
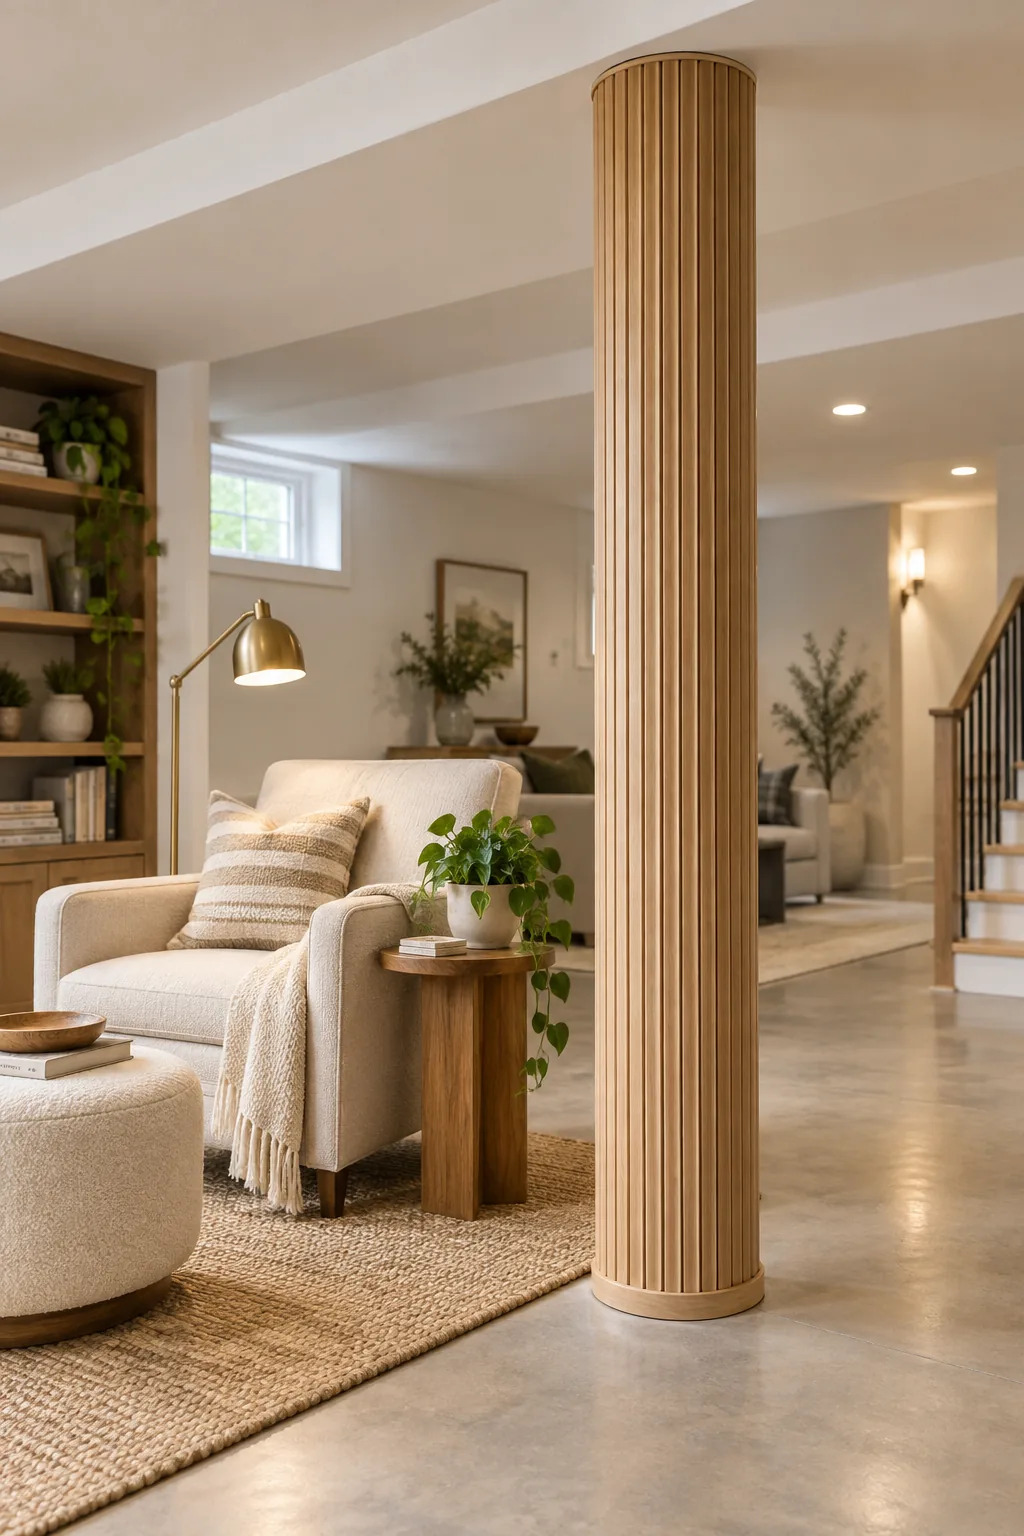
Before ordering your heavy tambour panels, gather these essential measuring tools to ensure your circumference calculations are perfectly exact. Having the right gear on hand guarantees your final track-saw cuts will butt together flawlessly around the structural core.
Calculating the exact wrap width
For a standard 3-inch lally column with 1-inch thick collars, your total diameter becomes 5 inches, meaning you need a 15.7-inch wrap width. Reference this quick sizing chart to find the exact flexible wrap width for common basement structural poles.
| Steel Pole | Collar Thickness | Total Diameter | Wrap Width |
|---|---|---|---|
| 3 inches | 1 inch | 5 inches | 15.7 inches |
| 3.5 inches | 1 inch | 5.5 inches | 17.2 inches |
| 4 inches | 1 inch | 6 inches | 18.8 inches |
Pre-measuring the steel lally column
Always measure the bare metal core in multiple spots before ordering your MDF spacer collars. Older basement posts sometimes feature layers of thick rust-preventative paint or slight manufacturing tapers that can throw off your carefully planned internal diameter.
Choosing the right tambour material
Select a solid wood slatted panel with a heavy fabric backing rather than a thin veneer product. The thicker flexible tambour wrap naturally resists basement dents and provides enough structural integrity to hold the brad nails firmly during installation.
Placing the MDF spacer collars
Create a uniform nailing surface by stacking split MDF rings around the steel core to build out the column’s footprint. Spaced supports keep the outer skin perfectly plumb and prevent the heavy wood from flexing inward when bumped.
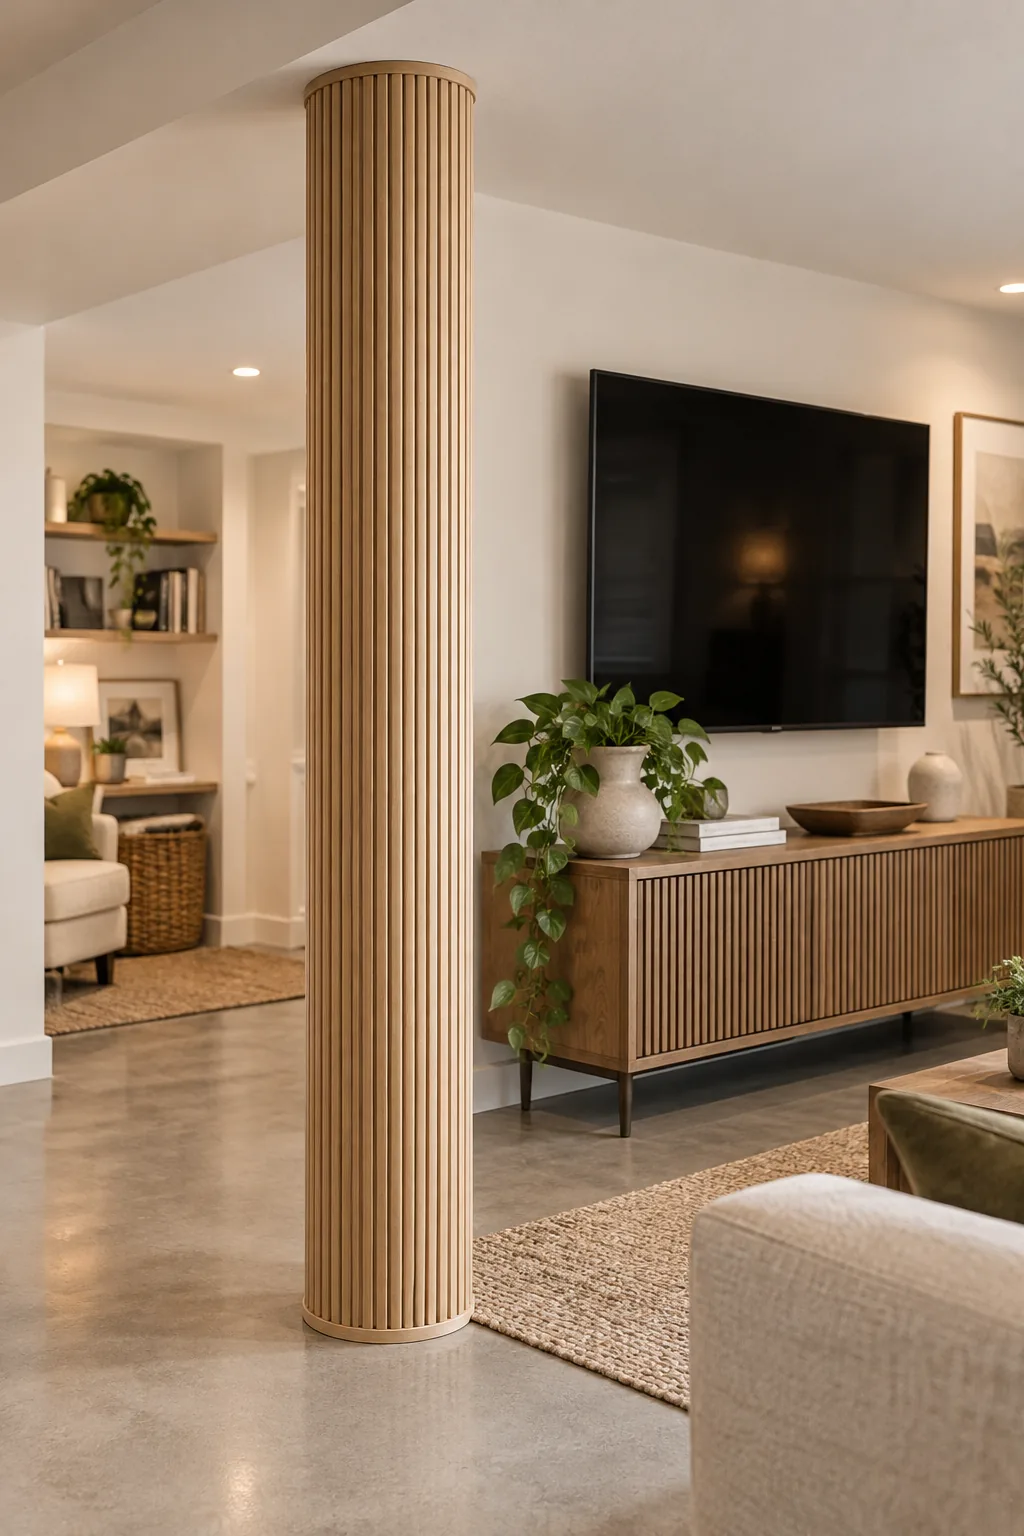
Space these collars exactly 16 inches apart from floor to ceiling to guarantee a rigid, dent-proof column. In my own basement, I initially spaced them too far apart, and adding those extra rings made the final fluted oak feel incredibly solid.
- Measure and mark 16-inch vertical intervals on the bare steel pole.
- Snap the split MDF rings securely around each marked height.
- Tape the wood halves temporarily to check the vertical alignment.
Aligning the spacer rings perfectly plumb
Use a long spirit level across the outer edges of the temporary rings to verify they sit perfectly flush with one another. A misaligned internal collar will create a noticeable wave in your flexible tambour wrap once the wood is permanently attached.
Pre-drilling the MDF collars
If you decide to mechanically fasten the two halves of your MDF spacer collars together, pre-drill the connection points first. MDF splits notoriously easily, so a tiny pilot hole ensures your rings remain perfectly intact around the metal pole.
Securing with low-expansion foam
Lock the MDF rings onto the metal without drilling by applying small dabs of low-expansion foam directly into the inner collar gaps. Controlled adhesives prevent structural bowing over time and keep the internal rings from shifting out of alignment.
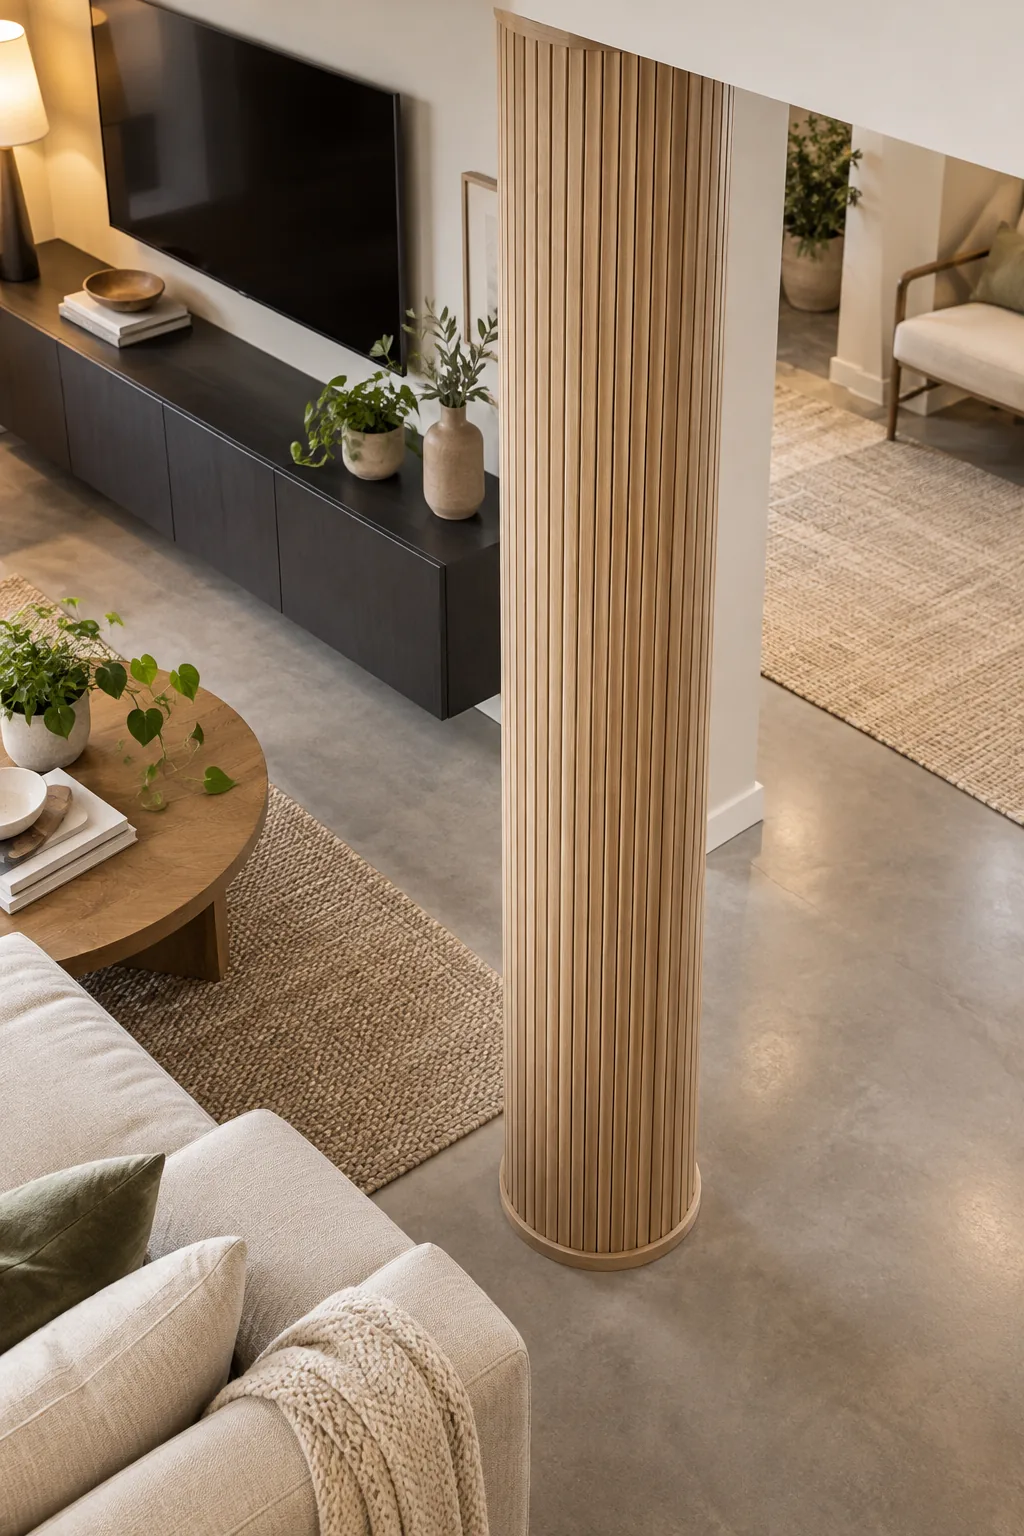
Choosing the wrong adhesive for the internal rings can ruin the final shape of your column and cause the wood wrap to bulge. Always double-check your adhesive formula before applying it directly to the structural steel.
Curing time for structural adhesives
Allowing the foam to cure for a full 24 hours ensures the MDF spacer collars are permanently locked onto the metal. Rushing this step risks pushing the rings out of level when you aggressively roll the heavy tambour wood around them.
Testing the foam adhesion
Before wrapping the entire column, gently push against the cured low-expansion foam to verify the rings are completely solid. If any collar wiggles under pressure, scrape away the loose adhesive and reapply a fresh dab to guarantee long-term stability.
Applying the flexible tambour wrap
Roll the light oak tambour paneling tightly around the secured MDF collars, ensuring the heavy slatted wood stays perfectly level. In my Austin home, wrapping that heavy fabric-backed wood around the rings was surprisingly satisfying once I got the first vertical edge plumb.
Fastening the wood to the collars
Use 1-inch brad nails driven straight through the fabric backing into the MDF rings to hold the heavy wood securely in place. Focus on nailing deeply between the flutes so the tiny brad heads remain completely invisible in the natural shadows.
Concealing the vertical seam
Rotate the final wrap so the meeting edges face the least visible corner of the room to maintain the illusion of a solid pillar. Securing the flexible tambour backing to the MDF rings with brad nails helps keep this hidden vertical seam incredibly tight.
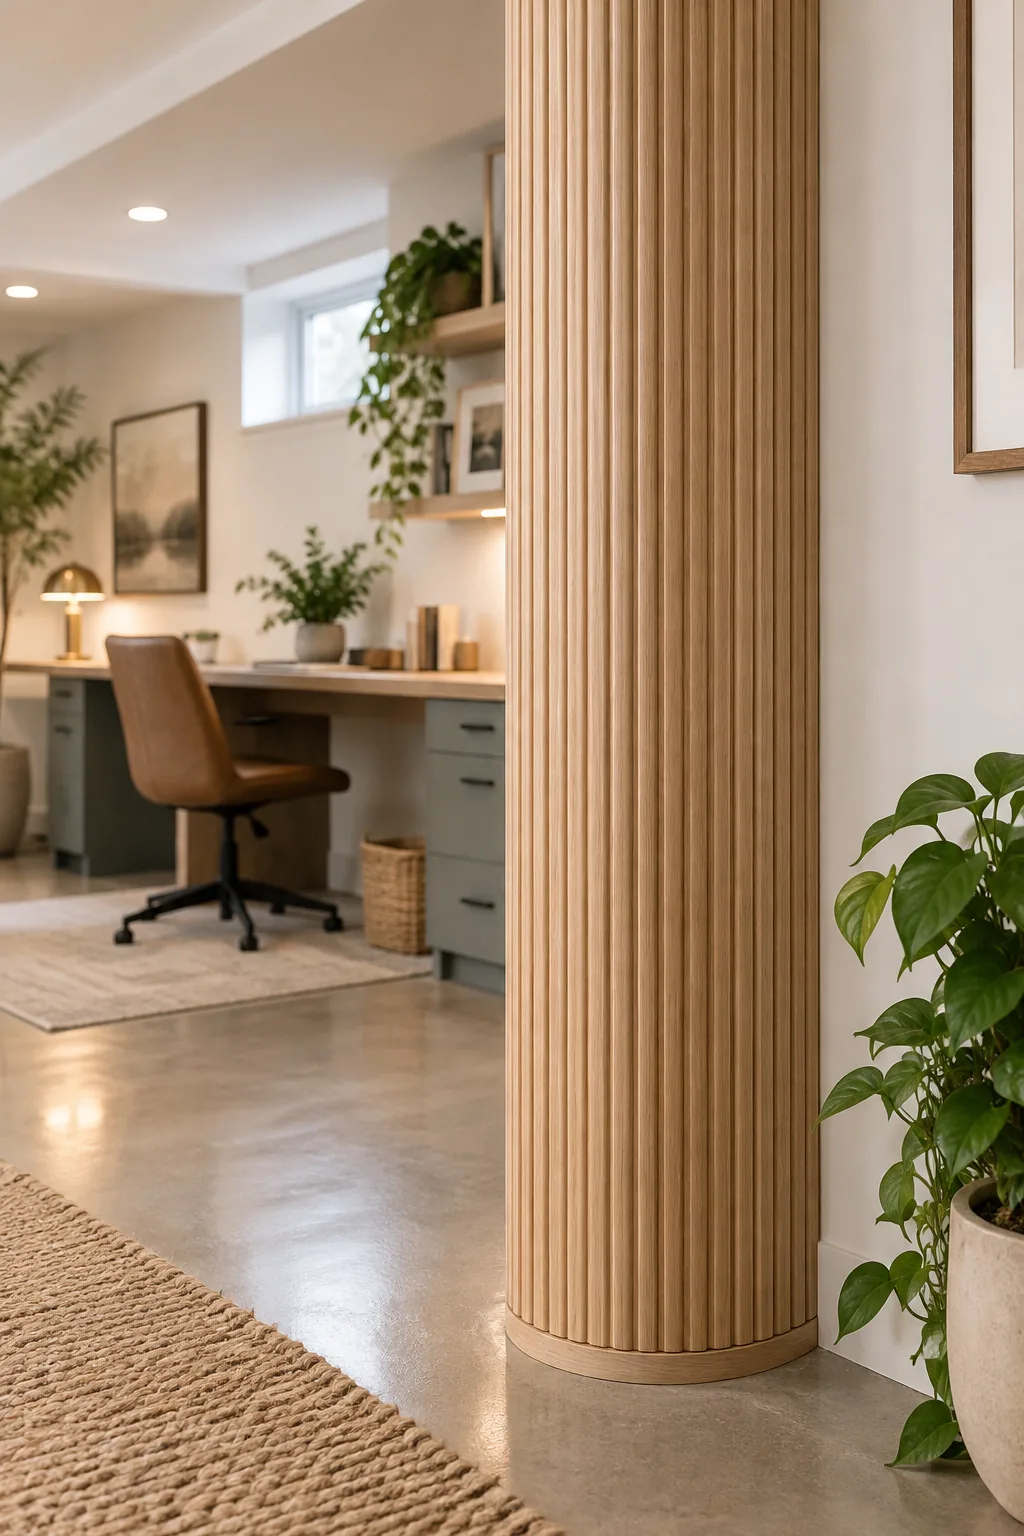
A clean track-saw cut allows the two half-flutes to butt together flawlessly, hiding the joint. I always place this final seam facing the back wall; it completely fools guests into thinking it is a solid architectural column.
Sanding the track-saw edges
Lightly pass a 220-grit sanding block over the freshly cut edges before pressing the final seam together. Removing those microscopic wood splinters ensures the two sides of the flexible tambour wrap sit flush without any noticeable gaps catching the light.
Installing the split-ring base cap
Finish the floor transition with a circular wooden trim piece to hide the necessary expansion gap at the bottom of the column. Placing the final track-saw cut at the back of the column ensures the split-ring base cap aligns beautifully with the flutes.
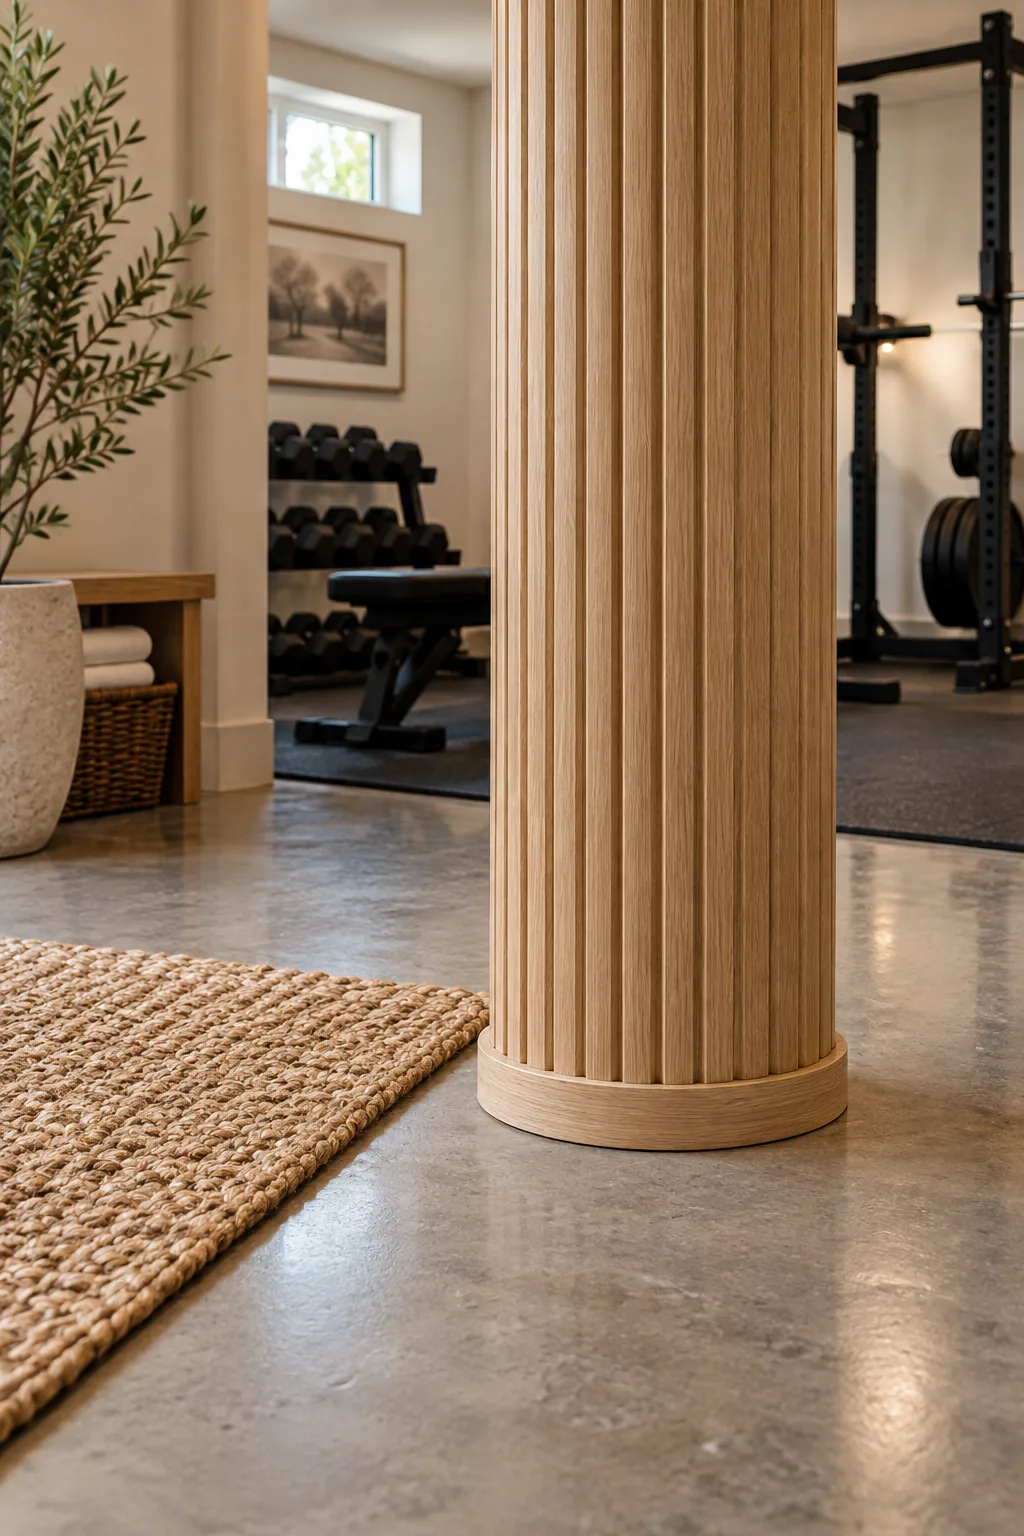
A two-piece split ring easily glues together around the finished base without needing to slide over the top. I love using these pre-cut rings because they instantly make the raw floor transition look intentional and highly polished.
Gluing the two-piece floor trim
Apply a thin bead of wood glue to the finger joints of the split-ring base cap before pressing the two halves together. Wipe away any excess glue immediately with a damp rag so it does not interfere with your final topcoat.
Sanding the base cap trim
Run a fine-grit sanding sponge over the glued joints of your split-ring base cap once the adhesive dries completely. A perfectly smooth transition here ensures the floor trim looks like a single continuous piece of custom-turned wood.
Matching the ceiling trim
Replicate the base cap at the top of the column to cover the drywall transition and frame the fluted wood elegantly. Using a two-piece wooden trim lets you elegantly finish the floor transition and mirror that exact look against the ceiling.

Use a matching split-ring collar and secure it with construction adhesive to avoid firing nails near hidden ceiling pipes. When I tackled my basement ceiling, using adhesive instead of nails gave me total peace of mind around those mysterious plumbing lines.
Managing drywall transitions
If your basement ceiling drywall is slightly uneven, run a tiny bead of paintable caulk around the upper edge of the trim. This flexible filler bridges any small gaps between the rigid wooden collar and the textured ceiling surface perfectly.
Applying the protective coats
Always brush in the direction of the vertical grain to prevent the clear finish from pooling awkwardly in the deep recesses. Keeping a dry brush handy allows you to quickly sweep away any milky drips before the matte polycrylic begins to set.
Sealing the fluted oak
Protect the raw wood from basement humidity by brushing on two coats of water-based matte polycrylic to seal the deep flutes. Applying a matte topcoat protects the wood from basement moisture without altering its beautiful light oak tone.
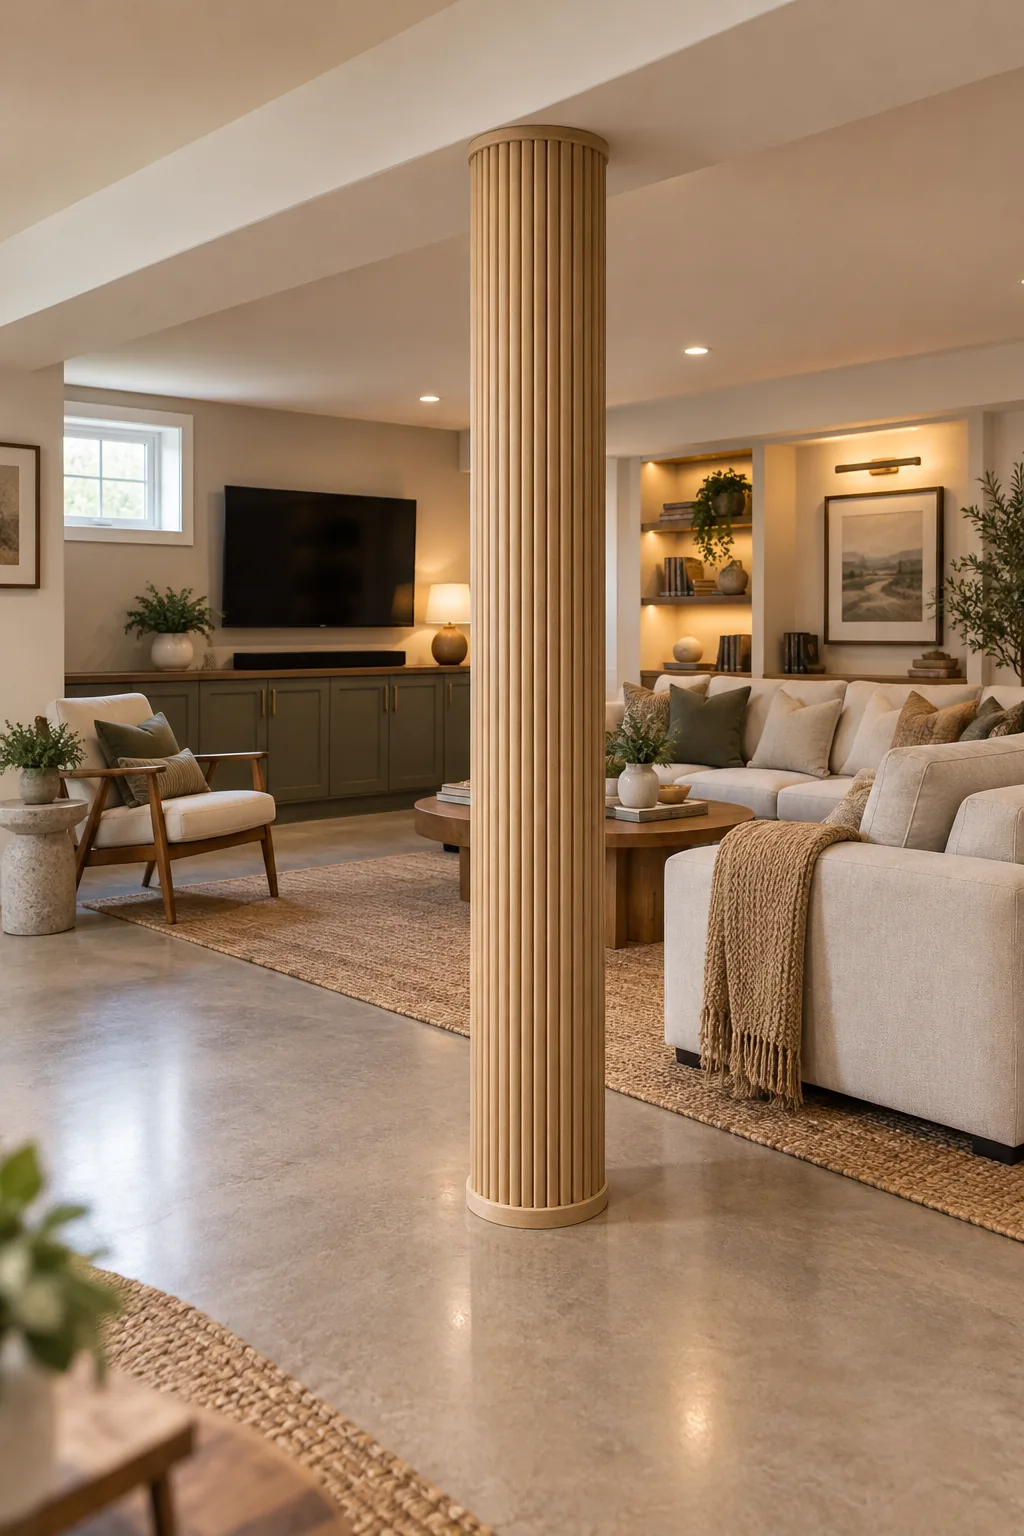
This finish seals the porous wood without adding an artificial glossy shine that would ruin the modern architectural feel. Work the brush carefully into every single groove to ensure the entire column remains protected from everyday scuffs and humidity.
More fluted column styling ideas
Explore how different wood tones and paint colors can adapt this wrap trick to any room style.
Moody walnut home theater: Rich walnut tones absorb light beautifully, making this wrap perfect for a cinematic basement space.

Painted sage laundry room: Paintable tambour panels allow you to match the column directly to your utility room cabinetry.
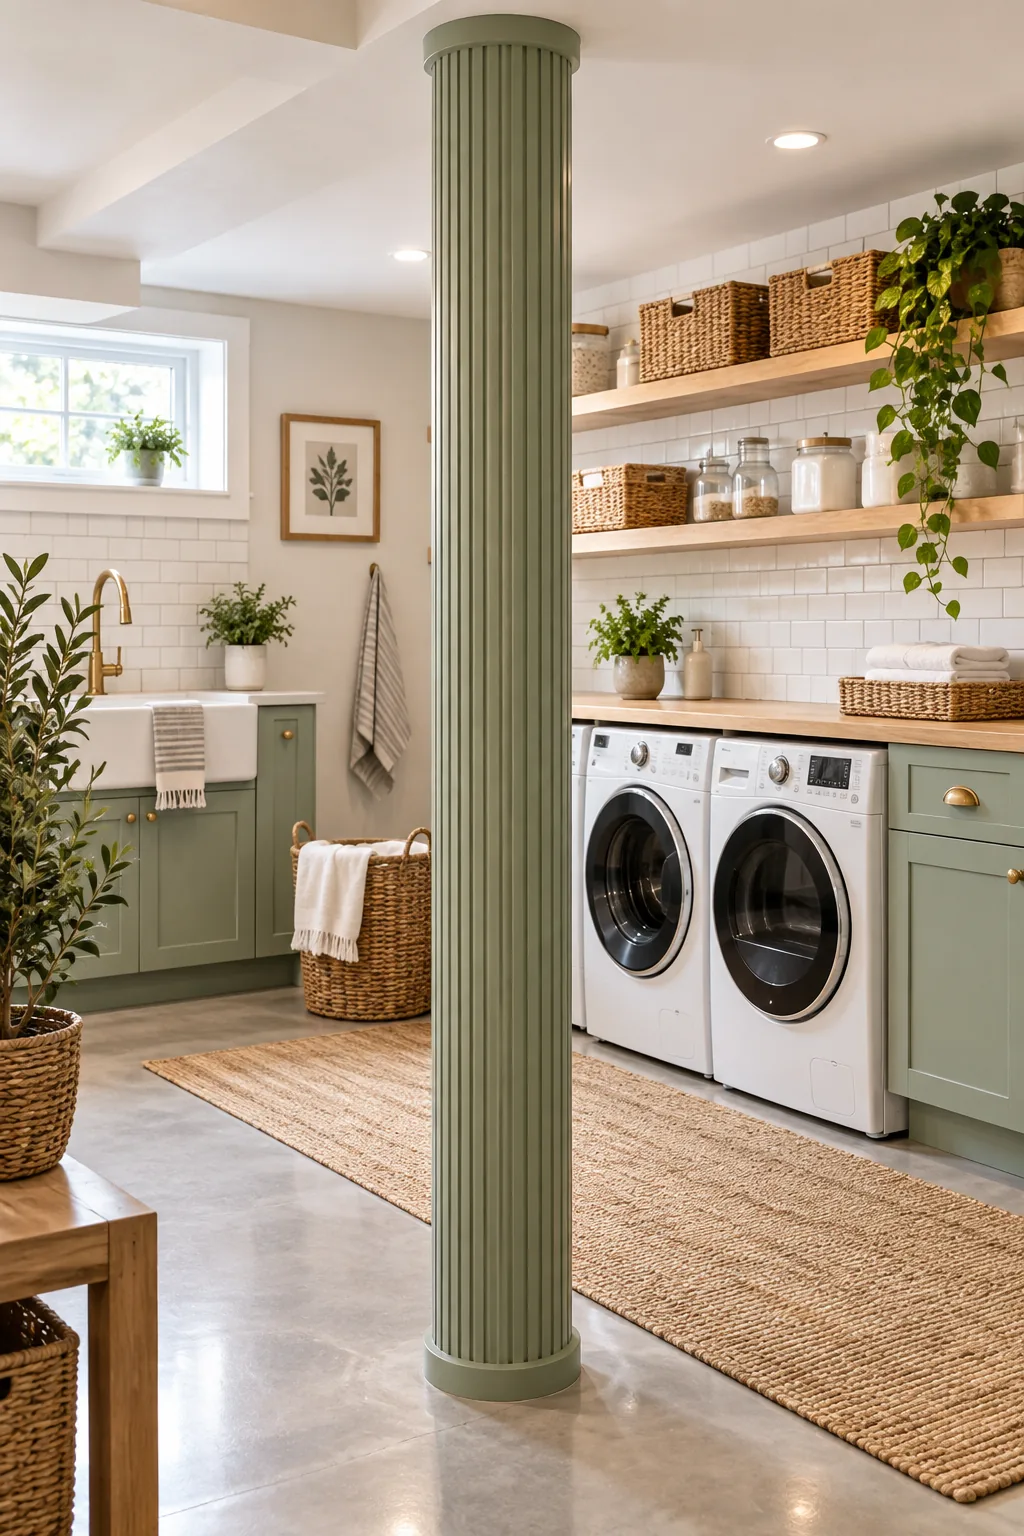
Bleached ash minimalist gym: Ultra-light ash wood adds a clean, Scandinavian touch that warms up industrial gym equipment.