Valentines Bag Decoration: 3D Paper Heart Lunch Bag Steps
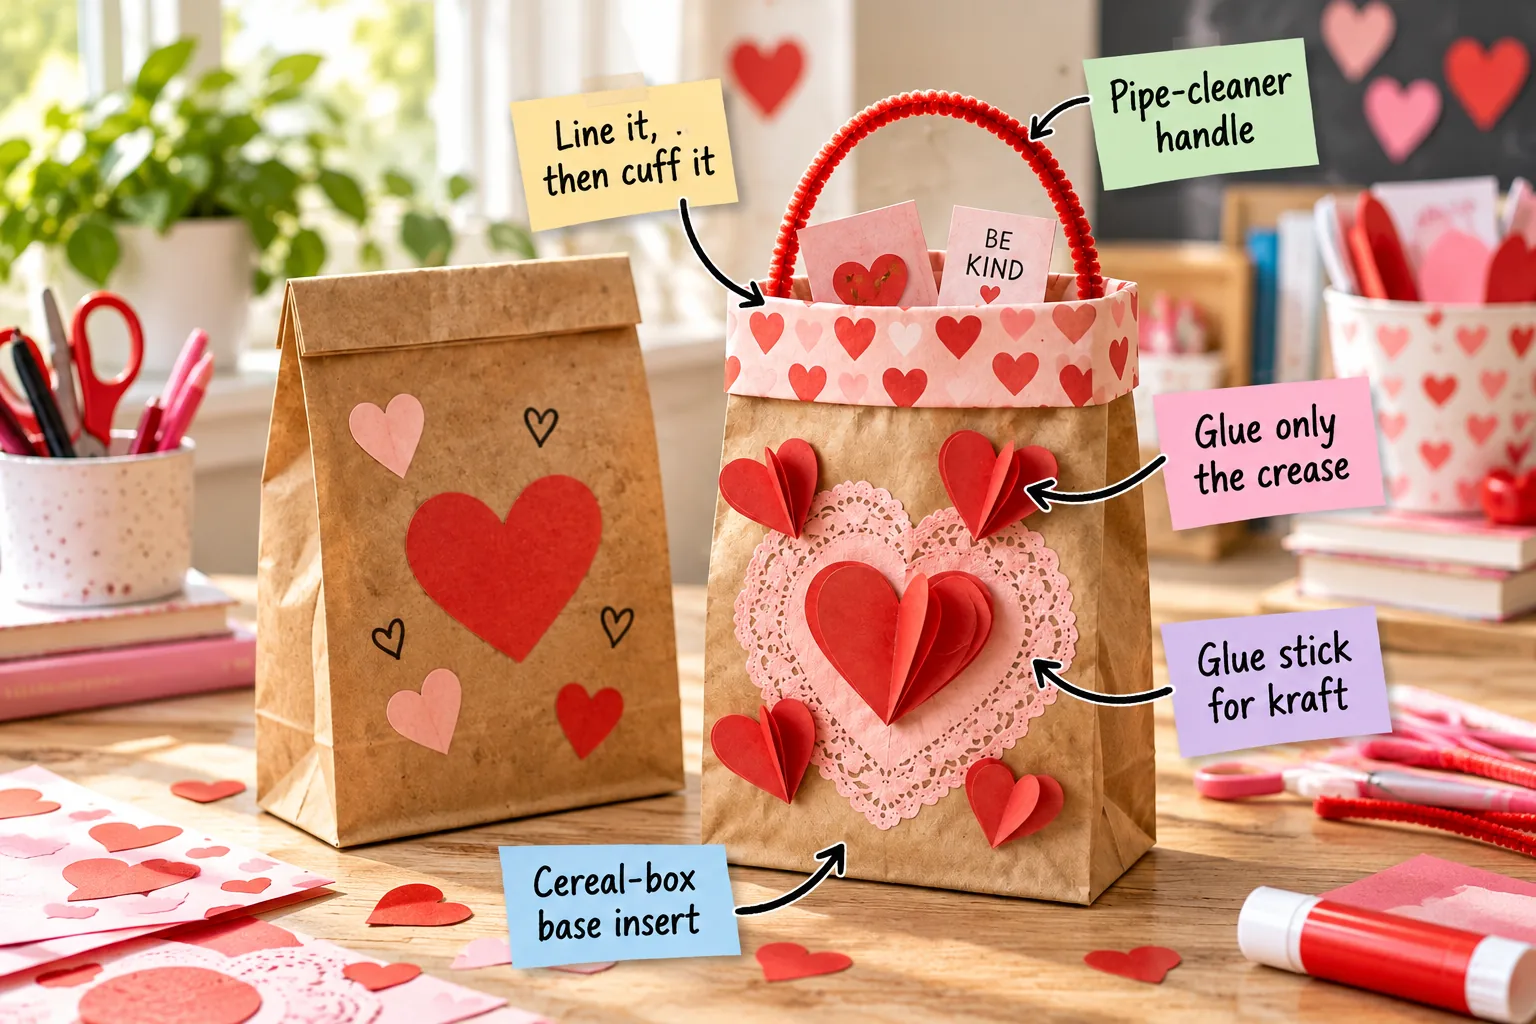
You will be able to build, decorate, and transport a sturdy Valentine exchange bag by grabbing our printable one-page lunch sack guide. This tutorial turns a standard kraft bag into a cuffed classroom tote with pop-up 3D hearts.
Stiffening the Base with Recycled Cardboard
Cut a panel from an empty cereal box to match the bottom dimensions of the kraft bag to create a cereal-box base insert. For a standard lunch sack, measure and cut a 3-by-5-inch rectangle to slide inside so the bag stands upright.
Sourcing the Right Cardboard Weight
Using standard corrugated shipping boxes will make the bottom too thick and warp the paper sides. A standard 20-point paperboard from a cereal or cracker box provides the exact balance of rigidity and slimness needed to keep the kraft bag footprint perfectly flat.
| Material | Thickness | Result |
|---|---|---|
| Cereal Box | 20-point | Perfectly flat base |
| Shipping Box | 1/8-inch | Warps the paper sides |
| Cardstock | 100 lb | Too flimsy for heavy cards |
Cutting the paperboard slightly smaller than the bag’s true footprint allows it to drop in smoothly without catching on the glued interior seams.
Folding the Two-Inch Lined Cuff
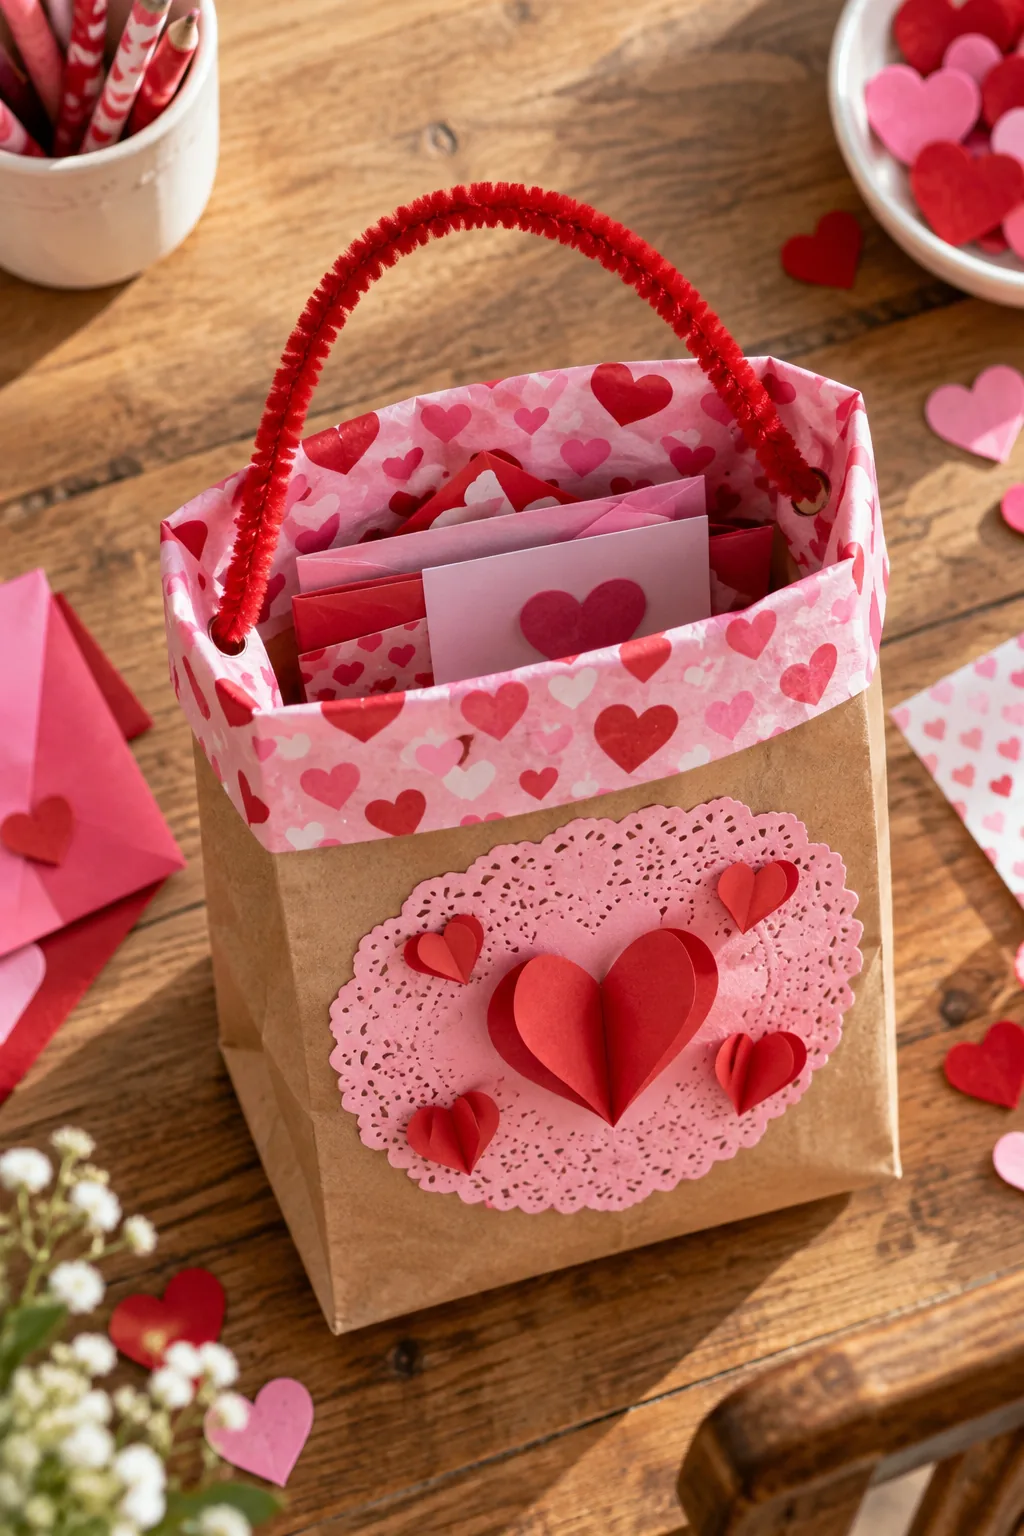
We line it, then cuff it by attaching a strip of patterned paper along the inside top edge before folding. Crease the top down exactly two inches to reveal the pattern on the outside and reinforce the rim for the handle.
Selecting the Cuff Lining Paper
Choose a lightweight scrapbook paper for the lining rather than heavy cardstock. A 65-pound patterned paper folds cleanly over the kraft edge without tearing, ensuring the crisp two-inch cuff stays tightly creased when the kids carry their bags around the classroom.
Anchoring the Pipe-Cleaner Handle
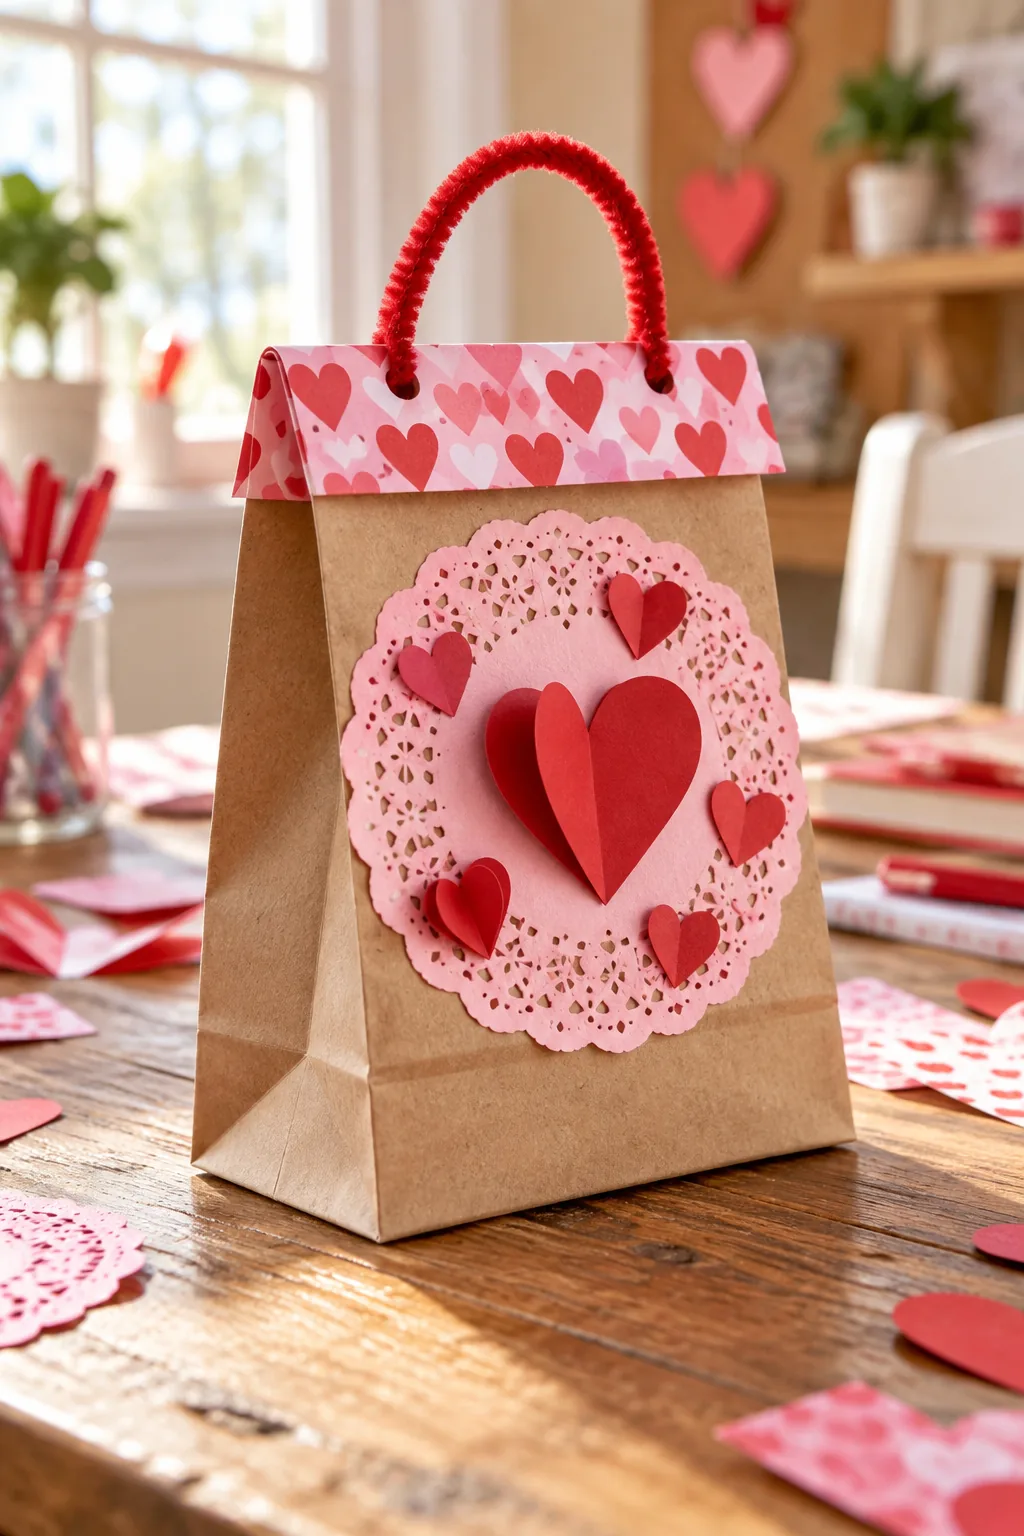
Punch two holes spaced three inches apart through the thick, folded cuff to support the pipe-cleaner handle. Thread a standard 12-inch red pipe cleaner through the holes and twist the ends upward to secure the arch in place.
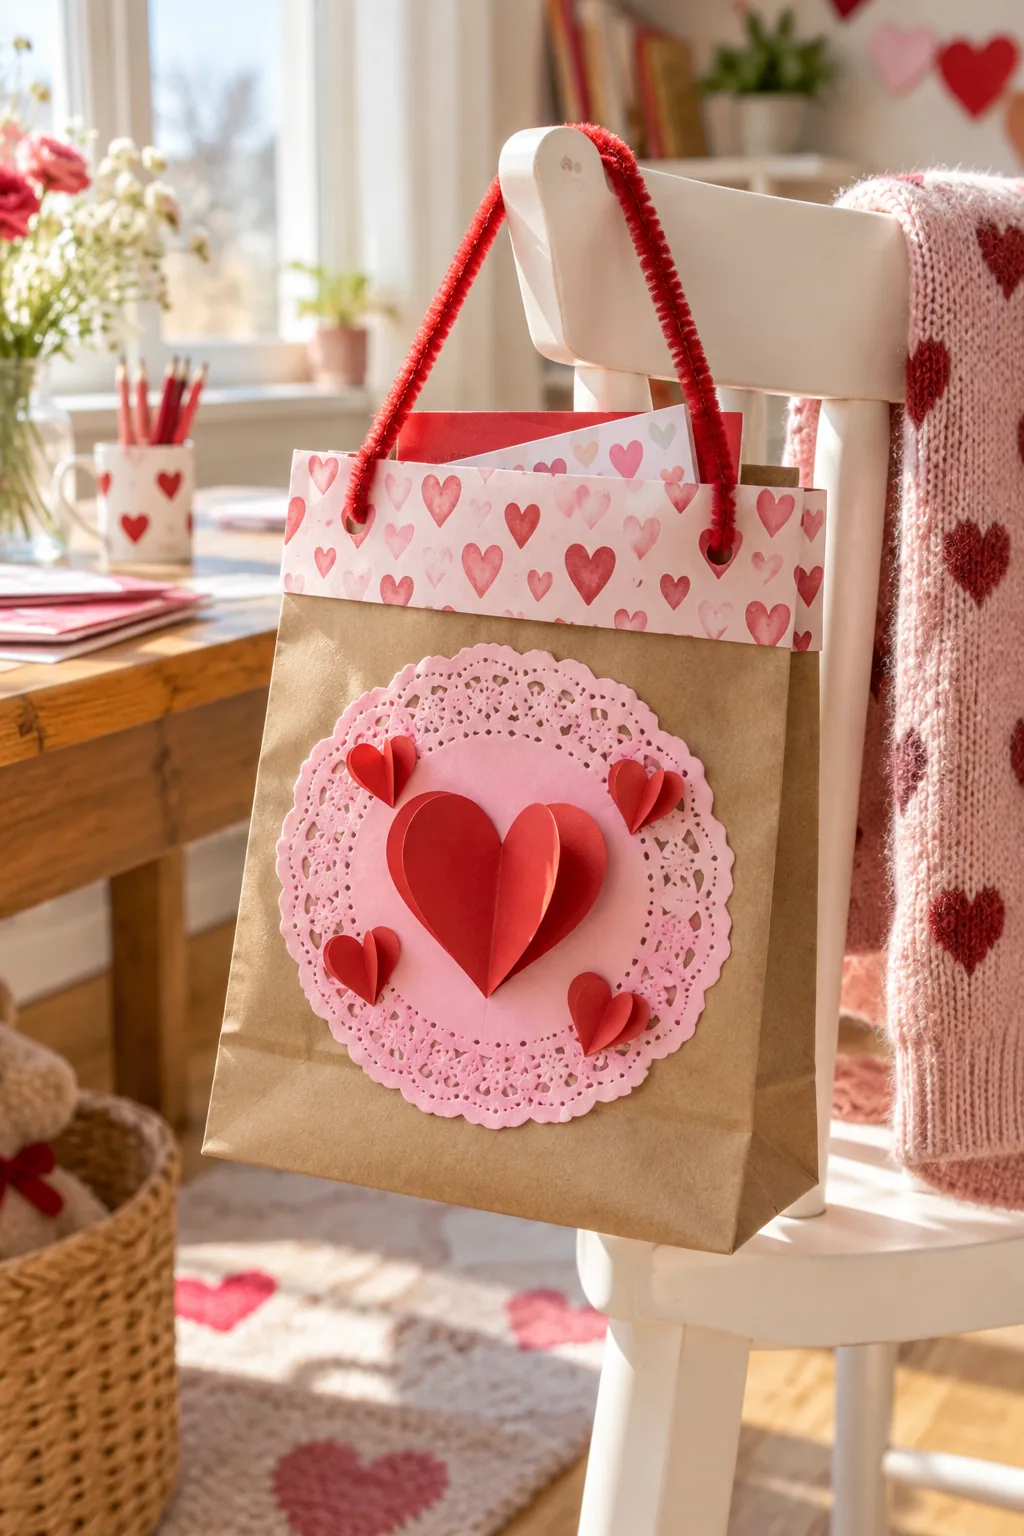
Reinforcing the Handle Punches
The double layer of kraft paper and scrapbook lining usually provides enough strength for standard elementary school cards. If you anticipate a heavy haul of candy, place a small circle of clear packing tape over the punch marks before driving the hole puncher through.
Securing the Paper Doily Background
Apply a glue stick for kraft directly to the paper bag rather than the delicate doily. I learned this the hard way when I soaked a batch of doilies with liquid school glue, turning my first Austin craft workshop into a wrinkled mess!
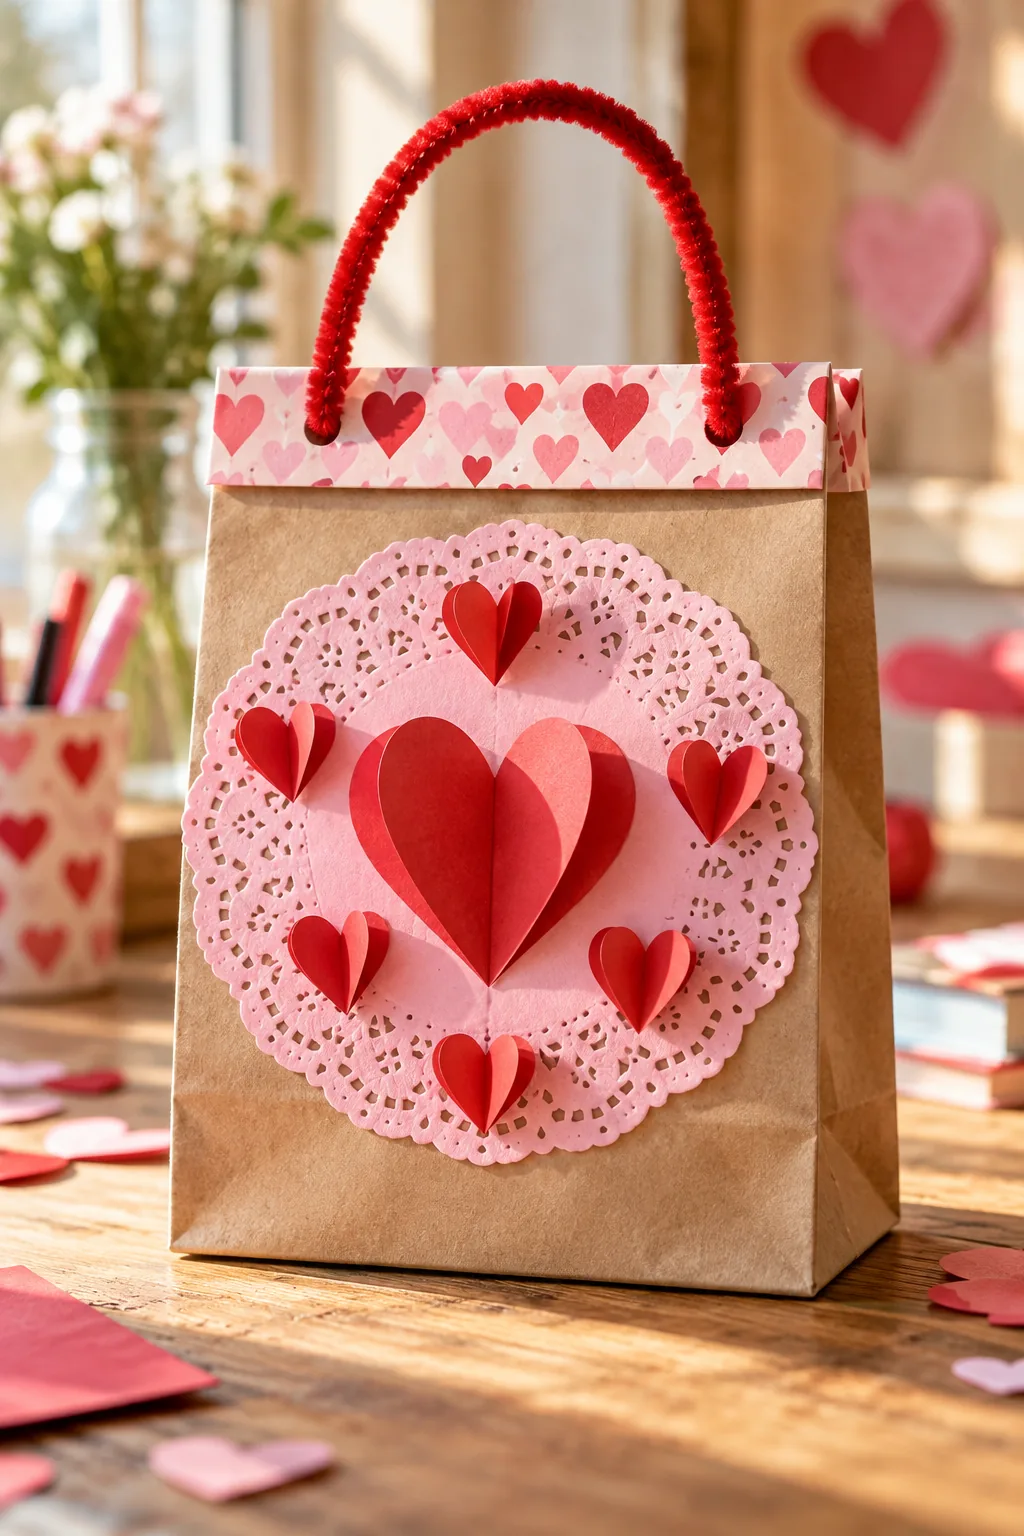
Choosing the right adhesive is critical for keeping these thin paper layers looking crisp and professional.
Creating the Pop-Up 3D Hearts
Fold the red paper hearts perfectly in half to create a sharp center line for the 3D effect. Glue only the crease by running a single line of adhesive down that fold and pressing it onto the doily so both sides spring outward.
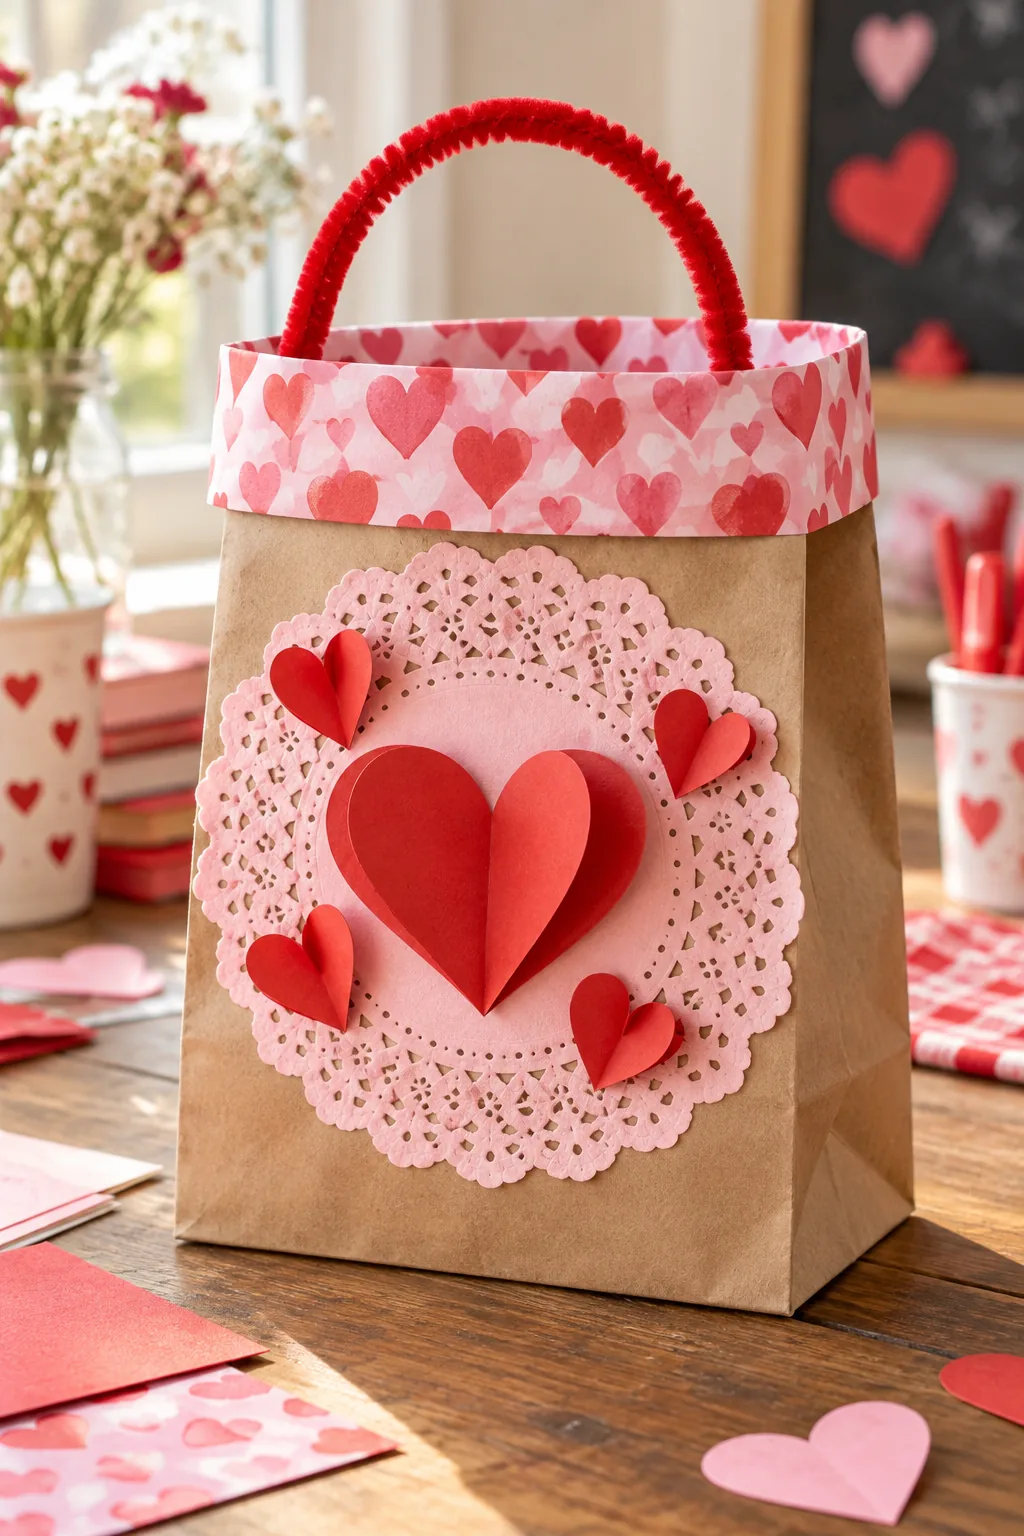
Cutting Symmetrical Paper Hearts
Achieving that perfect pop-up effect requires absolute symmetry in your paper shapes. Fold a square of 65-pound red cardstock in half, draw half a heart along the fold, and cut both layers simultaneously to ensure the 3D heart wings match exactly.
Arranging the Heart Clusters
Place the largest 3D heart directly in the center of the doily to establish the focal point. I always let my nieces scatter three to four smaller 3D hearts asymmetrically around the edges, which gives every bag a uniquely playful personality.
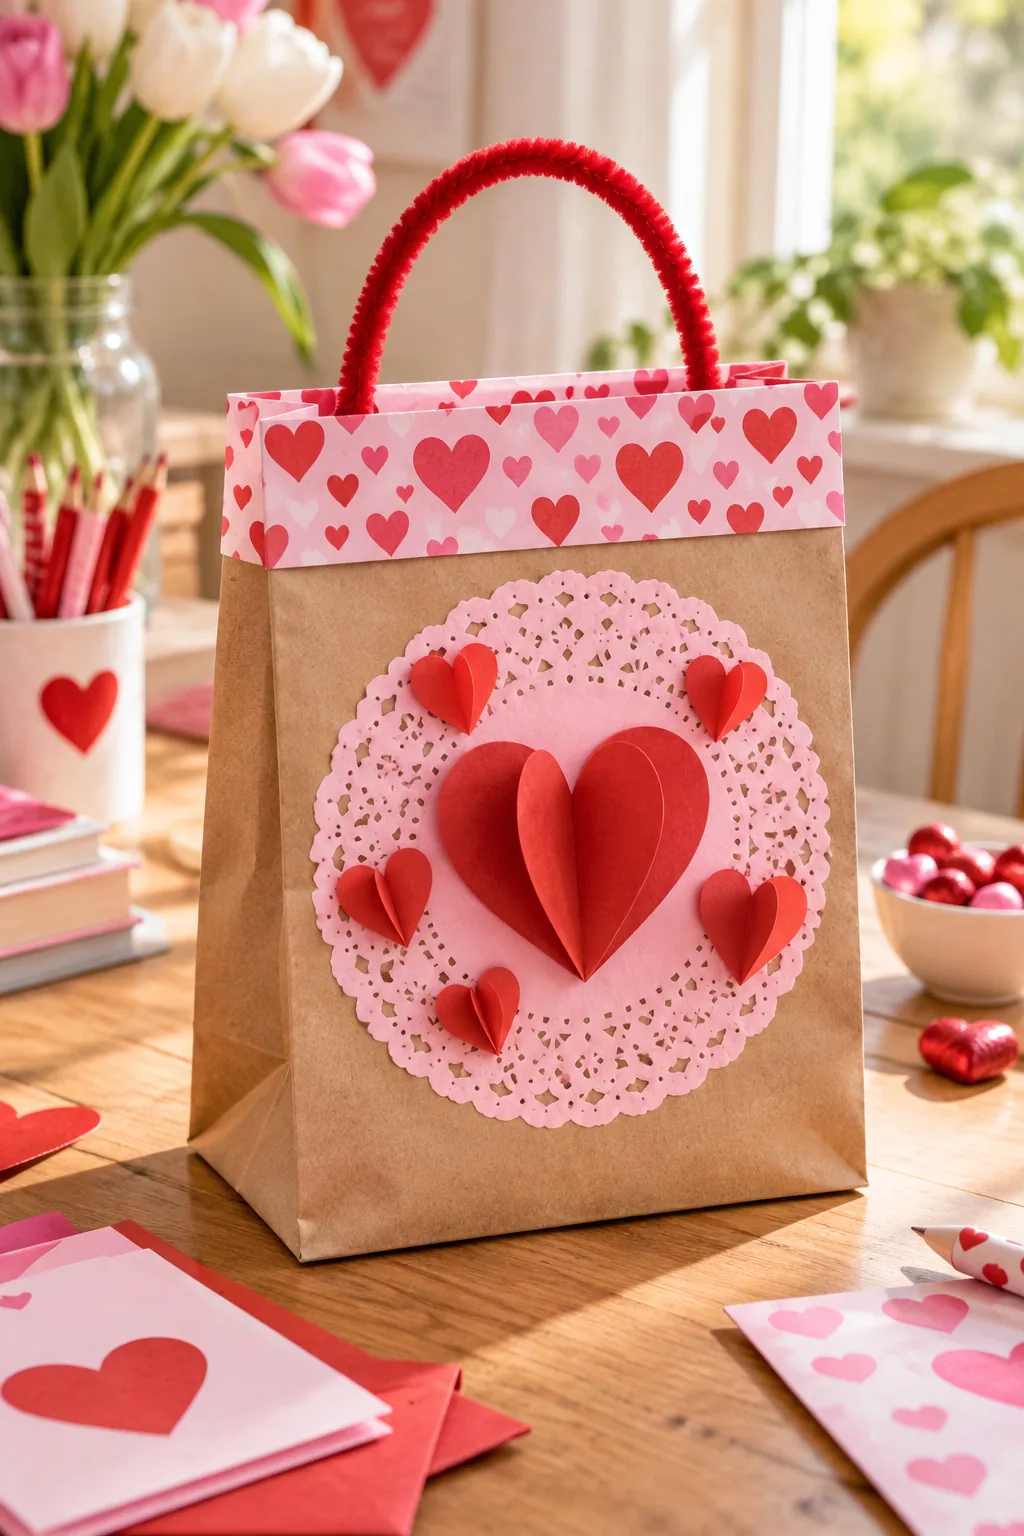
Balancing the Visual Weight
Keep the smaller hearts angled slightly toward the center focal point to create a cohesive design. Leaving a one-inch margin around the outer edge of the doily prevents the layered paper decorations from catching on other bags during the busy classroom exchange.
Prepping the Bag for the Classroom Exchange
The combination of the cardboard base and the folded cuff forces the bag to stand wide open on a desk. When my son took his to school, this rigid structure made it effortless for classmates to drop their cards inside without crushing anything.
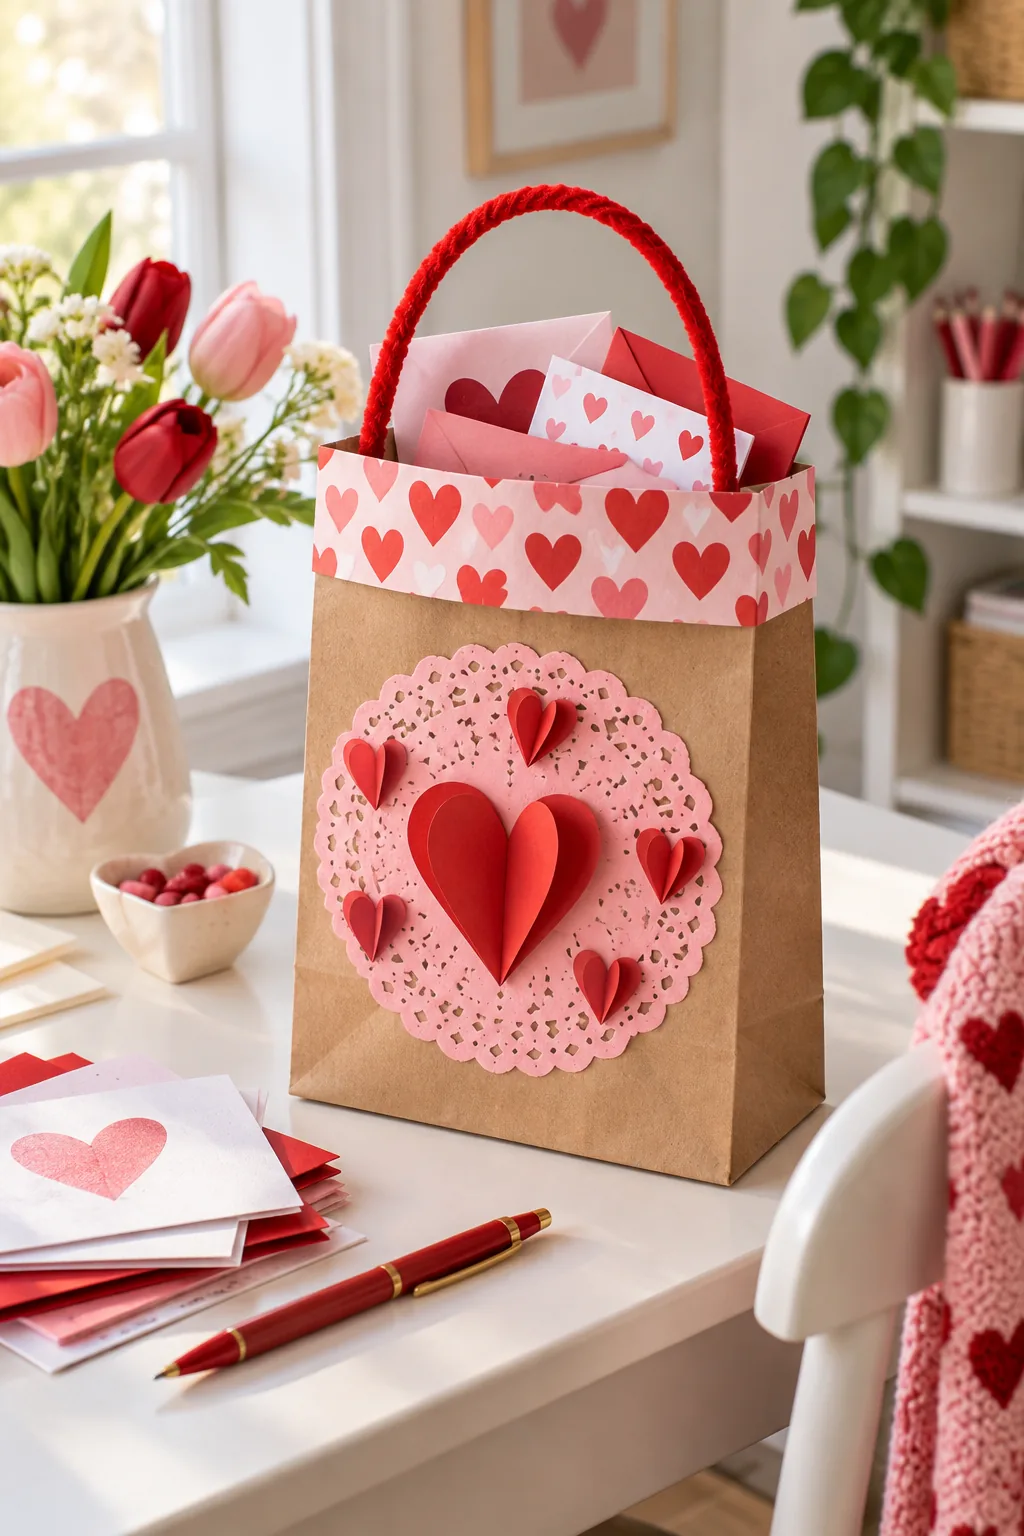
Before sending the bag to school, verify its durability for the morning commute.
Transporting the Finished Bags
Carry the decorated bags in a wide, flat-bottomed grocery tote rather than a backpack. The delicate pop-up 3D hearts will flatten permanently if they are shoved between heavy textbooks or compressed against a car seat during the morning drive.
Gathering Your Craft Supplies
Having exactly what you need makes this craft project smooth and enjoyable for everyone involved. Gather these specific materials before you start folding to ensure your cuffed classroom tote comes together without any frustrating pauses.
- Standard brown kraft paper lunch sacks
- Empty cereal boxes for the base inserts
- Patterned scrapbook paper for the cuff lining
- Red cardstock for the pop-up hearts
- Standard 12-inch red pipe cleaners
Get the Printable Valentine Bag Instructions
Download the complete one-page PDF guide to build this project with your kids or students. It includes the exact supply list for one class bag, the two-inch cuff measurements, and the 3D heart folding sequence.
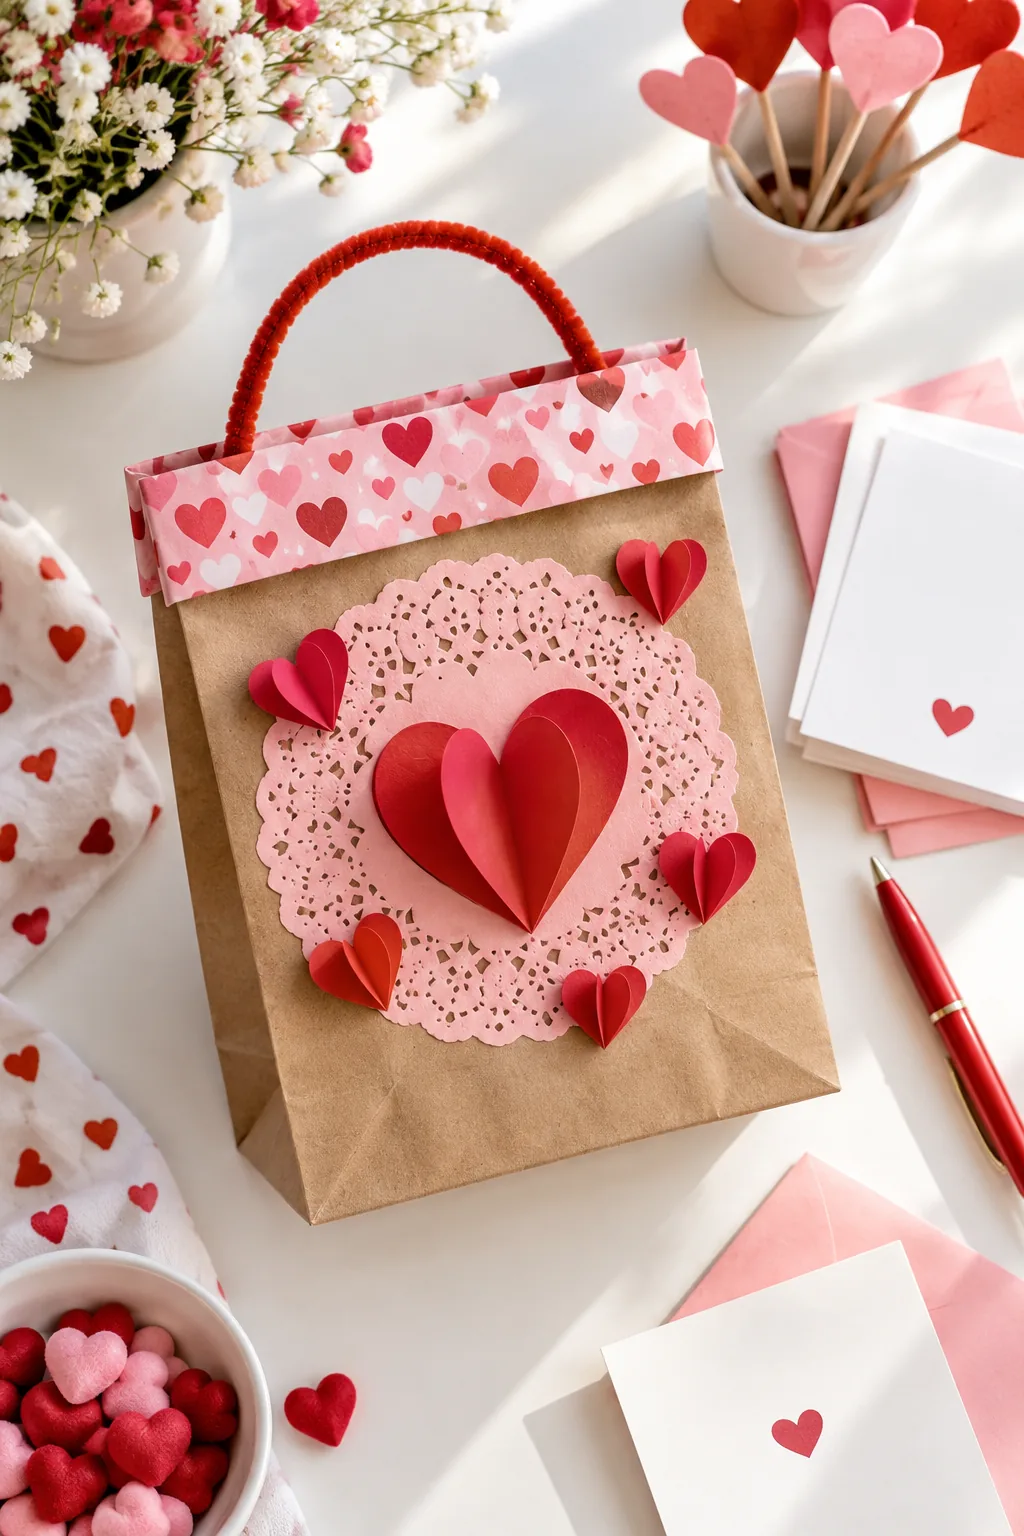
More Valentine Bag Styles
Explore different color palettes and materials to customize your classroom tote.
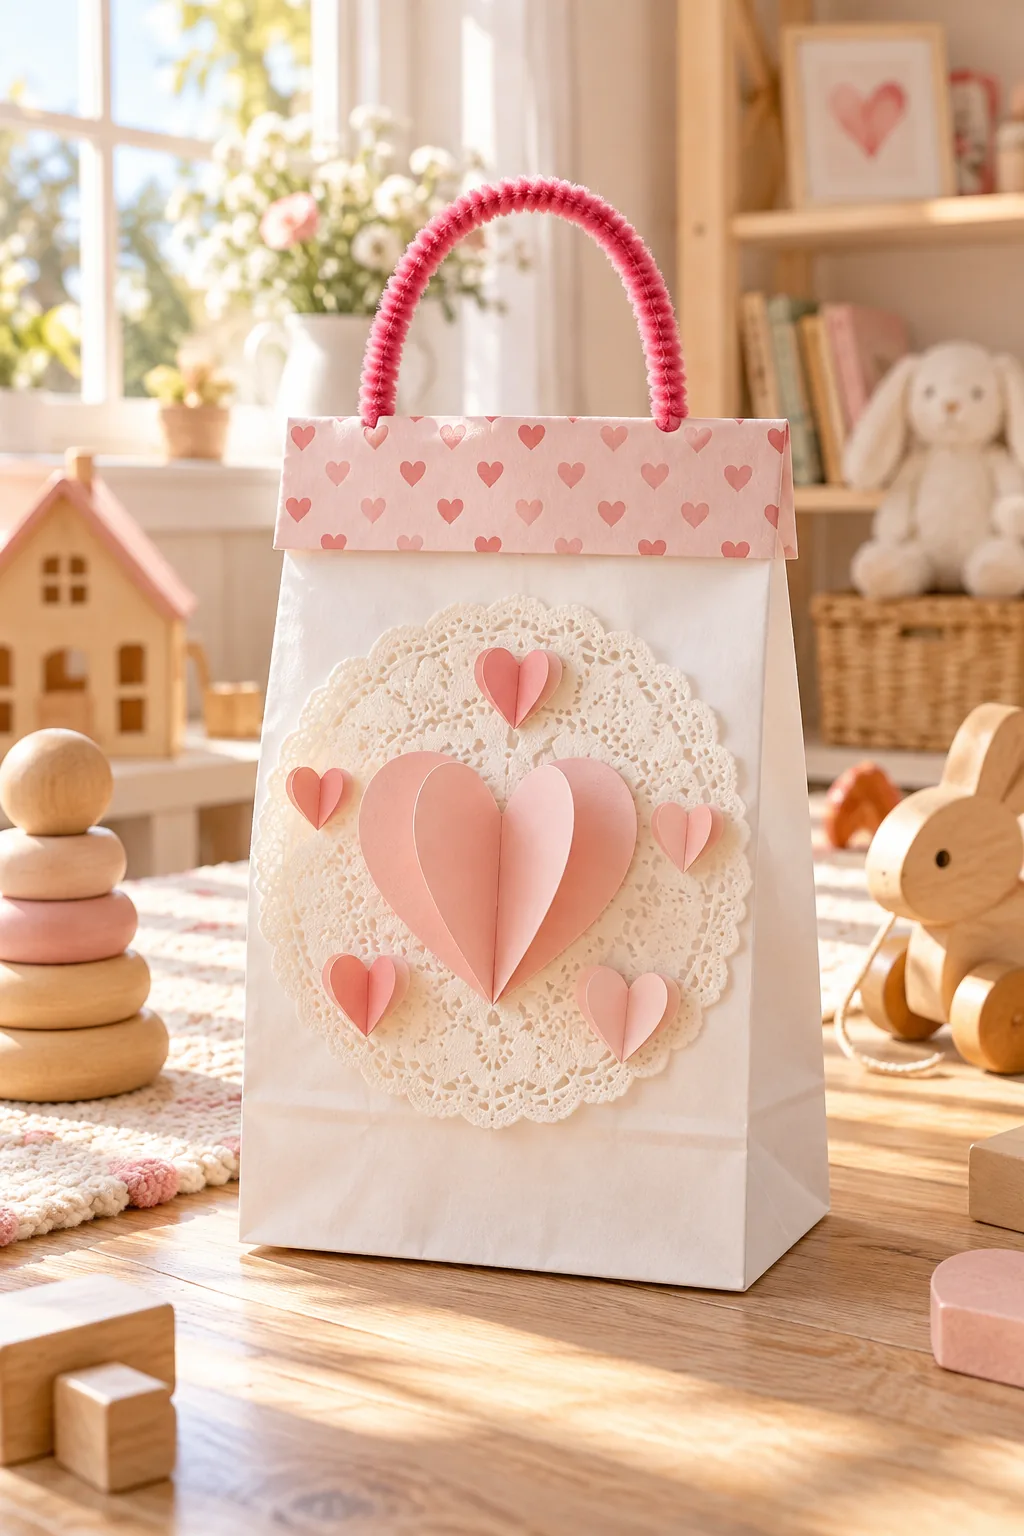
Vintage Lace and Pastels: Swap the red for soft pastel pinks and use real lace doilies for a sweet, vintage-inspired classroom tote.
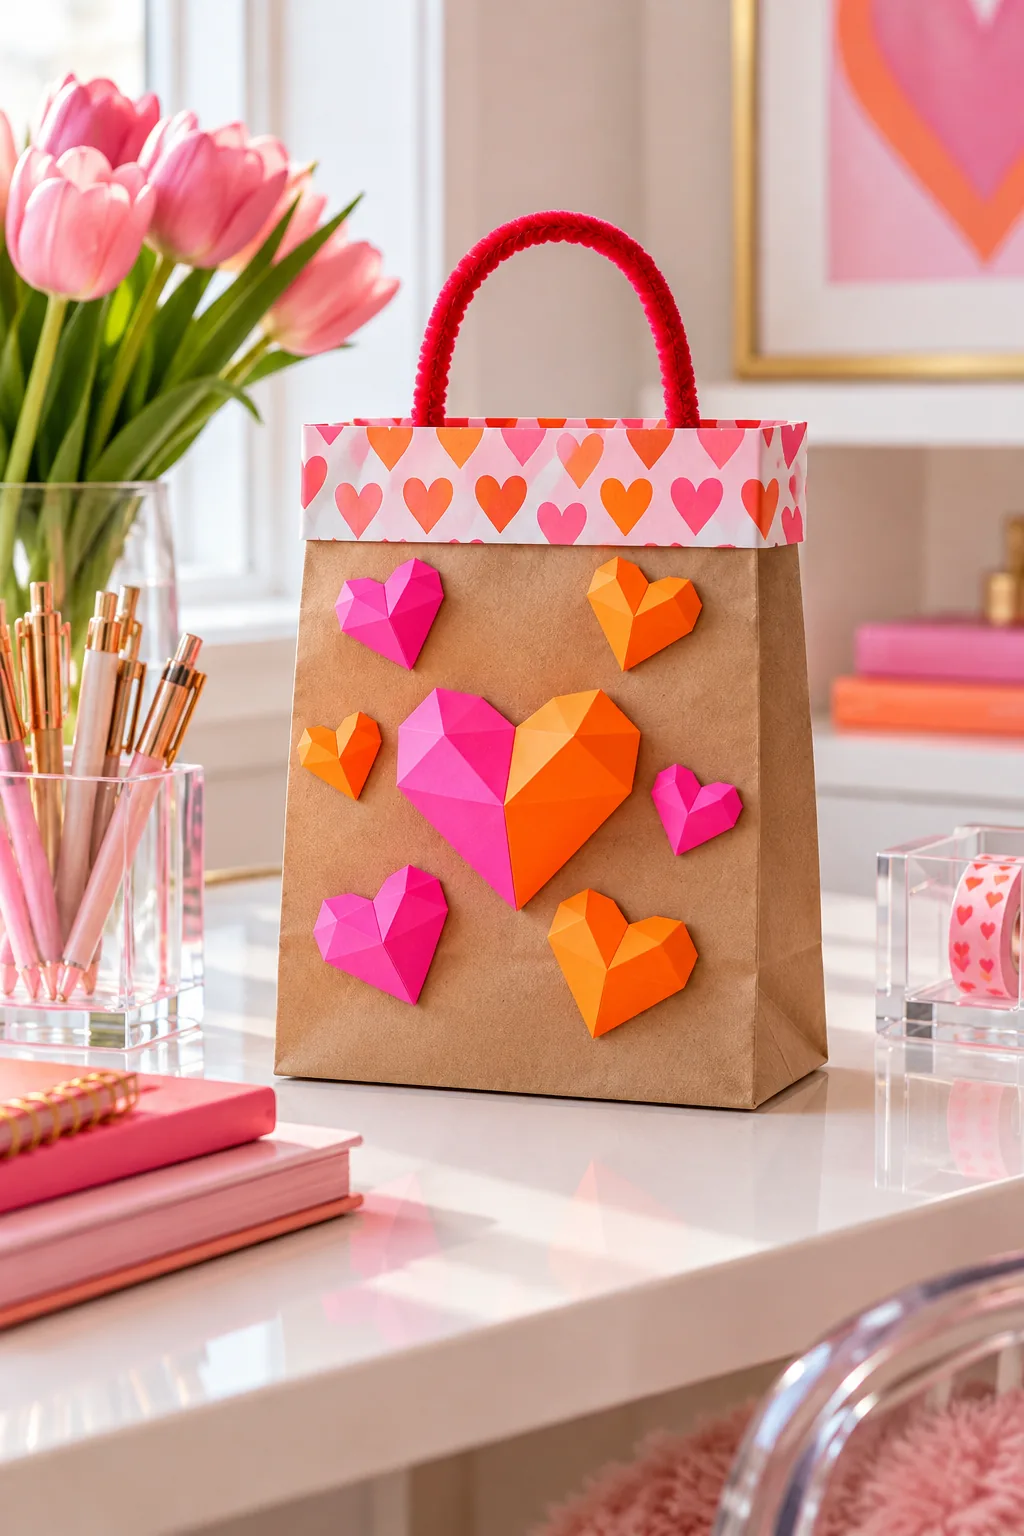
Neon Geometric Brights: Cut your 3D hearts from neon cardstock to give the traditional brown lunch sack a bright, modern update.
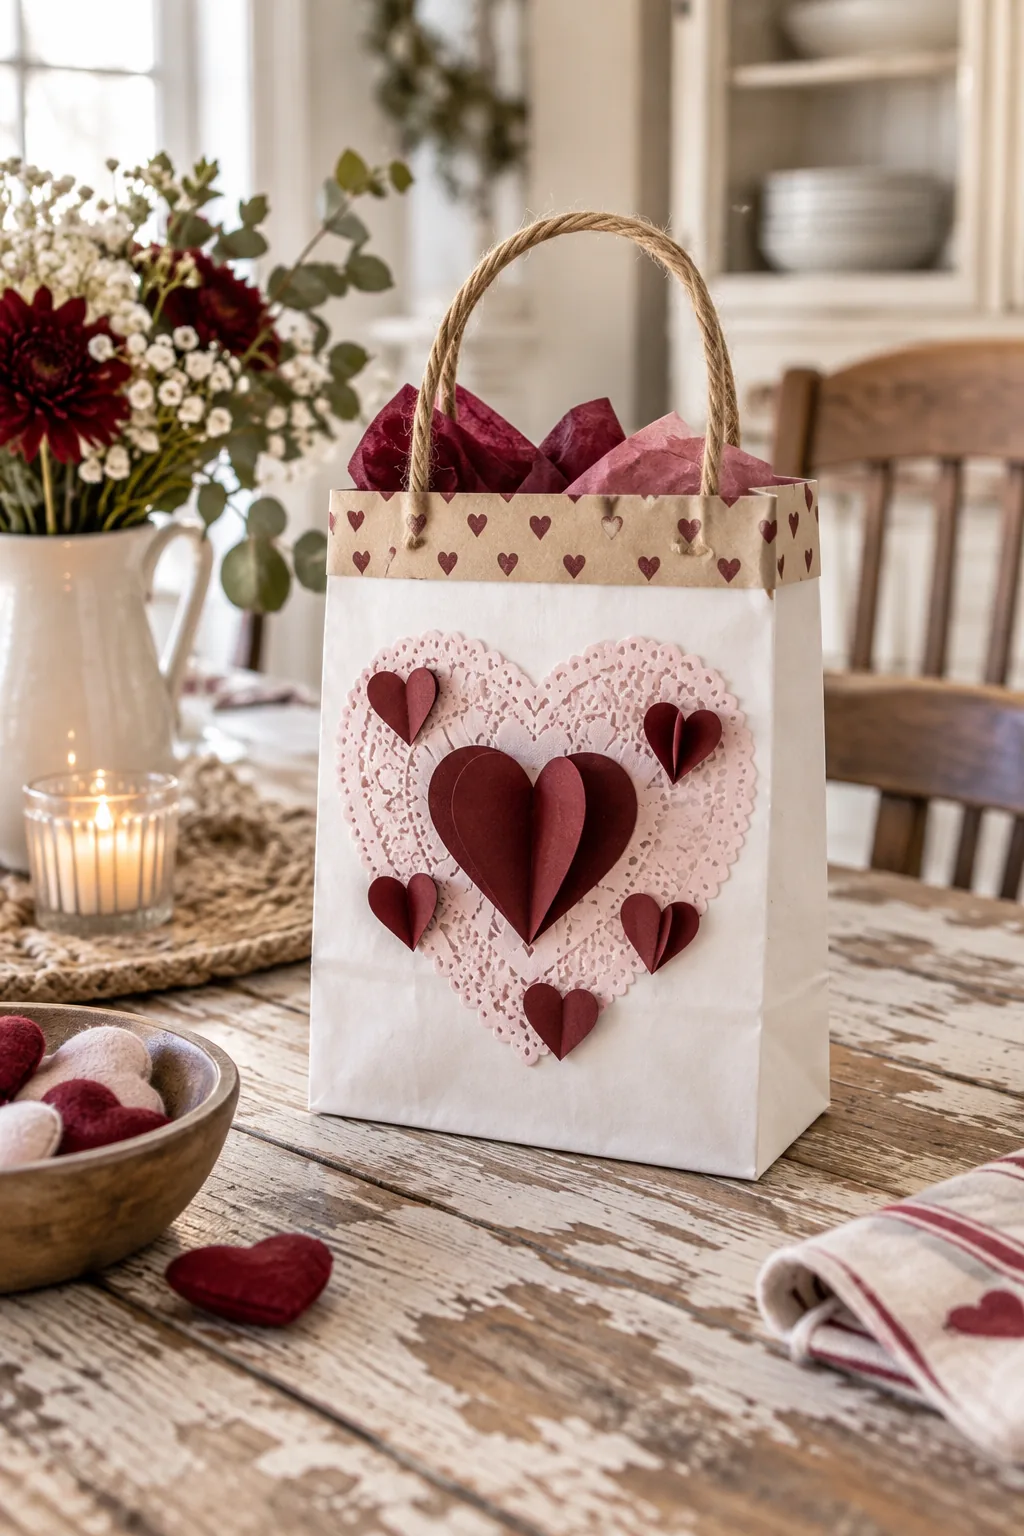
Rustic Twine and Burgundy: Replace the pipe cleaner with braided twine and use deep burgundy paper for a charming farmhouse aesthetic.
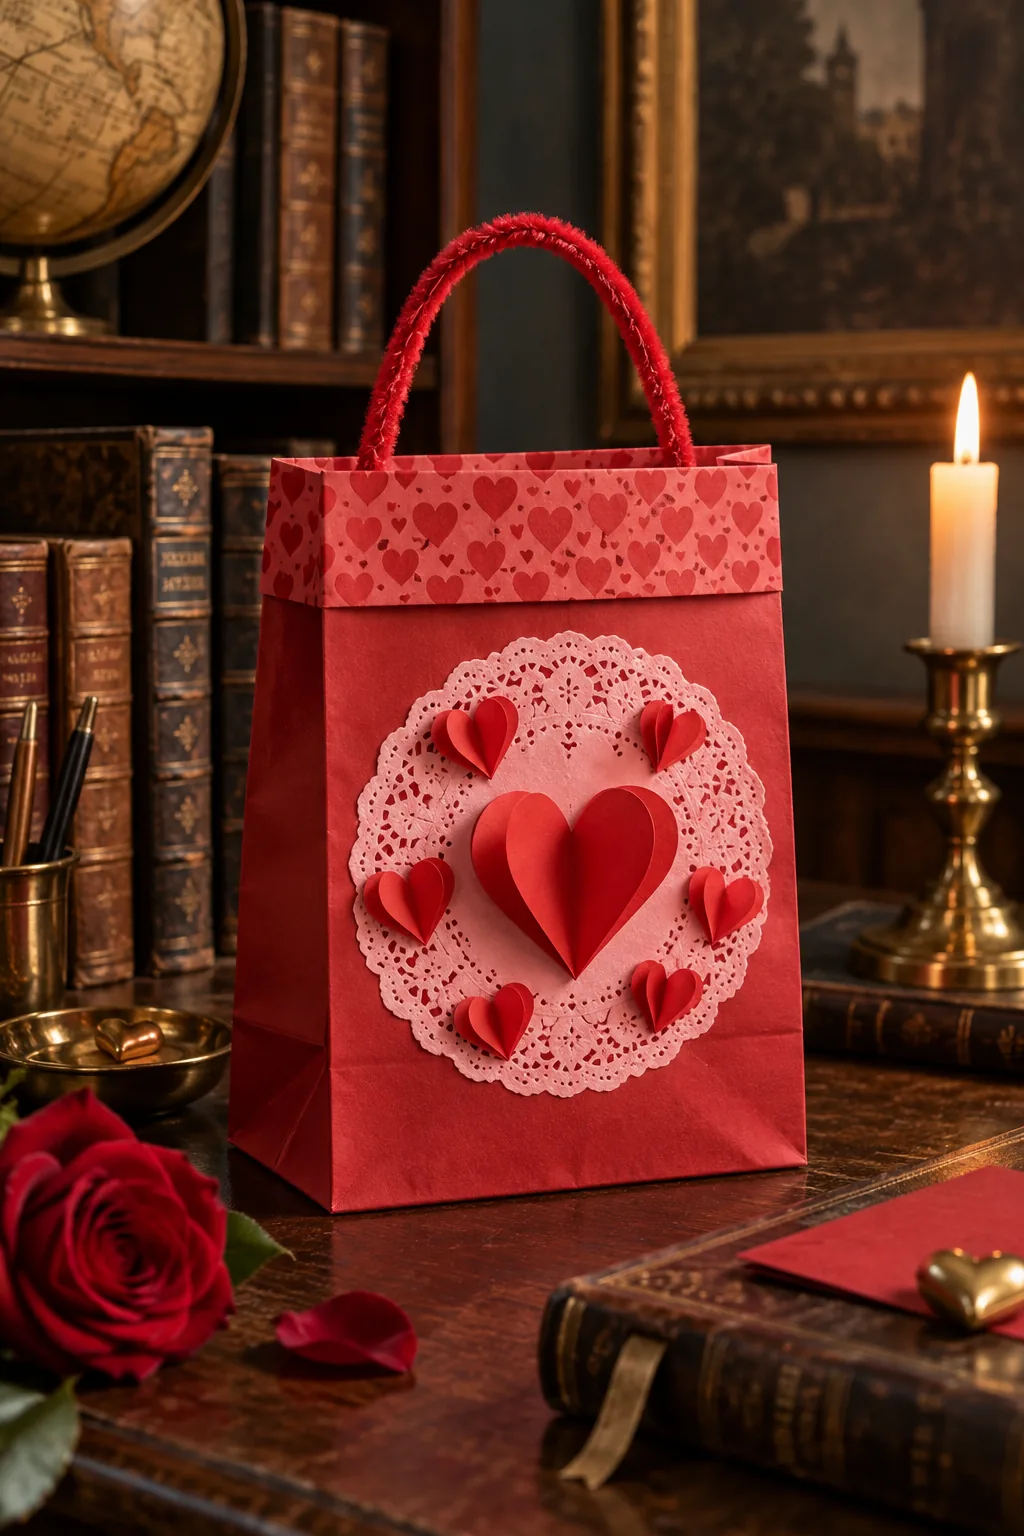
Monochrome Red on Red: Layer red 3D hearts over a red paper bag and a red patterned cuff for a striking, monochromatic statement.
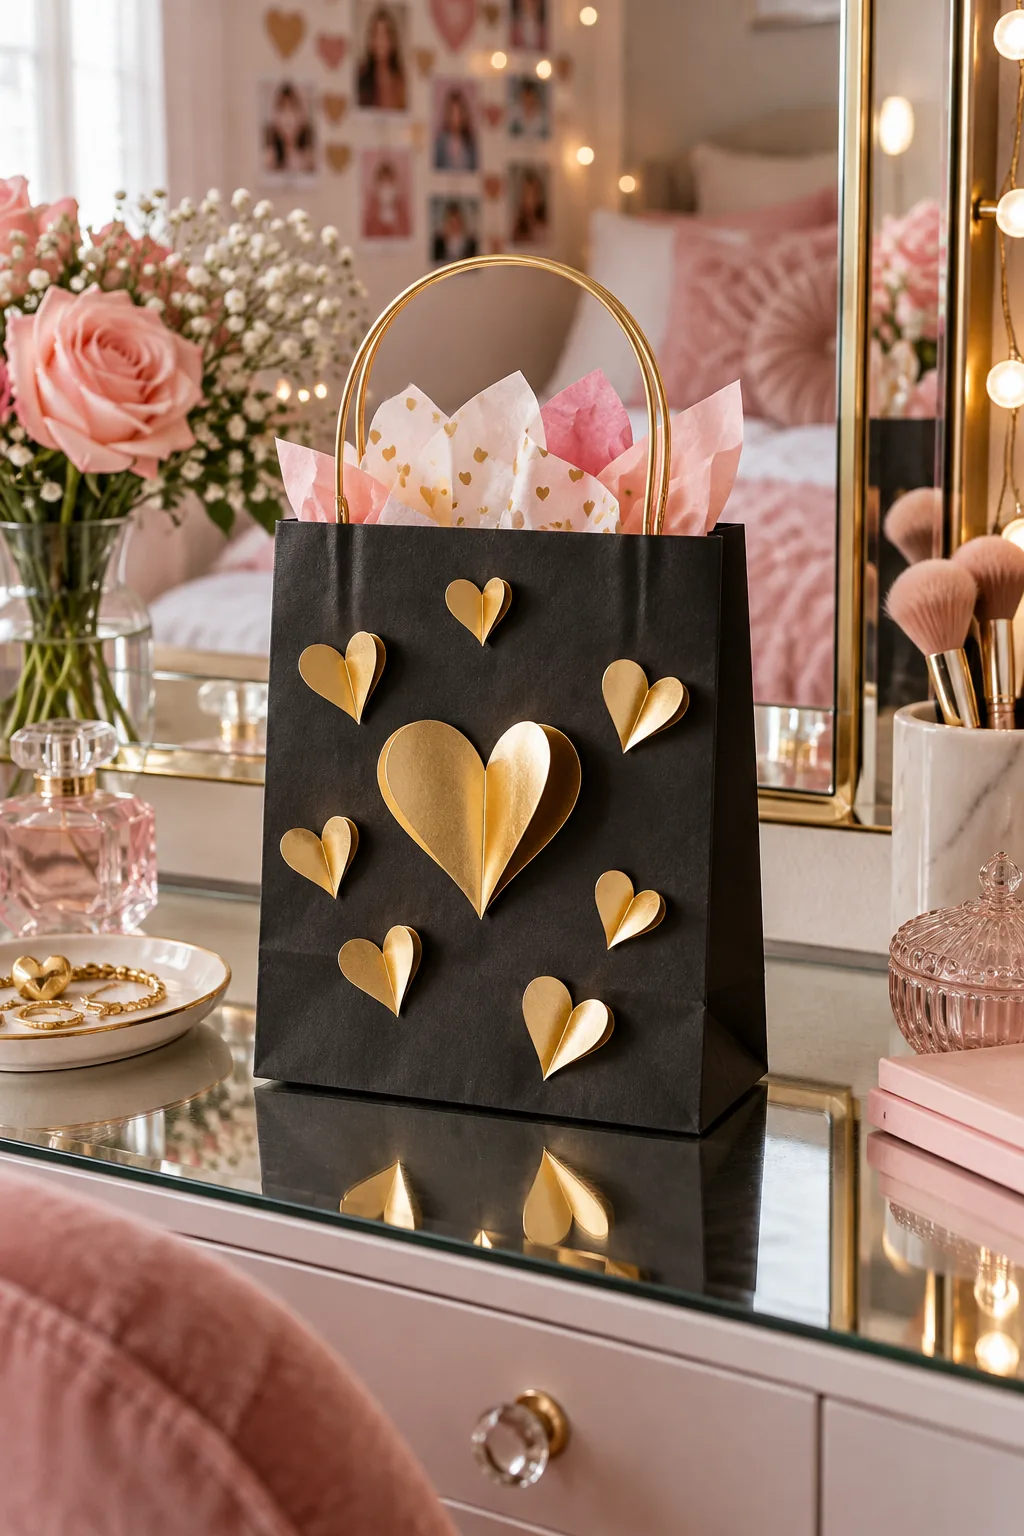
Chic Black and Gold: Elevate the craft for older kids by pairing a matte black gift bag with shiny metallic gold 3D hearts.