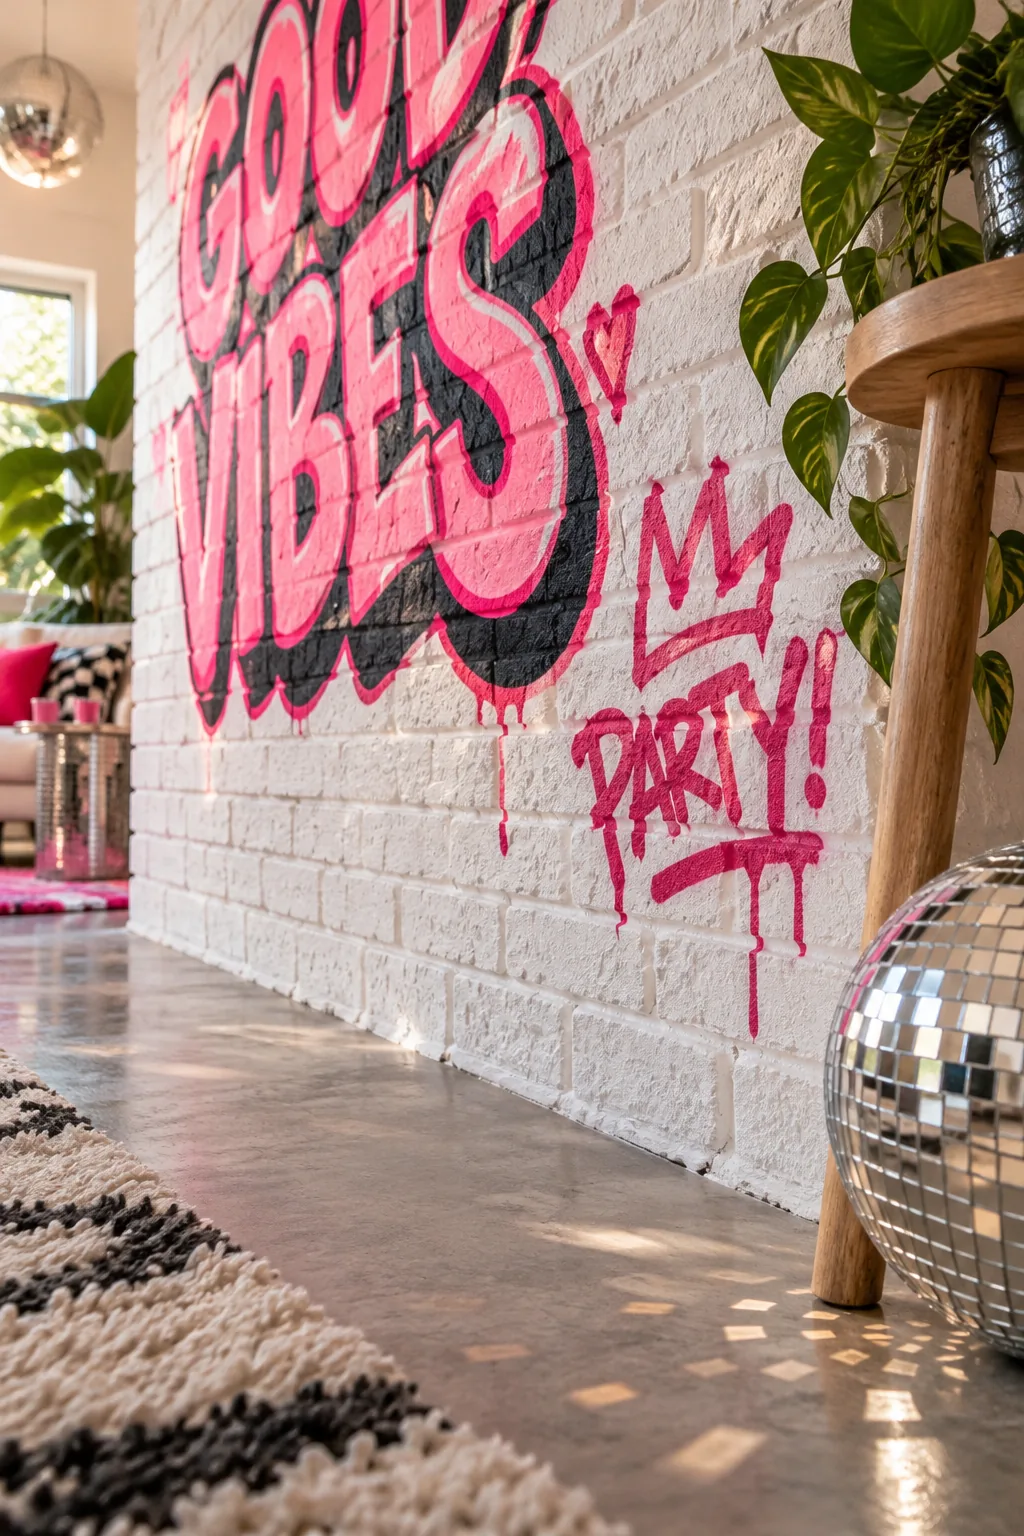
DIY Graffiti Background: 4-Step Layer Guide & Supply List
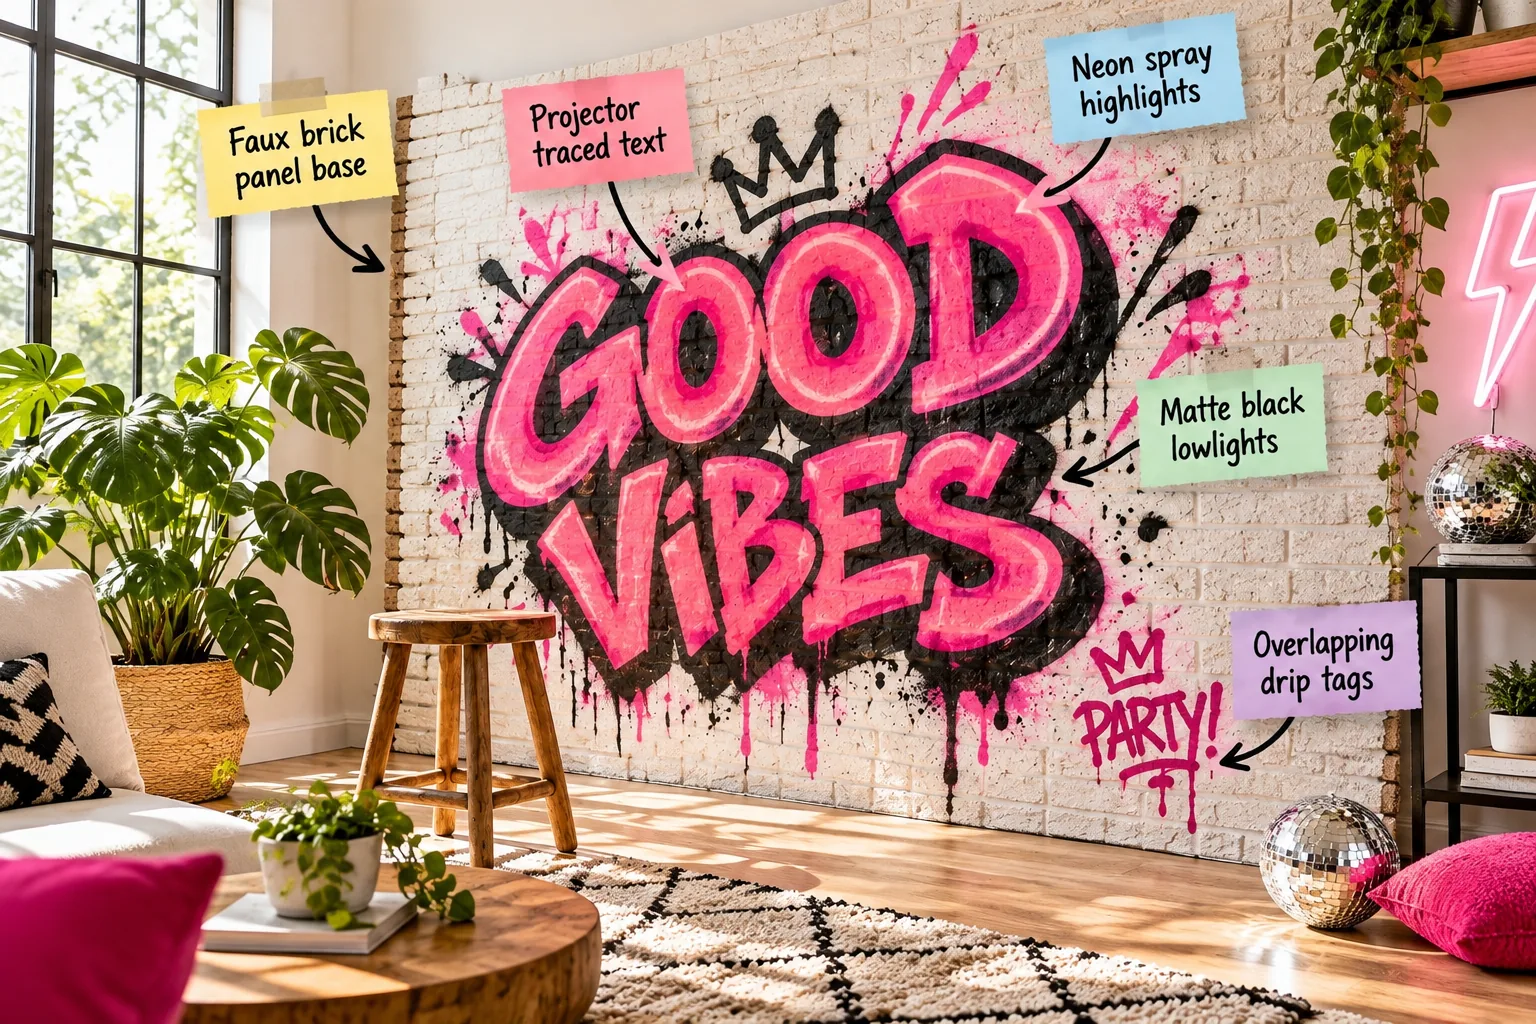
Create an epic photo booth for your next party with this exact spray paint shopping list and foolproof 4-step layering technique. I am going to show you how to build, trace, and paint a photorealistic faux brick graffiti wall that will genuinely blow your guests away.
Choosing the Right Faux Brick Panel Base
Start with standard 4×8 foot faux brick hardboard panels from your local hardware store because their deep physical texture grabs the spray paint beautifully. I used these exact lightweight sheets for a backyard birthday bash, and they saved me from hauling actual heavy masonry into the garden.
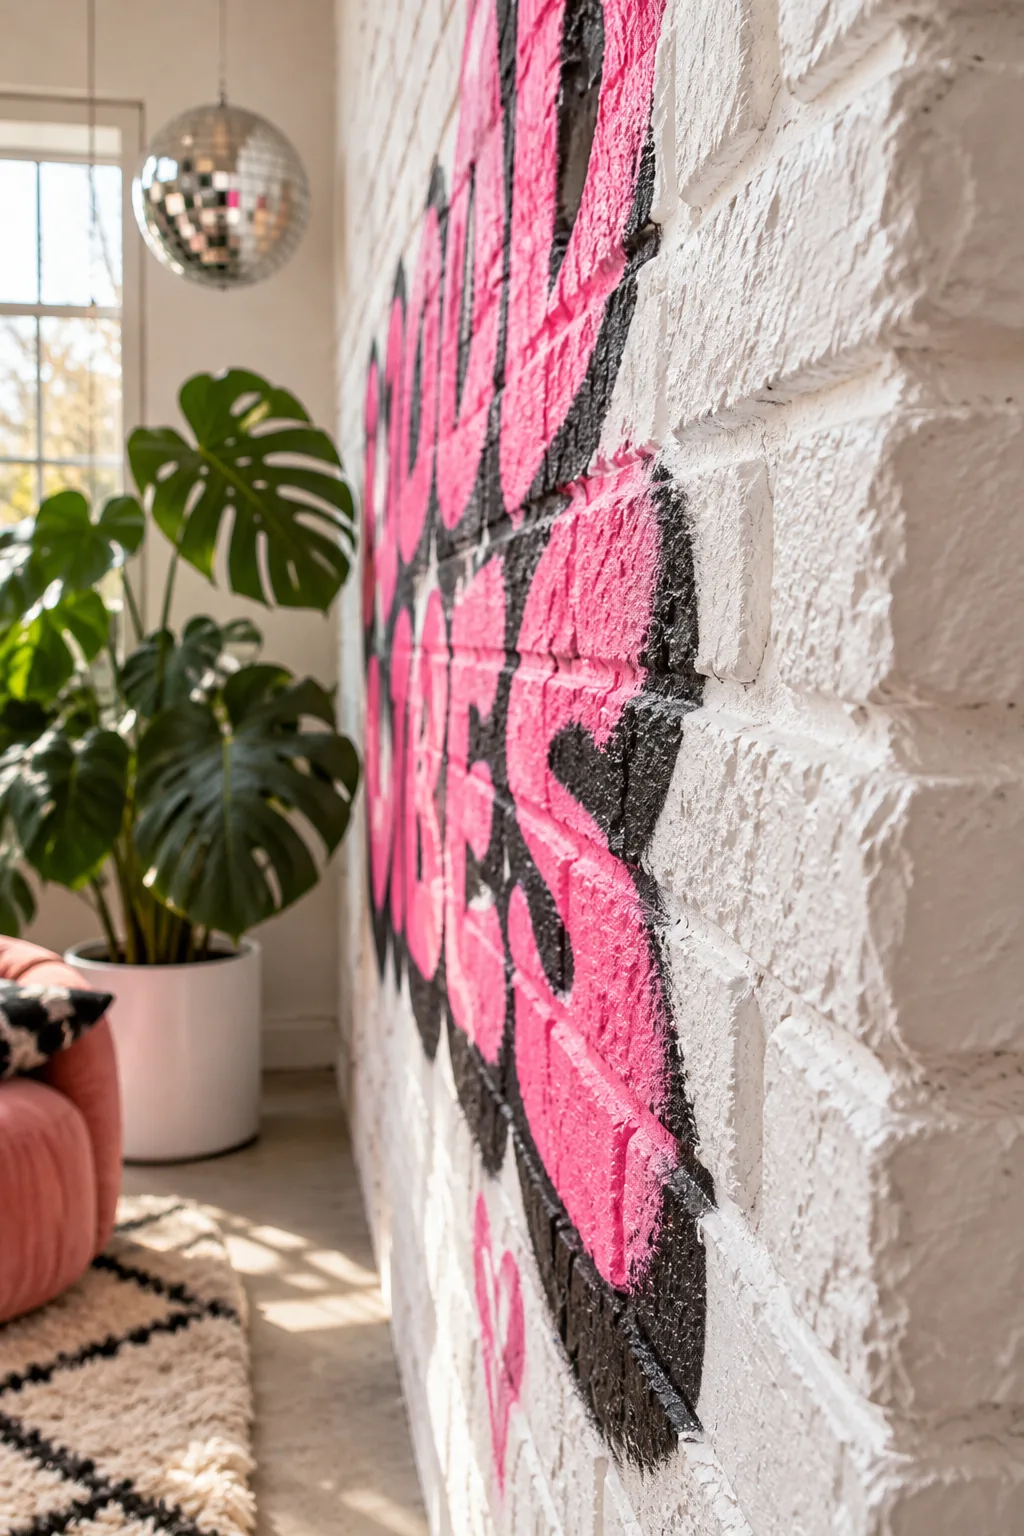
That rugged surface provides the authentic shadows needed for realistic street art. Avoid flat drywall or smooth plywood entirely, as those flat materials will completely ruin the gritty urban illusion you are trying to build.
Transporting Your Hardboard Sheets Safely
These large textured panels are notoriously floppy and can easily snap if you carry them flat across a windy parking lot. Always transport your faux brick sheets vertically on their edges, and lay them completely flat in your truck bed to prevent the delicate corners from chipping.
Acclimating Panels to Your Workspace
Hardboard absorbs moisture from the air, which can cause your pristine photo backdrop to warp before the party even begins. Lean the panels against your garage wall for at least 48 hours before painting so the wood fibers can properly adjust to your local humidity levels.
The 4-Step Layer Guide & Supply List
To achieve a photorealistic mural, you need the right materials applied in a specific order to build believable depth. After testing dozens of brands in my Austin garage, I found that combining a cheap bonding primer with high-quality artist colors yields the most vibrant results.
- Matte black spray paint for deep, crisp drop shadows
- Neon pink spray paint for the glowing letter fill
- White bonding primer to seal the raw hardboard texture
- Clear matte sealer to protect the final overlapping tags
Always purchase at least two cans of your primary neon color so you never run out of paint halfway through a crucial highlight layer. Keep your receipts, as unopened backup cans can easily be returned to the hardware store once your photo booth is finished.
Prepping the Raw Brick Texture for Paint
Raw faux brick panels soak up expensive spray paint incredibly fast, leaving your vibrant neon colors looking dull and chalky. Roll on a thick coat of standard white bonding primer first, ensuring you press the roller deep into the faux mortar lines to seal every porous surface.
Setting Up a Well-Ventilated Spray Zone
Spray paint fumes accumulate rapidly, so you must position your panels outdoors or in a wide-open garage with a heavy-duty box fan running. Lay down a massive heavy canvas drop cloth beneath the brick panels, because aerosol overspray will drift much further than you might expect.
Step 1: Projector Traced Text
Use a digital projector to cast your design directly onto the brick panel, locking in the exact scale before you ever shake a spray can. The first time I tried freehanding a mural, my letters shrank drastically, so projecting the design is absolutely essential for professional results.
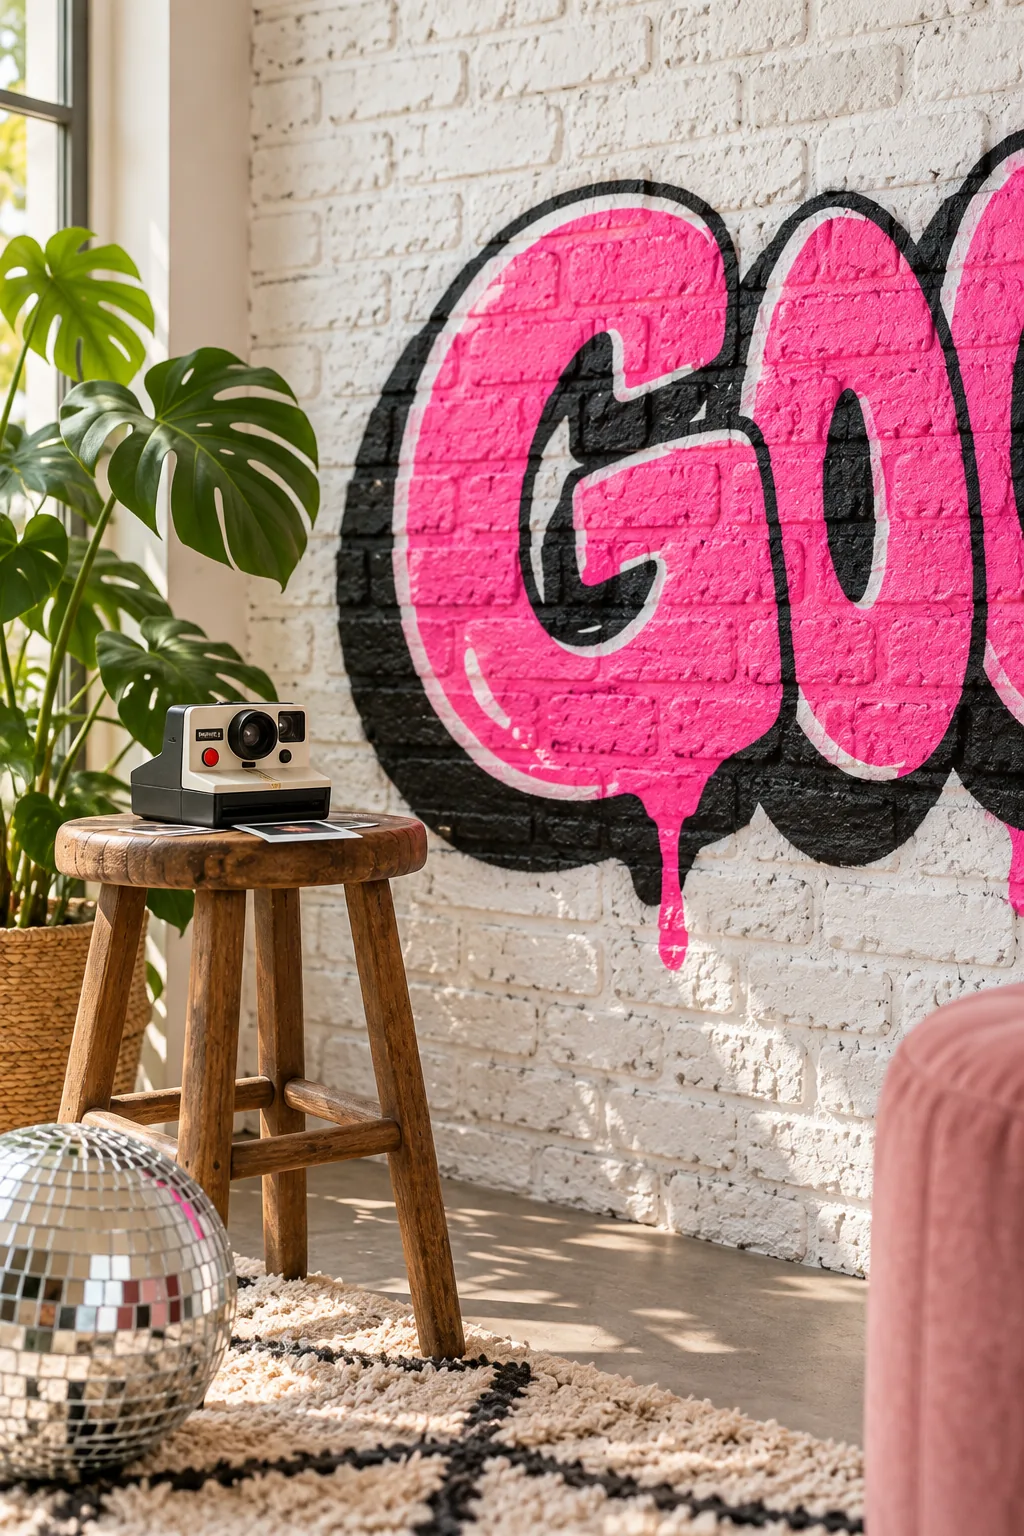
Tracing over highly textured faux brick can easily distort your view of straight lines, so rely on your equipment rather than your eyes to keep everything aligned.
Leveling Your Digital Projector
Place your projector on a sturdy, adjustable tripod rather than a stack of books so you can fine-tune the angle without knocking it over. A perfectly leveled image prevents the dreaded keystone effect, ensuring your graffiti lettering does not look wider at the bottom than at the top.
Selecting the Best Paint Pens for Outlines
Trace your projected design using a fine-tip acrylic paint pen rather than a pencil, as graphite will smear across the white primer. A bright yellow or light gray paint pen provides a visible guide that will easily disappear under your first layer of matte black spray paint.
Step 2: Matte Black Lowlights
Apply the matte black spray paint first to establish the foundation of your design and create a deep, crisp drop shadow behind the main word. Hold the can exactly 6 to 8 inches away from the panel to get a sharp edge that visually grounds the lettering.
Perfecting the Drop Shadow Angle
Consistent shadow placement is the secret to making flat paint look like 3D street art popping off the brick wall. Always spray your matte black lowlights down and to the right of your traced lines, mimicking a single overhead light source hitting the letters.
| Effect | Can Distance | Spray Speed | Nozzle Pressure |
|---|---|---|---|
| Crisp Drop Shadow | 6 to 8 inches | Fast and steady | Full press |
| Soft Overspray | 12 to 14 inches | Slow sweeping | Half press |
| Organic Splatters | 3 to 5 inches | Stationary flick | Light tap |
| Running Drips | 1 to 2 inches | Hold in place | Heavy press |
Memorizing these specific can distances allows you to switch seamlessly between sharp architectural shadows and the gritty, blurred edges that characterize authentic urban murals.
Mastering Controlled Splatters and Overspray
Authentic street art relies on intentional imperfections, so vary your can distance slightly to create soft overspray that makes the mural feel hand-painted rather than stenciled. Lightly flicking the nozzle adds those tiny, organic black splatters that give the background its necessary gritty texture.
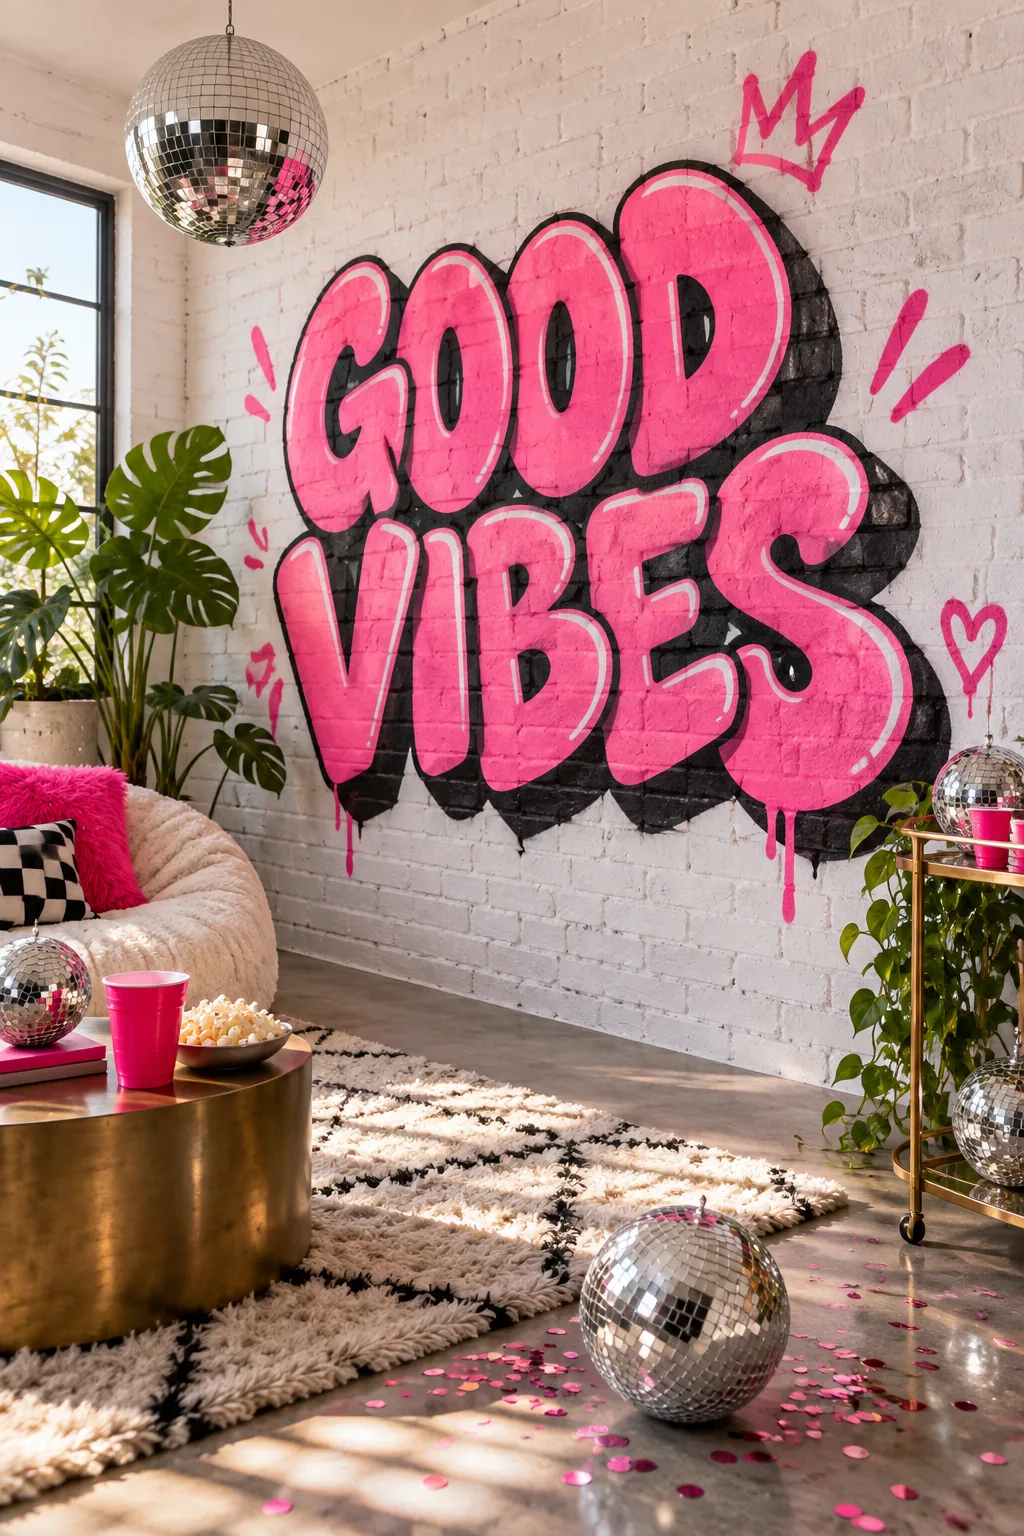
Achieving that effortless street art look takes practice, and a few common spray painting habits can quickly ruin the entire photorealistic illusion.
Troubleshooting Clogged Spray Nozzles
A sputtering nozzle will spit giant, ugly blobs of paint across your pristine drop shadow, ruining the crisp edges you just carefully traced. Always keep a jar of mineral spirits nearby to soak clogged caps, and wipe the tip with a rag after every prolonged spraying session.
Step 3: Neon Spray Highlights
Fill the traced letters with your vibrant neon pink, concentrating the spray heavily on the borders to create a glowing electric edge. Overlap the matte black slightly to build a seamless, three-dimensional street art effect that mimics the intense glow of real neon signage.
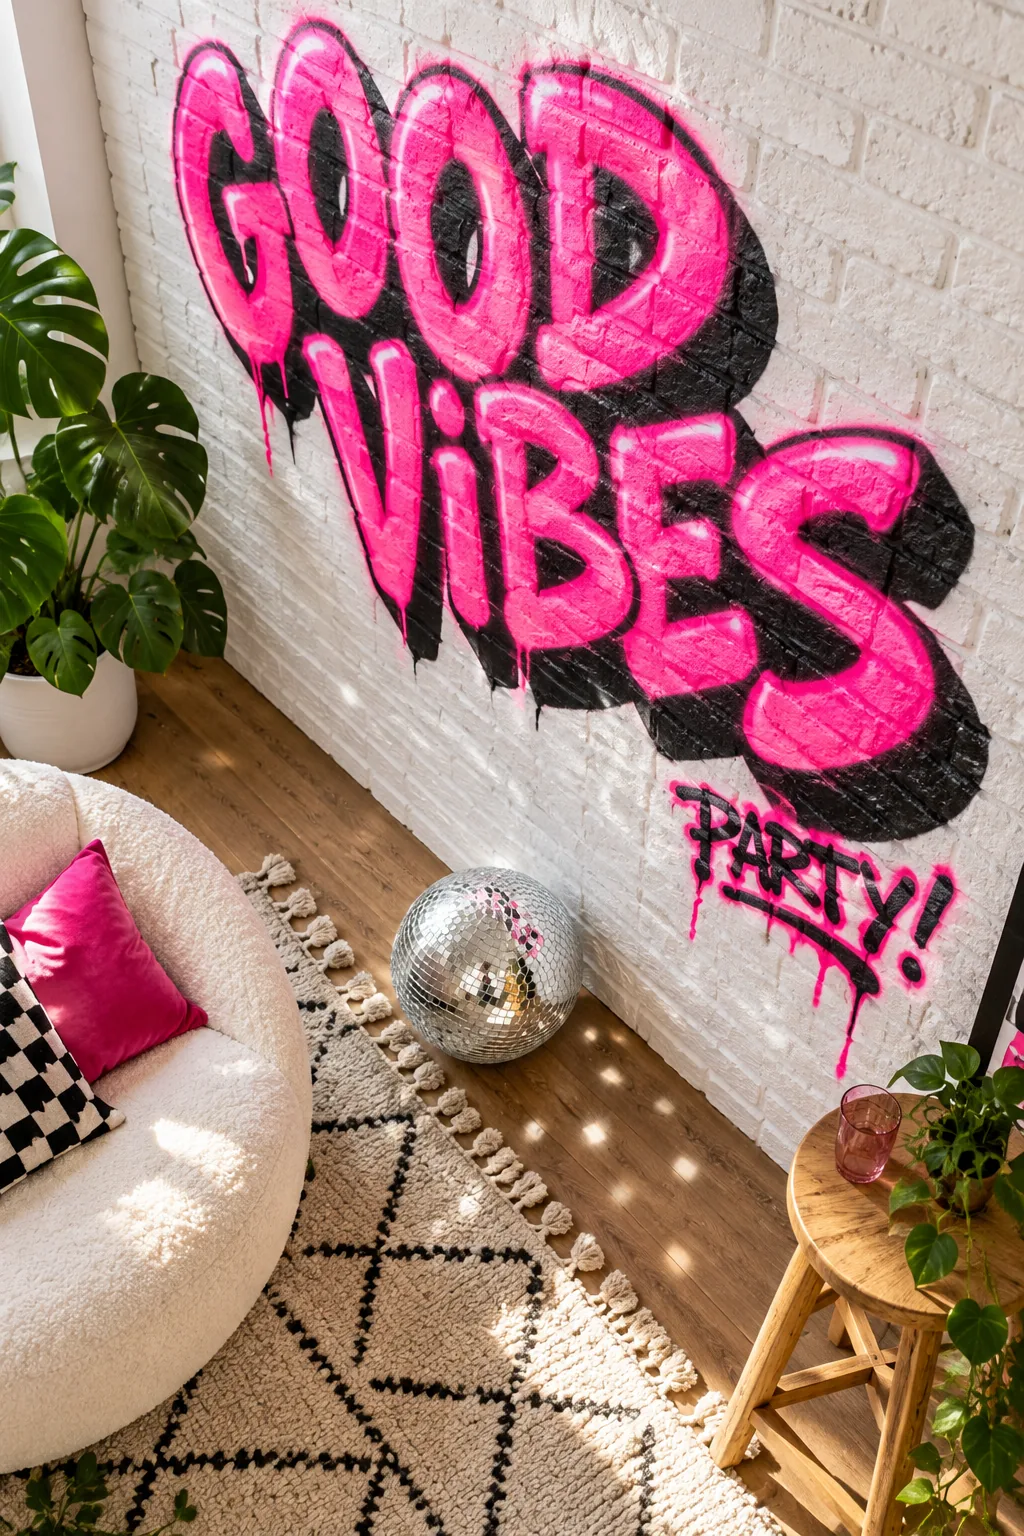
Working with high-contrast colors requires patience, so apply three thin coats of neon pink rather than one thick layer to prevent the bright pigment from running.
Blending the Neon and Matte Borders
The trick to a photorealistic glow is a soft transition where the bright pink meets the deep black shadow. Angle your spray can slightly outward when hitting the edges, allowing just a dusting of neon pigment to drift over the dark lowlights.
Adding Crisp White Highlight Accents
Once the neon pink has fully dried, grab a brand new can of gloss white spray paint to add tiny, sharp reflections. A single, quick white line on the upper left corner of each letter instantly makes the graffiti look wet, reflective, and incredibly professional.
Sealing the Painted Faux Brick
Your beautiful party backdrop will inevitably get bumped, scratched, and spilled on by enthusiastic guests posing for photos. Spray two complete coats of a clear matte acrylic sealer over the finished artwork to lock down the neon pigment and protect the delicate hardboard surface.
Building a Freestanding Photo Booth Frame
You cannot simply lean flimsy 4×8 panels against a wall at a crowded party and hope they stay upright. Constructing a heavy, freestanding wooden A-frame base is absolutely mandatory to keep the heavy backdrop stable when guests inevitably bump into it.
Choosing the Right Lumber for the Frame
Standard construction lumber provides the necessary weight and rigidity to support your massive painted faux brick panels safely. Head to the lumber yard and gather these specific pieces to build a rock-solid, tip-proof base for your new photo booth.
- Three sturdy 2×4 boards cut to 8 feet long for the vertical supports
- Four 2×4 boards cut to 4 feet long for the heavy horizontal base legs
- A box of 2.5-inch wood screws to lock the heavy frame joints together
Always inspect your 2×4 boards carefully at the store, rejecting any lumber that looks bowed, twisted, or severely knotted, as warped wood will ruin the frame.
Securing the Panels to Your Frame
Lift your painted hardboard panels onto the wooden frame, ensuring the bottom edges rest completely flush against the floor. Drive black drywall screws directly through the dark painted shadows into the 2×4 studs so the shiny metal screw heads remain completely invisible in photos.
Lighting Your Graffiti Photo Booth
Position your party lights at a 45-degree angle to the wall, utilizing this cross-lighting technique to catch the prominent ridges of the faux brick. This specific angle enhances the physical texture and makes the painted shadows pop brilliantly when your guests take photos.
Positioning the Camera for the Best Angle
Set up a dedicated tripod for your guests’ phones directly in the center of the lighting array to guarantee perfectly framed shots every single time. Tape a small X on the floor exactly 6 feet away from the brick wall so everyone knows exactly where to stand for the best lighting.
5 Ways to Style a Graffiti Photo Booth
Choose the color palette and aesthetic that perfectly matches the vibe of your next event.
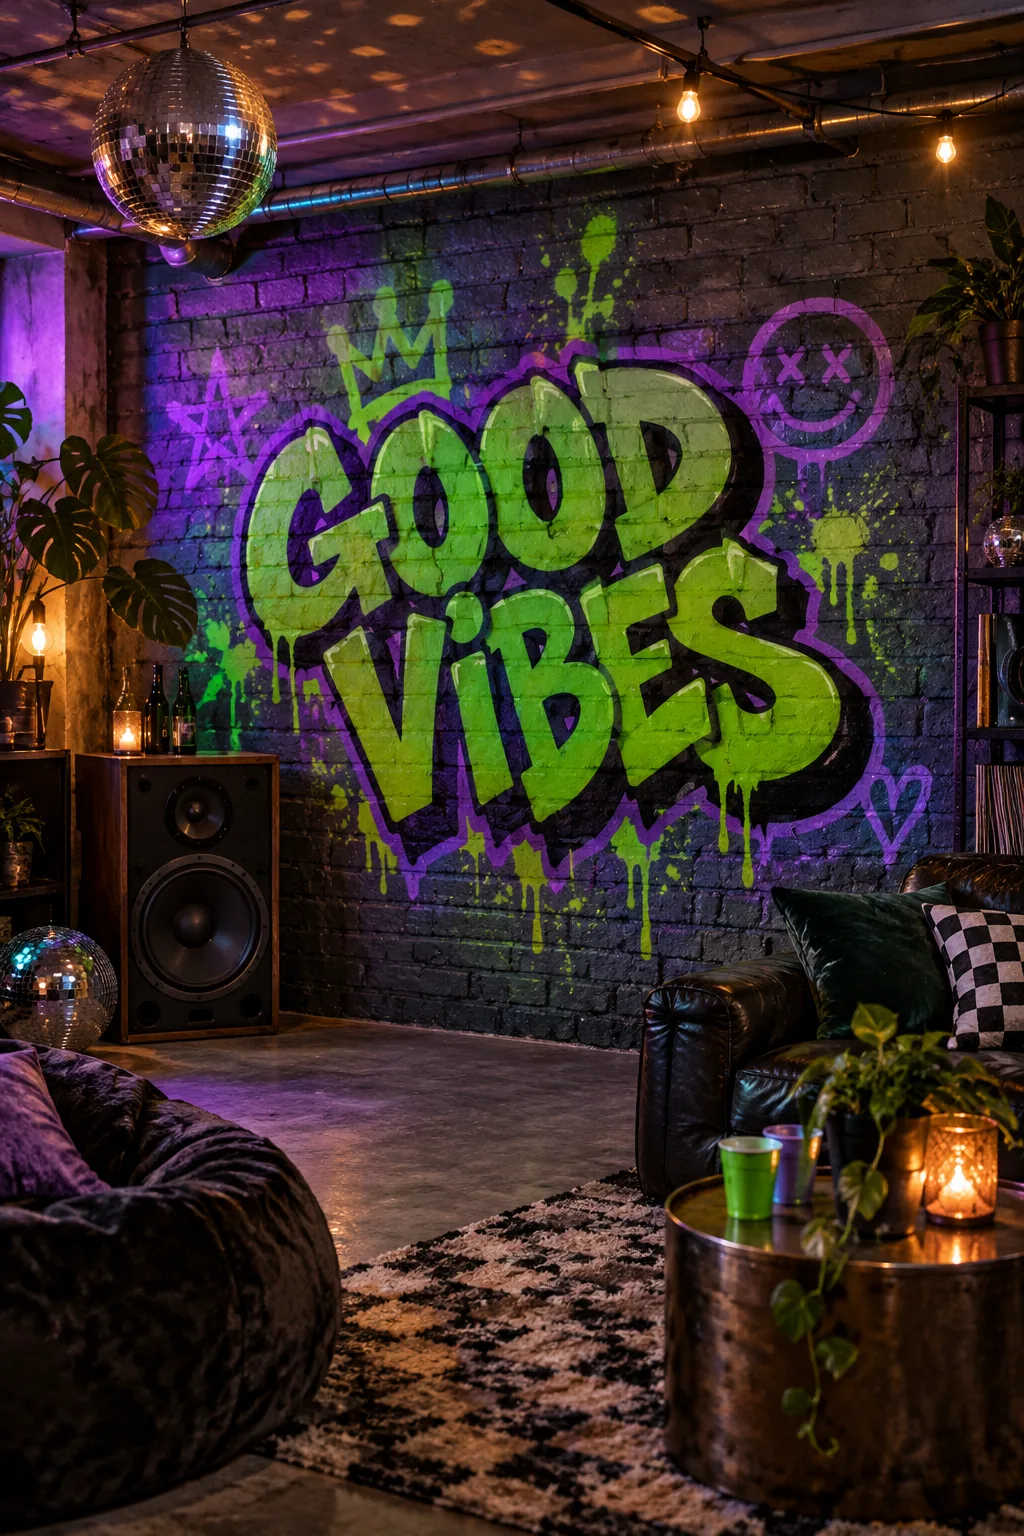
90s Grunge: Dark slate brick paired with toxic green and purple paint creates a moody, nostalgic underground vibe.
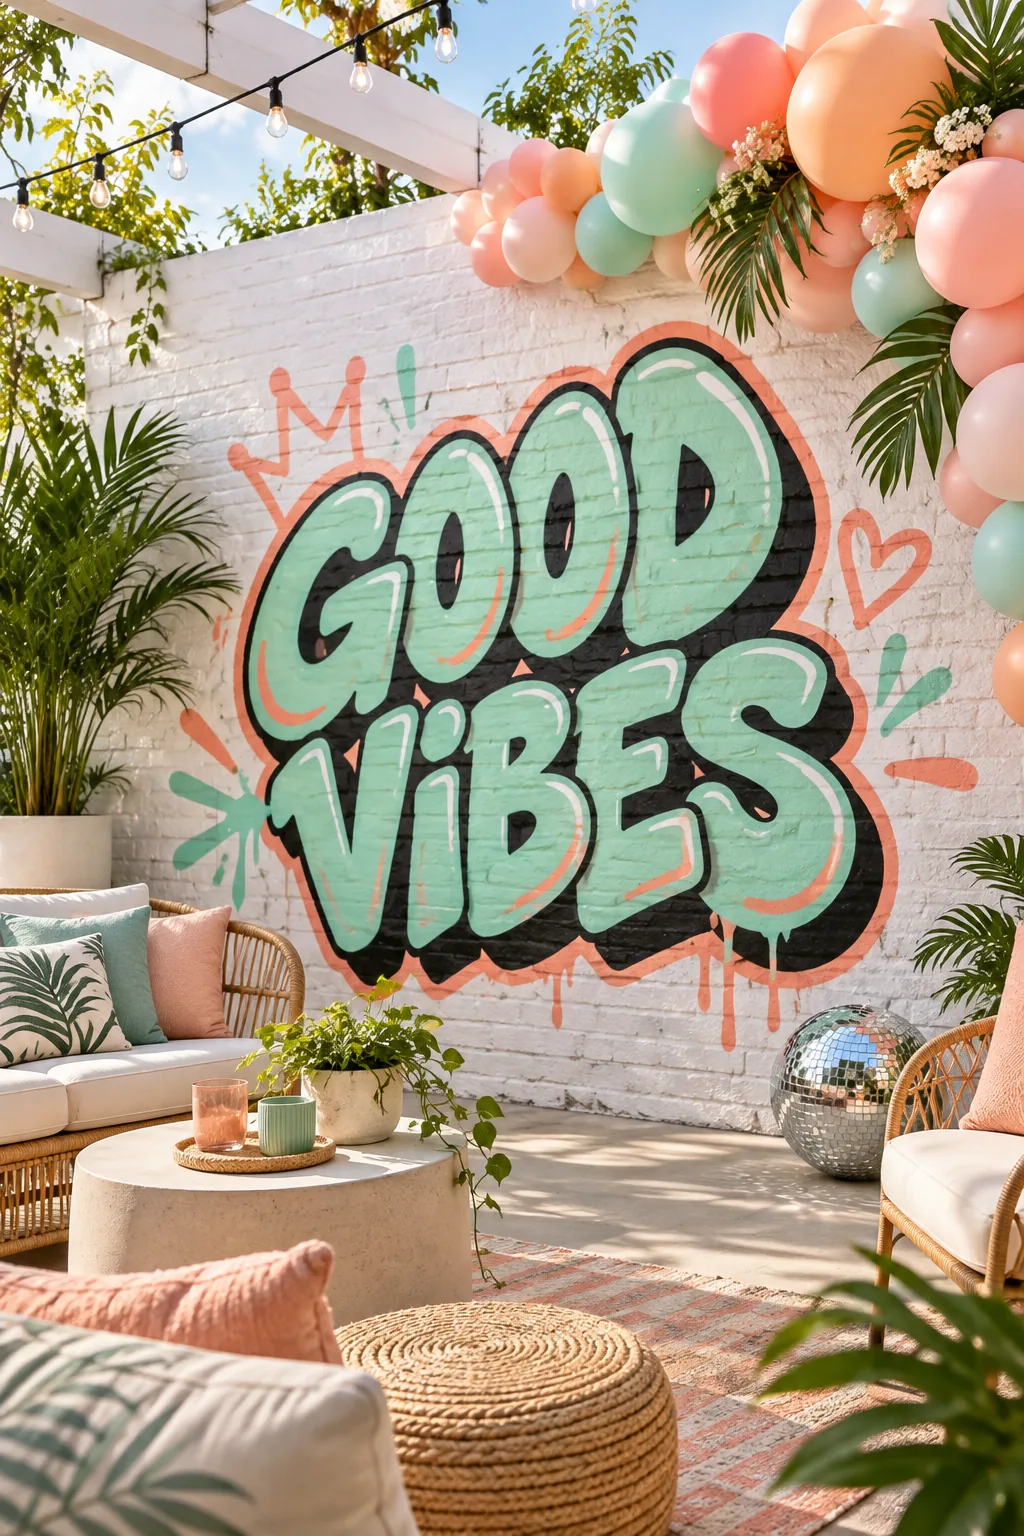
Pastel Pop: Soft mint and peach tones keep the street art aesthetic light and playful for daytime celebrations.
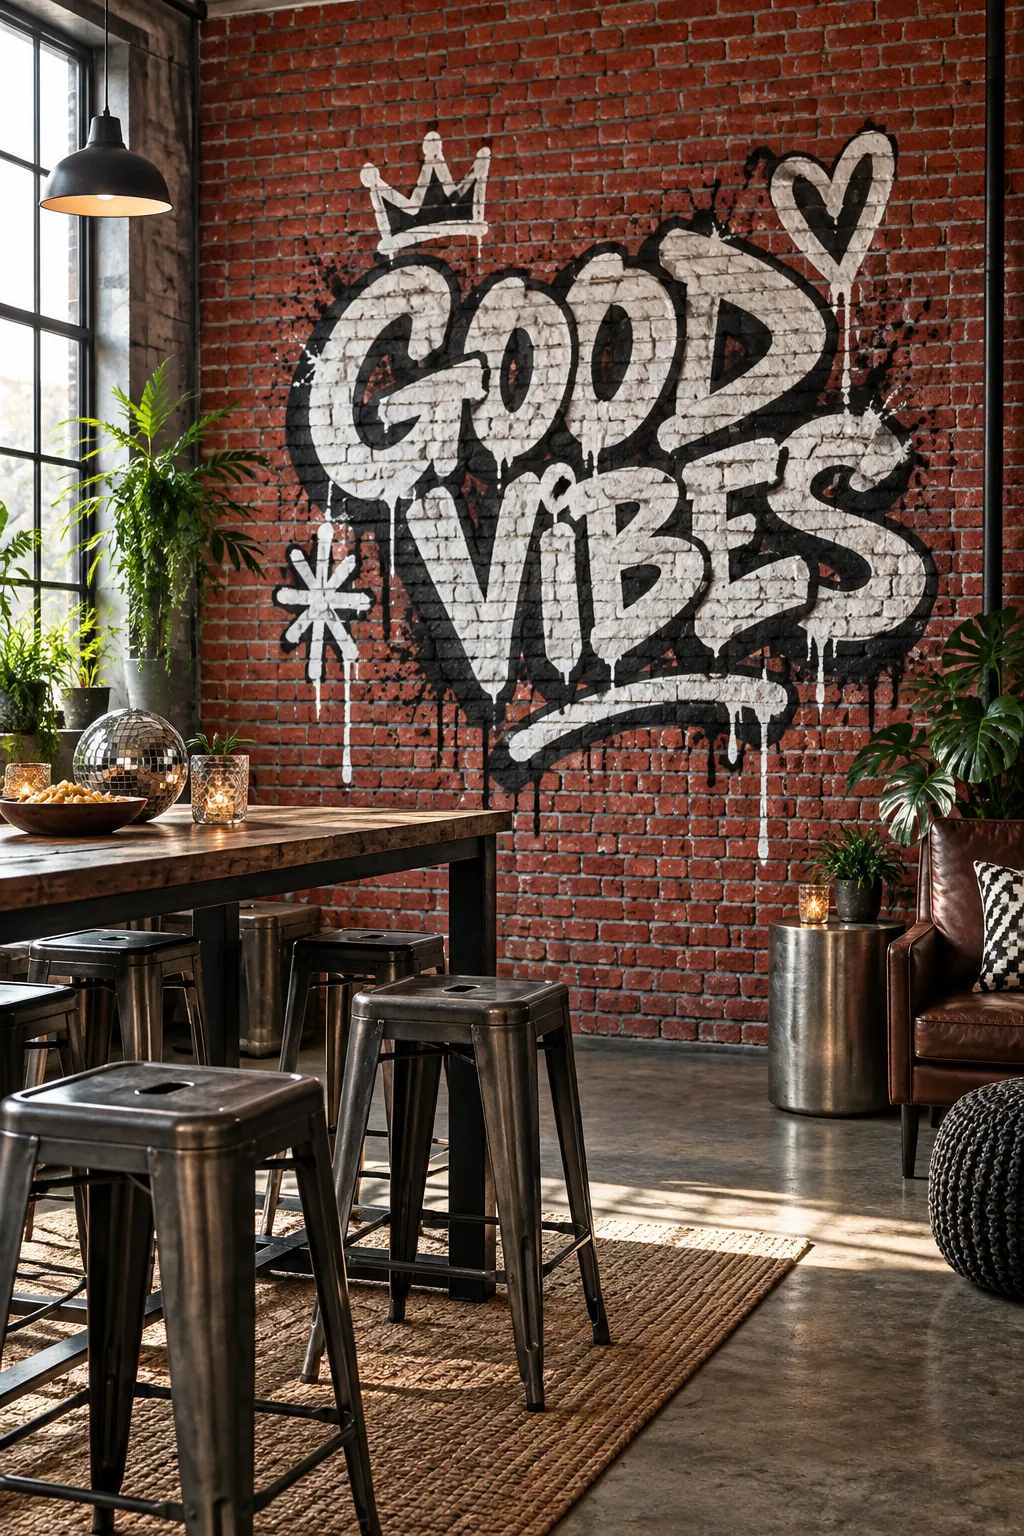
Monochrome Urban: Stark black and white lettering against classic red brick delivers an authentic, high-contrast city aesthetic.
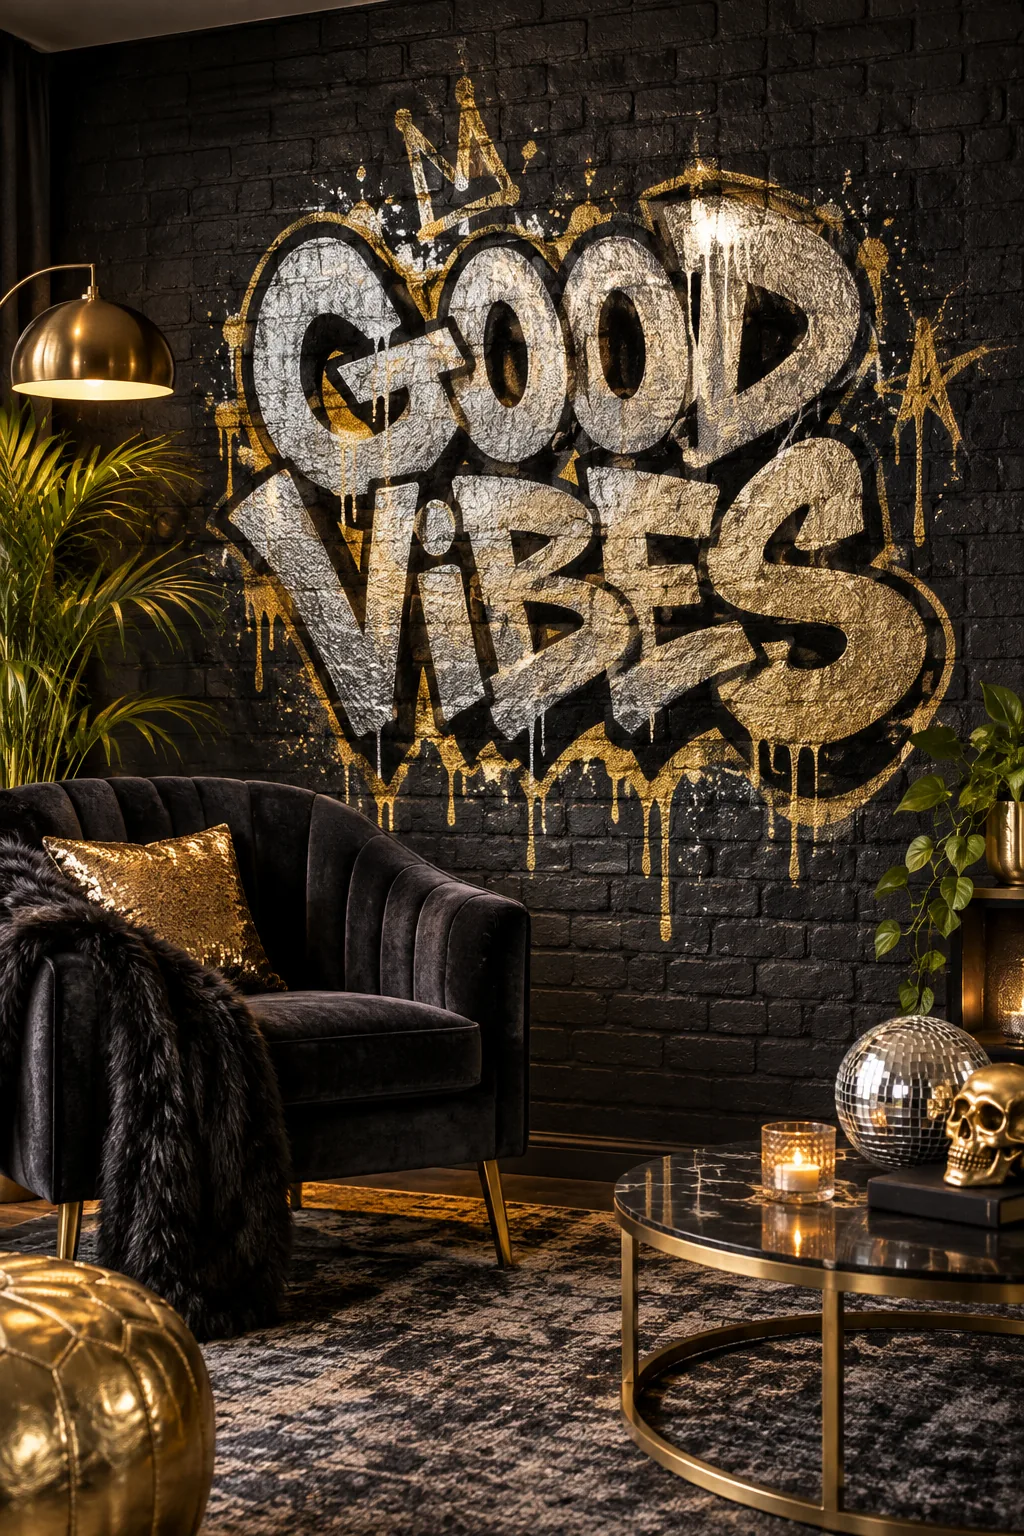
Glam Punk: Metallic gold and silver sprays pop brilliantly against a matte black wall for an edgy, luxurious photo backdrop.
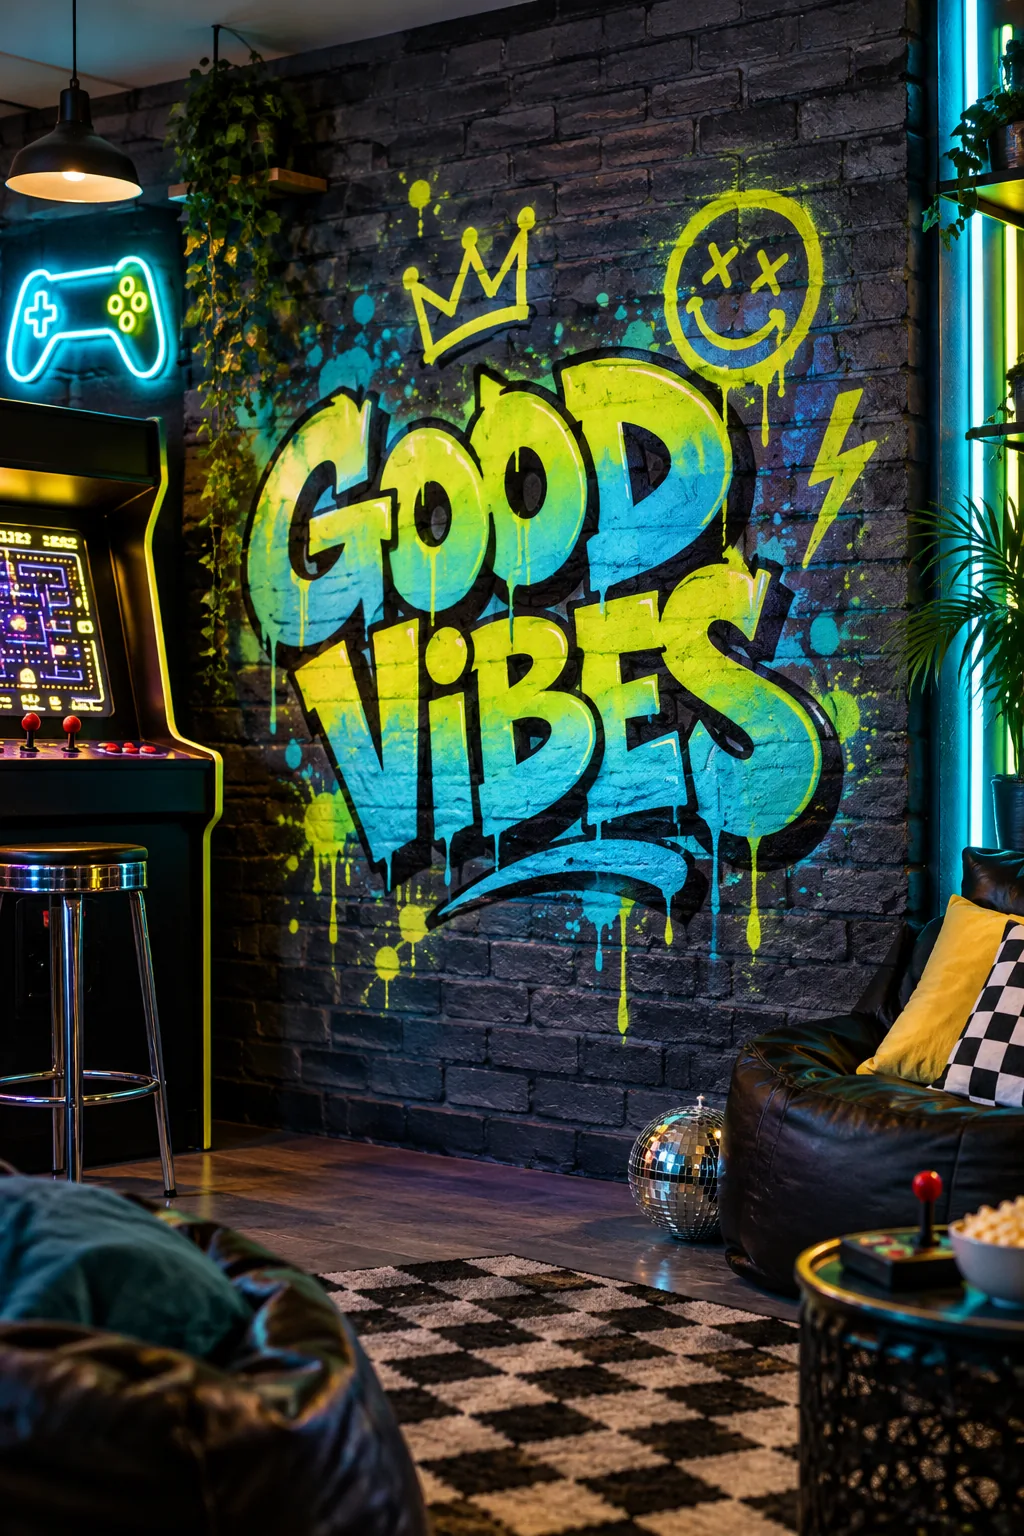
Retro Arcade: Fluorescent cyan and yellow layers mimic the intense, glowing energy of an 80s vintage arcade.
Step 4: Overlapping Drip Tags
Finish the wall by adding smaller, stylized signatures in the corners, deliberately pressing the nozzle heavily in one spot to create signature running paint drips. I added my friends’ nicknames as overlapping drip tags at our last party, and it gave the final mural that perfect urban energy.