Wall Pantry Cabinet Build: Shelf Spacing & Hardware Guide
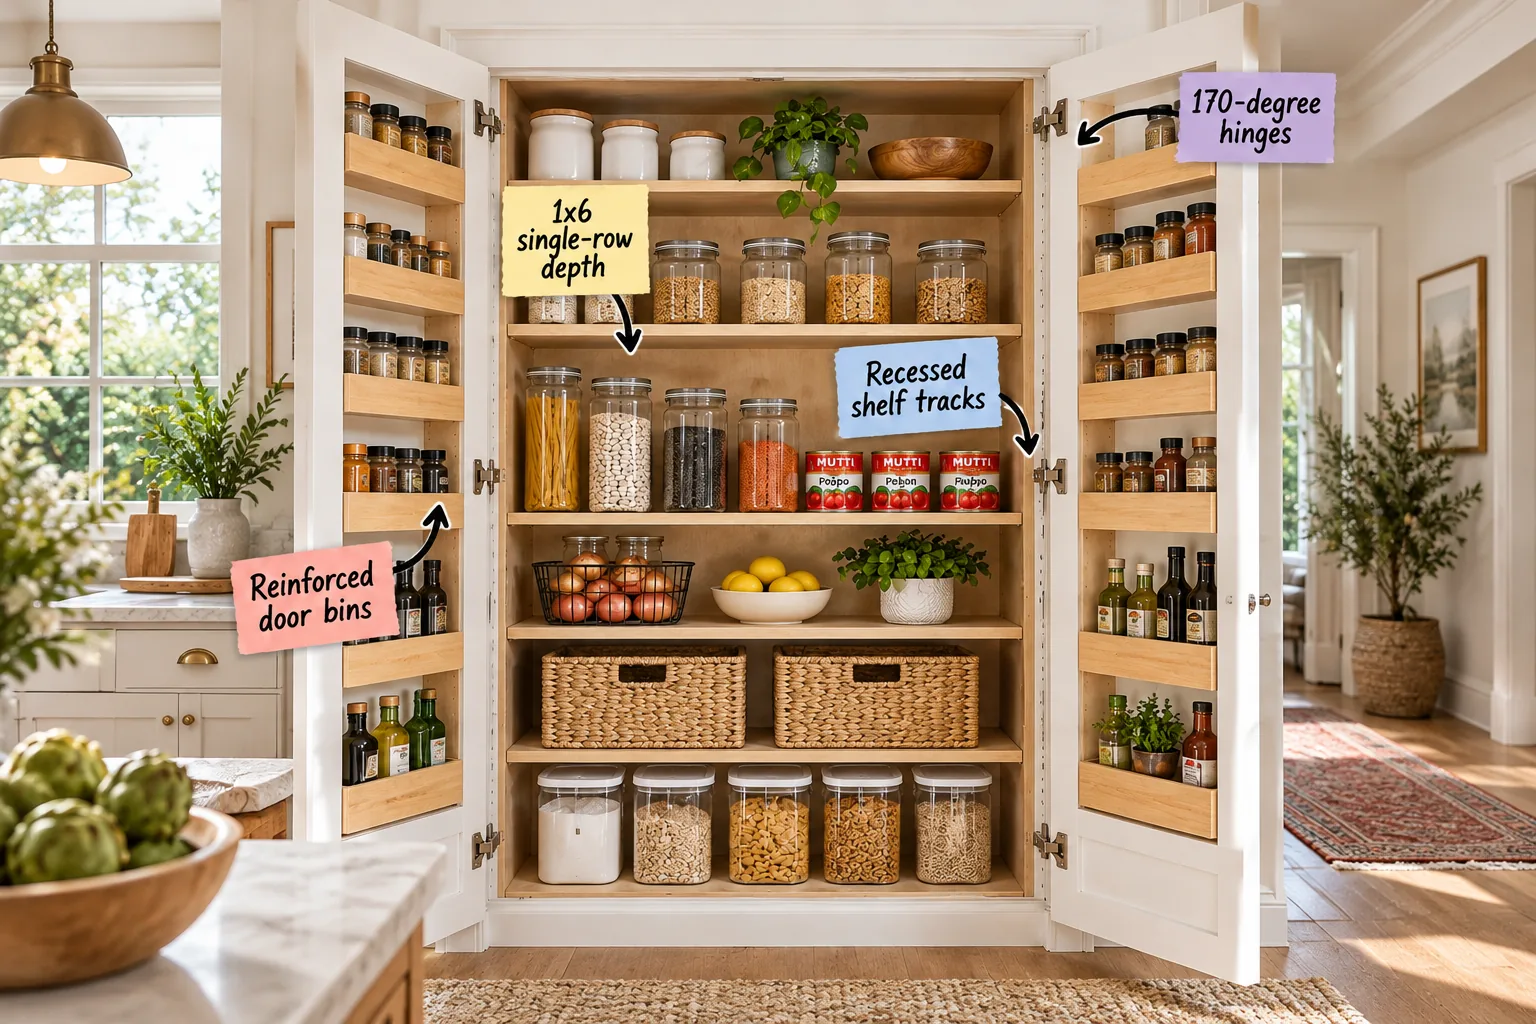
Planning a built-in wall pantry cabinet? Grab our exact shelf spacing and hardware measurement cheat sheet to specify the precise hinges, track hardware, and custom dimensions needed to build a fully accessible, single-row custom pantry in your own kitchen.
Anatomy of the Perfect Wall Pantry
Ditching a deep walk-in closet for a wide, shallow wall pantry creates massive, highly visible storage by borrowing just 12 to 14 inches of floor space when designed from the ground up with purpose-built doors and specialized internal hardware.
Before finalizing your cabinet dimensions, evaluate exactly how you actually retrieve daily ingredients, because I once built a deep pantry and constantly lost expensive bags of specialty flour in the dark, unreachable back corners of the lower shelves.
Measuring Your Available Wall Space
Before purchasing any lumber, measure your target wall space carefully, ensuring you have at least a 36-inch wide footprint to make the double-door cabinet design visually balanced and functionally spacious for organizing your family’s weekly grocery haul.
Selecting the Right Cabinet Box Material
Building a reliable framework requires using high-quality 3/4-inch cabinet-grade plywood for the main carcass rather than standard particle board, ensuring the tall structure permanently resists twisting under the immense weight of heavy daily grocery loads.
Why You Need 170-Degree Hinges
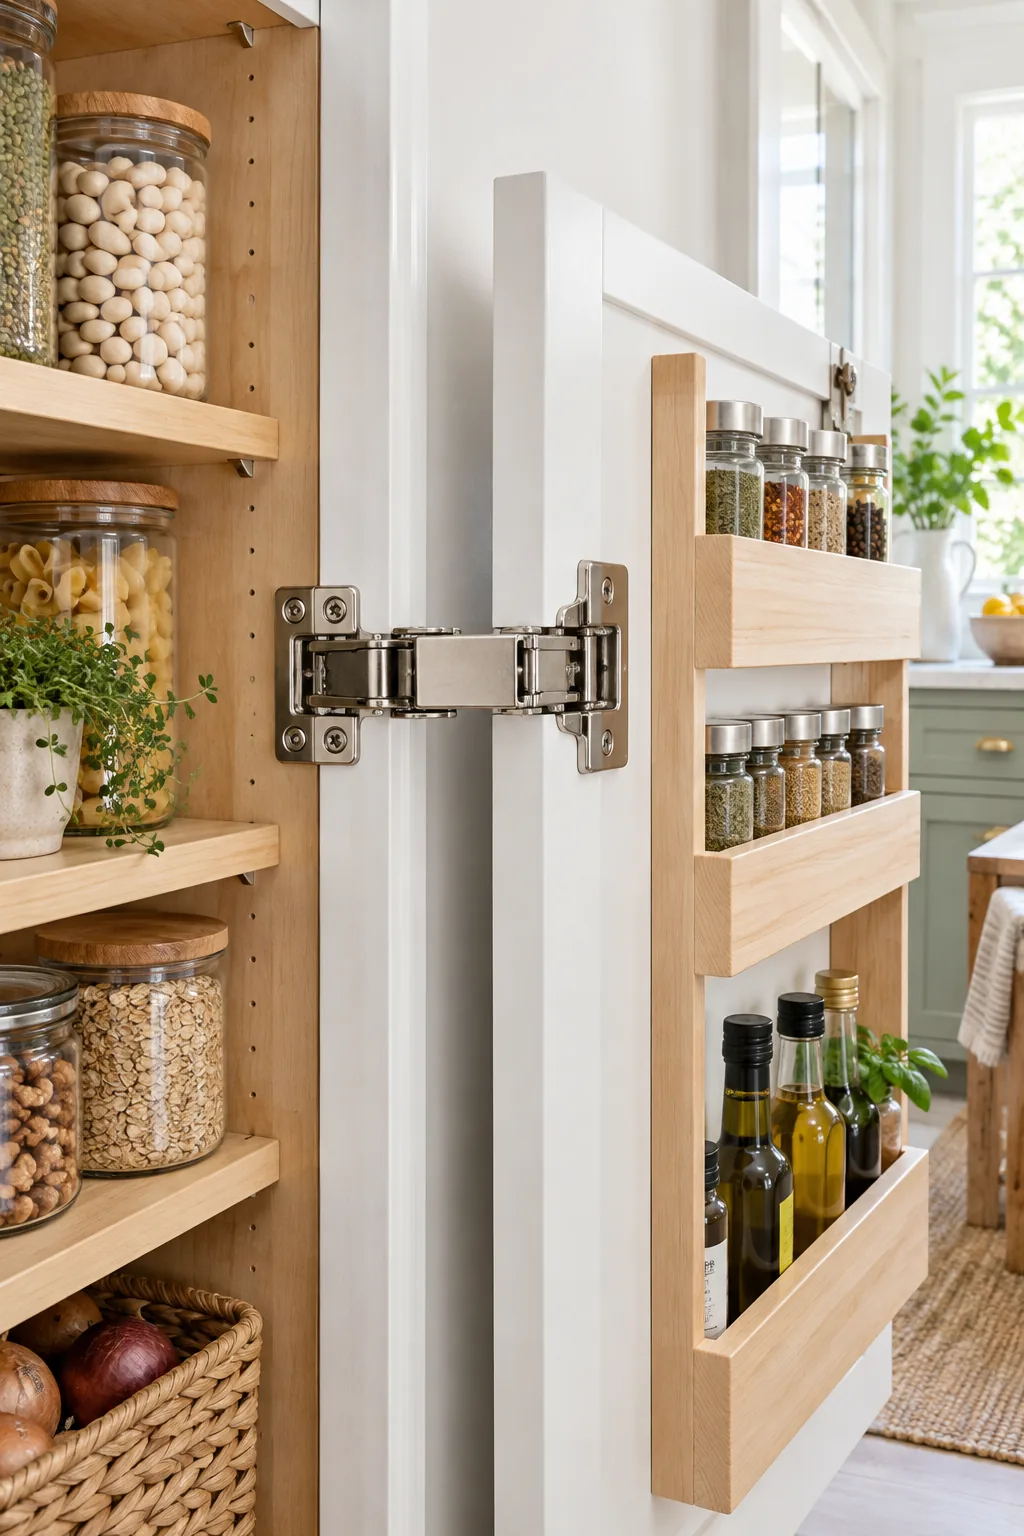
You must install heavy-duty 170-degree hinges on frameless cabinets so the large doors swing completely out of the way, providing completely unobstructed daily access to your internal pull-outs and side-mounted wooden storage bins.
I learned the hard way that using 4 to 5 heavy-duty hinges per door is absolutely necessary to safely carry the loaded weight of glass jars without the doors slowly sagging out of alignment over time.
Pre-Drilling the Hinge Plates
Always pre-drill the mounting holes for your hinge plates using a self-centering drill bit, ensuring the steel screws go in perfectly straight so the heavy doors align flawlessly with the cabinet face frame during final installation.
Calculating Door Weight Limits
To prevent catastrophic hardware failure, carefully calculate your total loaded door weight by assuming each standard glass spice jar weighs roughly half a pound, keeping your total capacity strictly under the manufacturer’s stated hinge rating limit.
Constructing Reinforced Door Bins
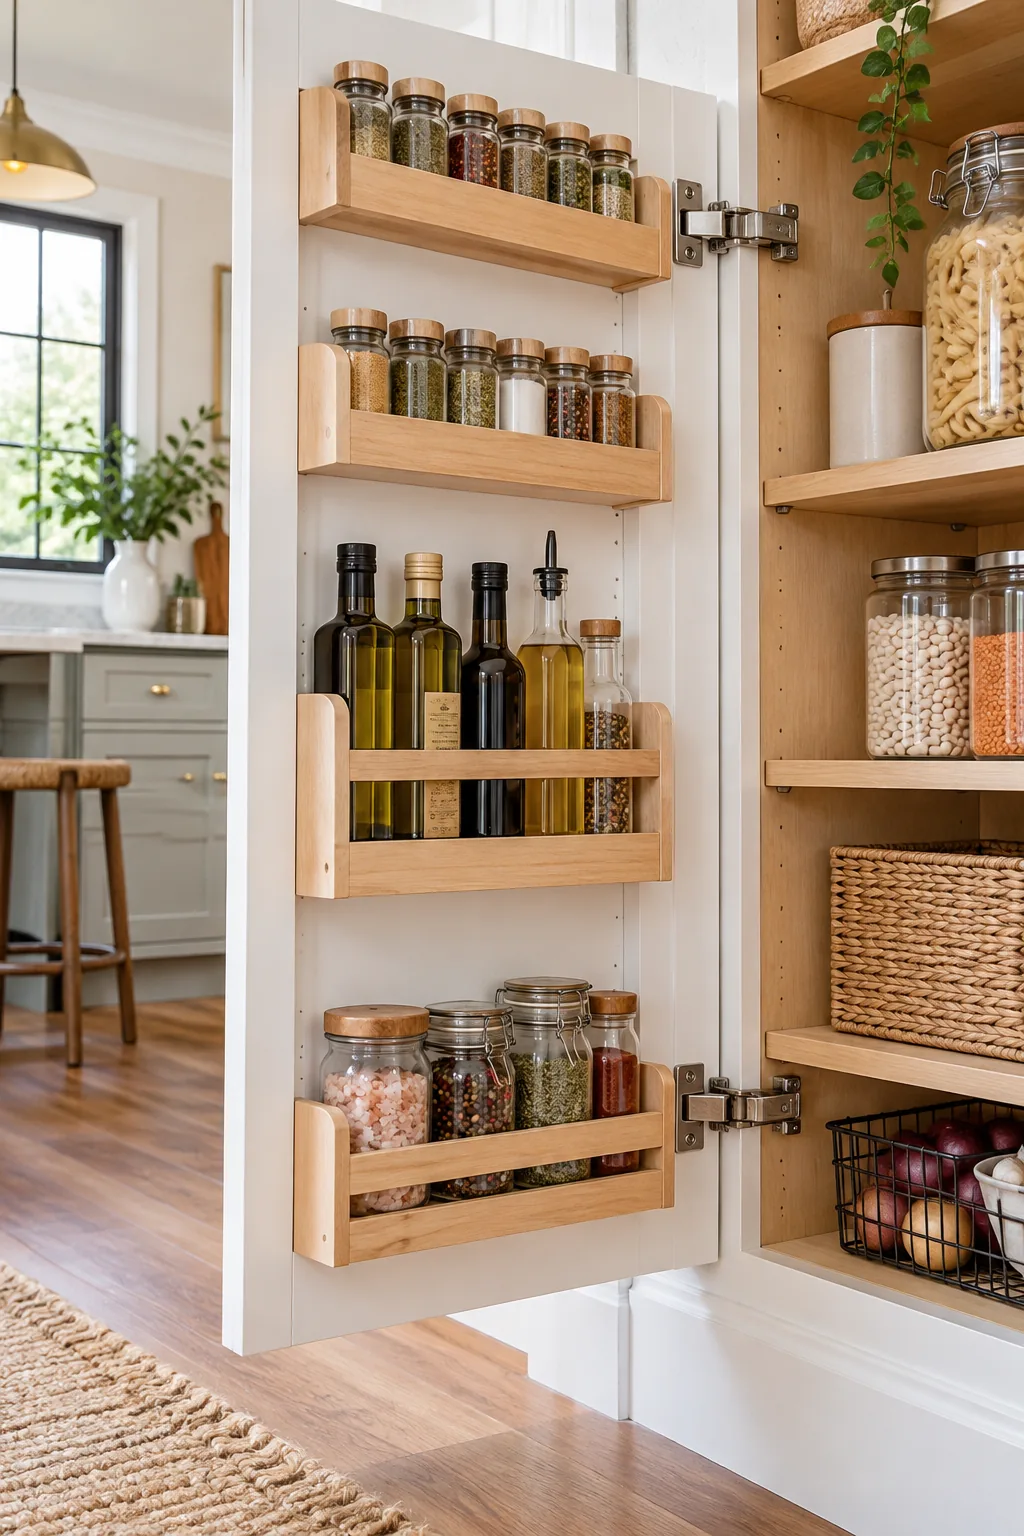
To build reinforced door bins that will never sag under heavy bottles, use 1/2-inch solid maple or birch plywood for the horizontal bin rails, ensuring every joint is glued and fastened securely from the back.
Maintain a strict 3.5-inch interior depth for these door racks to perfectly hold standard spice jars and common olive oil bottles snugly against the wood rail, preventing them from tipping forward when the door swings open.
Choosing the Best Wood for Bins
Always avoid softwoods like pine for your door storage racks because the metal screws holding the heavy rails can slowly strip out of the soft grain during the repeated stress of daily opening and closing motions.
Sanding and Sealing the Door Bins
Take the time to thoroughly sand the raw wooden door bins up to 220-grit before applying a durable clear polyurethane sealer, which permanently protects the beautiful wood grain from inevitable cooking oil drips and sticky syrup spills.
Installing Recessed Shelf Tracks
Upgrading to recessed shelf tracks instead of standard plastic peg holes gives your build a clean, premium custom look while actively preventing aluminum cans from catching on protruding metal hardware as you slide them laterally.
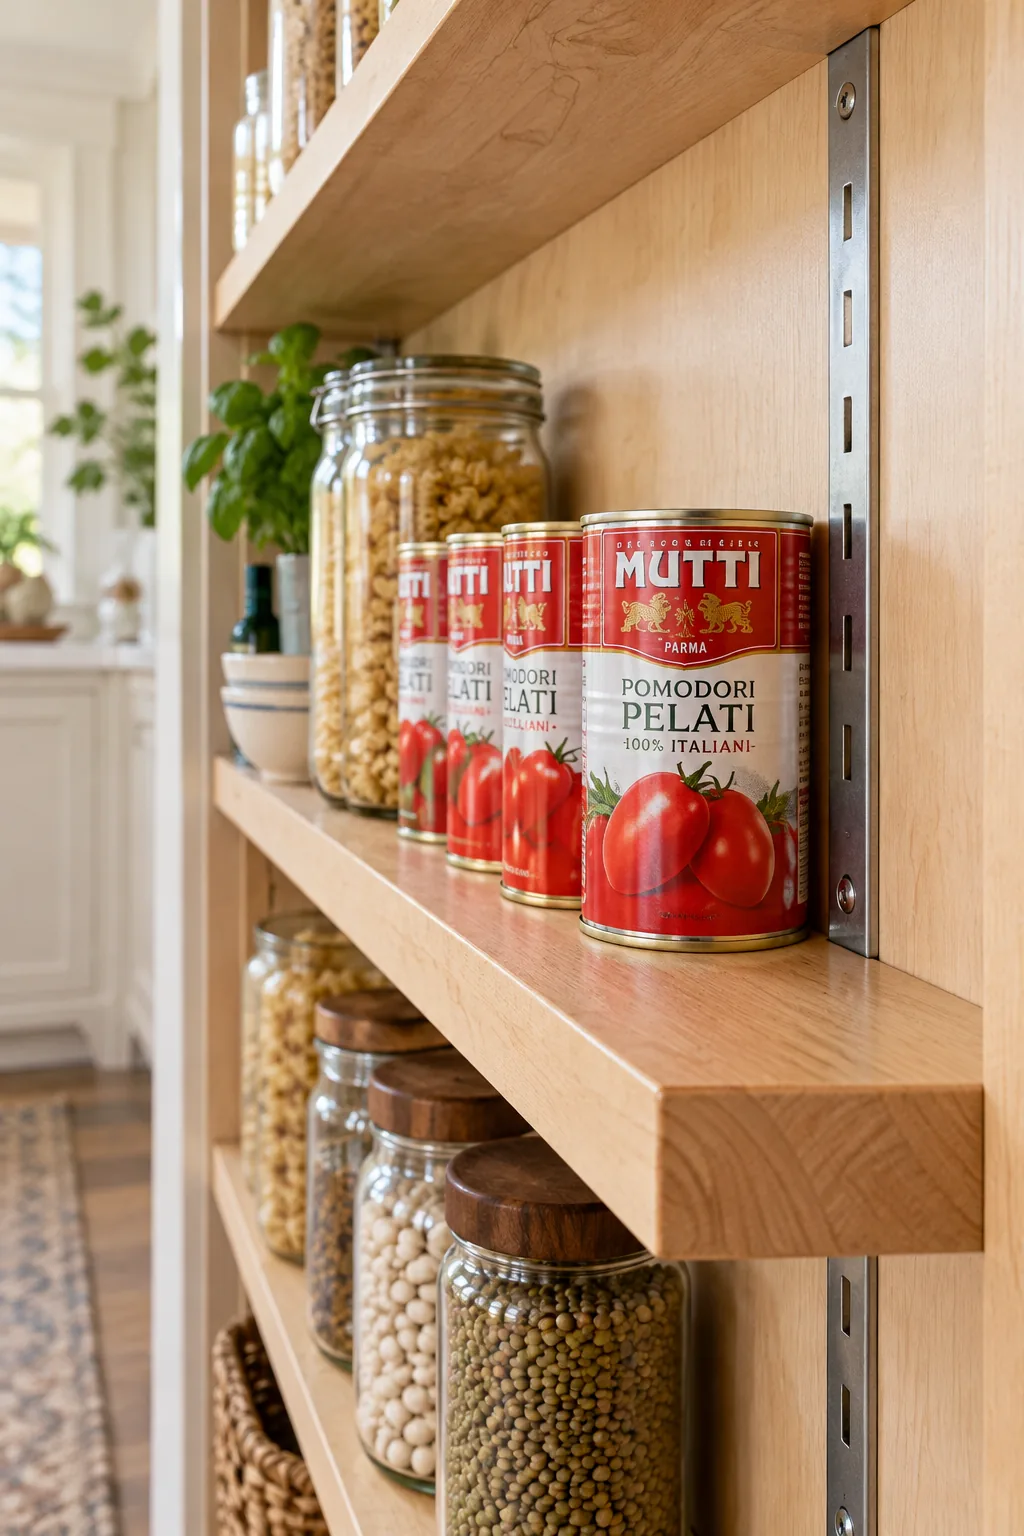
Achieving a perfectly flush track requires careful precision before the cabinet box is ever assembled, a crucial lesson I quickly learned during my very first custom kitchen build when my shelves stubbornly refused to sit flat.
Routing the Plywood Sides
Set your plunge router bit depth to exactly match the thickness of your metal standards, usually around 3/16 of an inch, testing the friction fit on a scrap piece of plywood first to guarantee absolute perfection.
Choosing the Right Track Clips
Pair your recessed metal standards with heavy-duty steel shelf clips rather than cheap plastic alternatives, as the solid steel hardware provides the necessary shear strength to safely hold fully loaded shelves of canned goods without suddenly snapping.
The 1×6 Single-Row Depth Rule
The absolute secret to a perfect upper pantry is the 1×6 single-row depth rule, which completely eliminates the frustrating problem of expired ingredients getting permanently lost in the dark back recesses of your deep kitchen cabinets.
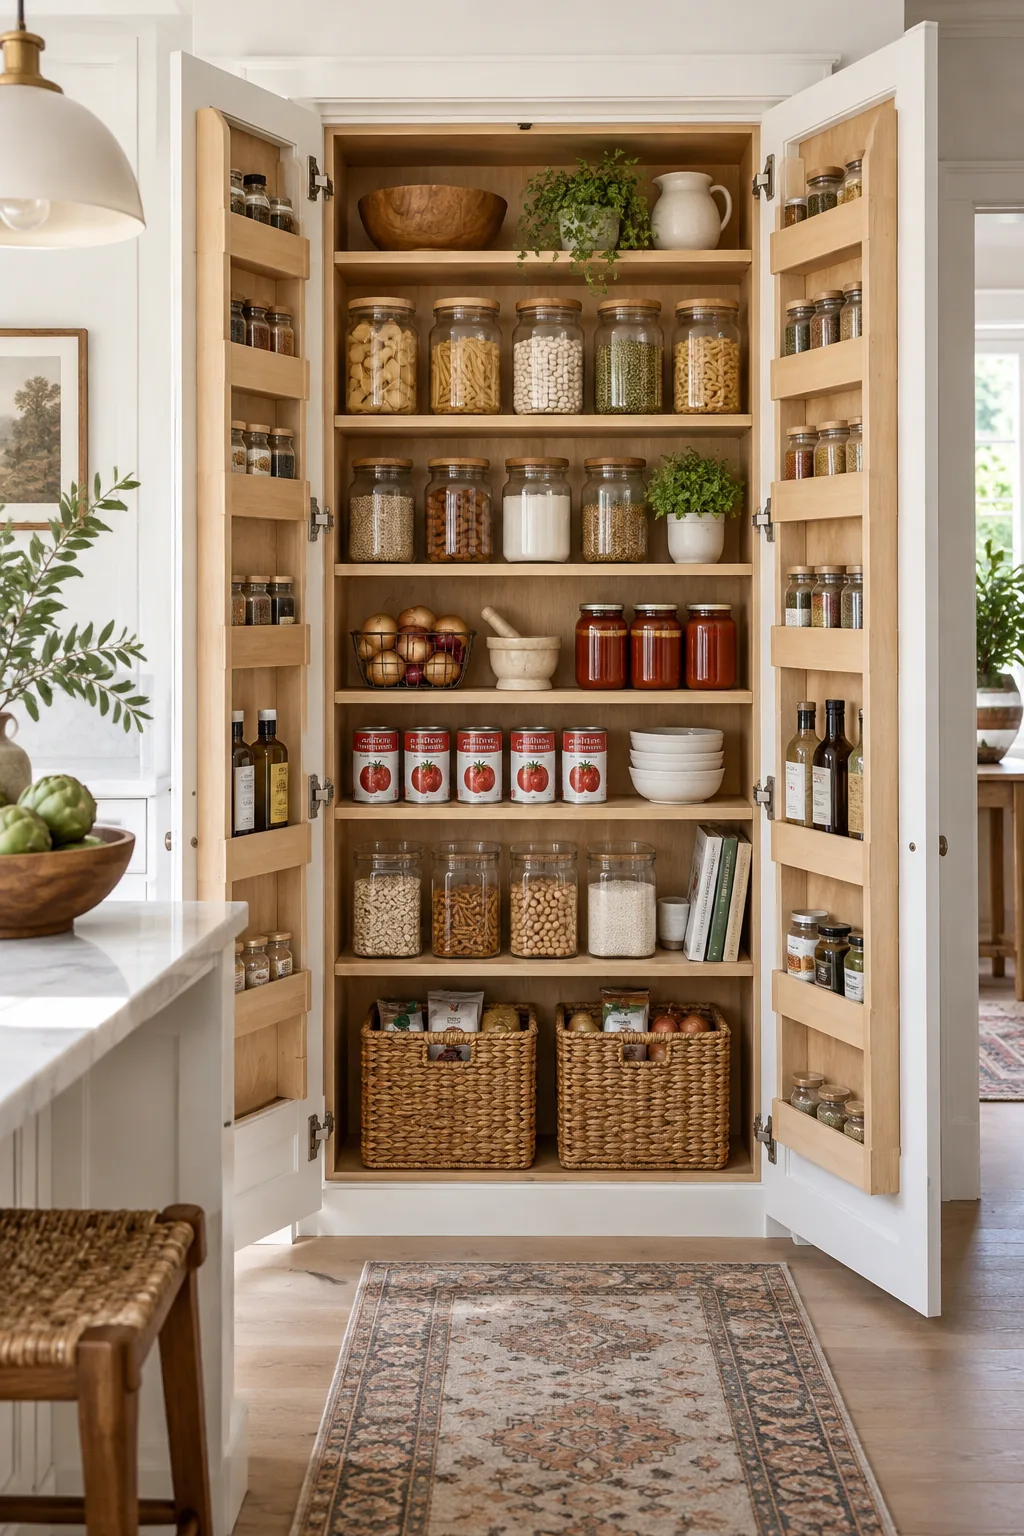
Because standard 1×6 boards measure exactly 5.5 inches deep, this specific dimension forces a single row of glass mason jars, aluminum cans, or boxed dry goods, guaranteeing immediate visual inventory every time you open the doors.
Sourcing the Right Shelf Boards
Purchase select-grade pine or clear poplar boards for your upper shelves to ensure they remain perfectly straight over the years, avoiding warped construction framing lumber that will inevitably cause your glass jars to wobble dangerously.
Painting the Cabinet Interior
Apply two coats of a high-quality, scuff-resistant enamel paint to the interior plywood panels before installing the metal tracks, creating a highly durable, wipeable surface that easily resists dark scuffs from sliding heavy cardboard cereal boxes.
Custom Shelf Spacing Cheat Sheet
Use this exact vertical spacing guide to configure your hardware tracks for maximum daily efficiency, building a logical bottom-to-top hierarchy without wasting a single inch of valuable vertical room inside your new custom cabinet box.
- 18 inches: Reserve the bottom-most floor zones for oversized bulk baskets and heavy flour bins.
- 12 inches: Space the lower-middle tiers to comfortably accommodate tall cereal boxes and large oil jugs.
- 8 inches: Configure the upper-middle section perfectly for standard quart-sized glass mason jars.
- 6 inches: Keep the highest accessible tracks tightly spaced for standard stacked canned goods.
Adjust these baseline measurements based on your specific ceiling height and container brands, ensuring the most frequently used cooking staples sit comfortably between your natural waist and shoulder level for completely effortless daily retrieval.
Adjusting for Non-Standard Items
If you regularly purchase oversized warehouse club items, dedicate one specific adjustable shelf to a generous 14-inch vertical gap, preventing the frustrating need to awkwardly tilt heavy cardboard boxes during your busy weekend grocery unpacking routine.
Organizing by Expiration Date
With your shallow shelves securely installed, arrange your identical canned goods in strict rows, intentionally placing the newest grocery store purchases at the very back of the 5.5-inch shelf to naturally enforce a foolproof first-in, first-out rotation system.
Managing Weight in the Lower Zones
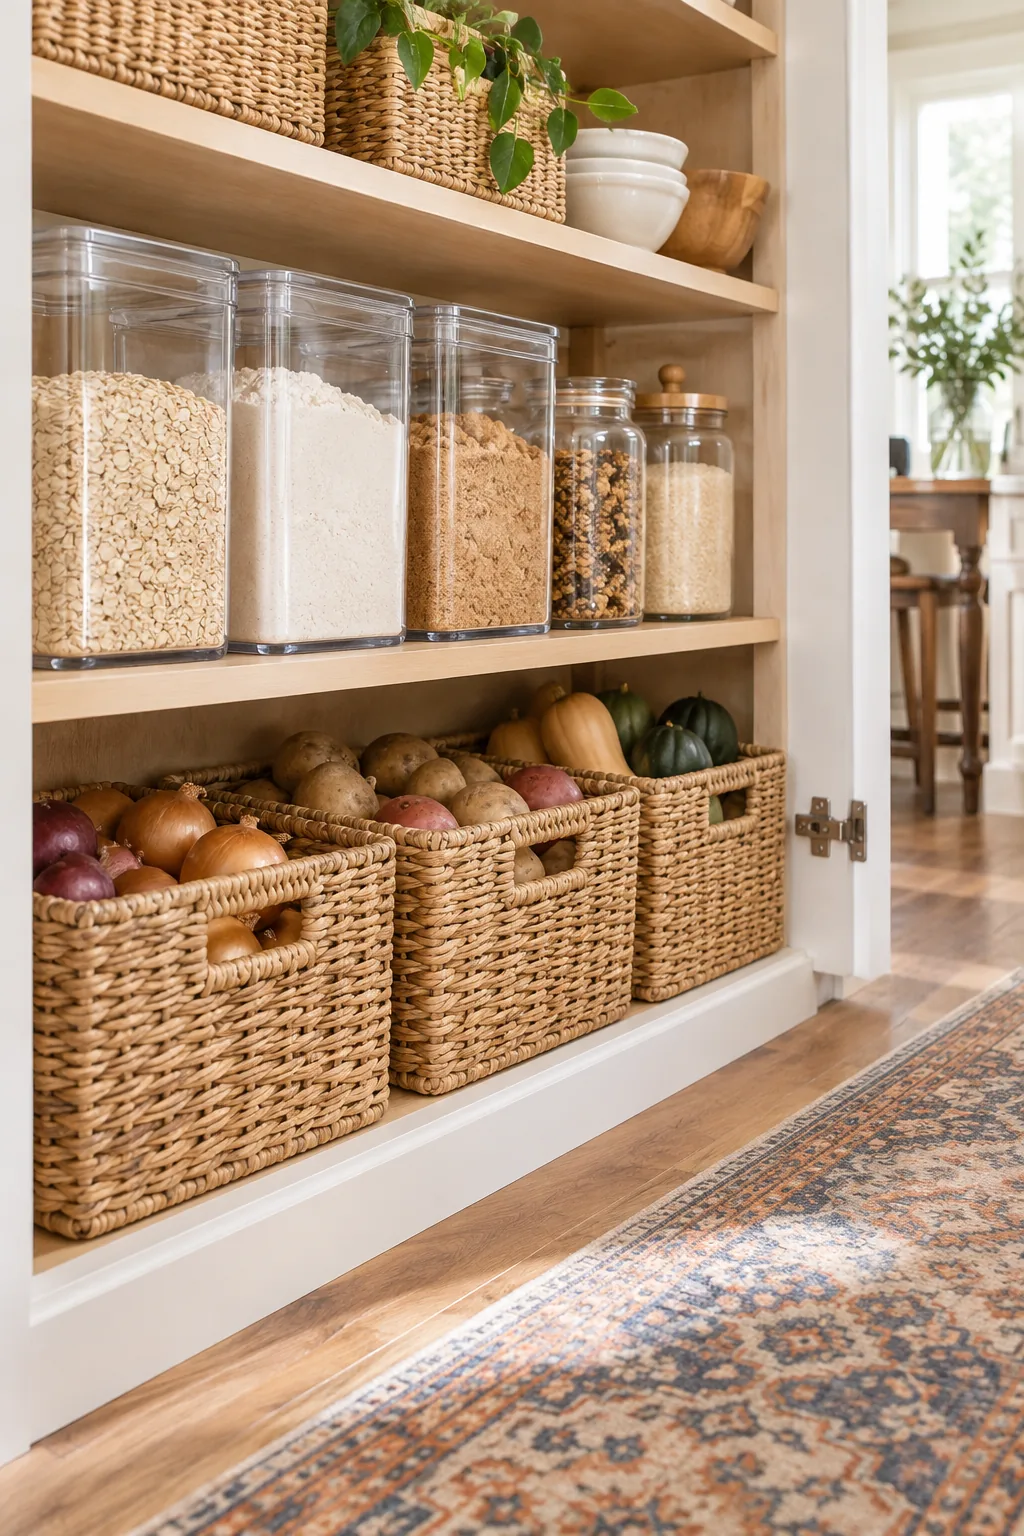
For the bottom third of the pantry, use fixed structural shelves rather than adjustable metal tracks to add critical lateral rigidity to the tall, heavy cabinet box, actively preventing dangerous side-to-side swaying.
| Storage Zone | Shelf Hardware | Shelf Depth | Weight Capacity |
|---|---|---|---|
| Upper Tier | Recessed Tracks | 5.5 inches | Light (Cans/Jars) |
| Middle Tier | Recessed Tracks | 5.5 inches | Medium (Boxes) |
| Lower Tier | Fixed Cleats | 12 inches | Heavy (Appliances) |
| Floor Level | Cabinet Base | 14 inches | Maximum (Bulk Bins) |
This reinforced lower strategy ensures the entire framework can easily support heavy woven baskets and 20-pound bulk flour bins without eventually bowing the tall plywood side panels outward under the immense constant downward pressure.
Anchoring the Cabinet to the Wall
Secure the finished cabinet box directly into at least three solid wall studs using heavy-duty structural screws, completely preventing any dangerous forward tipping when the heavily loaded pantry doors are fully opened simultaneously.
Adding Motion-Activated Lighting
Consider routing a shallow channel along the inside of the cabinet face frame to install a seamless LED light strip, providing brilliant, motion-activated illumination every single time you swing the heavy pantry doors open.
Styling the Finished Cabinet Interior
Carrying the exterior room’s specific trim style and paint color directly inside the cabinet creates a beautiful, custom furniture feel that I absolutely love opening and admiring every single morning while making my first coffee.
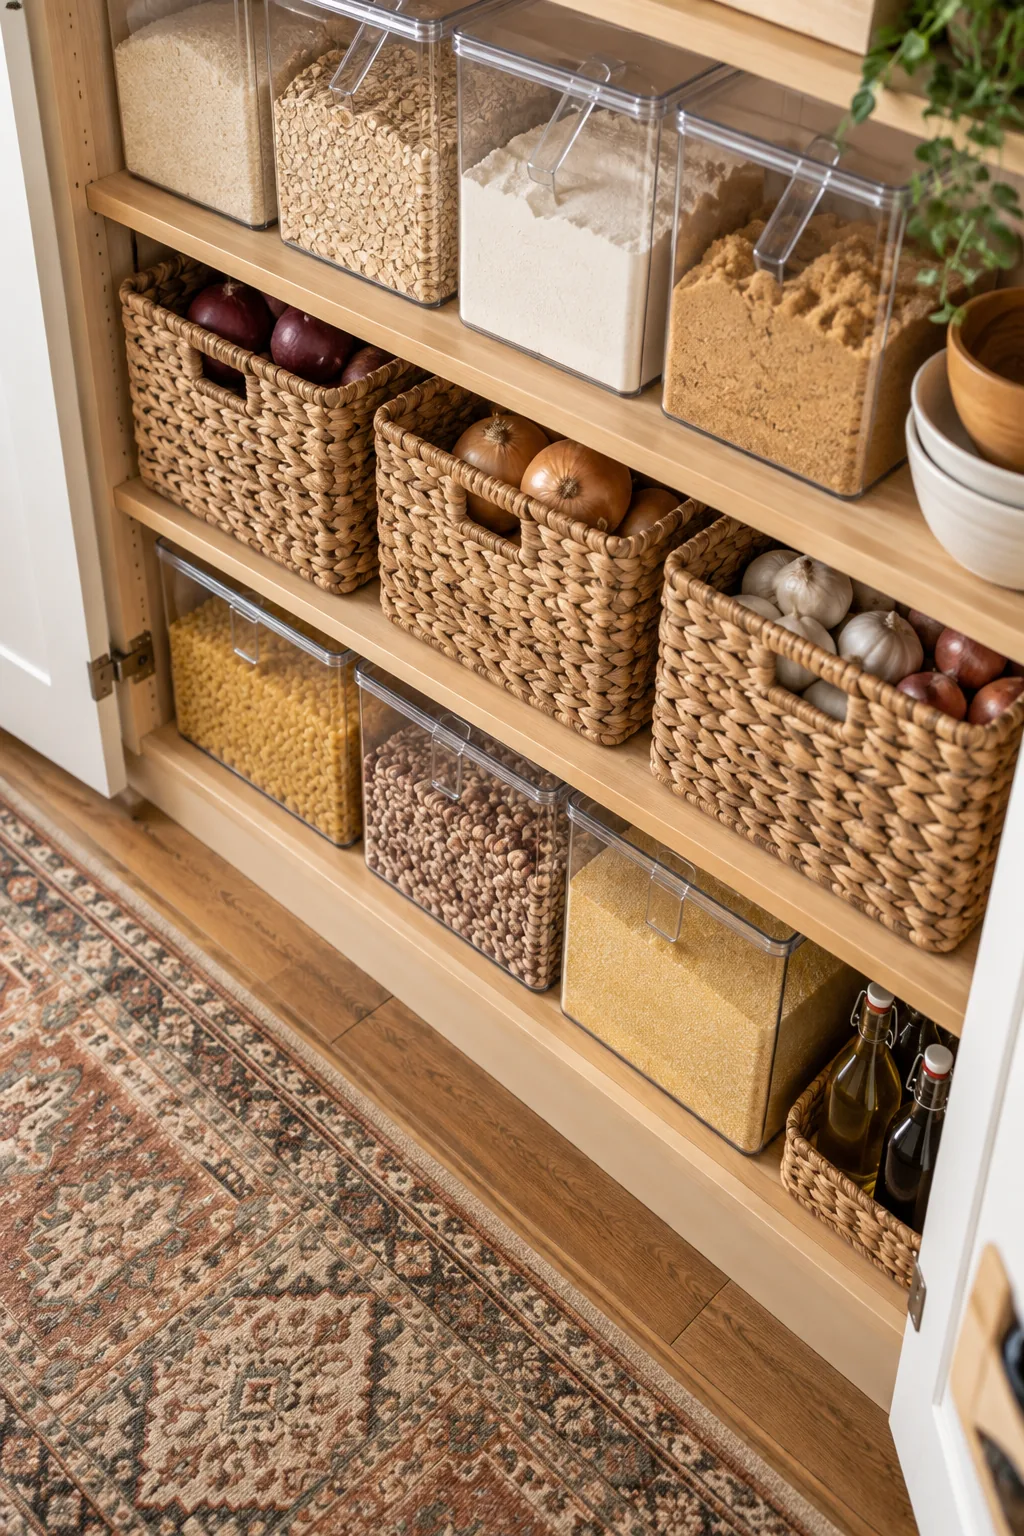
Contrast a crisp white painted exterior with warm wood tones and clear acrylic decanting containers to maintain visual calm across your heavily utilized daily storage zones, turning raw utility into a genuinely beautiful kitchen focal point.
Wall Pantry Inspiration & Styles
Explore how different finishes and door styles can adapt this highly functional build to any room's aesthetic.
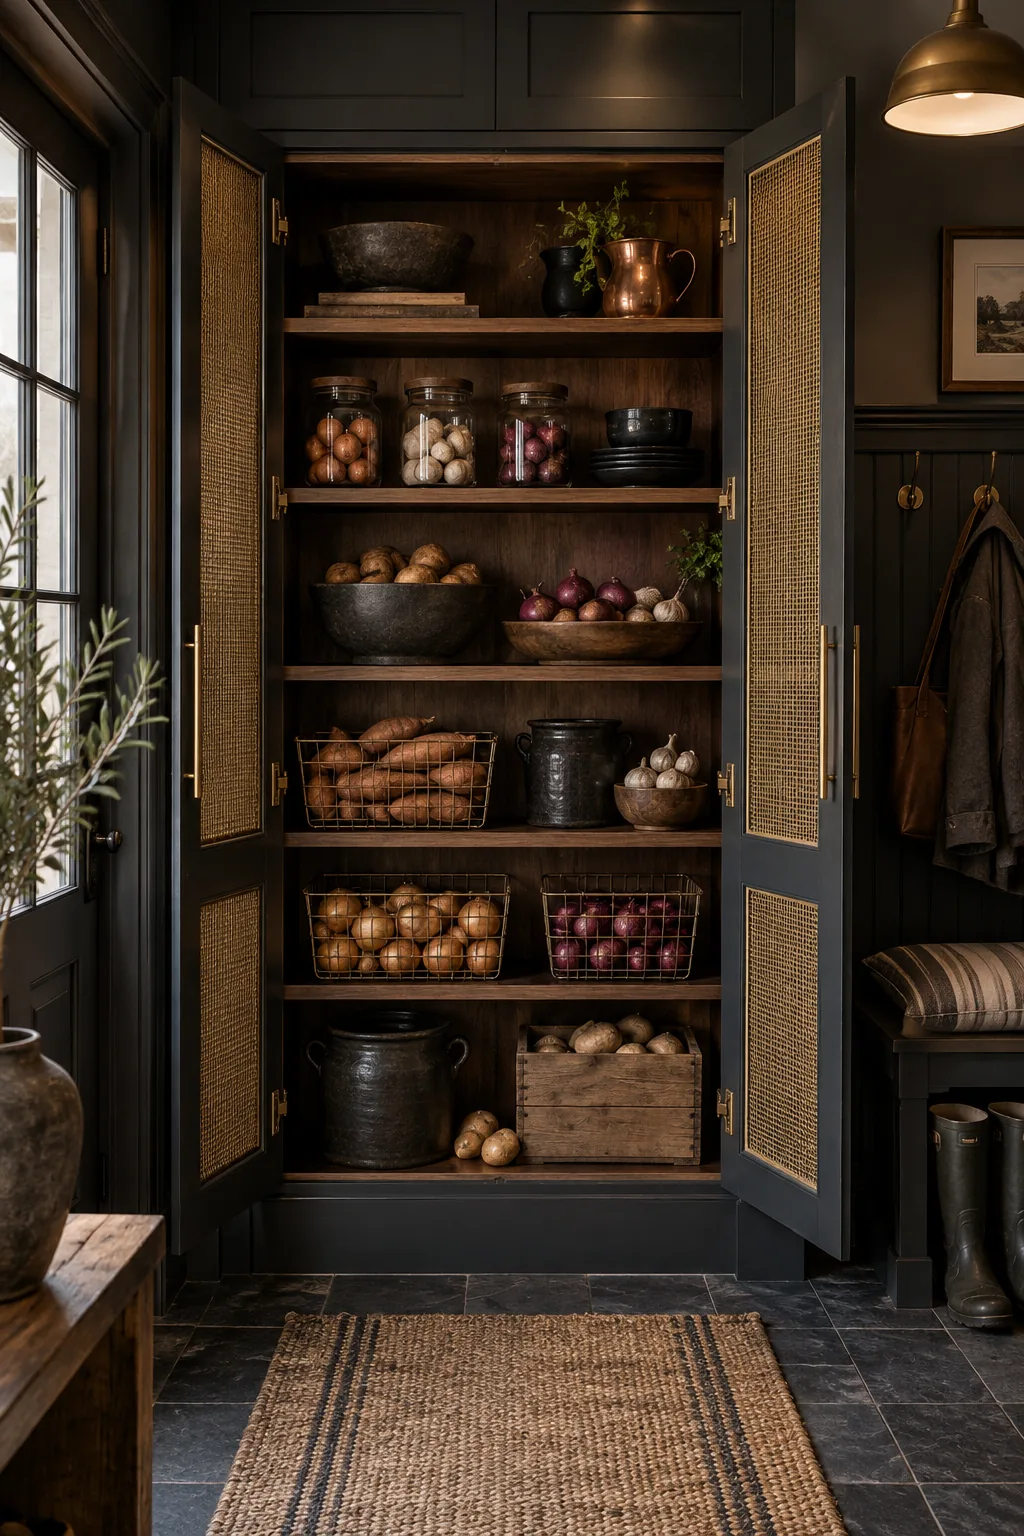
Moody Charcoal Mudroom Pantry: Brass mesh doors provide ventilation for root vegetables while elevating the dark charcoal finish.
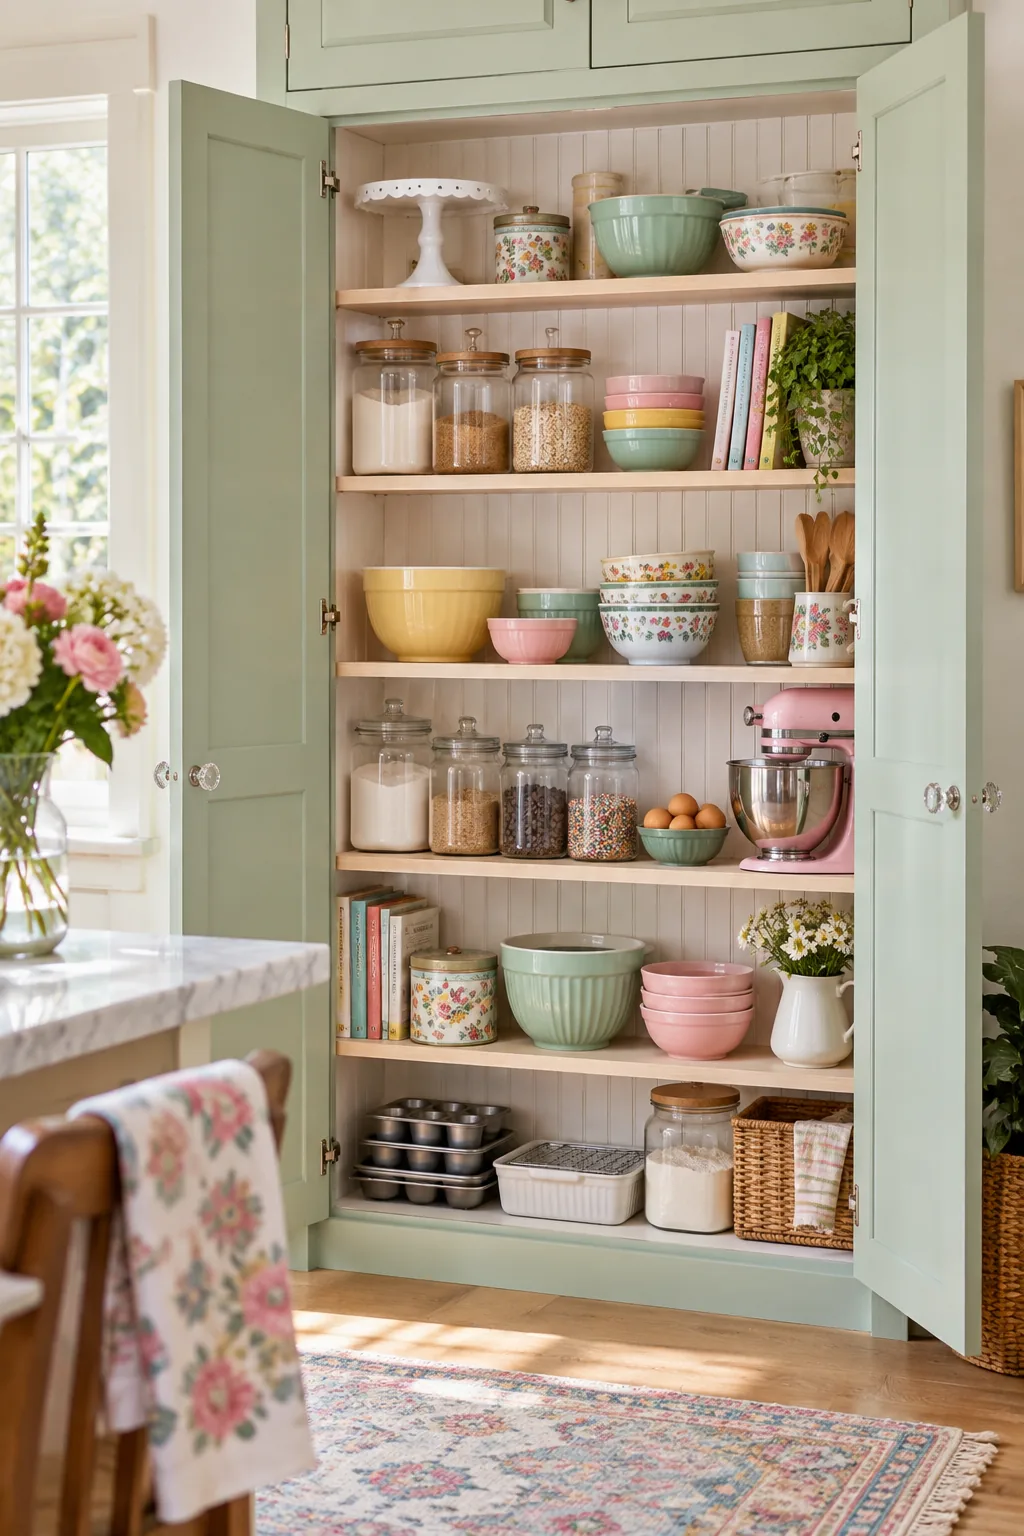
Cottagecore Beadboard Baking Cabinet: A classic beadboard backing adds subtle texture that makes pastel dishware and baking tools pop.
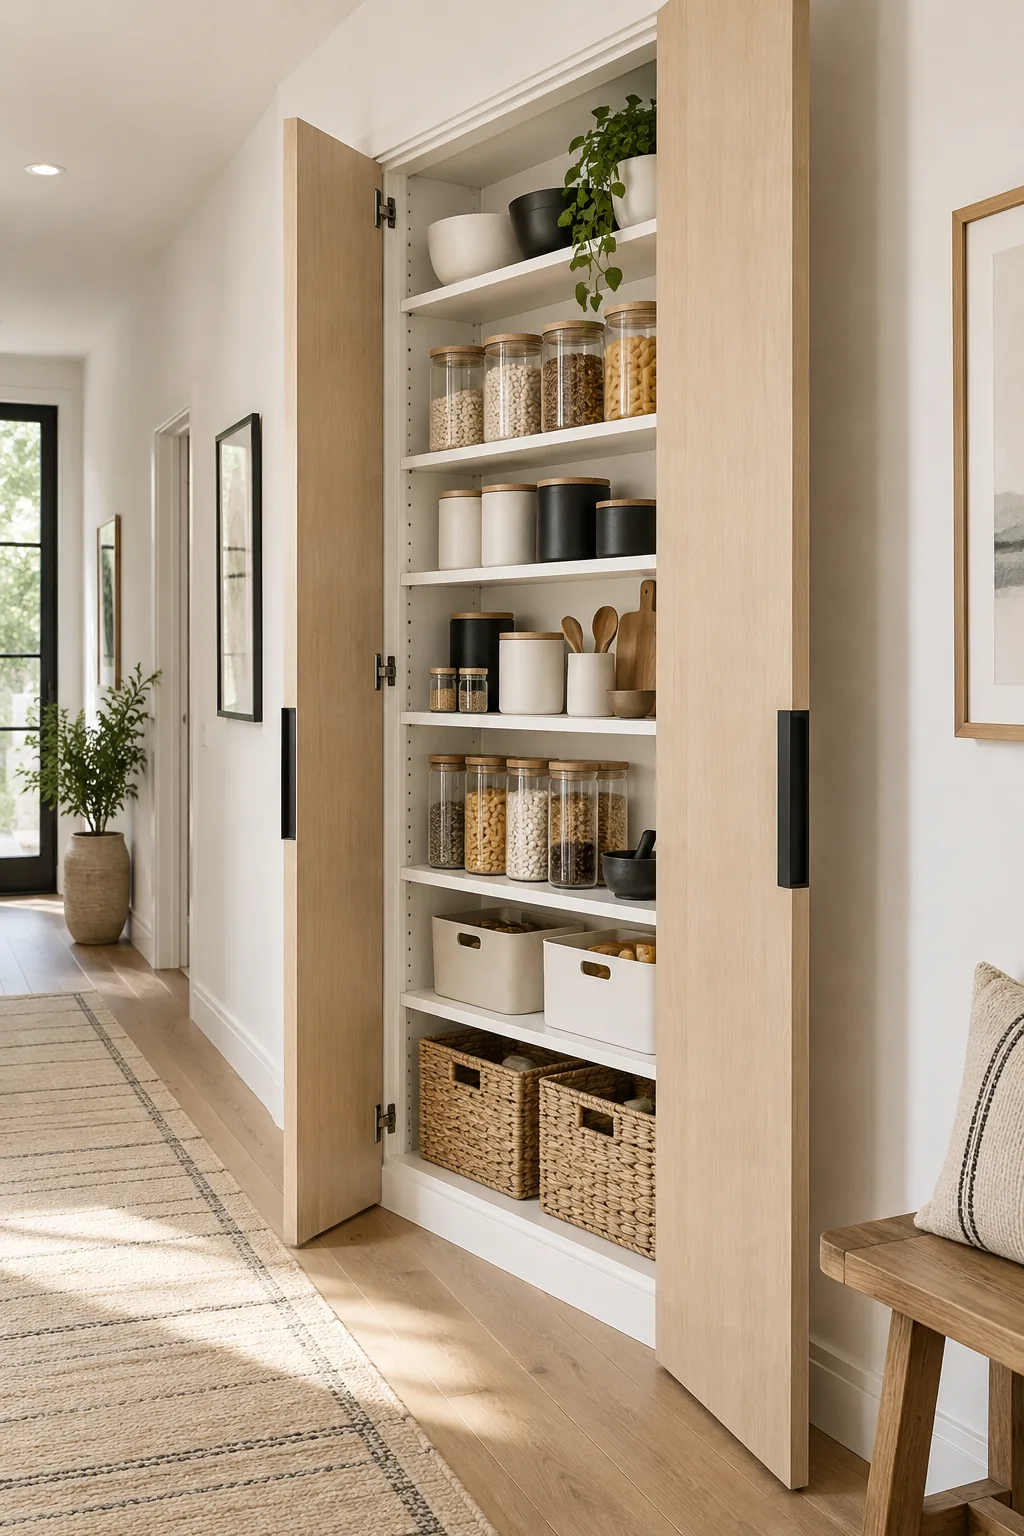
Minimalist Flat-Panel Oak Storage: Flat-panel white oak doors conceal a stark, monochromatic interior designed for absolute visual calm.
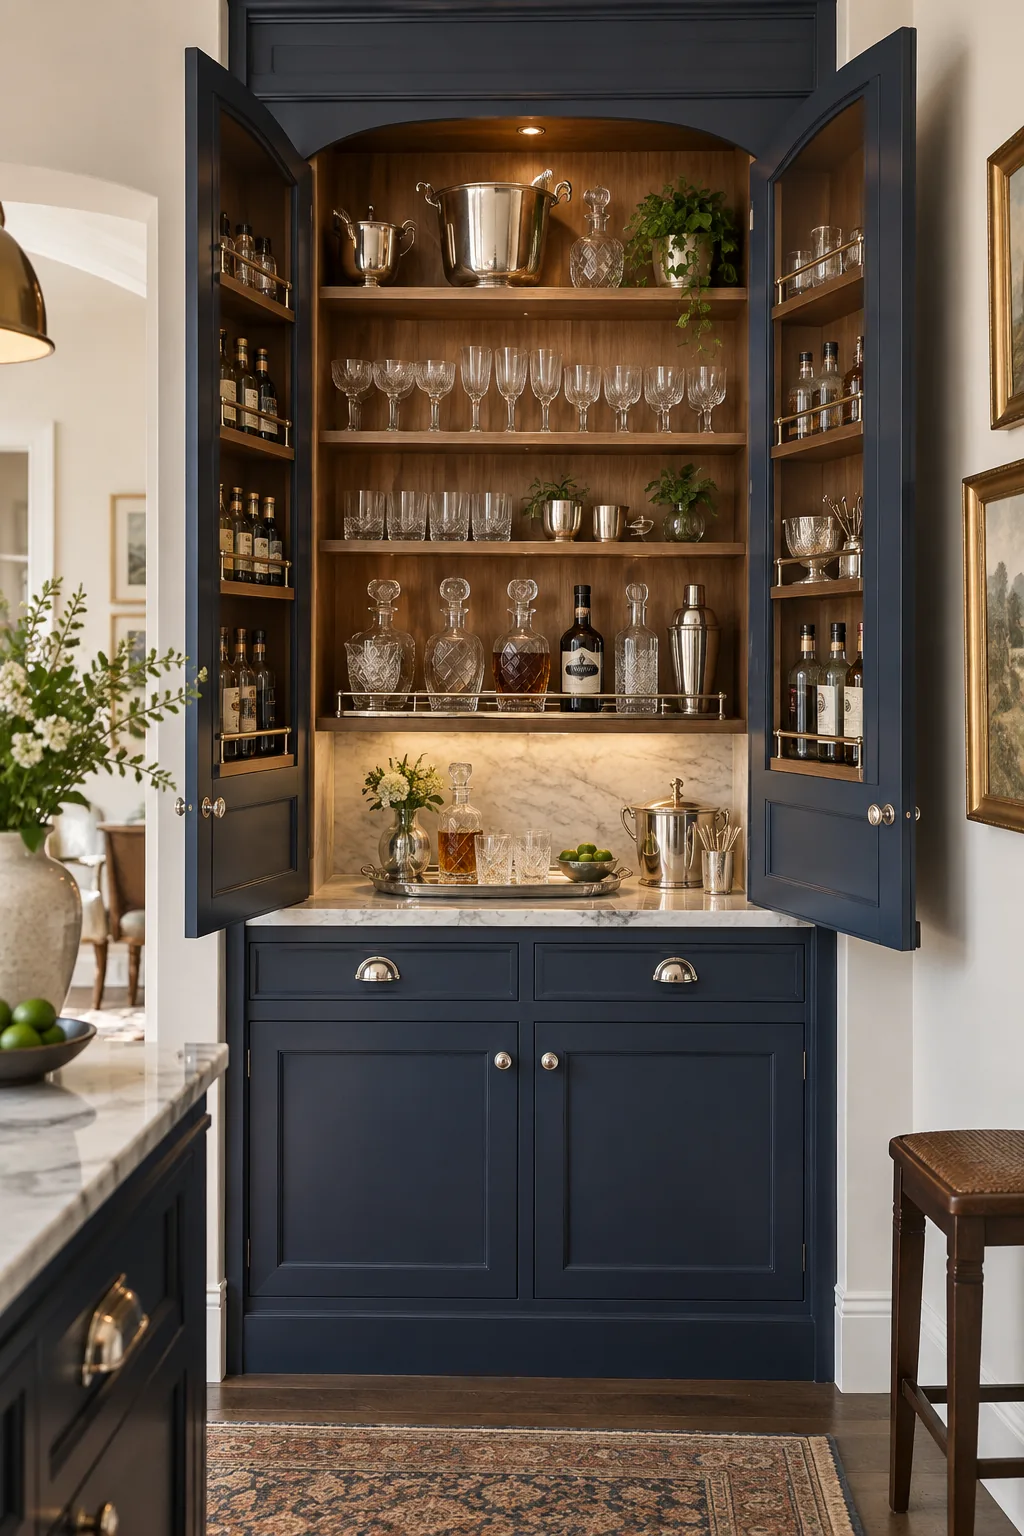
Traditional Navy Butler's Wall: Integrating a cool marble shelf into the lower zone turns basic storage into an elegant serving station.