Small Office Layout for Tight Corners: Measurement Guide
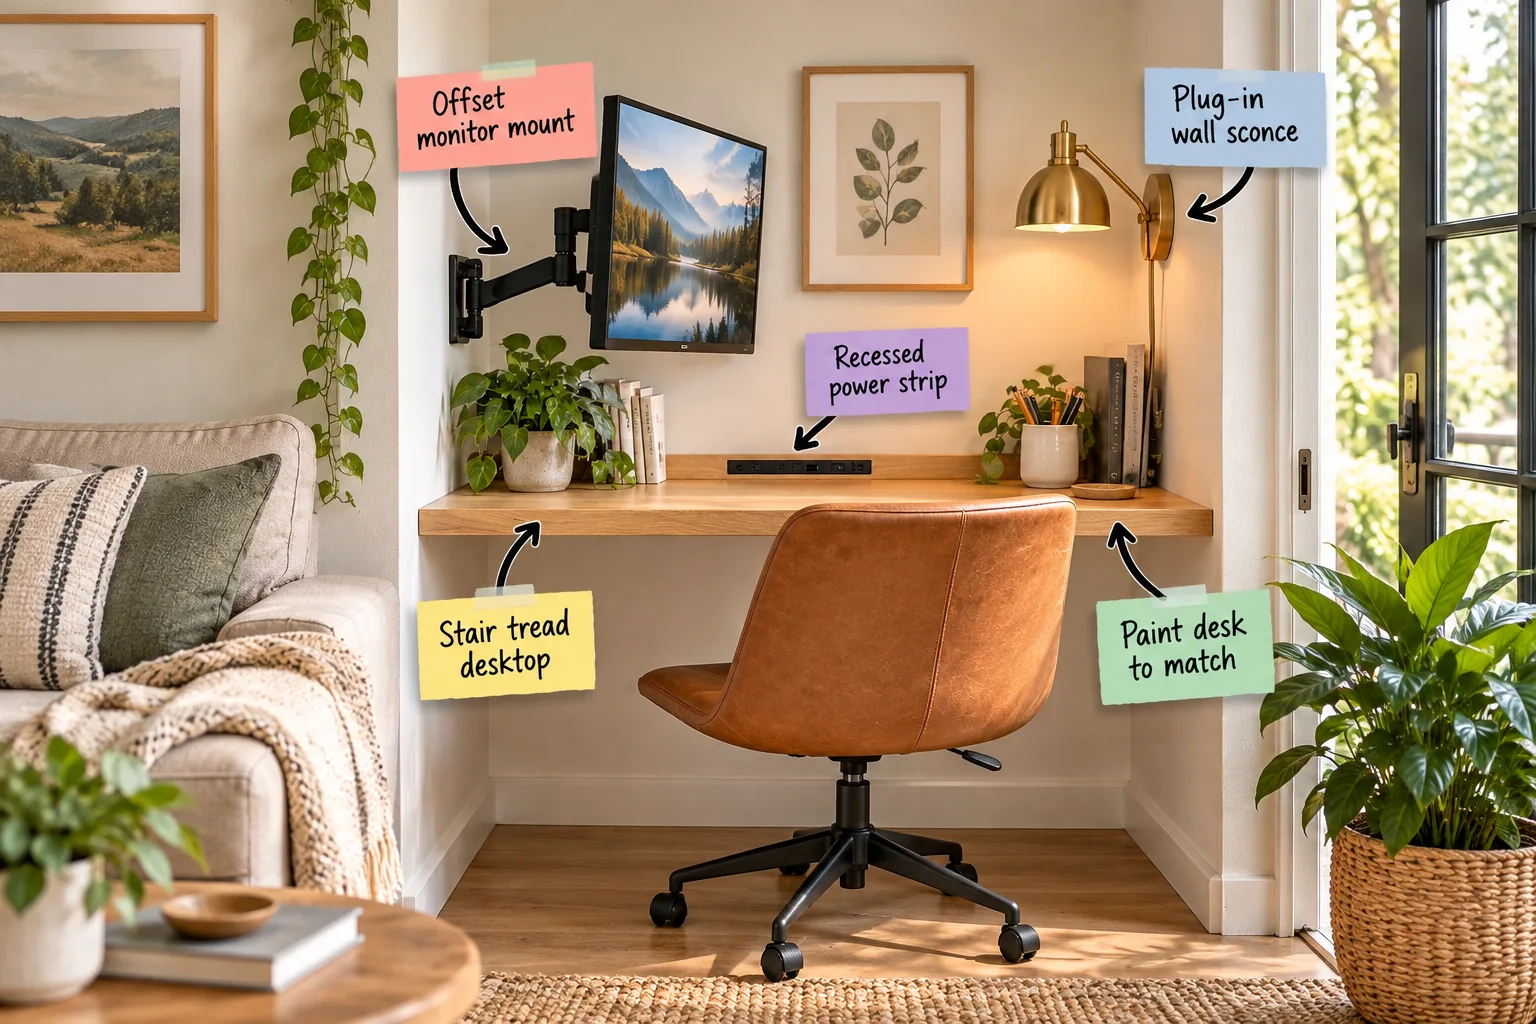
Grab our micro-office measurement cheat sheet to successfully build a fully functional workspace into any shallow alcove. You will be able to accurately measure, construct, and style a highly efficient floating desk setup that perfectly blends into your tight living room corners.
Identifying the Perfect Alcove
When evaluating a living room corner for a micro-office, look for a recessed area that naturally sits completely outside the main walkway. In my recent Denver project, utilizing a shallow alcove allowed us to establish a dedicated work zone without interrupting the room’s primary traffic flow.
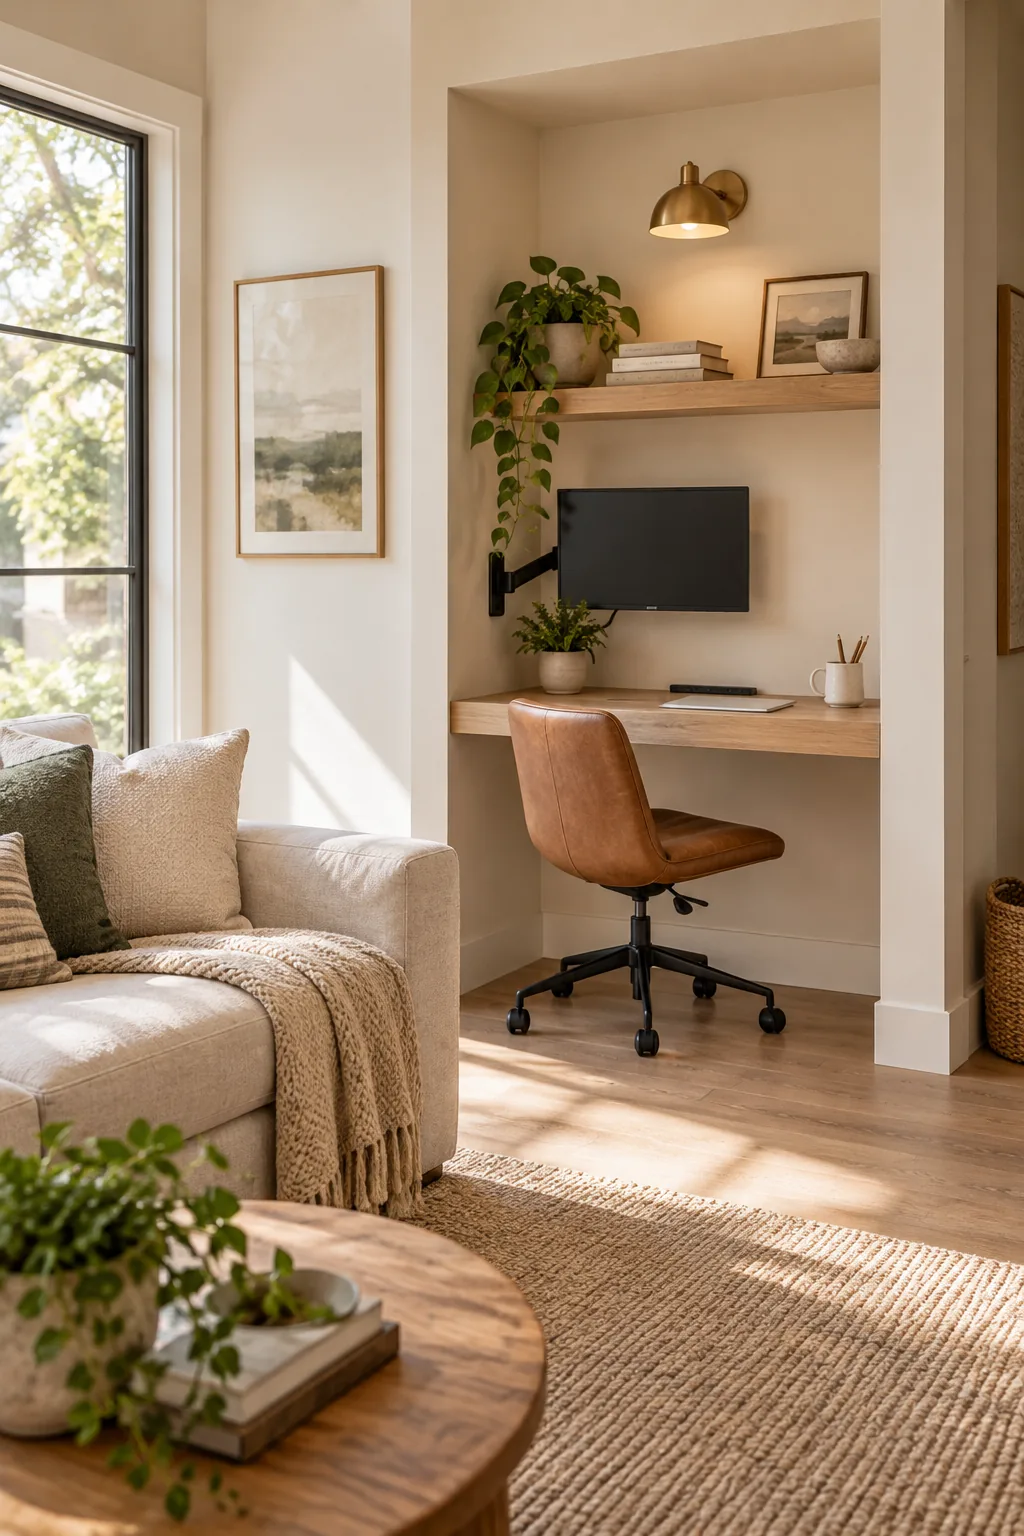
A highly functional floating desk requires only 18 to 24 inches of depth to comfortably accommodate a laptop and a notebook. This minimal footprint ensures your workspace remains visually unobtrusive while providing exactly enough surface area for focused, distraction-free daily tasks.
Traffic Flow and Clearance Rules
Before committing to a specific corner, you must verify that the surrounding floor space can handle the physical movements of working. Proper clearance prevents the workspace from feeling cramped and successfully protects your nearby furniture from constant, damaging chair impacts.
- Measure exactly 36 inches from the front edge of your planned desktop to the nearest obstacle to ensure comfortable push-back space.
- Verify a minimum 30-inch wide pathway behind the seated area so family members can pass without disrupting your workflow.
- Check that nearby doors or cabinets can fully open without striking the back of your office chair.
Maintaining these strict clearance zones guarantees that your newly built micro-office will harmonize seamlessly with the existing living room layout. Establishing these invisible boundaries early in the planning phase prevents costly spatial conflicts and ensures your small office feels entirely intentional.
The Micro-Office Measurement Cheat Sheet
Planning a tight workspace requires absolute precision to ensure long-term ergonomic comfort and daily usability. Use this micro-office measurement cheat sheet to determine the exact dimensions needed for your custom floating desk installation before you purchase any raw lumber.
| Component | Minimum | Ideal | Maximum |
|---|---|---|---|
| Desktop Width | 32 inches | 36 inches | 48 inches |
| Desktop Depth | 16 inches | 18 inches | 24 inches |
| Mounting Height | 28 inches | 29 inches | 30 inches |
| Monitor Distance | 20 inches | 24 inches | 28 inches |
Applying these specific measurements completely prevents the common mistake of building a desk that is either too high for comfortable typing or too deep for the alcove. Following these proven guidelines guarantees a proportionate, highly functional layout in any tight space.
Structural Requirements for Floating Desks
A floating desk must reliably support the weight of your technical equipment plus the downward pressure of your resting arms. Securing the mounting cleats directly into the structural wall studs is absolutely non-negotiable for creating a safe, rock-solid work surface.
- Locate and mark every wall stud within the alcove using a reliable magnetic stud finder before drilling.
- Use heavy-duty 3-inch construction screws to anchor the wooden support cleats firmly into the structural framing.
- Install side cleats along both adjacent walls to prevent the desktop from bowing under heavy daily loads.
Taking the time to build a robust structural foundation ensures your compact workspace will easily withstand the rigors of daily professional use. A properly anchored cleat system provides incredible strength while remaining entirely hidden behind the finished wooden desktop.
Repurposing a Stair Tread for the Desktop
A solid wood stair tread makes the absolute perfect shallow desktop for a tight corner installation. Its standard 11.5-inch depth fits many micro-alcoves perfectly, or you can seamlessly join two treads together to create a slightly deeper custom work surface.
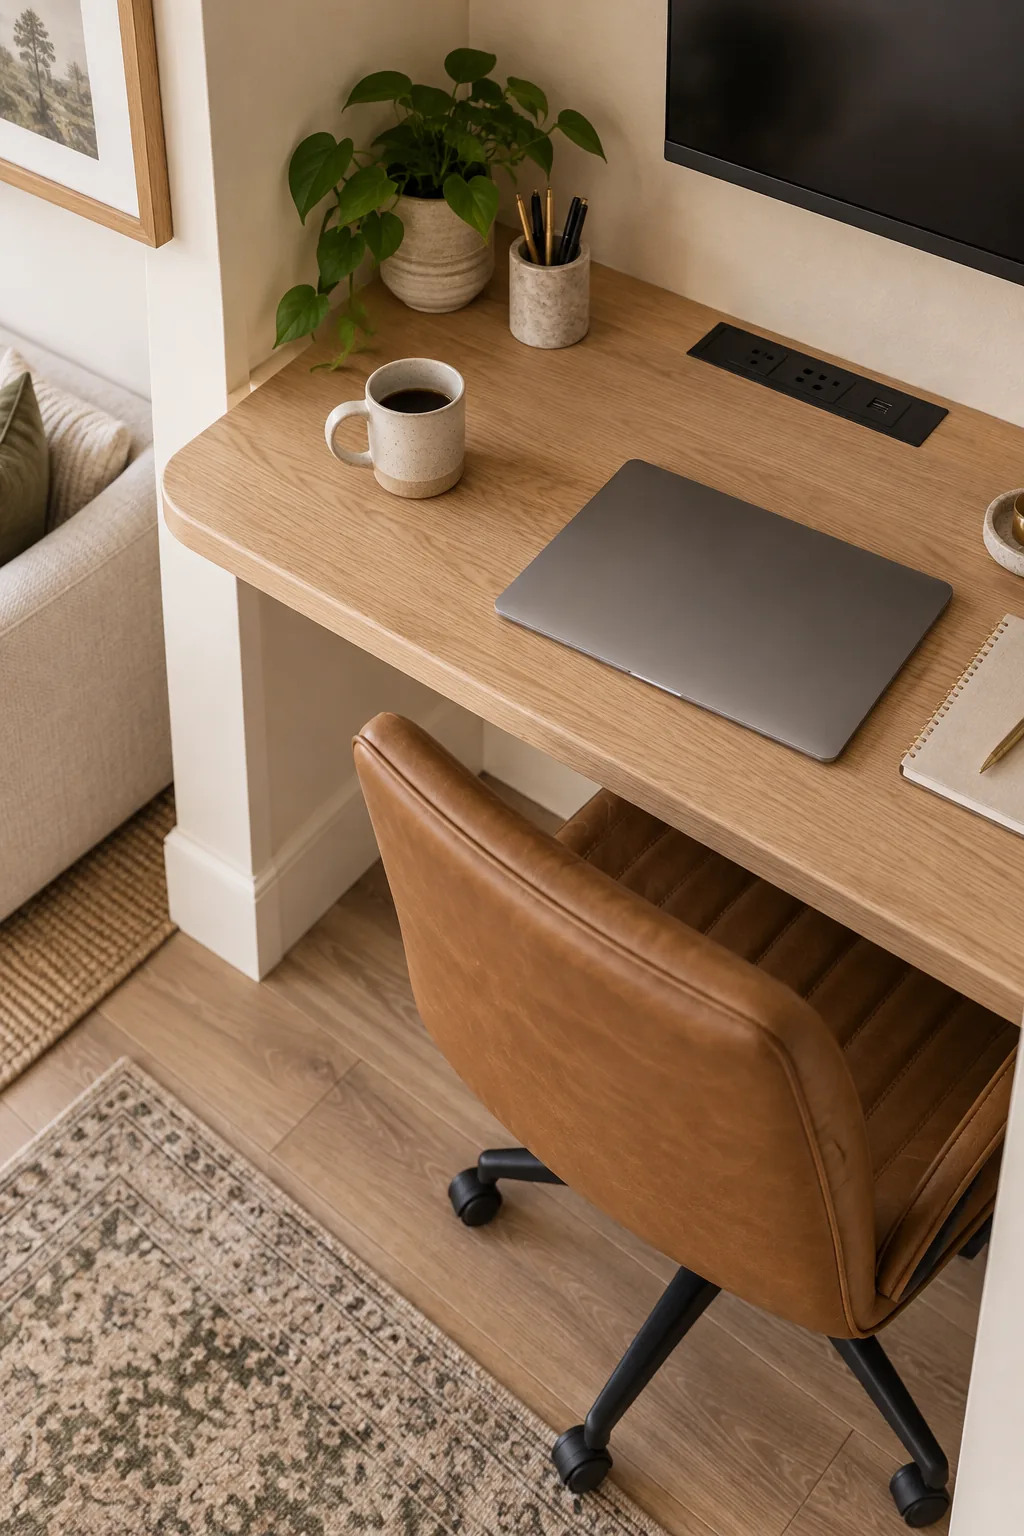
The pre-rounded bullnose edge of a standard stair tread provides an incredibly ergonomic, wrist-friendly surface straight off the hardware store shelf. This clever material choice completely eliminates the need for specialized woodworking tools or complicated, messy router setups during assembly.
Protecting the Wood Finish
Applying a high-quality matte polyurethane sealant protects your beautiful stair tread desktop from daily coffee rings and inevitable pen marks. A durable, wipeable finish ensures your custom micro-office remains looking pristine and highly professional for years to come without requiring constant maintenance.
Hiding Cords with a Recessed Power Strip
Maintaining a clean visual line in a small space requires keeping laptop chargers and monitor cords completely off the desk surface. Since the power strip sits flush inside the desktop, you need a clear path to route its thick main cable down to the nearest wall outlet.
Cutting a precise hole in the back of the stair tread to drop in a flat, recessed power strip completely transforms the desk’s functionality. This integrated approach ensures you always have accessible power without the visual clutter of tangled extension cords.
Managing Heavy Power Adapters
Even with a flush-mounted power strip, bulky laptop bricks and external hard drives can quickly overwhelm a beautifully styled shallow workspace. Mounting a simple wire cable tray directly underneath the desk surface keeps these heavy, unsightly components safely suspended out of sight.
Freeing Up Space with an Offset Monitor Mount
Mounting a heavy monitor arm to the side wall rather than the back wall or the desk edge saves crucial workspace. An offset mount allows the screen to push completely flat against the back wall, instantly reclaiming up to five inches of desk depth.
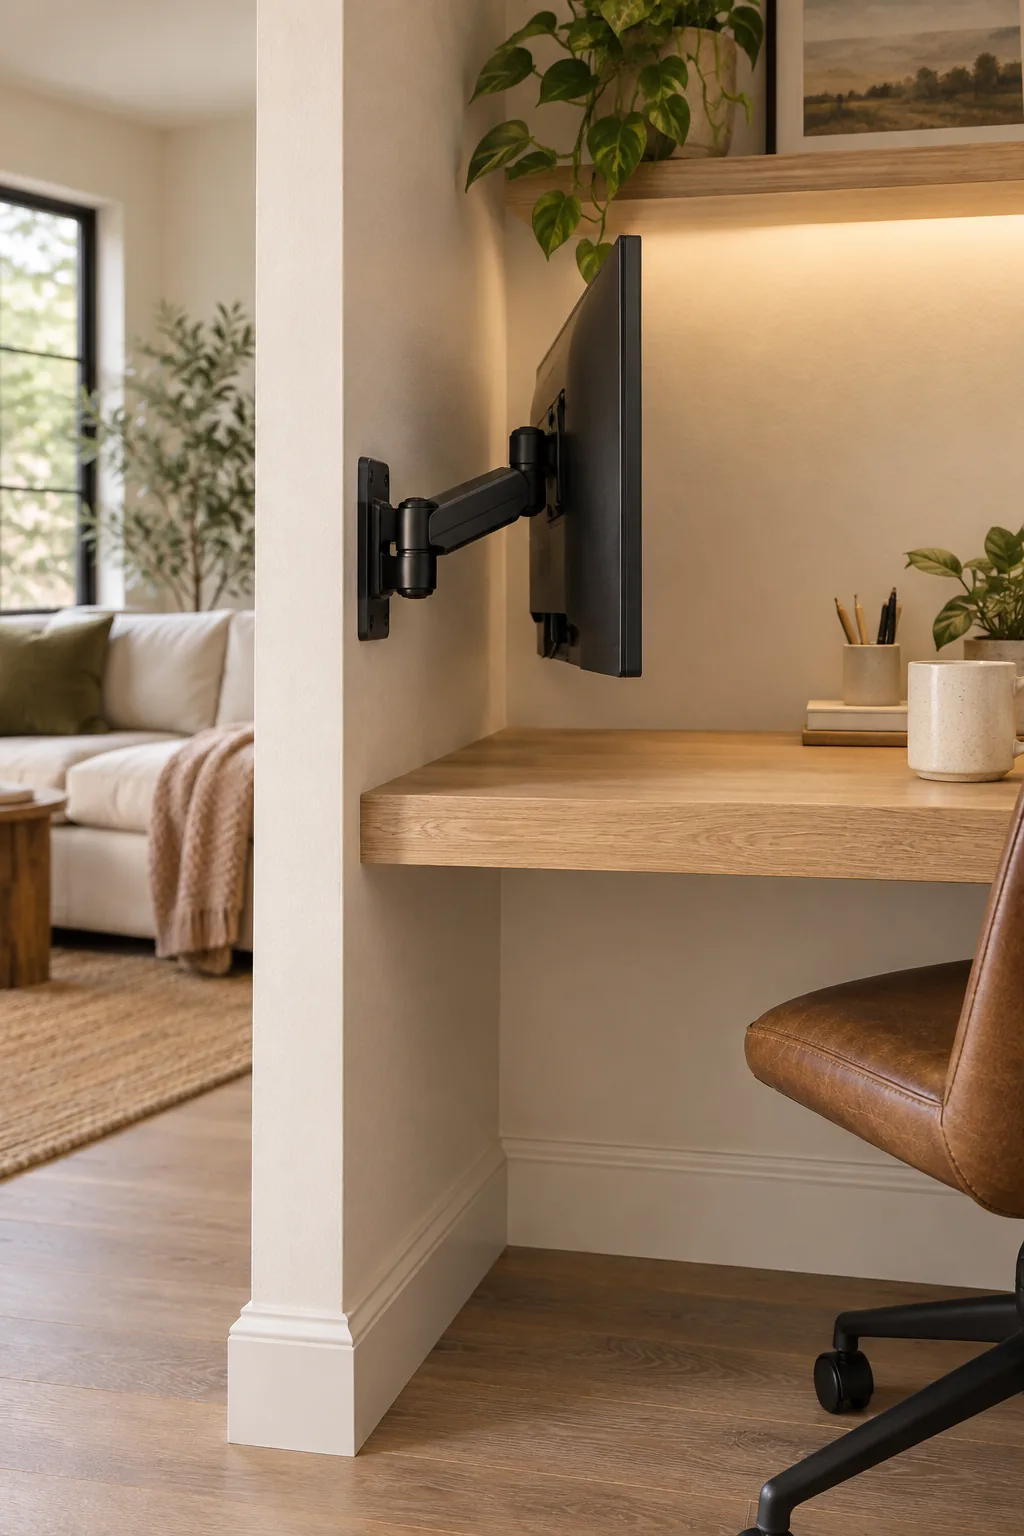
This strategic placement ensures that your monitor hovers perfectly at eye level without consuming any of your highly limited surface area. It also provides the structural flexibility to easily swing the screen out toward you during detailed design work or video calls.
Ergonomic Screen Positioning
Setting your external monitor at the correct height is vital for preventing severe neck strain during long, intensive work sessions. The top edge of your screen should rest exactly at or slightly below your natural eye level when you are fully seated.
Brightening the Corner with a Plug-In Sconce
Dedicated task lighting is absolutely essential in a recessed alcove where natural room light often fails to reach effectively. In my own home office, mounting a plug-in brass wall sconce 15 to 18 inches above the desktop provided warm, focused light without requiring an expensive electrician.
Selecting a beautiful fixture with a fully articulated arm allows you to precisely target the illumination exactly where you need it most. This targeted lighting strategy instantly elevates the ambiance of the micro-office while significantly reducing daily eye fatigue and screen glare.
Paint Desk to Match: Hiding the Supports
Making a structural desk blend seamlessly into the surrounding wall requires a very specific, highly effective painting trick. While I always leave the top wood surface natural, I painted the thick wooden mounting cleats and the underside of the desk the exact same color as my walls.
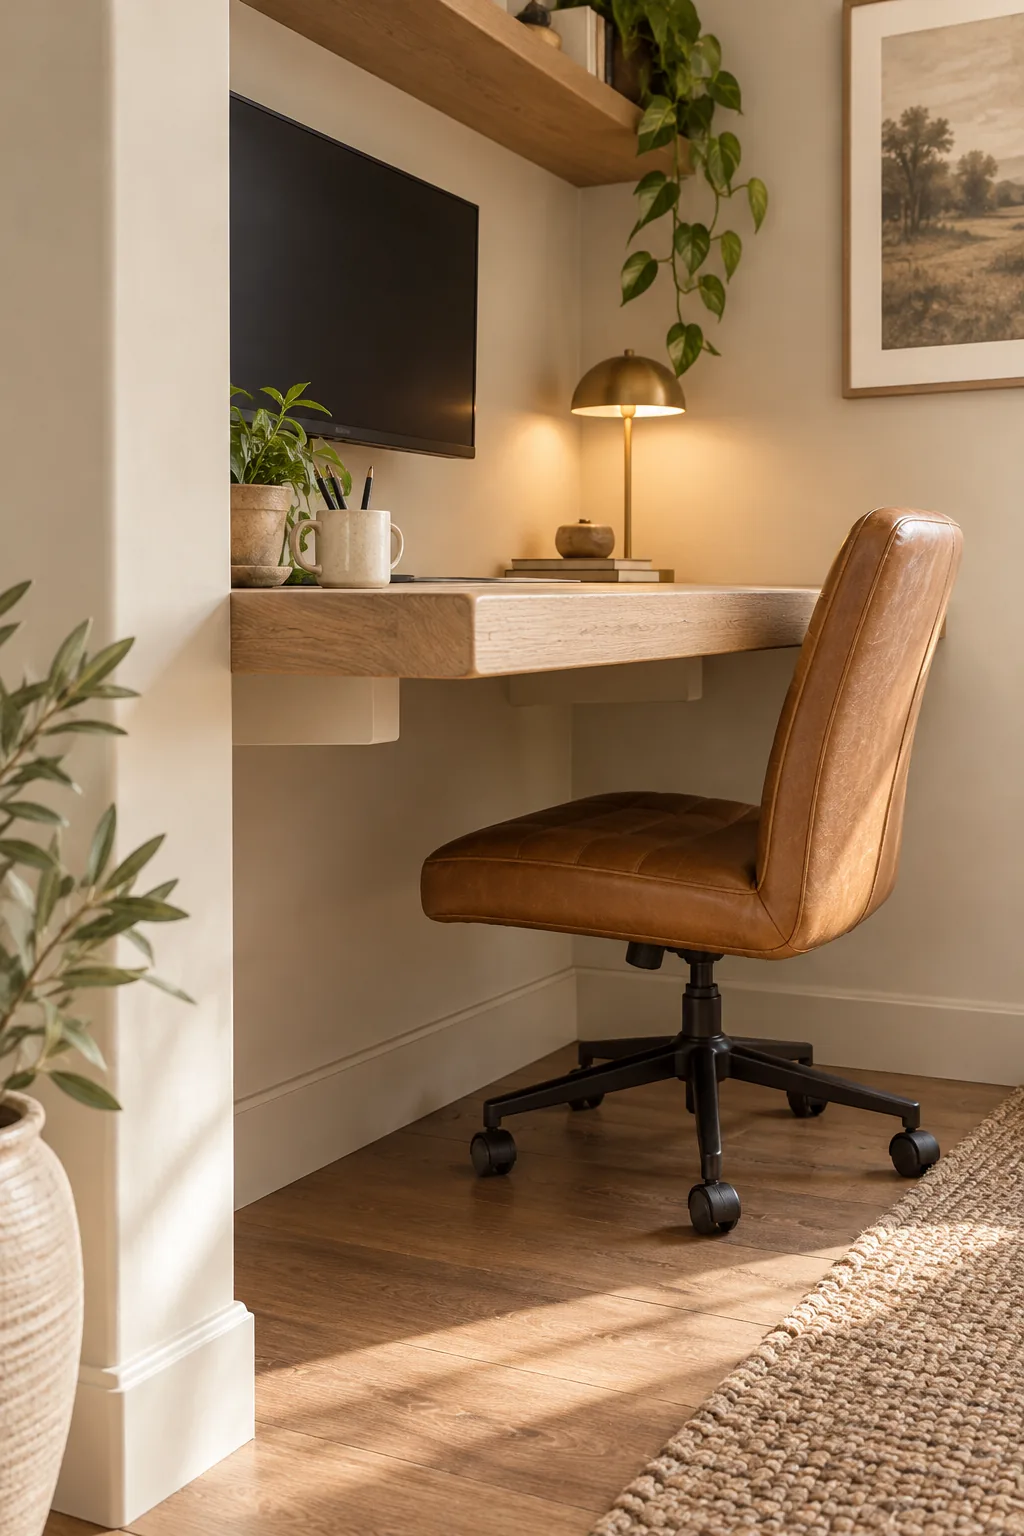
Camouflaging these heavy structural supports creates a highly effective floating illusion that visually lightens the entire installation. This brilliant monochrome technique tricks the eye, making the desk feel like an integrated architectural feature rather than a bulky piece of added furniture.
Creating the Floating Illusion
The ultimate success of a floating desk relies entirely on minimizing its overall visual weight within the surrounding room. By perfectly matching the underside paint to the wall color, distracting shadows are reduced and the desk appears to hover effortlessly in the space.
Organizing Desktop Essentials
Keeping a tight workspace highly functional means strictly limiting what lives permanently on the beautiful wooden desktop surface. You must ruthlessly edit your daily supplies, ensuring that only your absolute most essential tools remain within immediate arm’s reach during the workday.
Utilizing Vertical Wall Space
Installing a small, color-matched floating shelf just above the monitor provides a dedicated home for pens, notebooks, and small reference materials. Elevating these necessary items keeps your primary work zone entirely clear, maximizing the usability of your shallow micro-office setup.
Selecting a Proportionate Office Chair
Choosing seating that respects the micro-office footprint is the critical final step in finalizing your tight-corner layout. A massive executive chair will instantly overpower the shallow desk and completely disrupt the carefully planned traffic flow of your newly optimized living room.
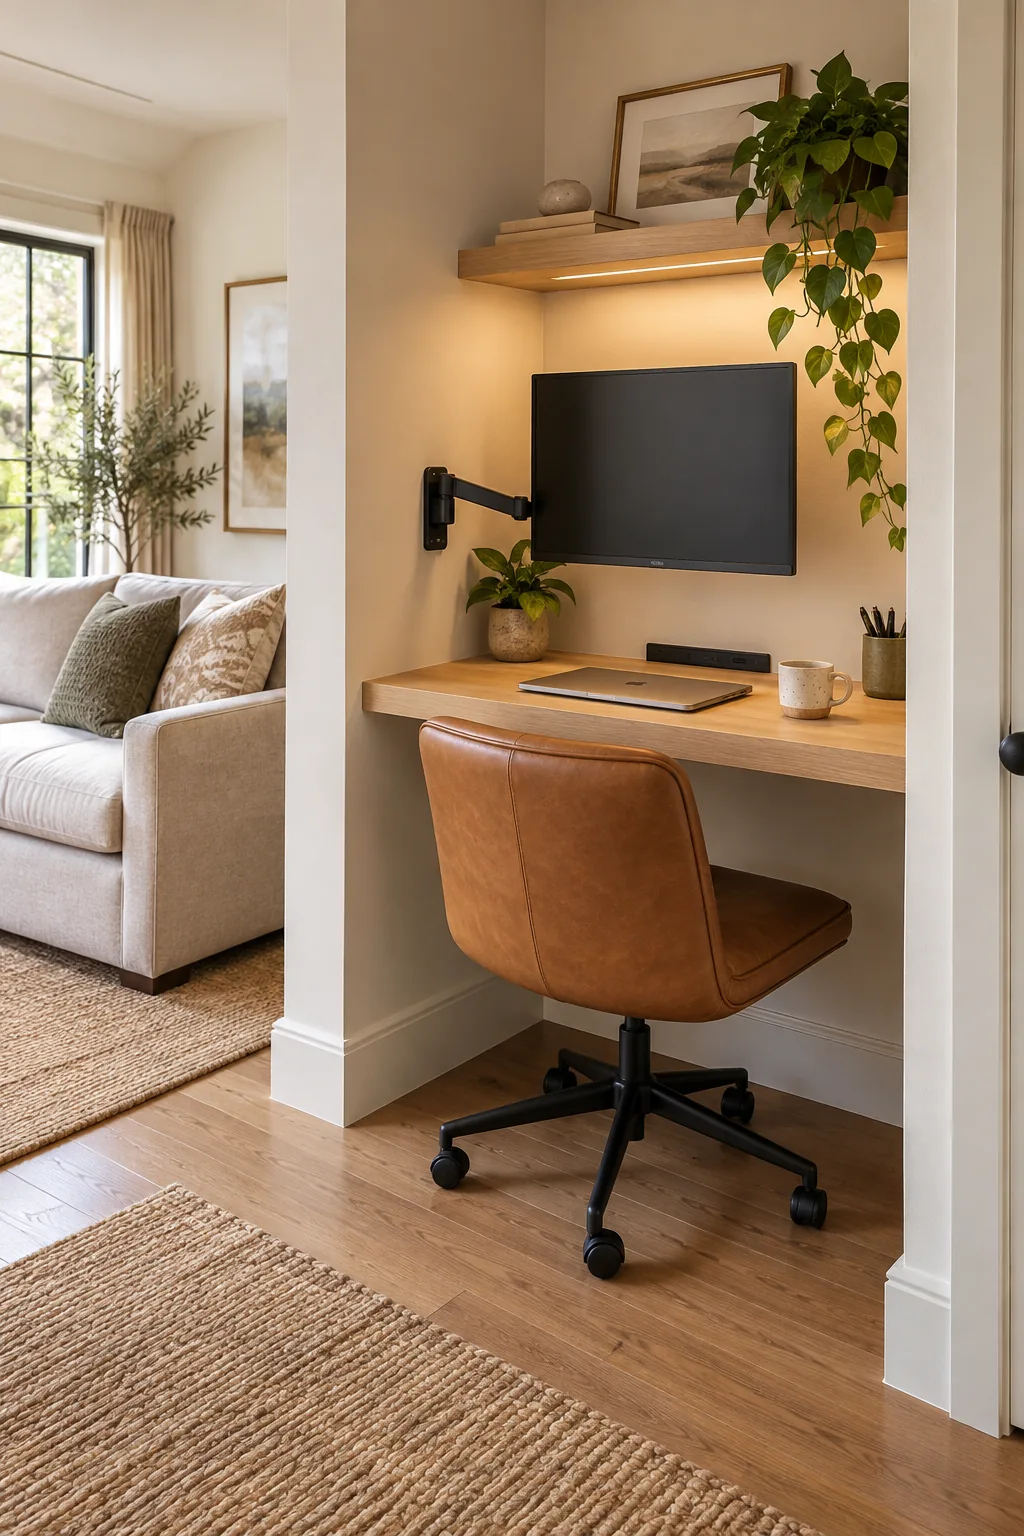
I highly recommend sourcing an armless, low-back leather chair that provides excellent ergonomic support during the workday. This streamlined design can be tucked entirely under the shallow desk when not in use, keeping your living space feeling beautifully open and meticulously organized.
5 Ways to Style a Micro-Office
Find the perfect aesthetic to make your compact workspace feel intentional and inspiring.
Minimalist Japandi Alcove: Light oak wood and cream walls create a calming, distraction-free zone. Copy this look by keeping the desktop completely clear except for a single structural ceramic mug.
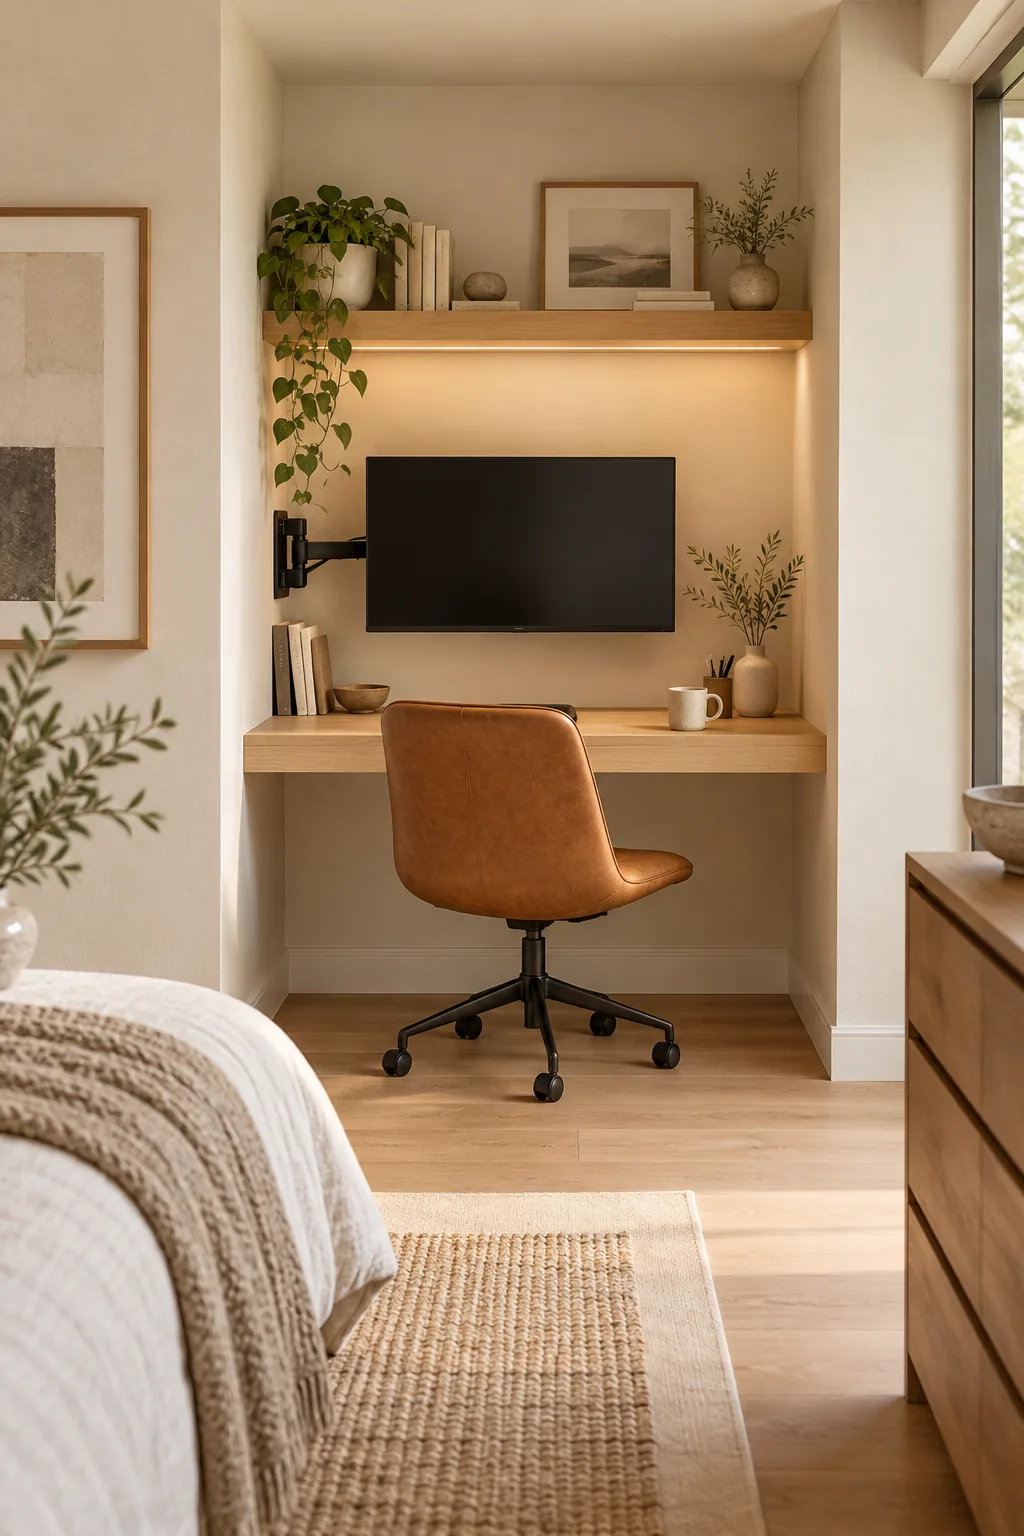
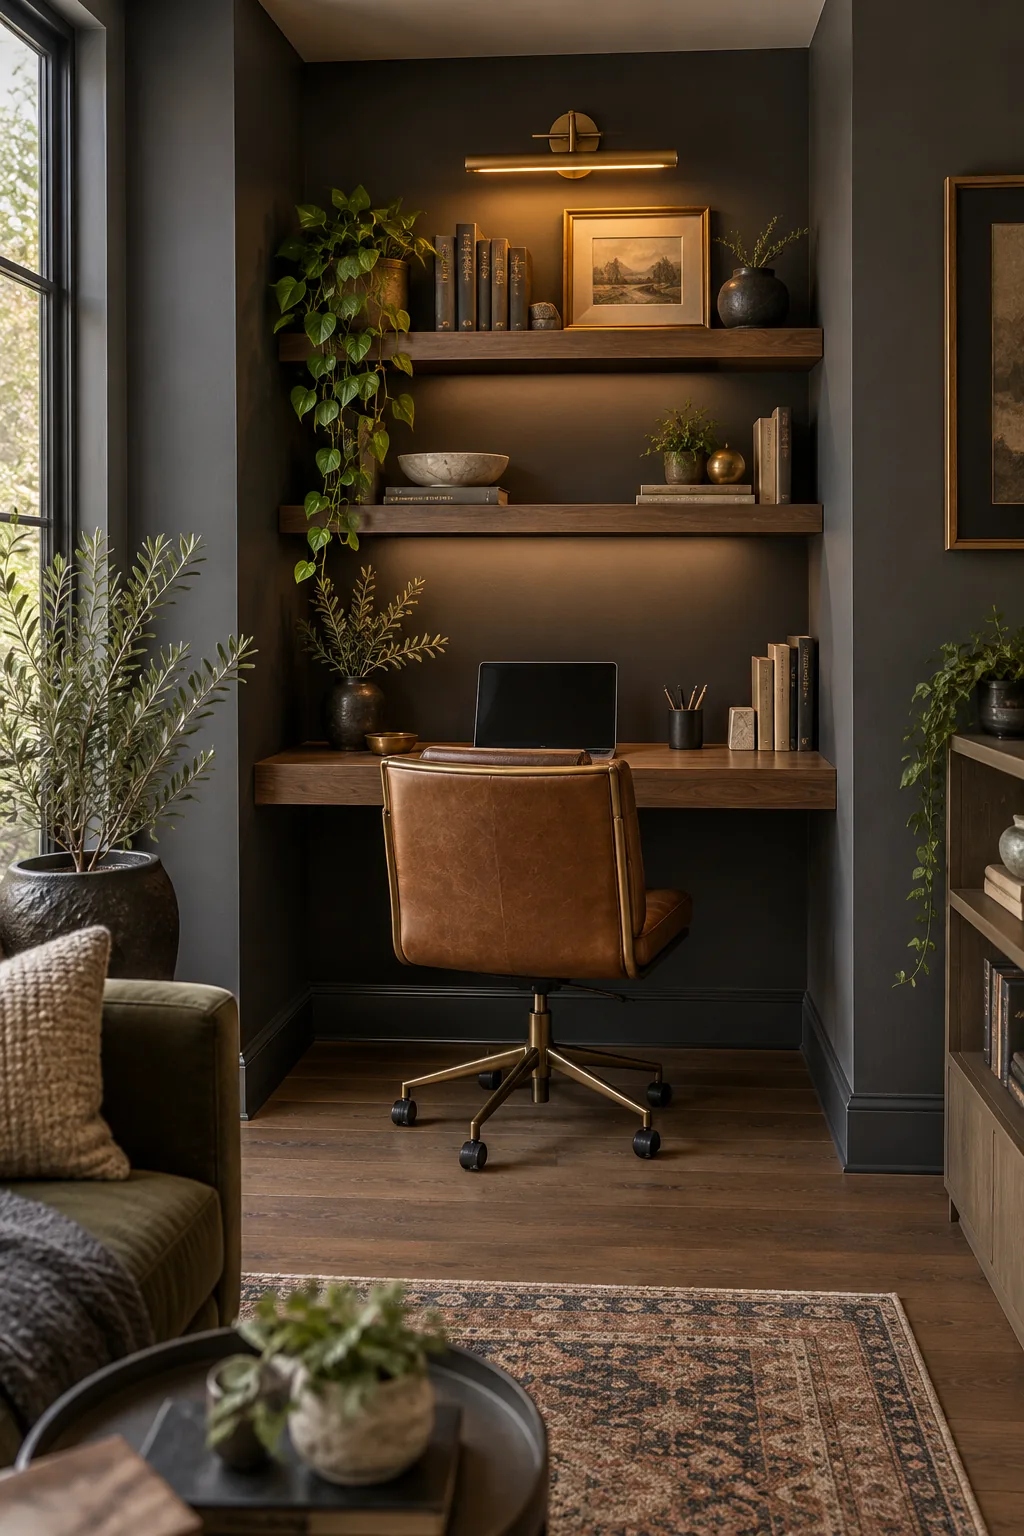
Moody Charcoal Nook: A dark charcoal alcove makes the workspace recede into the shadows when not in use. Recreate this by painting the walls and desk supports the same moody hue.
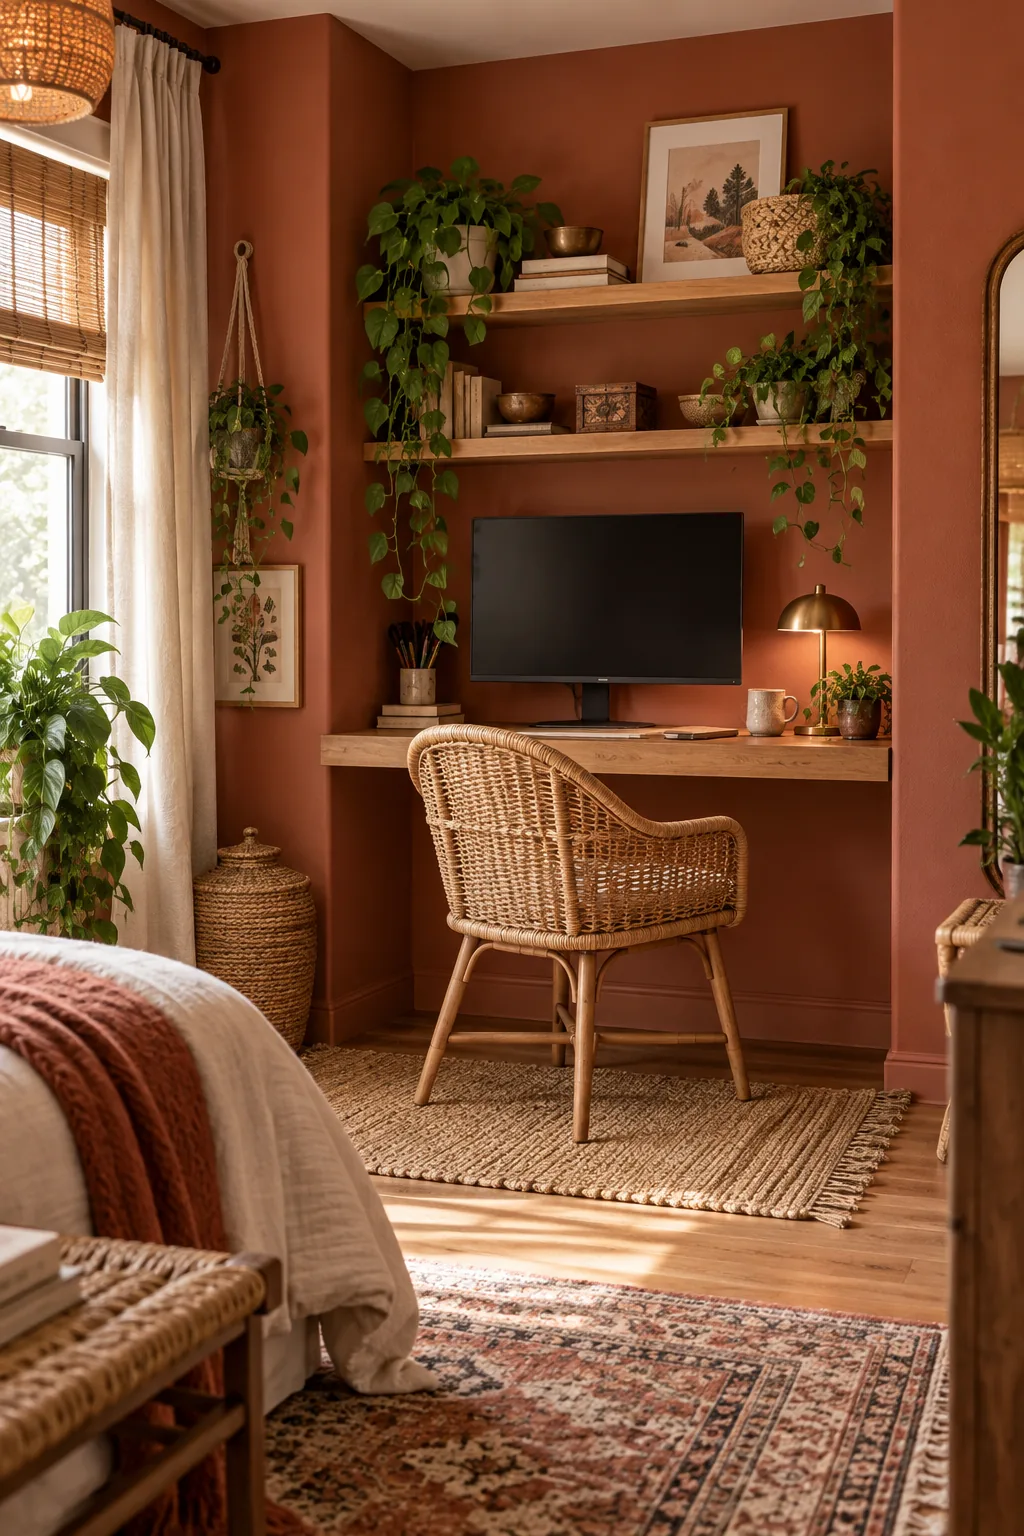
Boho Bedroom Workspace: Terracotta tones and a rattan chair bring warmth to a bedroom corner. Achieve this vibe by adding trailing pothos plants and a textured woven rug underfoot.
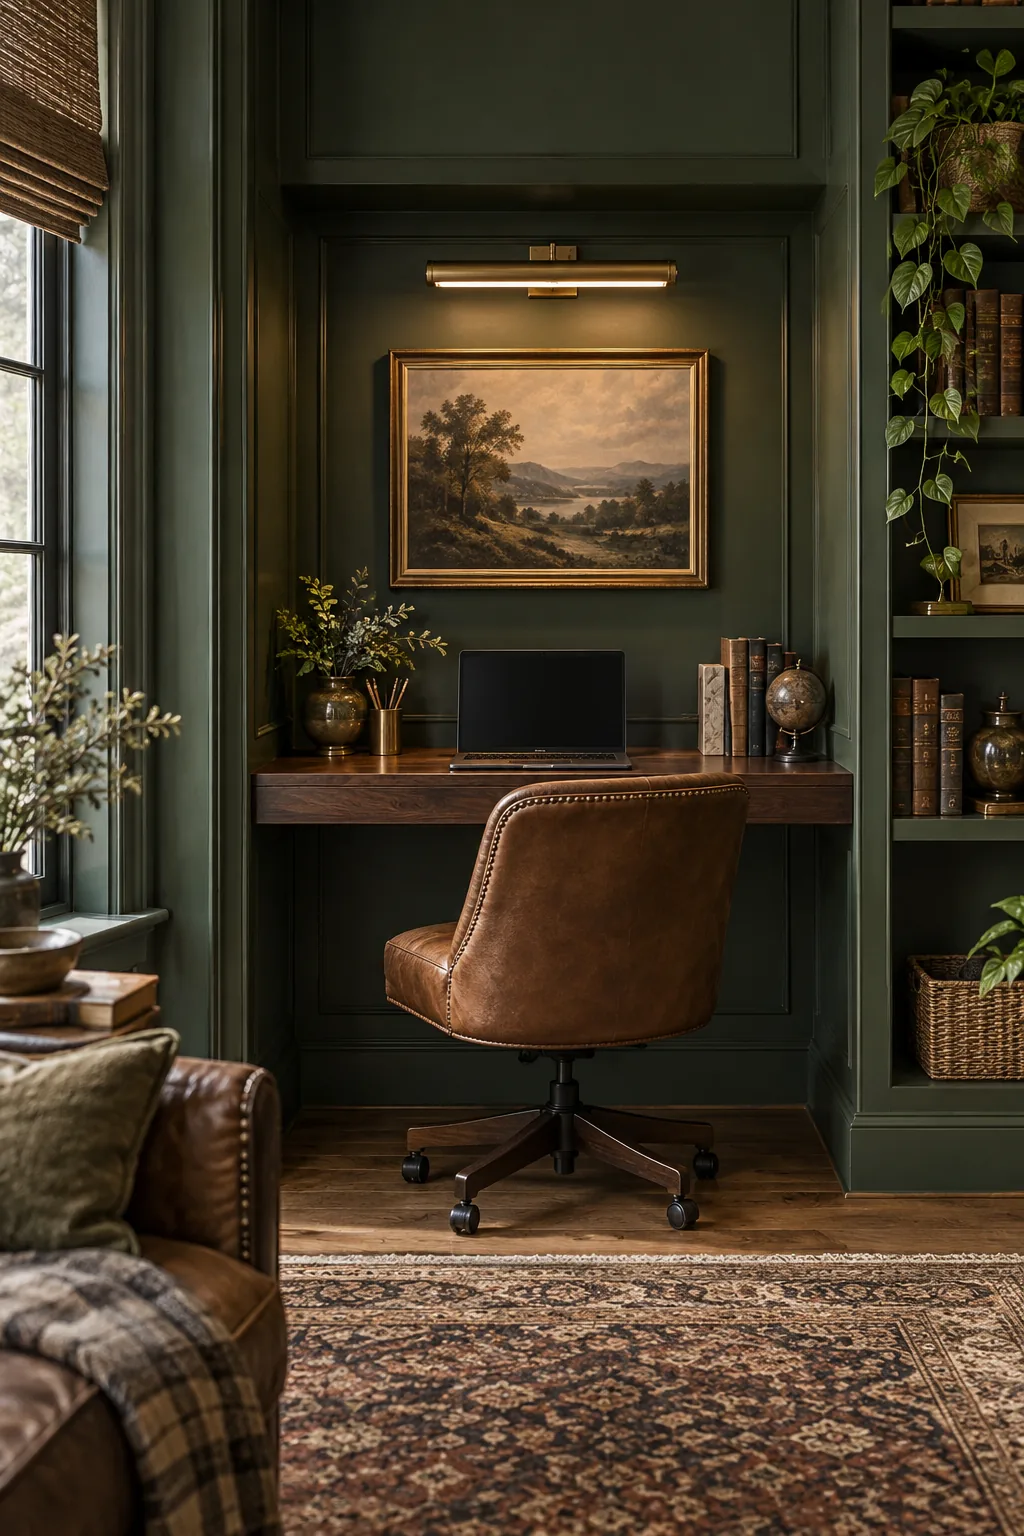
Traditional Library Desk: Deep green walls and a mahogany-stained desktop mimic a classic library. Steal this style by swapping the brass sconce for a traditional picture light above the monitor.
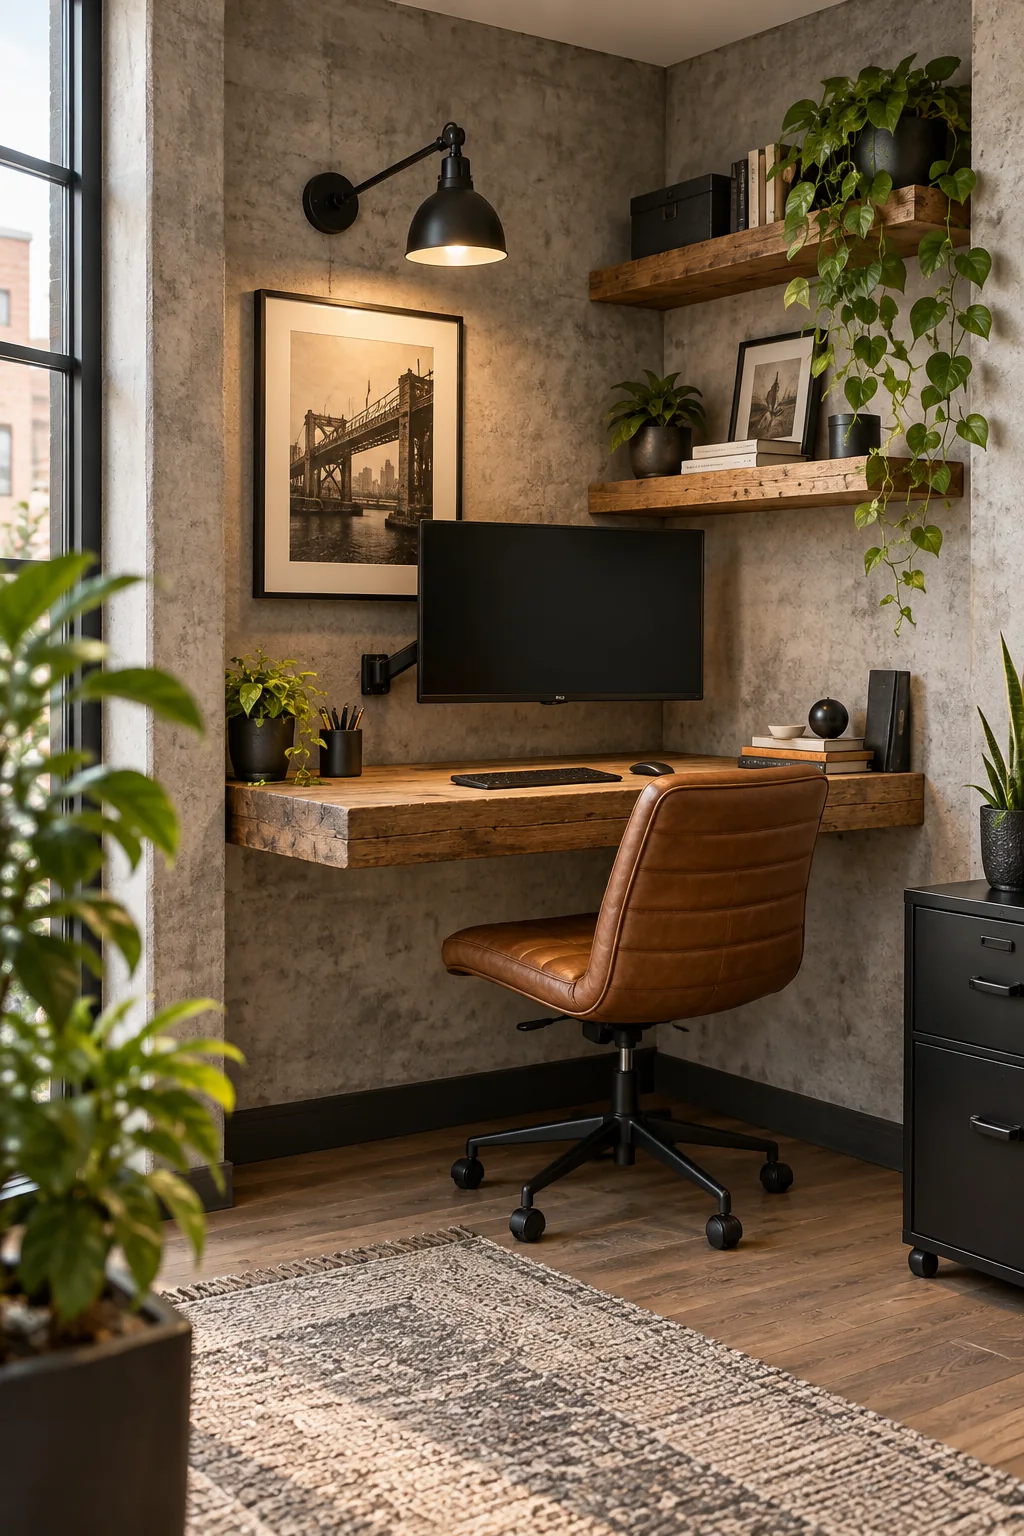
Modern Industrial Corner: Concrete-look wallpaper and reclaimed wood give this corner an urban edge. Get the look by using matte black hardware for both the monitor mount and the sconce.