
Under-Deck Lounge: Your Weekend Build Plan & Shopping List
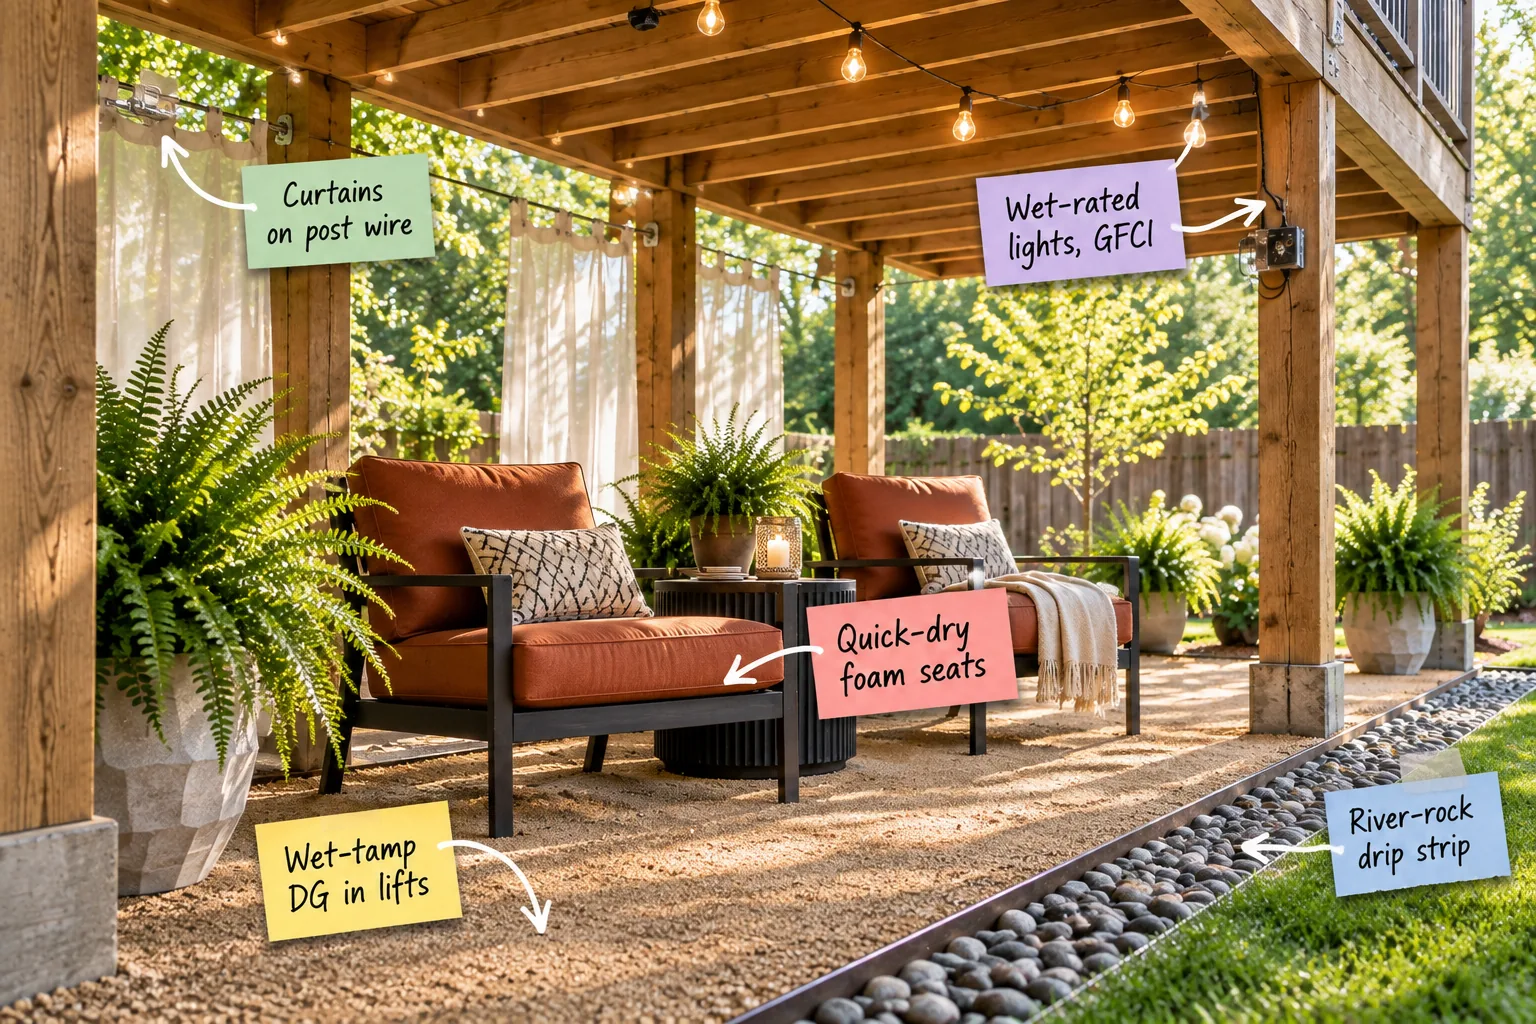
Transform your wasted yard space with our weekend build plan, delivering a complete printable shopping list and a clear Saturday-to-Sunday schedule for your under-deck lounge. You will be able to shop for exact material quantities and build this cozy outdoor room immediately.
The Saturday-Sunday Build Schedule
Grab our printable two-page plan and shopping list, deliberately dividing the heavy groundwork on Saturday from the lighter overhead installations on Sunday. This logical two-day sequence ensures you never walk over finished surfaces while carrying heavy bags of stone or bulky rental equipment.
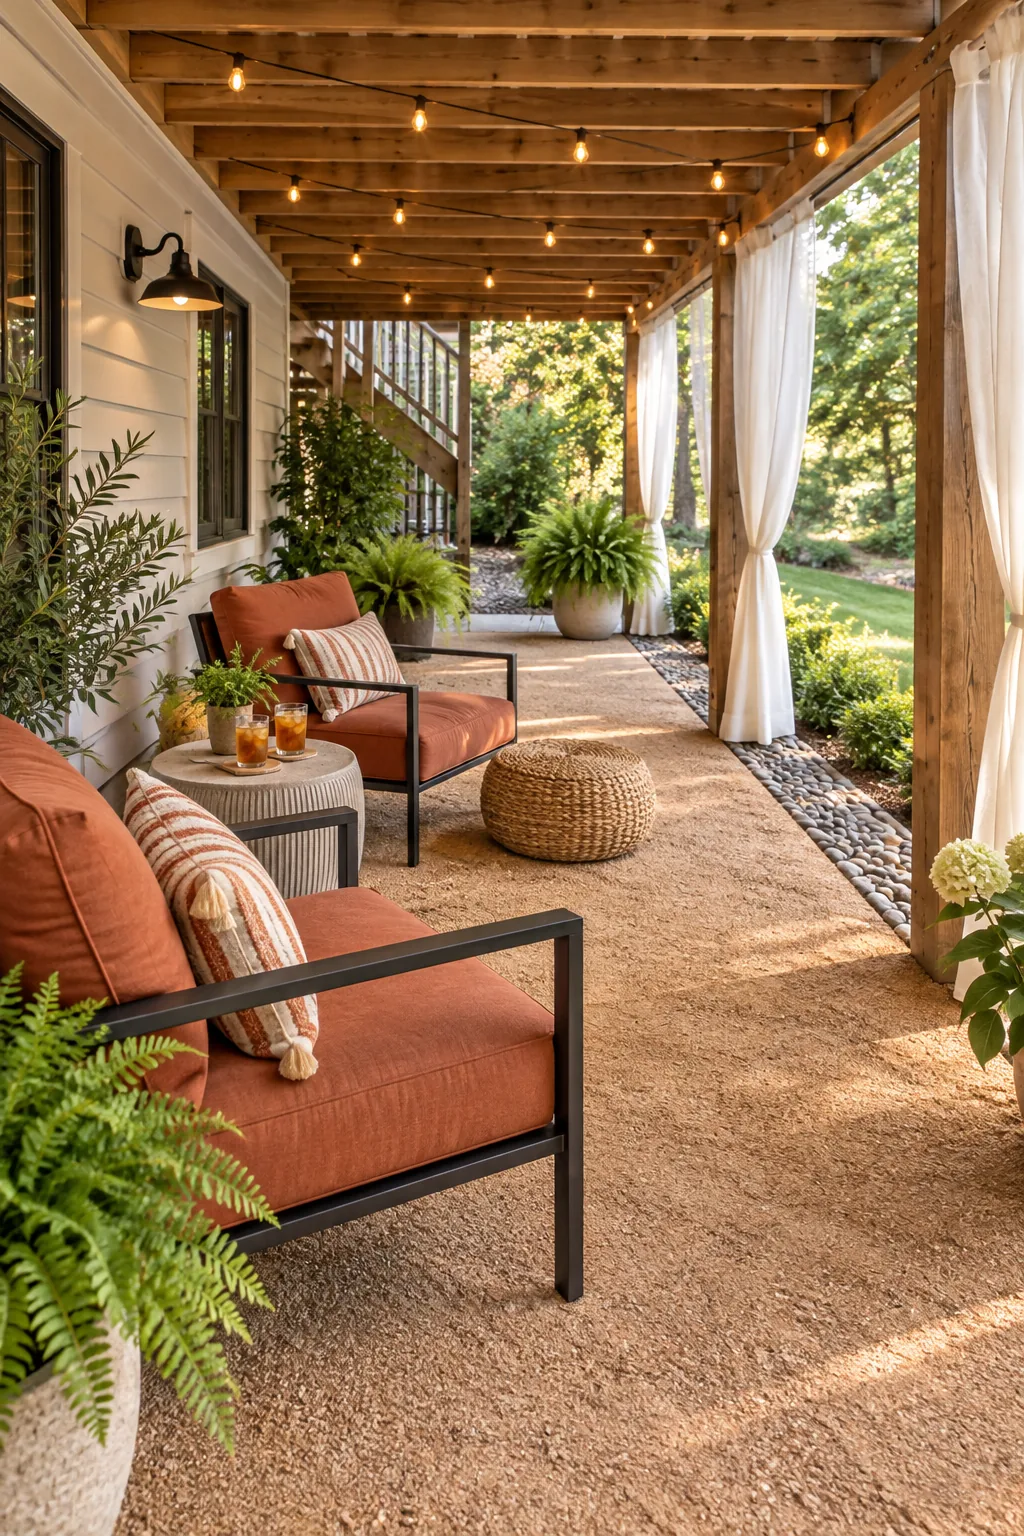
Before picking up your rental equipment on Saturday morning, verify these three logistical details to keep your weekend build strictly on track and avoid paying unnecessary day rates for tools you cannot use yet.
Verifying Underground Utility Lines
Skipping the utility check is a dangerous mistake when excavating near a house foundation. Always call your local marking service a few days early to ensure your 10×12 foot footprint is completely clear of buried electrical, gas, or plumbing lines before you dig.
Prepping the Base and Steel Edging
Excavating 3 to 4 inches into the soil and laying heavy-duty landscape fabric is crucial for establishing a solid sub-base before laying the surface material. A flat, properly excavated pit prevents your new patio from settling unevenly after the first major rainstorm.
- Dig out the exact 10×12 foot footprint to a uniform depth across the entire yard space.
- Roll out commercial-grade weed barrier fabric, overlapping the seams by six inches.
- Stake crisp, rust-resistant steel edging around the perimeter to contain the stone.
Selecting Commercial-Grade Landscape Fabric
Cheap weed barriers tear easily under the sharp edges of crushed stone, allowing dirt to mix with your expensive patio materials. Invest in a heavy-duty woven geotextile fabric, overlapping the seams by at least six inches to create an impenetrable dirt barrier.
Calculating Your Base Materials
Buying the correct volume of materials prevents frustrating mid-project hardware store runs. For a standard 10×12 foot lounge pad, you will need exactly 1.5 cubic yards of decomposed granite and one cubic yard of base rock to achieve the required 3-inch compacted depth.
Ordering Bulk Delivery
Having a local landscape yard deliver your materials in bulk is significantly cheaper than buying hundreds of individual plastic bags. Direct the delivery driver to dump the stone as close to the deck as possible to minimize the grueling wheelbarrow trips across your lawn.
Understanding Decomposed Granite Types
Purchasing unstabilized granite for a high-traffic lounge area guarantees the material will track into your house on the bottom of your shoes. Always specify stabilized decomposed granite, which contains a natural organic binder that locks the particles together into a hard, dust-free surface.
Wet-Tamping the Decomposed Granite
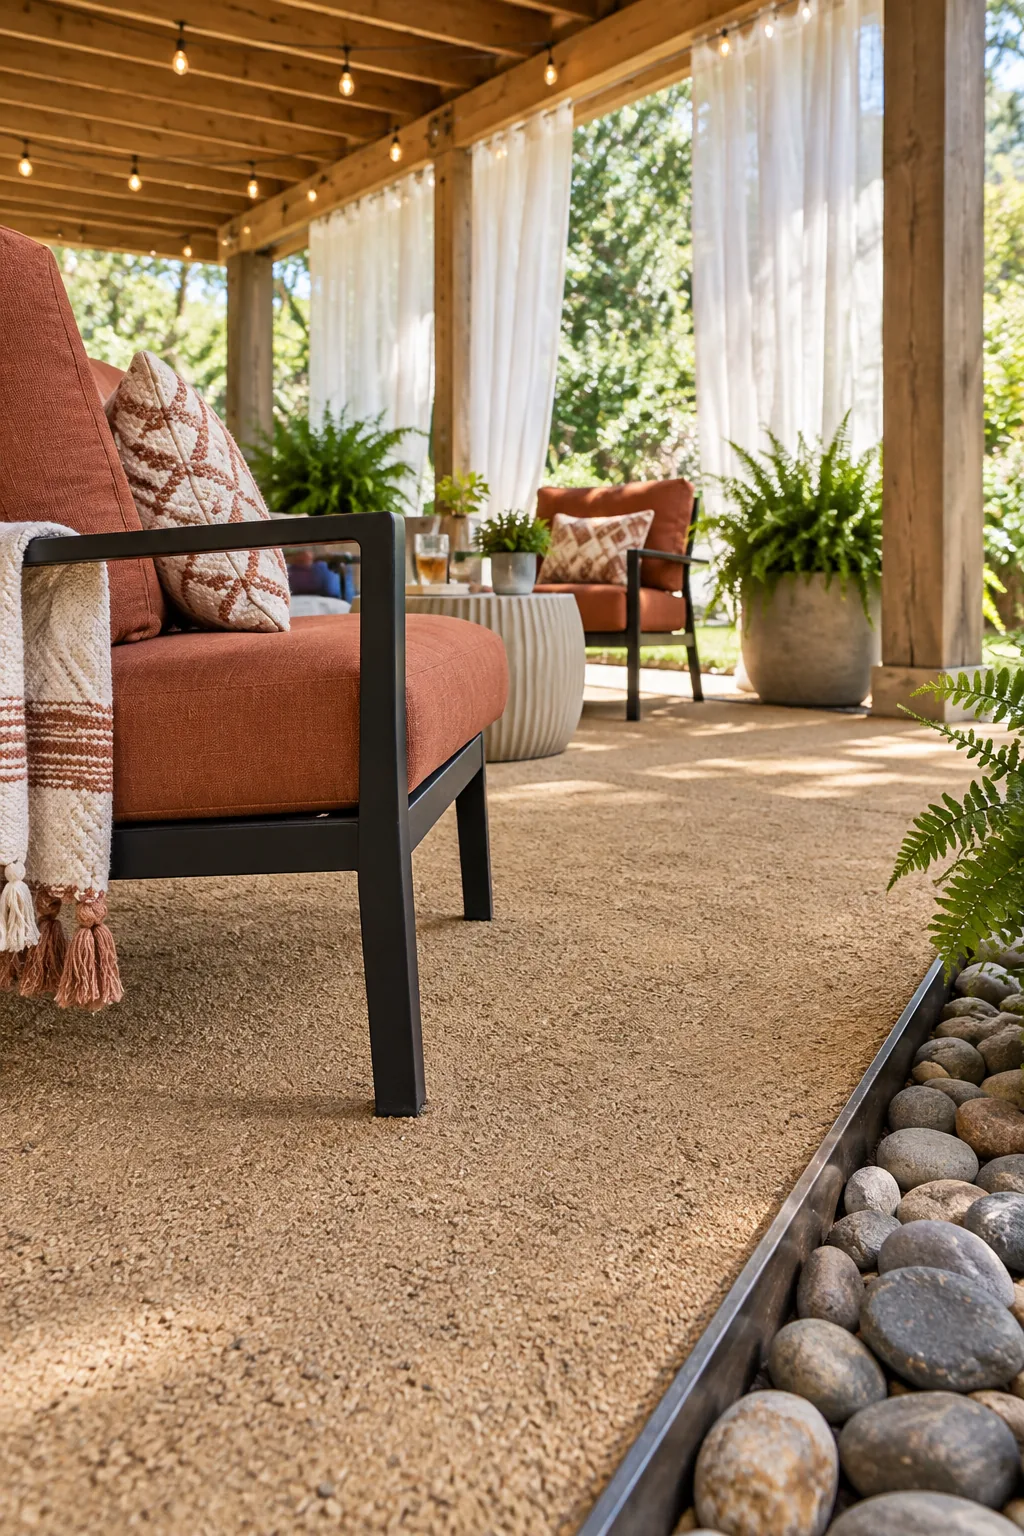
Spreading all the decomposed granite at once inevitably leads to a soft, shifting floor, so you must wet-tamp DG in lifts to create a stable foundation. Building the floor in thin, highly compacted layers mimics the density of natural sedimentary rock.
| Layer | Thickness | Action | Result |
|---|---|---|---|
| Base Rock | 1.5 inches | Dry tamp completely | Solid sub-grade |
| First DG Lift | 1.5 inches | Lightly wet and compact | Locks into base |
| Final DG Lift | 1.5 inches | Wet heavily and compact | Smooth finish |
Achieving a Perfectly Level Surface
Spreading these 1.5-inch layers, lightly wetting them with a garden hose, and running a rented plate compactor over each lift ensures the final surface is incredibly hard and smooth. Proper compaction prevents your heavy patio furniture from sinking into the stone.
Renting the Plate Compactor
Attempting to tamp a 120-square-foot patio by hand with a manual tamper will leave you exhausted and yield an uneven, spongy surface. Reserving a gas-powered plate compactor from your local hardware store is the single most important investment for this weekend build.
Wetting the Granite Properly
Applying too much water turns the decomposed granite into a muddy soup that cannot be compacted, while too little water prevents the dust from binding. Lightly misting each lift with a garden hose until it resembles damp sand ensures the perfect compaction consistency.
Maintaining the Steel Edging
Lawnmower blades easily catch on poorly installed metal borders, bending the crisp lines and ruining the geometric aesthetic of your new patio. Driving the steel edging stakes deep into the subsoil ensures the top lip stays perfectly flush with the adjacent turf grass forever.
Managing Runoff with a River-Rock Drip Strip
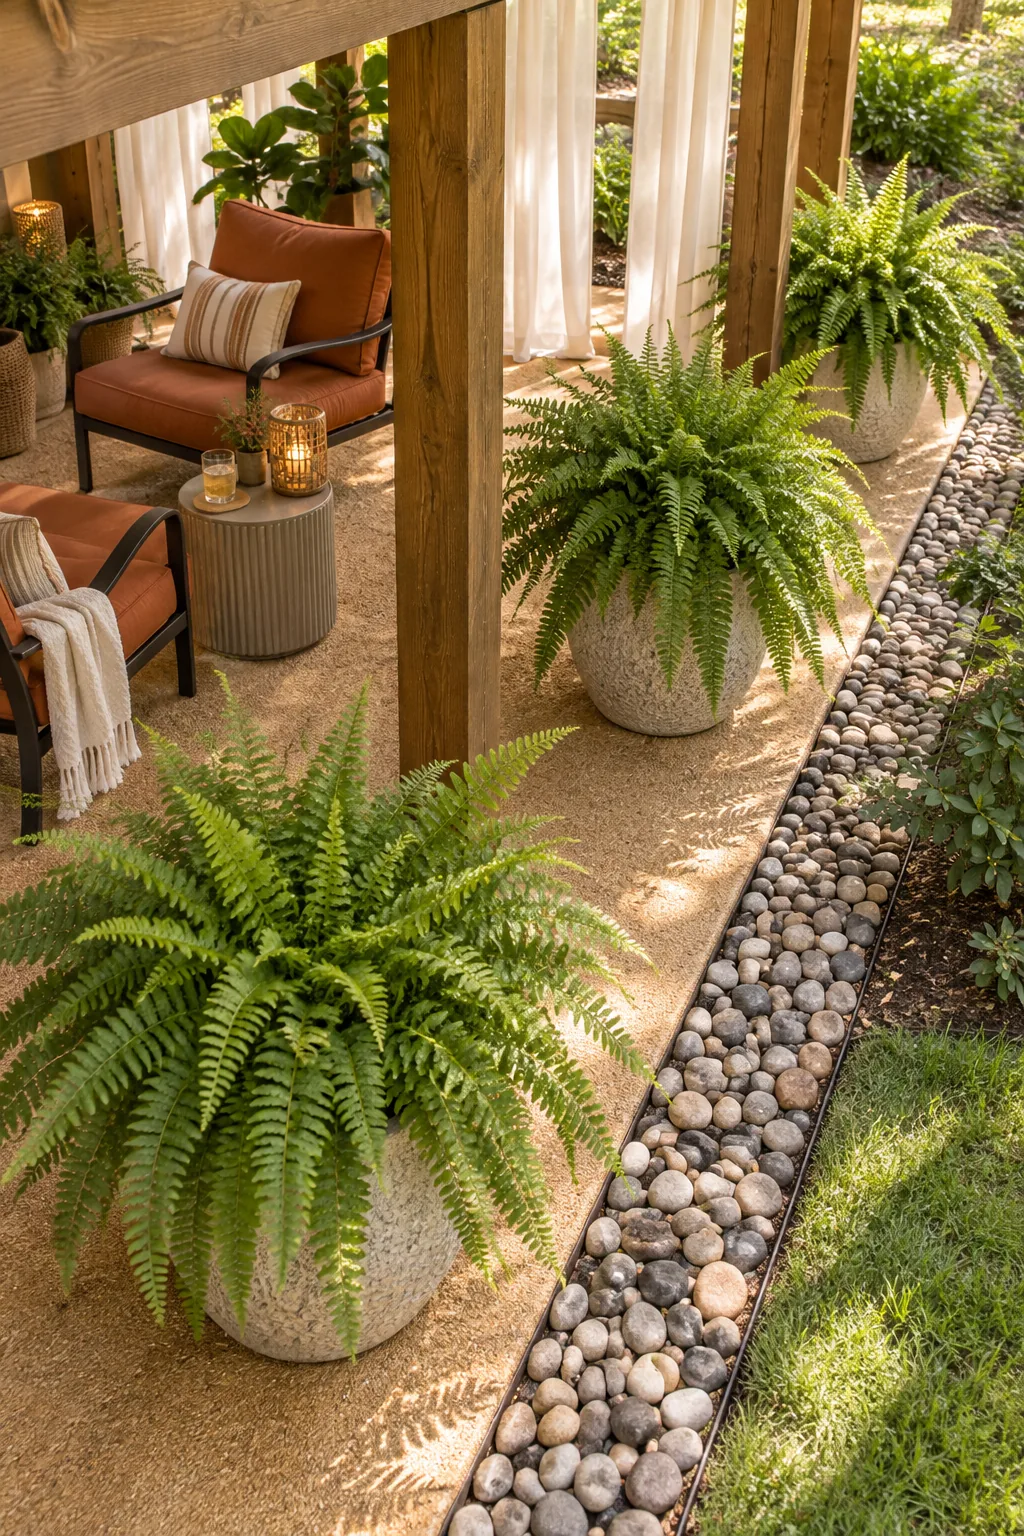
The outer edge of the deck creates a concentrated waterfall during heavy storms, requiring an 8-inch-wide river-rock drip strip to prevent washouts. This dedicated drainage zone catches the heavy sheets of water rolling off the decking boards and disperses the energy safely.
Digging the Drip Line Trench
Excavate a shallow trench exactly plumb with the deck’s outer edge, sloping the bottom slightly away from your home’s foundation. Filling this trench with heavy, smooth gray river rock creates a beautiful border that will never wash away into your lawn.
Choosing the Right River Rock Size
Selecting stones that are too small invites neighborhood cats to use your drip strip as a litter box, while massive cobbles create a tripping hazard. Smooth, two-inch to three-inch gray river rocks lock together beautifully while providing enough void space for rapid water drainage.
Rigging Curtains on Post Wire
Spanning the gap between deck support posts without bulky, sagging rods requires a taut steel cable kit equipped with small turnbuckles and eye hooks. This minimalist hardware disappears visually while providing incredible strength against strong crosswinds that catch the heavy fabric.
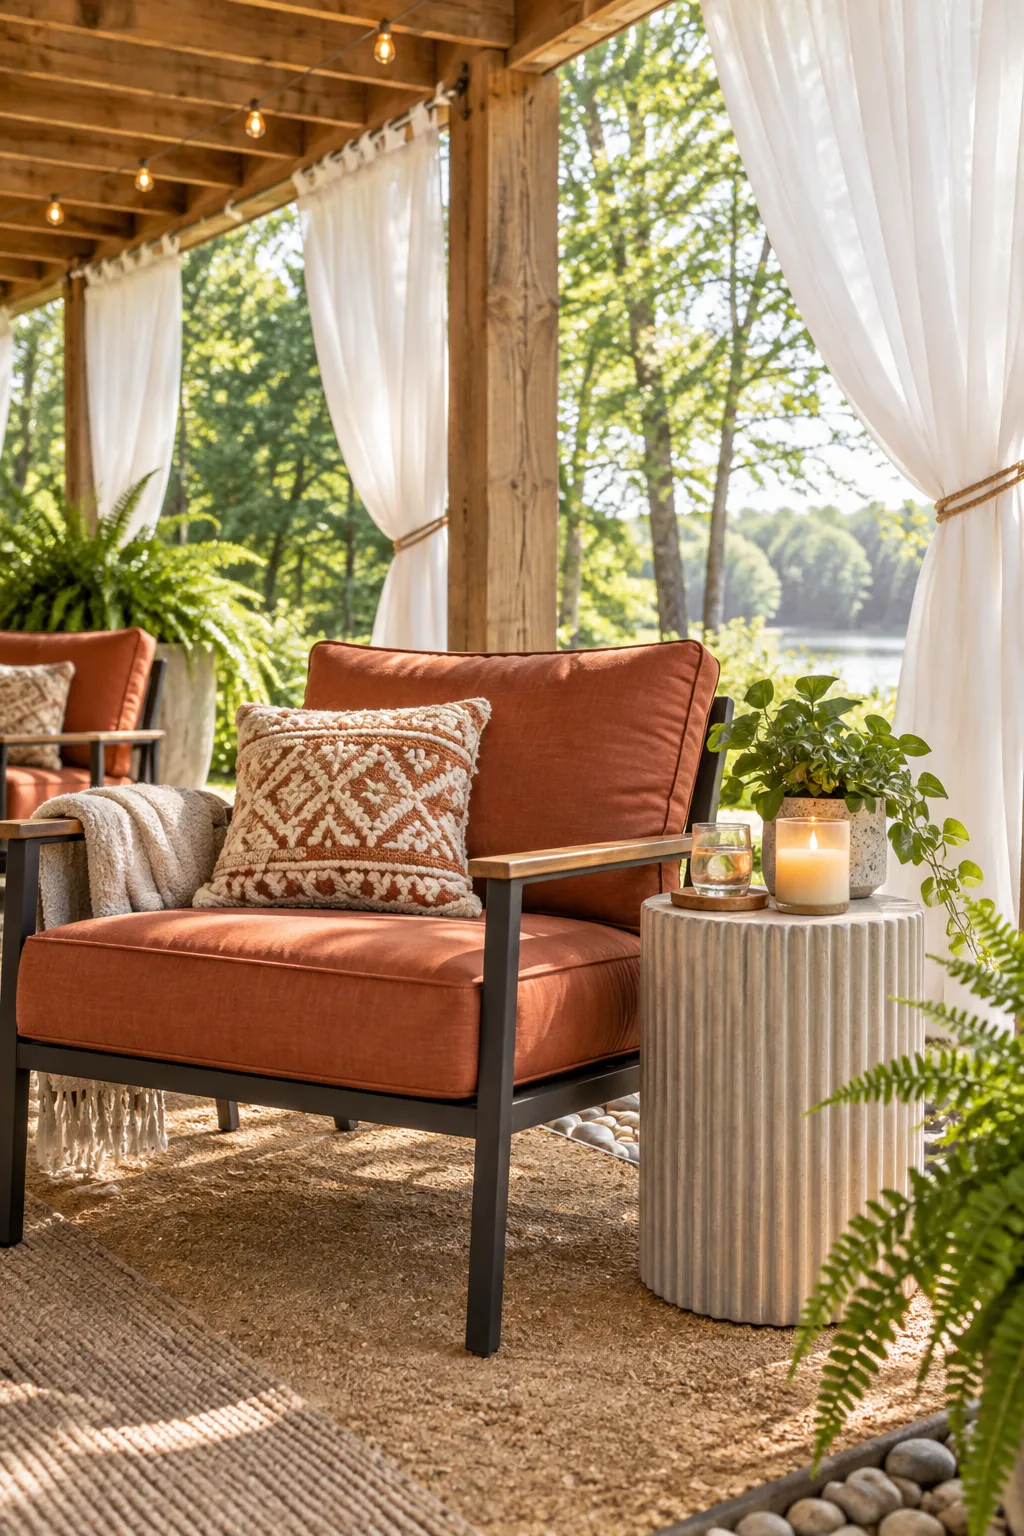
I used small turnbuckles to hang sheer outdoor curtains that soften the hard wooden architecture at my own house, giving the space a breezy cabana feel. The turnbuckles allow me to easily tighten the wire whenever the seasonal temperature changes cause sagging.
Measuring the Post Gap for Wire
Accurately measuring the distance between your deck support posts before cutting the steel cable prevents frustrating installation errors. Always cut the wire six inches shorter than the actual gap to leave plenty of room for the turnbuckle hardware to stretch the line taut.
Sourcing the Right Curtain Hardware
Purchasing a marine-grade stainless steel wire kit ensures your curtains on post wire will never rust or snap under heavy tension. Standard galvanized wire will eventually corrode in the humid outdoor air, leaving ugly orange rust stains on your beautiful sheer curtains.
Stringing Wet-Rated Joist Lights
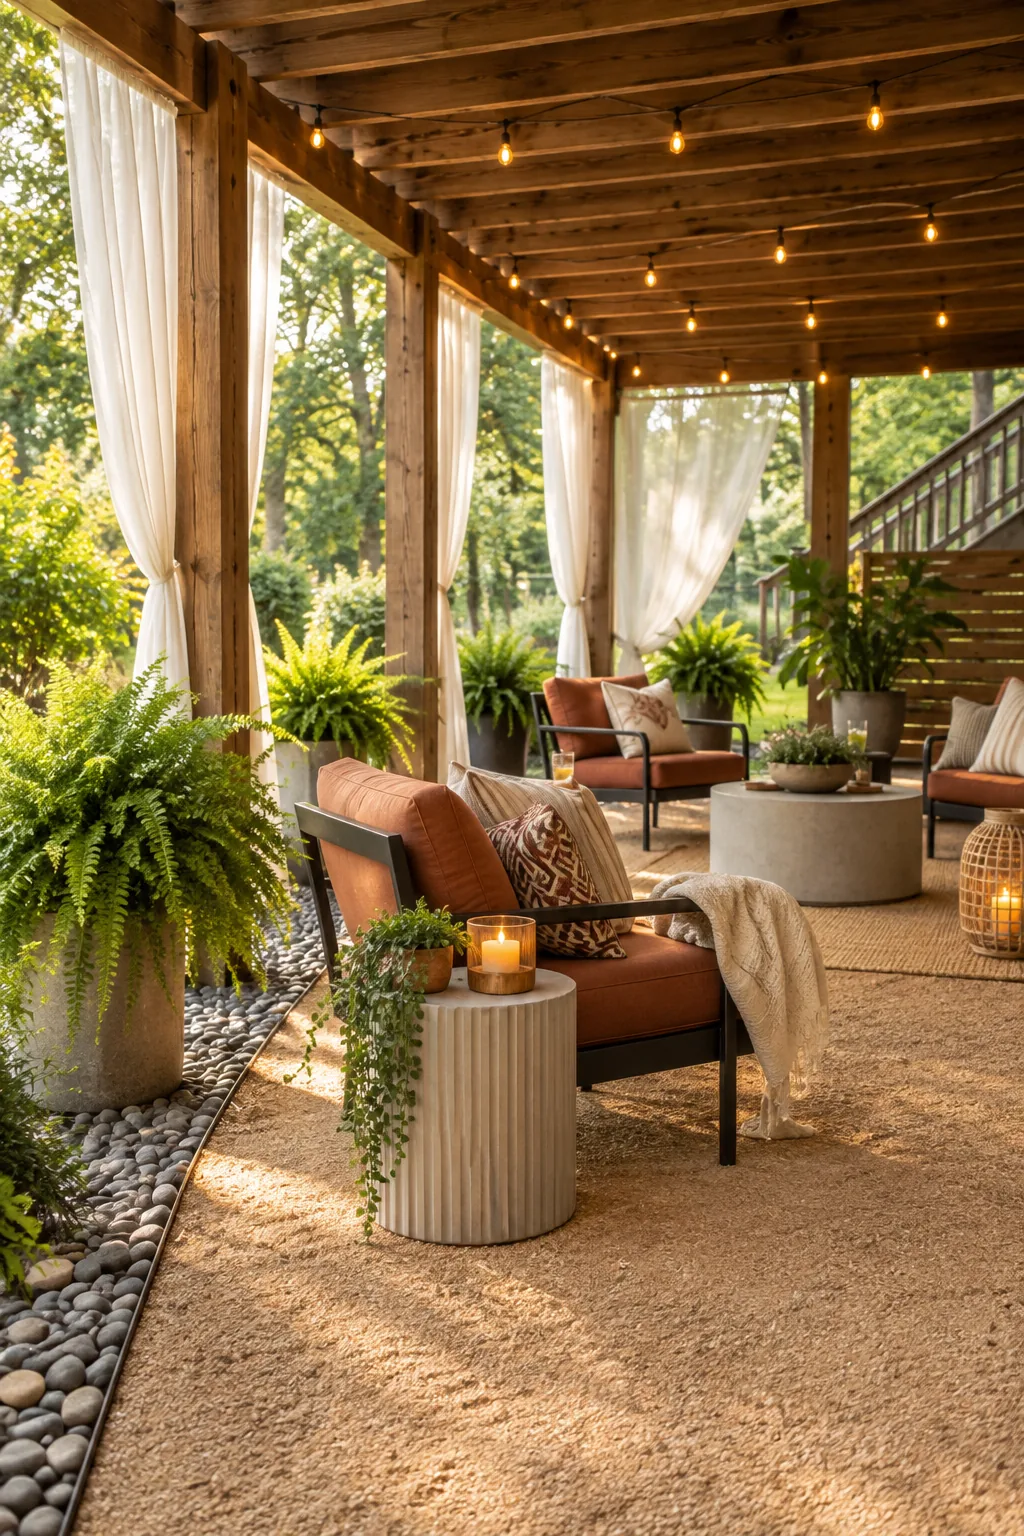
Under-deck areas get dark but are still exposed to blowing moisture, so tuck commercial-grade, wet-rated lights and a GFCI outlet up into the joist bays. Aiming for 3 to 4 bulbs per bay provides a warm, ambient glow without blinding your guests.
Spacing the String Light Bulbs
Bunching too many bulbs at one end of the joist bay creates harsh hotspots that ruin the relaxing evening atmosphere. Evenly spacing your wet-rated lights every 24 inches along the joist guarantees a smooth, continuous glow across the entire ceiling of your outdoor room.
Wiring the Covered GFCI Outlet
Plugging your overhead lighting into a standard interior outlet is a serious safety hazard outdoors. Always hire a licensed electrician to install a dedicated GFCI receptacle with a weatherproof bubble cover on one of the deck posts to power your new lounge space safely.
Protecting Your Cushions from Rain
Even under a deck, morning dew and blowing rain will reach the furniture, so I recommend thick seat cushions made with open-cell quick-dry foam and acrylic covers that drain water instead of acting like a sponge. Water should pass right through the core.
Selecting Quick-Dry Lounge Seating
Upgrading to thick terracotta quick-dry foam seats completely changed how I use my own patio, since I no longer have to drag heavy cushions inside every time it drizzles. The breathable acrylic covers resist mildew and wipe clean effortlessly after heavy spring pollen drops.
Cleaning the Acrylic Cushions
Even the highest quality outdoor fabrics eventually collect tree pollen and airborne dust that dulls their vibrant terracotta color. Scrubbing the acrylic covers lightly with a soft bristle brush and mild dish soap every spring restores the fabric without degrading the protective water-resistant coating.
Styling with Shade-Loving Ferns
Finish the space by lining potted plants along the outer edge, specifying shade-tolerant ferns since the area under a second-story deck is typically full shade. These lush green plants thrive in the damp, cool microclimate created by the overhead wooden structure.
4 Ways to Style Your Under-Deck Space
Once the hardscaping is done, choose a furniture and material palette that fits your home's exterior.
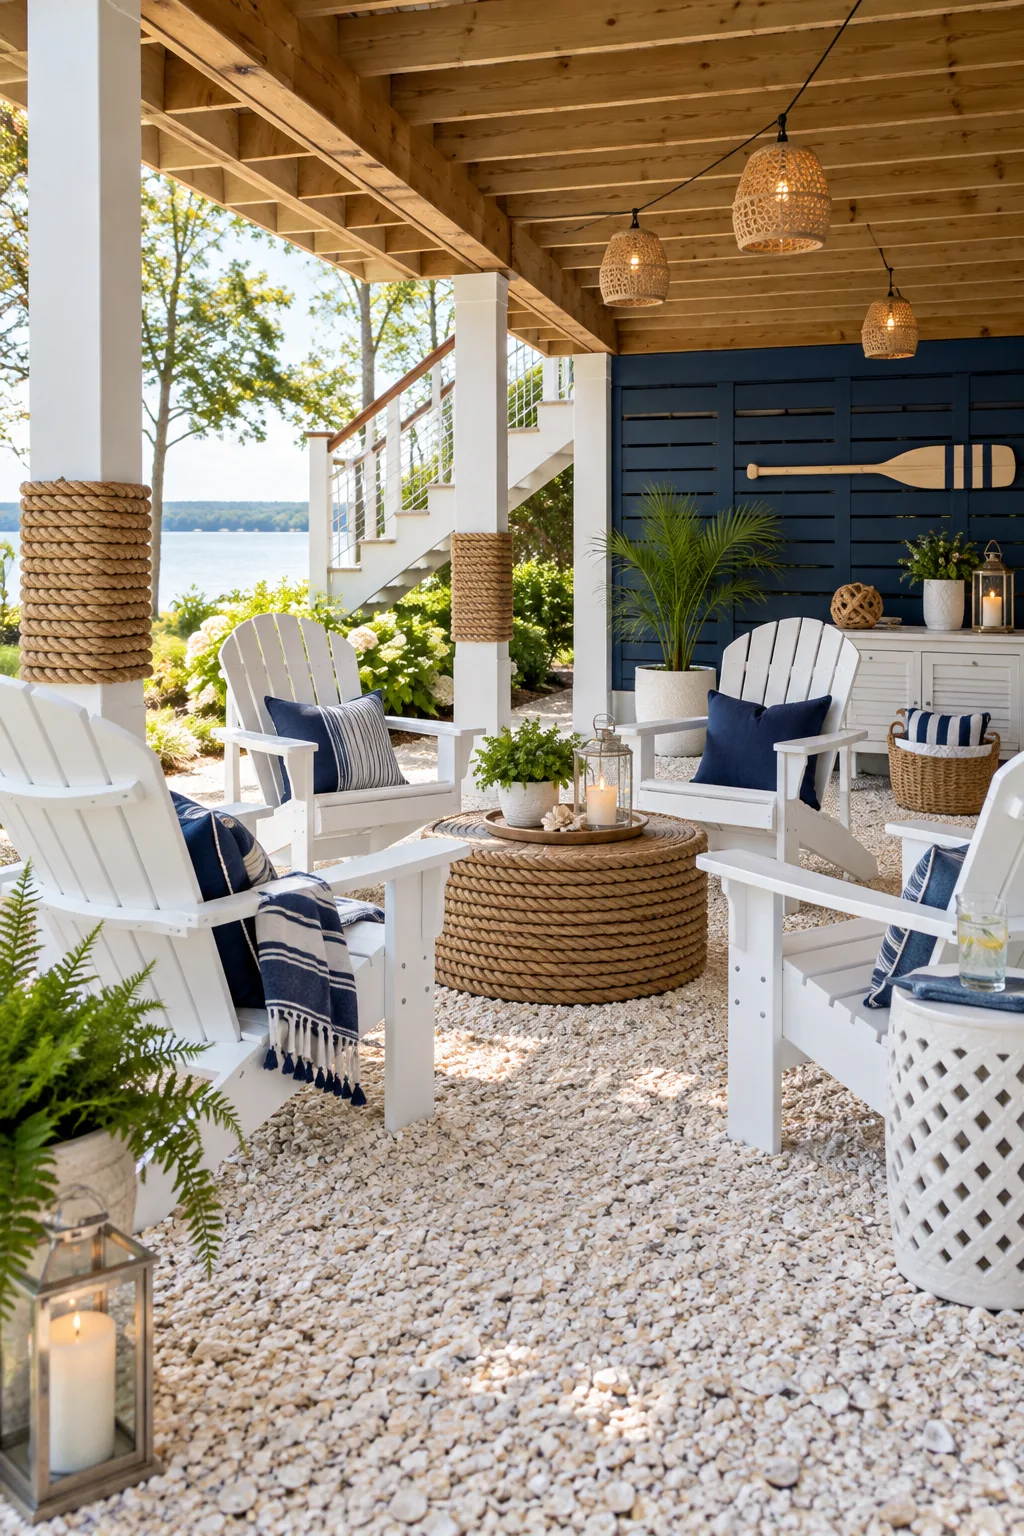
Crisp Coastal Shell Floor: Swap the granite for crushed shells and add classic white Adirondack chairs to give your under-deck space an instant beach-house feel.
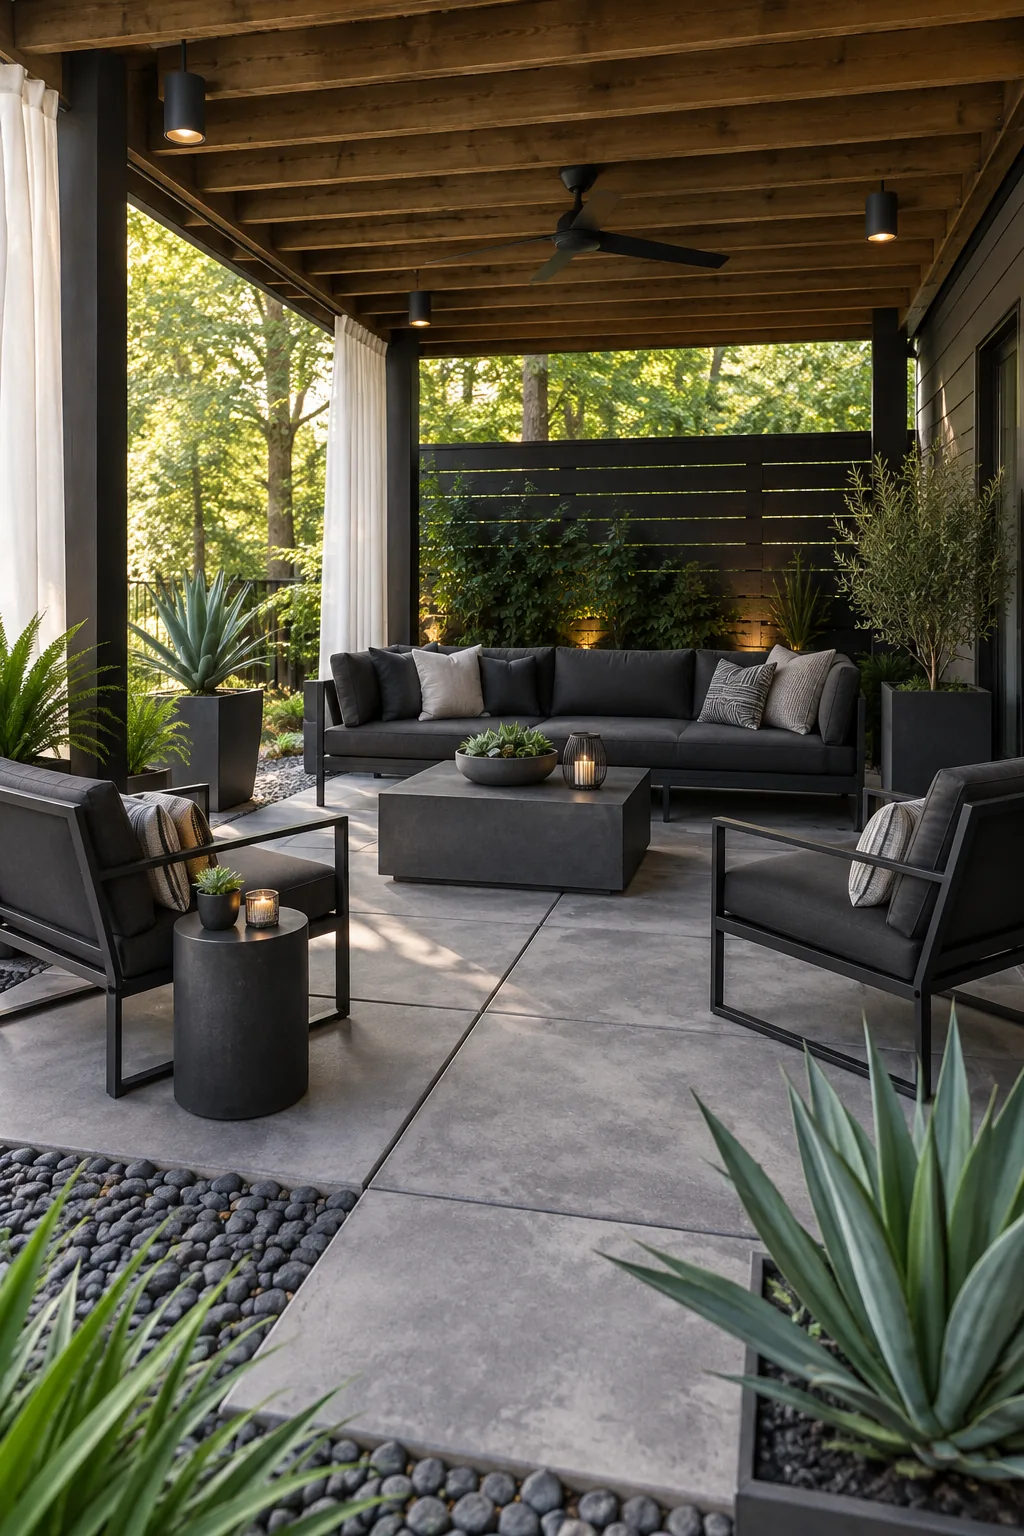
Modern Concrete and Metal: Large square concrete pavers and sleek black metal lounge chairs create a sharp, architectural contrast against the rustic wood of the deck above.
Boho Rattan and Gravel: Warm pea gravel provides a casual base for layered outdoor rugs, hanging macrame planters, and cozy rattan egg chairs in this relaxed bohemian setup.

Rustic Flagstone and Cedar: Irregular flagstone flooring and chunky cedar log furniture blend seamlessly into a wooded backyard, making the under-deck space feel like a woodland cabin porch.

Securing the Planters
Placing tall plants directly on the soft grass makes them highly susceptible to tipping over during high winds. Sinking a single flat concrete paver flush with the lawn under each heavy planter provides a perfectly level, rock-solid base that keeps your ferns standing tall.
I strictly use heavy concrete planters for my own ferns, ensuring they won’t blow over in a sudden Texas thunderstorm while adding architectural weight to the border. The gray concrete perfectly echoes the smooth river rock strip, tying the entire material palette together seamlessly.