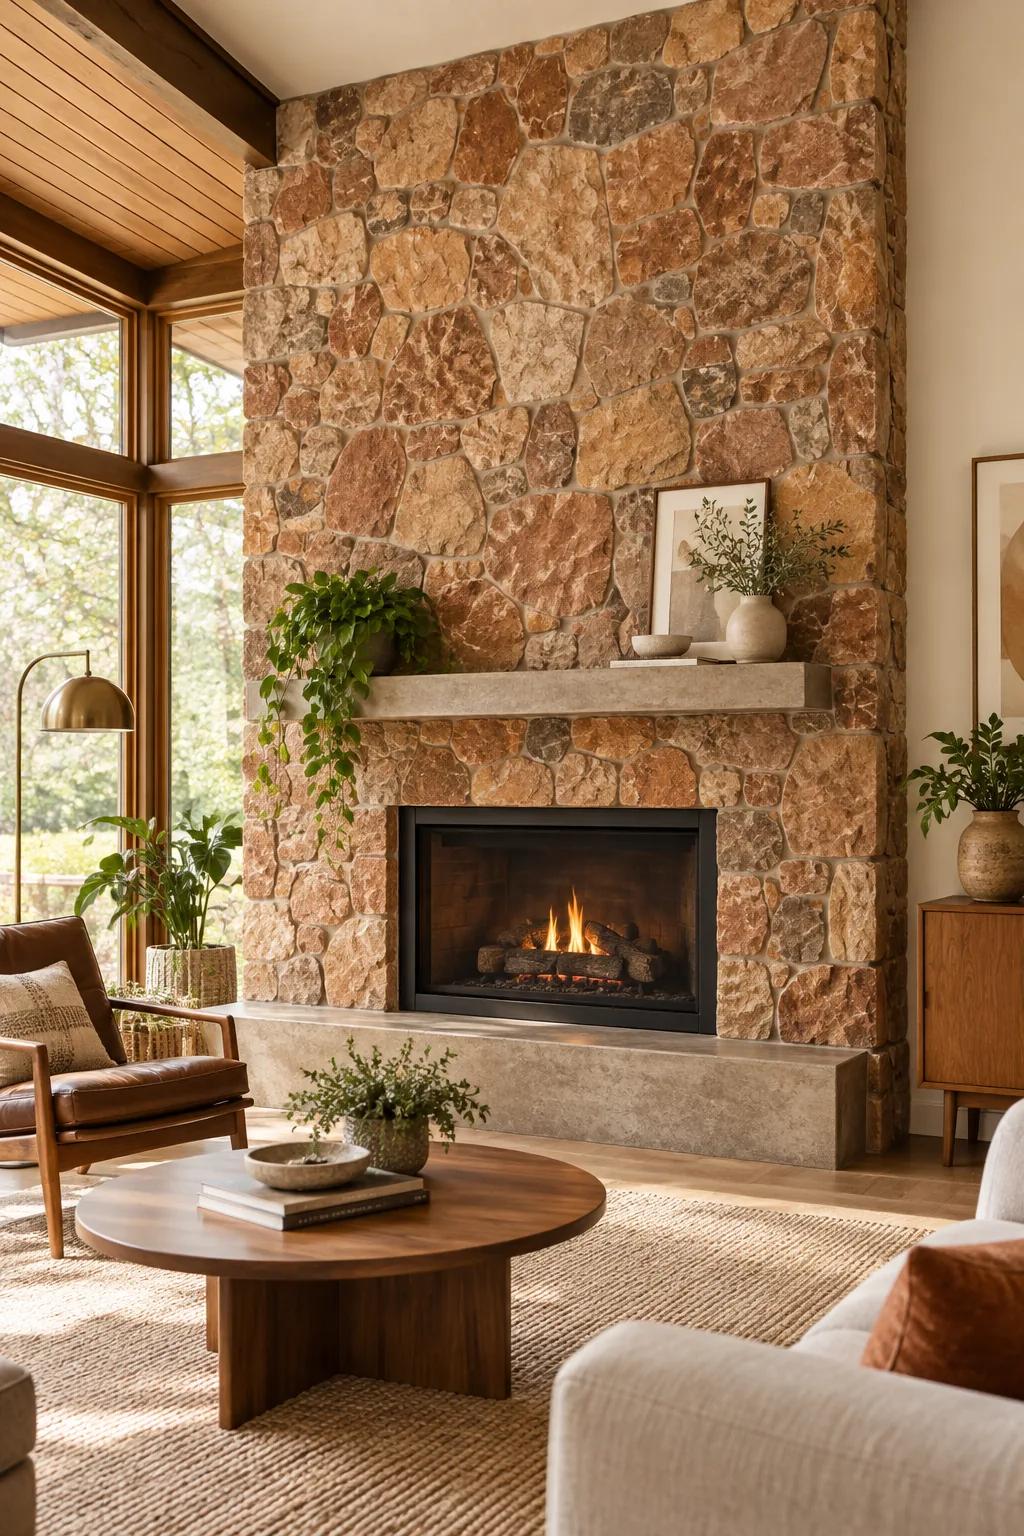
Stone Accent Wall: Drywall's Big Glow-Up
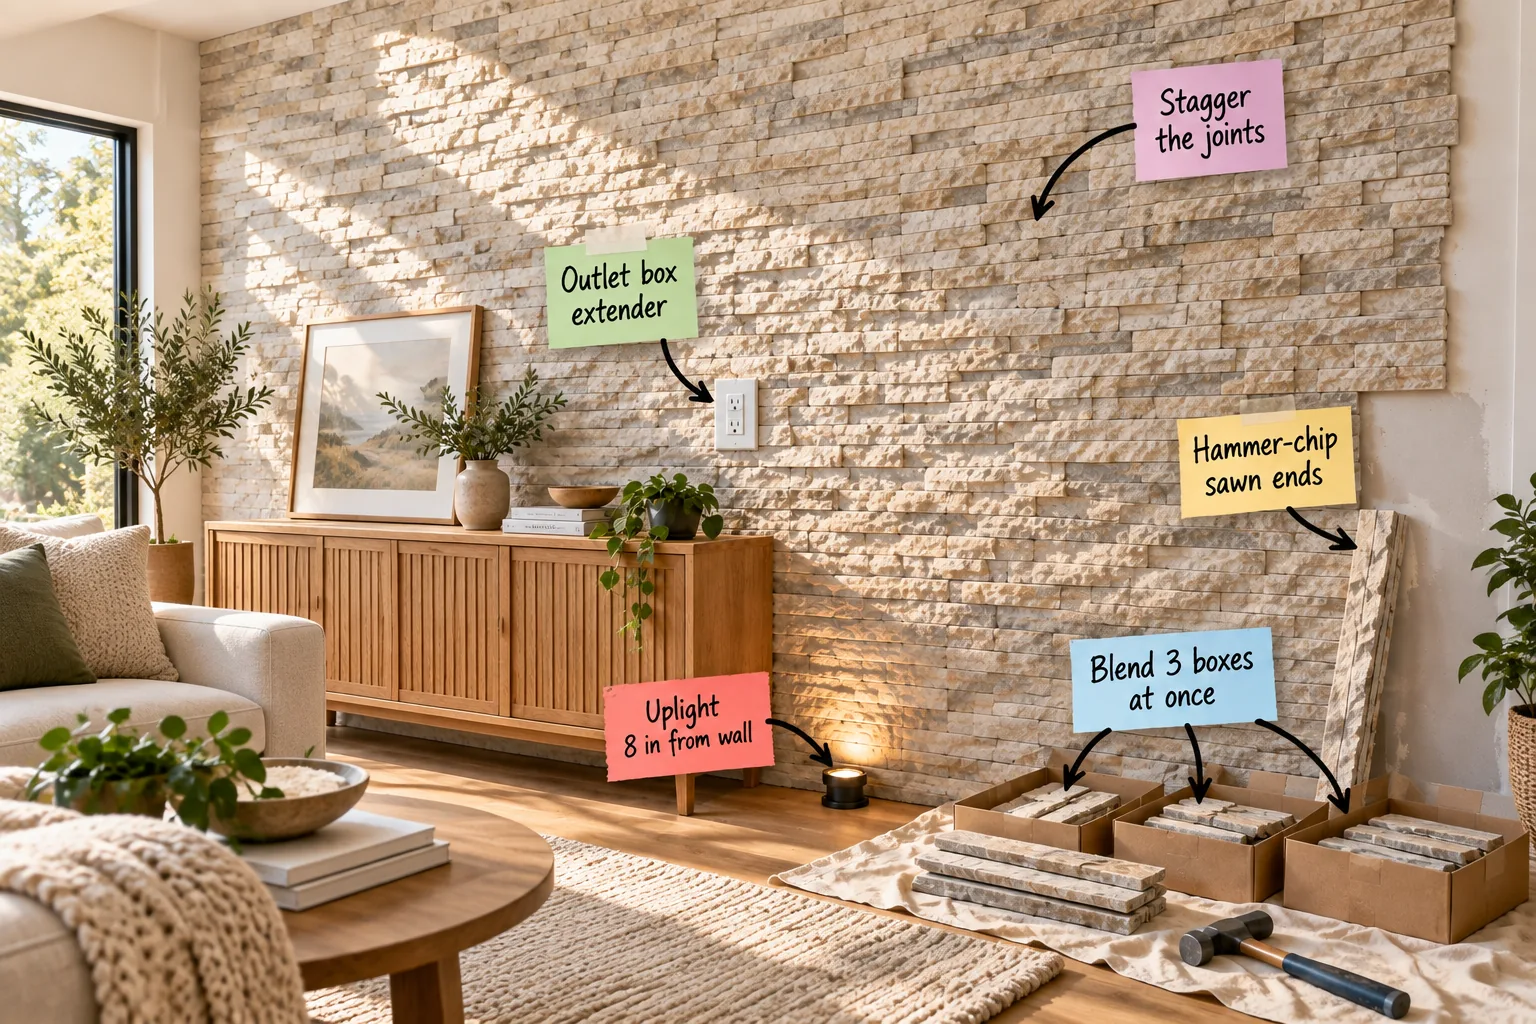
When I decided to upgrade my basic drywall, I created this printable two-page ledgestone panel wall plan so you can calculate exactly how much stone you need and install the panels flawlessly. Grab your shopping list, quantity chart, and installation order to start your room’s big glow-up today.
Your Ledgestone Panel Shopping List
When I did my Austin living room, I bought exactly what the tape measure dictated and ended up short by three panels. Start your project right with our printable ledgestone shopping list, which turns your wall dimensions into the exact number of pieces required.
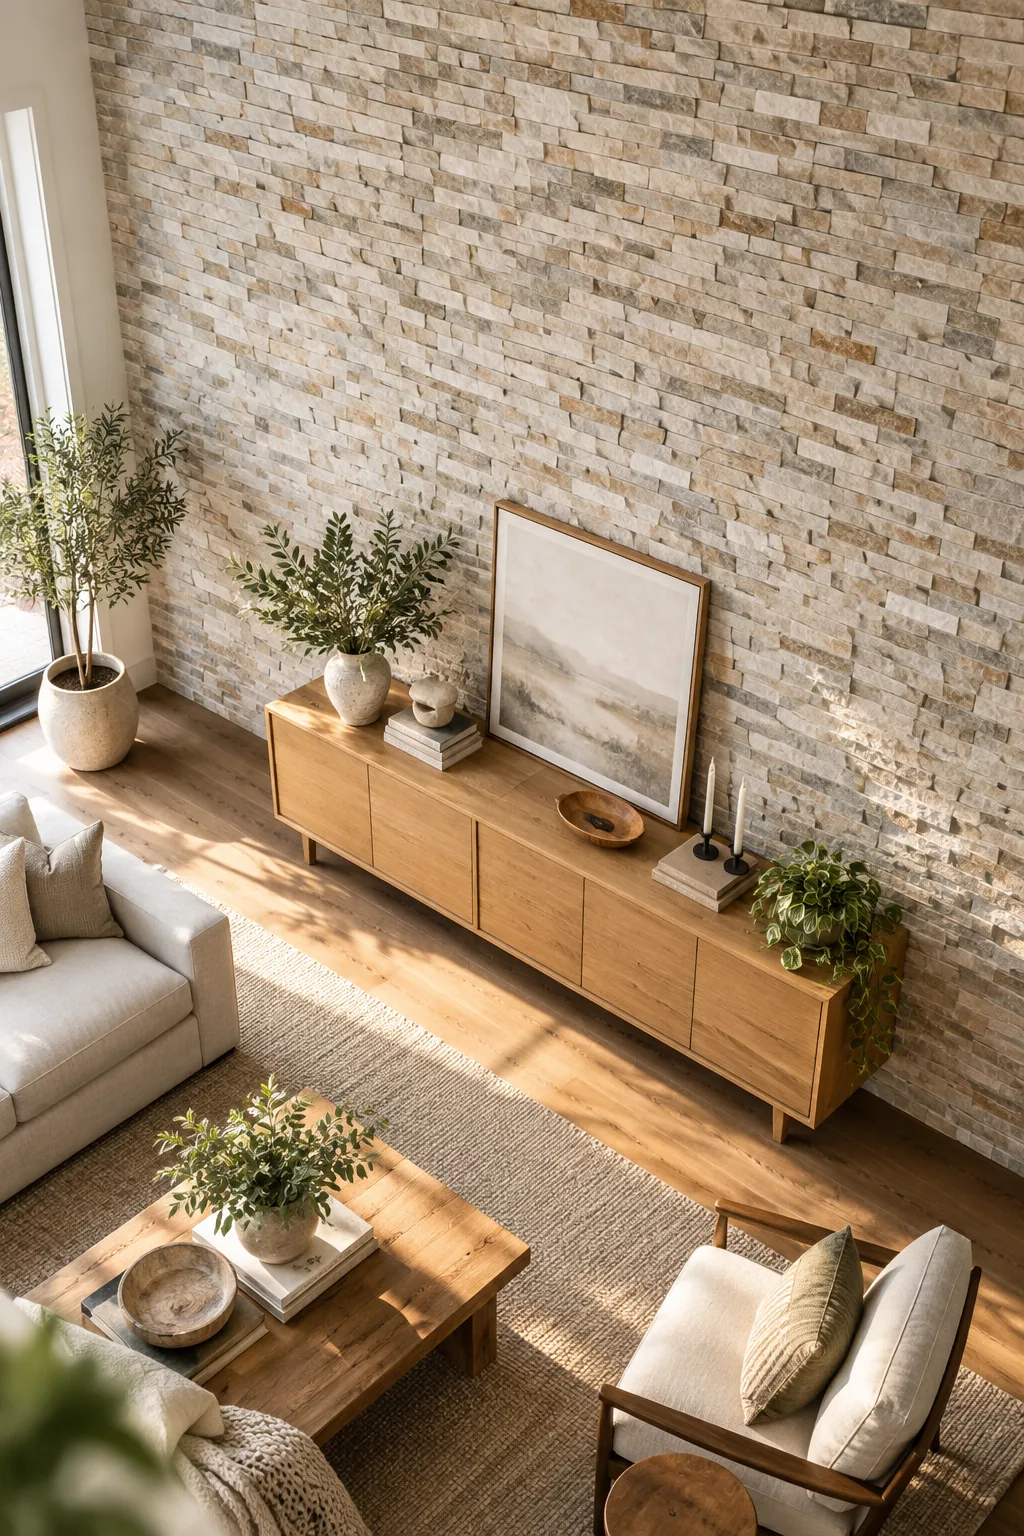
Always factor in a 10 percent overage for tricky cuts and natural breakage during shipping. Take this comprehensive checklist to the hardware store to ensure you have every critical component in your cart before mixing your very first batch of mortar.
- Natural quartzite ledgestone flat panels
- Matching outside corner stone pieces
- Heavy-duty masonry construction adhesive
- Mason’s hammer for chipping edges
- Electrical outlet box extenders
- Coarse 60-grit drywall sandpaper
Measuring Your Exact Wall Square Footage
Finding your total surface area is the only reliable way to accurately buy heavy natural stone. Multiply your wall’s width in inches by its height in inches, then divide that number by 144 to find your true square footage for ordering.
| Wall Width | Wall Height | Square Feet | Boxes Needed |
|---|---|---|---|
| 96 inches | 96 inches | 64 sq ft | 14 boxes |
| 120 inches | 96 inches | 80 sq ft | 18 boxes |
| 144 inches | 96 inches | 96 sq ft | 22 boxes |
| 120 inches | 108 inches | 90 sq ft | 20 boxes |
| 144 inches | 108 inches | 108 sq ft | 24 boxes |
Calculating Your Outside Corner Pieces
If your accent wall wraps around an exposed edge, you must purchase specialized interlocking corner pieces instead of standard flat panels. Measure the vertical height of your outside corner in linear feet and buy exactly that amount in pre-made stone corners.
Gathering Your Essential Masonry Tools
Beyond the stone and adhesive, you will need a few specialized items to complete the job. A heavy rubber mallet, a notched trowel, and a stiff wire brush are absolutely essential for properly setting and cleaning the heavy quartzite panels.
Prepping the Drywall Surface
Standard painted drywall is far too slick for heavy natural stone to bond securely over time. You must scuff the entire surface with coarse 60-grit sandpaper and wipe away the lingering dust before applying any thick masonry adhesive to the wall.
Blending Three Boxes at Once
Natural quartzite varies wildly in color from piece to piece, so you must always blend 3 boxes at once to distribute the tones evenly. Open multiple packages simultaneously to prevent accidental dark spots or heavy color blocking on your finished wall.
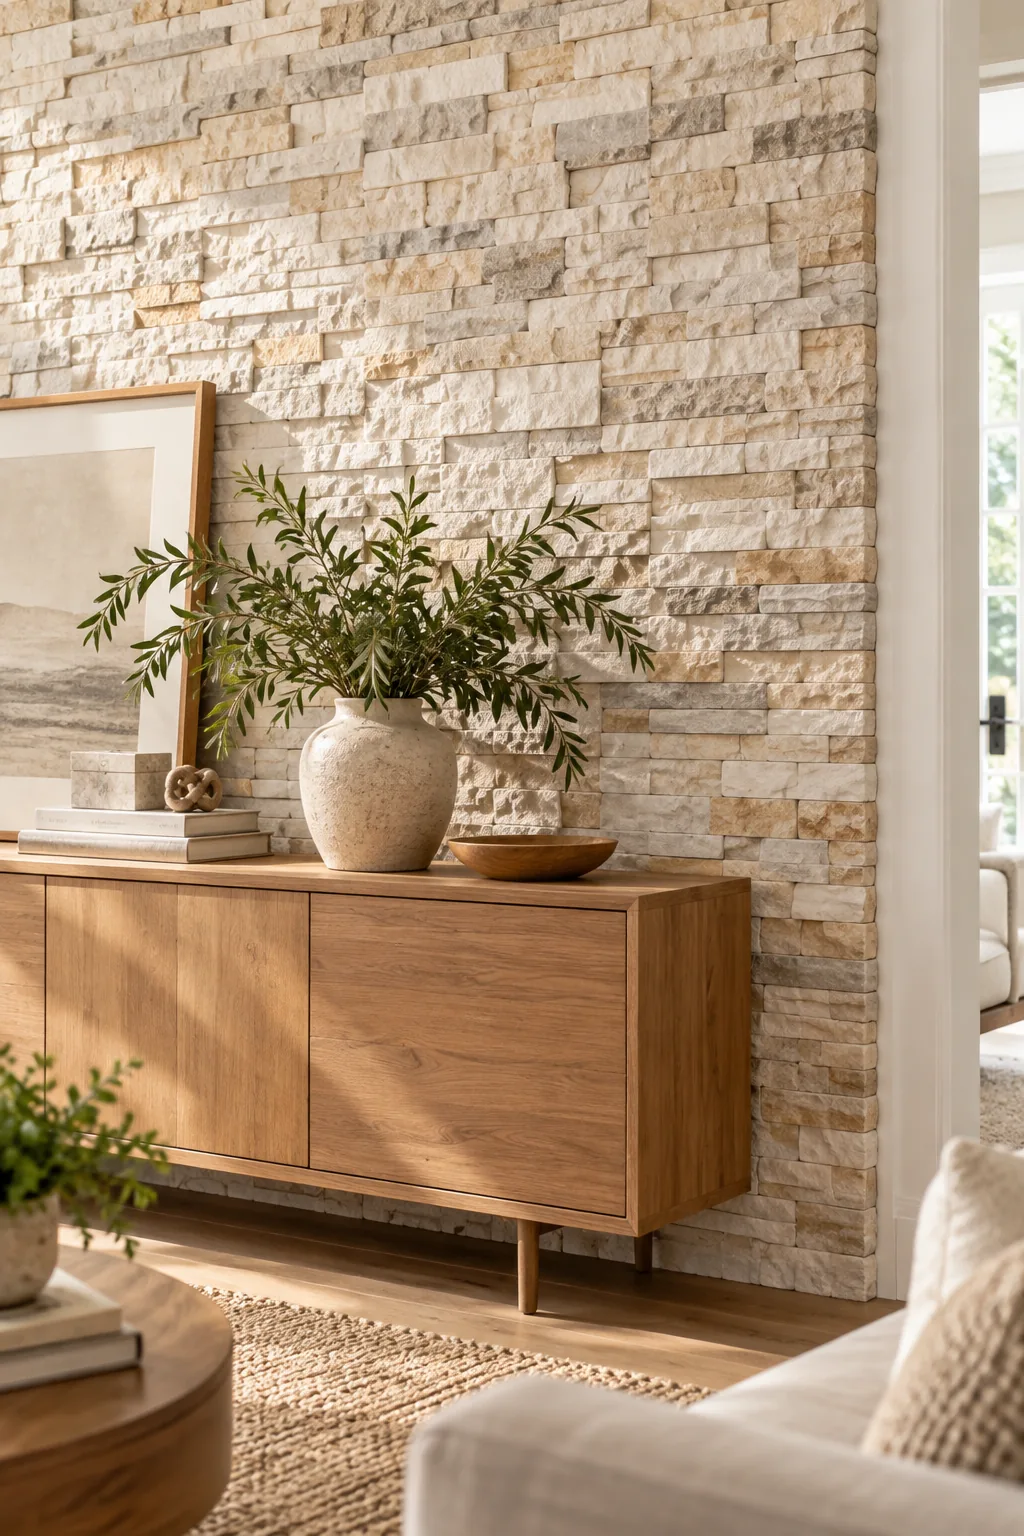
Laying the stones out on a large canvas drop cloth before installation lets you manually inspect the overall color distribution. Follow a simple sorting method to ensure your wall looks naturally formed by the earth rather than factory-assembled on an assembly line.
- Unpack three full boxes onto a clean, protected floor space.
- Separate the individual panels into distinct light, medium, and dark color piles.
- Pull one stone from a different pile for each successive placement on the wall.
- Step back every three rows to verify the varied colors remain visually balanced.
Protecting Your Flooring During Install
Dropping a solid quartzite panel will instantly shatter ceramic tile or deeply gouge hardwood floors. Tape down a thick layer of heavy-duty builder’s paper topped with a canvas drop cloth to catch falling debris and protect your flooring from permanent damage.
Establishing a Perfectly Level Starting Line
Baseboards and floors are rarely perfectly straight, so never use them as your bottom guide for heavy masonry. Draw a bright laser level line across the entire width of your drywall to ensure your very first row goes on perfectly horizontal.
Staggering the Panel Joints
I once accidentally lined up two rows perfectly, and it looked like a tiled bathroom instead of a rustic lodge. A convincing accent wall hides its structure completely, so you must stagger the joints by at least 4 inches from the row below.
Cutting Panels with a Wet Saw
When you reach the end of a row, you will inevitably need to trim the final stone to fit tightly against the adjacent wall. Rent a diamond-blade wet saw to slice through the dense quartzite cleanly without filling your home with dangerous silica dust.
Applying the Construction Adhesive
A heavy-duty polymer adhesive provides an instant grab that keeps the heavy quartzite from sliding down the slick drywall. Apply a thick serpentine bead across the entire back of the panel, keeping the sticky glue half an inch away from the outer edges.
Extending Wall Outlets
I learned the hard way that standard electrical outlets get completely swallowed by thick masonry panels. You must install an outlet box extender to bring the receptacle flush with the new stone face so the cover plate fits safely and securely.
Hammer-Chipping the Sawn Ends
Factory-sawn ends look completely unnatural if left exposed at the visible outer edges of your accent wall. You must hammer-chip sawn ends using a mason’s tool to carefully break away the perfectly straight cut and restore the natural rocky profile.
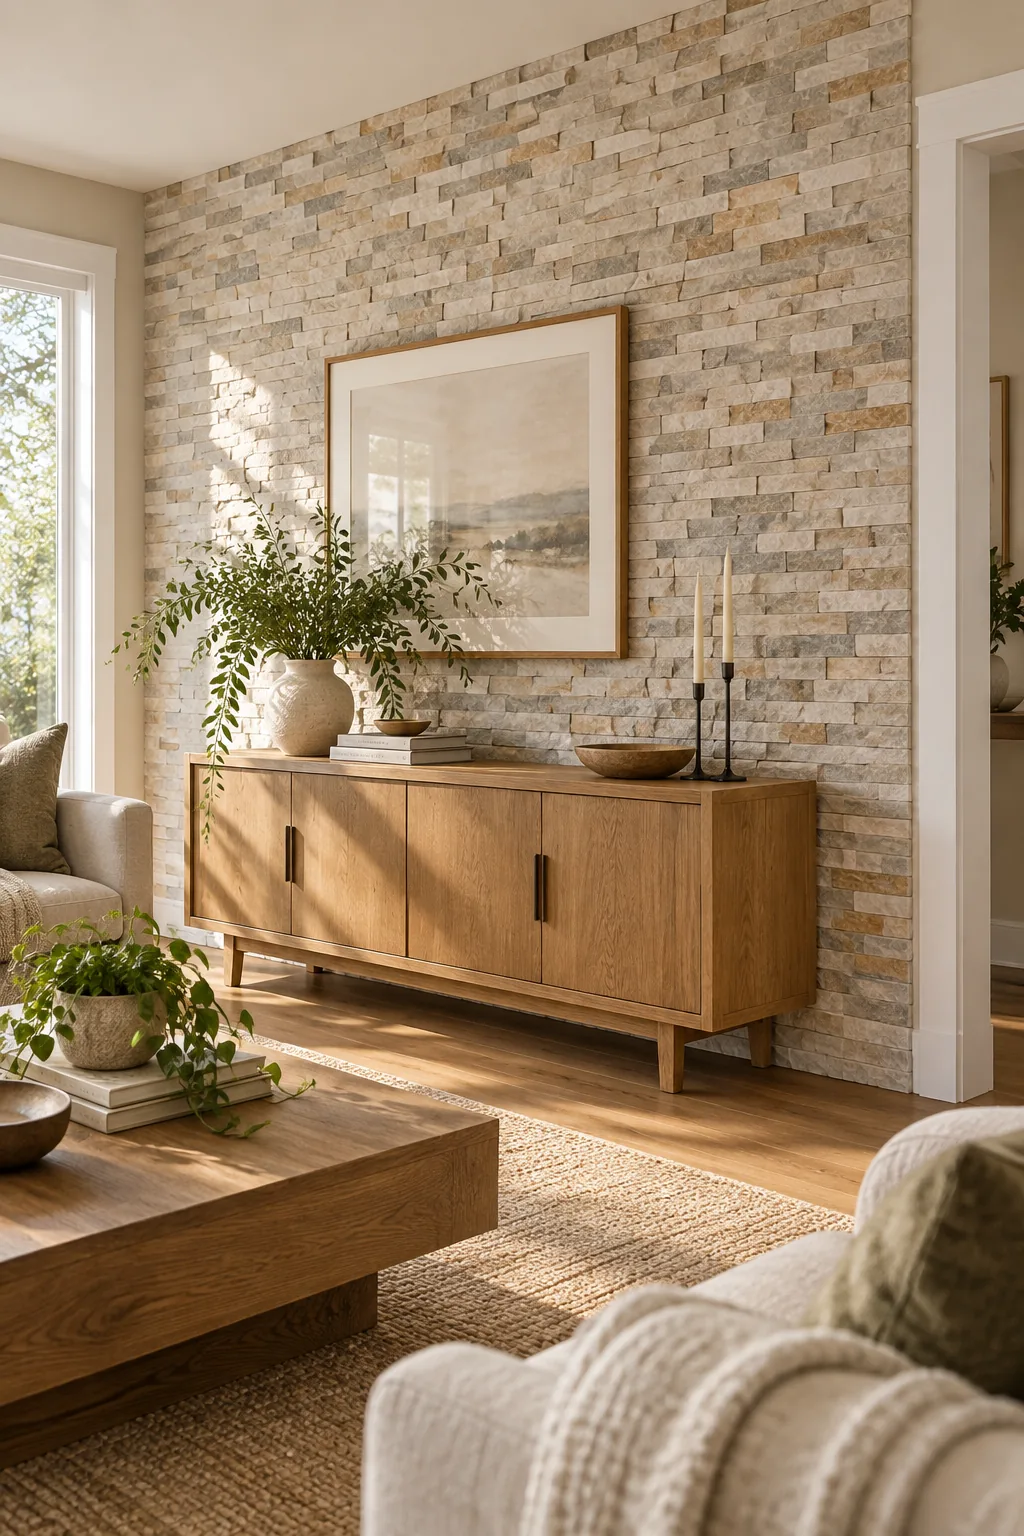
Striking the cut edge at a sharp downward angle gives the stone the same rugged, split-face texture as the front. This simple technique completely disguises the factory cuts and makes the entire installation look like authentic, full-depth masonry rather than thin veneer.
Managing Inside Corner Transitions
When your stone wall meets an adjacent drywall corner, do not attempt to interlock the pieces. Simply butt the flat panels tightly against the intersecting wall and fill the tiny remaining gap with a color-matched sanded caulk for a seamless transition.
Cleaning Wet Adhesive Squeeze-Out
If you press a panel too hard, construction adhesive will inevitably ooze out between the staggered joints. Use a damp stiff-bristle brush to scrub away the wet glue immediately, as it becomes nearly impossible to remove once it fully cures against the stone.
Sealing the Natural Stone Surface
Unsealed quartzite acts like a rigid sponge, absorbing airborne dust and fireplace soot over time. Brush on a heavy coat of matte penetrating stone sealer to protect the split-face texture without altering its natural, dry appearance or adding an artificial glossy shine.
Uplighting the Stone Texture
Split-face stone looks best when dramatic raking light catches its deep, rugged crevices. Position a floor puck or directional track light to uplight 8 in from wall, which casts beautiful, upward-reaching shadows across the ledges and highlights the natural depth.
Choosing the Best Bulb Temperature
The color of your lighting drastically changes how the natural quartzite reads in your cozy living room. Use a 2700K warm white bulb to bring out the rich beige undertones rather than casting a harsh, sterile blue glare across the heavy masonry.
Balancing Acoustics in a Stone Room
Adding massive amounts of hard masonry to a room will immediately bounce sound waves and create noticeable echoes. Introduce thick wool rugs and heavy window drapery to absorb the excess noise and keep the space feeling intimate and comfortable for daily conversation.
Styling Against Heavy Texture
You must balance the rugged, cool tones of the ledgestone with warm, organic room elements to keep the space inviting. A low oak console, soft linen textiles, and trailing green plants keep the living room feeling cozy rather than cavernous and cold.
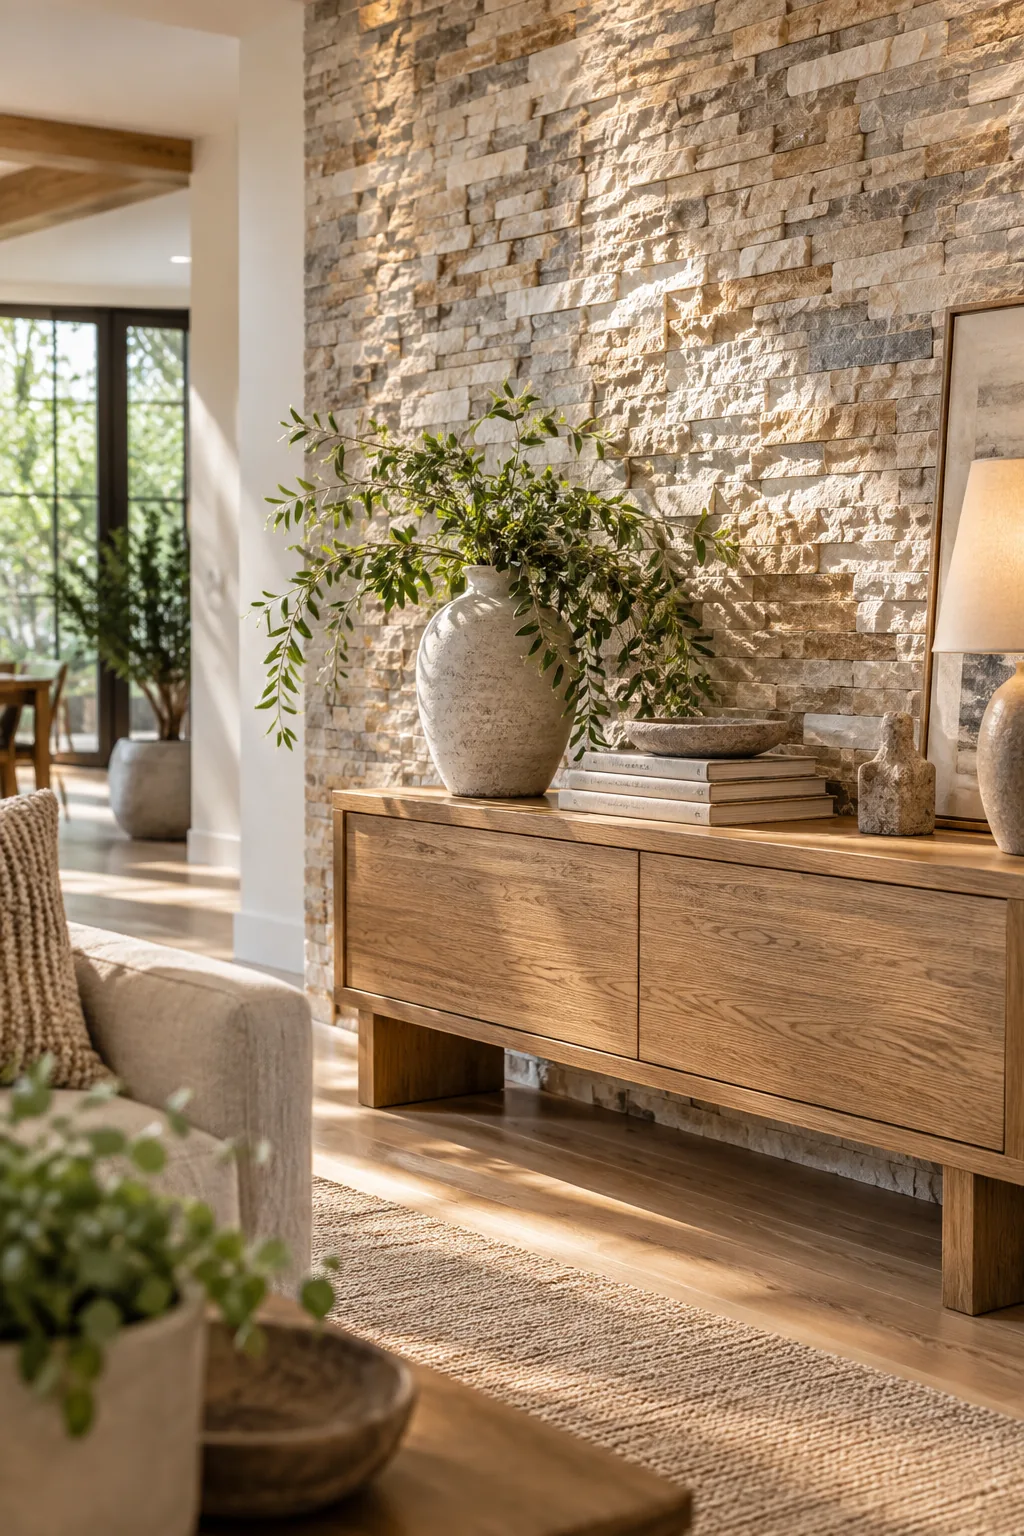
Keep decorative items grouped loosely so they do not compete with the busy backdrop. A few oversized ceramic vases provide a smooth visual resting place against the aggressive texture of the chipped masonry, creating a perfectly balanced focal point for your home.
More Stone Accent Wall Ideas
Find the perfect stone profile and color palette for your space.
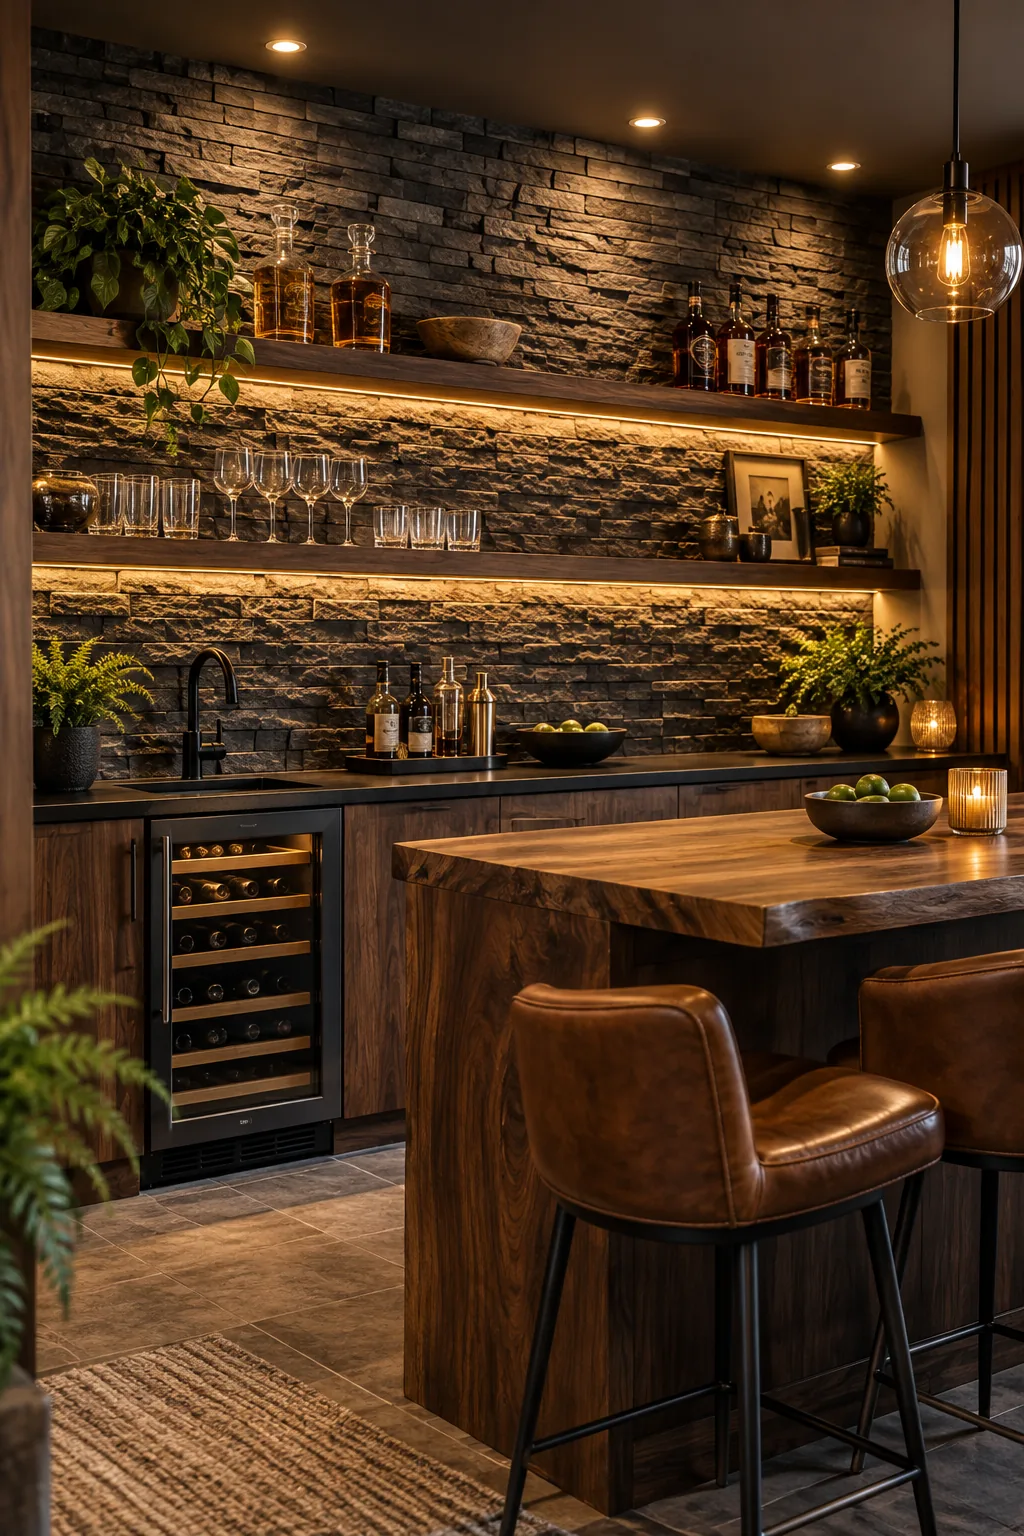
Moody dark slate bar: Dark slate panels create a sophisticated, moody atmosphere perfect for a home bar.
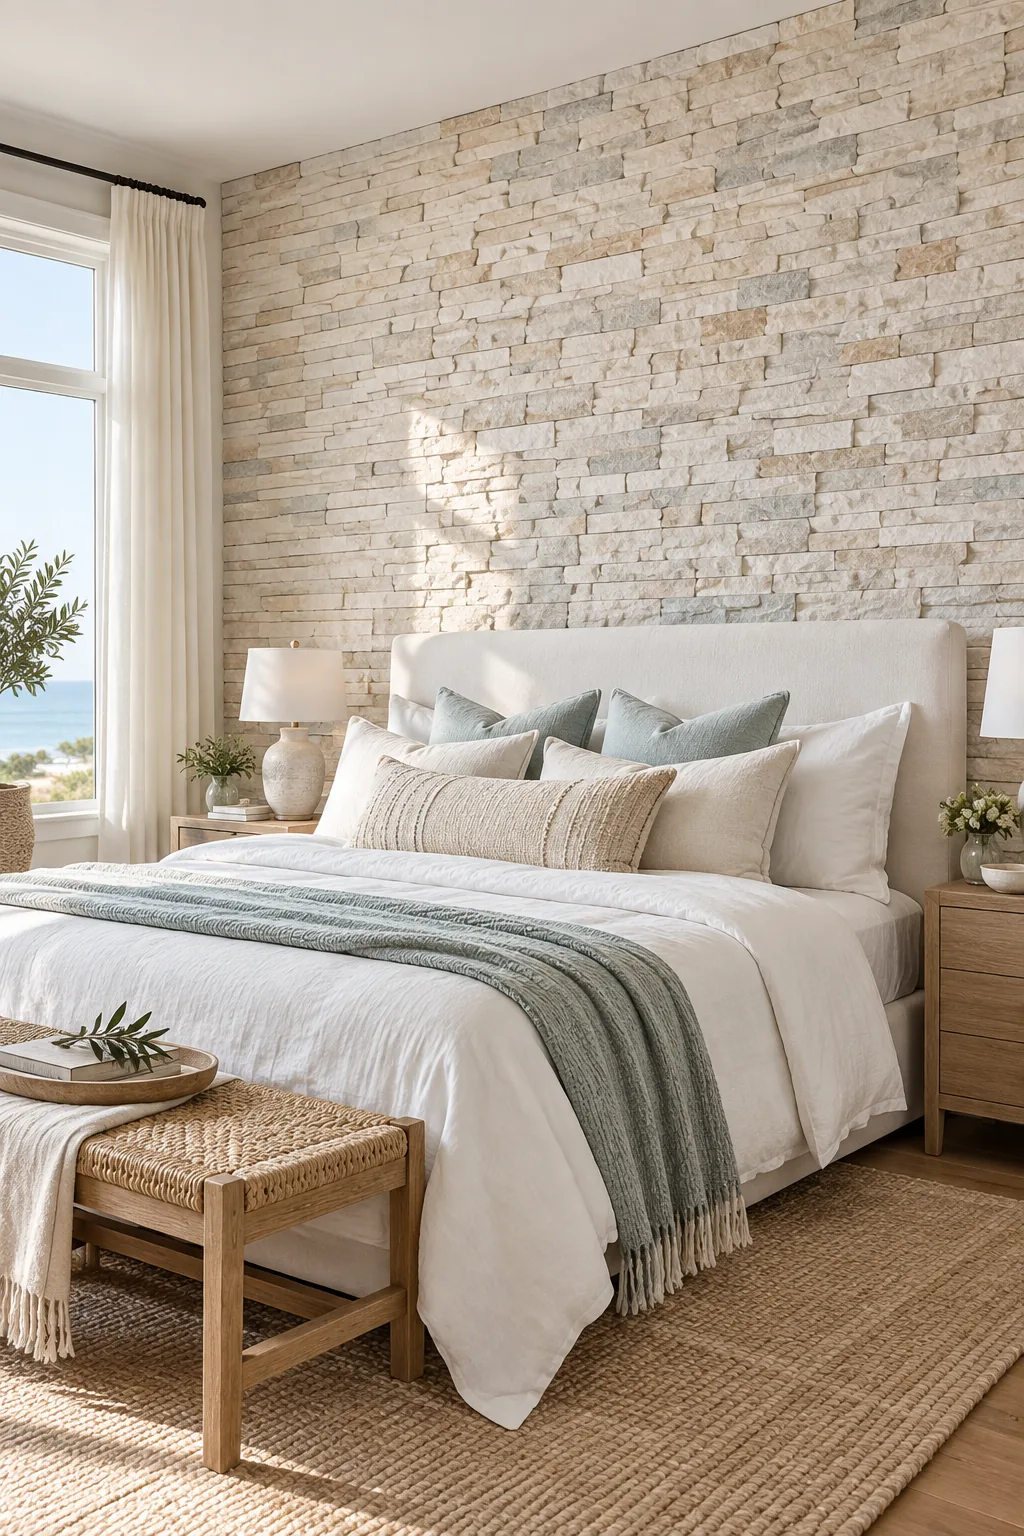
Whitewashed coastal bedroom wall: Whitewashed stone adds subtle architectural texture without darkening a breezy coastal bedroom.
Warm modern fireplace surround: Terracotta-toned stones bring earthy warmth to a sleek, modern fireplace surround.