
Glass Cabinet Before and After with a Faux Ceramic Finish
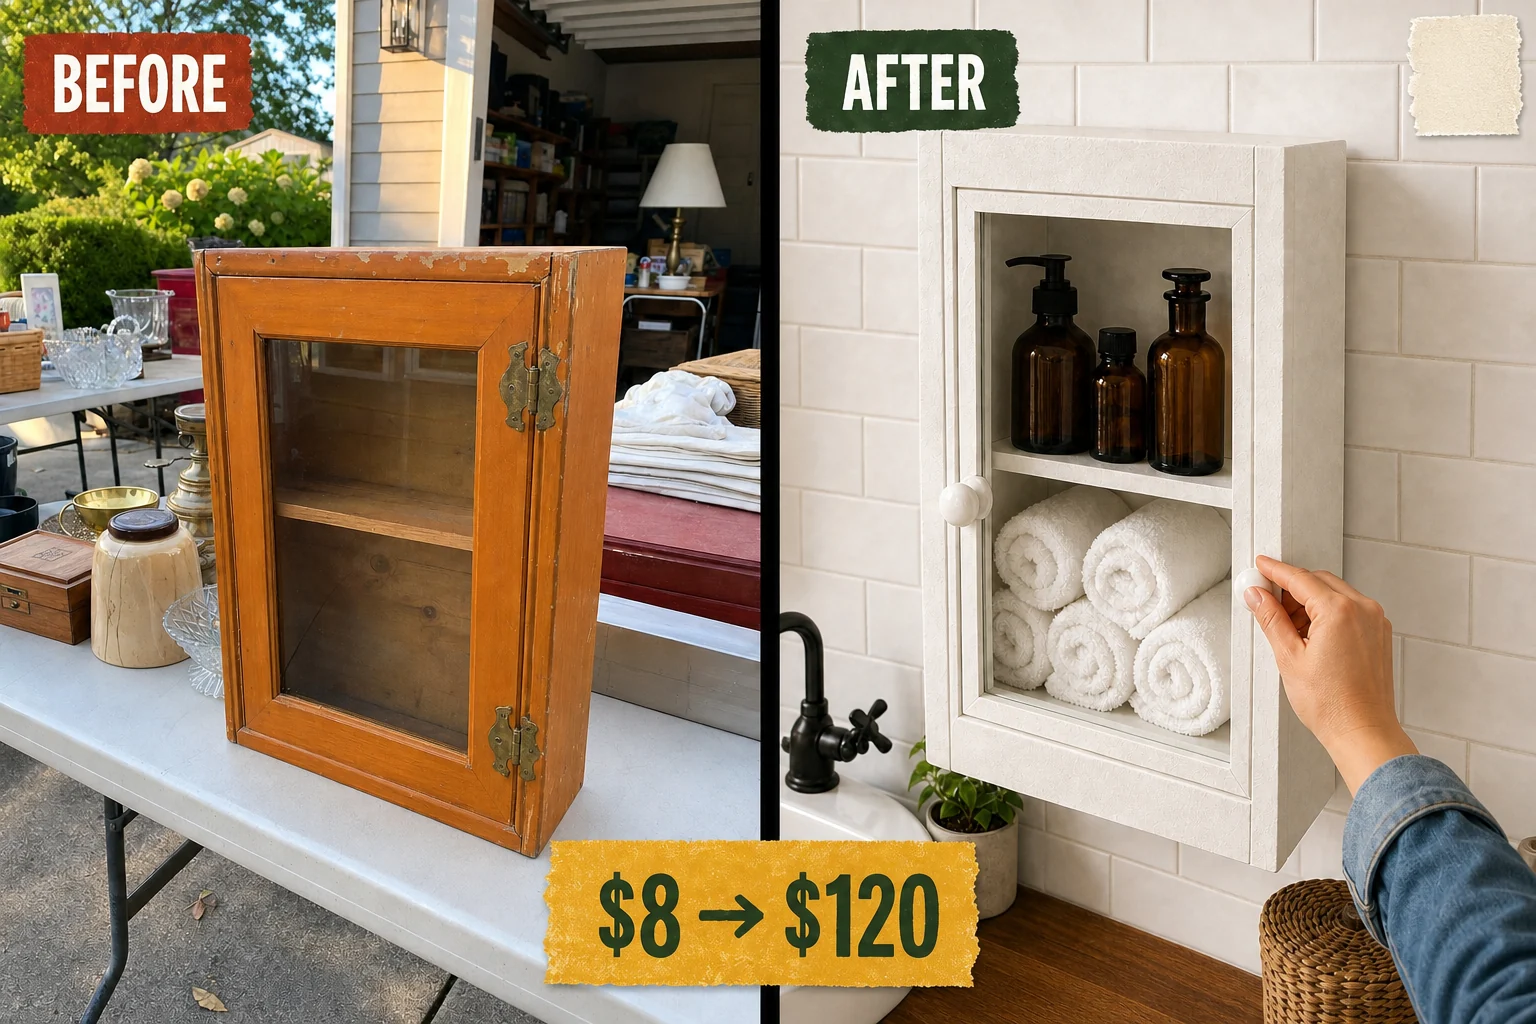
Spotted at a driveway garage sale, this solid pine cabinet had great bones but a badly scratched orange finish. Applying a thick baking-soda paint mixture transformed it into a matte, sculptural faux-ceramic piece with monochromatic hardware.
Assessing the Garage Sale Cabinet
Finding this piece at a casual residential driveway garage sale on a Saturday morning was a stroke of luck. Sitting on a folding table between old dishware and books, the solid pine cabinet featured an inset glass pane and a simple rectangular silhouette ready for an upgrade.
Materials checklist
The flaking glossy orange varnish along the top edge of the wooden frame prevented new paint from adhering smoothly and severely dated the piece. Dark green oxidation spots on the brass hinges and door knob clashed with a modern aesthetic, making the entire cabinet look neglected.
Step 1: Inspect the Found Cabinet
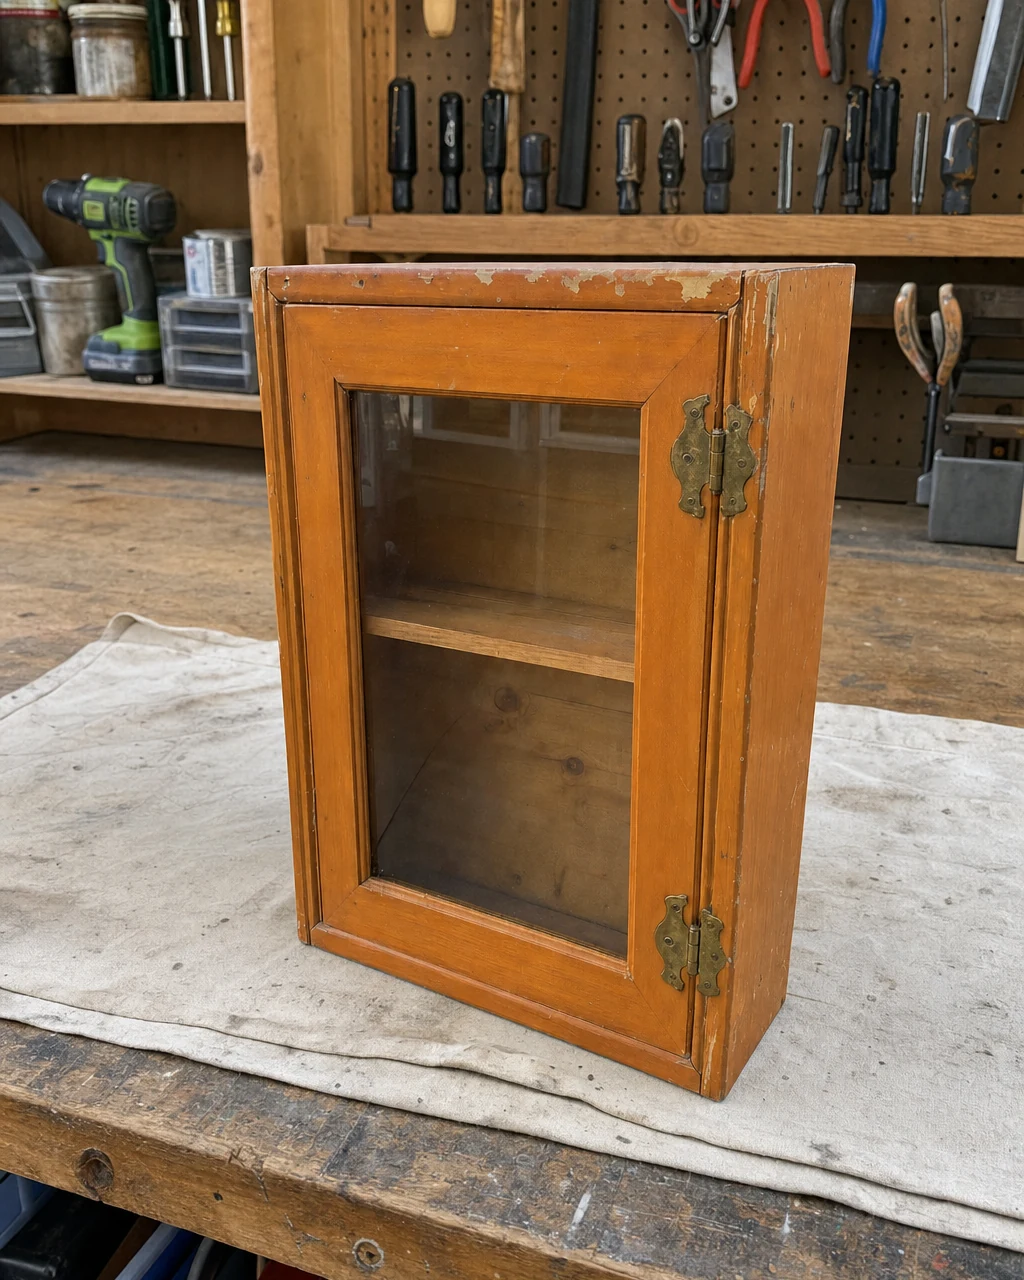
Evaluating the scratched orange finish and tarnished brass hardware on the workbench helps plan the sanding and painting process. Resting the untouched orange pine and glass cabinet on a drop cloth over a garage workbench allows you to properly assess the scratched finish before beginning any heavy work.
Planning the Transformation
Ensure the glass pane is intact before handling the cabinet heavily. The immutable features of this piece are the central glass pane and the overall rectangular footprint, which provide an excellent foundation for sanding the finish, applying textured paint, and replacing the knob with a modern alternative.
Step 2: Remove Tarnished Hardware
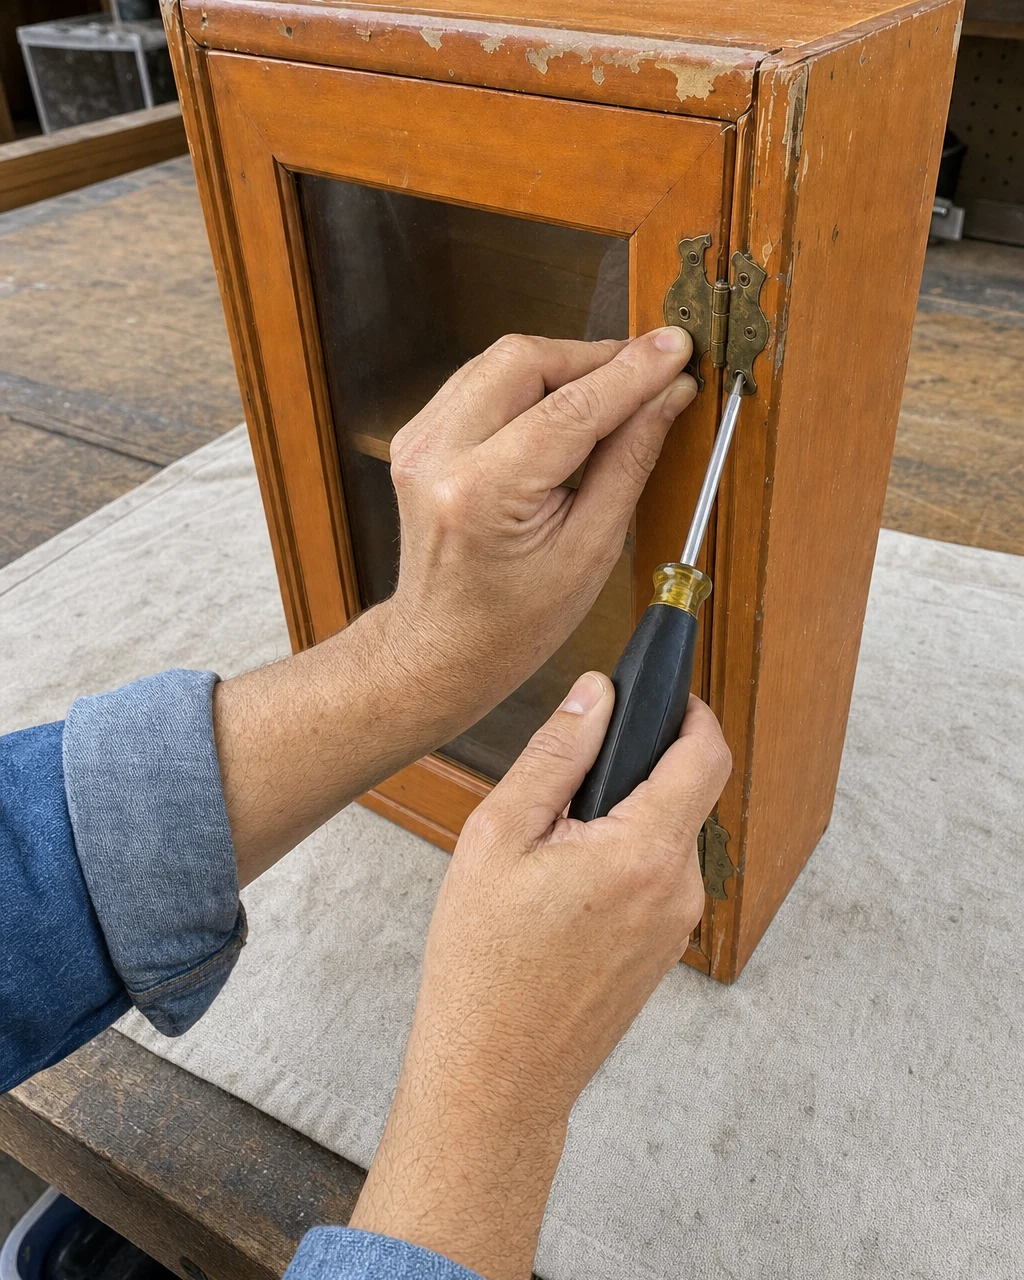
Removing the tarnished brass hinges and knob to separate the door from the frame ensures unobstructed access for sanding. Unscrew the tarnished brass hinges from the pine cabinet frame using a manual Phillips screwdriver, carefully detaching the door to protect the fragile glass pane during the makeover.
Hardware Organization
Keep small brass screws in a magnetic tray to prevent losing them in the workshop. Setting the original hardware aside safely guarantees you can reuse the hinges later, maintaining the structural integrity of the solid pine boards while preparing the frame for its new ceramic look.
Step 3: Sand the Glossy Finish
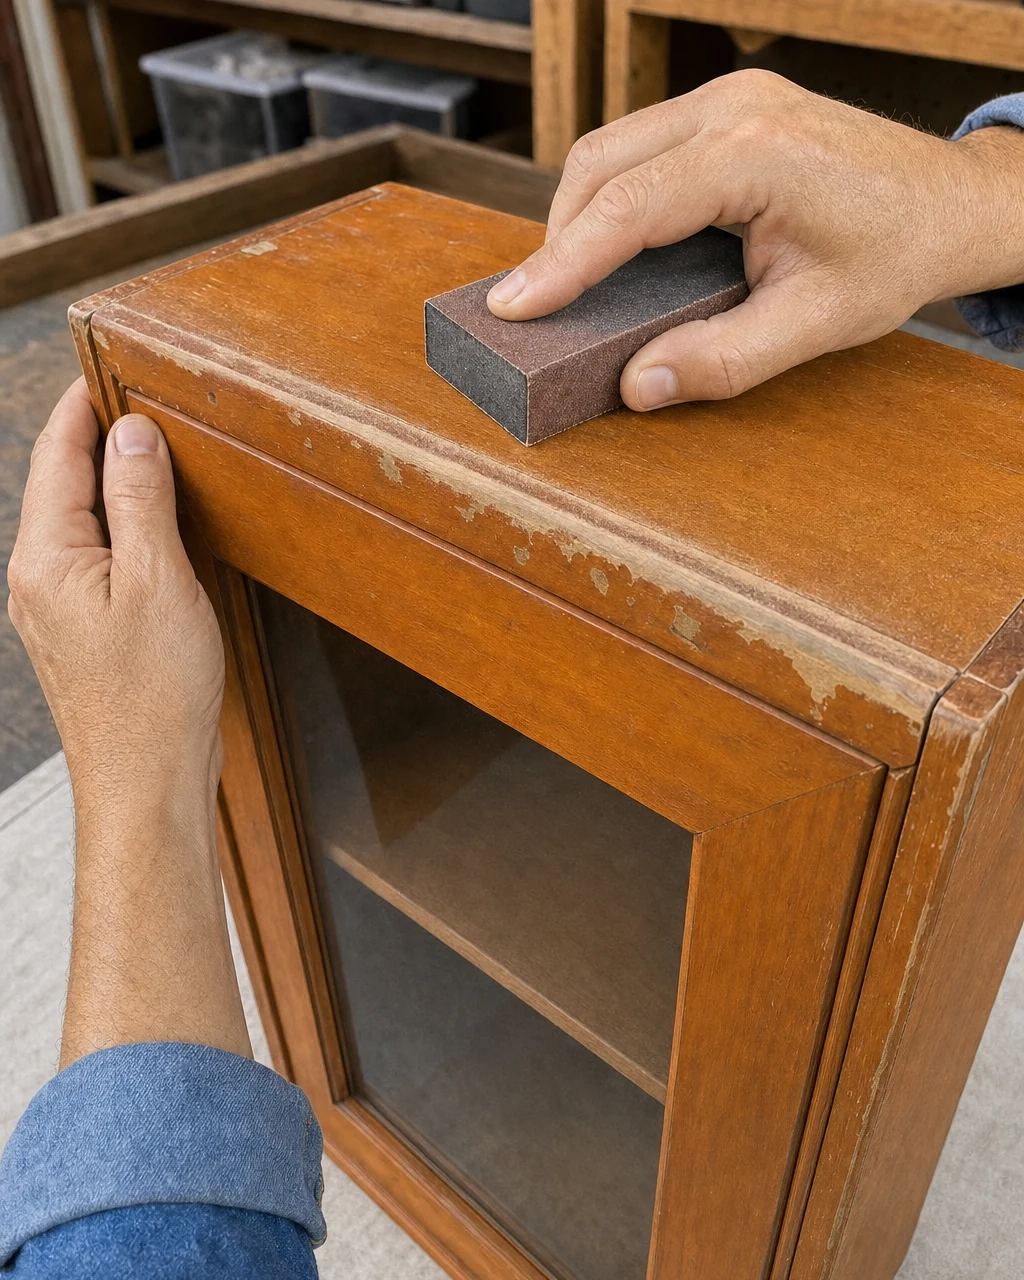
Scuff-sanding all wooden surfaces breaks the old varnish, creating a porous surface that the textured paint mixture can grip. Rub a 120-grit sanding block firmly along the top edge of the cabinet to break the glossy orange clear coat until no gloss remains on the pine frame.
Wear a dust mask and sand in a well-ventilated garage to avoid inhaling old varnish dust. Removing the flaking clear coat effectively without gouging the pine is crucial for ensuring the heavy texture mixture adheres permanently to the newly dulled wood.
Step 4: Apply Ceramic Texture
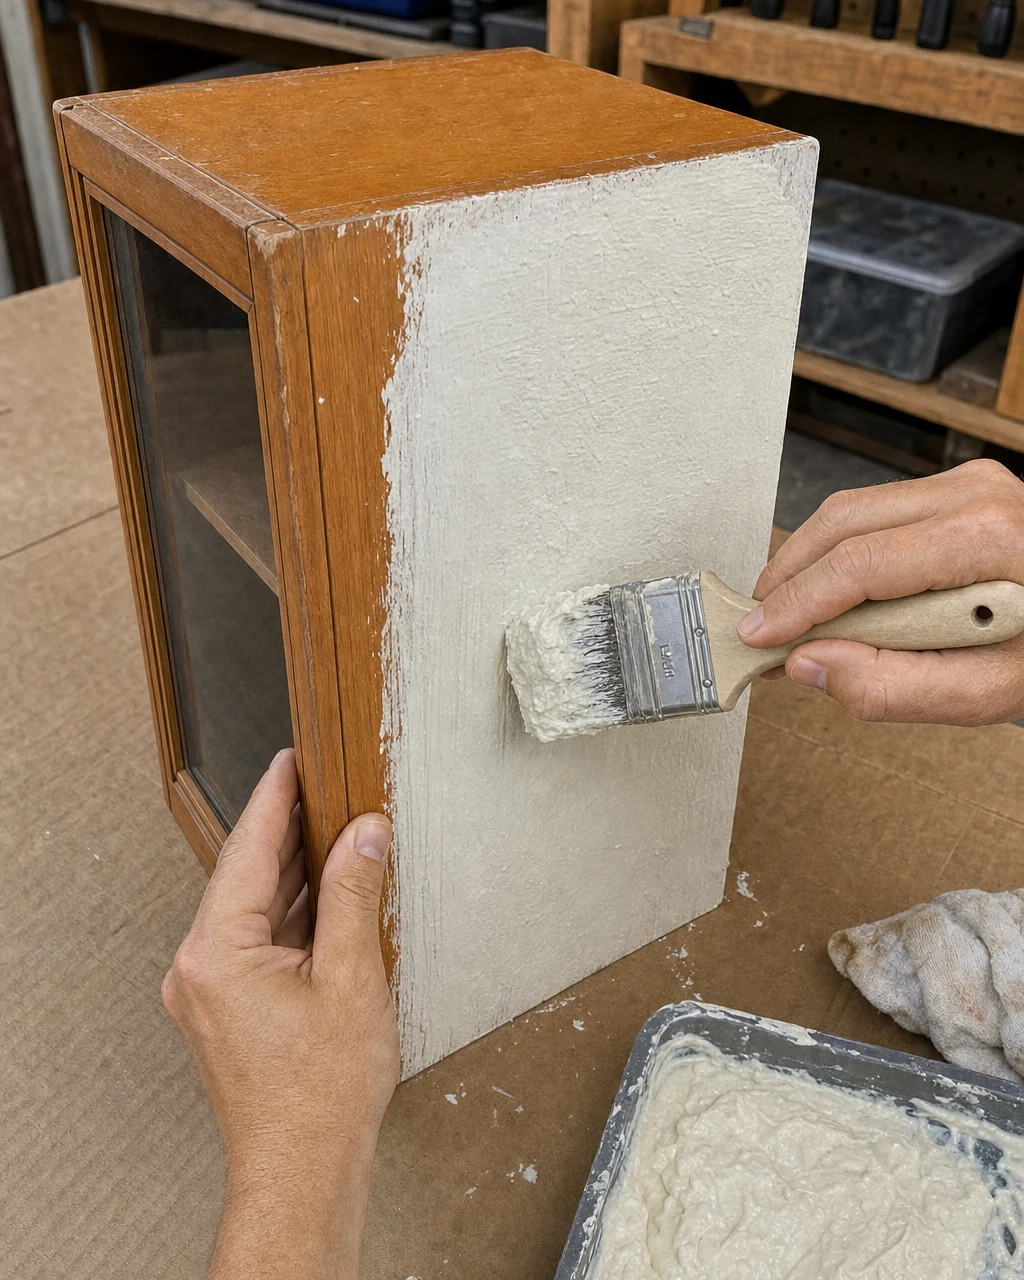
Mix matte white paint with baking soda to create a thick paste, then brush it onto the sanded wood to simulate unglazed ceramic. Brush the thick paste of bone-white paint and baking soda onto the sanded pine side panel with a wide bristle brush, allowing two hours to dry.
Place a drop cloth under the cabinet to catch thick paint drips, as the baking soda mixture is heavy. The baking soda reaction creates a durable matte stone finish, completely hiding the wood grain and transforming the dated piece into a seamless bone-white faux-plaster creation.
Step 5: Install Ceramic Hardware
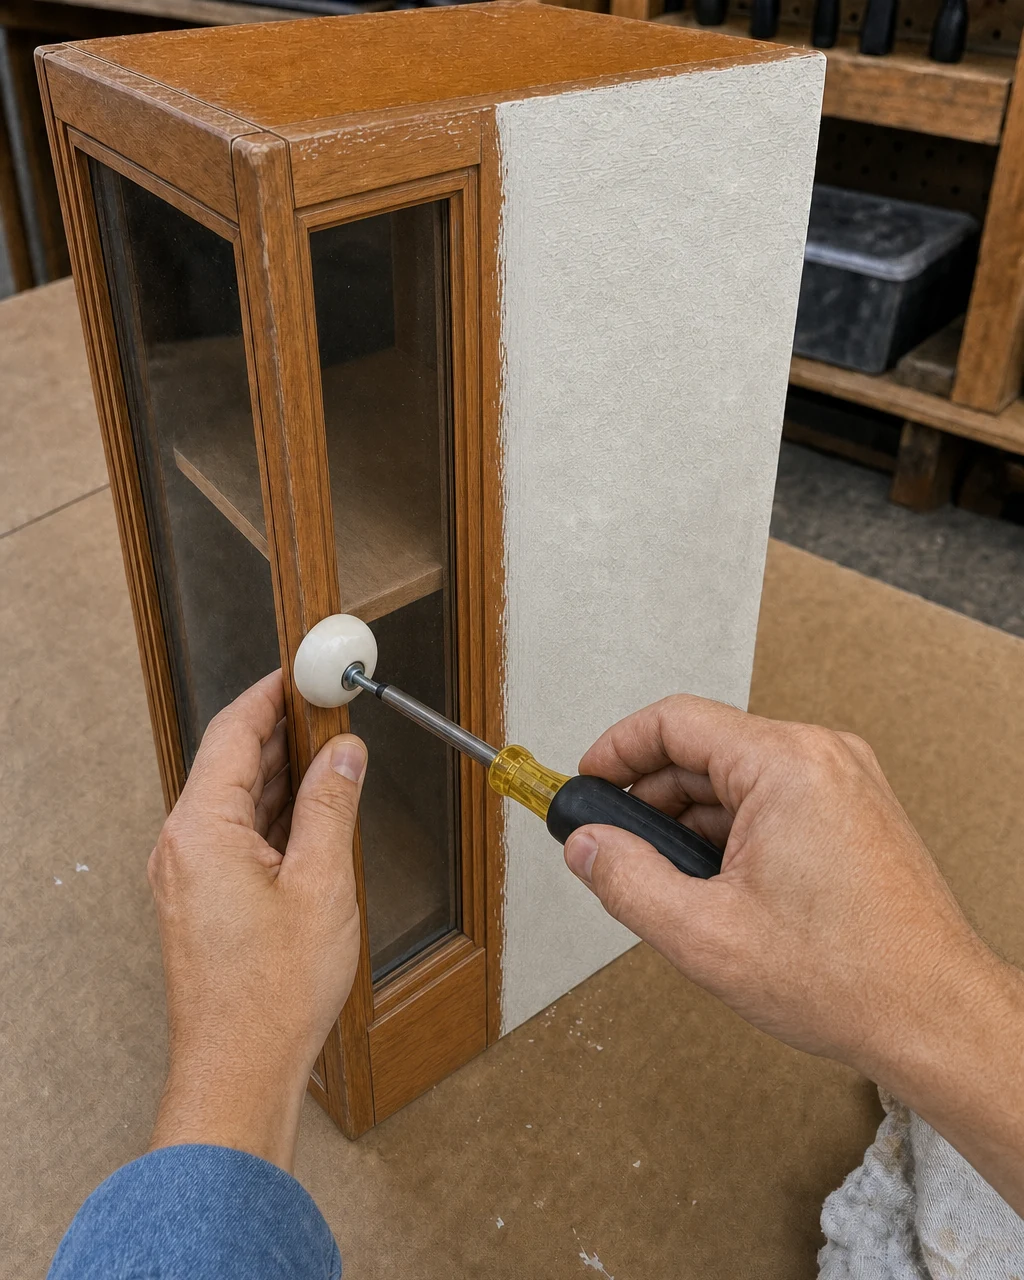
Reattaching the painted door to the frame using the original hinges prepares the piece for its final touches. Screw a new matte white ceramic knob into the pre-drilled hole on the textured bone-white cabinet door to complete the monochromatic look and replace the tarnished brass pull.
Securing the Knob
Do not overtighten the ceramic knob, as the threaded insert can crack the ceramic housing. Matching the hardware color enhances the illusion of molded clay, ensuring the new hardware blends perfectly with the thick, clay-like matte texture of the freshly painted pine frame.
Step 6: Review the Finished Piece
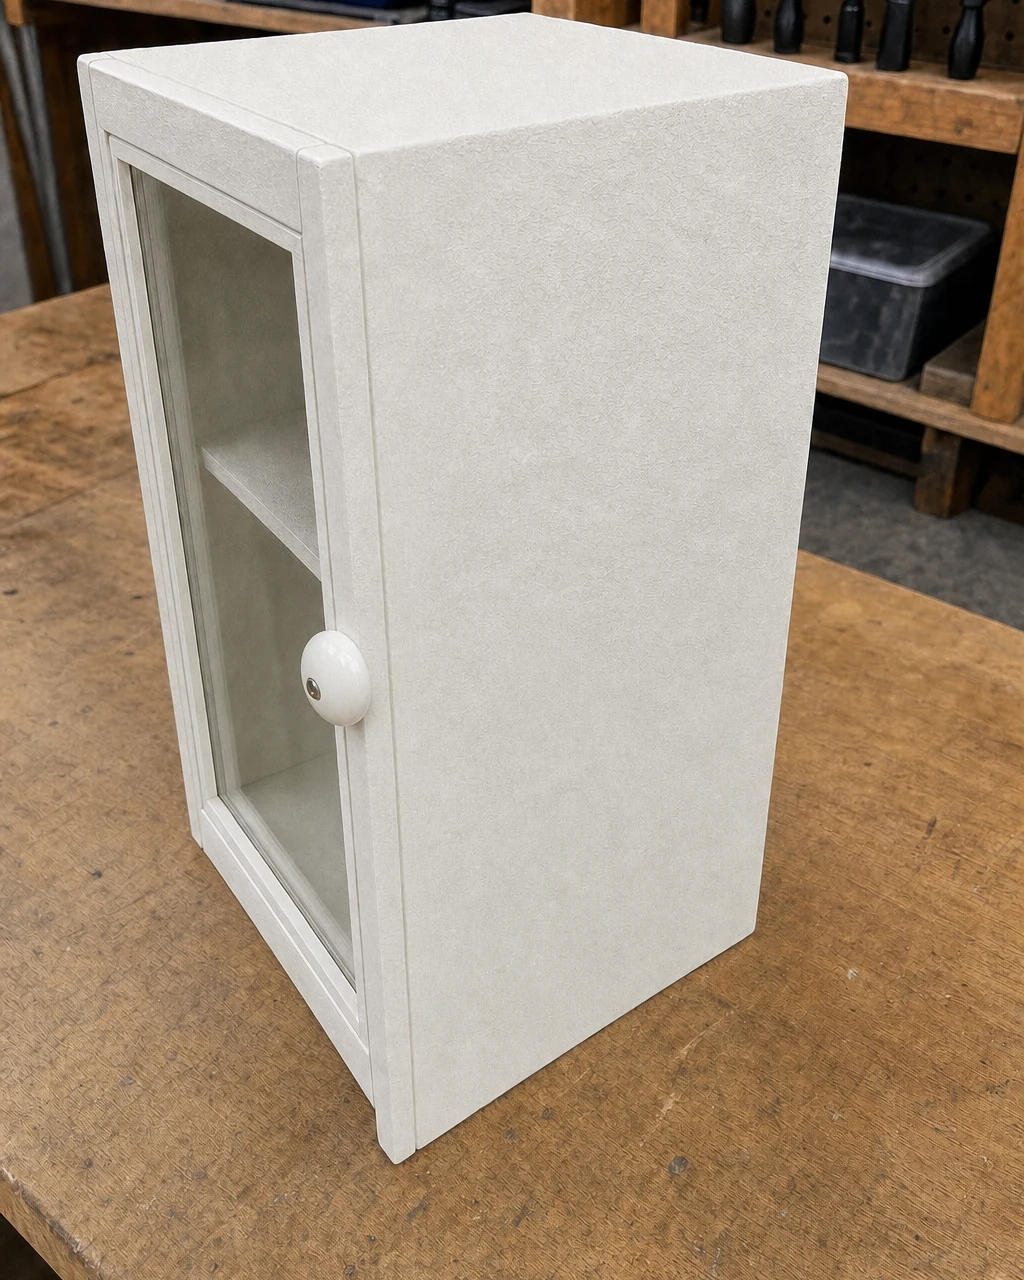
Inspecting the seamless, clay-like texture and the clean glass pane under workshop lighting ensures the finish is completely cured and even. Display the fully dried, bone-white textured cabinet on the cleared wooden workbench under bright overhead utility lighting to verify the flawless coverage.
Curing and Final Checks
Ensure the heavy textured paint is fully cured before moving the piece indoors. The completed ceramic-look cabinet now sits ready for installation, showcasing a stunning before-and-after contrast from glossy orange pine with tarnished brass to a matte, bone-white textured stone look.
Step 7: Mount in the Bathroom
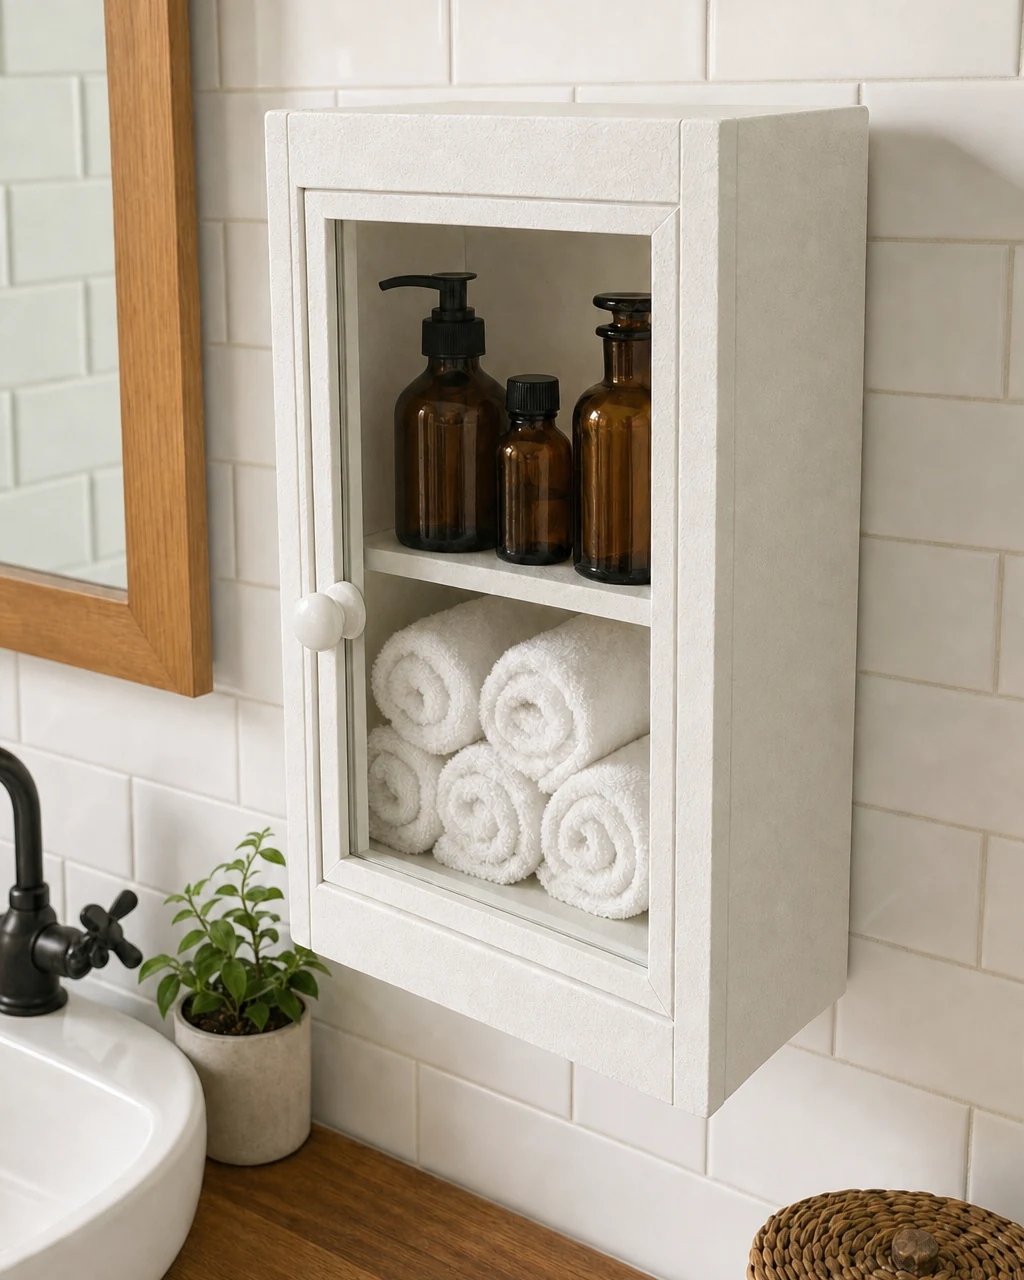
Mounting the cabinet on a tiled bathroom wall and styling it with daily essentials showcases its new high-end aesthetic. Present the textured cabinet mounted on a white subway-tiled bathroom wall, filled with rolled white hand towels and amber glass apothecary bottles for a boutique feel.
Installation Safety
Use proper wall anchors rated for the weight of the solid wood cabinet when mounting. This faux-ceramic technique transforms basic pine into high-end storage, proving that a simple baking-soda paint mixture can completely elevate a small pine wood cabinet with a single glass-pane door.
Valuation and Resale Potential
The transition from dated, glossy pine to a trendy, highly textured faux-ceramic finish elevates this basic storage piece into a boutique-style bathroom accent. The monochromatic hardware integration and flawless glass pane justify a premium decorative valuation, pushing the estimated resale value significantly higher than the initial investment.
| Item | Cost |
|---|---|
| Purchase Price | $8 |
| Matte White Paint | $15 |
| Baking Soda | $2 |
| Ceramic Knob | $6 |
| Sanding Block | $3 |
| Materials Total | $26 |
| Total Investment | $34 |
| Estimated Resale Value | $120 |
| Value Gain | $86 |
Please note that the estimated resale value is an editorial estimate rather than a completed sale. This impressive value multiple demonstrates how effectively a thick, clay-like matte texture can modernize outdated wooden furniture.