
Wall Shelf Before and After: Ebony Finish and Brass Rail
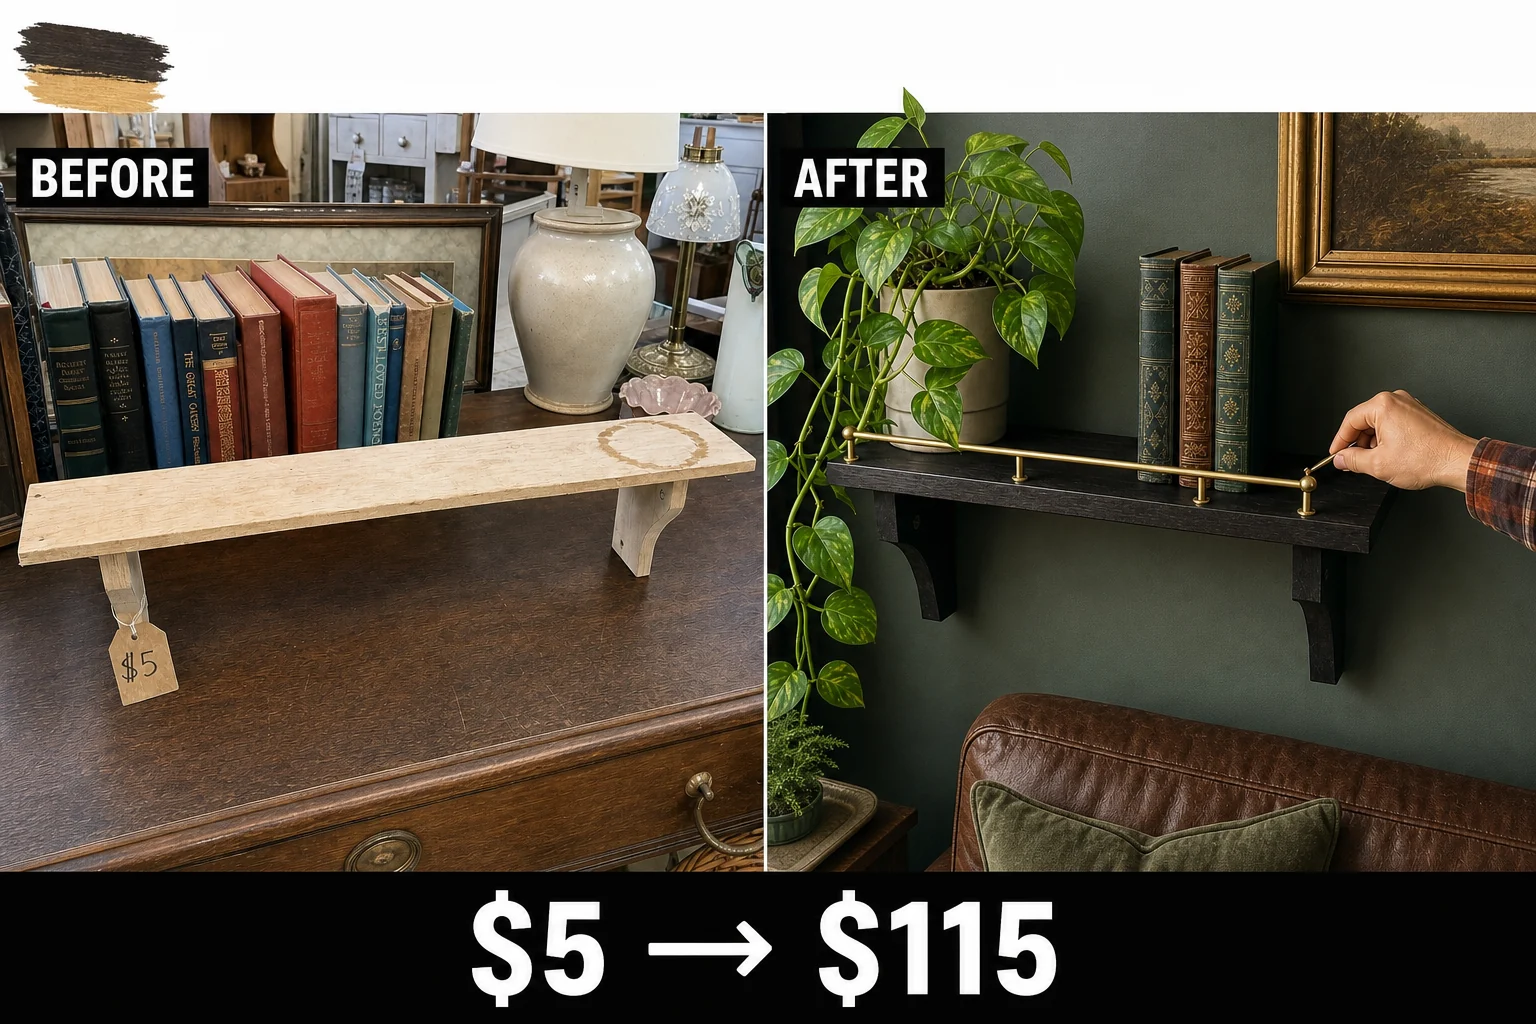
Discovered tucked away in a dusty estate sale office, this unfinished pine wall shelf was priced low due to a prominent water ring. We transformed the solid wood piece with a deep ebony oil rub and a solid brass gallery rail.
Evaluating the Estate Sale Find
The unfinished lightweight whitewood shelf featured a simple horizontal rectangle supported by two fixed wooden corbel brackets. While the solid construction was promising, the raw pine surface suffered from a dark three-inch water ring on the right side of the top board.
- Surface water stain: Prevents even application and absorption of a new finish.
- Rough, raised grain: Splinters along the front edge create a dry, porous texture.
These fundamental surface issues required thorough preparation and sanding before any new penetrating finish could be successfully applied to the raw wood.
Step 1: Assess the Raw Wood
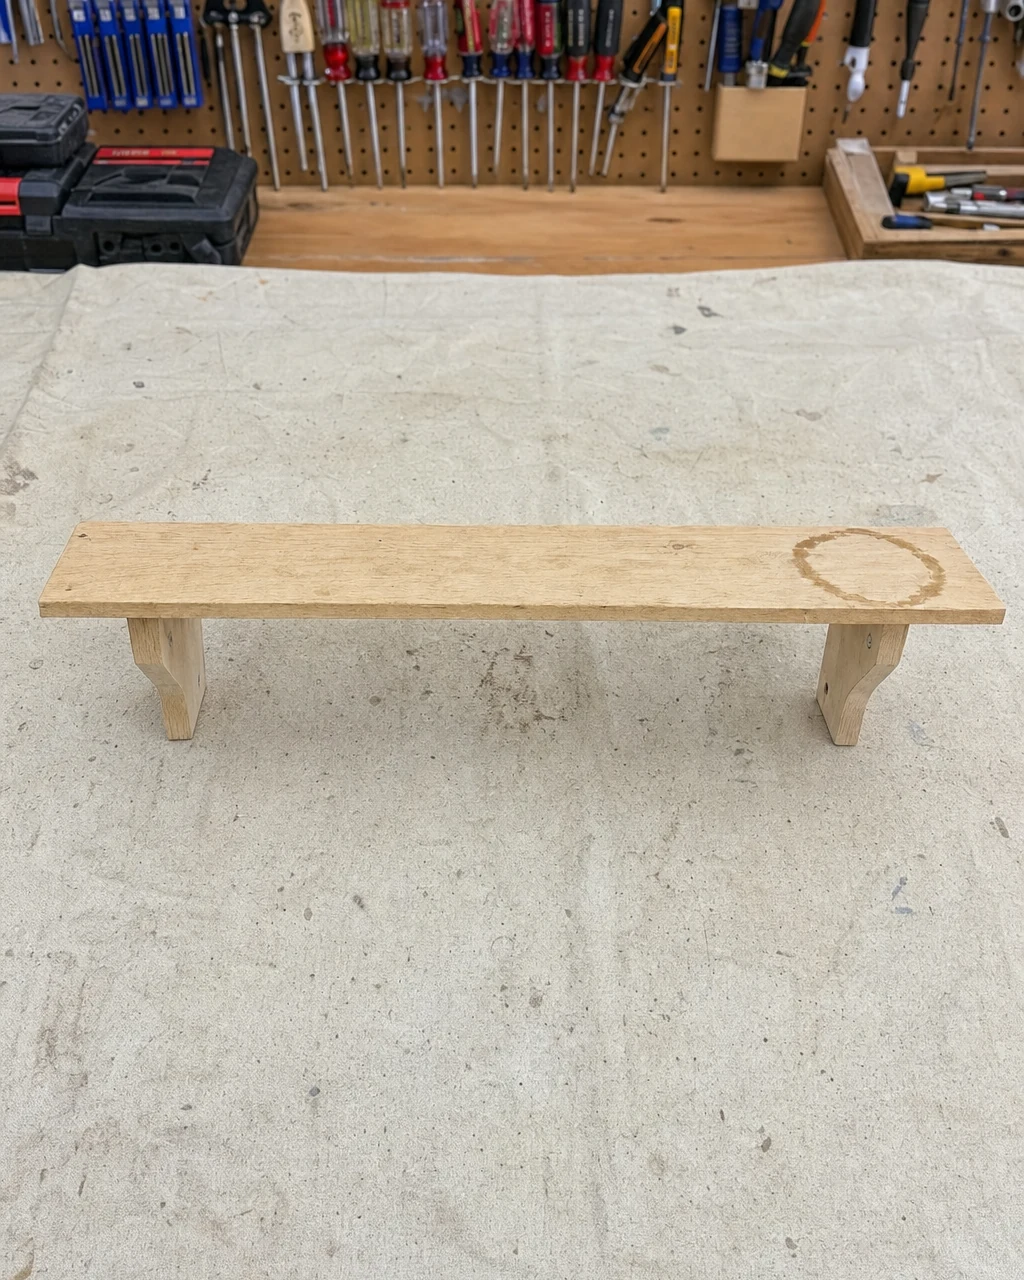
Place the shelf flat on a protected workbench and use a stiff brush to clear away any loose debris. Inspect the top surface and edges closely with a sanding block nearby to determine exactly how much sanding is required before finishing. Ensure adequate lighting in your workspace to properly identify all surface defects and determine the required abrasive grit.
Step 2: Sand Away Water Damage
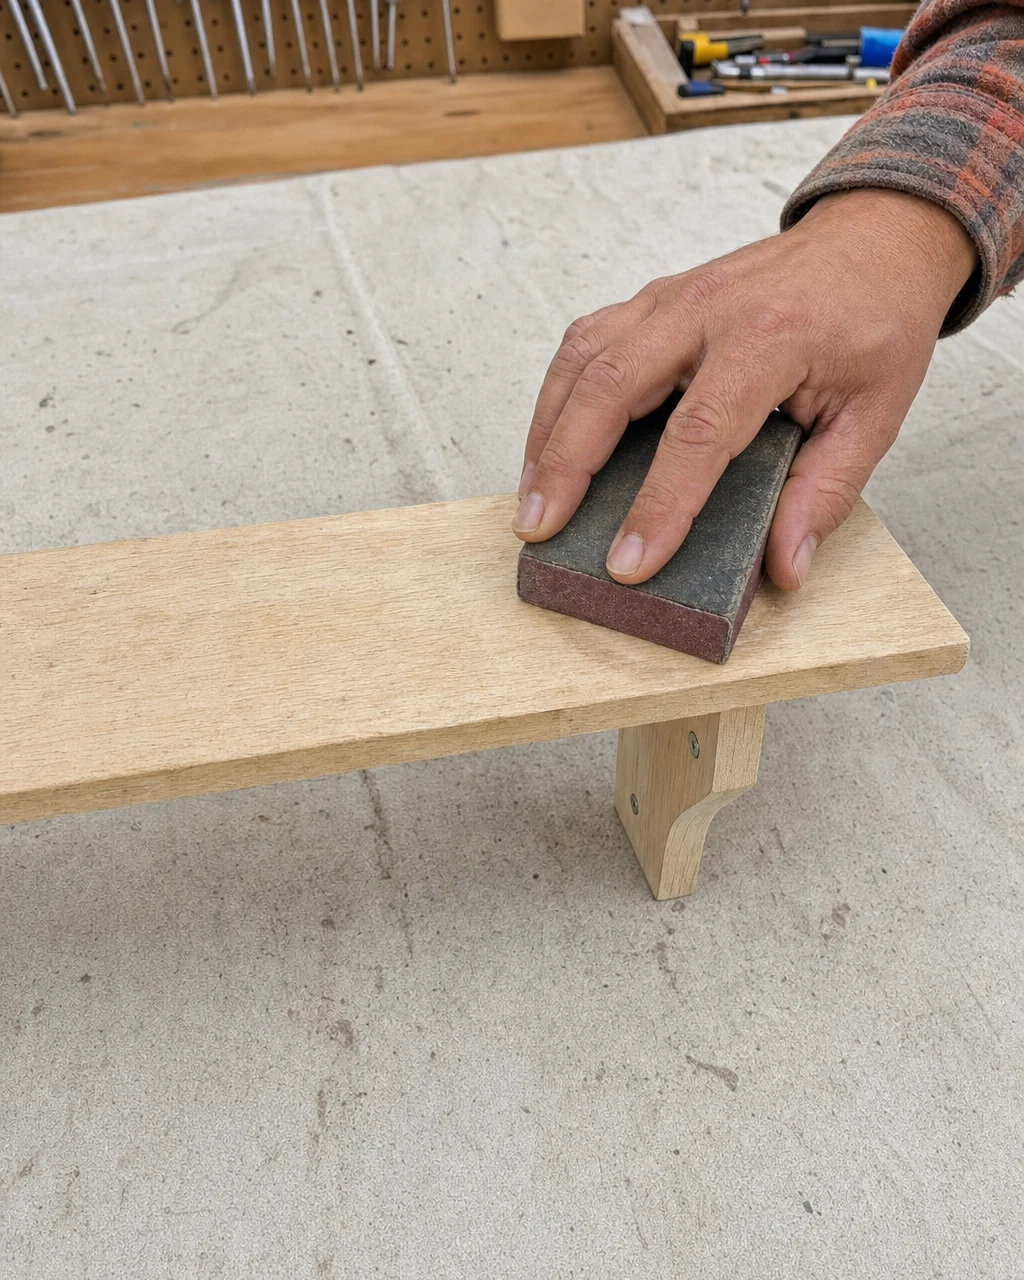
Use a 120-grit sanding sponge or block to vigorously sand the top surface, focusing heavily on the dark water stain until it completely disappears. Brush away the accumulated dust and sand strictly along the grain to smooth out any rough edges and splinters. Always wear a dust mask to avoid inhaling fine pine dust.
Once the dark water stain is completely removed, the shelf will display a smooth, bare pine surface. Run your hand lightly over the front edge to confirm the raised grain is gone, ensuring the wood is perfectly prepped to absorb the dark finish without any blotchy patches.
Step 3: Rub in Tinted Oil
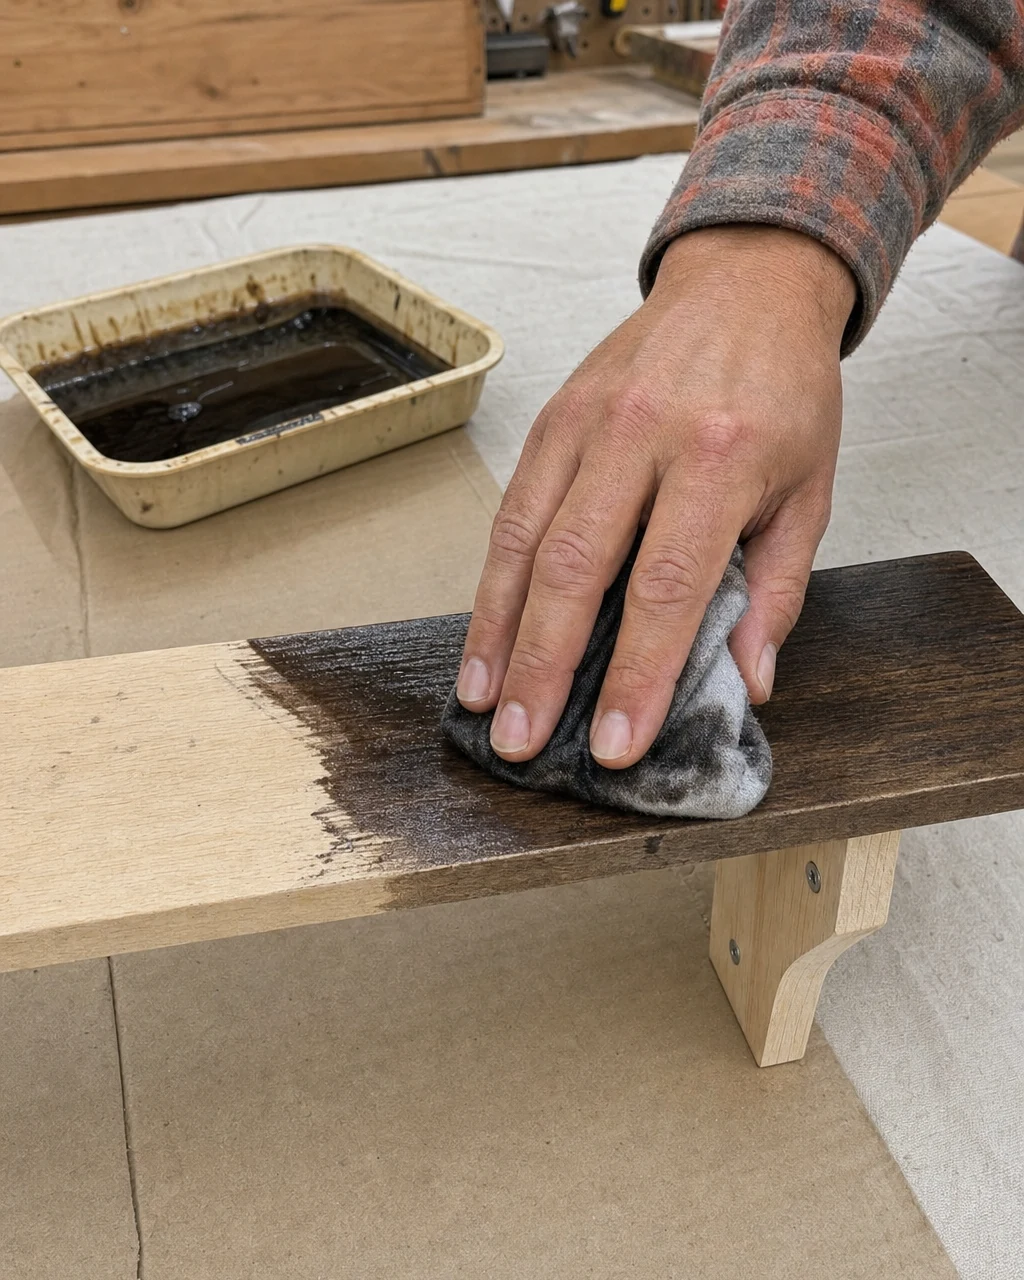
Brush away any remaining sanding dust from the bare wood. Pour ebony-tinted Danish oil directly onto a lint-free cotton rag and rub it deeply into the wood grain. Wipe away any excess oil after fifteen minutes and allow twenty-four hours for the finish to fully cure. Dispose of oil-soaked rags in a water-filled metal container to prevent spontaneous combustion.
Materials checklist
As the penetrating oil cures, the wood transforms to a rich, dark brown with beautifully highlighted grain. This deep ebony tint nourishes the dry pine while completely changing its character, providing a high-contrast backdrop for the polished metal accents.
Step 4: Drill Hardware Pilot Holes
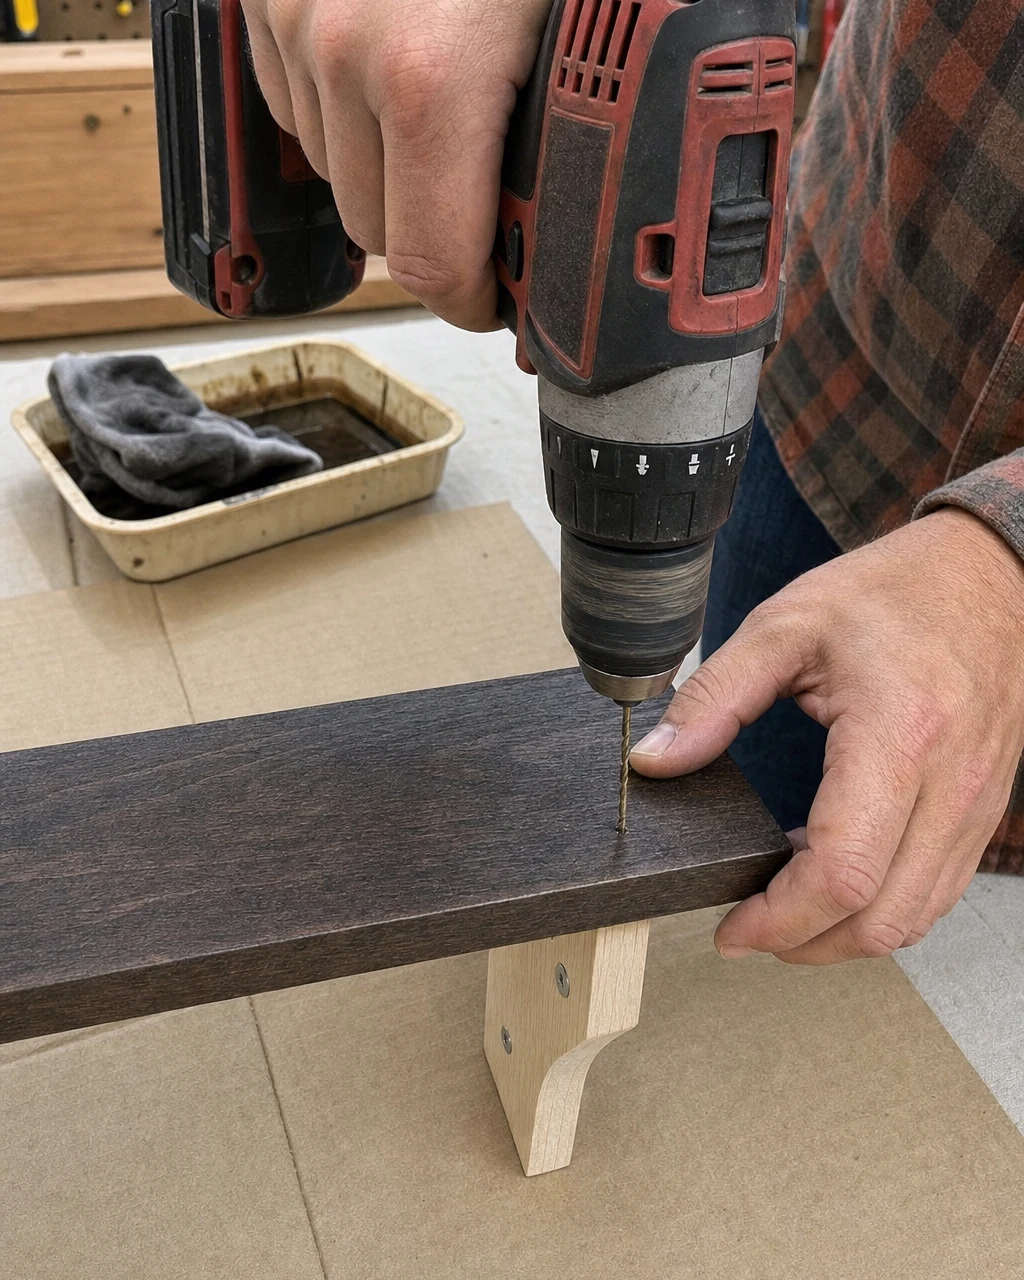
Use a tape measure to precisely mark spacing every four inches along the front edge of the oiled shelf. Use a power drill with a wood drill bit to create shallow, perfectly vertical pilot holes for the brass gallery rail posts. Keep your fingers clear of the drill bit and ensure the shelf is clamped securely.
Creating clean, perfectly vertical holes in the dark oiled wood is crucial for a professional result. Precise pilot holes prevent the delicate brass rods from leaning forward or backward, guaranteeing that the decorative metal hardware will sit absolutely flush against the flat edge of the upgraded shelf.
Step 5: Install Brass Gallery Rail
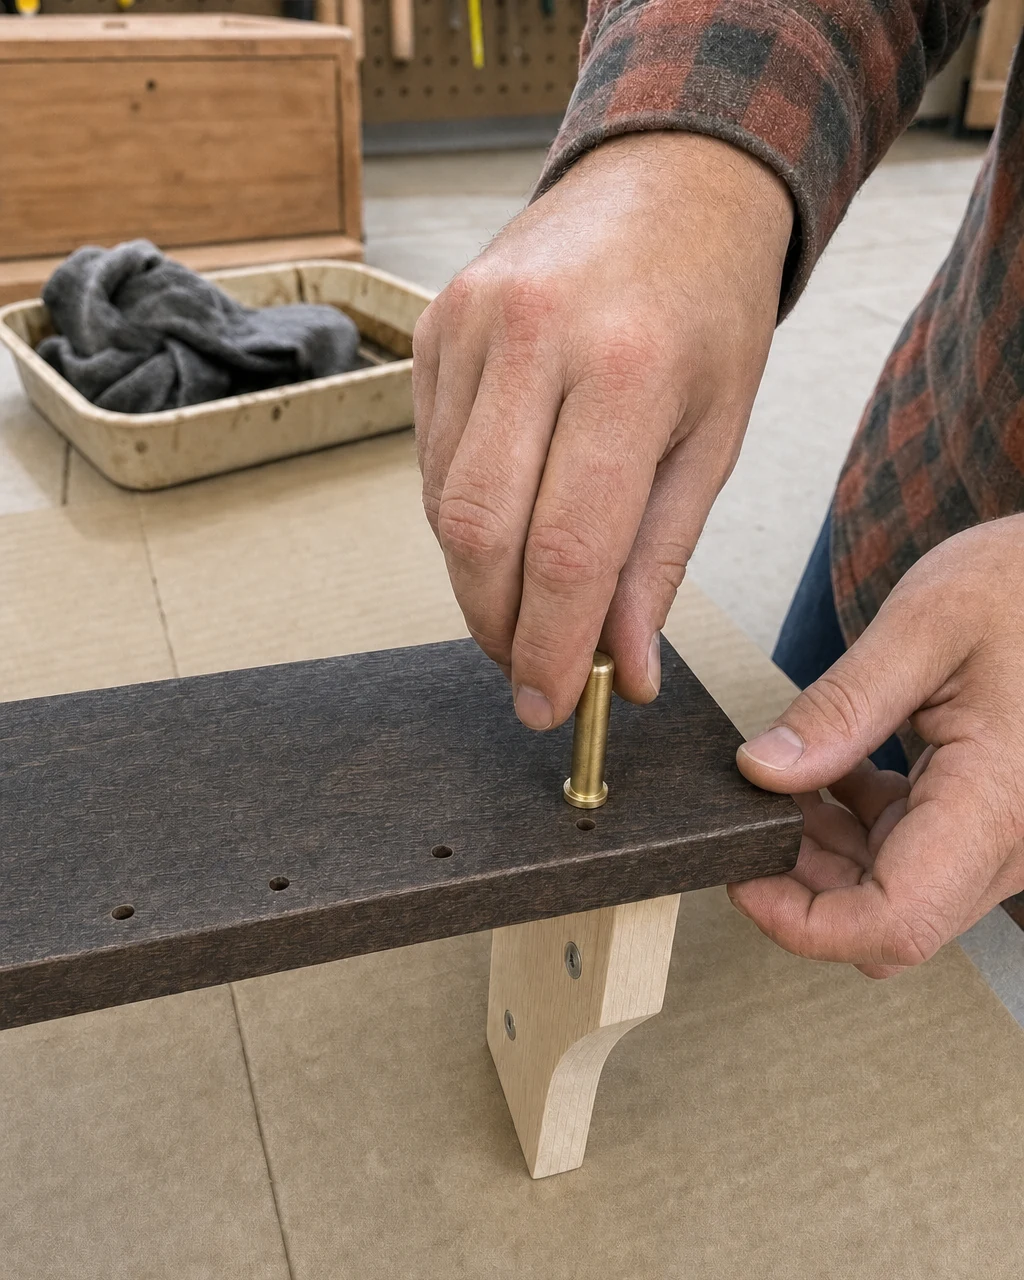
Insert the solid brass gallery posts down into the drilled pilot holes until each base sits flush against the wood. Tap them gently with a rubber mallet if the fit is tight. Thread the brass rail through the posts to complete the assembly. Tap gently to avoid denting the soft brass hardware.
- Press the outer brass posts into the two end holes first.
- Slide the long brass rail through the remaining uninstalled center posts.
- Guide the center posts into their respective holes while holding the rail.
This methodical installation prevents the long metal rod from binding. The gleaming brass posts stand securely upright along the front edge, elevating the basic softwood construction with a touch of bespoke sophistication.
Step 6: Review the Finished Shelf
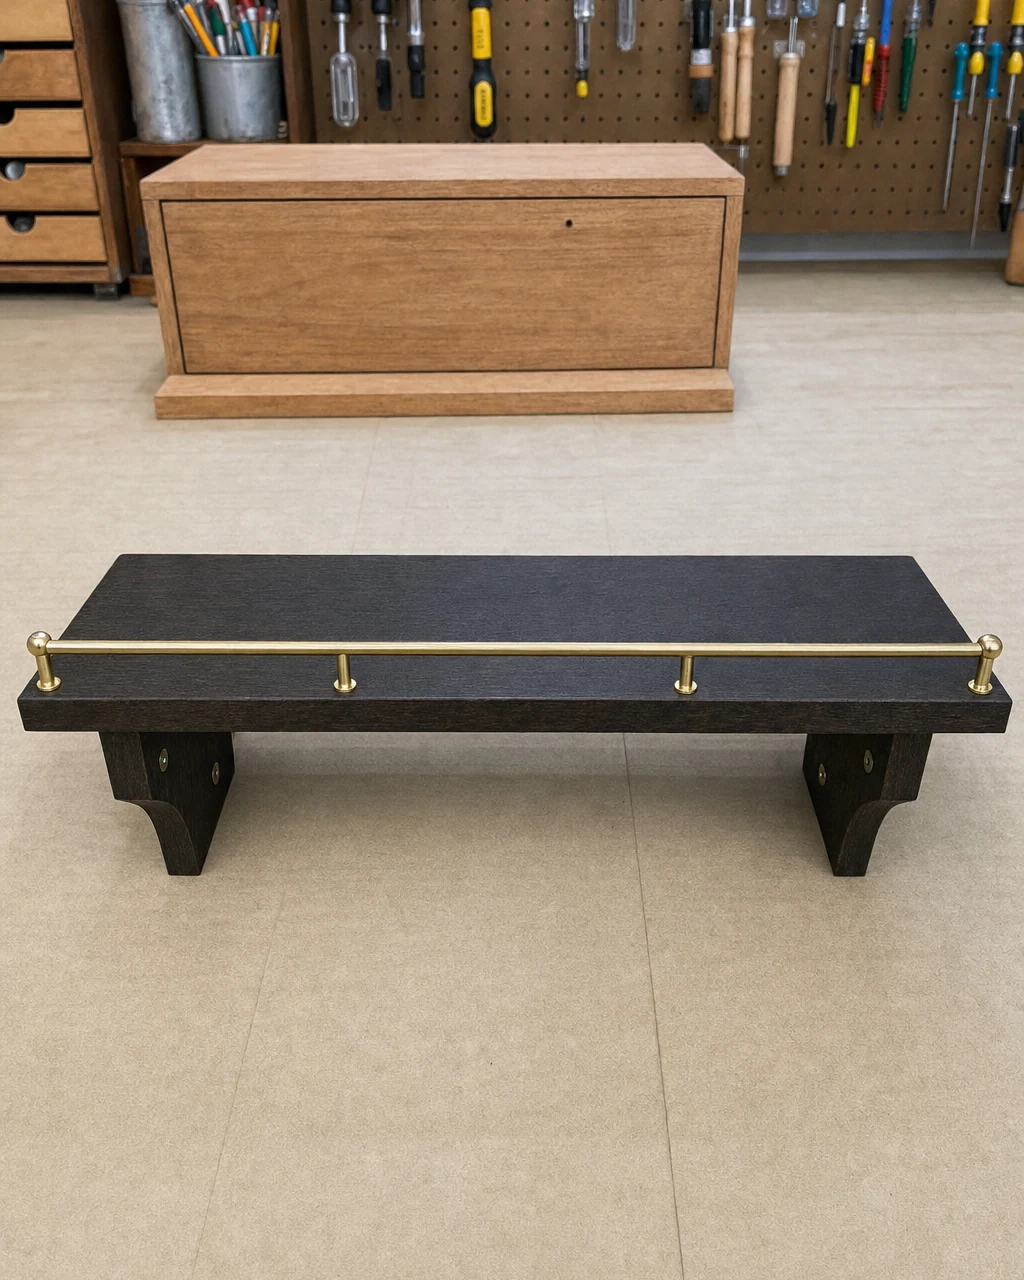
Clear the heavy canvas drop cloth of all tools and debris. Inspect the completed shelf with a clean, lint-free cloth to ensure the dark oil finish is perfectly even across the surface. Check the hardware carefully to ensure the brass gallery rail is firmly seated and level. Ensure the work area is clean before final inspection to avoid scratching the new finish.
Step 7: Style the Upgraded Piece
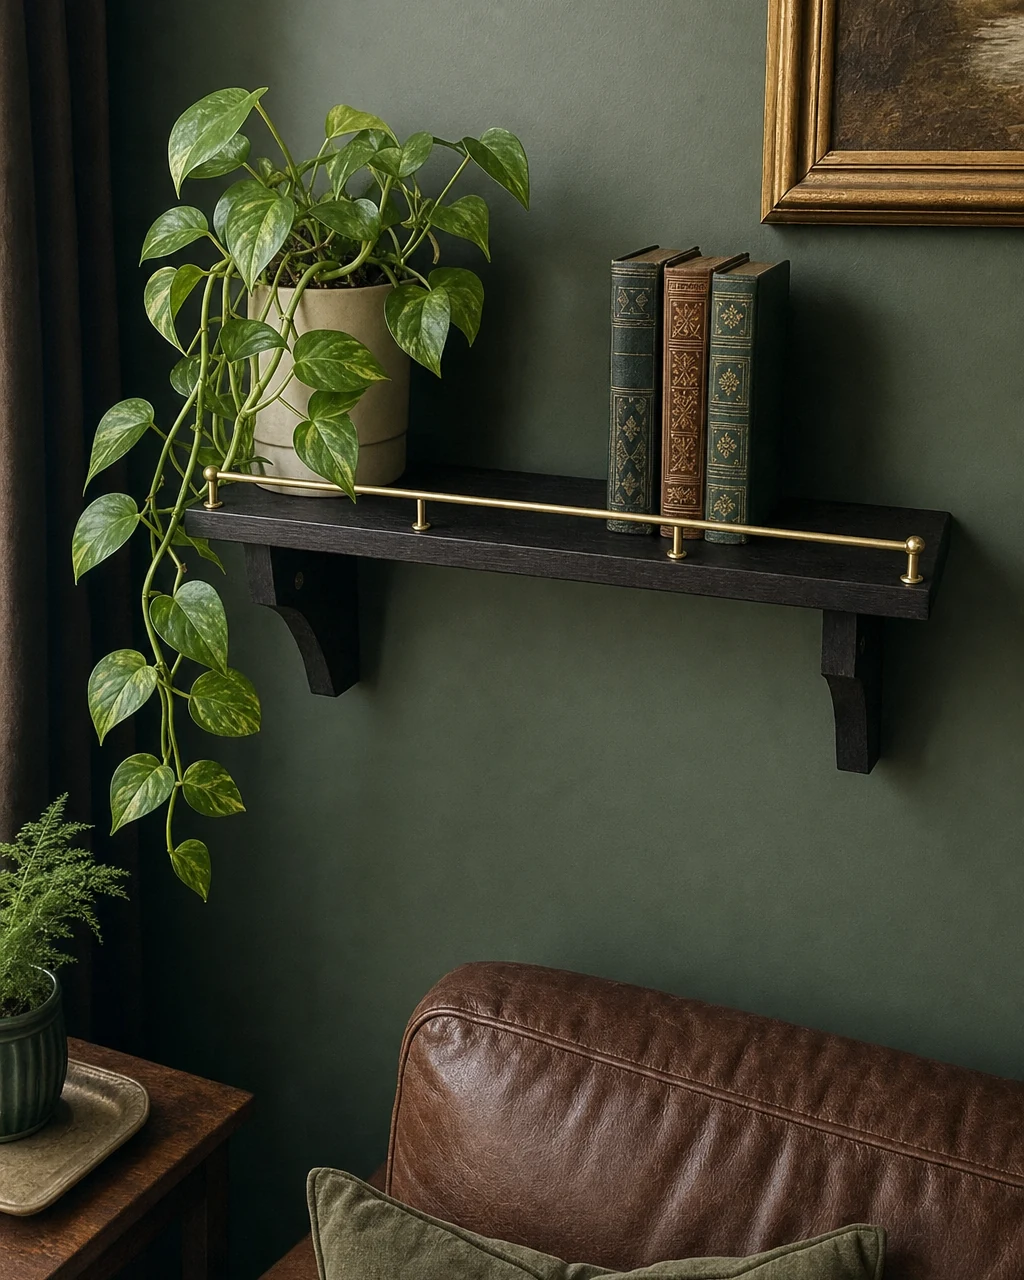
Use a level and a screwdriver to mount the shelf securely to a living room wall using heavy-duty anchors. Arrange decorative items like a trailing pothos plant and vintage hardback books tucked neatly behind the brass rail to highlight its new function. Always use appropriate wall anchors to safely support the weight of the solid wood shelf and your chosen decor.
Valuation and Market Appeal
The addition of a solid brass gallery rail and a rich, dark oil finish elevates this basic pine shelf from a cheap utility piece to a bespoke, high-end display ledge. This striking visual transformation significantly increases its decorative appeal, driving the estimated resale value to $115.
| Item | Cost |
|---|---|
| Purchase Price | $5 |
| 120-grit sanding sponge | $4 |
| Ebony Danish oil | $15 |
| Lint-free cotton rags | $5 |
| Brass gallery rail kit | $28 |
| Materials Total | $52 |
| Total Investment | $57 |
| Estimated Resale Value | $115 |
| Value Gain | $58 |
Please note that this valuation remains an editorial estimate rather than a guaranteed completed sale price. The impressive value multiple demonstrates how premium hardware and a rich finish can maximize the return on a simple thrifted item.