
Simple Screened-in Porch: Complete DIY Build & Framing Plan
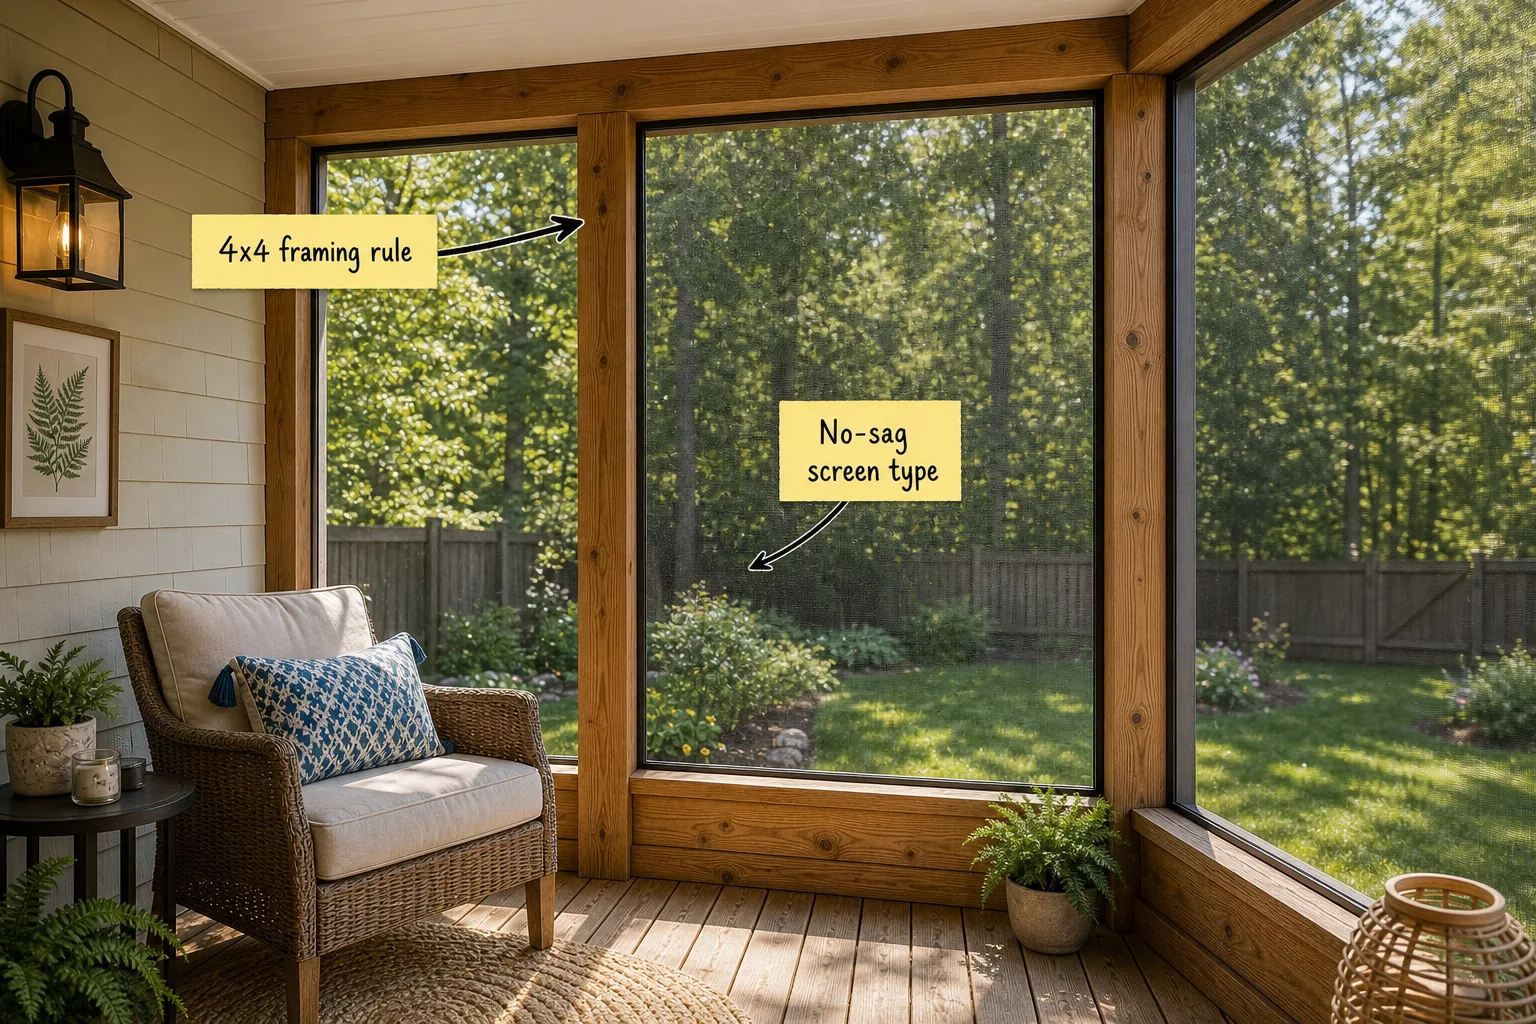
Build a simple screened-in porch with this complete DIY framing and material guide, featuring exact wood measurements and no-sag screen types. You will be able to purchase the correct lumber, space your framing accurately, and install tight, sag-free screens using a spline track system.
The Complete DIY Framing and Material Guide
Staging your lumber and track materials in one accessible zone ensures you can work continuously without making mid-project hardware store runs. This specific build requires pressure-treated 4x4s for the structural posts, standard 2x4s for horizontal blocking, a spline track kit, and heavy-duty screen rolls.
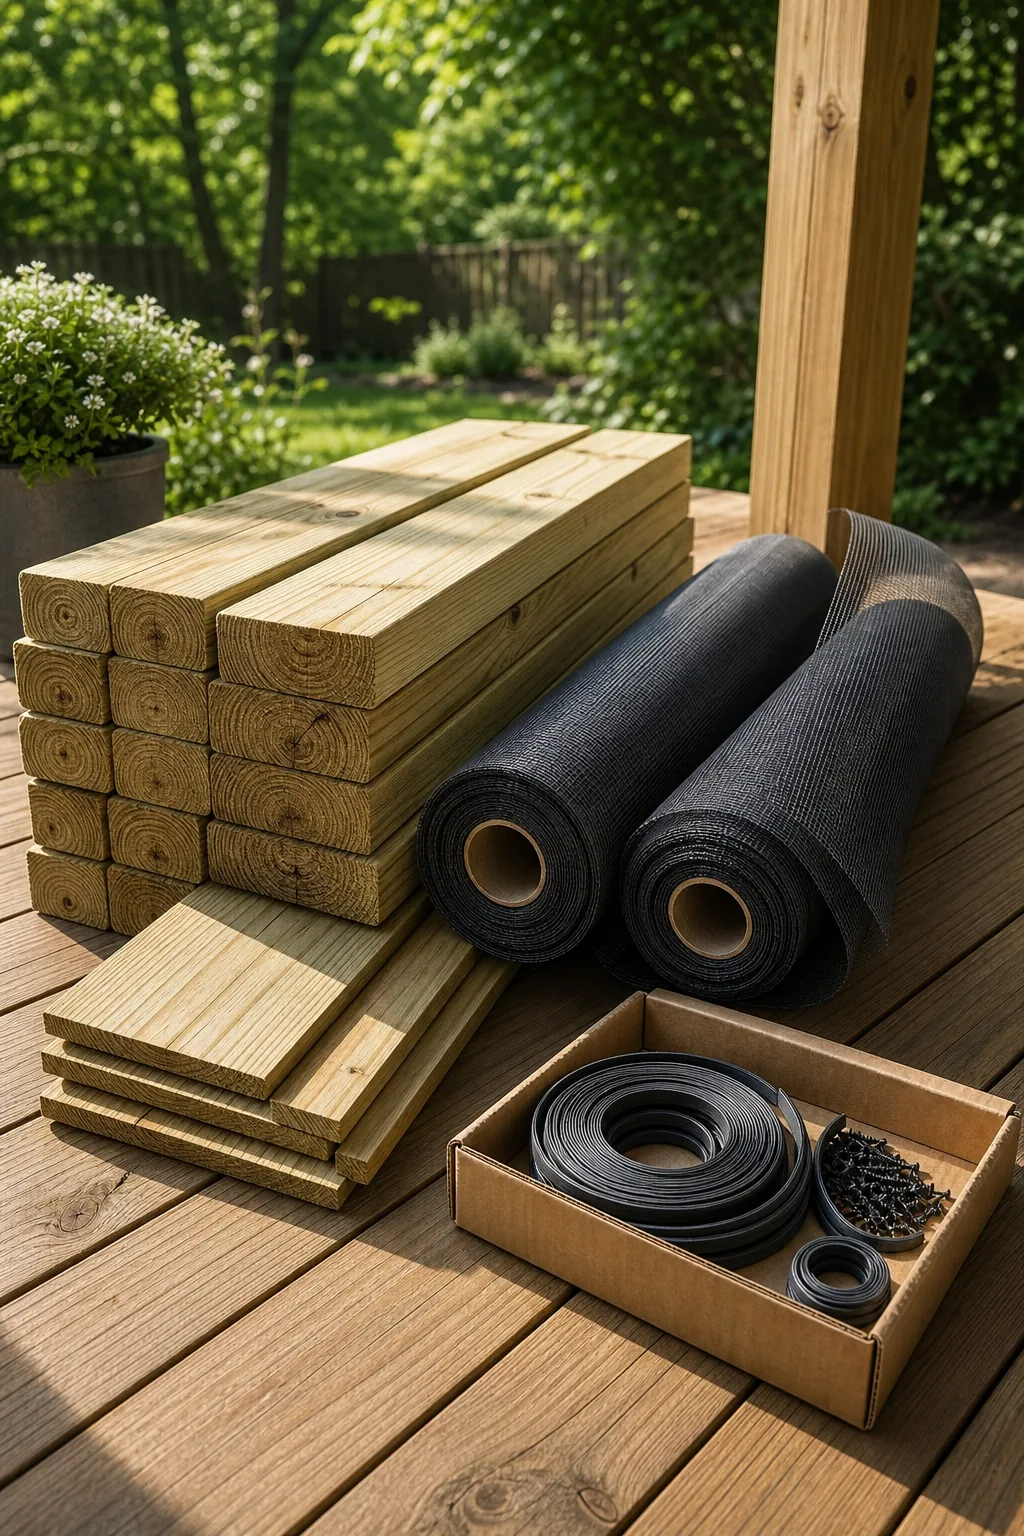
Before heading to the local lumber yard with your truck, you must verify these three critical site dimensions to ensure you purchase the correct material lengths. Double-checking your existing deck footprint prevents costly material waste and eliminates the frustration of returning oversized heavy timber.
Organizing the Lumber Supply
Purchasing the exact quantities of raw materials prevents project delays and ensures your structural components match the required load ratings. A standard 12-foot by 16-foot porch enclosure requires a specific breakdown of structural timber and finishing hardware to complete the entire weather-resistant frame.
- Eight pressure-treated 4×4 posts rated for continuous ground contact
- Twenty standard 2×4 framing boards for horizontal structural blocking
- Complete aluminum base track kits and heavy-duty rubber spline
- Three boxes of exterior-grade deck screws and structural fasteners
- Two rolls of heavy-duty charcoal polyester screen mesh material
Building the Kickplate Zone
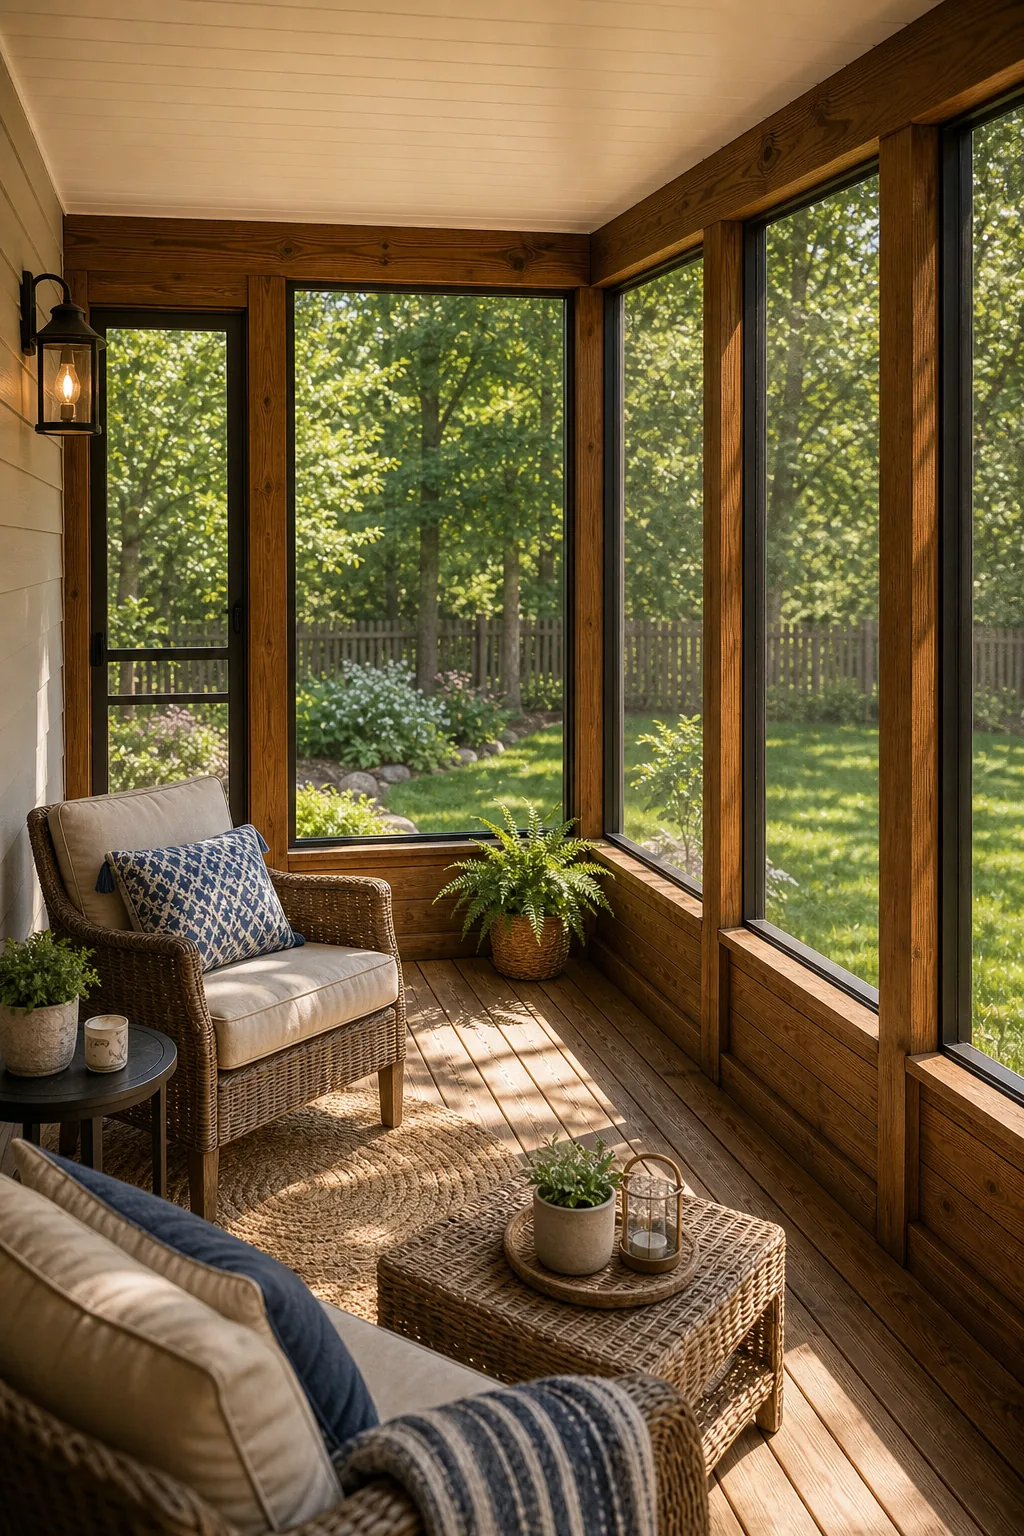
The kickplate zone is the solid wood lower wall section designed to protect fragile mesh from heavy boots, energetic pets, and flying lawn debris. Framing this barrier with horizontal 2x4s at a standard height of 18 to 24 inches creates a highly durable structural shield.
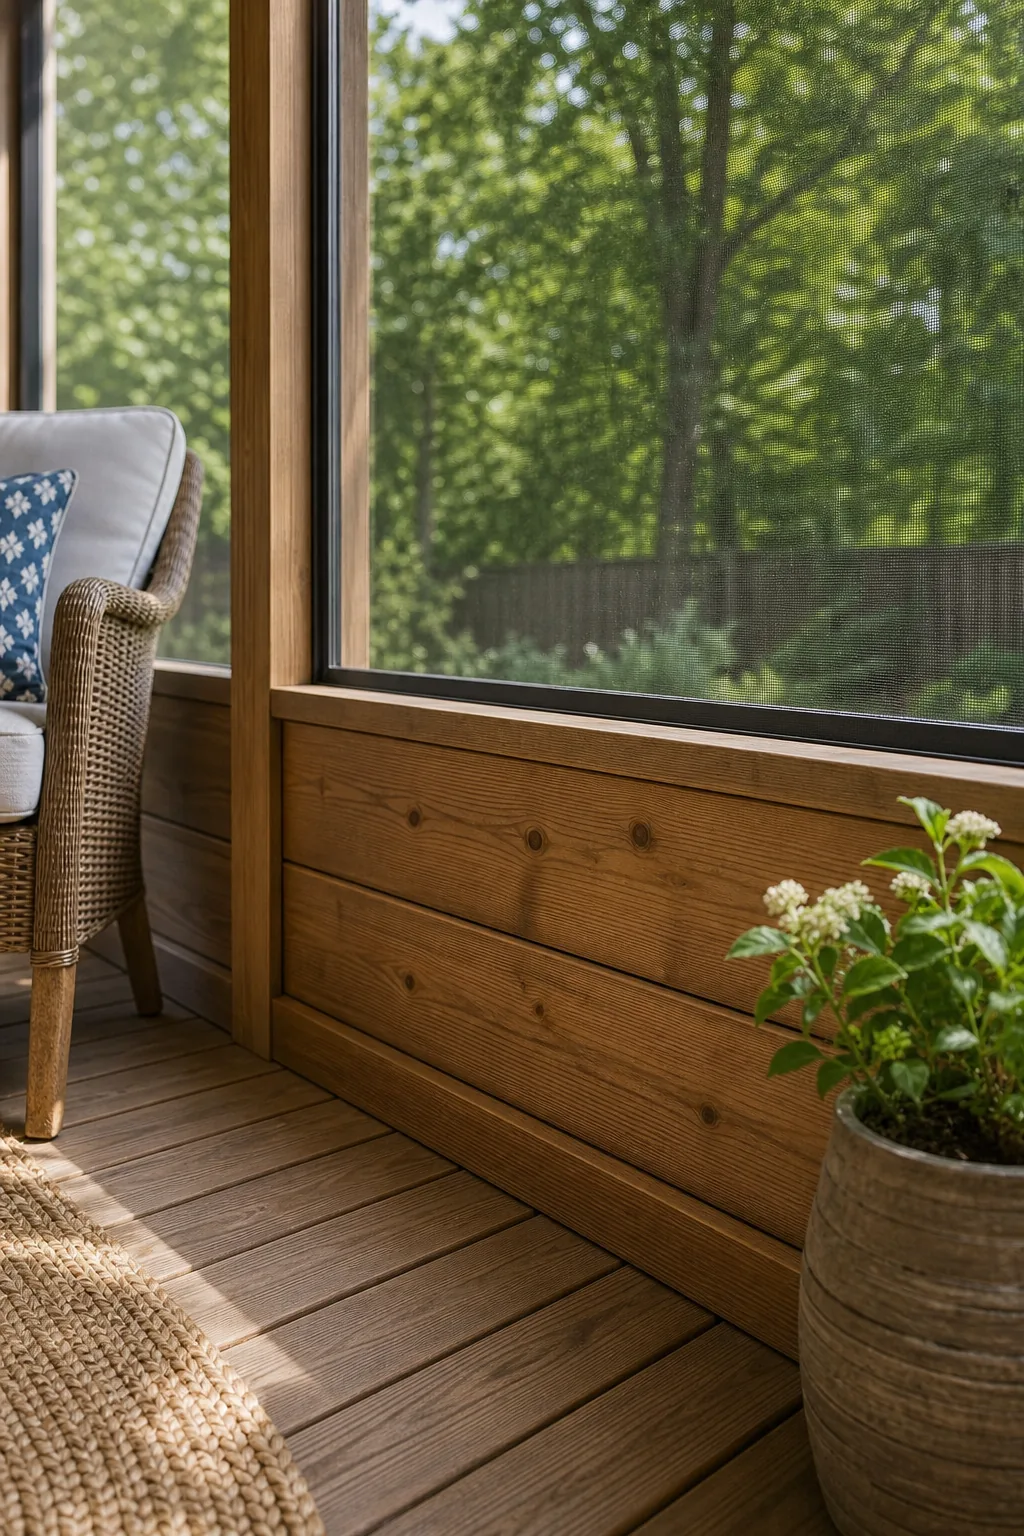
Cladding the exterior of this lower framed section with tongue-and-groove cedar or treated pine instantly elevates the structure. This architectural addition transforms a basic wooden frame into a beautifully finished outdoor room while providing essential impact protection for the lower screens.
Securing the Solid Lower Wall
Constructing the solid barrier requires precise sequential assembly to ensure the horizontal boards remain perfectly level across the entire porch perimeter. You must follow a strict bottom-up installation method to maintain structural integrity and prevent the wooden exterior cladding from shifting or warping over time.
- Anchor the treated bottom plate directly into the existing deck floor joists.
- Install vertical 2×4 cripple studs every 16 inches on center along the base.
- Fasten the horizontal top rail securely to cap the lower wooden framework.
- Nail the cedar cladding flush against the exterior face of the vertical studs.
Applying the 4×4 Framing Rule
The most critical structural guideline is the 4×4 framing rule, which mandates that the main vertical wooden posts consist of heavy 4×4 lumber. Spacing these thick posts no more than 36 to 48 inches apart guarantees adequate roof support across the entire open span.
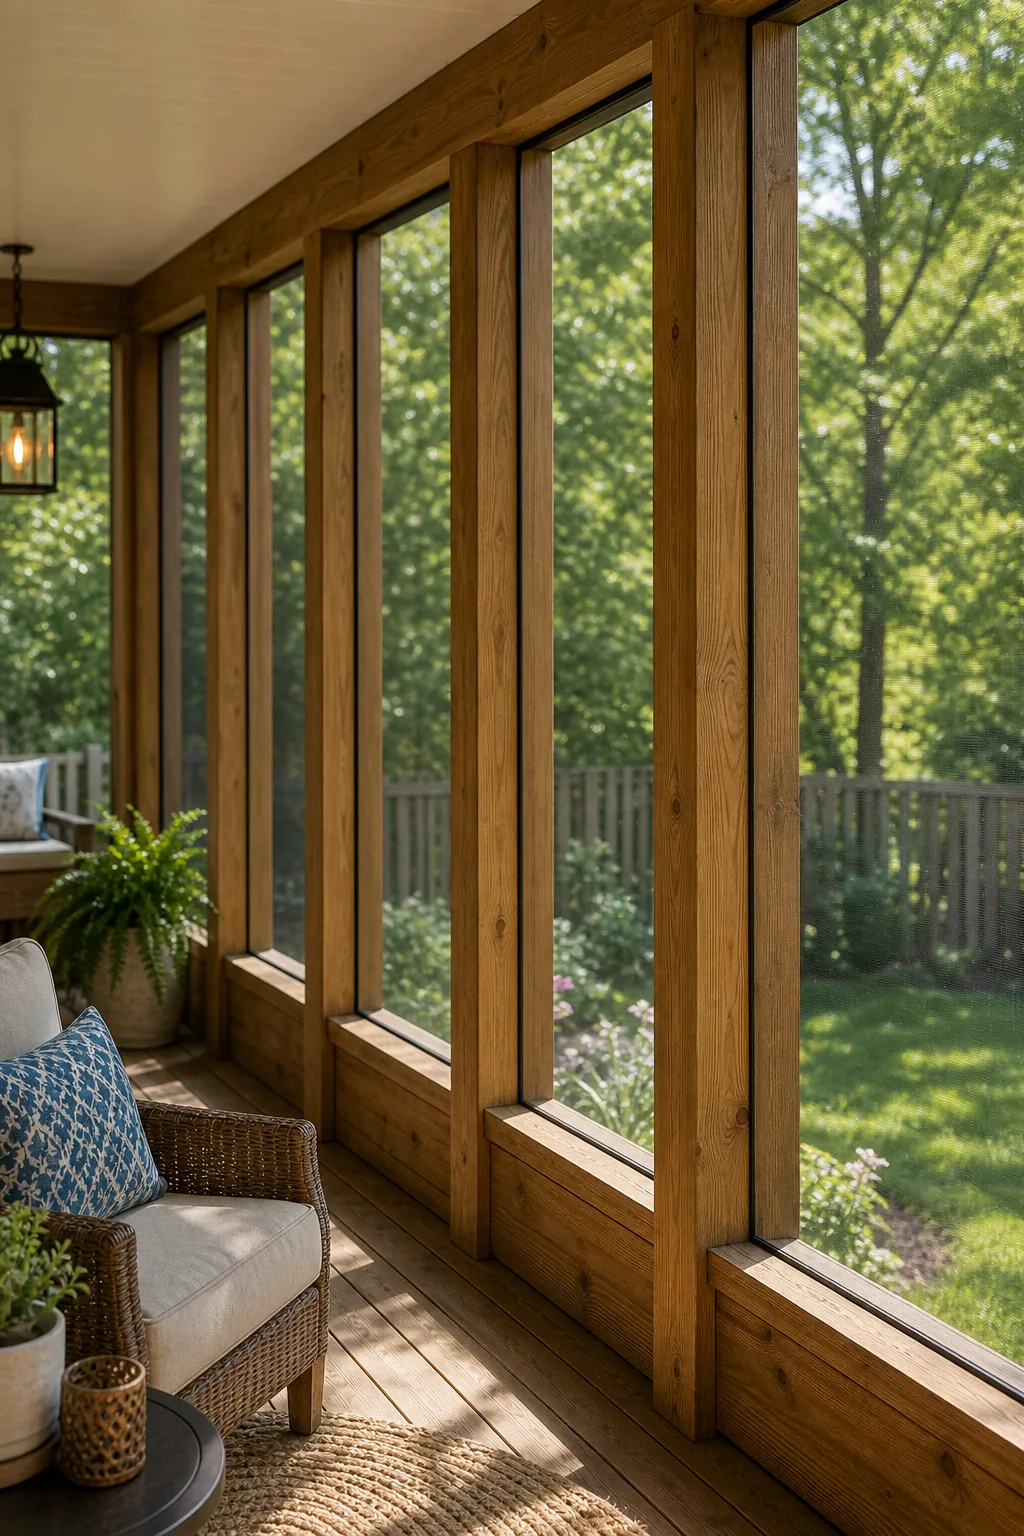
This specific post spacing prevents the exceptionally large screen panels from acting like a massive sail in high winds. Restricting the opening width ensures the environmental air pressure cannot bow the wood or tear the stretched fabric from its aluminum mounting channels.
Calculating Post Spacing and Wind Load
Adjusting your vertical post placement based on extreme local climate conditions ensures the wooden framework remains completely rigid during severe weather events. Tighter spacing dramatically increases the overall wind resistance of the completed mesh enclosure by reducing the surface area of each individual screen panel.
| Climate Condition | Max Post Spacing | Recommended Wood | Fastener Type |
|---|---|---|---|
| Low wind (inland) | 48 inches | Standard 4×4 treated | 3-inch exterior screws |
| Moderate wind (suburbs) | 42 inches | Standard 4×4 treated | Structural lag bolts |
| High wind (coastal) | 36 inches | Premium 4×4 ground-contact | Heavy through-bolts |
| Extreme gusts (hills) | 32 inches | Engineered 4×4 timber | Galvanized tension ties |
Choosing a No-Sag Screen Type
Selecting a reliable no-sag screen type is absolutely essential for large porch openings that span up to 48 inches wide. Heavy-duty vinyl-coated polyester mesh easily outperforms standard fiberglass because it resists tearing from sharp pet claws and maintains its internal tension without stretching.
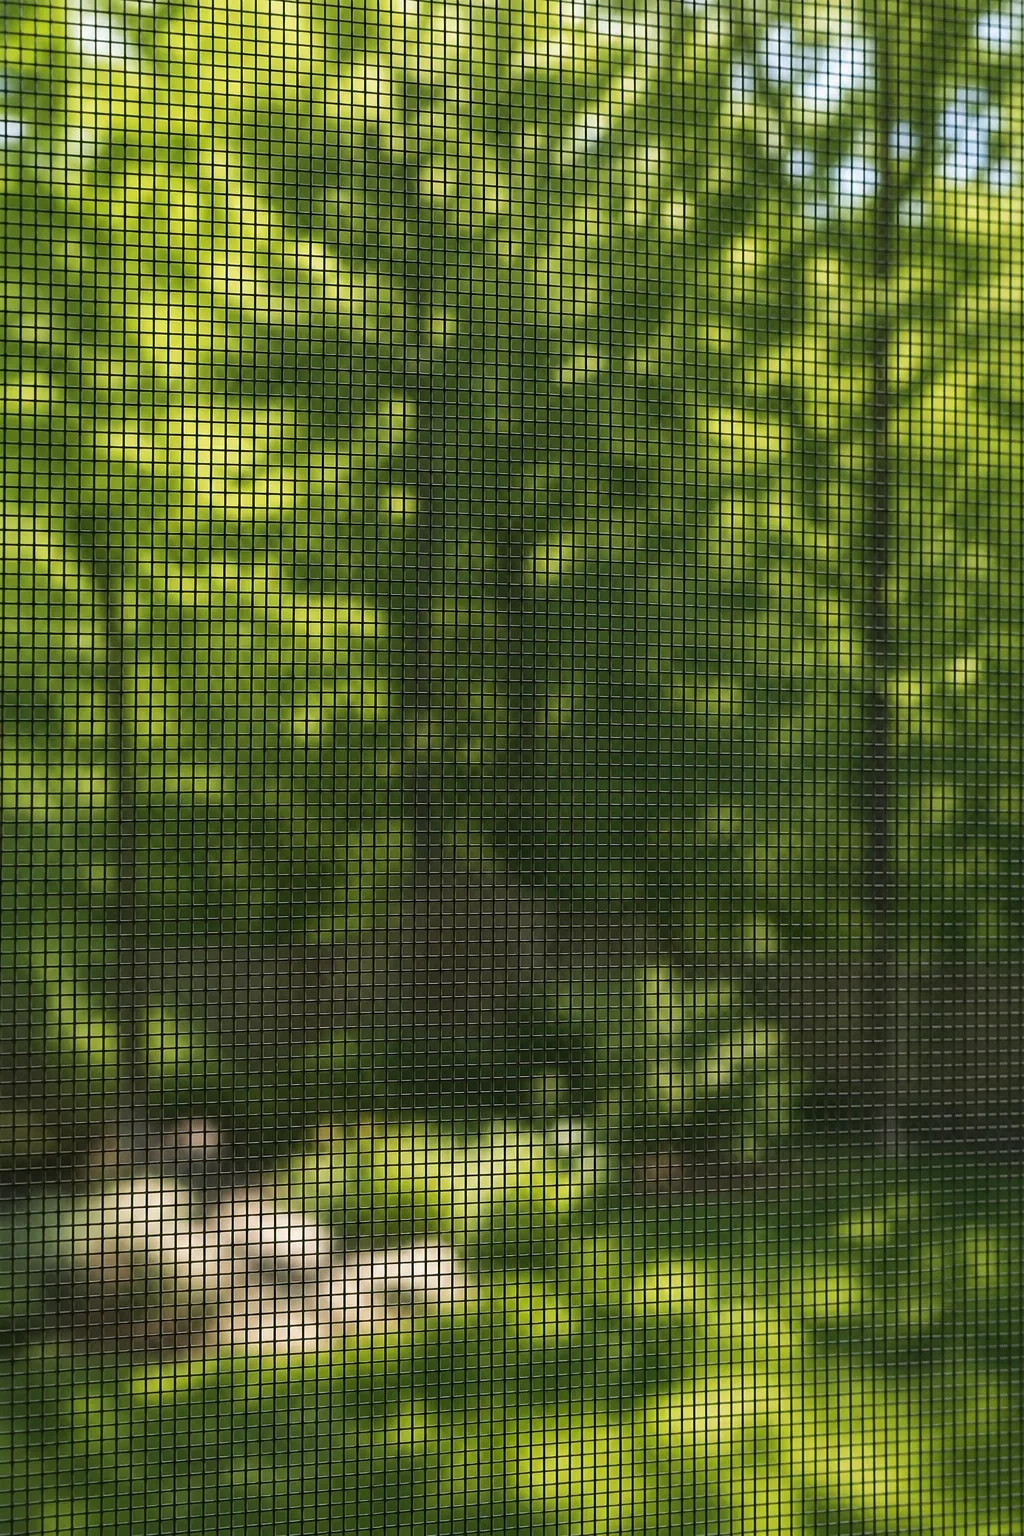
While it might seem completely counterintuitive to new builders, choosing a dark screen color actually improves your expansive view of the yard. The deep charcoal material absorbs excess ambient sunlight rather than reflecting it back into your eyes, creating a nearly invisible physical barrier.
Comparing Mesh Durability Ratings
Standard lightweight fiberglass material inevitably stretches out of shape over time, leaving unsightly loose ripples across the center of your primary viewing area. Upgrading to a specialized pet-resistant polyester core ensures the fabric remains drum-tight even after enduring years of fluctuating seasonal temperatures and physical impacts.
Installing the Spline Track System
The modern spline track system relies on a thin aluminum trim base that mounts directly flush against the exterior face of the wooden framing. Securing this rigid metal channel properly is the absolute foundation for a professional, wrinkle-free installation across your entire outdoor living space.
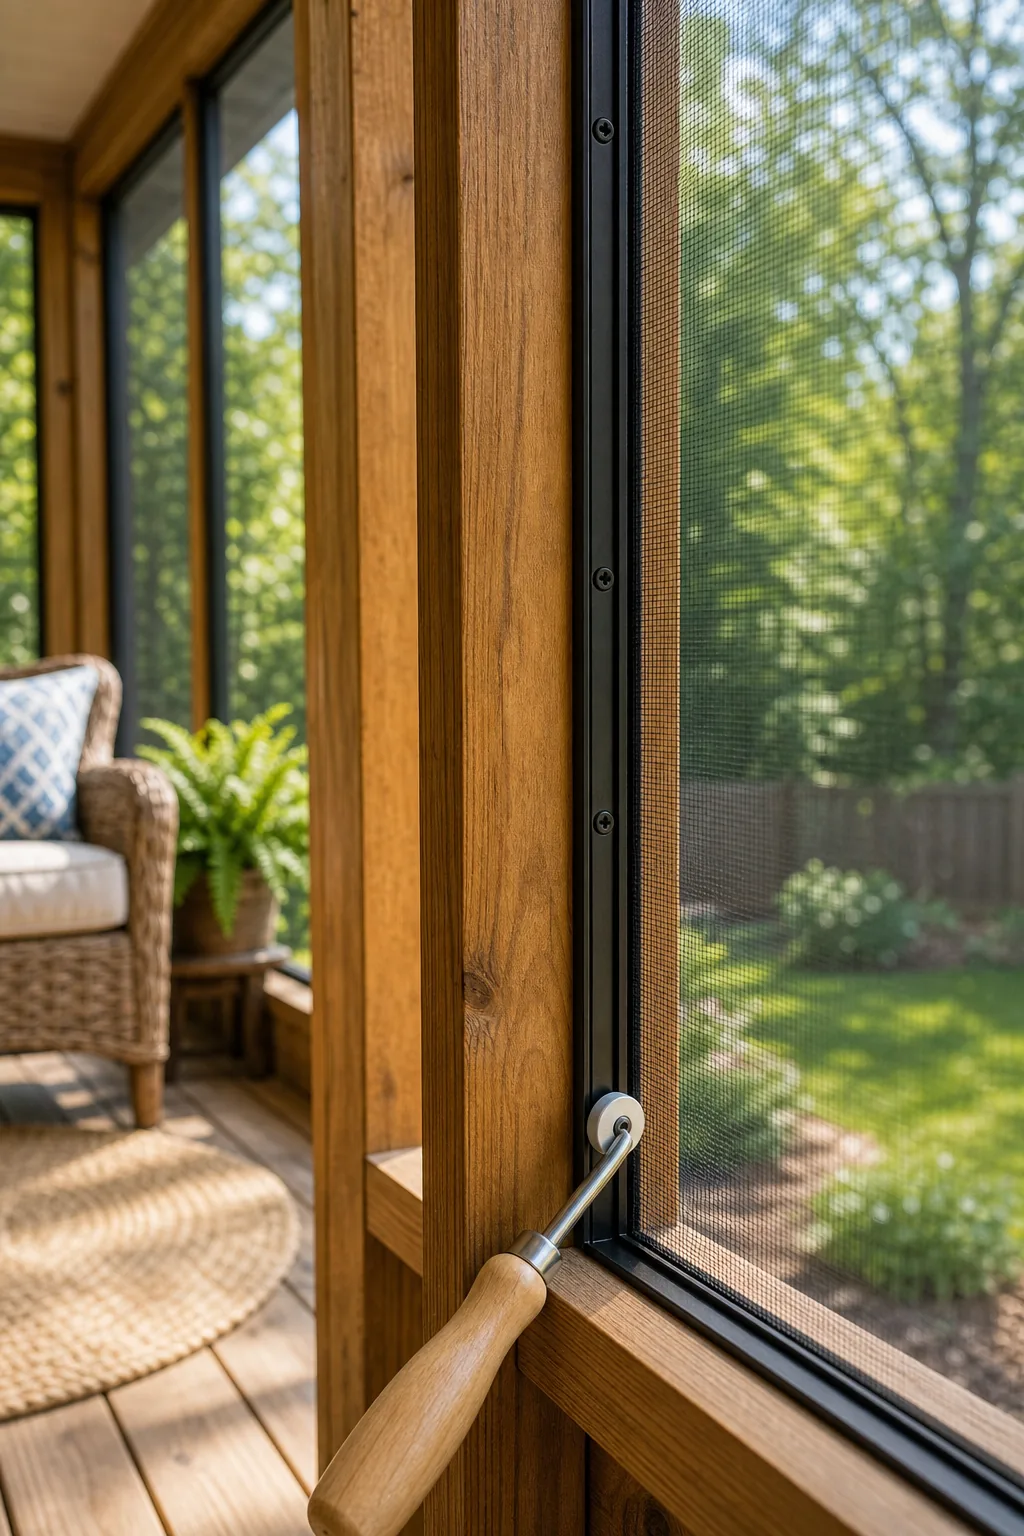
Space the heavy-duty mounting screws exactly every 8 to 10 inches along the entire track length. This tight fastening pattern prevents the aluminum base from lifting, twisting, or bowing outward under the extreme continuous tension generated by the tightly stretched polyester screen mesh.
Pre-Drilling the Aluminum Base
Forcing steel screws directly through the metal channel without proper preparation often warps the delicate track and misaligns the internal rubber groove. You must always drill small pilot holes through the base material before driving the fasteners deep into the dense pressure-treated pine lumber.
Screen Tensioning and Rolling
Using a specialized wooden-handled spline roller is the only effective way to generate enough mechanical leverage to pull the thick mesh taut. Begin by firmly pressing the rubber core into the top horizontal track to establish a perfectly level and secure starting edge.
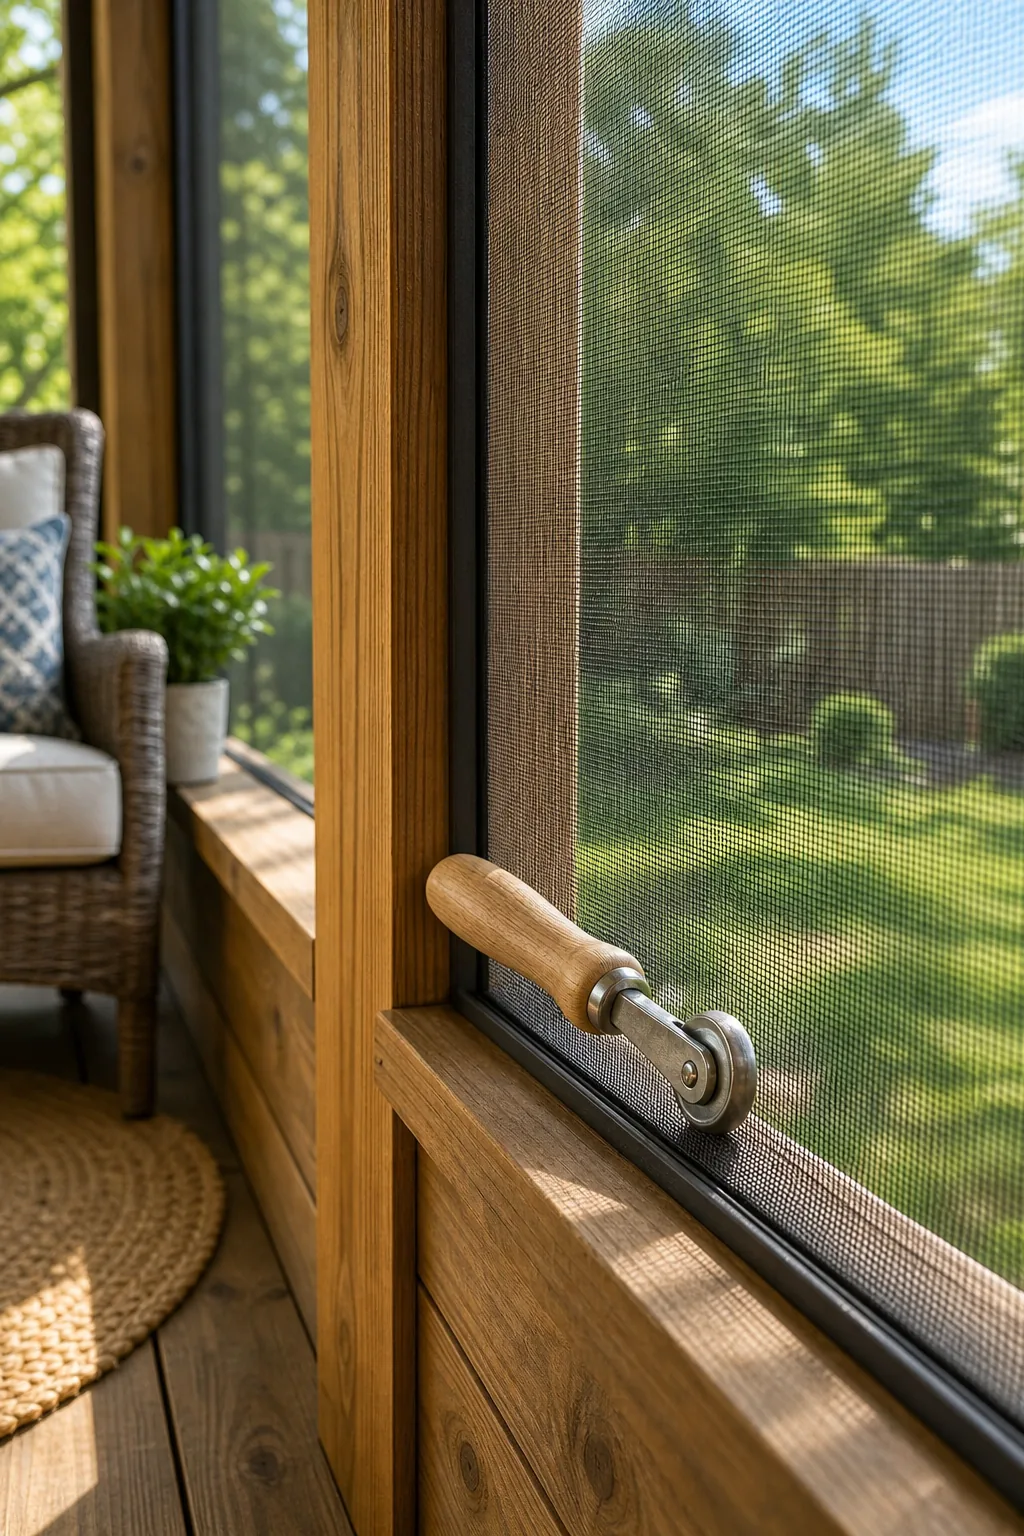
Secure the bottom horizontal track immediately after finishing the top section to create incredibly strong vertical tension. Establishing this tight vertical baseline is absolutely crucial before you attempt to roll the side channels and pull the remaining fabric drum-tight across the wooden frame.
Locking the Final Spline Edge
Pulling the side fabric too aggressively causes the vertical wooden posts to bow inward, seriously compromising the structural integrity of the entire wall. Instead, gently guide the roller down the side channels, allowing the expanding rubber spline itself to pull the final surface wrinkles perfectly flat.
Trimming Out the Interior
Applying custom 1×2 or 1×3 wood trim directly over the rough framing edges beautifully conceals the exposed spline track from the inside of the porch. This final essential carpentry step hides all the raw installation hardware and creates a seamless, highly polished interior finish.
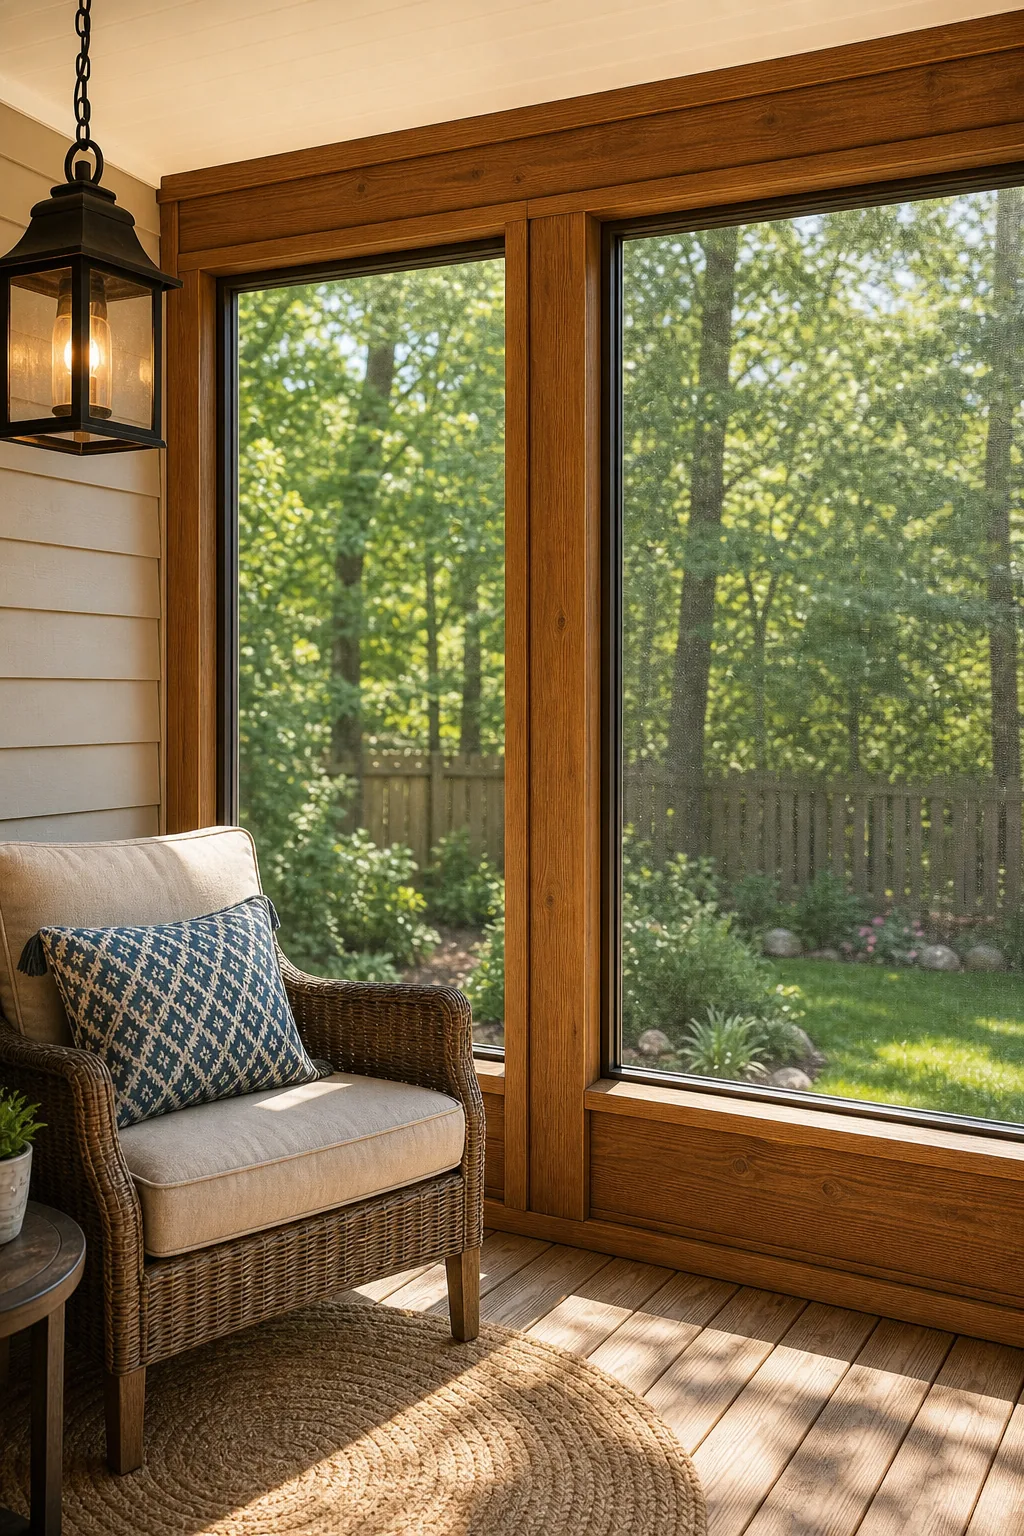
Miter the corners of your interior trim boards at a precise 45-degree angle to achieve a professional, picture-frame appearance around every individual mesh panel. This simple decorative technique elevates the entire space, making the functional screens look like custom-built architectural windows rather than basic netting.
Concealing the Fasteners
Using a pneumatic brad nailer allows you to rapidly attach the delicate wooden trim boards without accidentally striking the nearby screen fabric with a heavy swinging hammer. Carefully fill the small recessed nail holes with color-matched wood putty before applying the final protective clear coating.
Weatherproofing the Wood Frame
Applying an exterior-grade penetrating oil or semi-transparent stain actively protects the exposed natural wood framing from severe UV damage and continuous moisture intrusion. This vital chemical barrier prevents the structural posts from cracking, splintering, or rotting away after years of harsh seasonal weather exposure.
Always apply your chosen liquid finish with a high-quality brush and allow the chemical treatment to cure completely dry before the screen material goes up. Attempting to stain the posts later almost guarantees accidental drips will permanently ruin your pristine new mesh panels.