
Top-Loader Laundry Room Layout & Clearance Guide
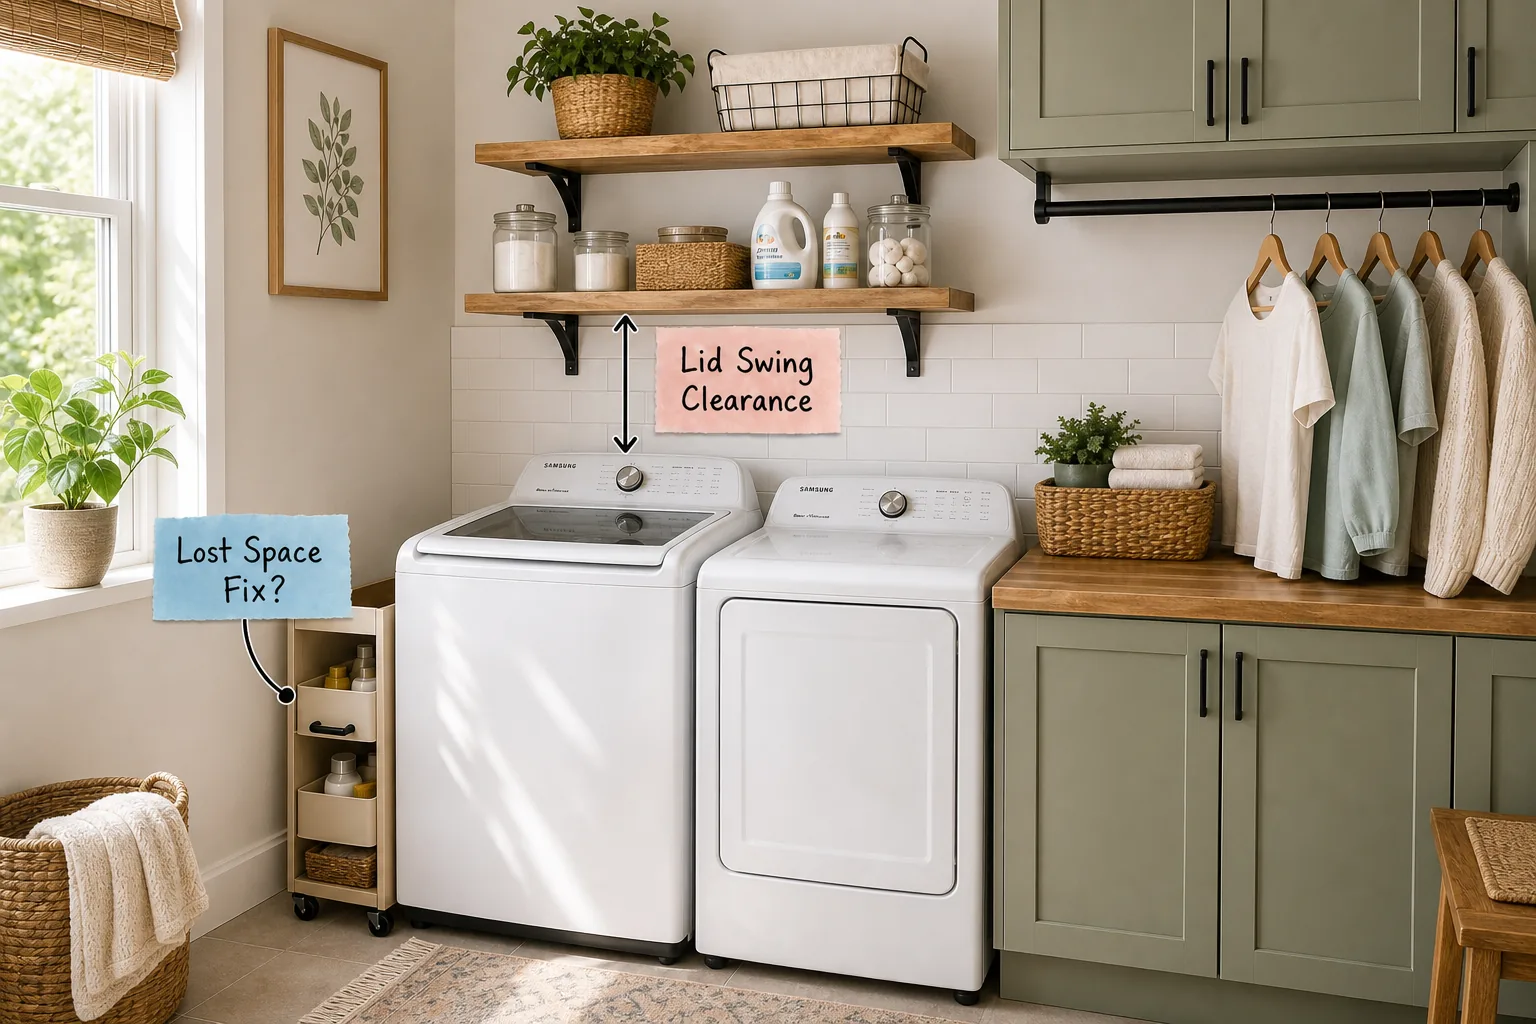
Planning a highly functional utility space requires our complete Top-Loader Clearance & Layout Guide to ensure every cabinet and counter aligns perfectly. You will be able to map out your laundry room zones and install shelves, counters, and hanging rods at the exact correct heights for a top-loading washer.
The Complete Top-Loader Layout Guide
Establishing a smart floor plan begins with defining the three primary functional zones: the active washing area, the adjacent folding station, and the vertical drying space. Standard top-loaders require a depth of 27 to 28 inches, plus an additional 4 to 6 inches for rear hoses to prevent kinking.
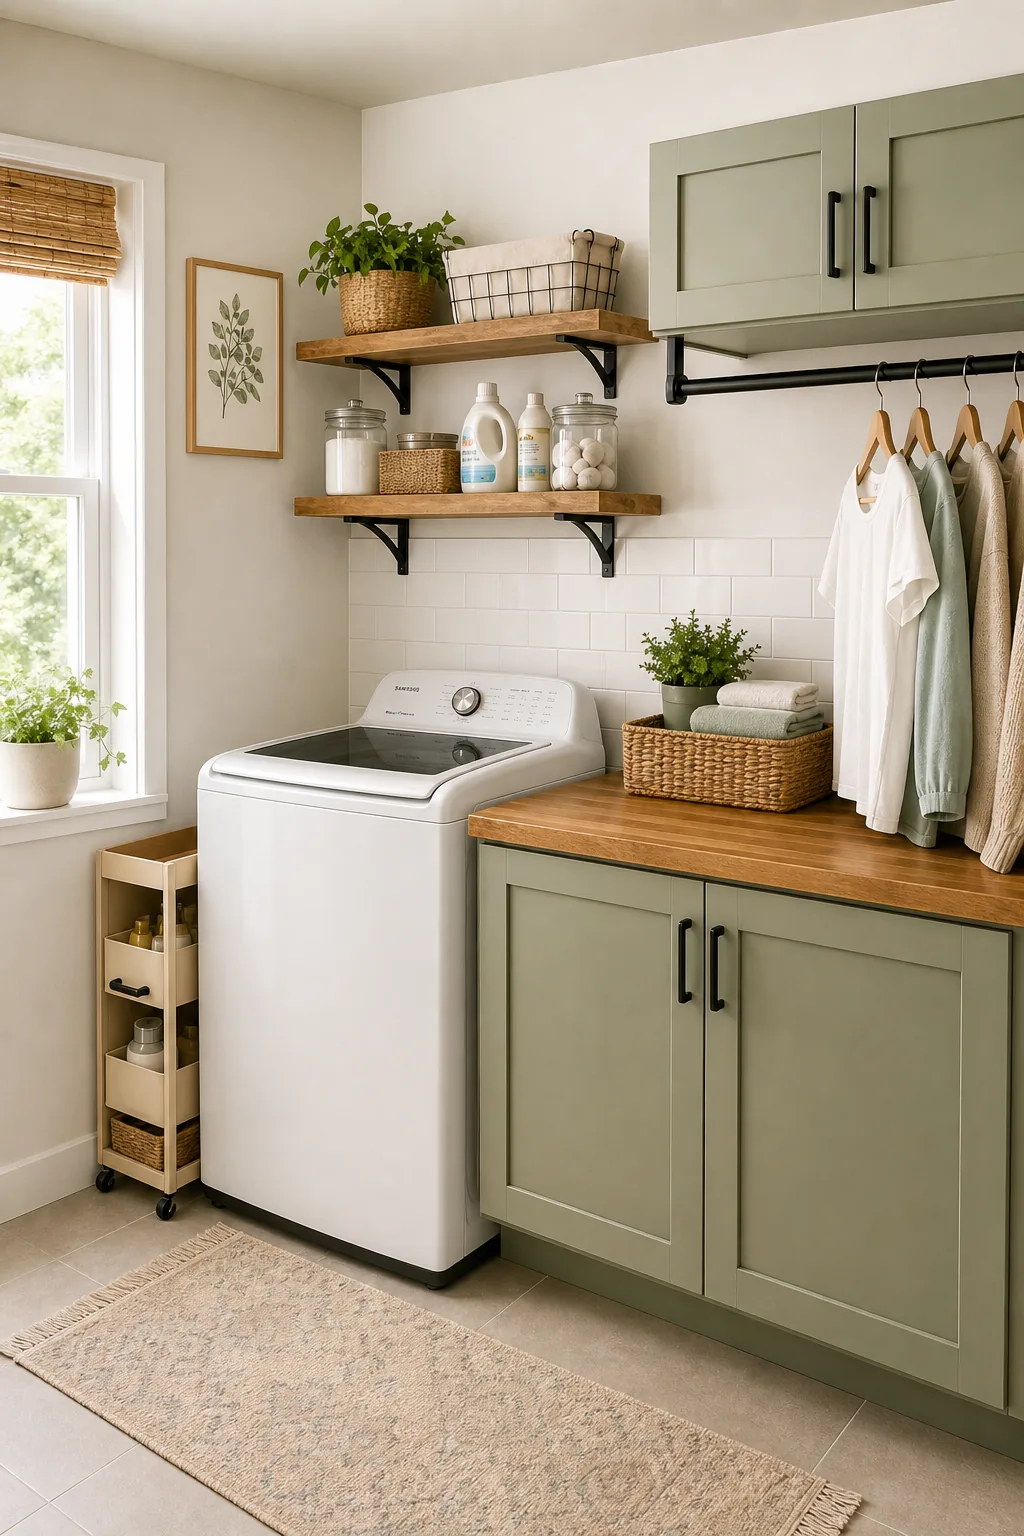
Once you verify this primary machine footprint, you can confidently build out the surrounding utility structures without risking spatial conflicts. Defining these boundaries first ensures your final installation accommodates both the appliance and your daily movement.
Verifying Your Utility Connections
Before buying materials or mounting brackets, you must confirm the physical constraints of your specific room. Taking accurate initial measurements prevents costly mistakes and ensures your final cabinetry layout actually fits your chosen washing machine without blocking essential water valves.
Documenting these three critical dimensions creates a reliable baseline for every subsequent design decision, from shelving placement to countertop spans. Skipping this step often leads to custom millwork that blocks essential plumbing access.
Measuring Lid Swing Clearance
The vertical empty space directly above the top loader lid defines your entire upper storage strategy. Most standard top-loader lids reach a total height of 54 to 58 inches from the floor when fully open, dictating where the lowest shelf must sit.
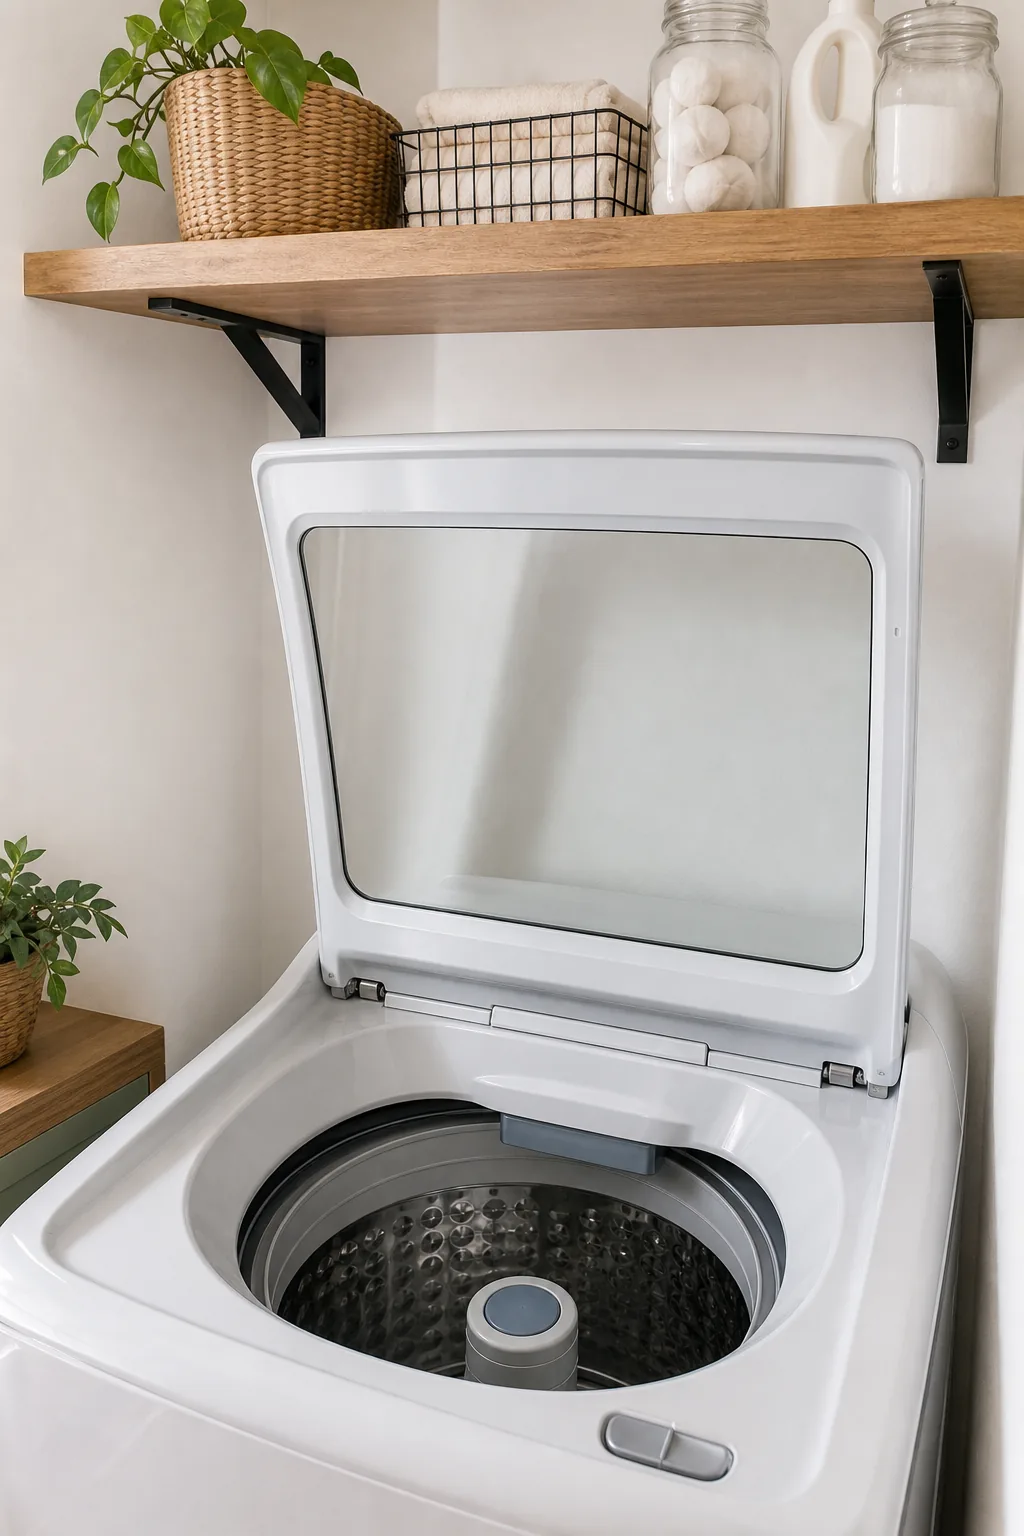
Include a strict 2-inch safety buffer above this maximum height. This essential clearance prevents the metal lid from banging into wooden shelves and protects your fingers from getting pinched during heavy loading sessions.
Standardizing Washer Footprints
Understanding how different machine capacities alter the required floor space helps you position adjacent cabinetry accurately. While compact models save floor area, high-capacity family washers demand a deeper footprint that pushes the front edge further into your walking path, altering the entire room flow.
| Machine Type | Typical Depth | Lid Open Height |
|---|---|---|
| Compact Top-Loader | 24 to 25 inches | 50 to 52 inches |
| Standard Capacity | 27 to 28 inches | 54 to 58 inches |
| High Capacity | 29 to 30 inches | 59 to 61 inches |
Use these average dimensions as a preliminary planning tool, but always refer to your specific appliance manual to lock in the exact measurements before ordering custom millwork. Manufacturer specifications dictate the final required clearances.
Positioning the Floating Supply Shelf
The lowest wooden shelf mounted above the washer clearance zone keeps daily essentials within immediate reach. Based on the standard lid swing buffer, this primary storage platform usually sits securely at roughly 60 inches from the floor.
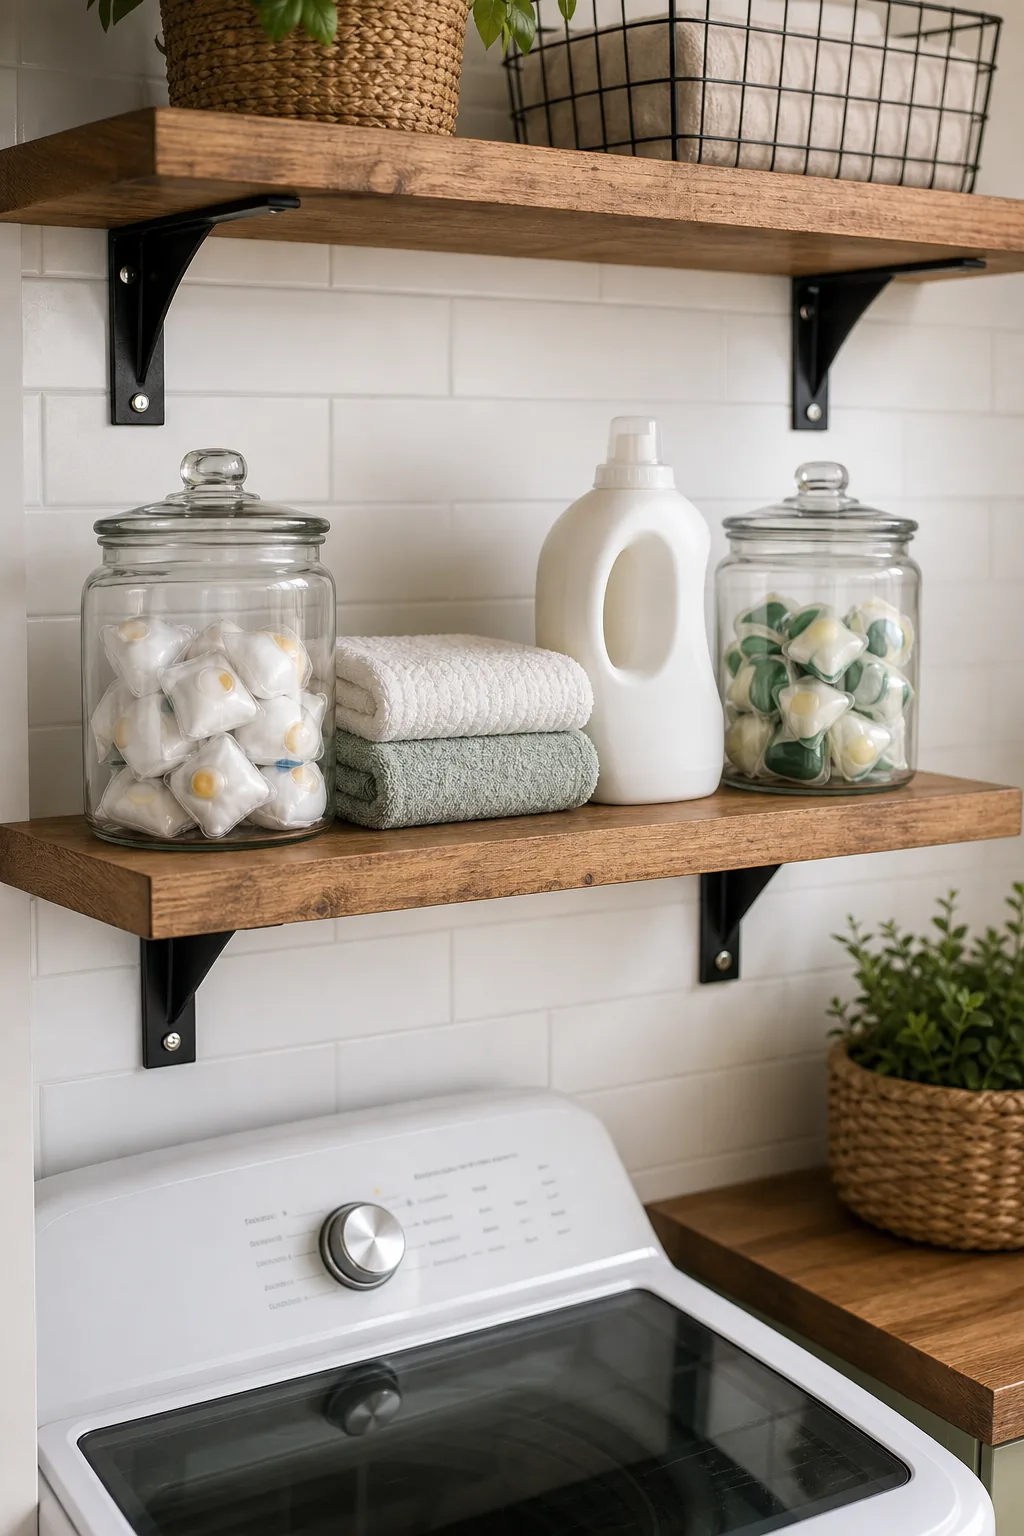
Keep this specific shelf depth to 10 or 12 inches maximum. A slim profile protects your face and shoulders as you lean forward to pull heavy, wet garments from the bottom of the stainless steel drum.
Selecting Shelf Materials for Heavy Loads
A well-placed shelf keeps bulky liquid detergents accessible, but proper installation is absolutely essential for long-term safety. Standard drywall anchors will quickly fail under the concentrated weight of multiple economy-sized cleaning supplies.
Pairing these robust structural supports with a solid hardwood plank rather than composite materials guarantees the shelf will not bow or warp over years of heavy utility use. Solid wood safely bears the continuous downward pressure of full detergent bottles.
Designing the Side Folding Station
The wooden countertop immediately next to the washer transforms wasted space into a highly functional sorting zone. Mounting this thick butcher block at a standard ergonomic counter height of 36 inches from the floor prevents lower back strain.
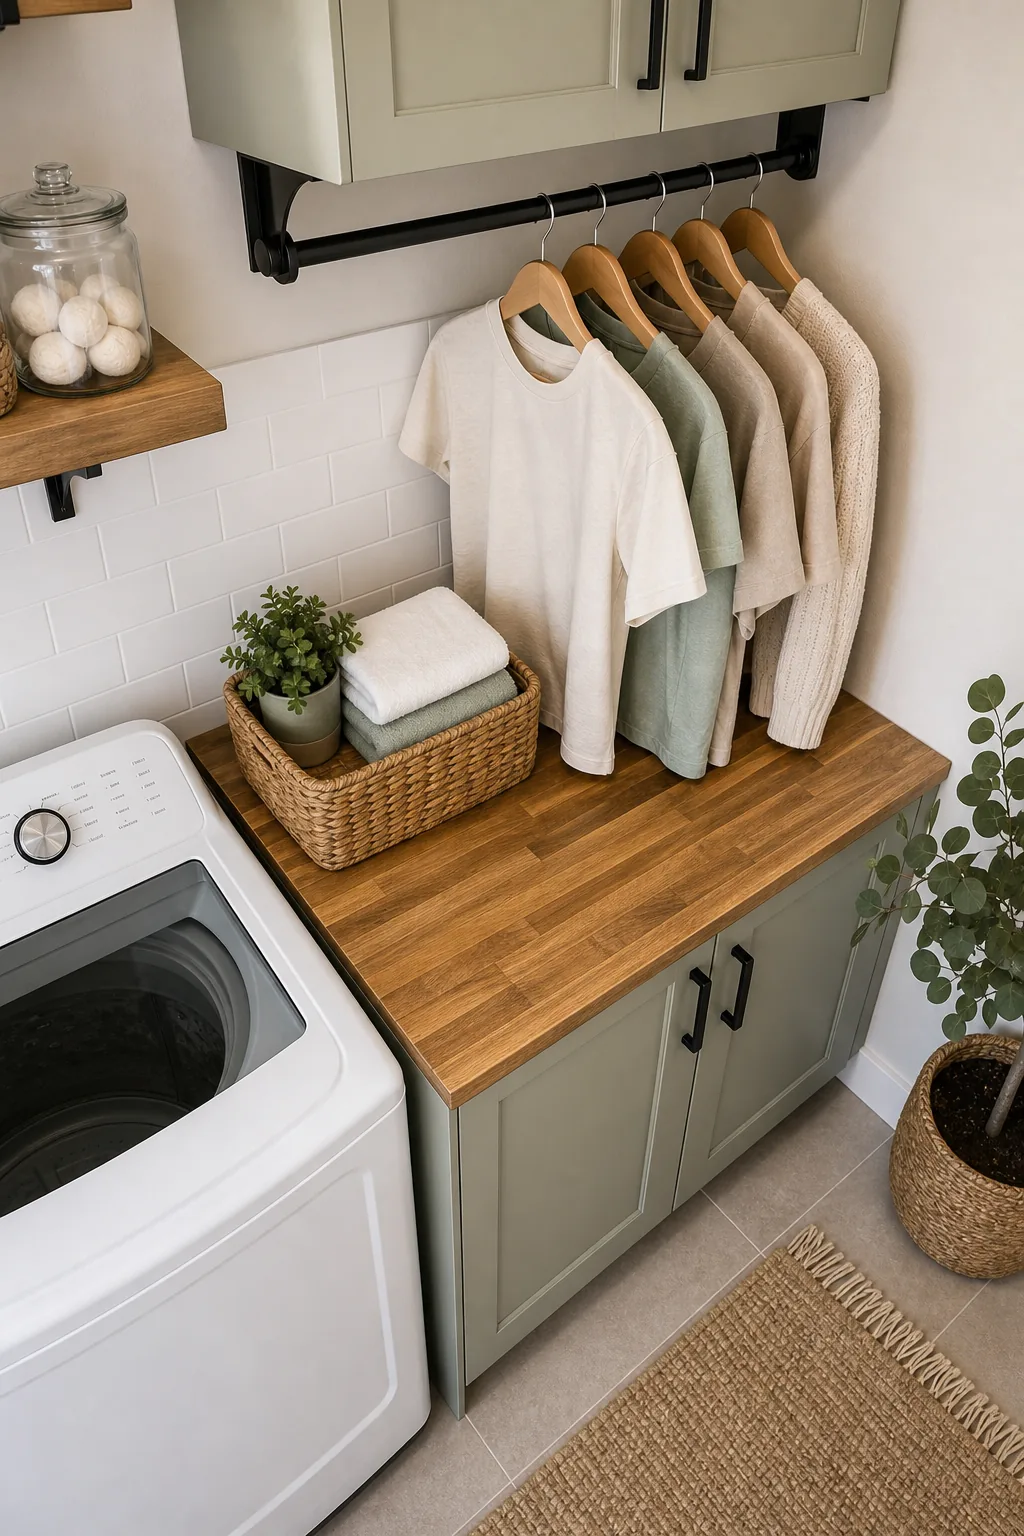
This dedicated surface provides ample room for organizing heavy towel loads or pre-treating stained garments right beside the water source, streamlining your entire weekly routine. A designated folding area keeps clean laundry off the machines.
Securing Countertops Over Appliances
Creating a seamless, stable surface requires isolating the wooden folding station from the washing machine’s aggressive spin cycles. The butcher block must never rest directly on the vibrating appliance chassis.
- Locate and mark the wall studs behind the planned counter area.
- Install horizontal wooden wall cleats at the 34-inch height mark.
- Rest the butcher block securely on the cleats and adjacent base cabinets.
This floating installation method transfers the heavy countertop weight entirely to the surrounding walls and base cabinetry, allowing the washer to move independently during unbalanced loads. Isolating the vibrations prevents your folded stacks from shaking off the edge.
Setting the Drip-Dry Rod Height
A metal hanging rod installed between the upper cabinets provides dedicated space for delicate garments. To accommodate standard adult shirts without them puddling on the counter, the rod requires 36 to 40 inches of vertical drop space.
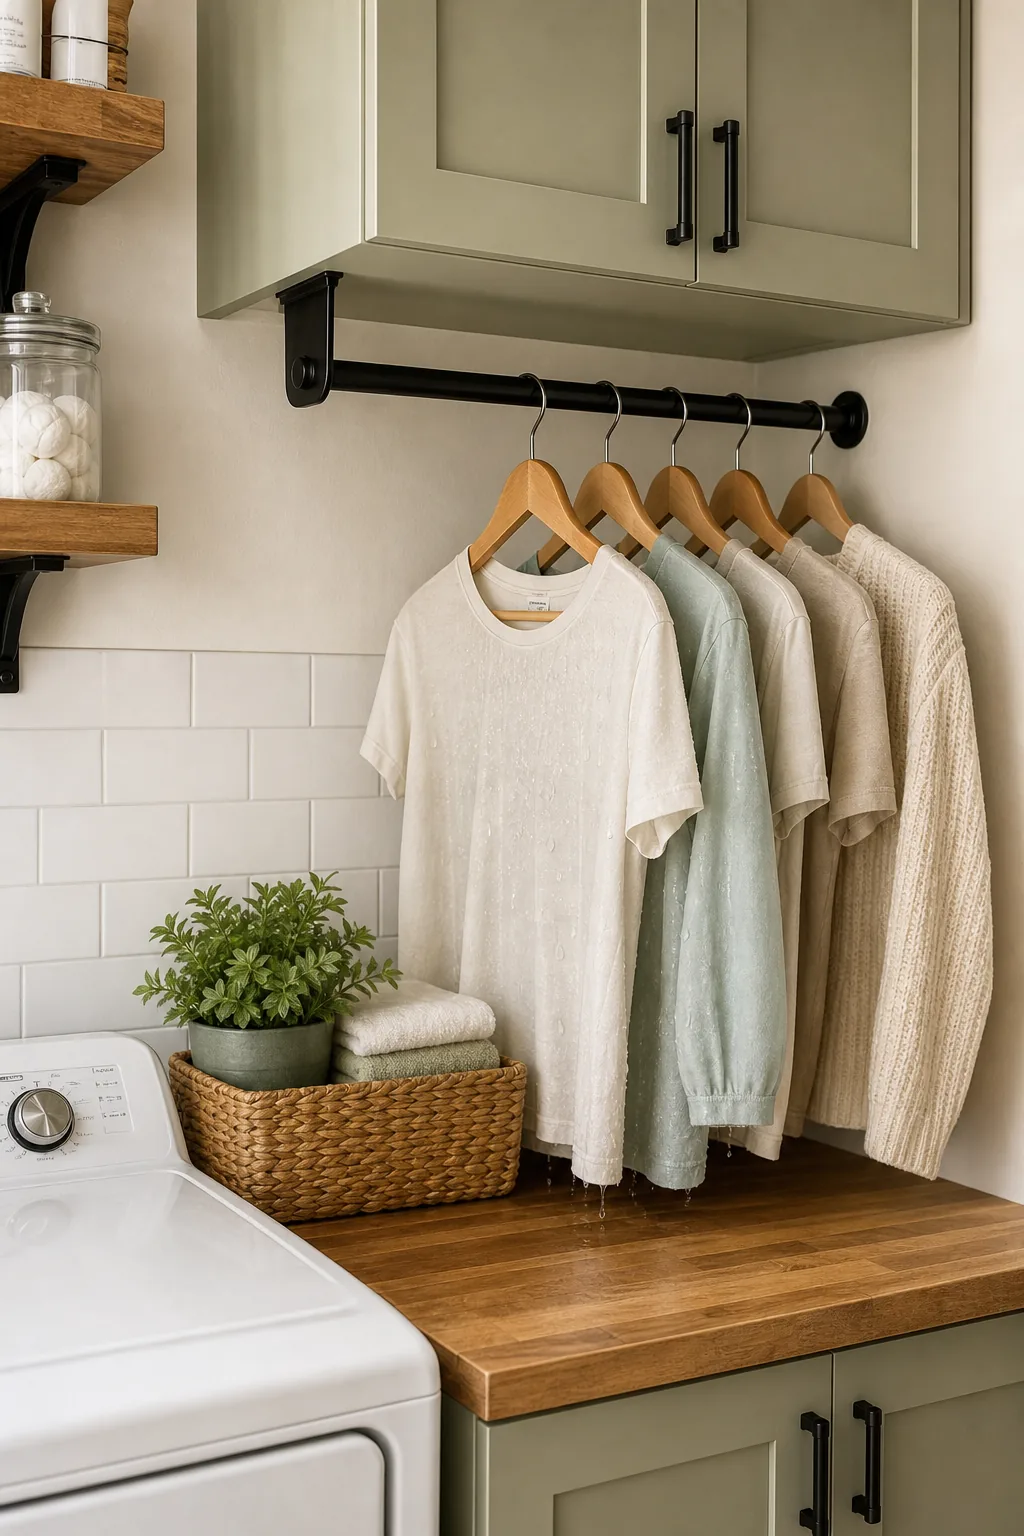
When placed securely above a 36-inch folding station, the drying rod should be mounted exactly 72 to 76 inches from the floor to maximize both hanging length and comfortable reach. This precise elevation keeps damp hems from dragging across your clean wooden workspace.
Choosing the Right Hanging Hardware
Wet clothing generates surprising downward force, making rod rigidity a crucial design factor. Selecting a thick, heavy-gauge steel closet pole prevents sagging in the middle of a wide span over the folding counter.
Securely fastening closed-loop mounting flanges to the reinforced cabinet side panels ensures the rod remains firmly locked in place, even when sliding heavy wooden hangers back and forth. Strong anchoring prevents the pole from twisting under the dynamic weight of wet denim.
Solving the Washer Gap with a Slim Cart
Standard utility room layouts frequently leave an awkward empty space beside the primary appliances. This lost space fix utilizes a slim, rolling pull-out cart tucked neatly between the washer and the adjacent wall.
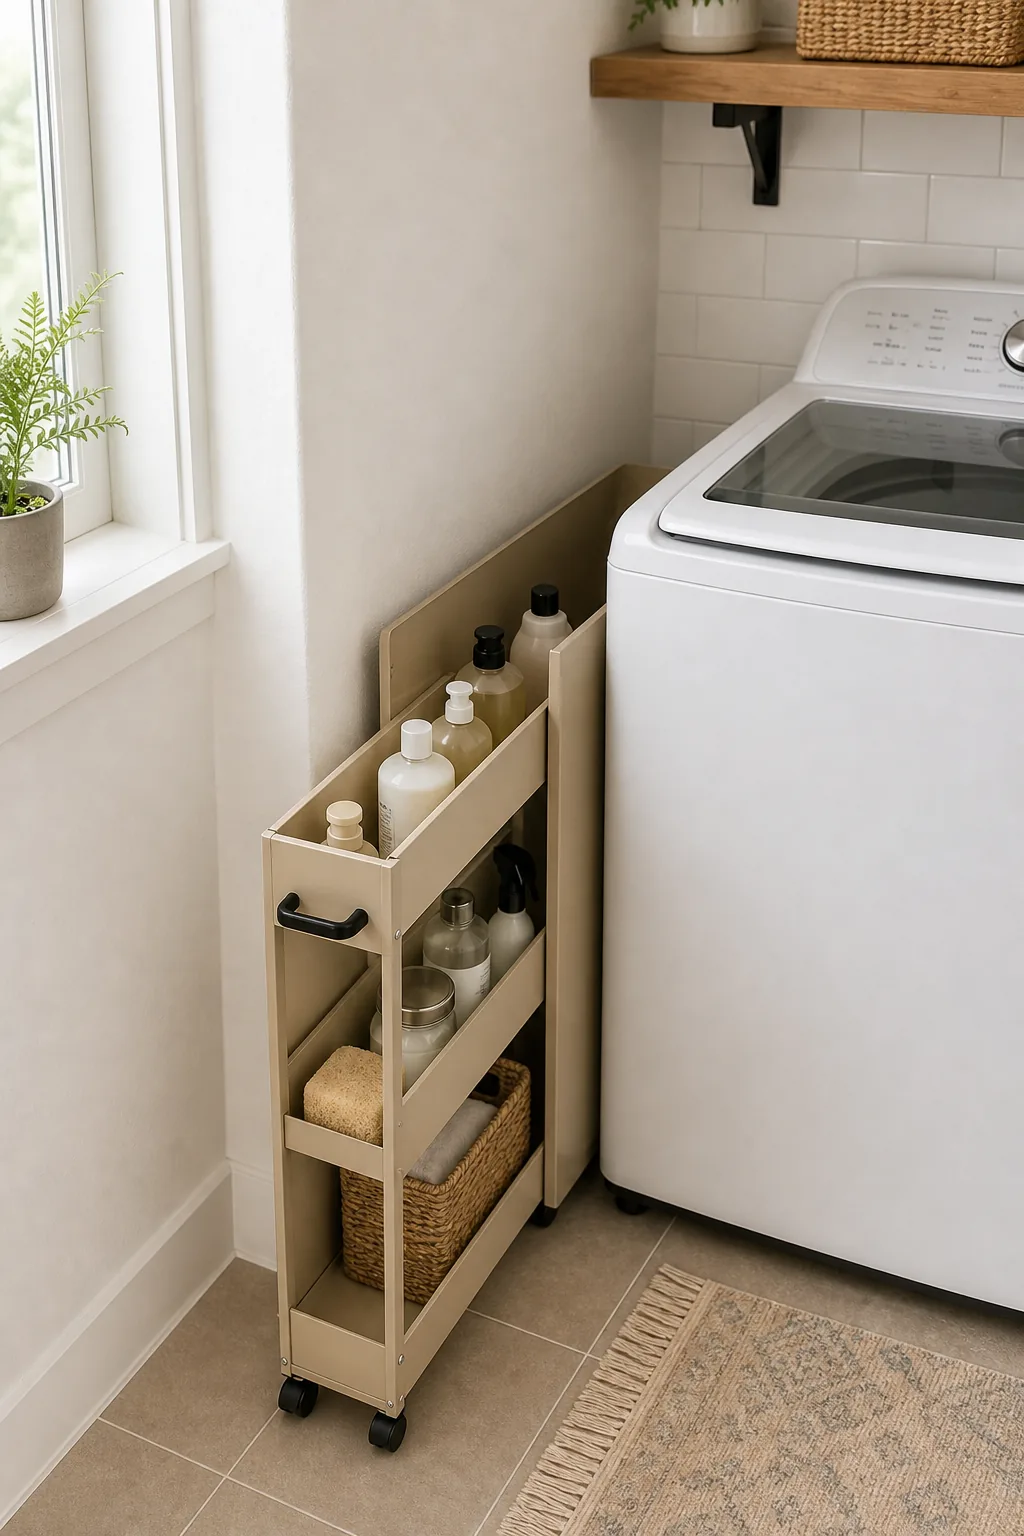
Because these standard gaps often measure 6 to 9 inches wide, they perfectly accommodate 5-inch or 8-inch wide rolling organizers, turning a dusty void into a highly efficient storage vertical. Reclaiming this sliver of space keeps your primary counters completely clear of clutter.
Organizing the Rolling Cart Tiers
Maximizing the utility of a narrow pull-out cart requires strategic weight distribution. Loading items correctly prevents the tall, slender unit from tipping over when fully extended from its housing.
- Place frequent stain removers and fabric sprays on the top tier.
- Store lightweight dryer sheets and mesh laundry bags in the middle.
- Position heavy detergent refill jugs on the bottom shelf.
This specific arrangement establishes a low center of gravity, ensuring the cart glides smoothly along its casters while keeping your most-used treatments instantly accessible. Proper loading mechanics prevent the tall structure from catching or leaning as you pull it outward.
Integrating Upper Cabinet Storage
The sage green upper cabinets that anchor the drying rod define the room’s upper visual boundary. Using standard 12-inch deep upper cabinets provides concealed storage for out-of-season items or harsh cleaning chemicals.
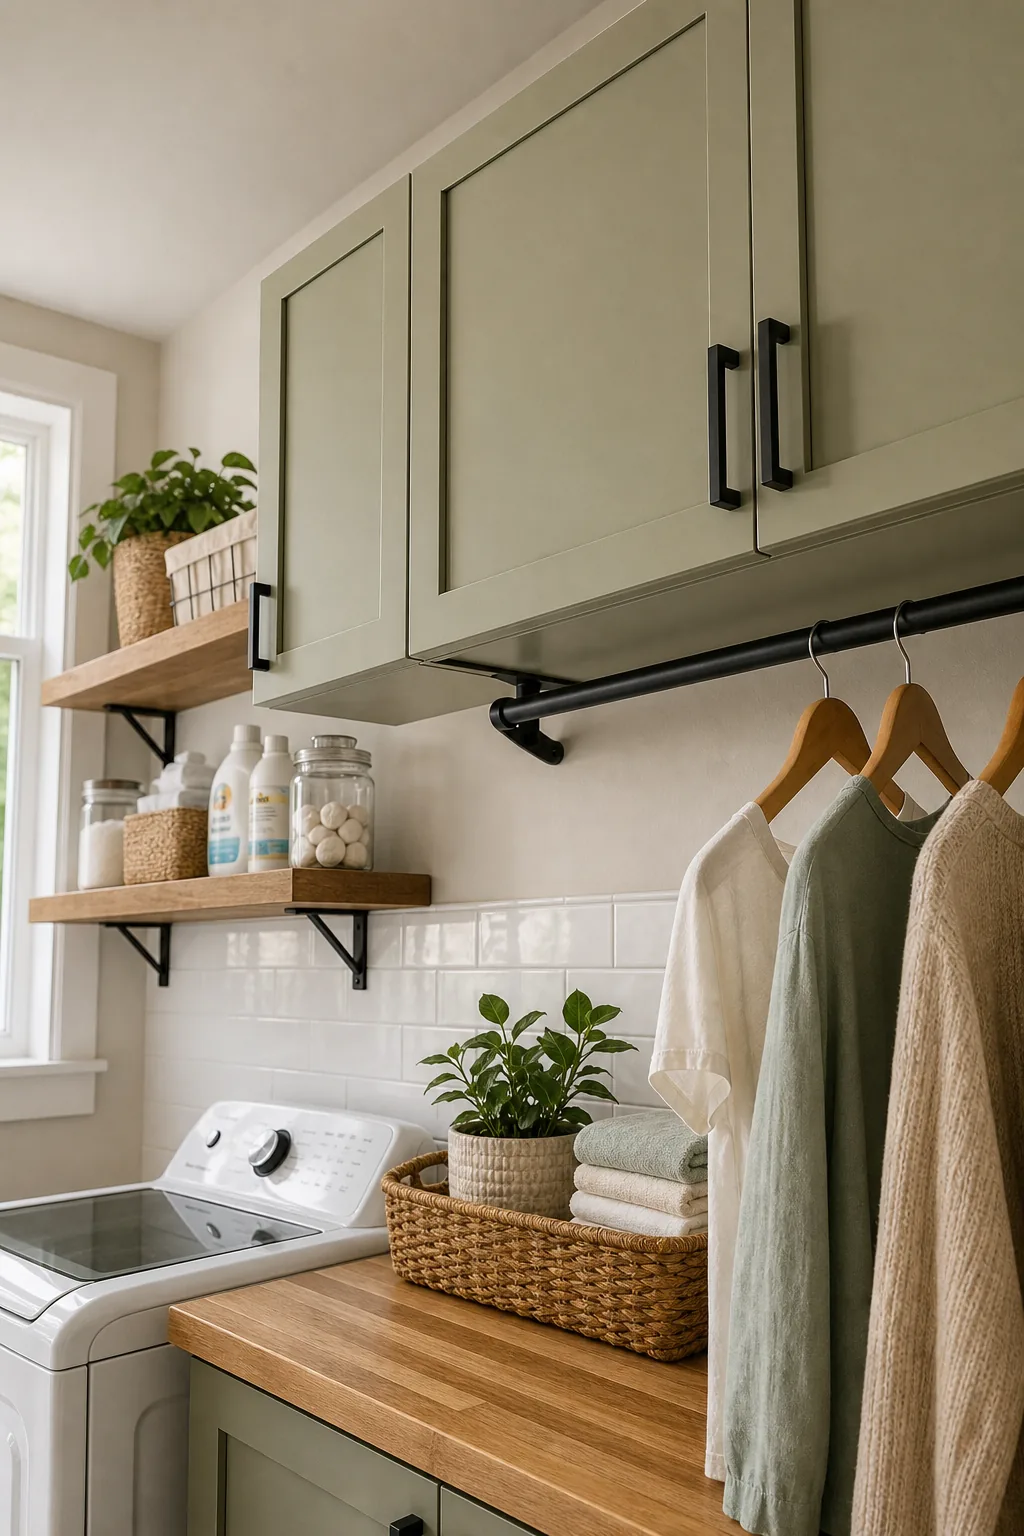
Mounting these units flush with the front edge of the drying rod creates a clean, built-in look while keeping dangerous bleach and pods safely locked away from young children. This alignment unifies the upper wall, giving the room a polished, intentional architecture.
Managing Cabinet Door Clearance
Before finalizing the upper cabinet placement, verify that the swinging doors will not collide with ceiling light fixtures, crown molding, or the hanging rod itself. Leaving a small tolerance gap allows hinges to open fully without scraping adjacent finished surfaces, protecting your painted doors.
Choosing Durable Flooring and Rugs
The floor plane must withstand heavy foot traffic, dripping water, and constant machine vibration. Selecting large-format porcelain tiles effectively minimizes the number of porous grout lines that trap lint and dust.
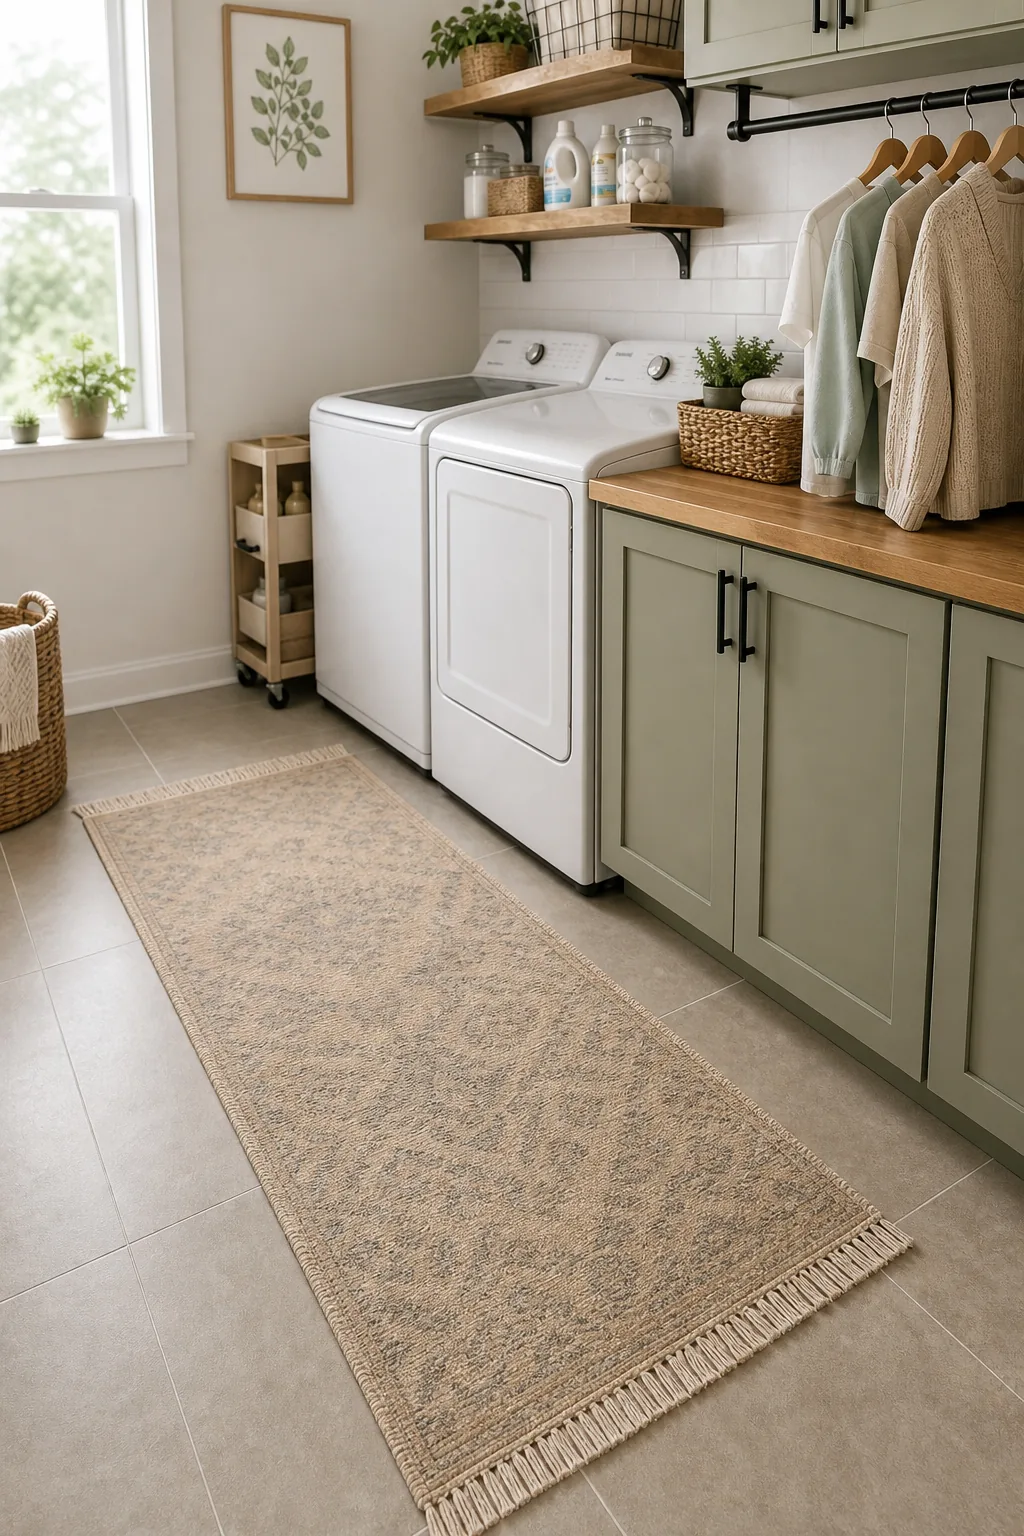
Finish the space by laying a low-profile, washable runner exactly in front of the active work zones. This provides essential ergonomic cushioning for your feet without obstructing the rolling cart’s small casters, ensuring you can stand comfortably during long folding sessions.