
Wingback Chair Thrift Flip with Modern Plaid Upholstery
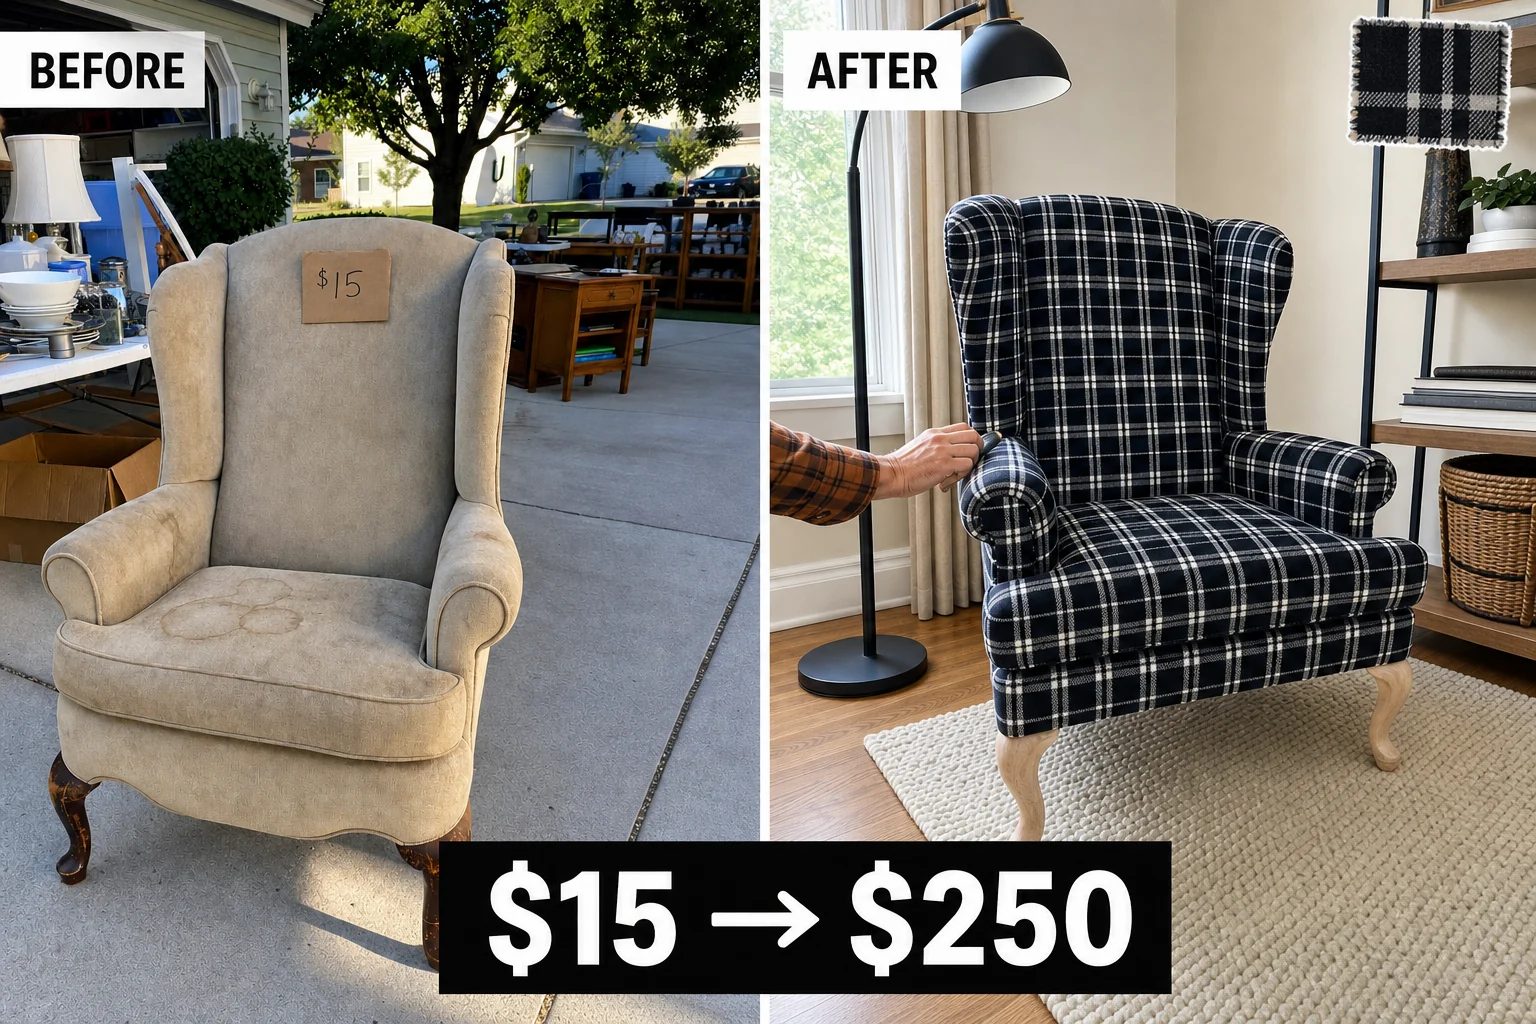
Spotted at a driveway garage sale, this bulky 1990s wingback chair was structurally solid but ruined by heavy stains. We stripped the dated microfiber and dark cherry finish, replacing them with graphic black-and-white windowpane plaid and raw wood legs.
Assessing the Garage Sale Find
Spotted at the end of a suburban driveway, this bulky 1990s traditional wingback accent chair featured a tall winged backrest profile, fixed rolled arms, and exposed cabriole front legs. Measuring 32 inches wide, 34 inches deep, and 42 inches tall, the hardwood frame and sinuous spring seat suspension were structurally sound. However, the exterior required a complete overhaul due to several severe condition issues.
- Large, dark brown water rings and coffee spills across the beige microfiber rendered the chair unusable for a clean home interior, requiring complete fabric replacement.
- Deep white scuffs and chipped dark cherry lacquer on the exposed front cabriole legs dated the piece to the 1990s and made the chair look neglected and worn out.
- The seat cushion cover fit loosely over the foam insert, creating deep wrinkles in the fabric, reducing seating comfort, and preventing new fabric from sitting taut and smooth.
Project Valuation and Resale Potential
A wingback chair updated with professional-grade heavyweight fabric and modernized raw wood legs commands a premium in the secondhand market. The bold black-and-white windowpane plaid completely modernizes the bulky traditional frame. While this is an estimated resale value rather than an actual sale, the $250 valuation easily matches the price of mid-tier retail accent chairs.
| Item | Cost |
|---|---|
| Purchase Price | $15 |
| Heavyweight upholstery fabric | $45 |
| Upholstery batting | $12 |
| Foam and fabric adhesive | $8 |
| Sanding pads | $10 |
| Upholstery staples | $5 |
| Materials Total | $80 |
| Total Investment | $95 |
| Estimated Resale Value | $250 |
| Value Gain | $155 |
Step 1: Assess the Frame
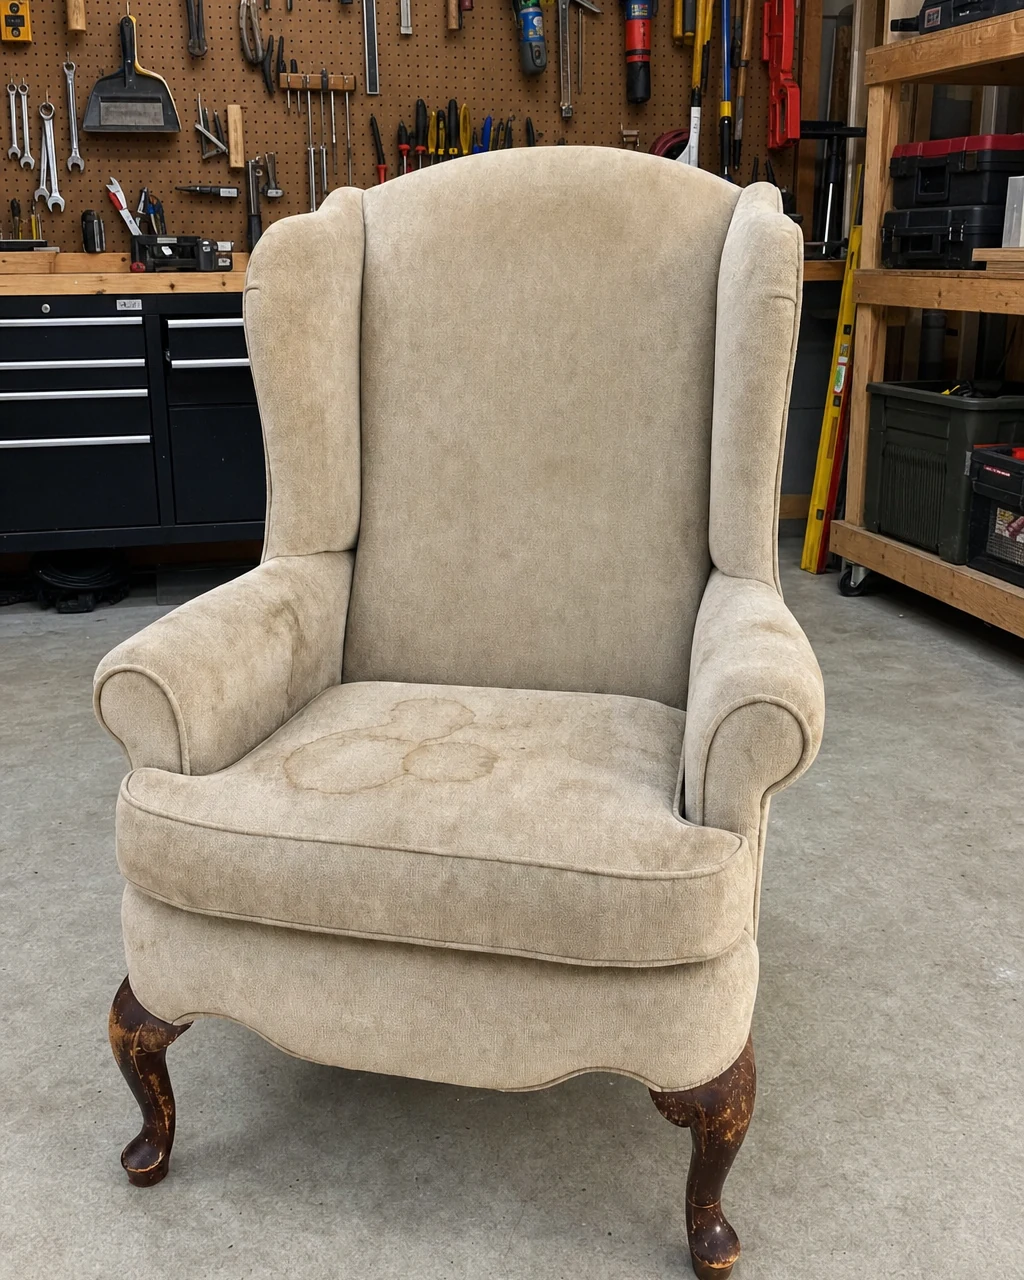
The chair sits in the workshop exactly as purchased, covered in stained beige microfiber. Inspect the chair’s wooden joints and spring suspension under bright workshop lighting. Press down firmly on the stained seat springs to confirm the frame is stable before investing time in cosmetic upholstery work. Wear work gloves when feeling under the chair frame to avoid sharp exposed staples or broken springs.
Step 2: Strip the Upholstery
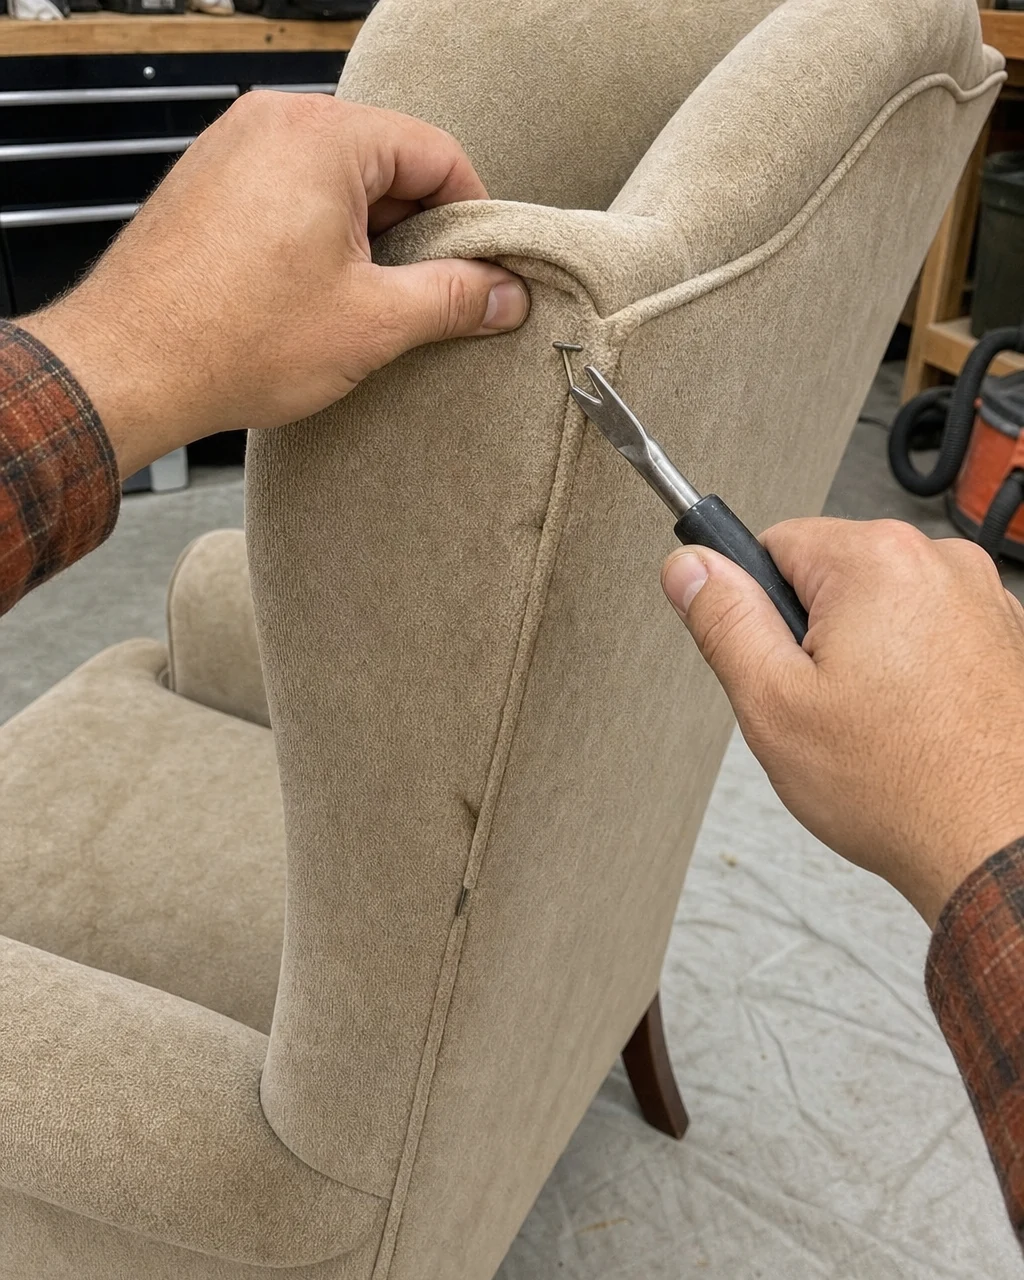
Carefully pry out the original staples using a staple lifter and pliers to remove the beige microfiber in intact panels. Save these old fabric pieces to use as cutting templates for the new material. The wooden frame and internal batting are exposed along the back of the chair. Wear safety glasses to protect your eyes from flying metal staples during removal.
Step 3: Sand the Legs
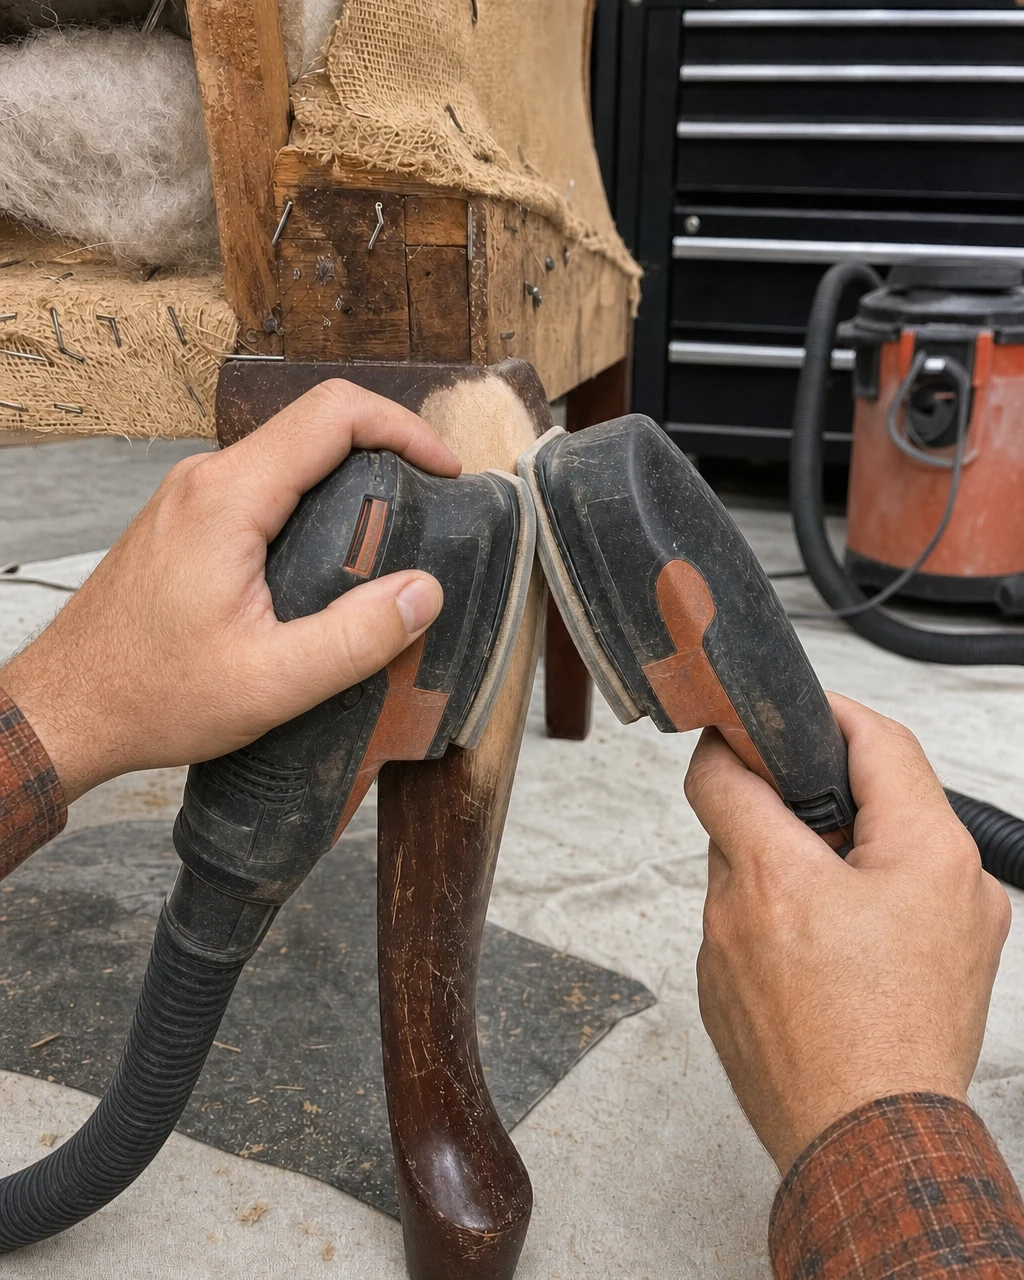
Sand away the chipped dark cherry lacquer using medium-grit pads and a detail sander. Revealing the raw, natural wood tone underneath instantly modernizes the chair’s bulky 1990s profile. The front leg shows raw, pale natural wood contrasting with the remaining dark finish. Wear a dust mask and run a shop vacuum to capture fine wood and lacquer dust.
Materials checklist
Step 4: Restore Cushion Volume
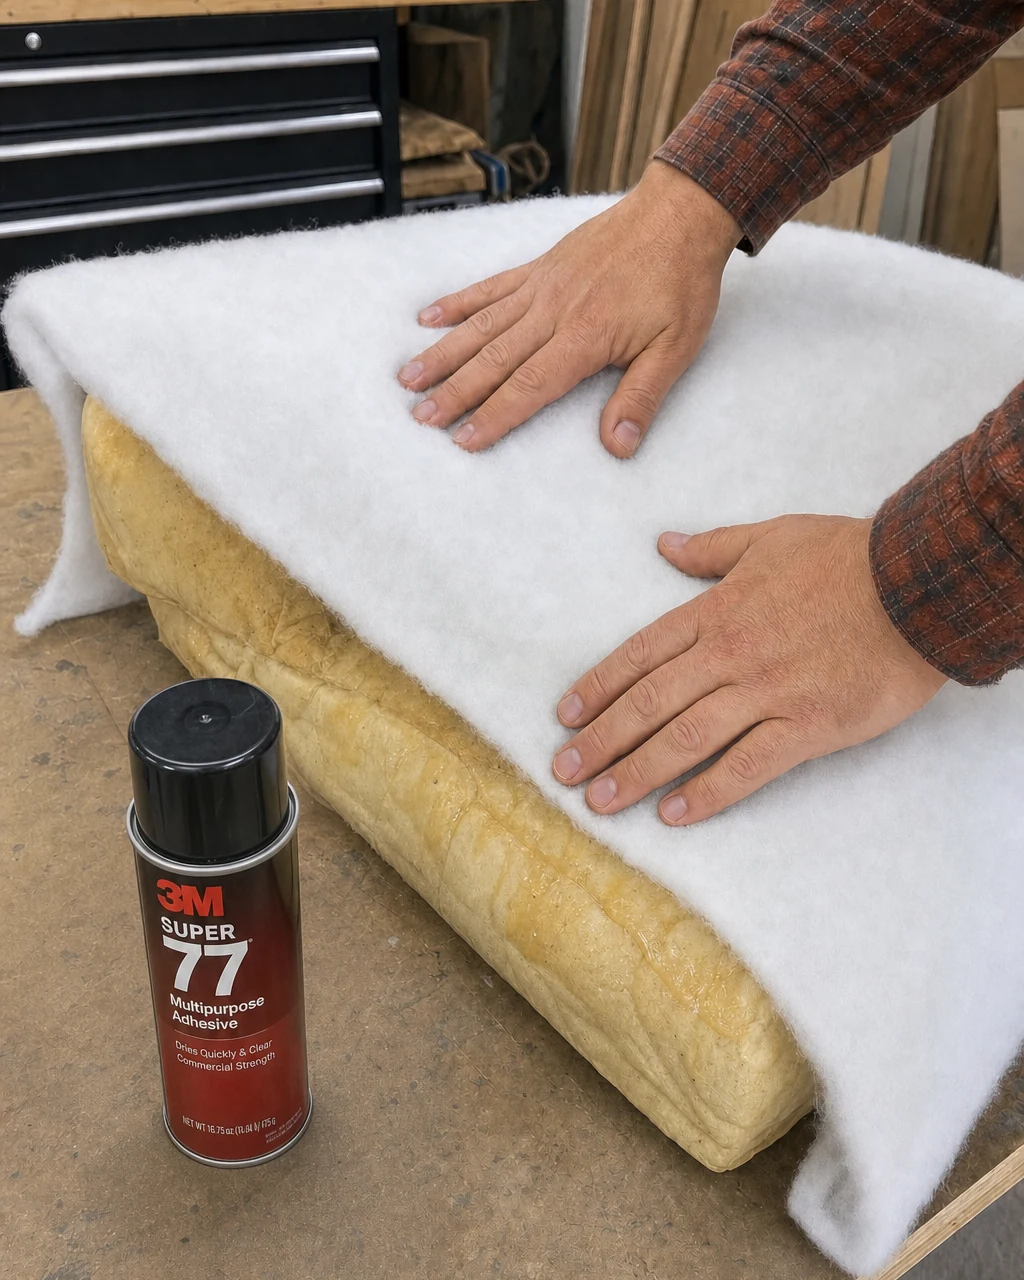
The bare foam seat cushion insert is flat and wrinkled. Spray upholstery adhesive over the bare foam core and wrap it tightly in fresh Dacron batting to restore the cushion’s plump shape and crisp edges. The seat cushion insert is fully wrapped in thick, smooth white batting. Apply spray adhesive outdoors or in a highly ventilated area to avoid inhaling chemical fumes.
Step 5: Attach New Fabric
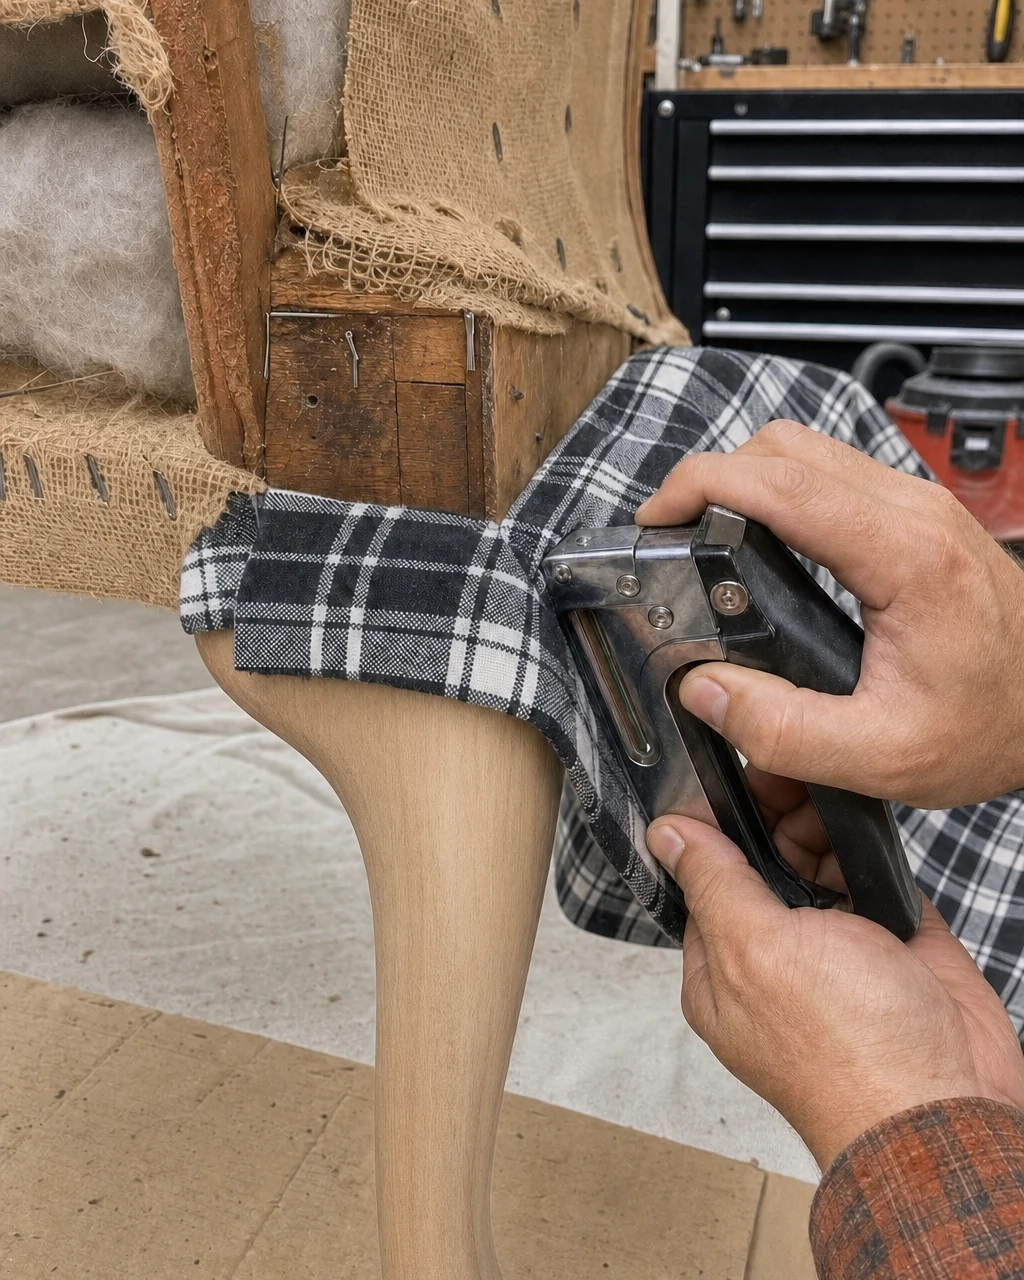
Pull the graphic windowpane plaid fabric taut over the frame, ensuring the grid pattern remains perfectly straight. Secure it to the wood with a pneumatic staple gun and upholstery staples. The front seat rail is smoothly covered in the secured black-and-white plaid fabric. Keep fingers well clear of the staple gun nose and ensure the air compressor is set to the correct pressure.
Step 6: Assemble the Chair
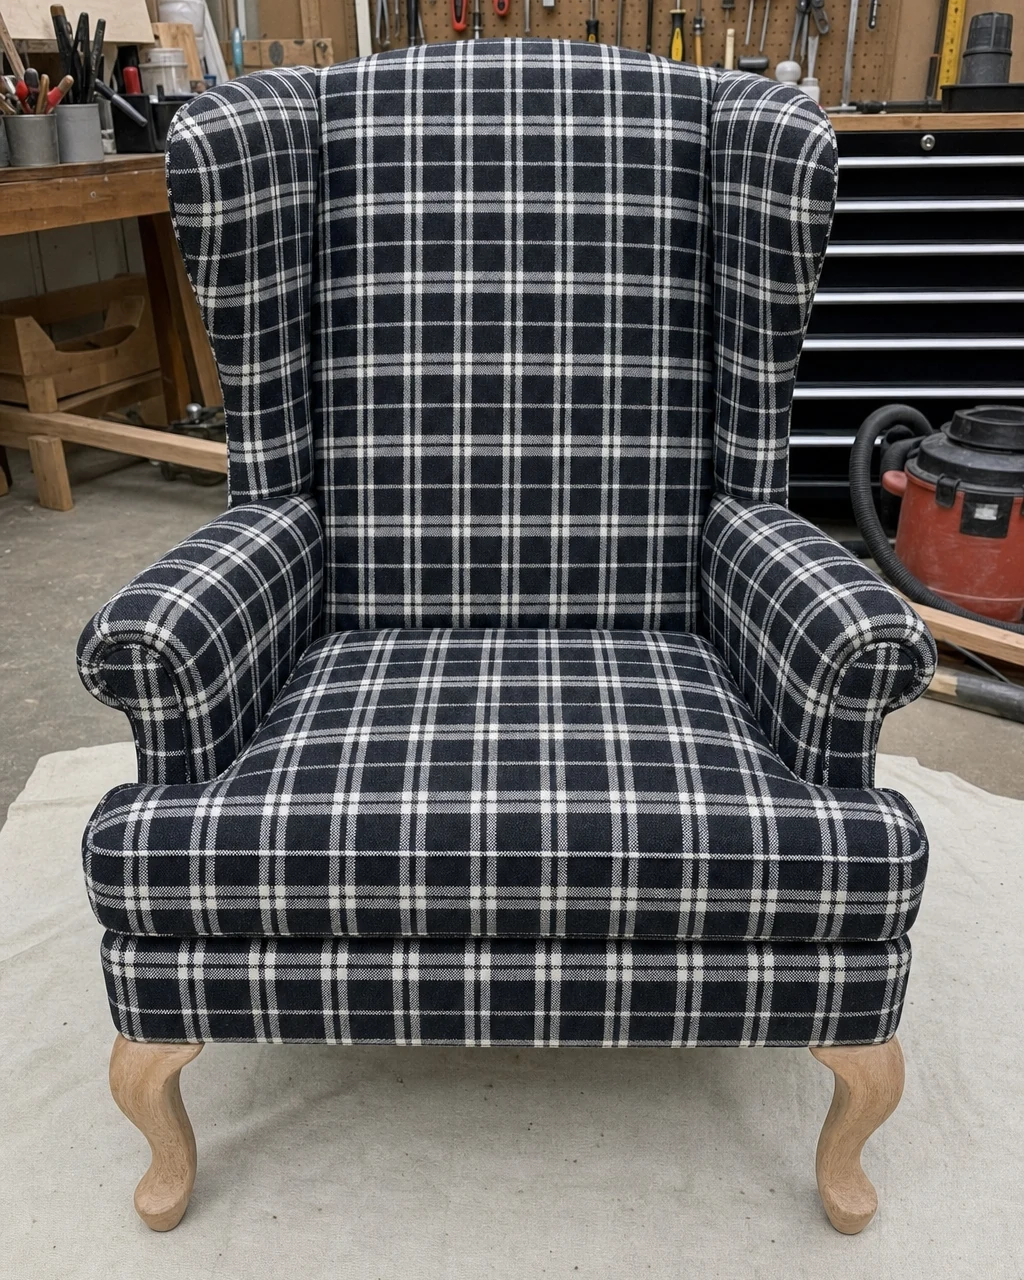
The frame is fully upholstered and the separate seat cushion is sewn and filled. Place the newly upholstered seat cushion onto the finished chair base on the workshop floor. Check that the plaid pattern aligns seamlessly between the loose T-cushion and the wide winged backrest. Clear the floor of loose staples and tools before moving the heavy finished chair.
Step 7: Style the Accent Piece
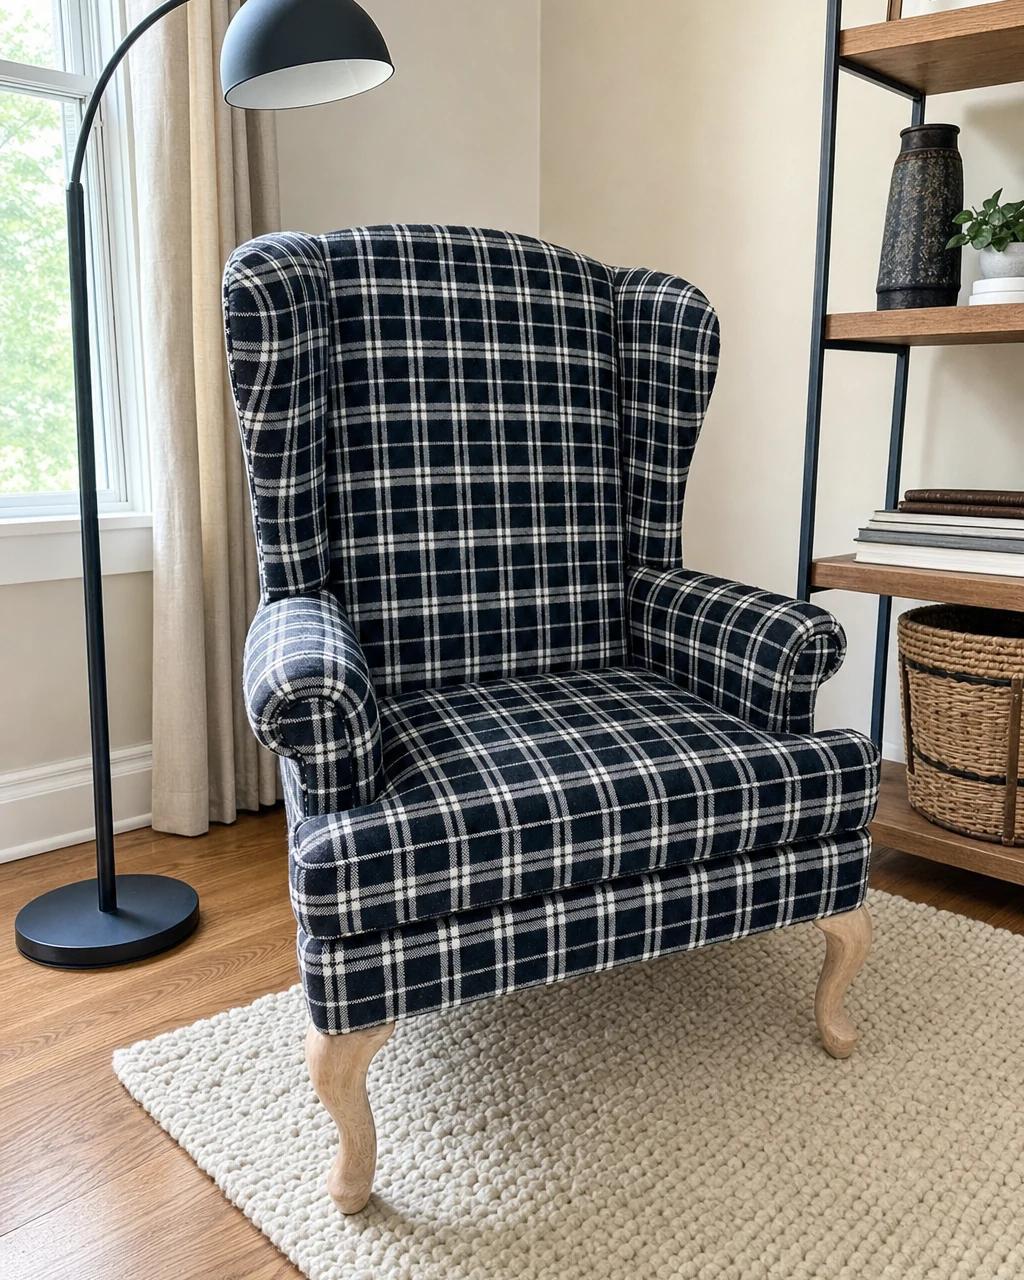
Move the chair into a bright living room, positioning it beside a metal floor lamp on a hardwood floor. Pair its bold graphic pattern and raw wood legs with neutral surroundings to let it stand out as a modern focal point. Lift the bulky chair from the bottom frame, never by the newly upholstered rolled arms. The chair anchors a cozy, modern reading nook.