
Small Laundry Room 4-Zone Layout: Exact Measurements
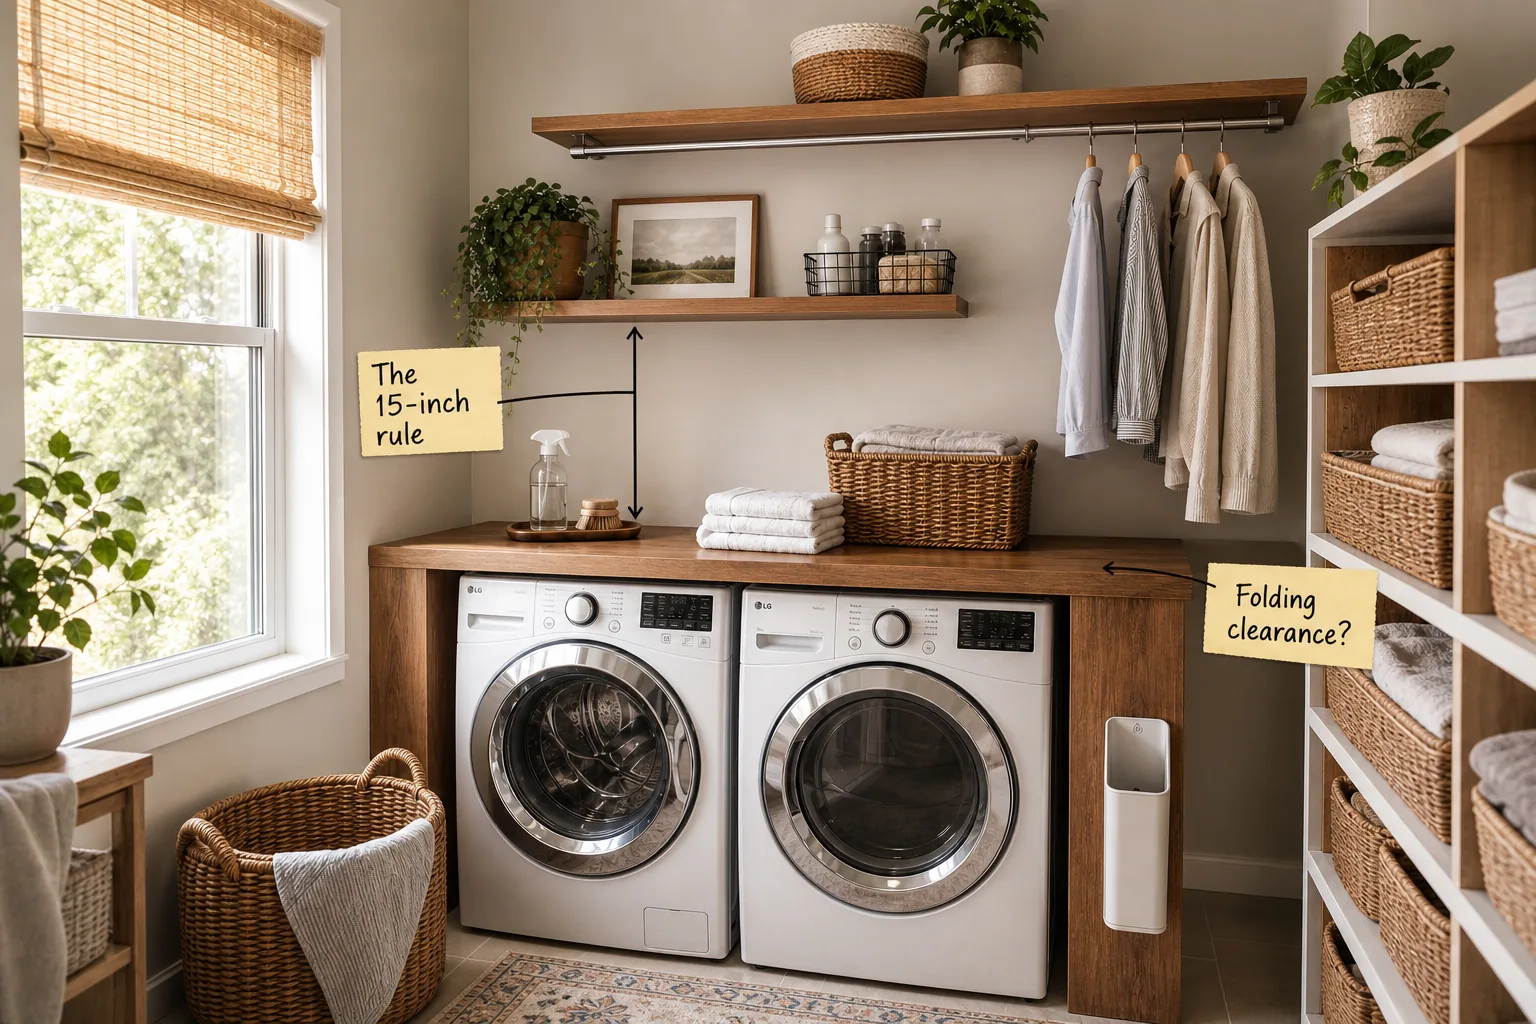
You can effortlessly replicate this highly functional 4-zone laundry room using our exact layout measurements and spacing rules. Get the complete clearance guide below to build this compact, beautifully organized washer and dryer wall in your own home without hiring an expensive professional designer.
Side-by-Side Washer and Dryer Base
Placing front-loading machines side-by-side rather than stacking them is the critical first step for this layout. This specific configuration provides the necessary horizontal foundation to support a continuous folding surface across the entire appliance width, maximizing your usable daily workspace.
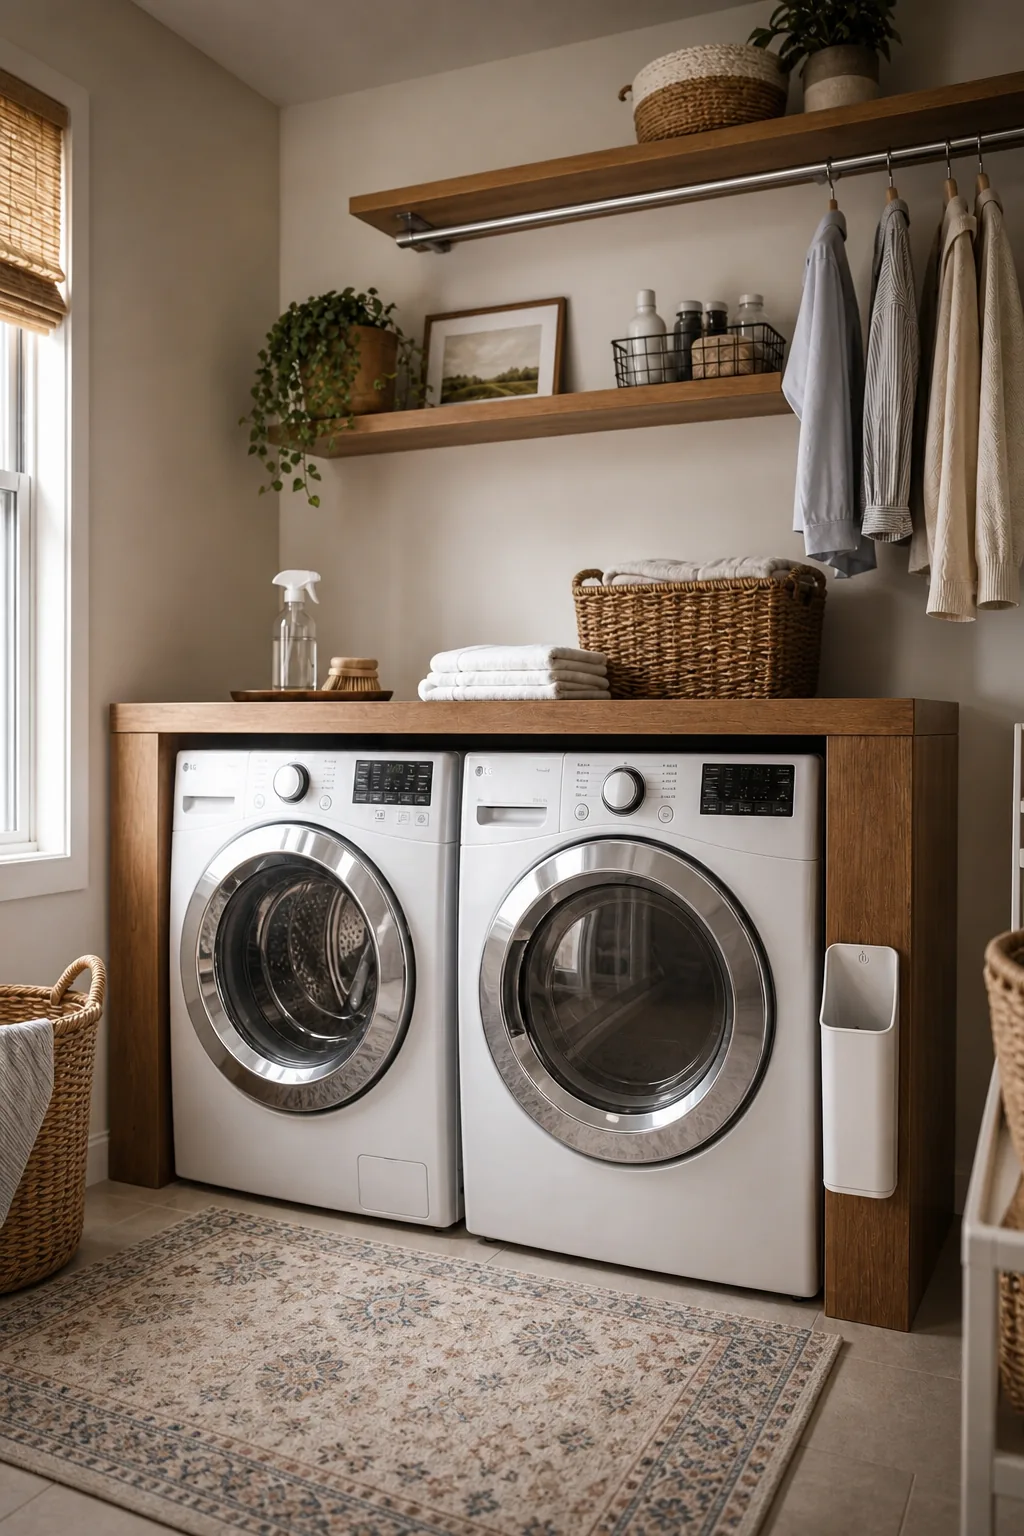
Opting for this side-by-side arrangement requires specific structural considerations before you begin building the surrounding wooden waterfall frame. You must ensure the floor can support the combined weight and vibration of both heavy appliances operating simultaneously.
- Measure the combined width: Ensure your alcove accommodates both front-loading machines plus a mandatory one-inch side clearance on all edges to prevent structural damage.
- Check door swings: Verify that the washer and dryer doors open away from each other to allow easy transfer of wet, heavy clothes.
- Level the floor: Adjust the machine feet with a spirit level so the foundational base remains perfectly flat before adding the wooden countertop.
- Confirm plumbing reach: Ensure your hot and cold water supply lines can reach the washing machine without creating severe tension on the hoses.
- Verify vent alignment: Map out the rigid dryer vent path to minimize sharp turns and prevent dangerous, highly flammable lint buildup inside the walls.
- Install anti-vibration pads: Place heavy-duty rubber pads under each machine foot to absorb shock and drastically reduce noise during aggressive spin cycles.
Selecting the Right Countertop Material
Creating a durable folding surface requires materials that can withstand high humidity and frequent chemical exposure. Solid butcher block provides incredible structural strength to span the wide gap across both machines without sagging in the middle.
The Hidden Magnetic Lint Bin
Utilizing the narrow gap between the dryer and the wooden frame for a slim, magnetic lint bin keeps trash entirely out of sight. This clever placement maximizes every inch of vertical real estate without cluttering your clean folding workspace with an unsightly garbage can.
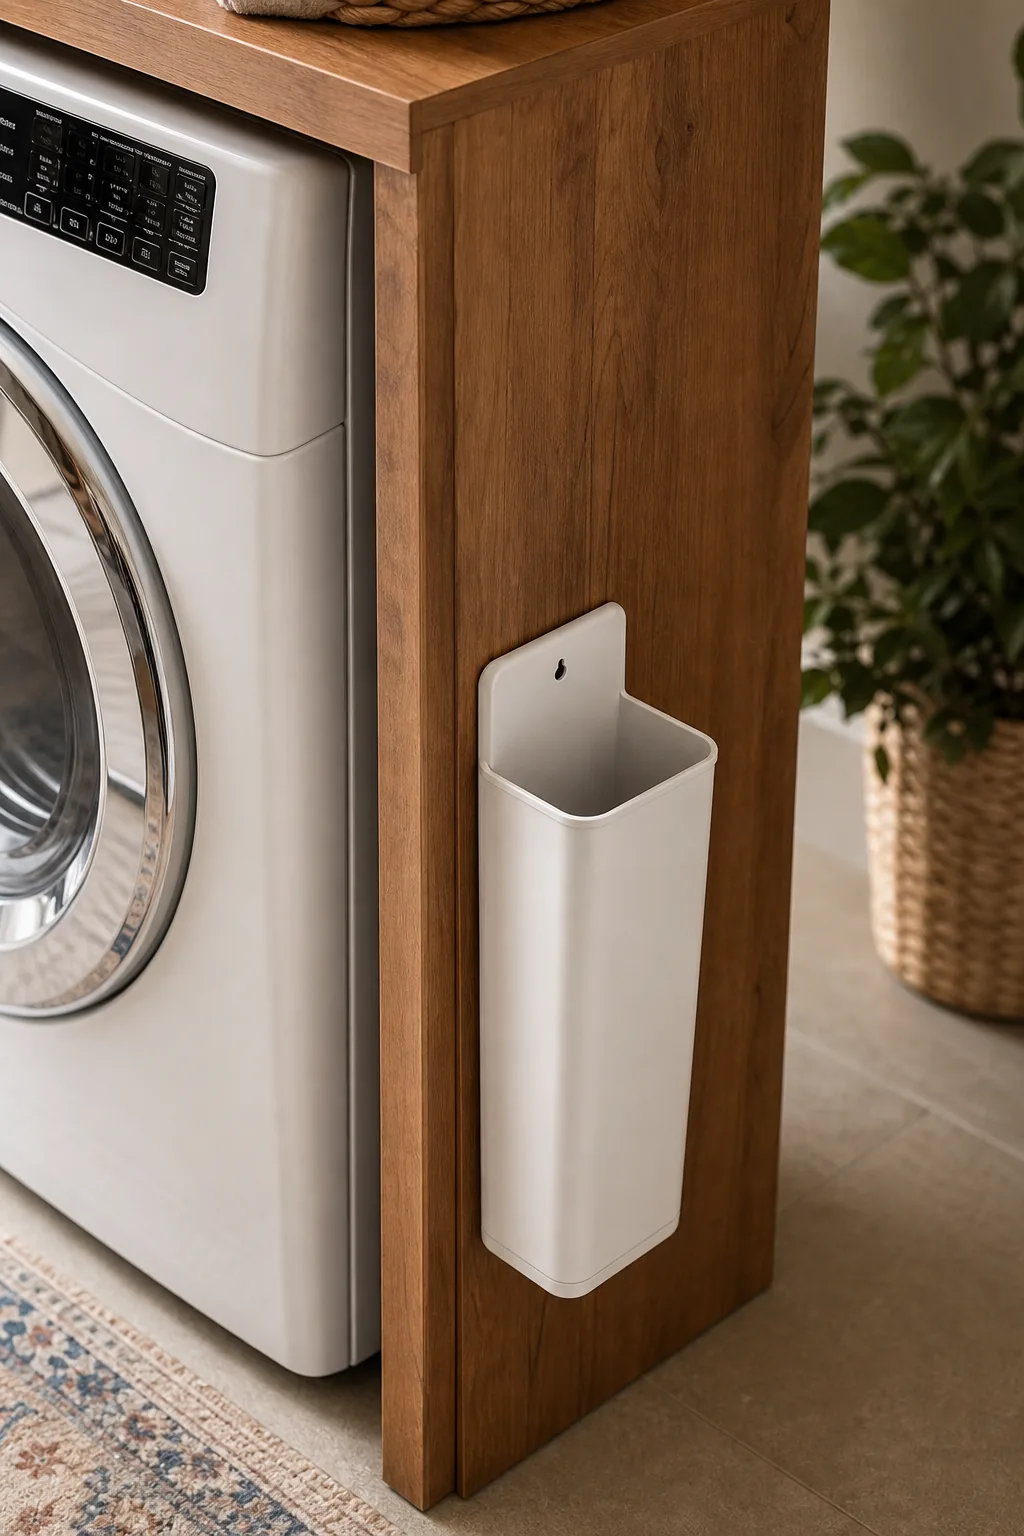
Positioning this waste receptacle within arm’s reach of the lint trap streamlines your laundry workflow. You will naturally build a habit of clearing the screen immediately after pulling out dry clothes, keeping the appliance running safely.
Defining the Folding Clearance
A functional folding zone requires a continuous depth of at least 28 inches and a comfortable standing height. Plan for an overall counter height of around 39 inches, factoring in your specific machine height plus a crucial 1-inch breathing gap.
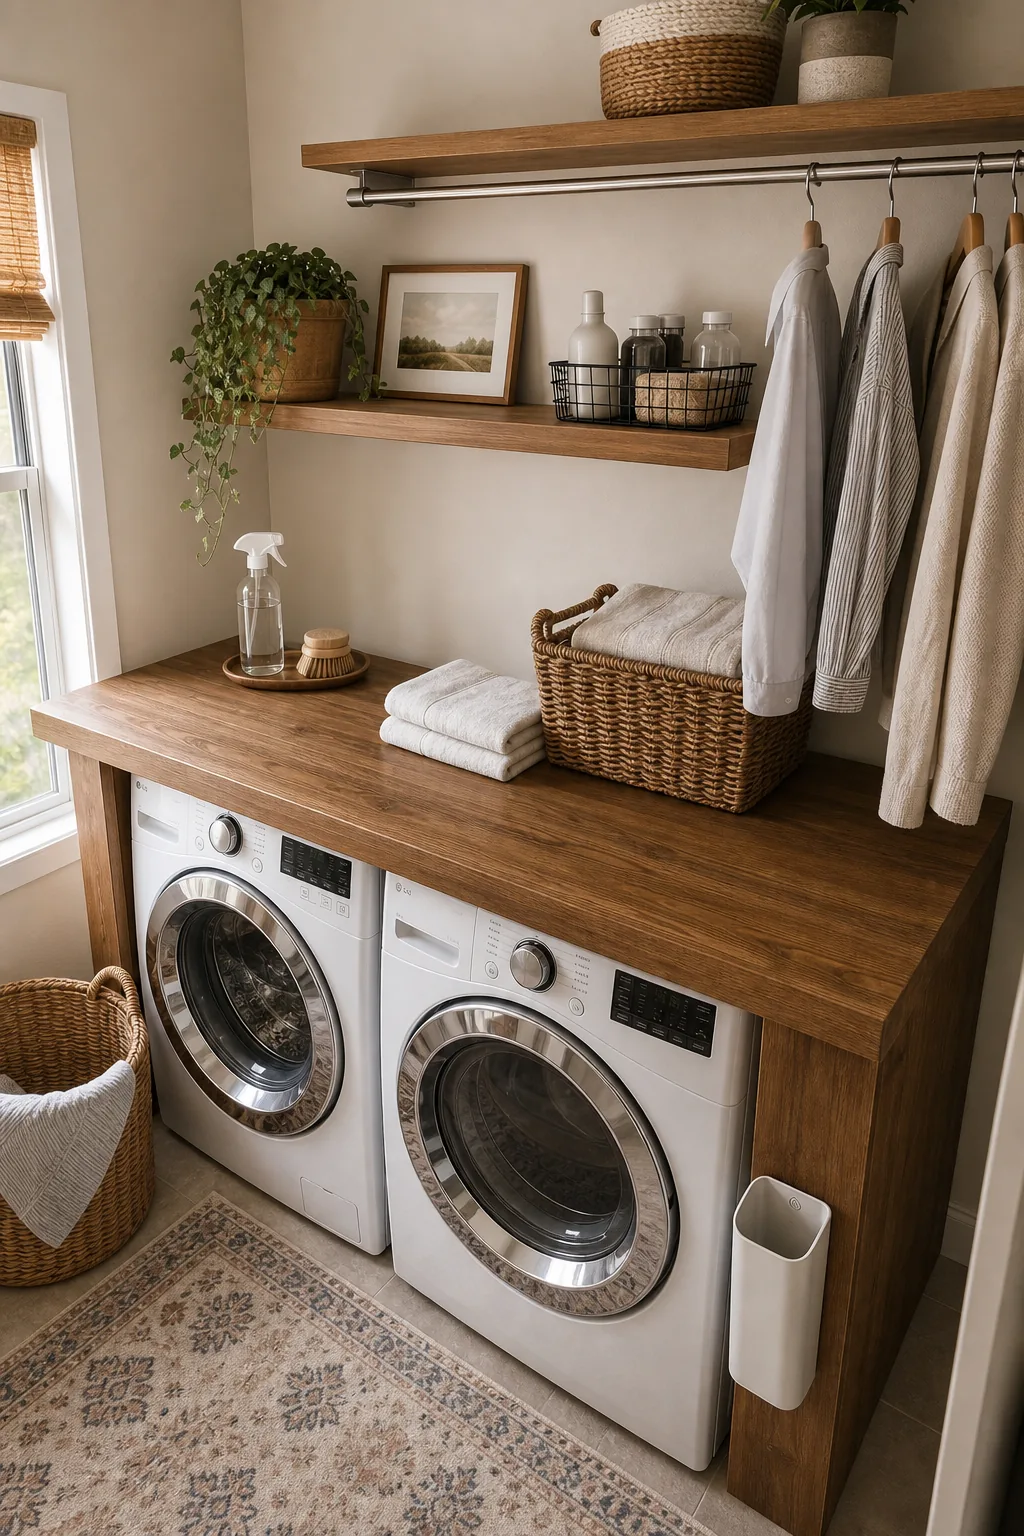
Building a custom waterfall counter over large appliances requires careful attention to the machines’ moving parts and vital ventilation needs. Failing to account for these operational clearances can lead to severe structural damage and voided appliance warranties.
Setting Up the Pre-Treat Station
Dedicating a small tray on the counter for a glass spray bottle and a soft bristle brush creates an accessible pre-treat station. This arrangement keeps essential stain-fighting tools ready for immediate use without overtaking the main folding workspace.
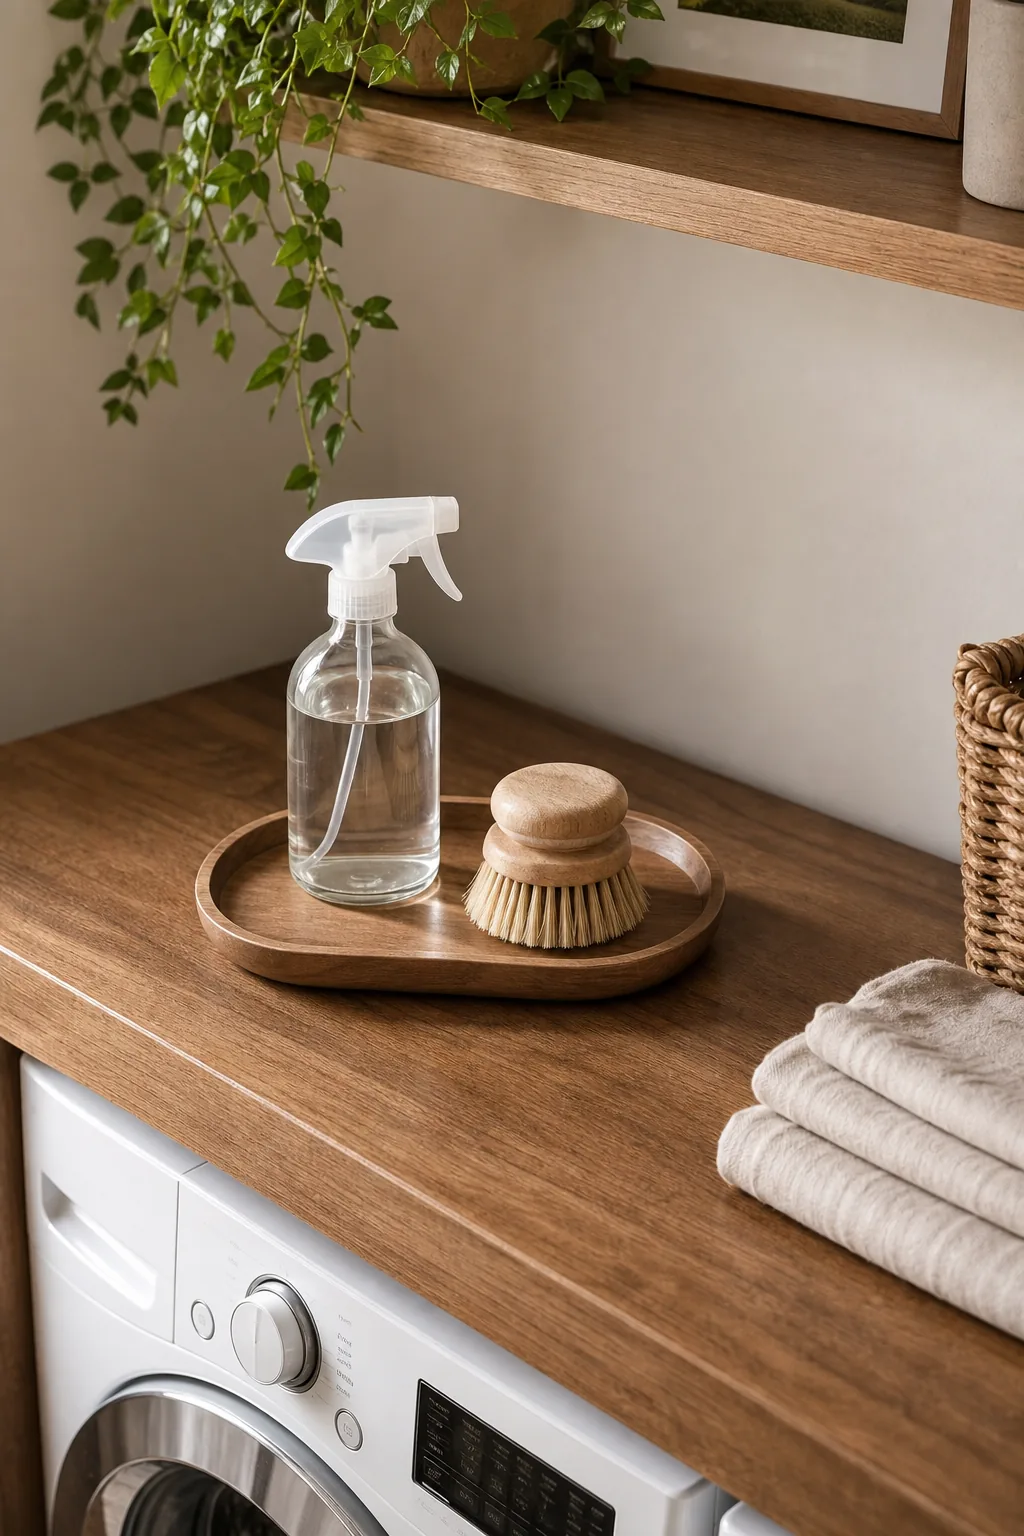
Storing your cleaning solutions on a dedicated tray prevents accidental spills from ruining freshly laundered clothes. This contained zone visually separates the wet treatment area from the clean, dry folding surface, ensuring your garments remain pristine.
Applying the 15-Inch Rule
Leaving exactly 15 inches of vertical space between the countertop and the bottom of the lowest floating shelf provides optimal clearance. This precise gap ensures tall detergent bottles slide in smoothly without forcing you to awkwardly tilt them.
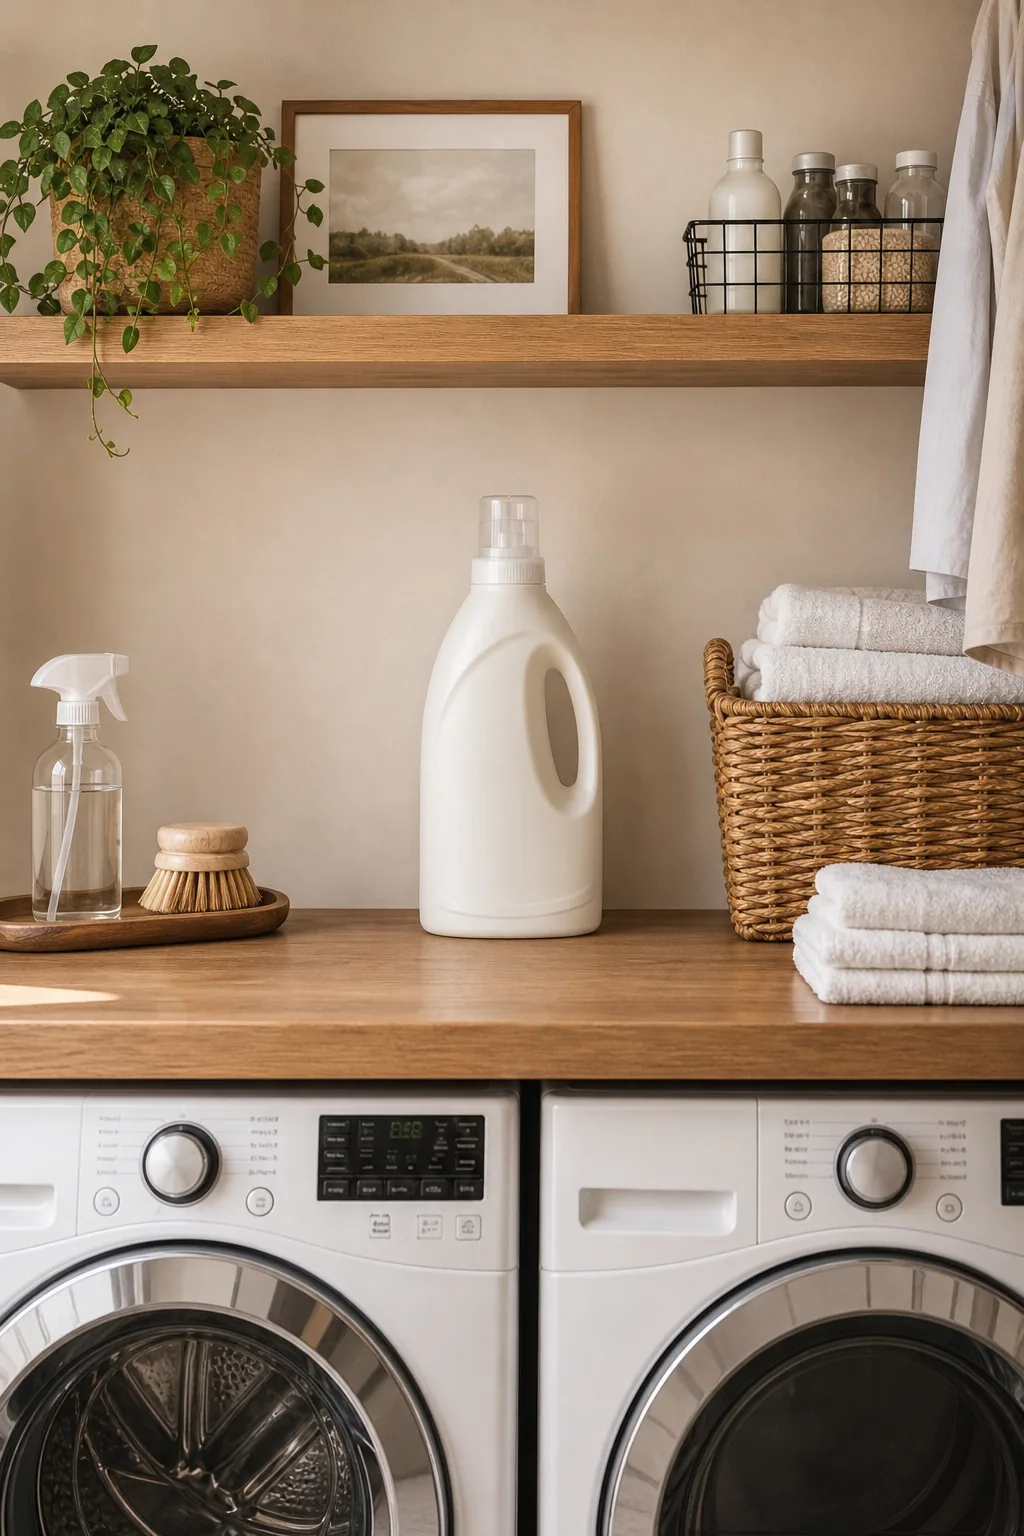
Adhering to this specific vertical measurement guarantees that your most frequently used laundry supplies remain perfectly within arm’s reach. You can seamlessly grab heavy containers and return them to the shelf without straining your back or disrupting your workflow.
- Standard liquid detergent jugs equipped with push-button dispensing spouts and measuring cups
- Tall fabric softener bottles and large scent bead containers used for daily washing
- Oversized stain remover sprays and concentrated bleach alternatives in trigger bottles
- Woven baskets holding loose clothespins, mesh delicates bags, and spare pocket change
- Folded stacks of highly absorbent microfiber cloths for quick machine wipe-downs
Everyday Supply Shelving
The lowest floating shelf should strictly hold the items you reach for daily, keeping them directly above the washing machine. This strategic placement eliminates the need to bend down or search through deep cabinets for essential supplies, saving you valuable time.
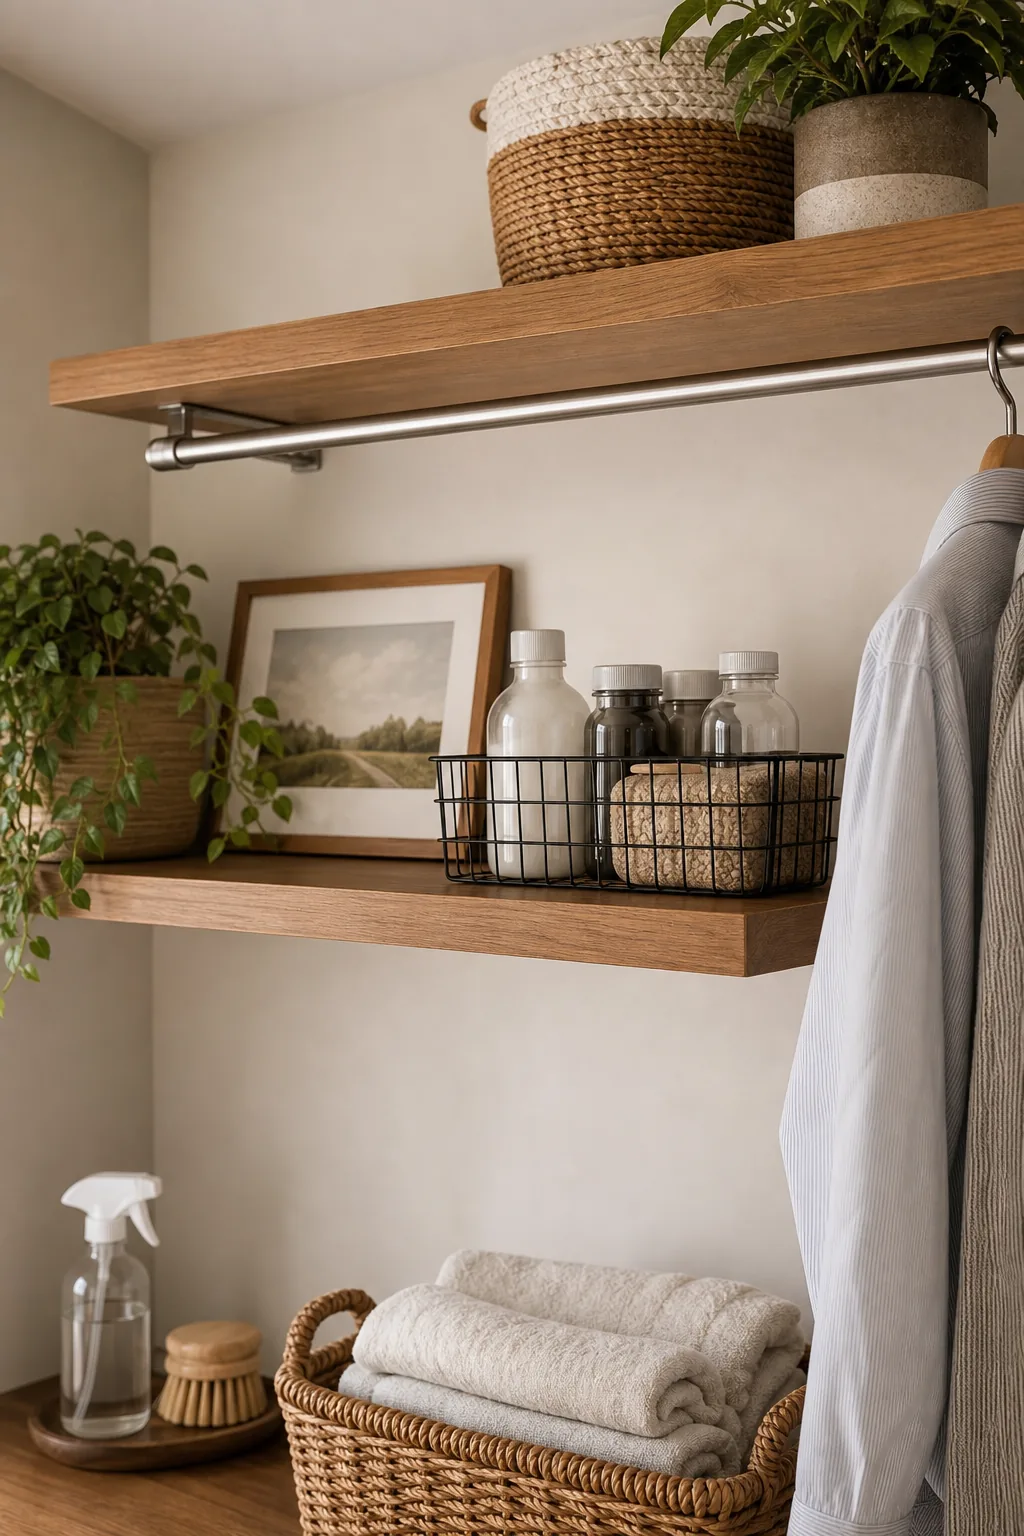
Positioning these heavy glass jars on the lowest shelf prevents dangerous overhead lifting while ensuring you can quickly monitor your remaining inventory. You will always know exactly when to restock your favorite laundry products before running completely out.
Securing the Floating Shelves
Heavy glass jars filled with dense laundry powders require incredibly sturdy shelving. You must anchor the floating shelf brackets directly into the wall studs rather than relying on standard drywall anchors, which will eventually pull loose under the constant weight.
The Drip-Dry Zone
Installing a sturdy metal hanging rod directly beneath the highest shelf creates a dedicated drip-dry zone for delicate garments. This upper rod must be positioned high enough so hanging wet shirts never brush against items stored on the lower shelf.
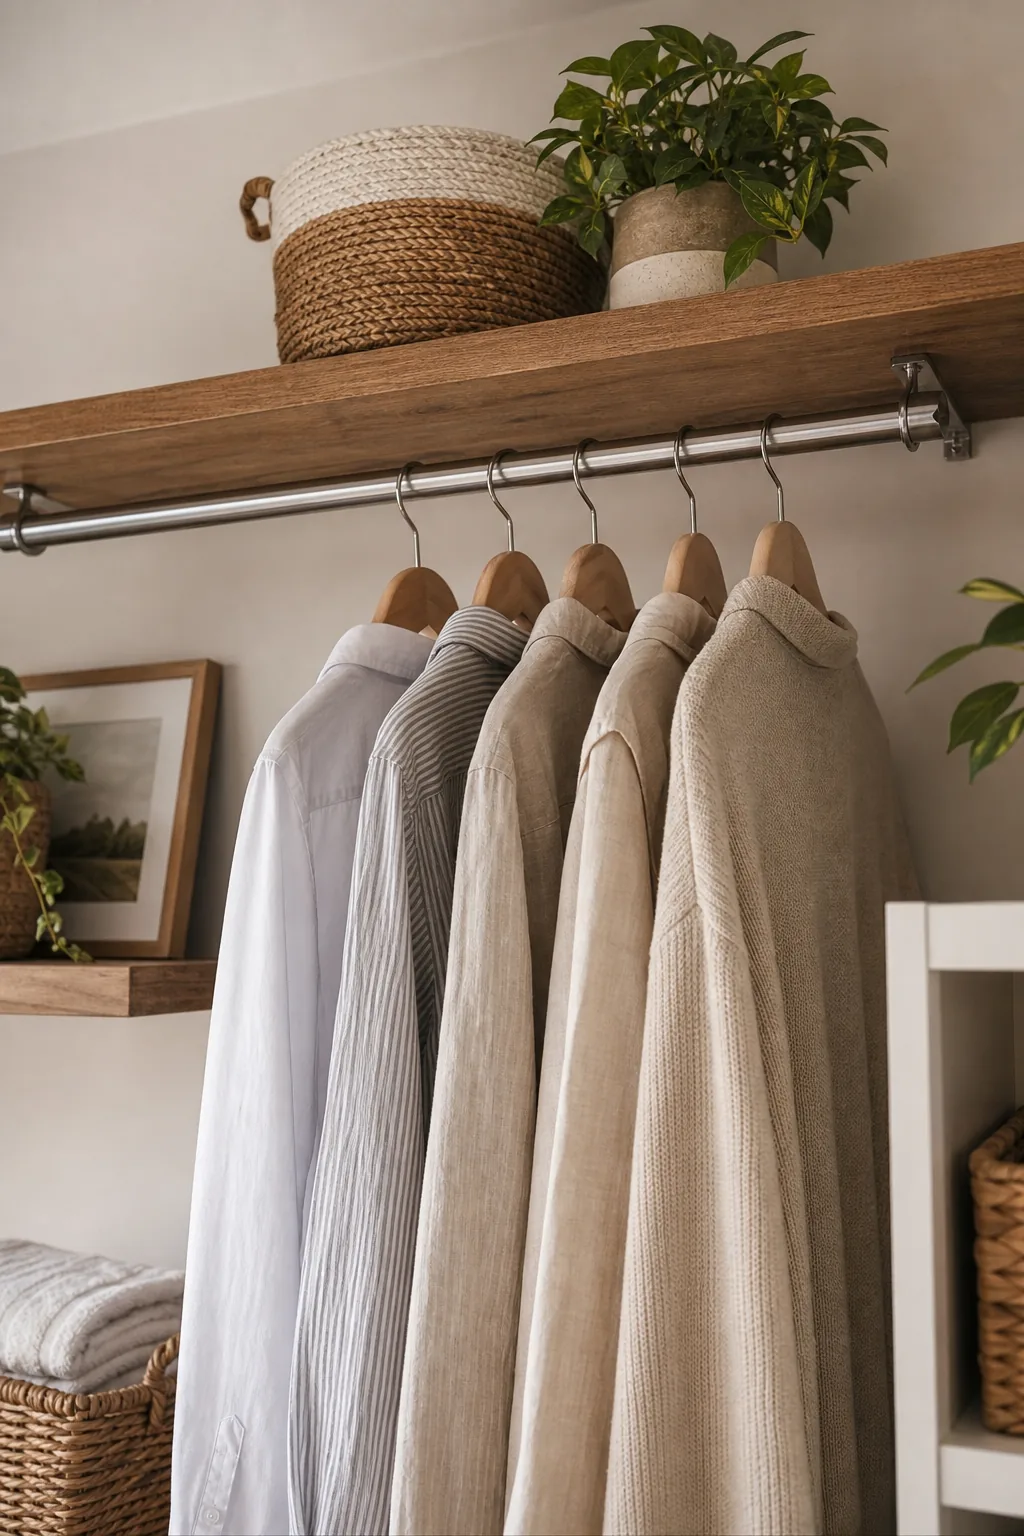
Mounting the rod at least 65 inches from the floor accommodates standard adult-sized shirts without dragging the damp hems across your folded towel stacks. This ensures your delicate fabrics dry perfectly straight without developing awkward wrinkles or musty odors.
Lighting the Folding Workspace
A highly functional laundry wall requires excellent task lighting to help you spot stubborn stains before they set. Installing a slim LED light bar underneath the lowest floating shelf casts bright, even illumination directly across your entire wooden folding counter.
Exact Layout Measurements and Clearances
Successfully replicating this compact 4-zone laundry layout requires strict adherence to the foundational spacing rules. Establishing precise gaps between each vertical layer transforms a basic utility space into a highly efficient, custom-built workstation.
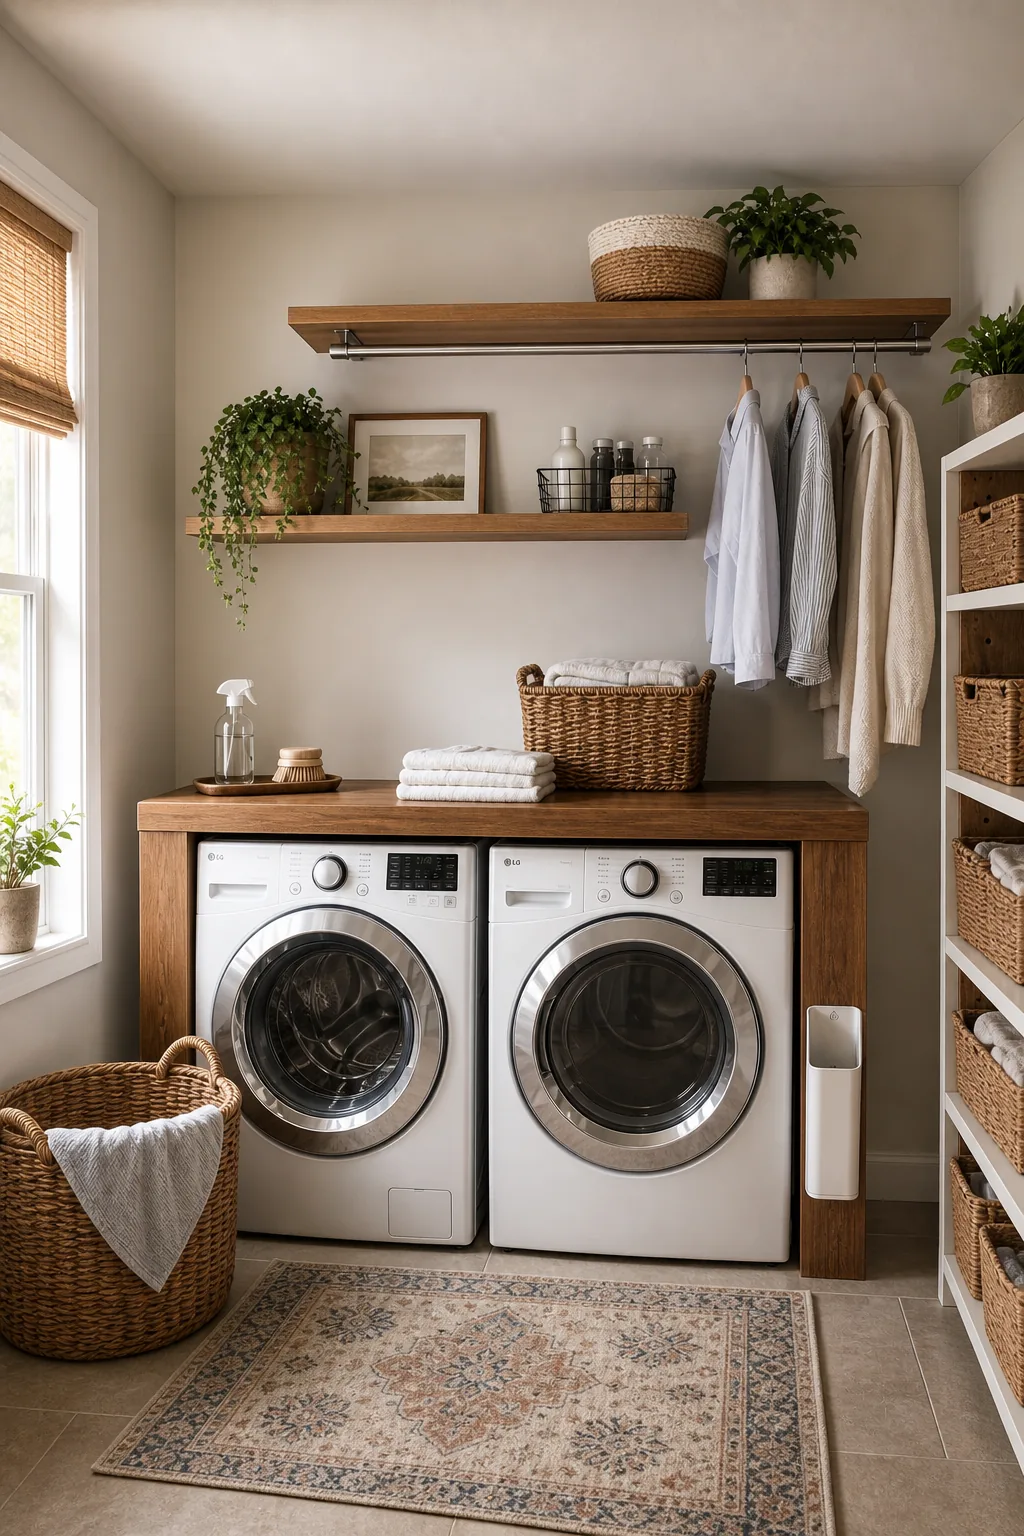
Use these precise dimensions to construct your own custom laundry wall stack, adjusting the final counter height based on your specific appliance model.
| Zone Component | Required Clearance | Measurement Point | Primary Purpose |
|---|---|---|---|
| Counter Height | 39 inches | Floor to counter top | Comfortable standing folding |
| Counter Depth | 28 inches minimum | Front edge to back wall | Accommodate large bath towels |
| Machine Gap | 1-inch clearance | Between machine and wood | Absorb spin cycle vibration |
| Rear Clearance | 4 to 6 inches | Machine back to wall | Ventilation and thick hoses |
| Lower Shelf Gap | 15 inches | Counter to shelf bottom | Store tall detergent jugs |
| Hanging Rod Height | 65 inches | Floor to metal rod | Air-dry adult-sized shirts |