
14+ Clever Toddler Bulletin Board Ideas for Your Home
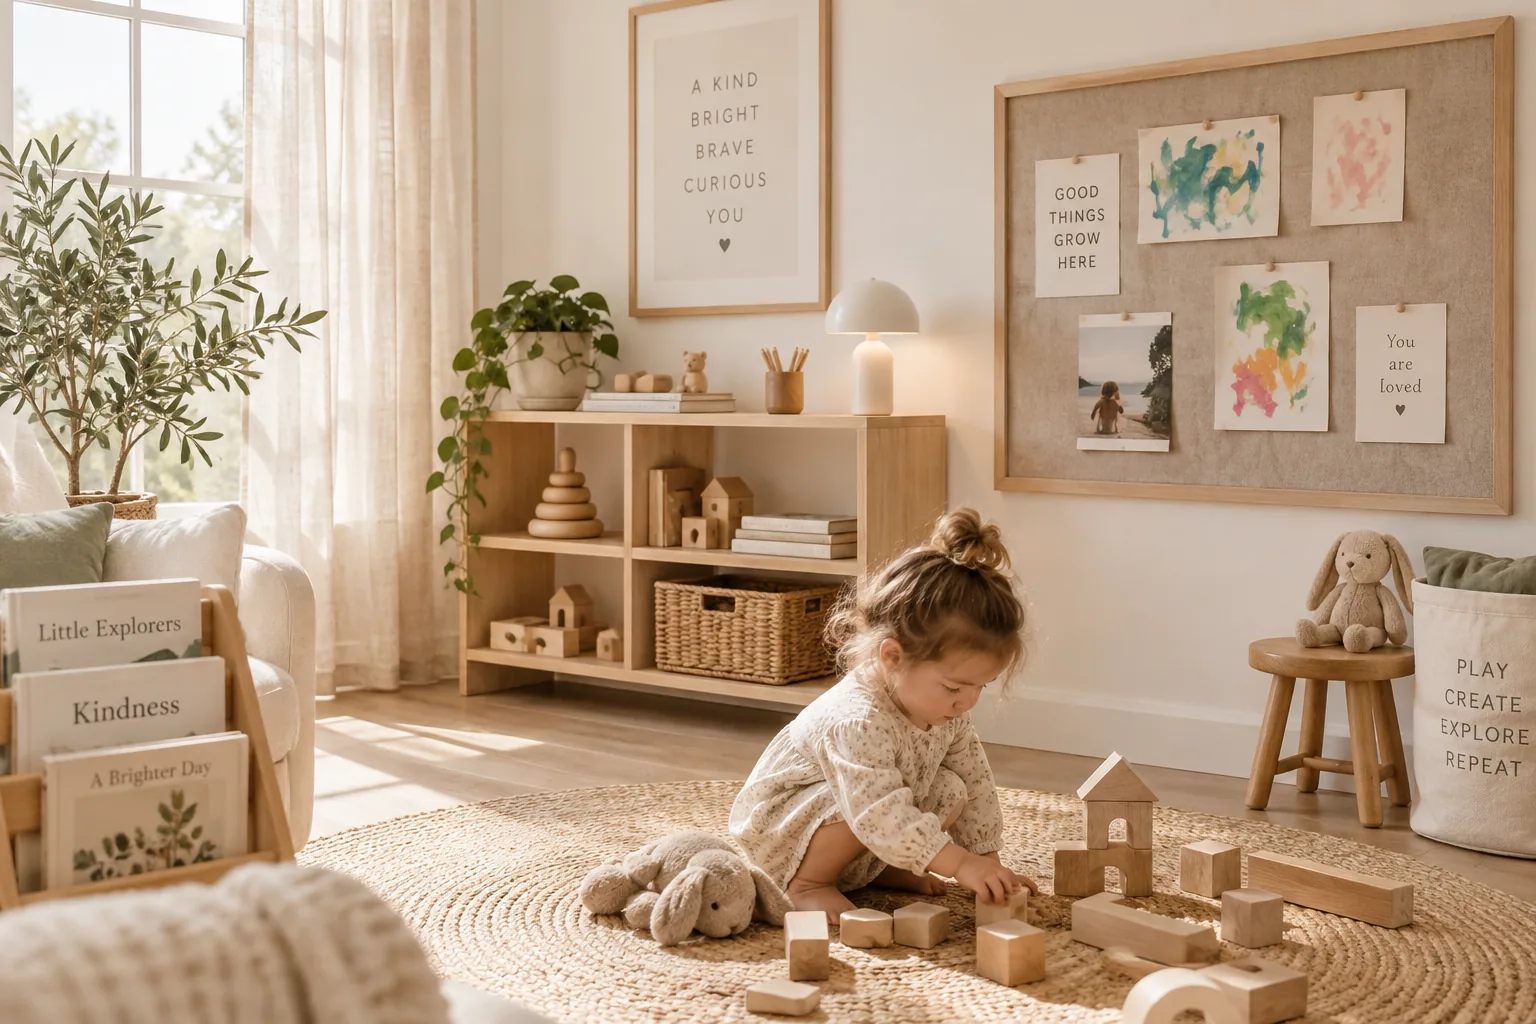
Setting up a toddler bulletin board is the easiest way to wrangle all that preschool art and create a fun interactive zone. These are my favorite practical ways to build a display wall that actually survives sticky fingers.
1. Wrap It in Linen
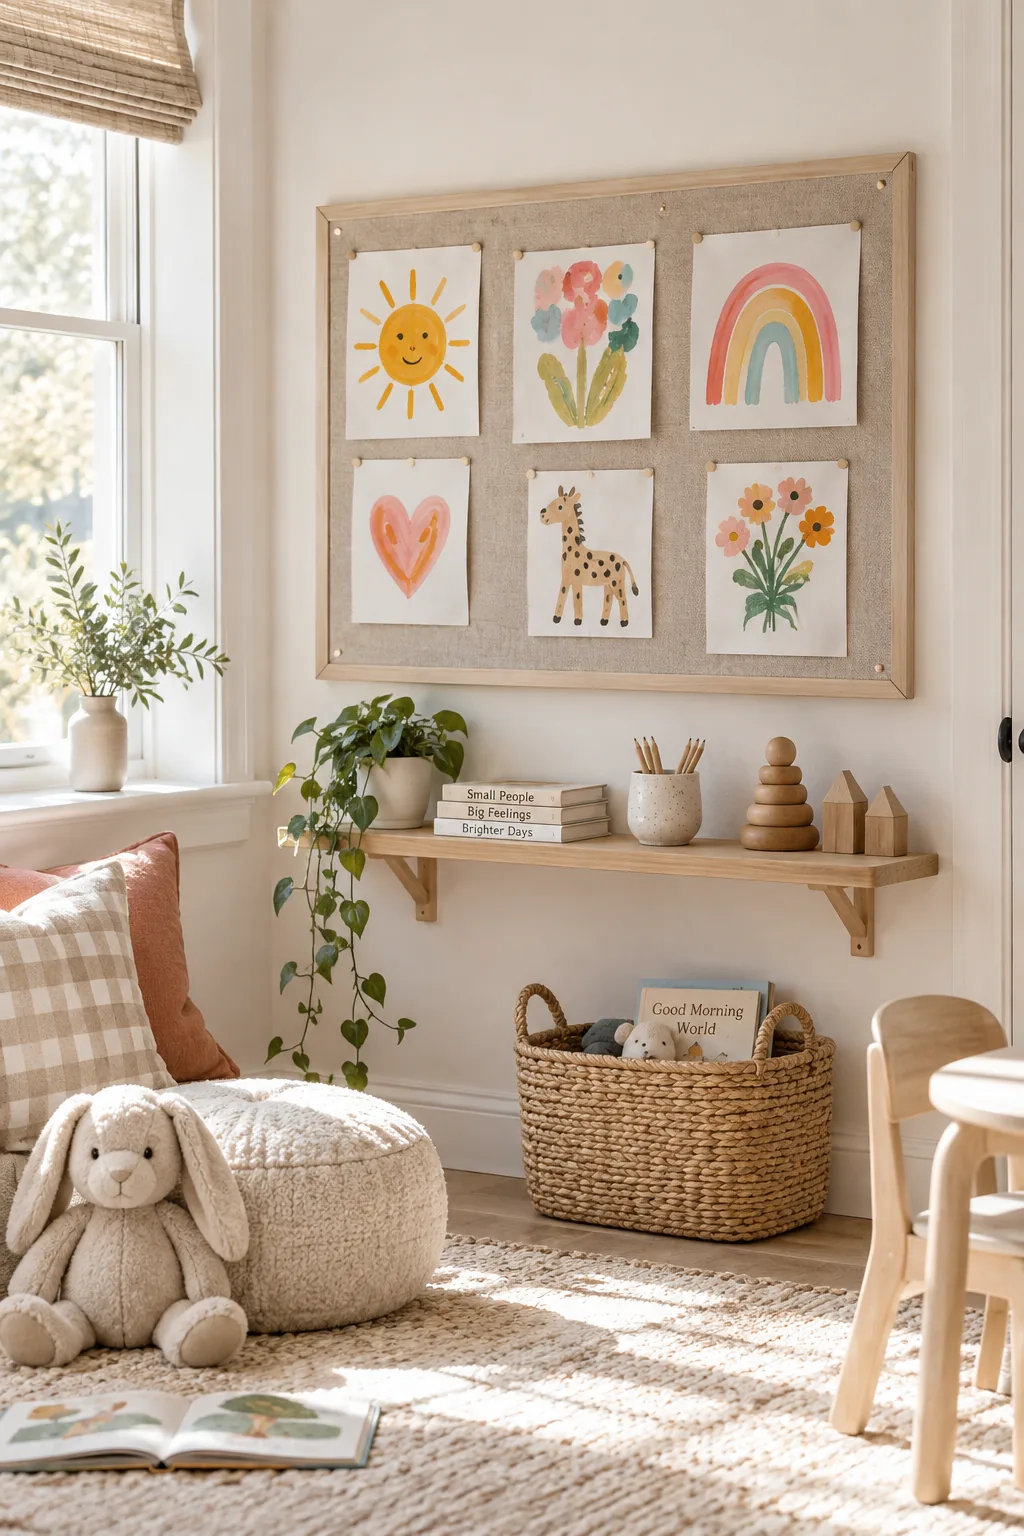
A standard 24×36 inch cork board gives you enough surface area to display a whole week of daycare crafts without looking cluttered. I always wrap the raw cork in a heavy-duty linen fabric to hide the inevitable pushpin holes. You just pull the fabric taut around the edges and staple it straight into the wooden frame. It instantly elevates the whole room and gives you a clean backdrop for those bright finger paintings. Try adding a few simple accessories to finish the setup:
- Oversized wooden pushpins
- A tiny hanging garland
- Clip-on metal labels
2. Glue Clothespins to Tacks
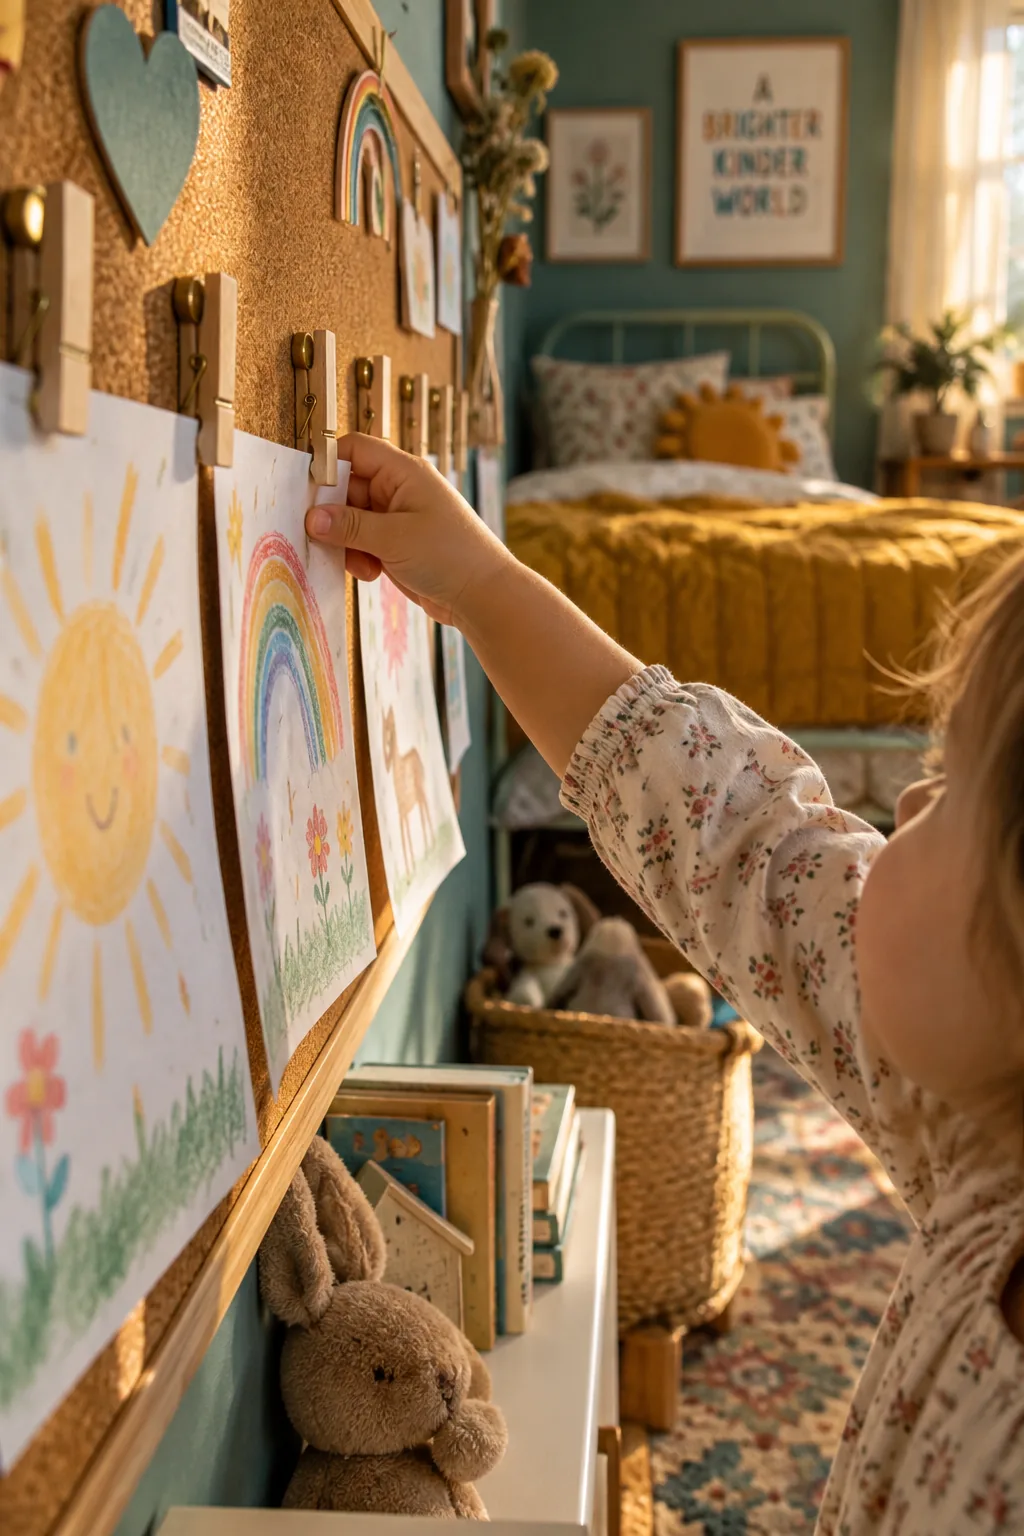
I made this exact mistake with my first kid, but regular thumbtacks are a massive choking hazard. Swap them out for clothespins glued to flat-head tacks so your toddler can clip their own drawings up safely.
3. Create a Felt Sensory Wall
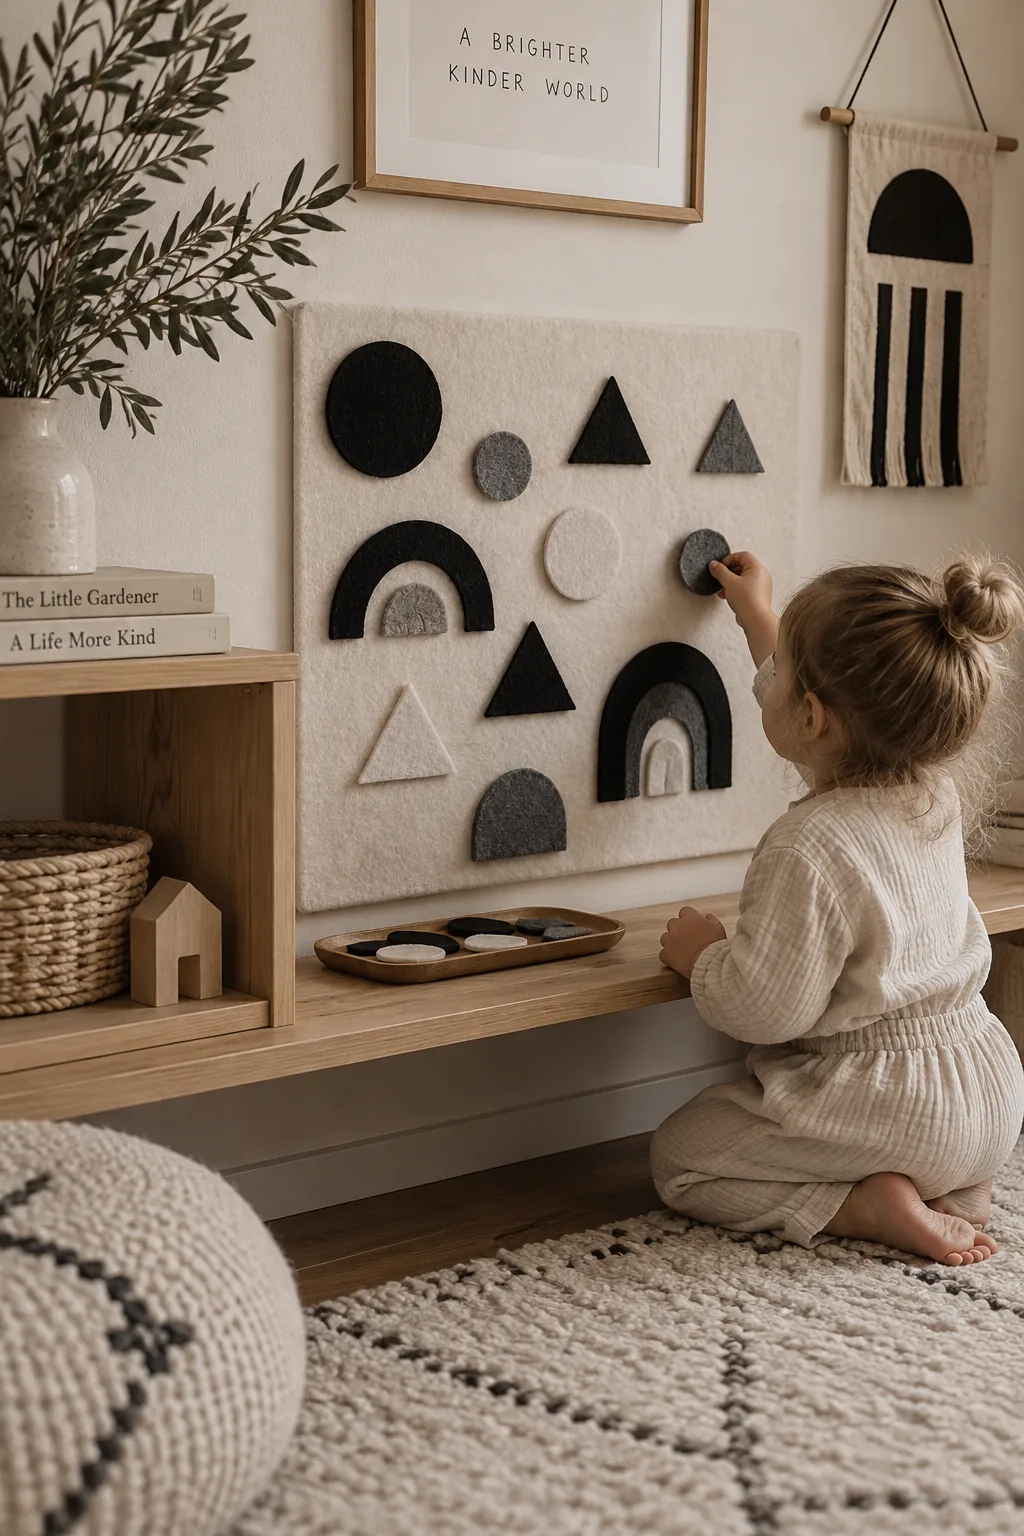
A monochromatic sensory board creates a calm, modern vibe in an otherwise chaotic playroom. You just cover a basic foam board with thick cream felt and mount it low on the wall. Toddlers can stick and peel black, white, and gray felt shapes all day long. It looks like abstract art when they are done playing.
4. Hide Magnetic Paint
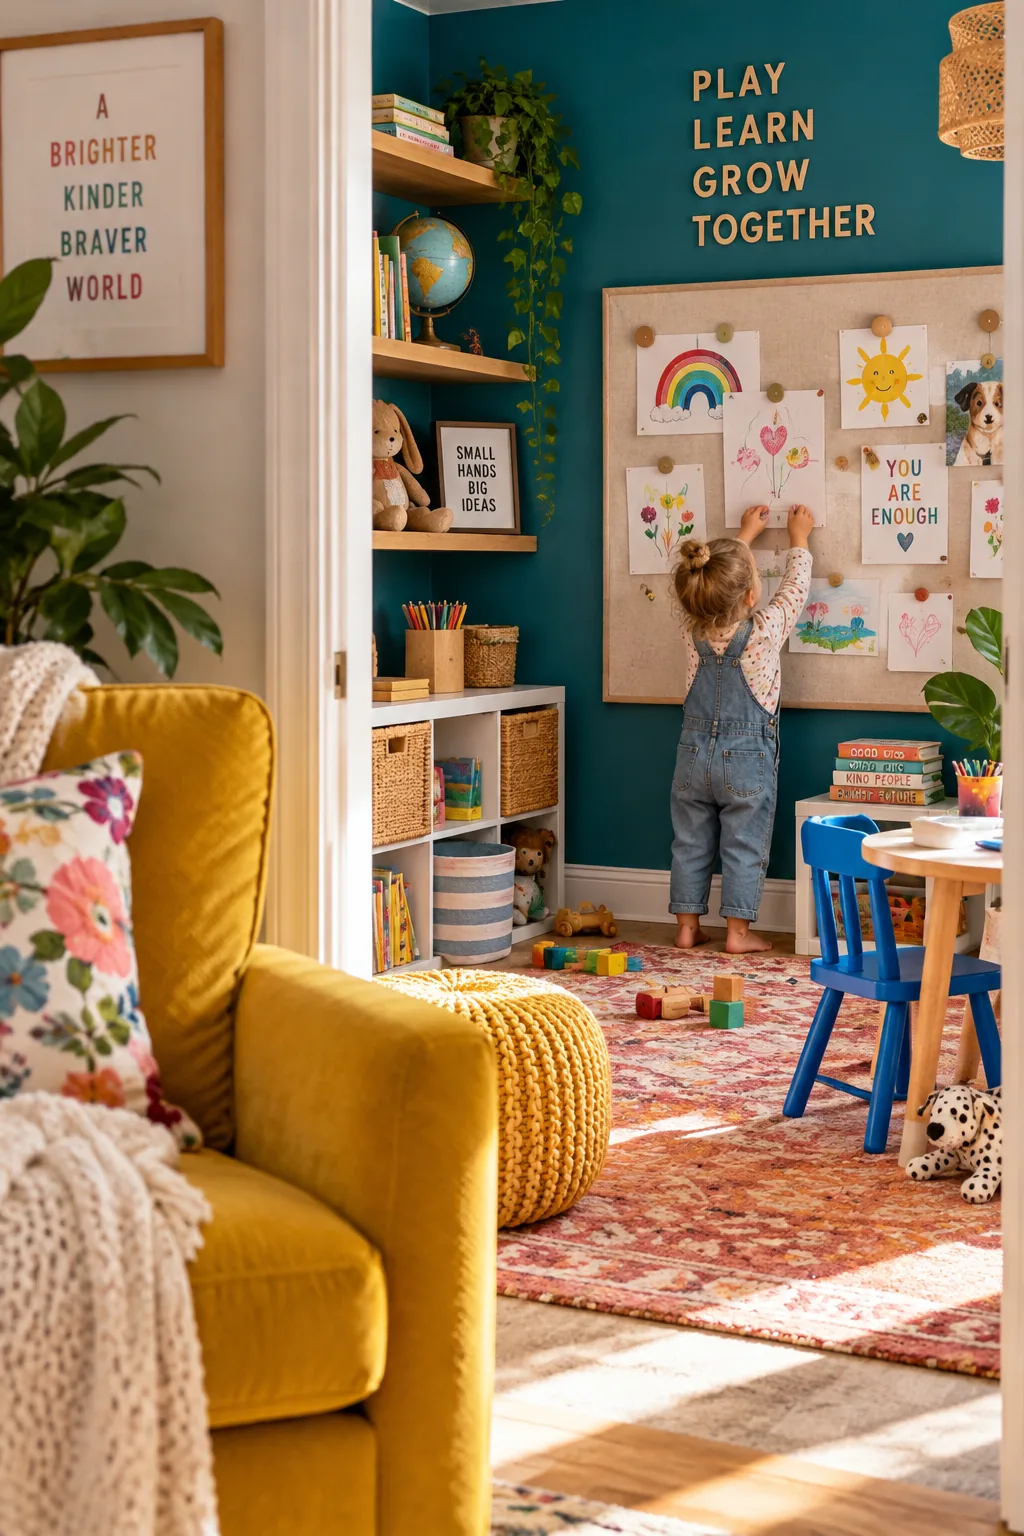
Using magnetic paint behind your bulletin board fabric completely eliminates the need for sharp pins. You simply roll three coats of the magnetic primer onto a thin sheet of plywood before wrapping it in cotton canvas. Grab some large wooden magnets and your kid can safely hang up their own coloring pages.
Just make sure to let the primer cure for a full 48 hours before testing the magnets.
5. Upcycle Thrifted Frames
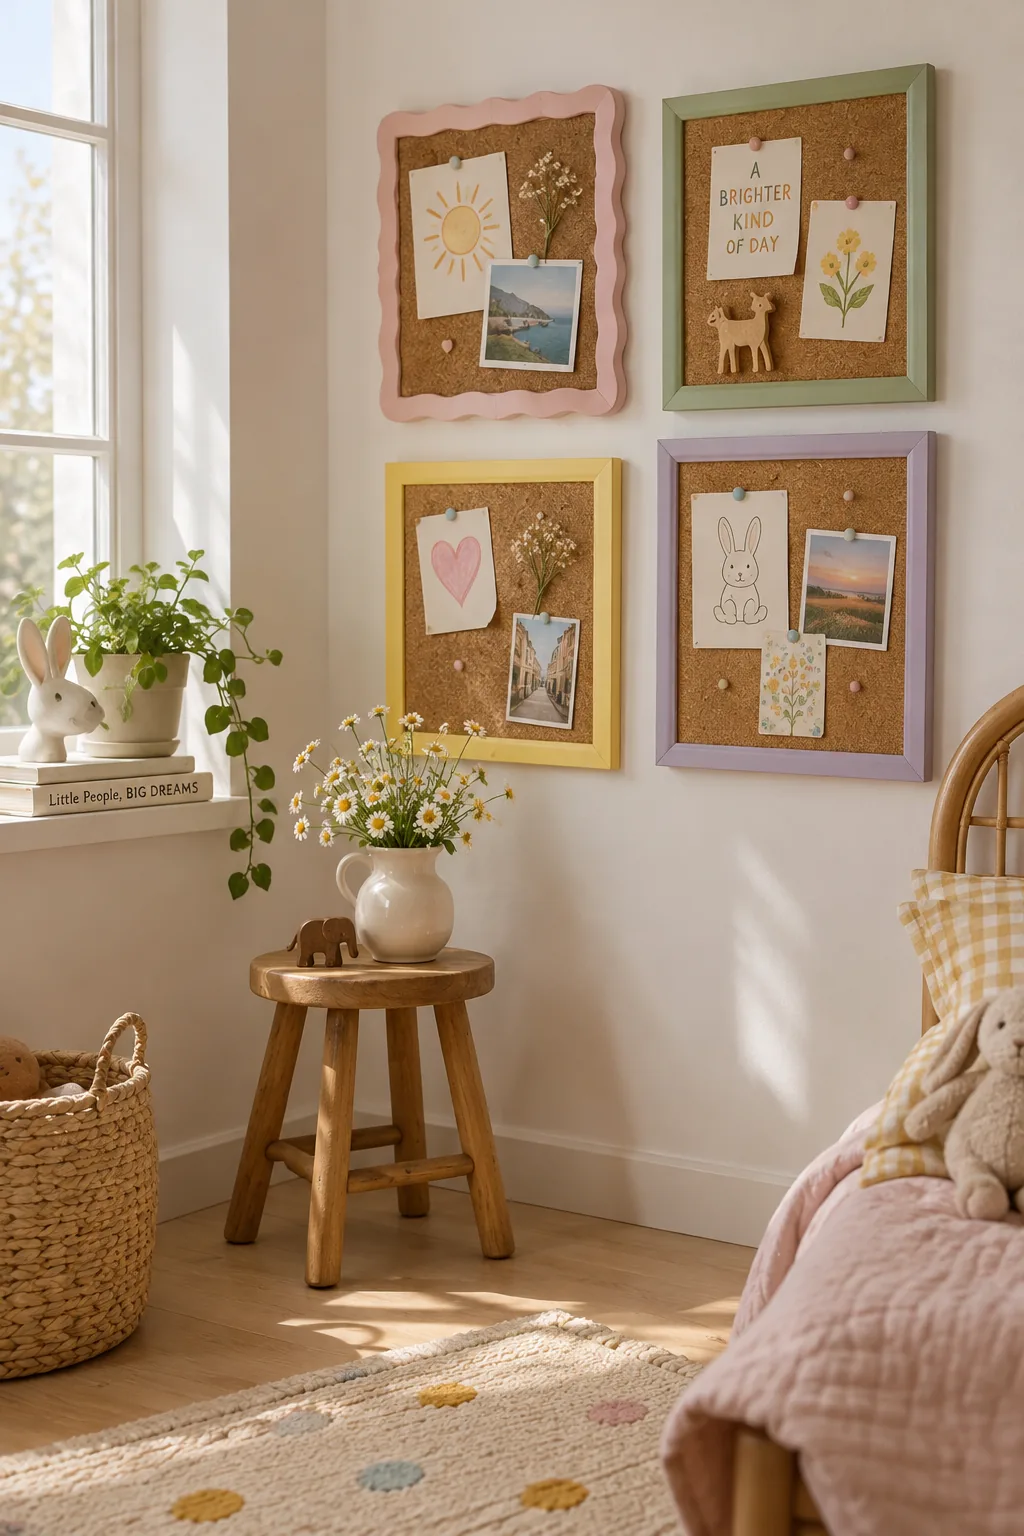
Whenever I find cheap picture frames at the thrift store, I grab them for my kids' rooms. You can pop out the glass and cut a piece of cork roll to fit perfectly inside the backing. Paint the ornate frames in bright, glossy colors to make a playful gallery wall of mini bulletin boards.
Grouping three or four of these together looks much more intentional than one giant board.
6. Mount at Eye Level
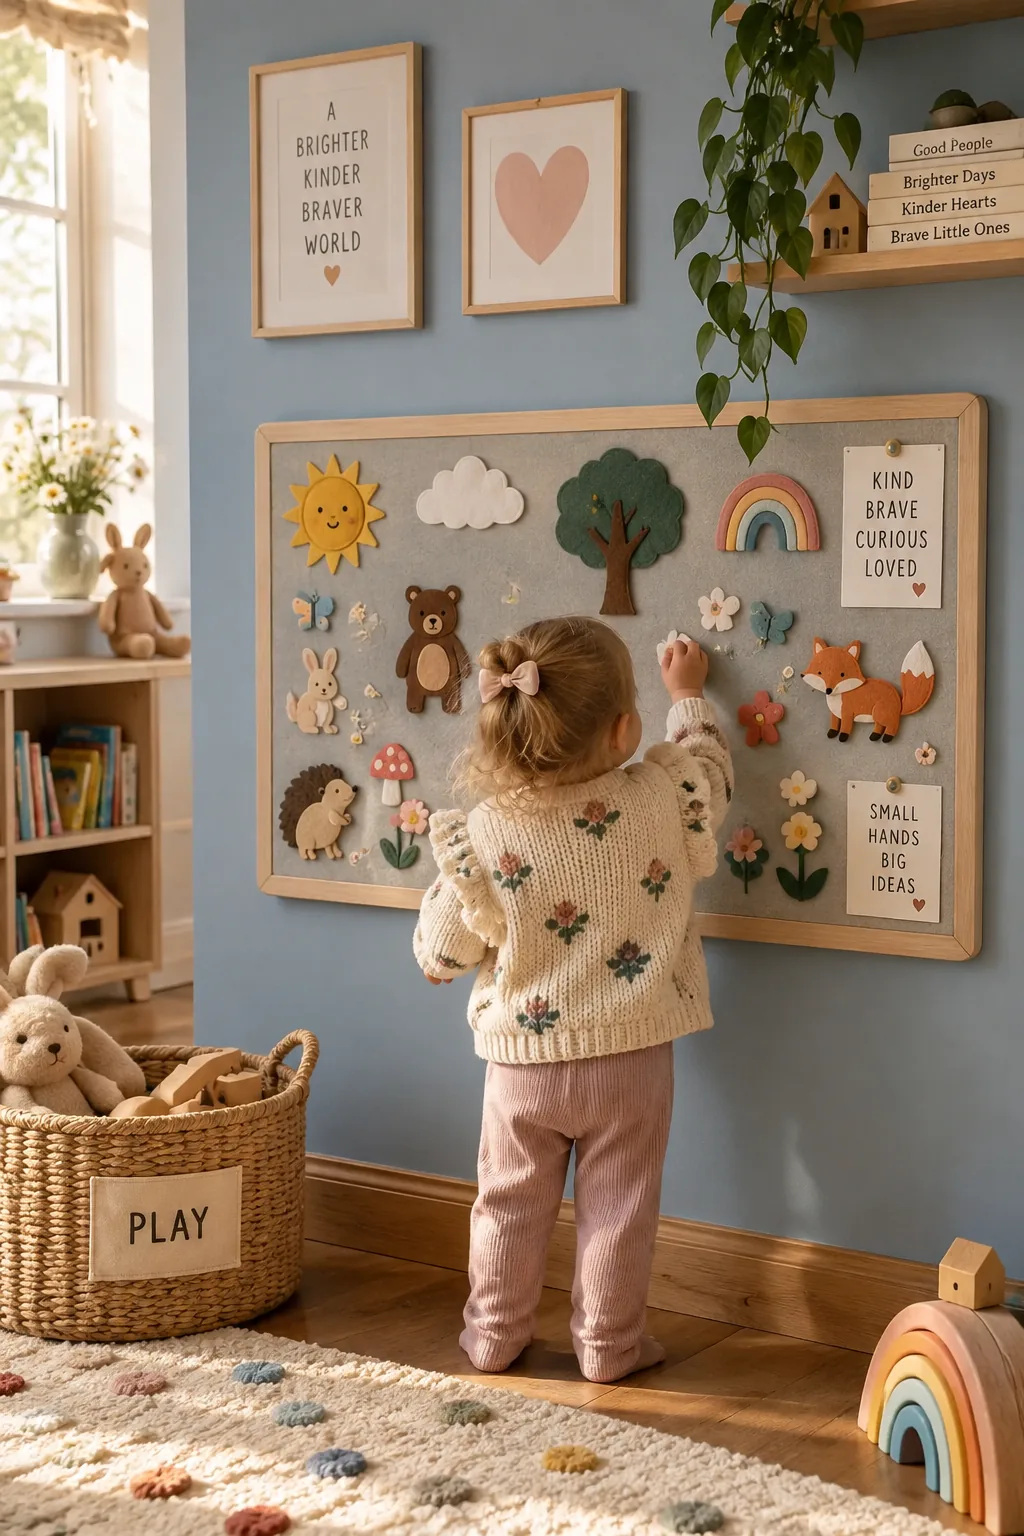
Mount your toddler bulletin board right at their eye level, usually about two feet off the floor. This turns a simple display piece into an interactive activity station. They can walk right up and rearrange their favorite stickers or felt animals without needing you to lift them.
Screw the board directly into the wall studs so they cannot pull it down on themselves.
Why it works: Giving toddlers physical access builds their independence and keeps them engaged much longer.
7. Use Durable Burlap
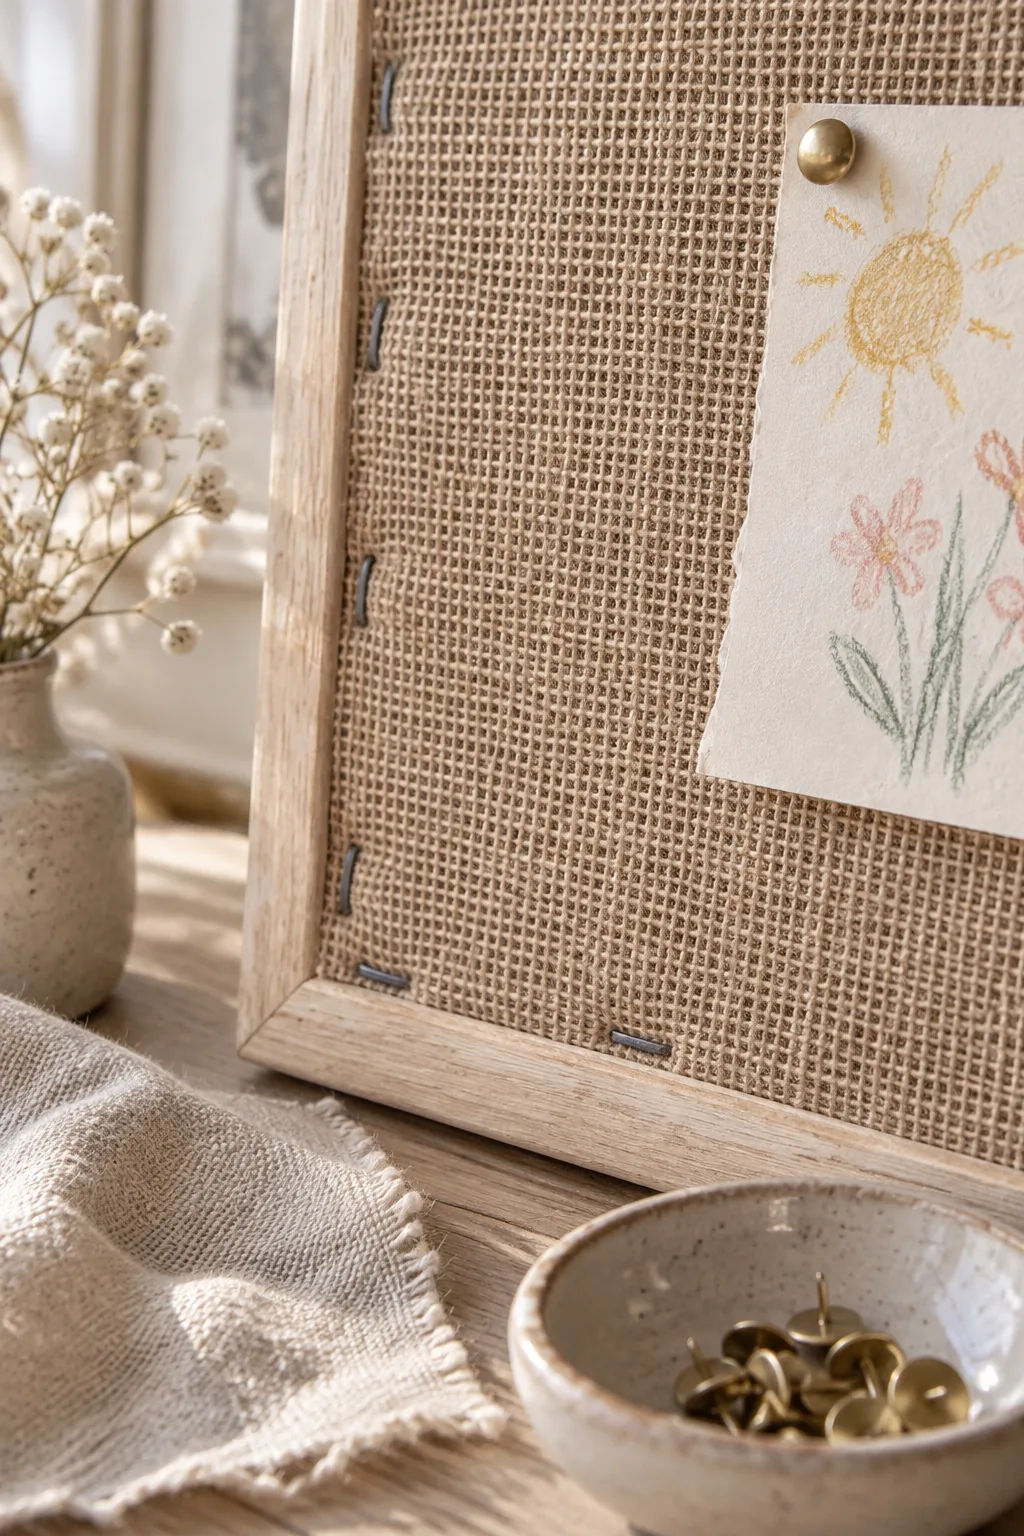
Wrapping your board in burlap fabric costs less than ten dollars and hides pinholes flawlessly. The loose weave of the material naturally separates and closes back up when you remove a tack. It brings a nice rustic texture to a bright playroom and holds up incredibly well to rough toddler hands. Just staple it tightly around the back of your frame to keep the edges from fraying.
8. Upgrade the Frame
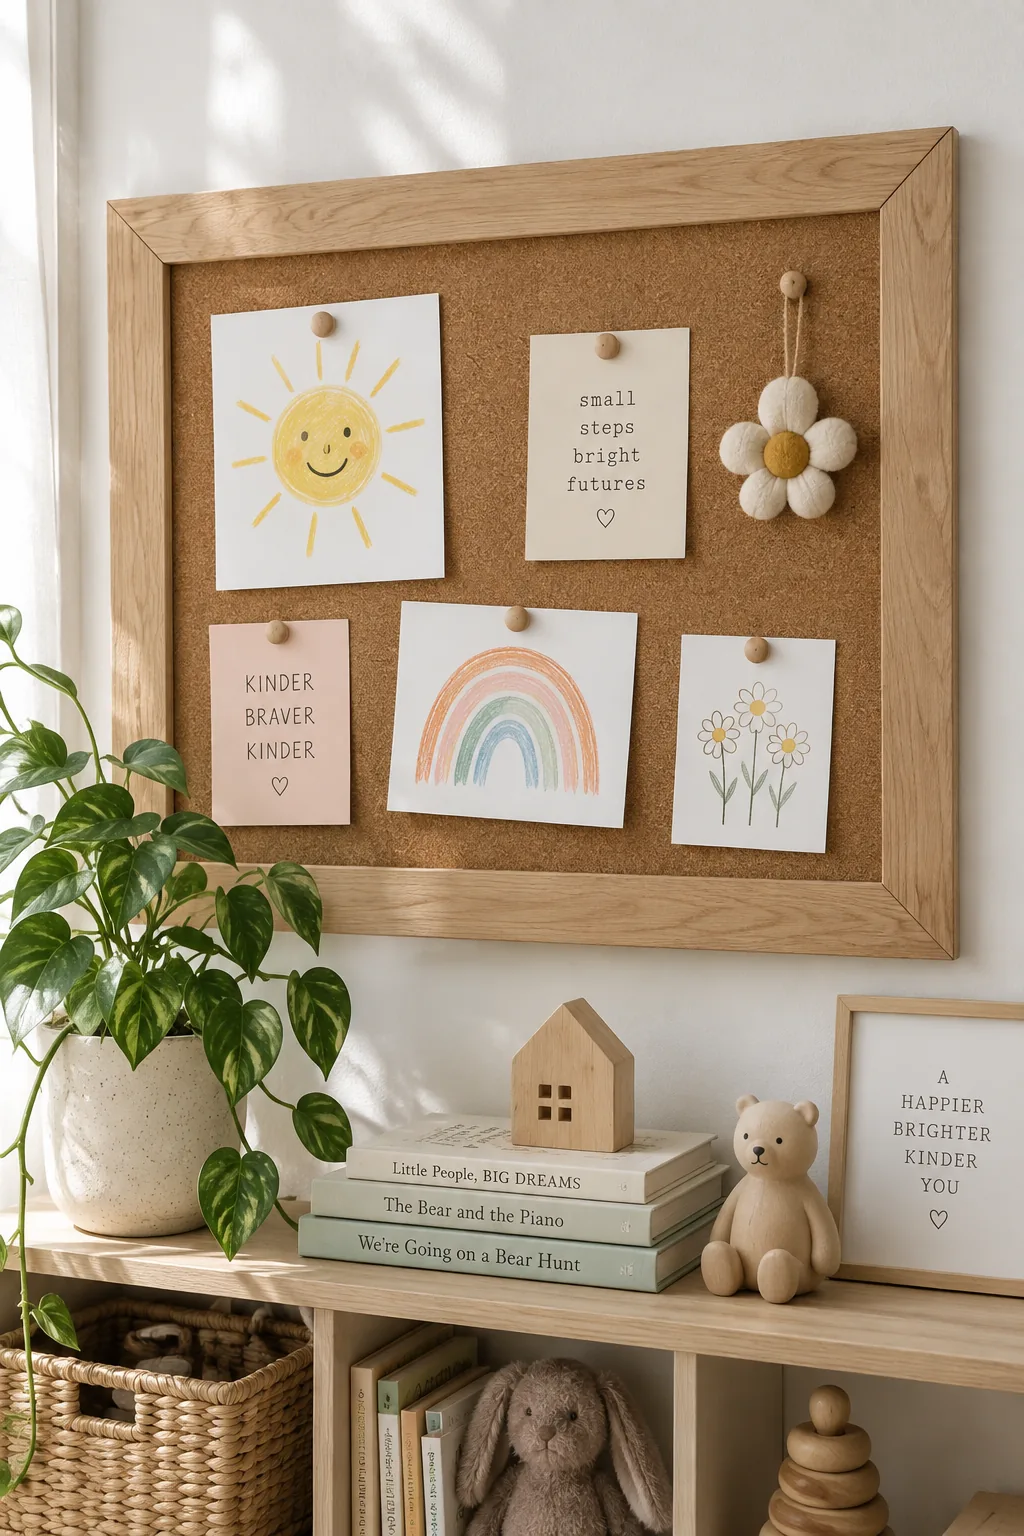
Most standard cork boards come with flimsy aluminum frames that bend easily. You can easily upgrade them by gluing thick wooden trim directly over the metal edges for a custom, built-in look.
9. Swap Cork for Pegboard
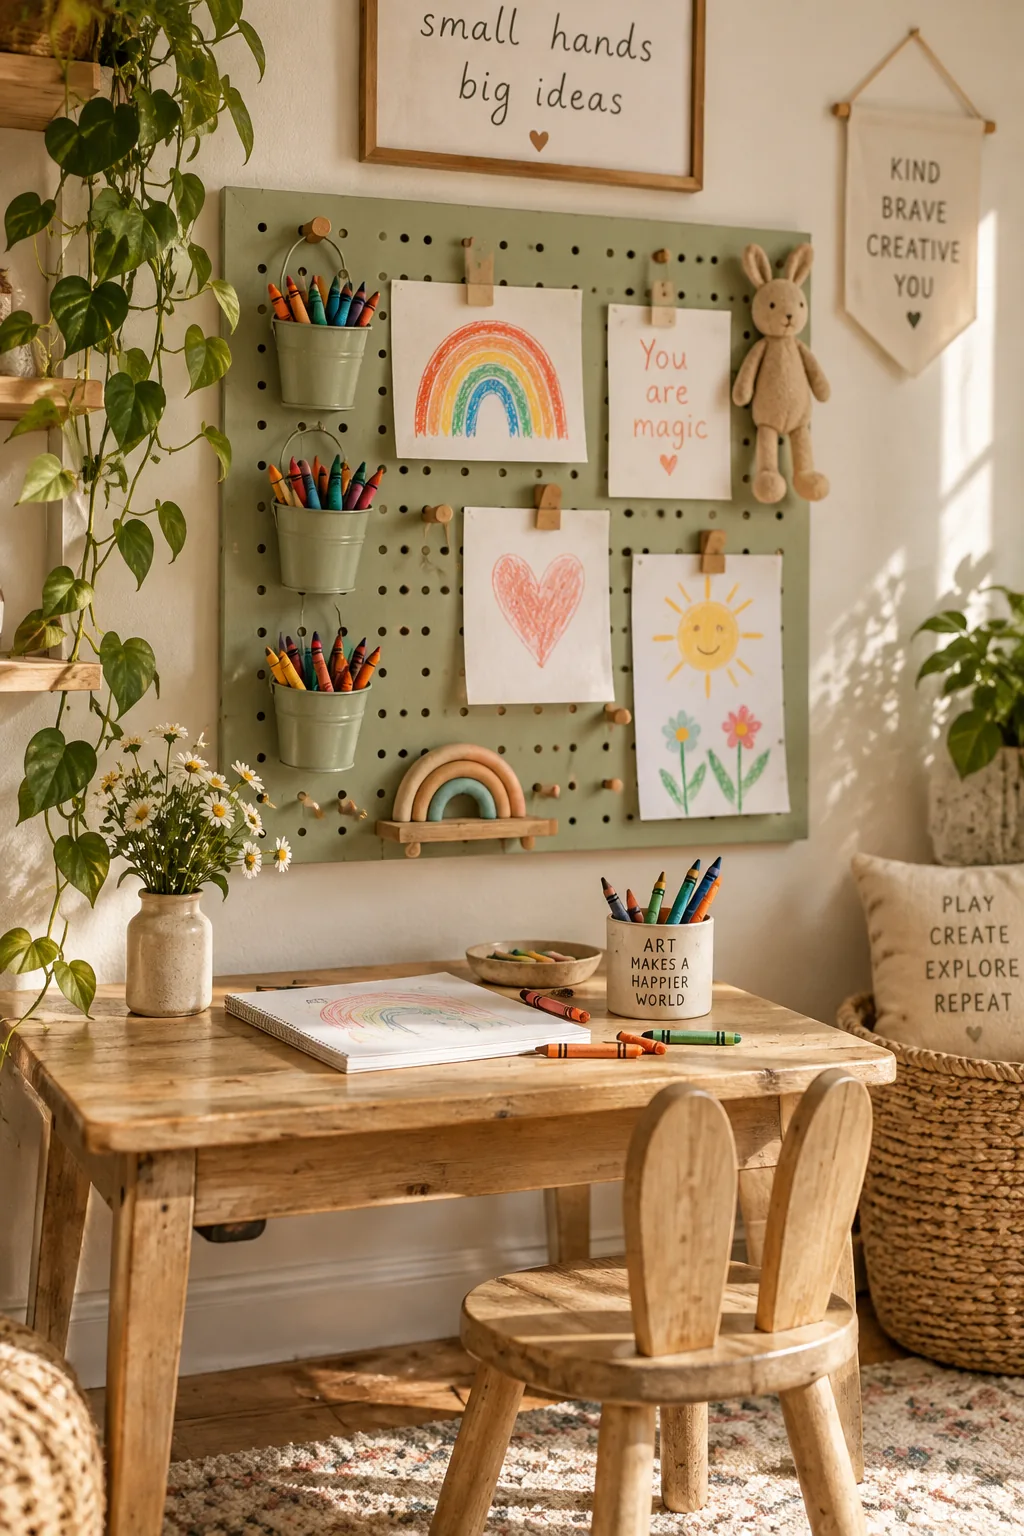
A pegboard backing holds up to fifty pounds of art supplies and paper.
Swap the traditional cork for a painted wooden pegboard to get double the function. You can use standard hooks to hang little metal buckets of crayons right next to their displayed artwork. It keeps the messy supplies off the floor and organizes everything in one neat spot.
Why it works: The rigid structure of a pegboard withstands aggressive toddler tugging better than soft cork.
10. Dedicate a Holiday Board
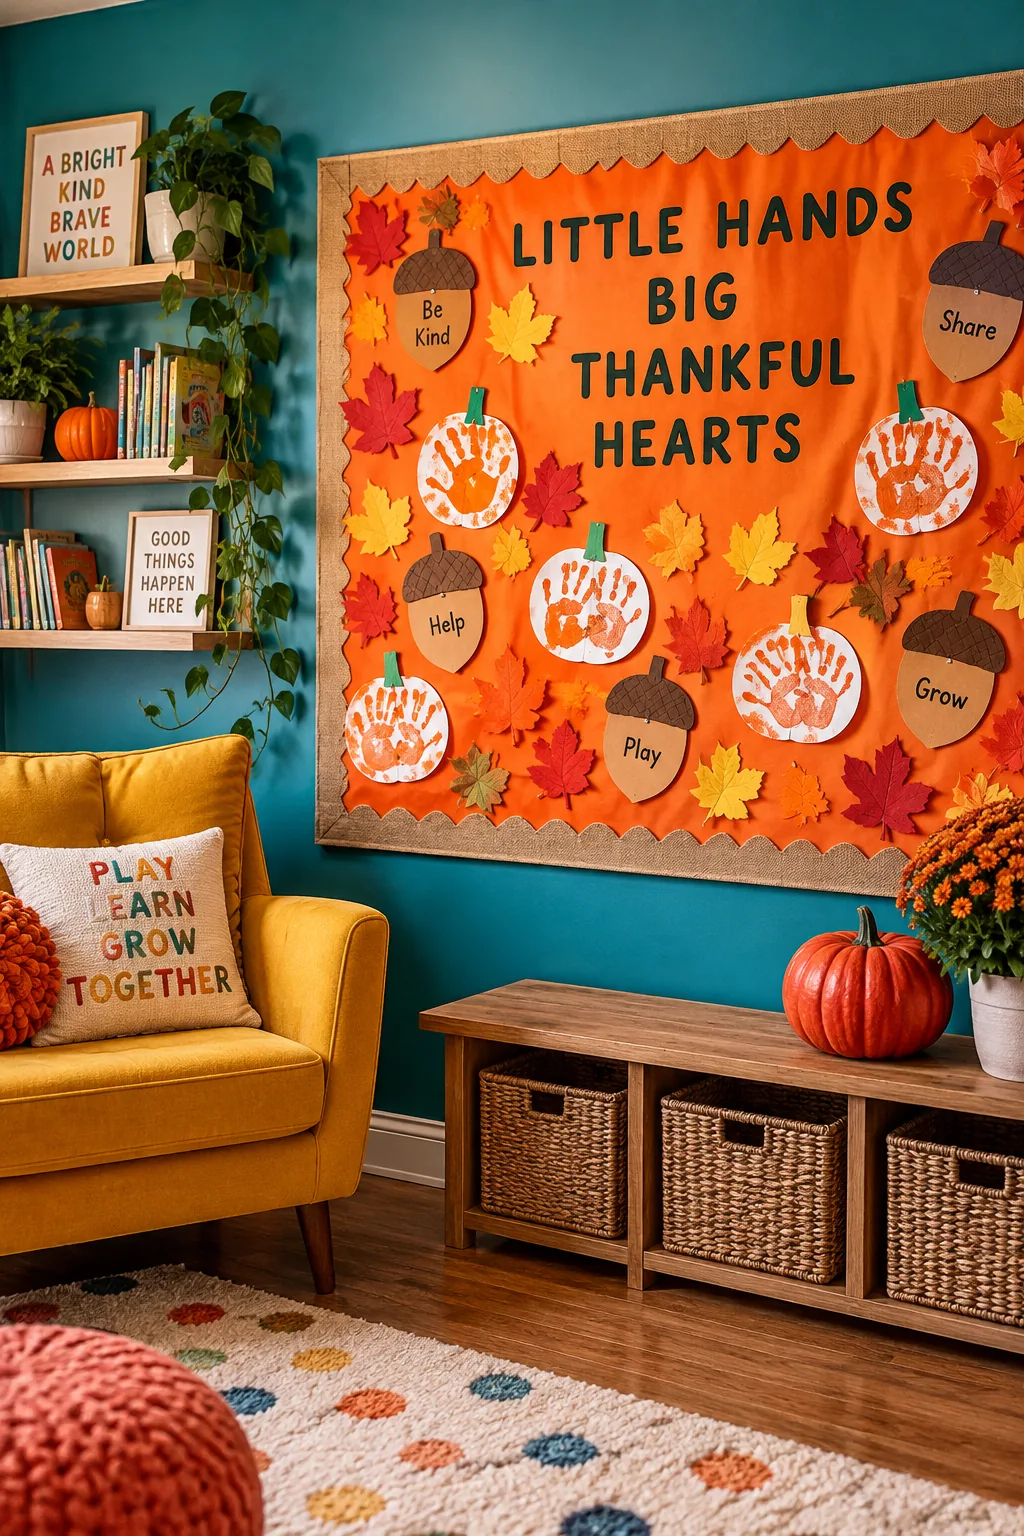
Kids produce a massive pile of seasonal crafts around the holidays. Dedicate a specific holiday display board just for these festive creations.
Change out the backing fabric to match the season, like orange canvas for fall or red plaid for winter. It makes their artwork feel like actual seasonal decor.
Pack the seasonal fabric away with your holiday boxes to reuse next year.
11. Use Damage-Free Strips
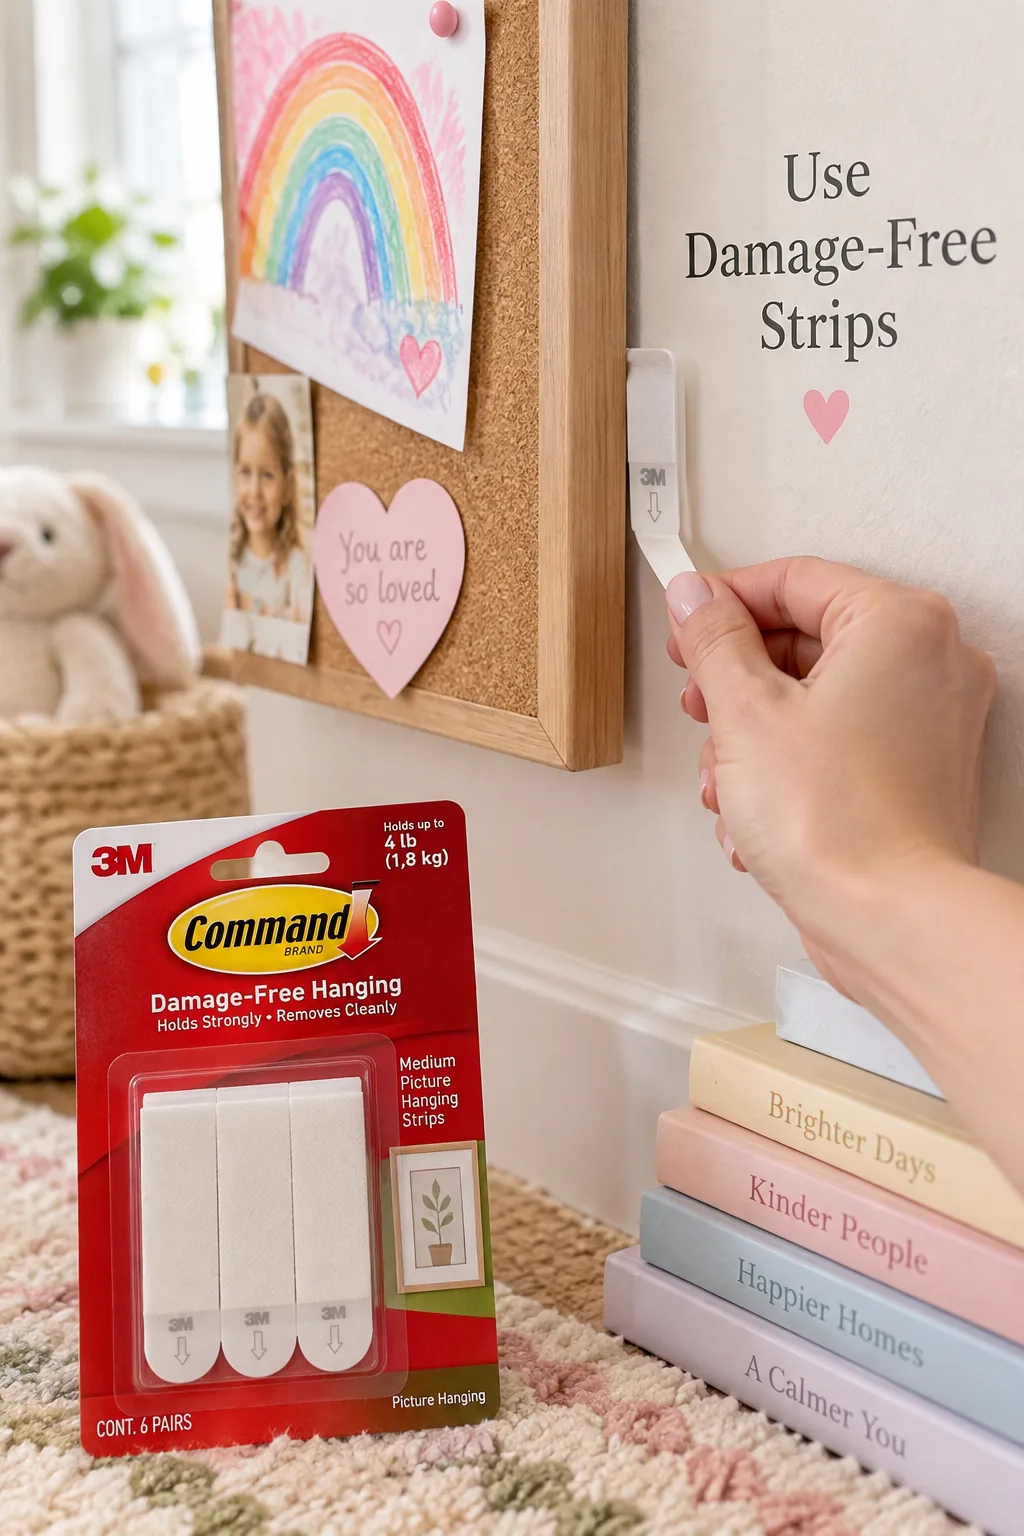
I completely ruined a wall in our rental house by using heavy-duty mounting tape on a giant cork board. Now I always use damage-free picture hanging strips for anything in the kids' rooms. You just need to apply four large strips to the corners of your lightweight bulletin board and press it firmly against the drywall. It stays perfectly secure even when little hands are pulling at the pinned papers. When it is time to move the board up as they grow, the strips pull away clean.
12. Make a Chalkboard Hybrid
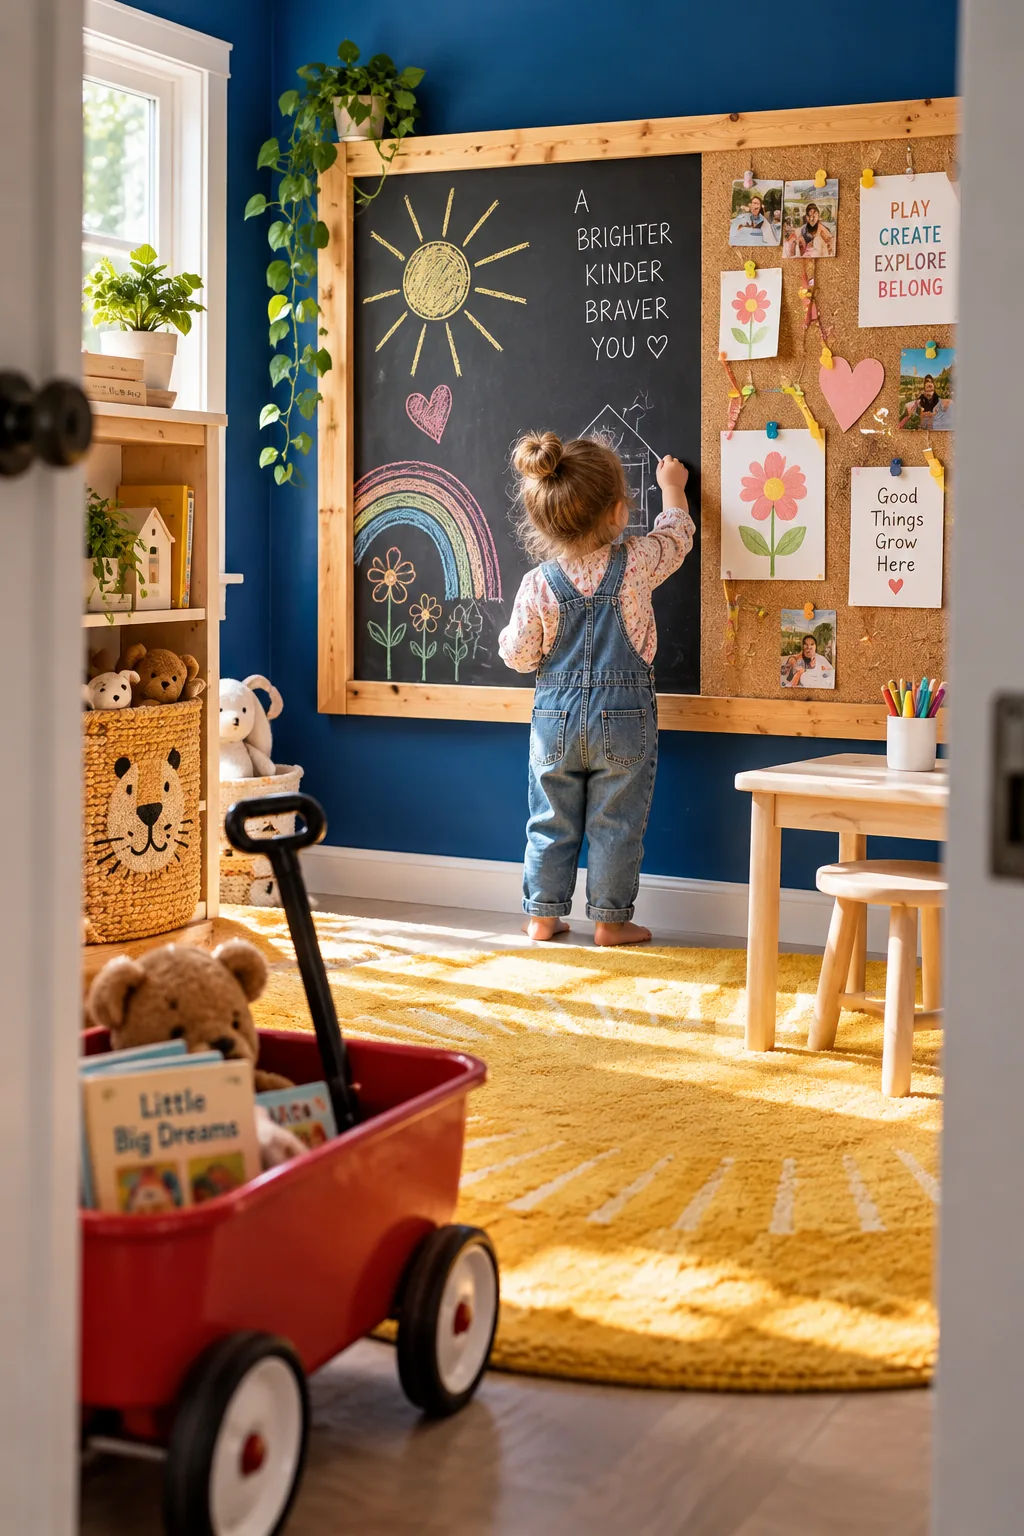
Creating a chalkboard and cork hybrid gives toddlers two different ways to play.
Just paint one half of a large wooden board with magnetic chalkboard paint and glue cork tiles to the other half. They can scribble with dustless chalk on the left while you pin their paper masterpieces on the right. Frame the whole thing out in pine trim to make it look like one cohesive piece.
13. Build a Hook and Loop Family Tree
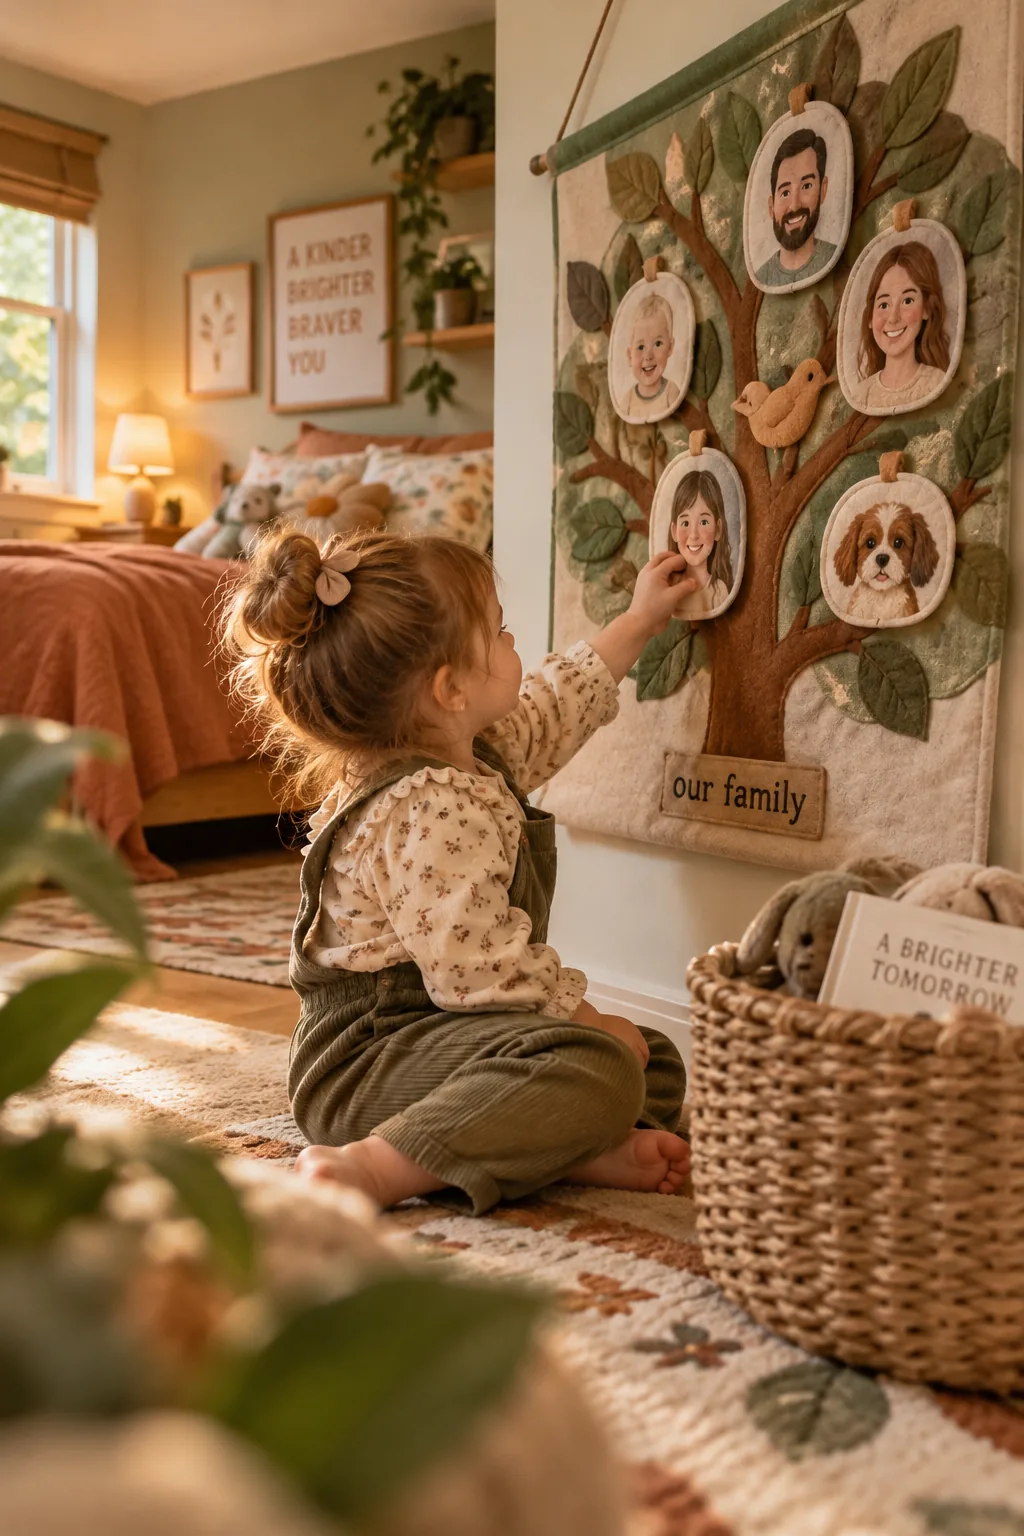
Toddlers love looking at photos of familiar faces and pets. Turn a low-hanging fabric bulletin board into a family tree by printing out soft fabric photos and attaching them with hook and loop dots.
14. Arrange Hexagon Tiles
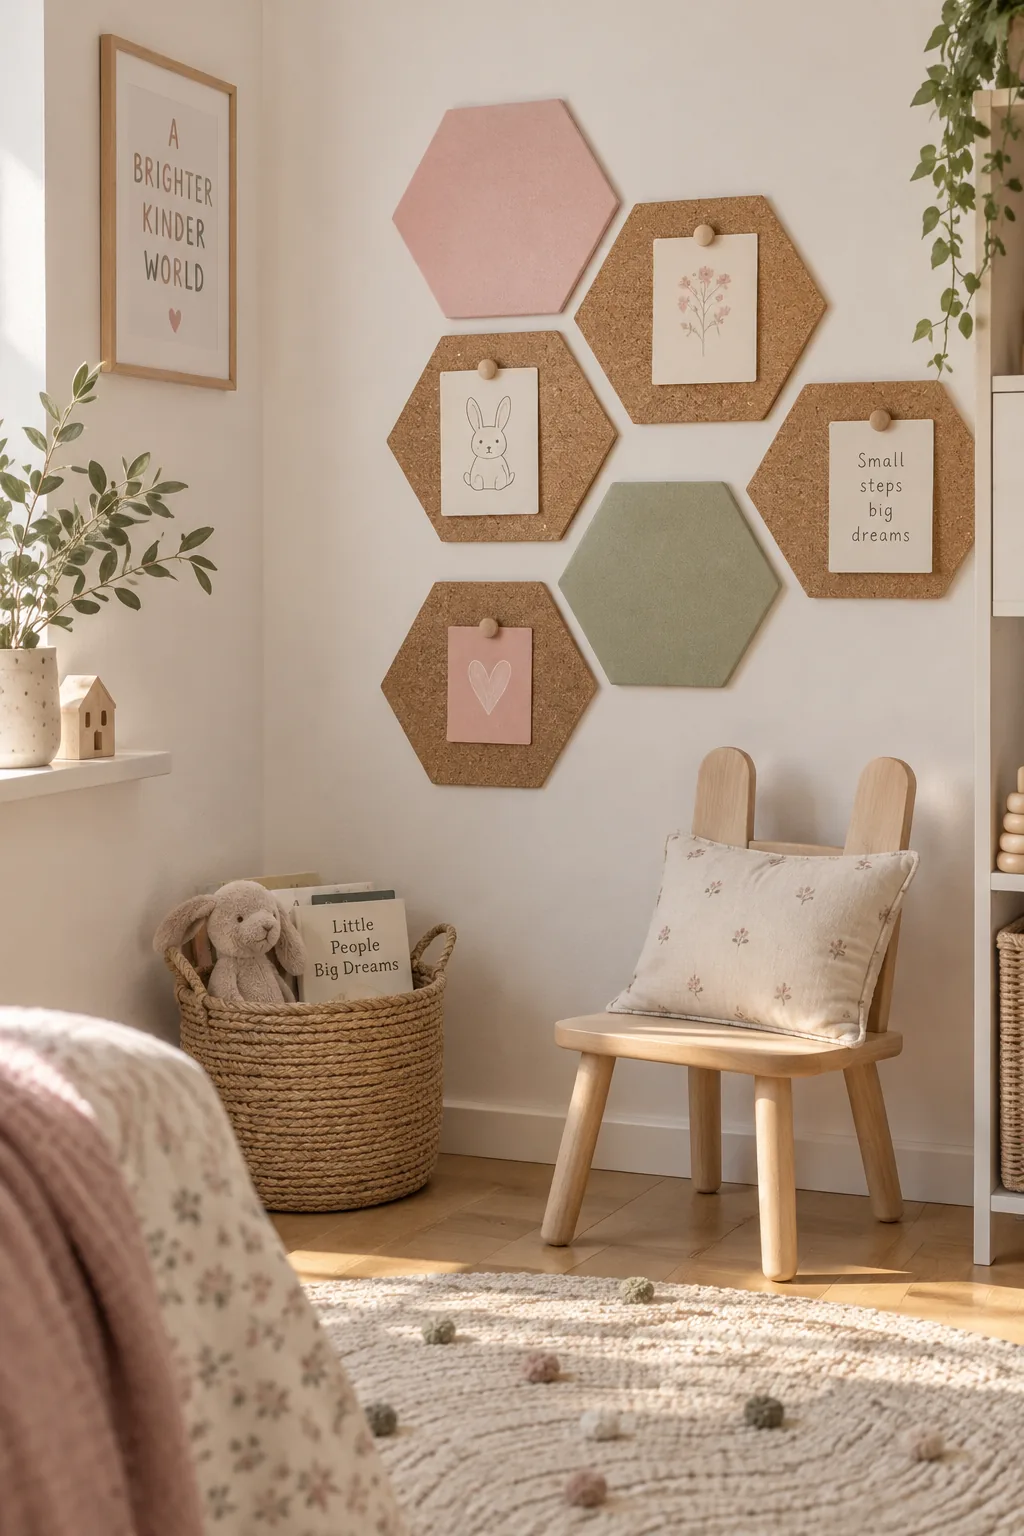
You can buy a pack of six hexagon cork tiles for under fifteen dollars online. Stick them to the wall in a honeycomb pattern to create a playful, modular display area. Paint a few of the tiles in contrasting pastel colors before hanging them to break up the brown cork texture.
Leave some space between each tile so the wall color peeks through.
15. String Twine Across a Frame
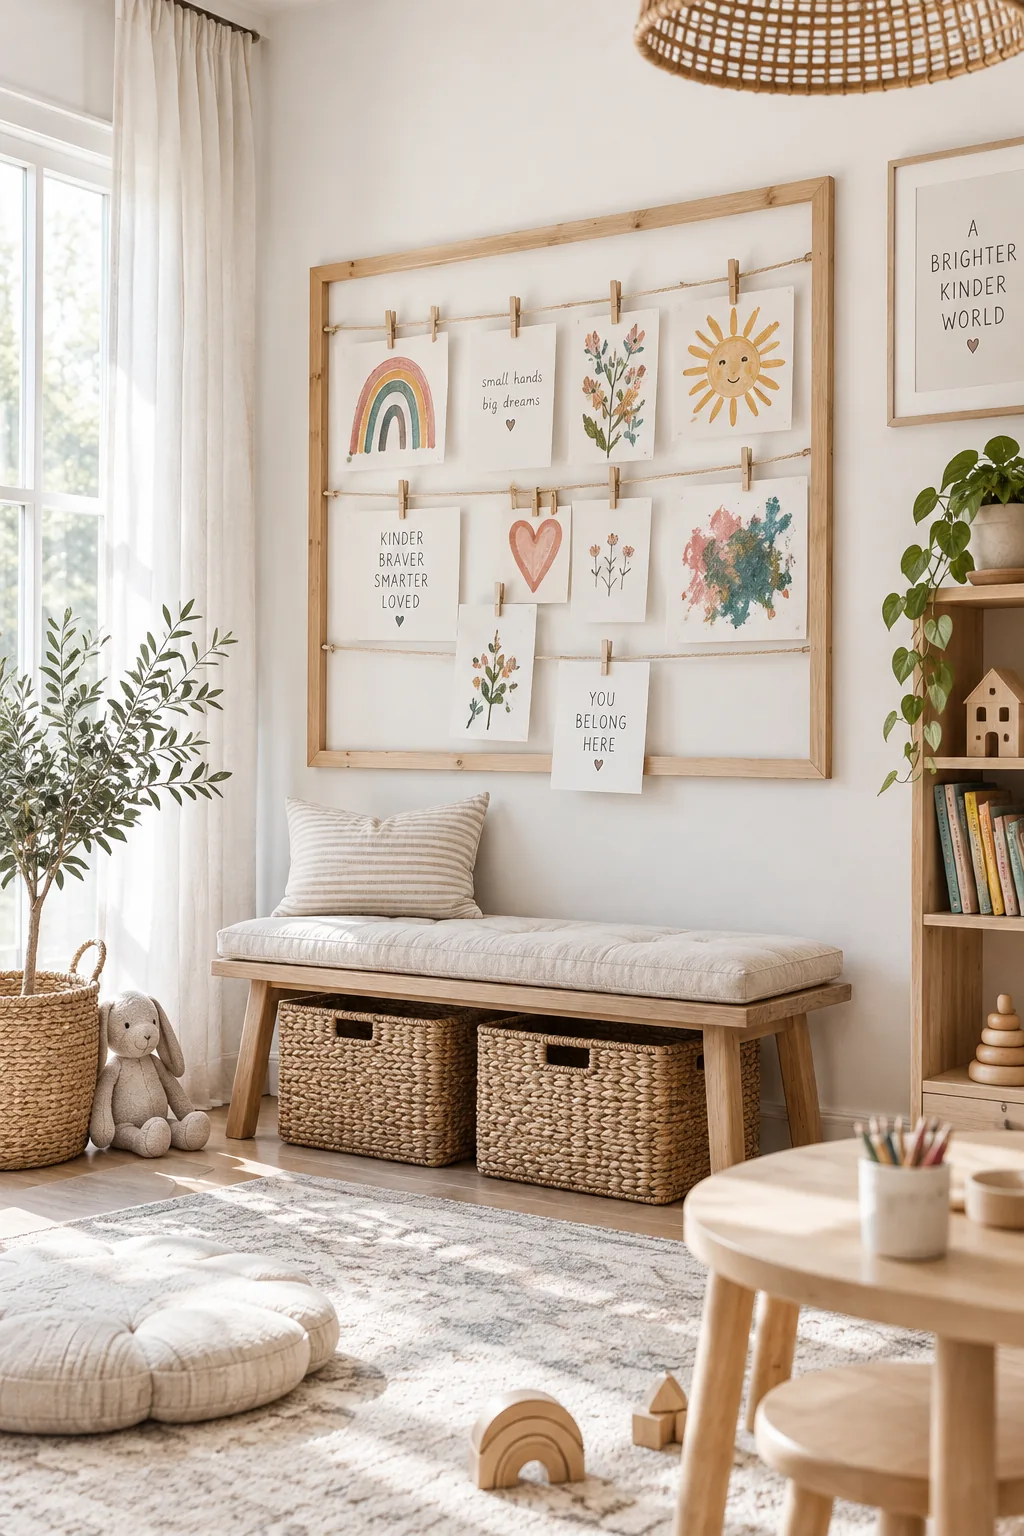
Stringing twine across a wooden frame removes the need for a solid backing entirely. You simply staple rows of thick jute string from side to side and let your toddler use mini clothespins to hang up their finger paintings.