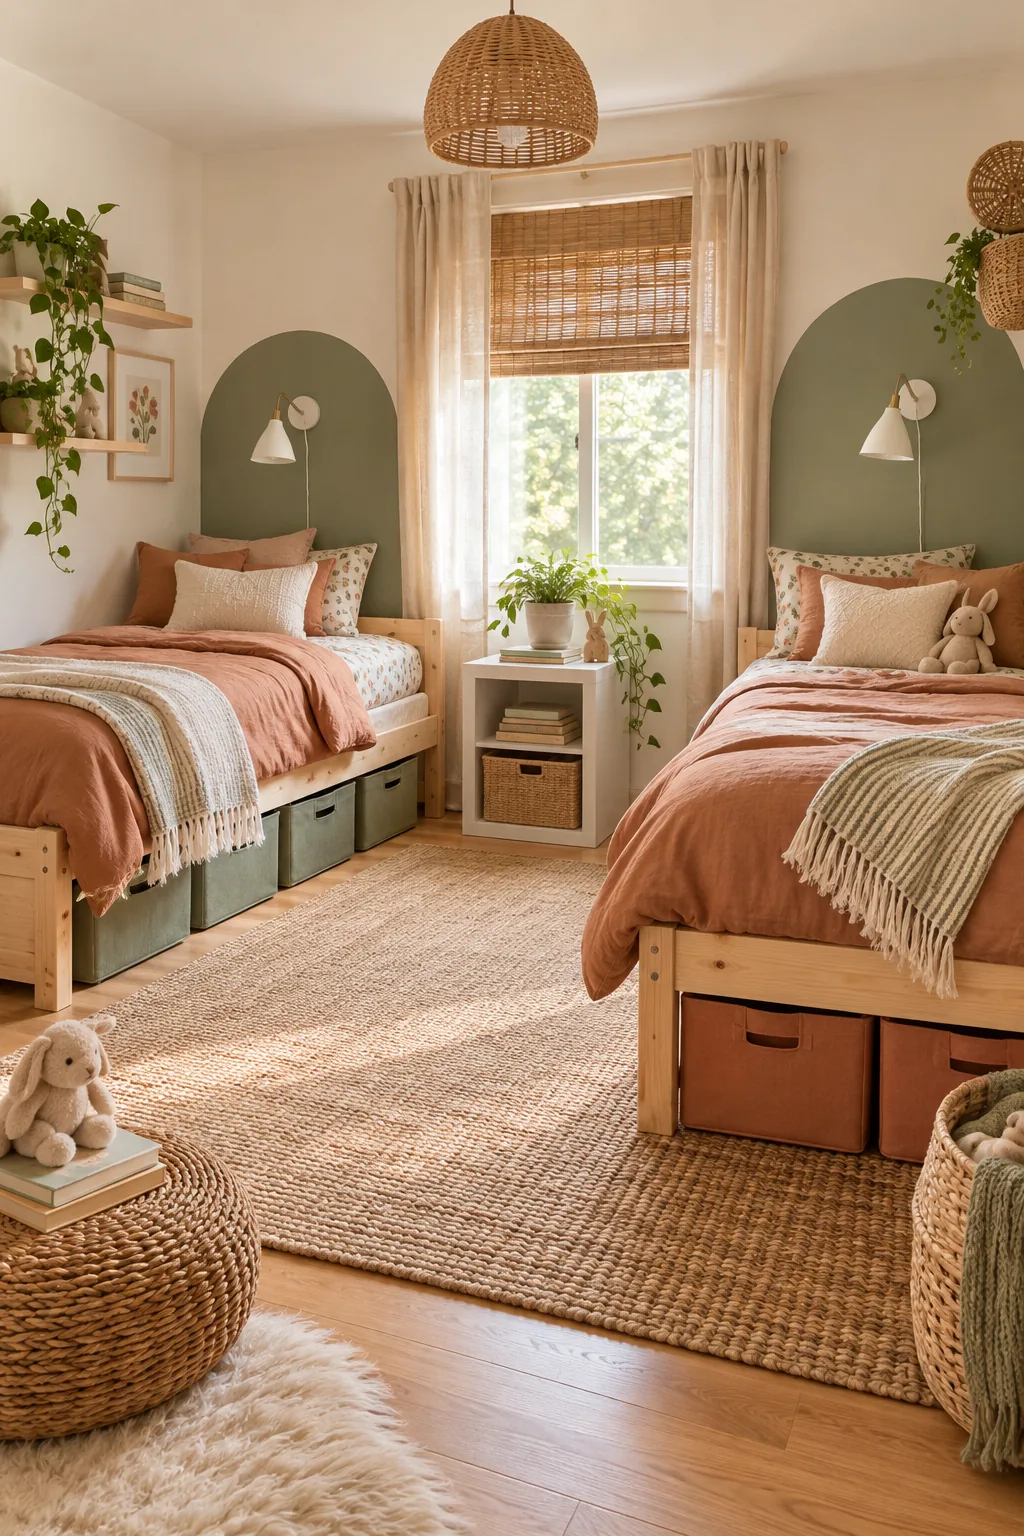
Shared Girls Bedroom Layouts: Print the Measurement Guide
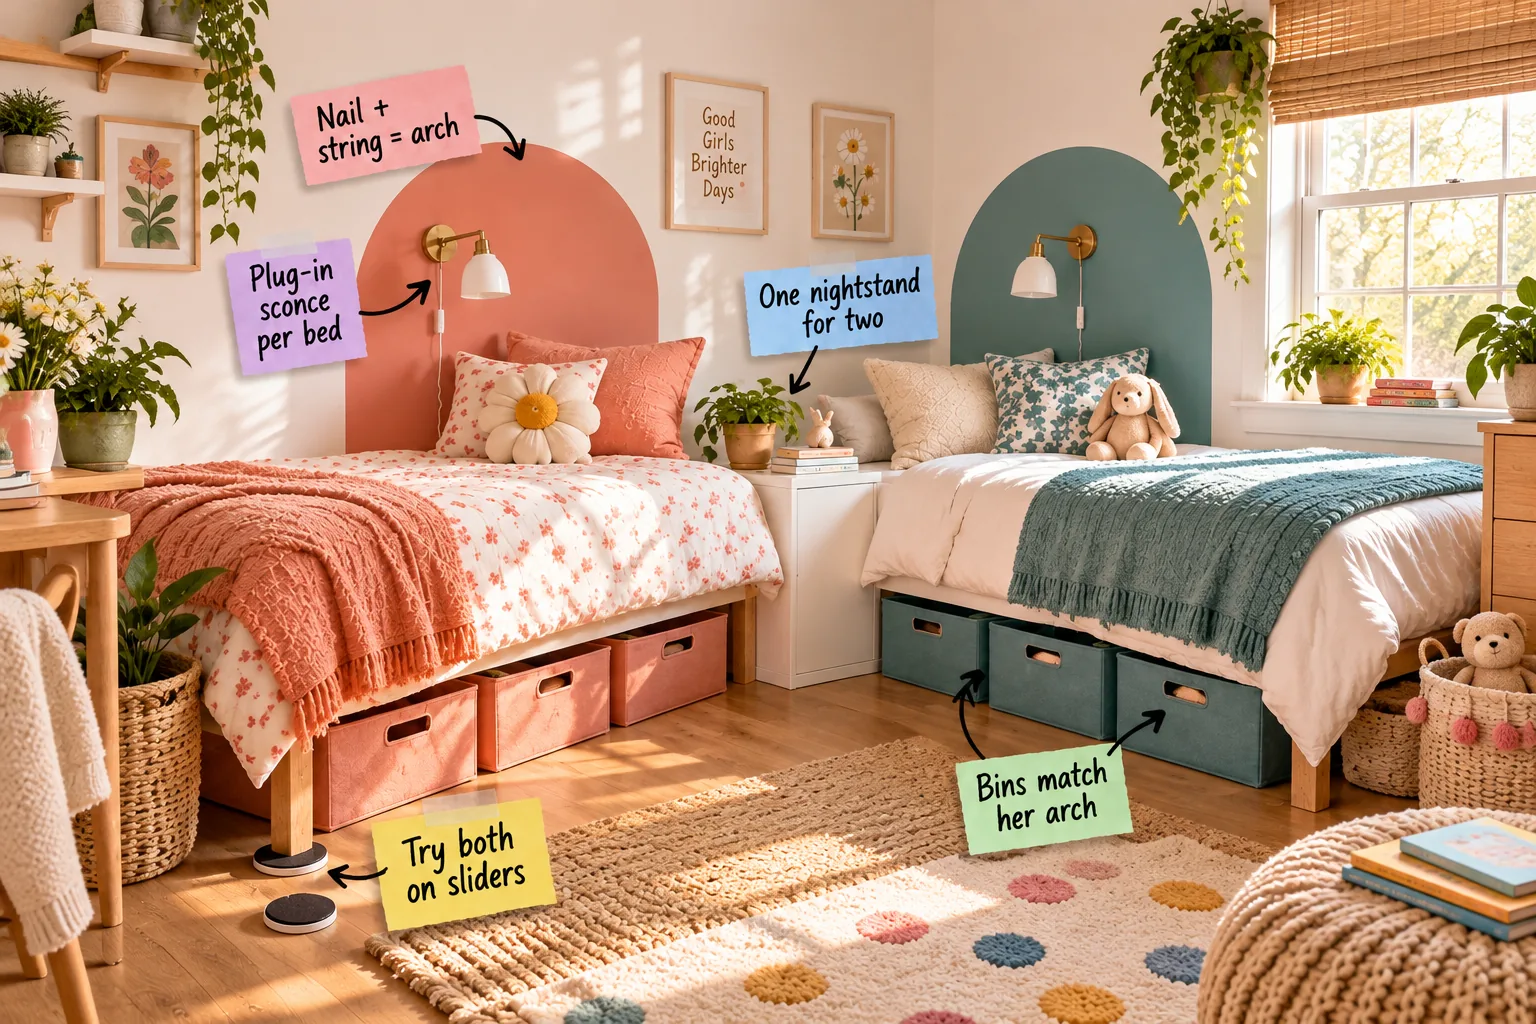
Planning a shared girls bedroom requires precise spatial strategy, which is why I designed this printable two-page layout sheet to compare L-shape and side-by-side twin bed configurations. You will be able to measure your room, test clearances, and easily paint custom arch headboards for each girl.
Evaluating the Room’s Natural Light
Before selecting a layout, you must observe how sunlight moves across the bedroom throughout the day. Positioning the beds away from direct eastern window exposure prevents early morning wake-ups and protects the custom painted arches from harsh, fading ultraviolet rays.
Verifying Room Dimensions for Twin Beds
You must confirm your exact wall-to-wall measurements against standard twin mattress dimensions before moving any heavy furniture. Use this quick reference chart to ensure your square footage can actually accommodate the required sleeping footprint alongside the necessary daily walking paths.
| Layout Style | Minimum Wall Length | Center Clearance | Best Room Shape |
|---|---|---|---|
| L-Shape Corner | 114 inches (combined) | 48 inches | Square footprint |
| Side-by-Side Row | 132 inches (width) | 36 inches (between) | Wide rectangle |
| Parallel Walls | 120 inches (width) | 42 inches (center) | Narrow layouts |
Choosing Between an L-Shape and a Row
Side-by-side beds require substantial wall width, whereas an L-shape layout tucks neatly into a single corner to maximize the central footprint. Corner configurations open up valuable floor space for daily play, allowing younger siblings to spread out their toys comfortably.
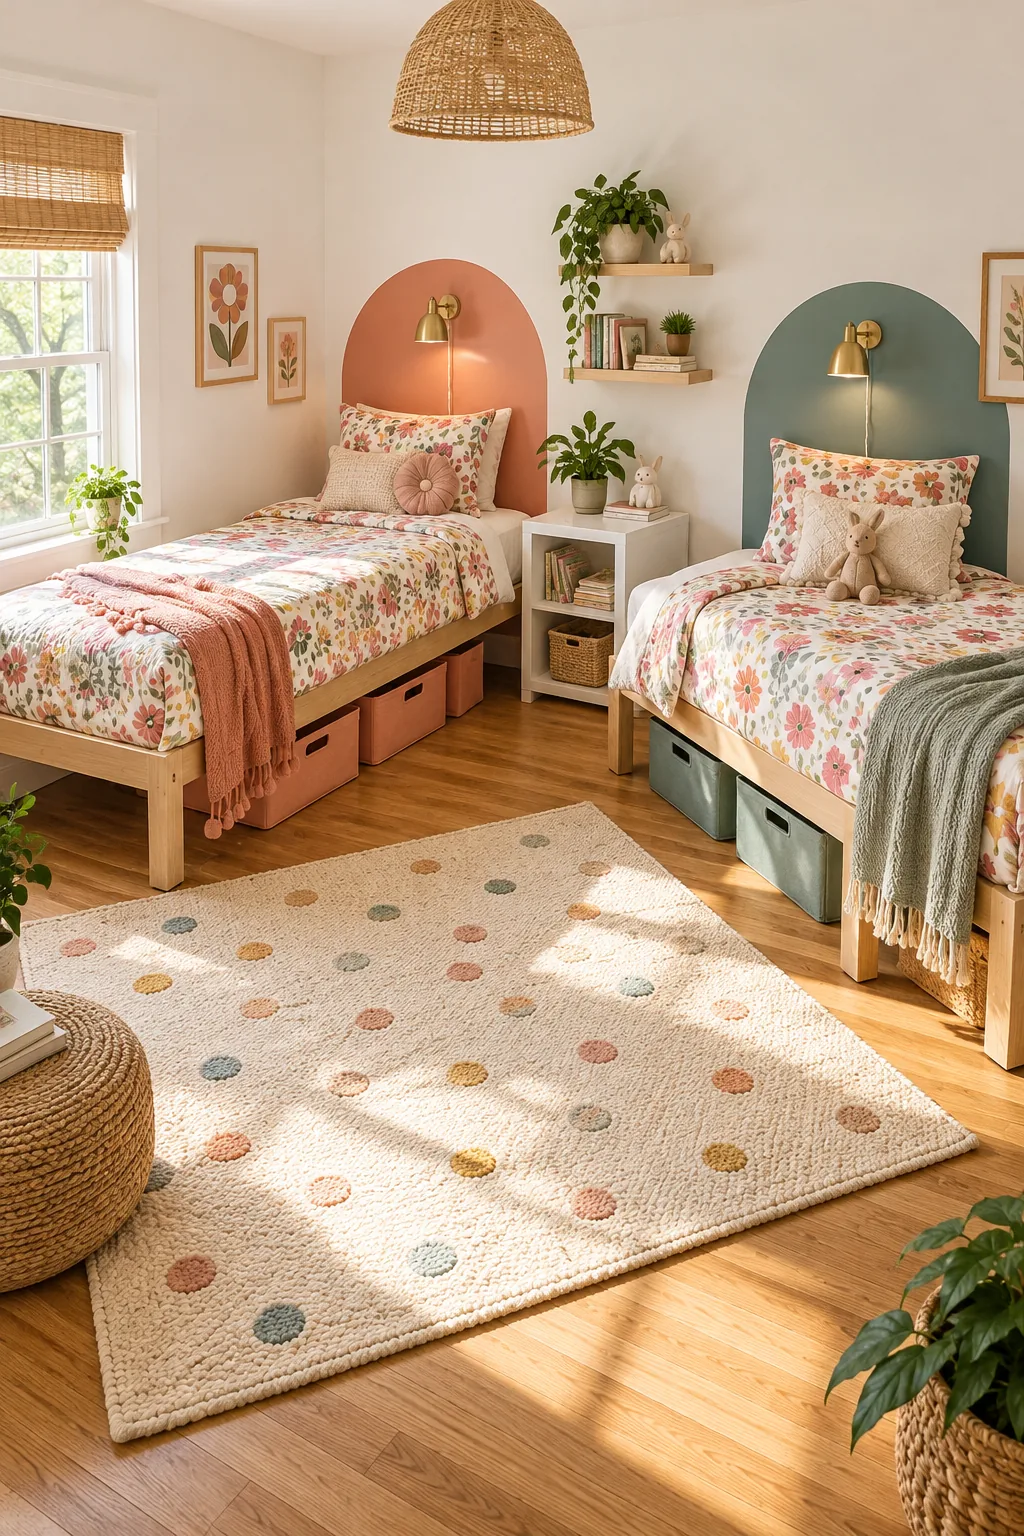
To eliminate the guesswork from your planning, download the printable two-page layout sheet which provides exact clearances in inches. This comprehensive guide includes a placement checklist for shared furniture so you can map out every inch accurately before buying anything.
Selecting the Perfect Twin Bed Frames
An L-shape configuration works best with simple platform frames that lack bulky footboards or protruding side rails. Streamlined wooden frames allow the two beds to meet tightly in the corner, creating a seamless transition that maximizes the available floor area.
Testing the Footprint with Furniture Sliders
Paper plans often miss subtle architectural quirks, so you should always physically move the bed frames around the room to test daily traffic flow. Testing both layouts reveals how closet doors and bedroom entryways actually interact with the bulky furniture.
In a recent Denver project, sliding the girls’ beds on round felt furniture sliders saved us from blocking a crucial heating vent. These inexpensive pads prevent floor scratches while you experiment with the perfect corner placement over your hardwood floors.
Selecting the Right Mattress Profile
When designing a shared corner, the height of your mattresses dictates where you will mount wall fixtures and paint decorative zones. A standard eight-inch profile keeps the beds grounded, ensuring both children can easily climb in without needing cumbersome step stools.
Choosing the Arch Paint Colors
Selecting distinct yet harmonious colors gives each girl a sense of ownership while keeping the overall room design cohesive. Pairing a warm coral with a cool teal creates a beautifully balanced palette that feels playful without overwhelming the shared space.
Sizing the Painted Arch Headboards
When I painted my daughters’ room in Denver, I learned the arch must extend past the standard 38-inch twin mattress; before picking up a brush, double-check your wall measurements to avoid these common zoning errors.
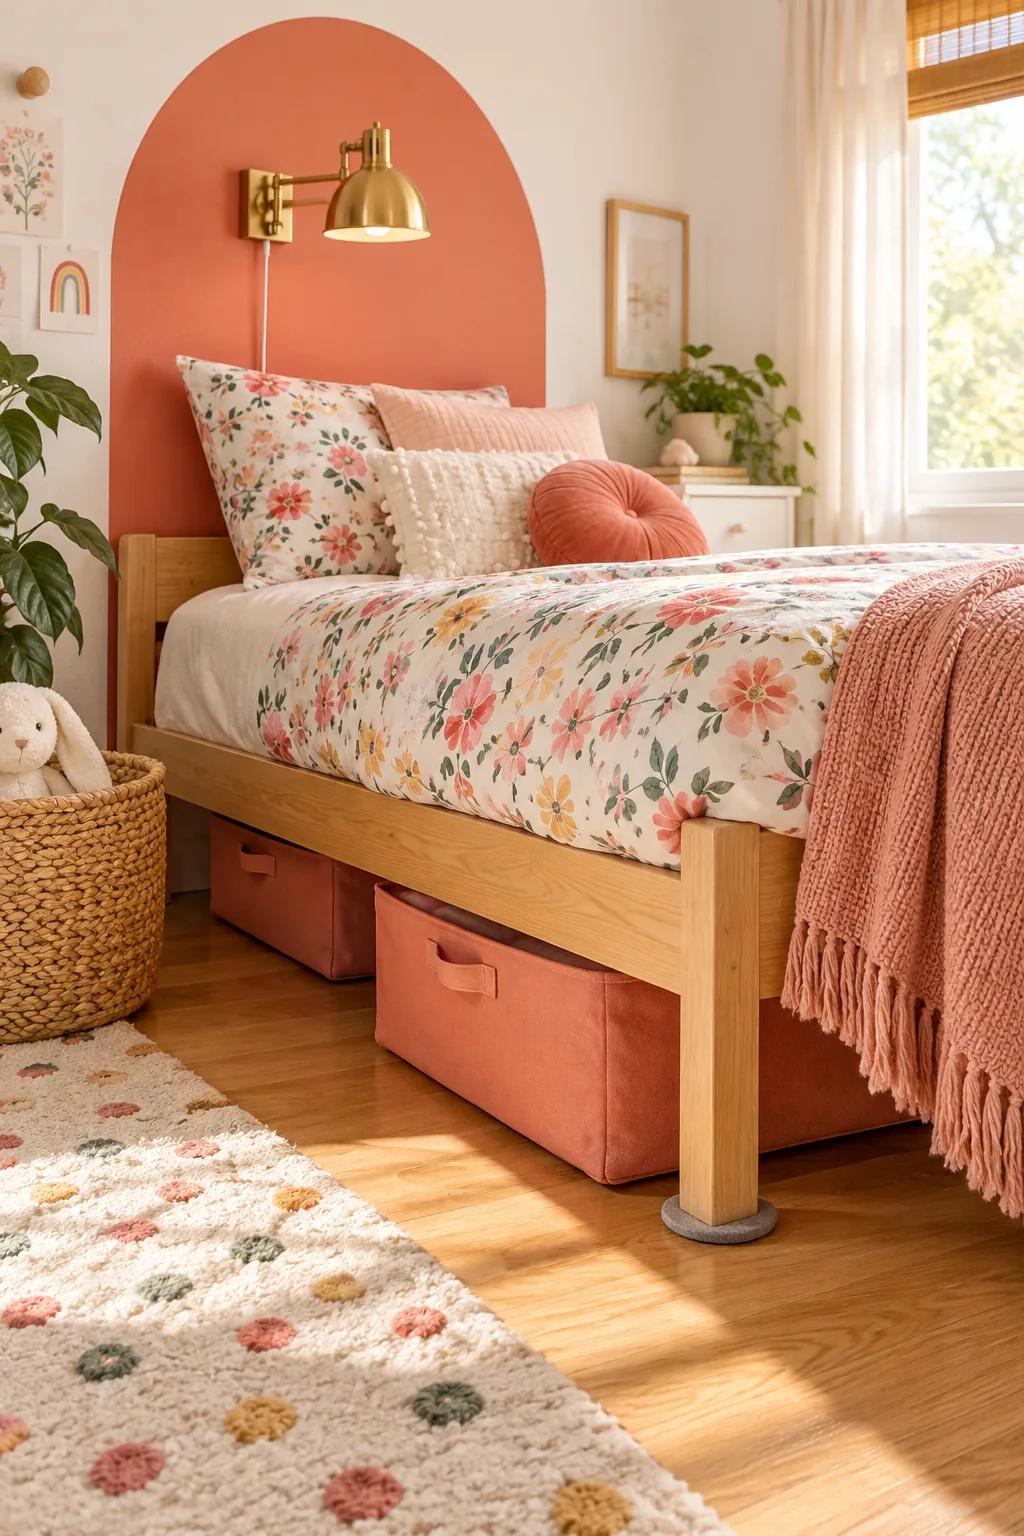
Priming and Prepping the Wall Surface
Bold colors require a perfectly smooth canvas, so you must fill any drywall imperfections and apply a high-quality primer before mapping out your shapes. A dedicated primer layer ensures the final coral and teal shades appear vibrant and beautifully opaque.
Cutting the String to the Exact Radius
To achieve a perfectly proportioned headboard, cut your string exactly half the width of your planned arch dimension. Tying one end securely to a pencil and the other to your center anchor creates a reliable compass for drawing large wall graphics.
Drawing the Perfect Arch with String
Creating a flawless curve relies on a simple geometric technique rather than freehand sketching or expensive plastic templates. A taut piece of string guarantees a mathematically perfect radius every time you trace the top edge onto the primed drywall.
Placing a nail at the center point anchors the string securely, ensuring both painted arches share the exact same dimensions. This trick creates a crisp curved top edge that looks professionally drafted and beautifully anchors each girl’s sleeping zone.
Taping the Vertical Headboard Lines
Once your curved top is drawn, use a laser level to project perfectly straight vertical lines down to the baseboard. Pressing high-adhesion painter’s tape firmly along these laser guides prevents any colorful paint from bleeding onto the surrounding white walls.
Applying the Second Coat of Paint
Achieving a truly professional finish requires patience and a steady hand during the painting process. Applying a second coat of paint ensures complete coverage, eliminating any streaky brush strokes and deepening the impact of the coral and teal hues.
The Shared Corner Nightstand
Tucking a single white cube nightstand into the L-joint centralized nighttime essentials perfectly when I arranged my own girls’ shared bedroom. This efficient placement strategy requires following a specific setup sequence to ensure both children have equal, comfortable access.
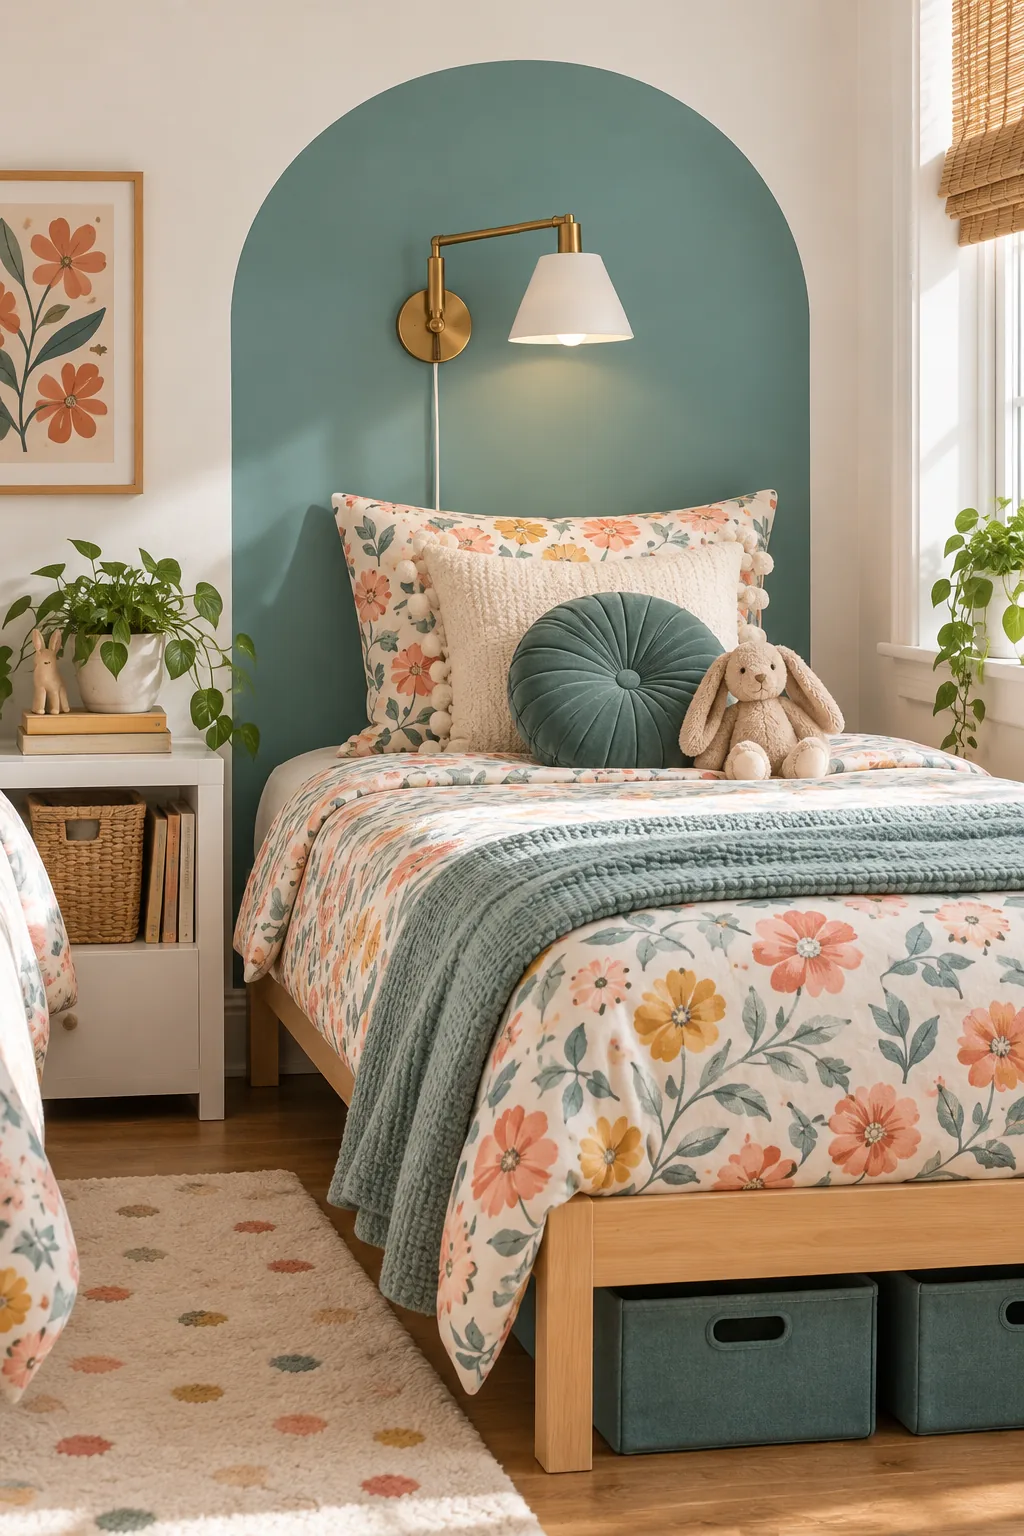
- Position the nightstand exactly equidistant from both pillows to prevent arguments over reaching for water cups.
- Select a cube with open lower shelving so each girl gets her own dedicated book storage tier.
- Leave a two-inch gap between the nightstand and the bed frames to allow thick blankets to drape naturally.
- Route all clock and charger cables through a single hole drilled in the back panel.
Styling the Shared Nightstand Surface
Keeping the top surface uncluttered prevents nighttime spills and leaves enough room for essential items. A small decorative tray holds lip balm and hair ties securely, while a shared digital clock faces outward so both girls can easily read the time.
Mounting Plug-In Sconces for Reading
Installing individual lighting prevents bedtime conflicts when one child wants to read while the other is ready to sleep. Mounting fixtures directly inside each painted arch creates a cozy, defined reading nook without requiring expensive electrical hardwiring or drywall repairs.
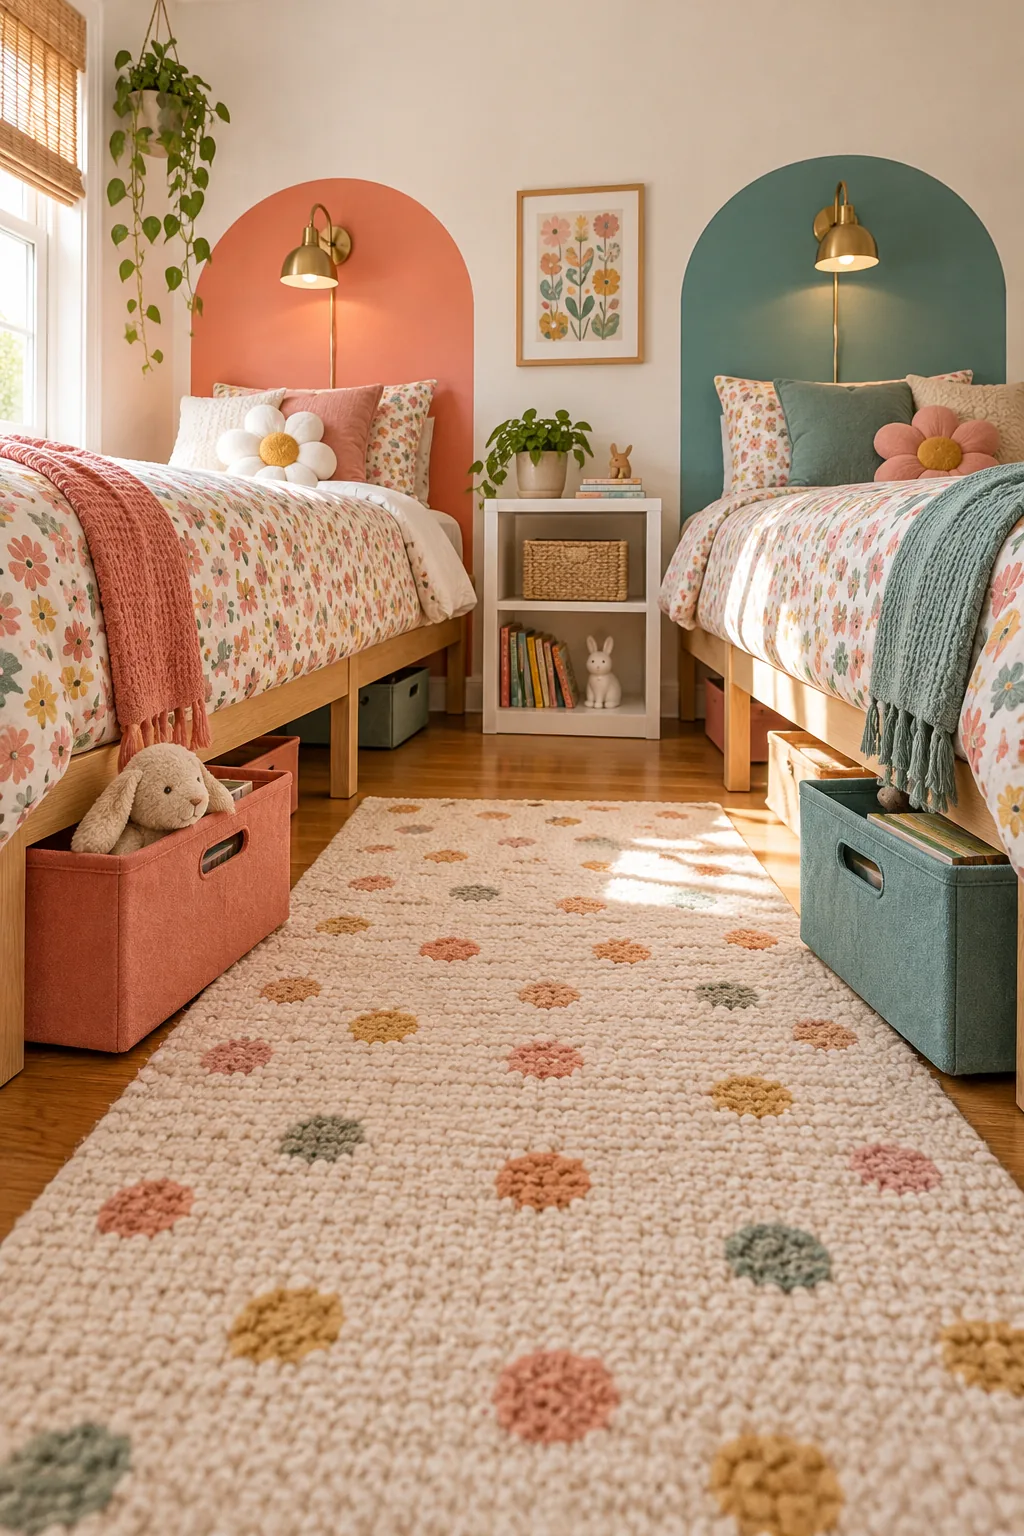
A swing-arm plug-in wall sconce allows each child to control their reading glare independently by adjusting the brass shade. Running the cord neatly down the wall behind the bed frame keeps the entire lighting setup visually clean and perfectly safe.
Selecting the Right Light Bulbs
The quality of light directly impacts how well your children wind down before falling asleep. Choosing warm white LED bulbs with a low wattage prevents harsh glare and creates a soothing atmosphere that encourages a natural transition into bedtime routines.
Managing Cords Along the Baseboard
Exposed electrical cords create tripping hazards in a children’s room, so you must route the sconce cables securely along the floorline. Adhesive cord channels painted to match the baseboards camouflage the wiring completely while guiding it safely to the nearest outlet.
Color-Coding Under-Bed Storage
Maximizing the empty space beneath the frames is crucial for keeping a shared bedroom organized, so utilize a row of fabric bins sliding under each bed. Selecting bins that match her specific painted arch creates a visual system that helps younger children maintain their own organization zones.
Organizing the Under-Bed Fabric Bins
Assigning specific categories to each bin prevents the under-bed area from becoming a chaotic dumping ground. Dedicate one container to seasonal clothing, another to bulky toys, and a third to extra bed linens so everything has a logical, easy-to-find home.
Anchoring the Space with a Central Rug
A generously sized area rug softens the visual gap between the two beds and provides a comfortable surface for morning routines. Ensure the rug extends at least halfway under both bed frames to prevent the edges from curling up during active play.
Personalizing Each Girl’s Sleeping Zone
While the layout remains symmetrical, adding unique decorative touches allows each child to express her own personality. Distinctive throw pillows or personalized name signs hung inside the painted arches create a sense of individuality within the shared structural framework.
Maintaining Clearances and Walkways
Before finalizing the room, you must verify that the central rug placement leaves enough unobstructed walking space for daily activities. Use your measurement sheet to confirm that under-bed drawers can pull out fully without hitting the opposite bed frame.
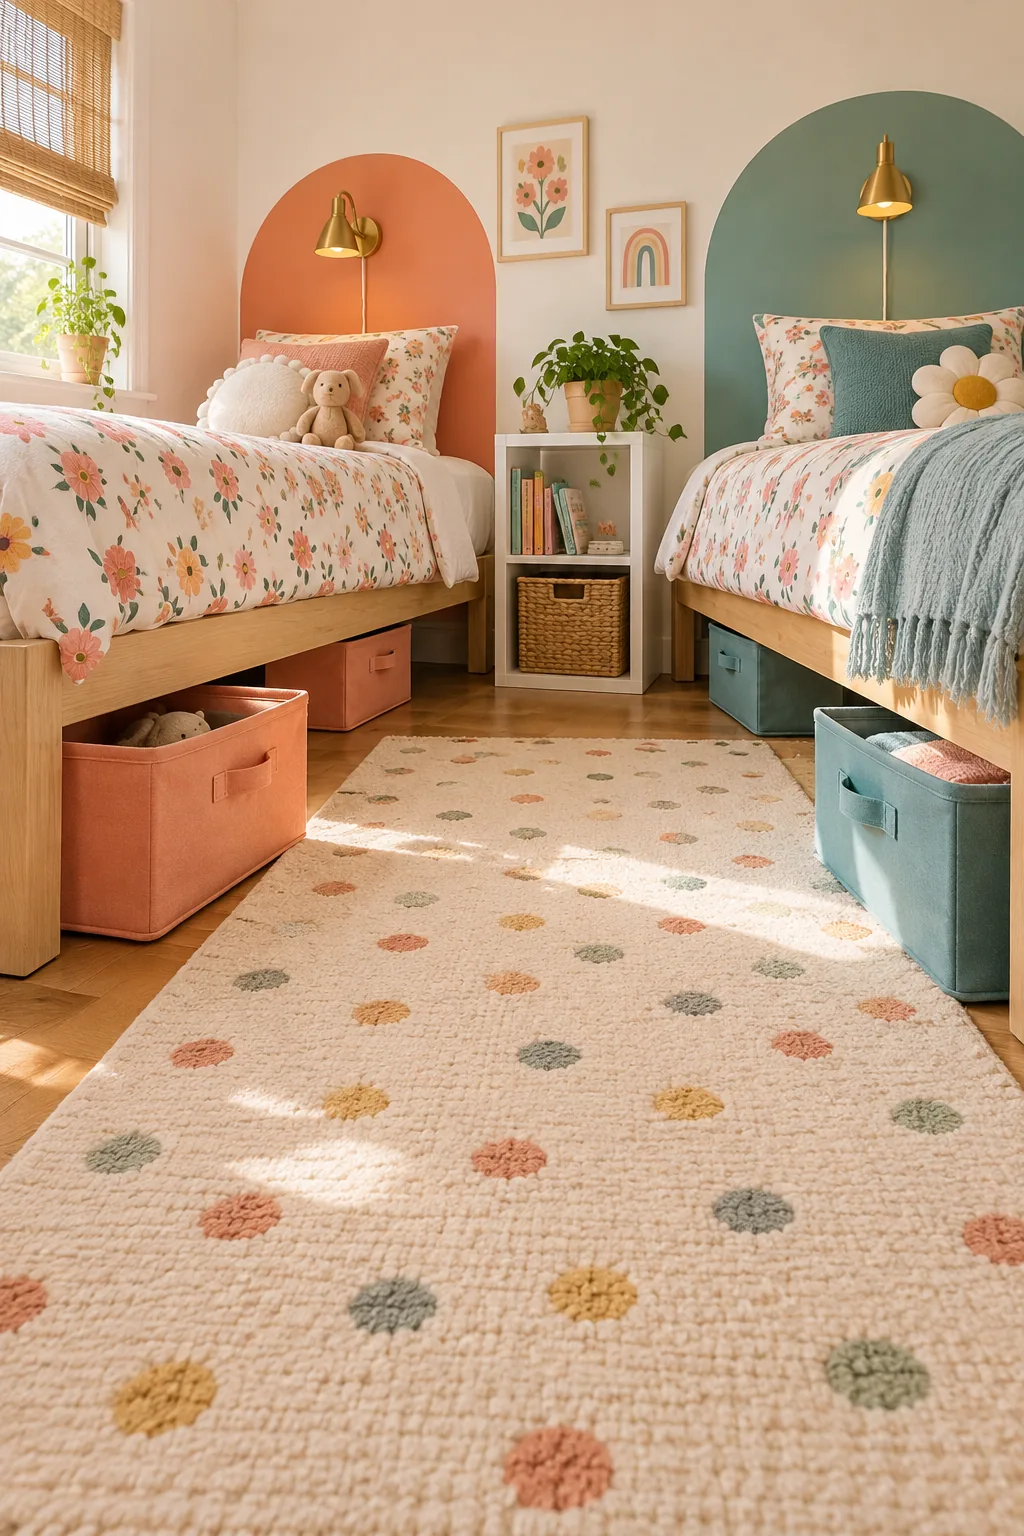
Once the beds are in their final positions, run through this quick spatial check to guarantee the room functions as beautifully as it looks.
More Shared Bedroom Styles
Explore these different aesthetics to find the perfect mood for their shared space.
Warm Boho Rattan: Mustard accents and natural rattan textures create a sunny, relaxed atmosphere that feels effortlessly inviting.
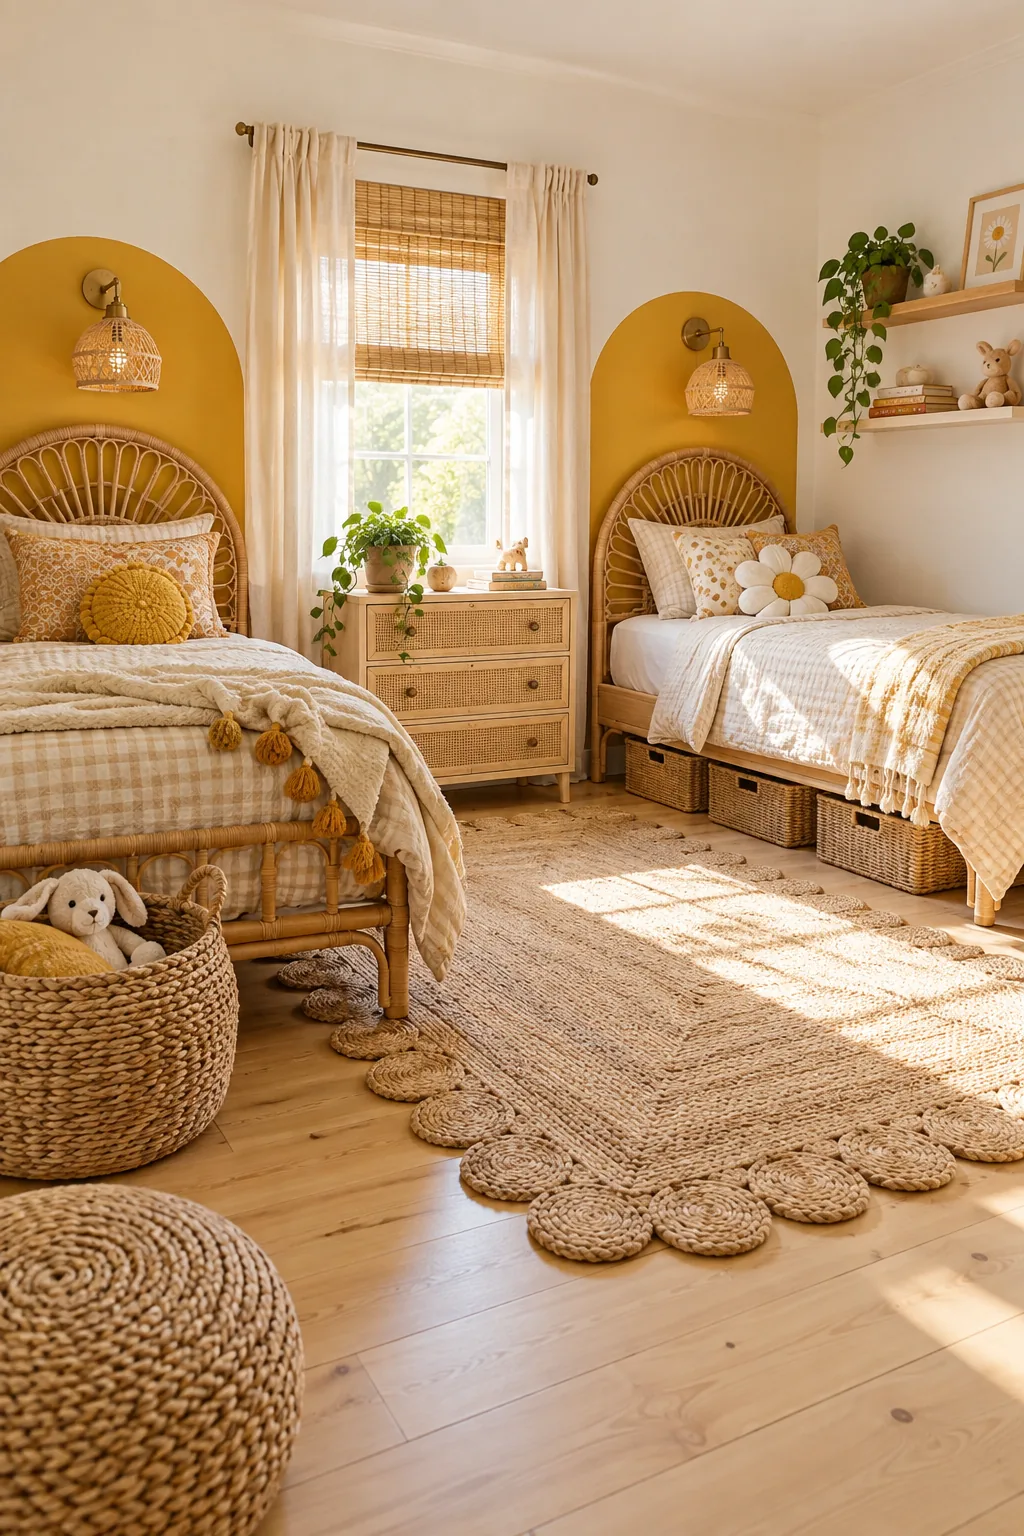
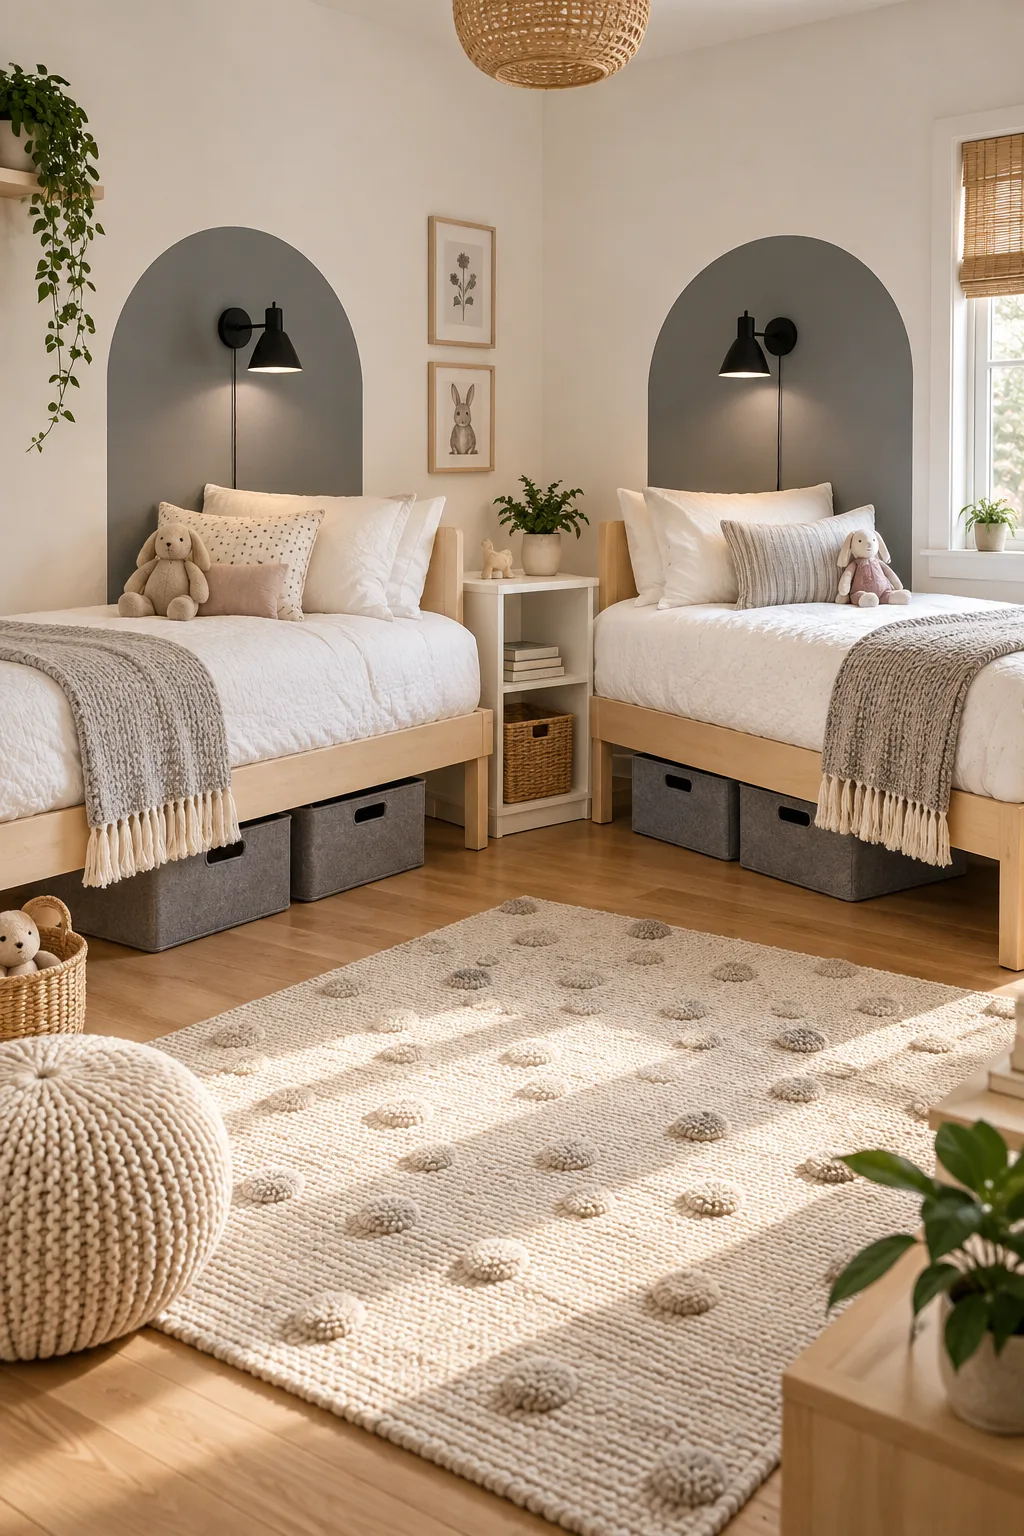
Sleek Modern Minimalist: Cool slate tones and crisp white linens offer a clean, sophisticated look that easily grows with them.
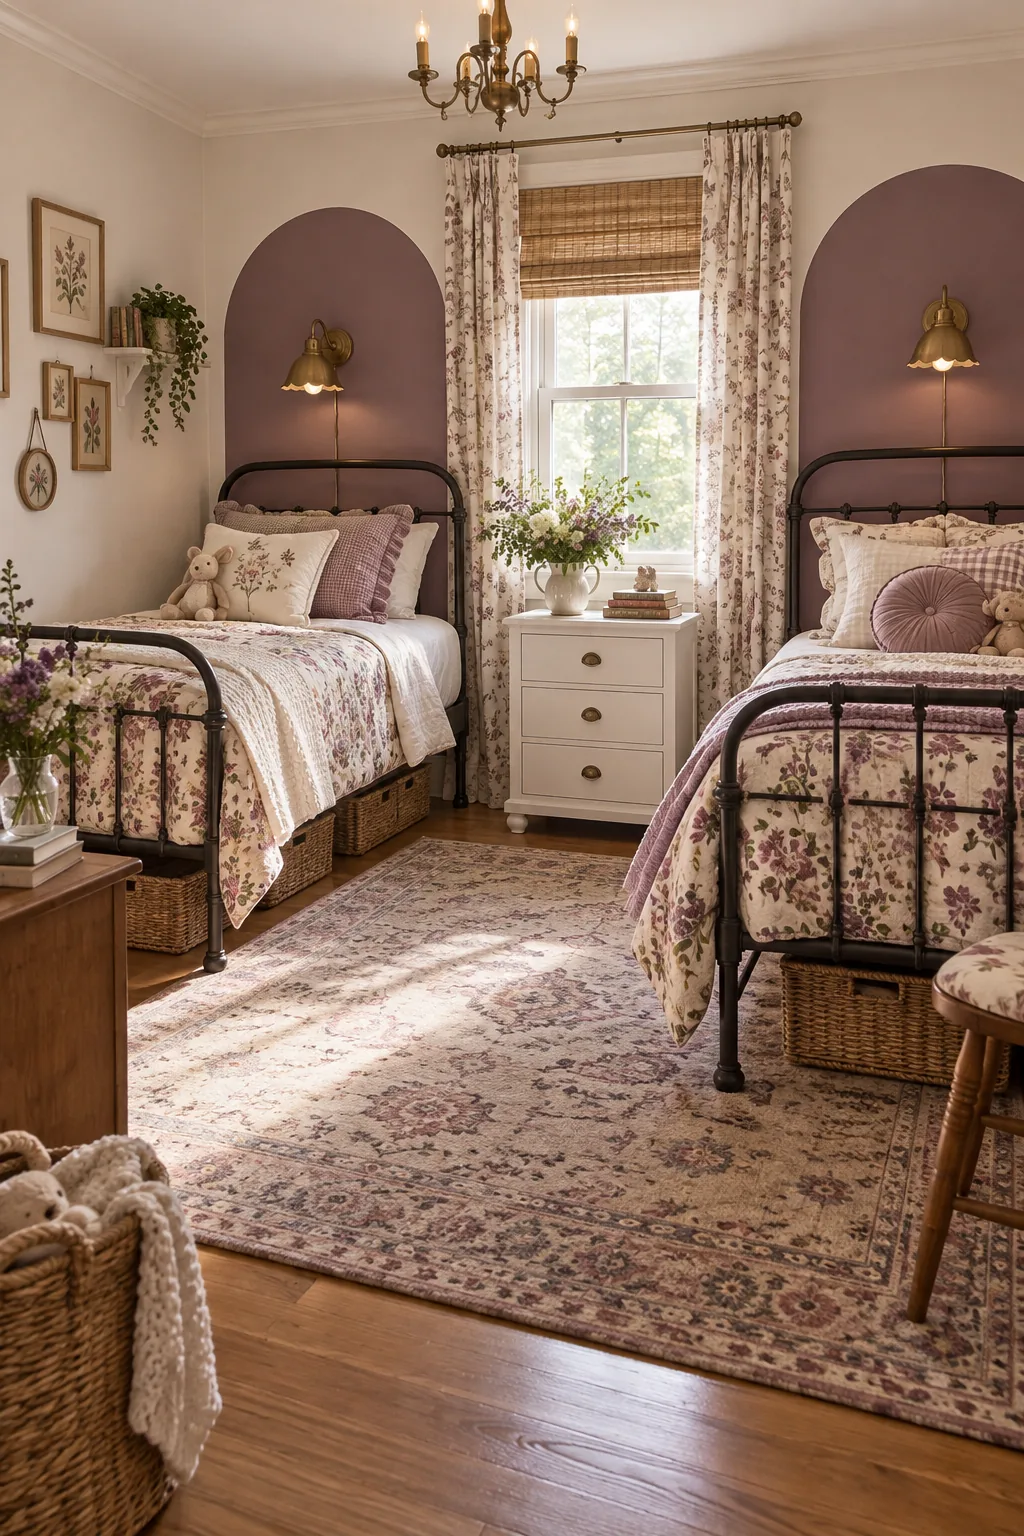
Cozy Vintage Cottage: Wrought iron frames and delicate floral quilts bring a timeless, nostalgic charm to the shared space.
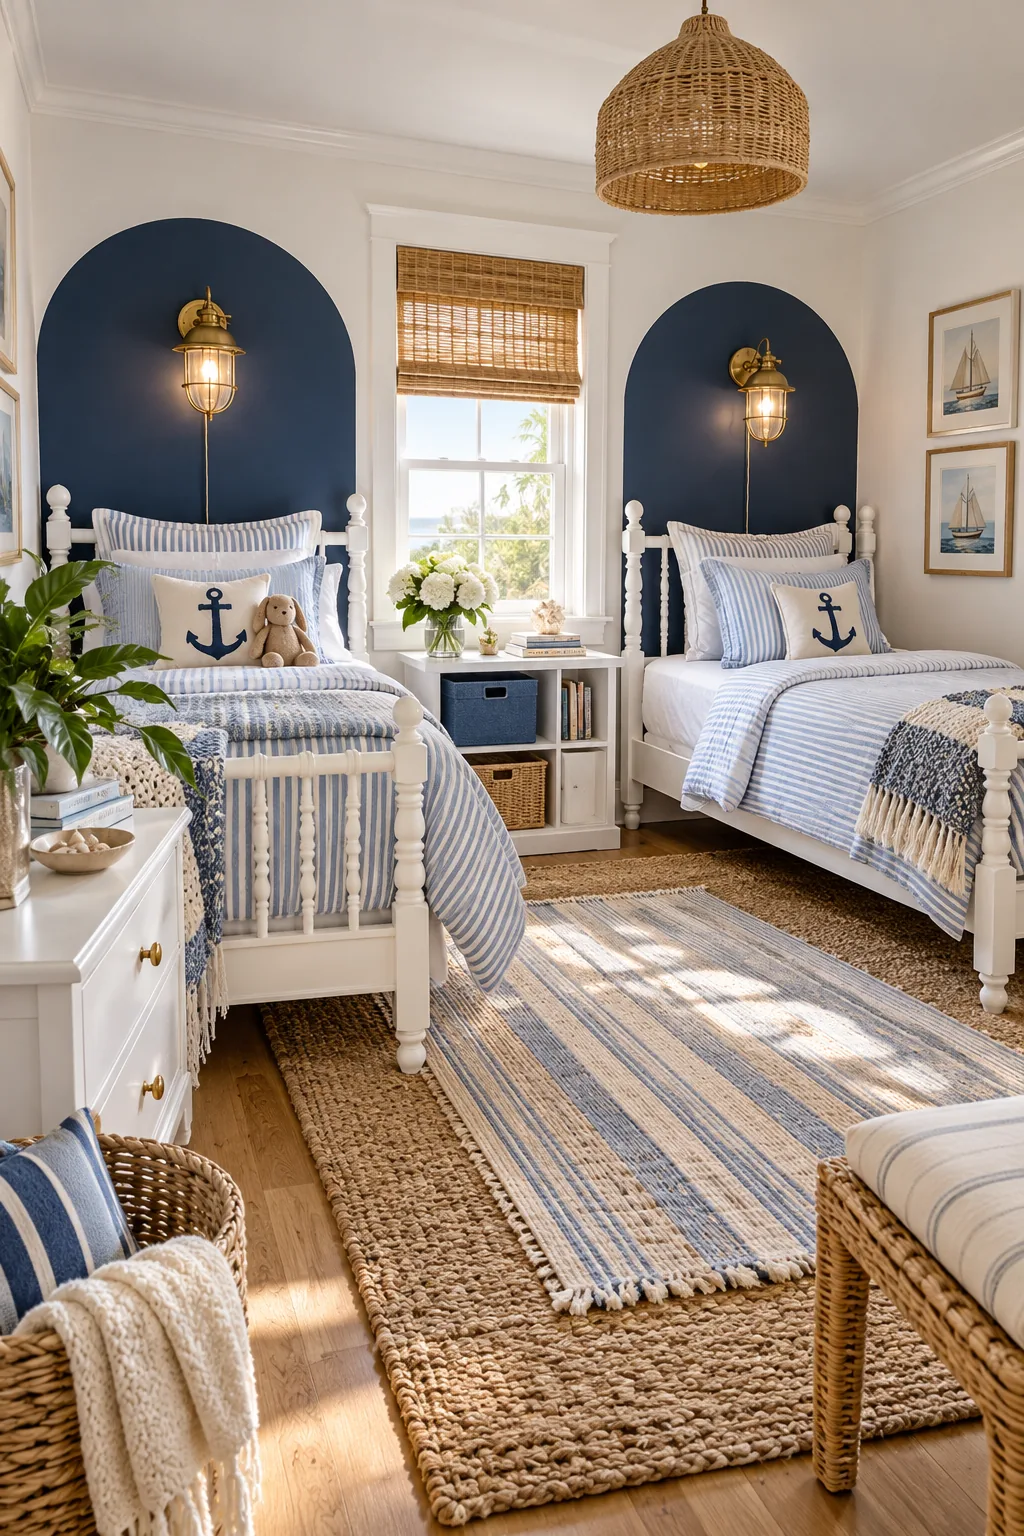
Crisp Coastal Prep: Navy color blocks and classic striped linens deliver a fresh, breezy aesthetic perfect for a bright room.
Grounded Earthy Scandi: Muted sage greens paired with rich terracotta linens create a calming, nature-inspired retreat.