
11+ Clever Small Camper Interior Ideas
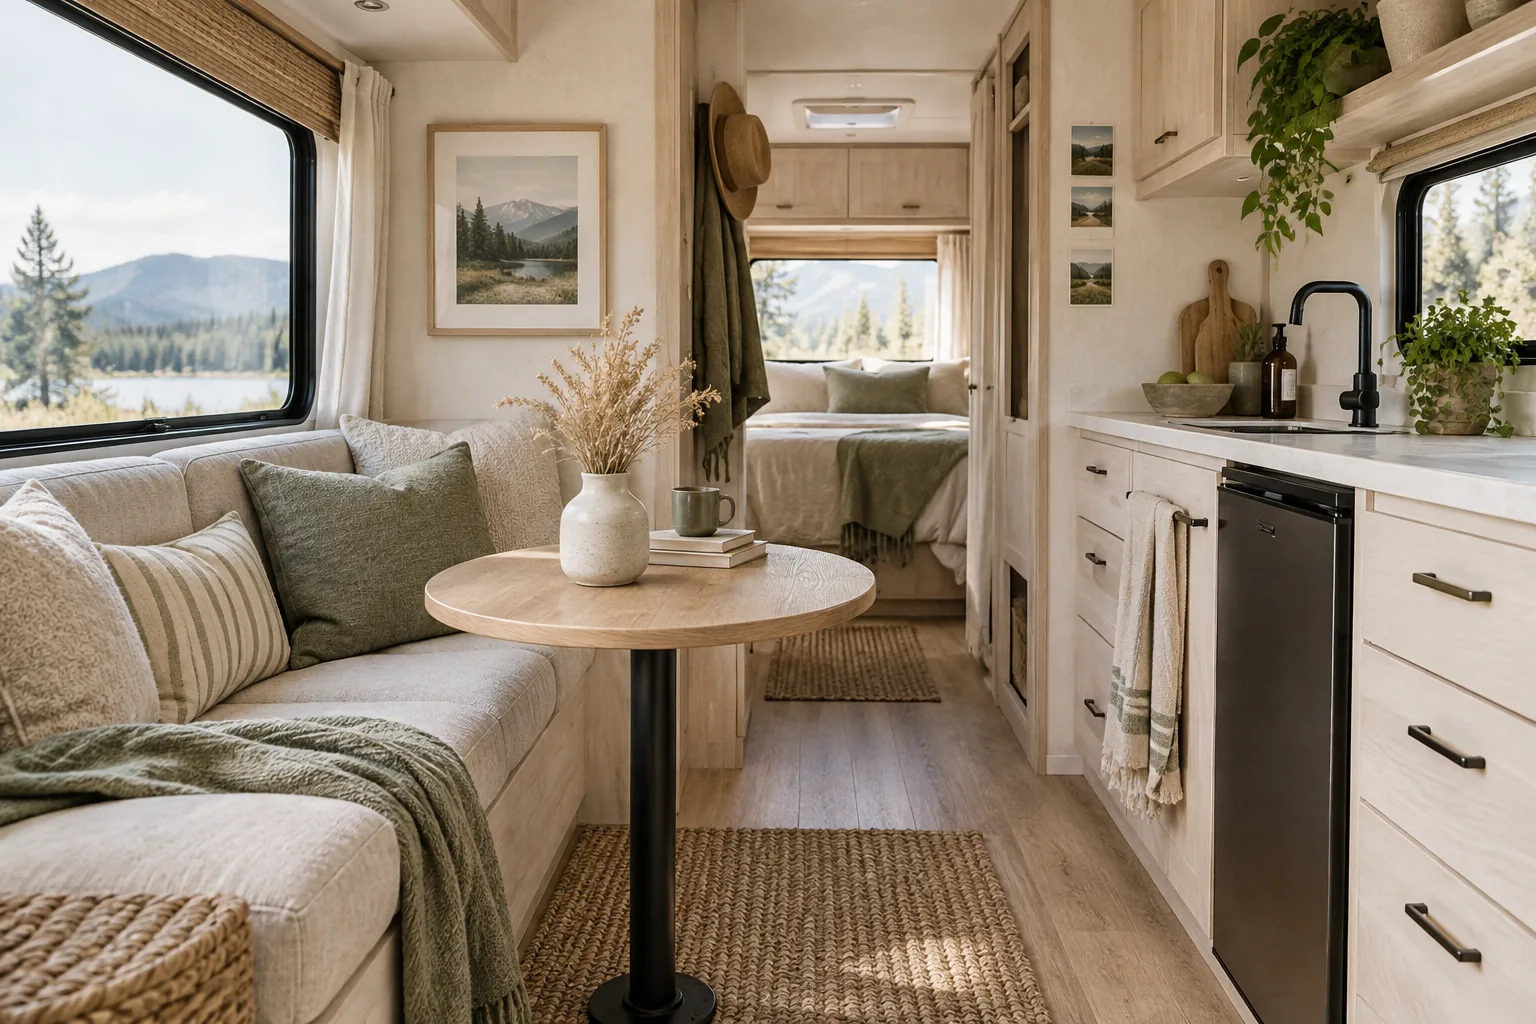
Designing a tiny home on wheels means making every single inch count without sacrificing your personal style. I gathered these practical camper upgrades to help you maximize your floor plan and create a beautiful rolling retreat.
1. Paint It All White
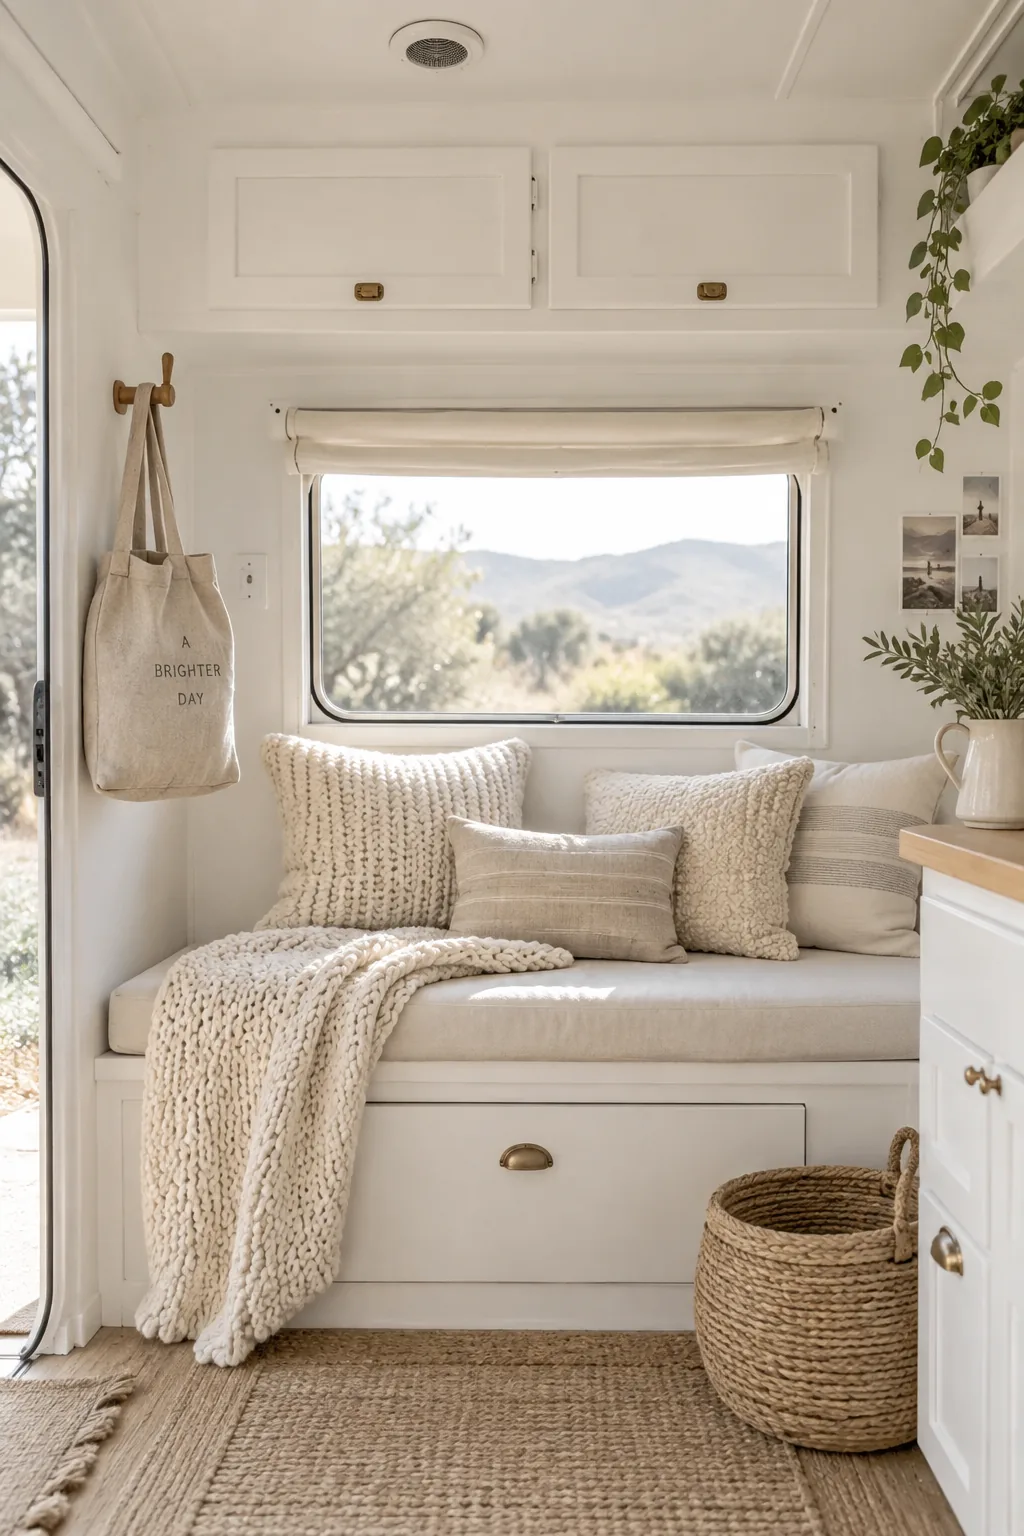
Sticking to a monochromatic color palette instantly makes a cramped trailer feel twice its actual size. Painting the walls, cabinets, and ceiling in the same crisp white eliminates visual boundaries. You suddenly get this bright, airy flow instead of a chopped-up wooden box.
Just add some textured throw pillows so the stark white doesn't feel clinical.
2. Ditch the Bulky Dinette
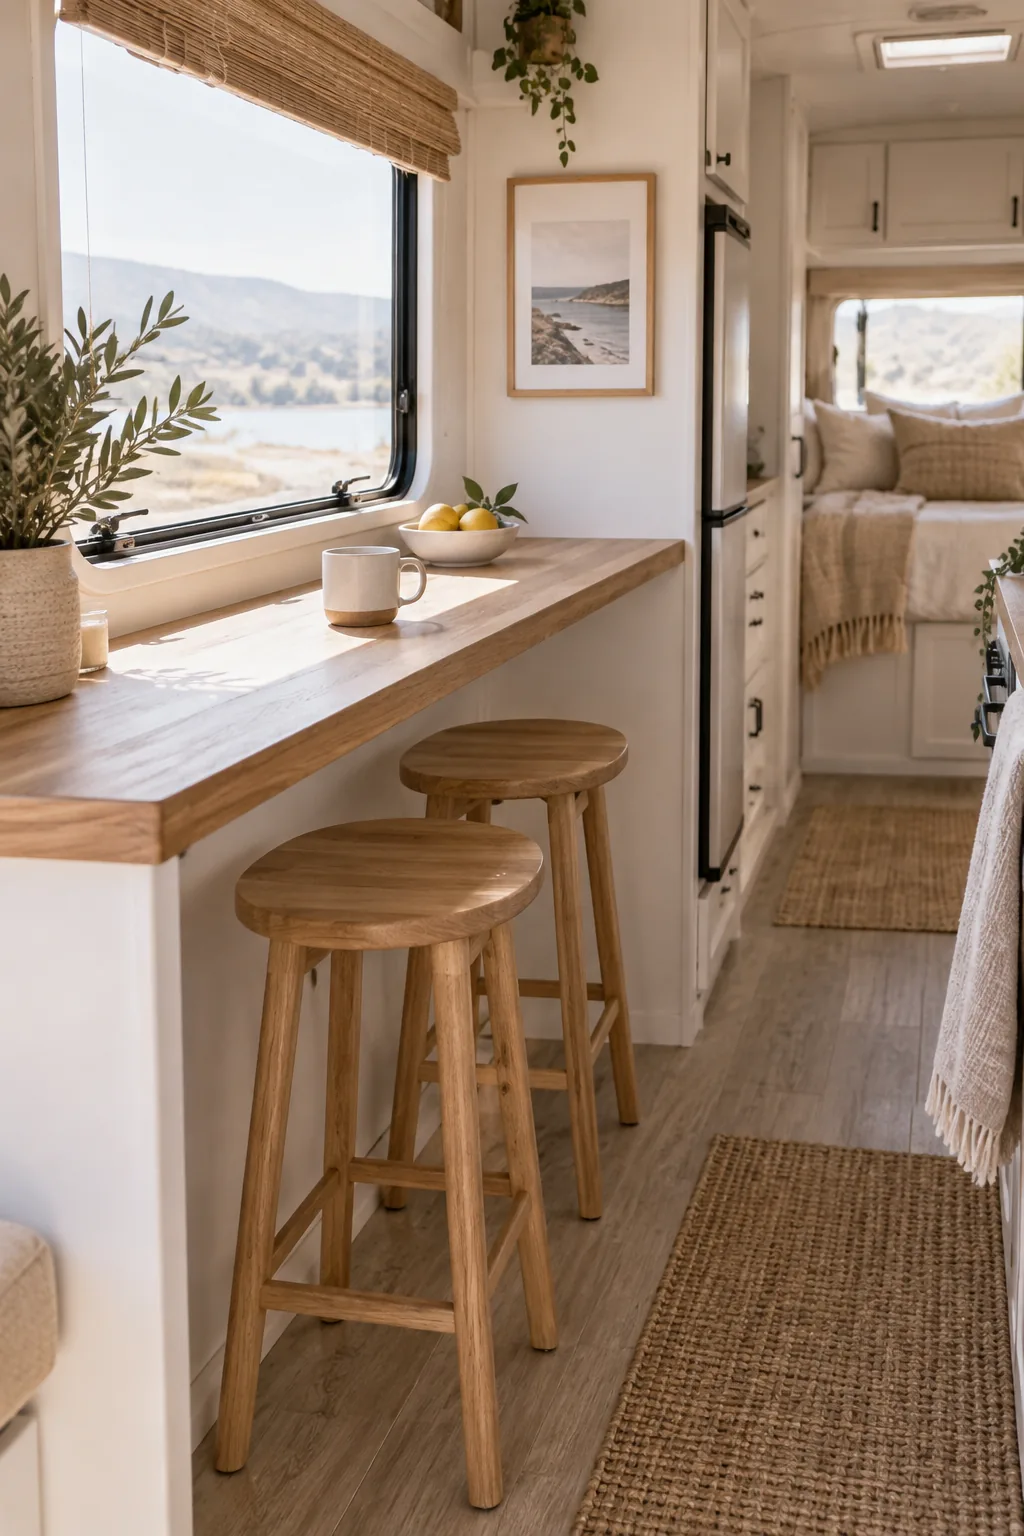
Factory RV dinettes take up a massive footprint for seating you only use a few hours a day. Ripping out the bulky booths frees up incredible floor space.
Replacing that heavy structure with a narrow breakfast bar changes the entire traffic flow. You can tuck a couple of sleek stools right underneath when you are done eating.
It also leaves plenty of room to add in these essential space-savers.
- Folding wooden stools
- Wall-mounted drop-leaf table
- Slim storage bench
3. Build Up to the Ceiling
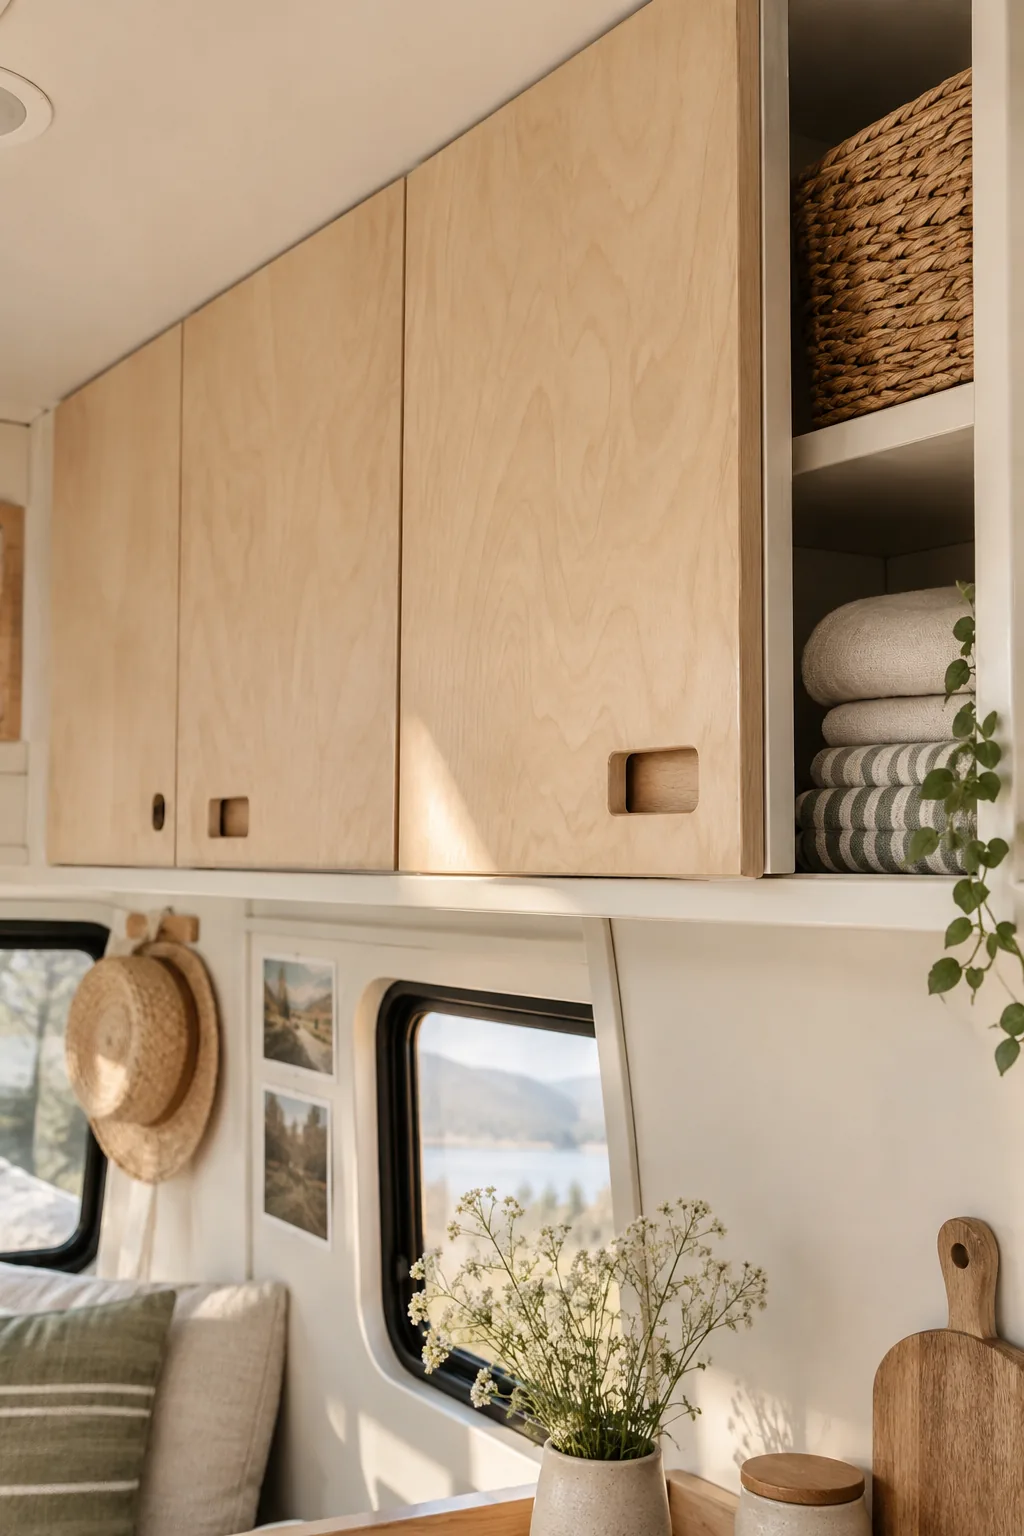
Standard camper cabinets leave about six inches of dead space right below the ceiling. Installing custom upper cabinets that stretch all the way up captures that wasted volume for storing lightweight bulky items.
Why it works: Drawing the eye all the way to the roofline creates the illusion of a much taller ceiling.
4. Swap Out the Curtains
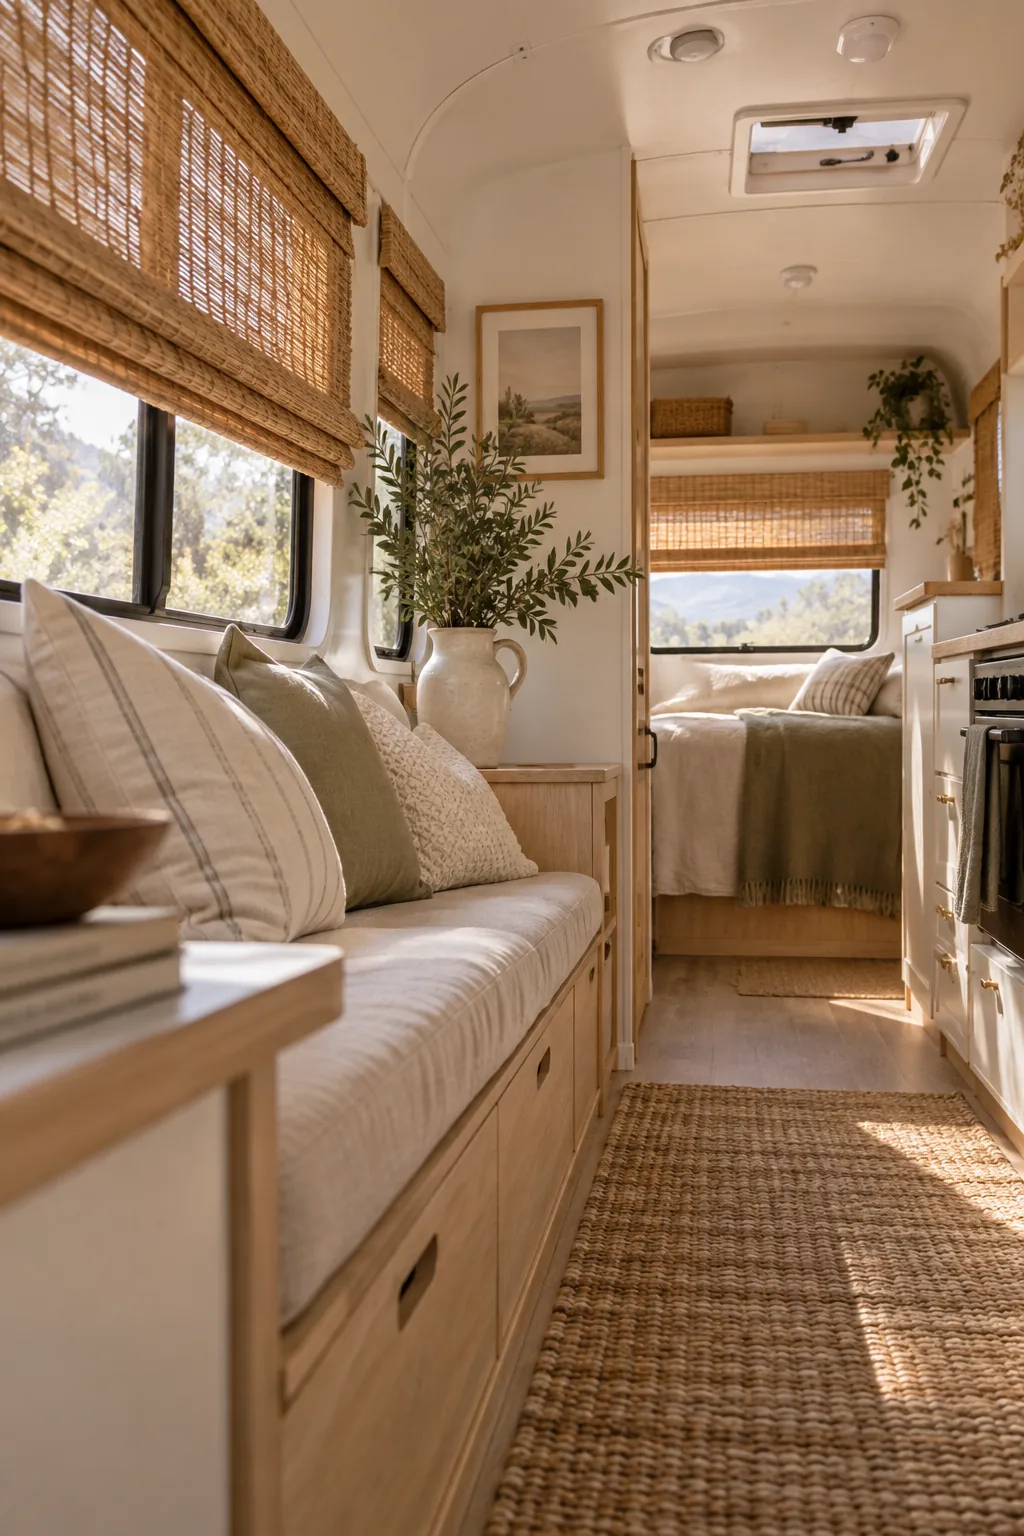
Heavy fabric curtains trap dust and make tiny camper windows look even smaller than they already are. Swapping them out for woven wood roman shades brings in a beautiful natural texture while keeping the window frames completely clear.
5. Upgrade the Flooring
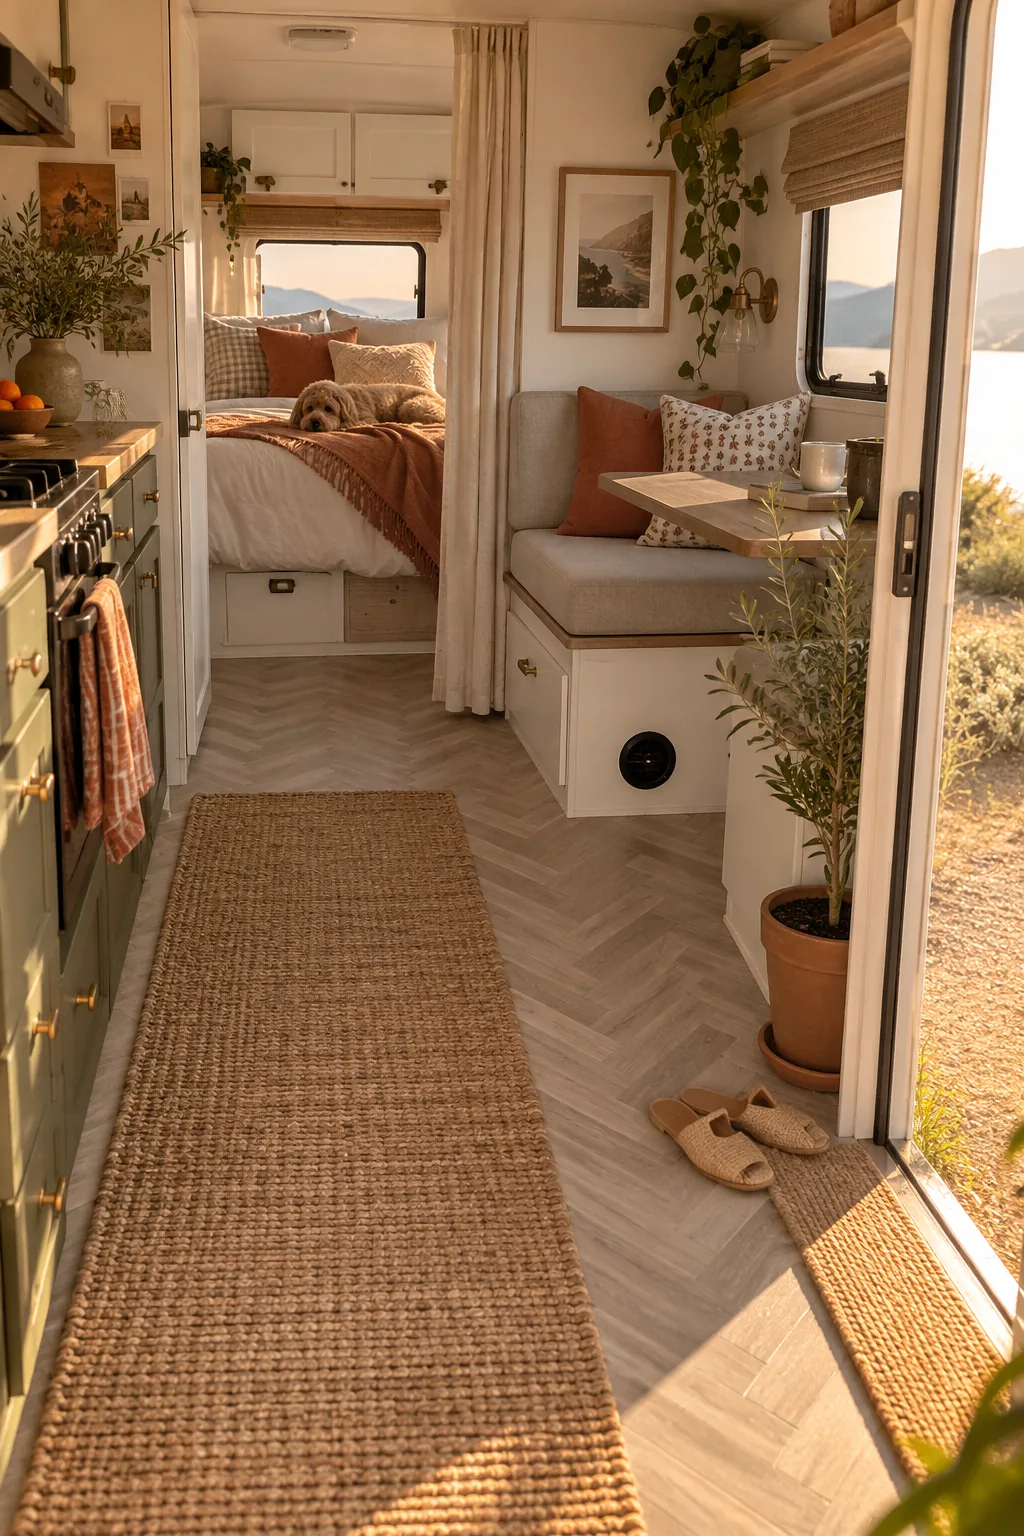
Using peel-and-stick vinyl tiles over the original linoleum completely modernizes the space in a single afternoon. The flexible material handles the constant shifting and bouncing of travel much better than rigid ceramic tile. It is incredibly easy to cut around those awkward camper angles with just a utility knife.
Why it works: Lightweight flooring materials keep your overall towing weight down while delivering a massive visual impact.
6. Create a Drop Zone
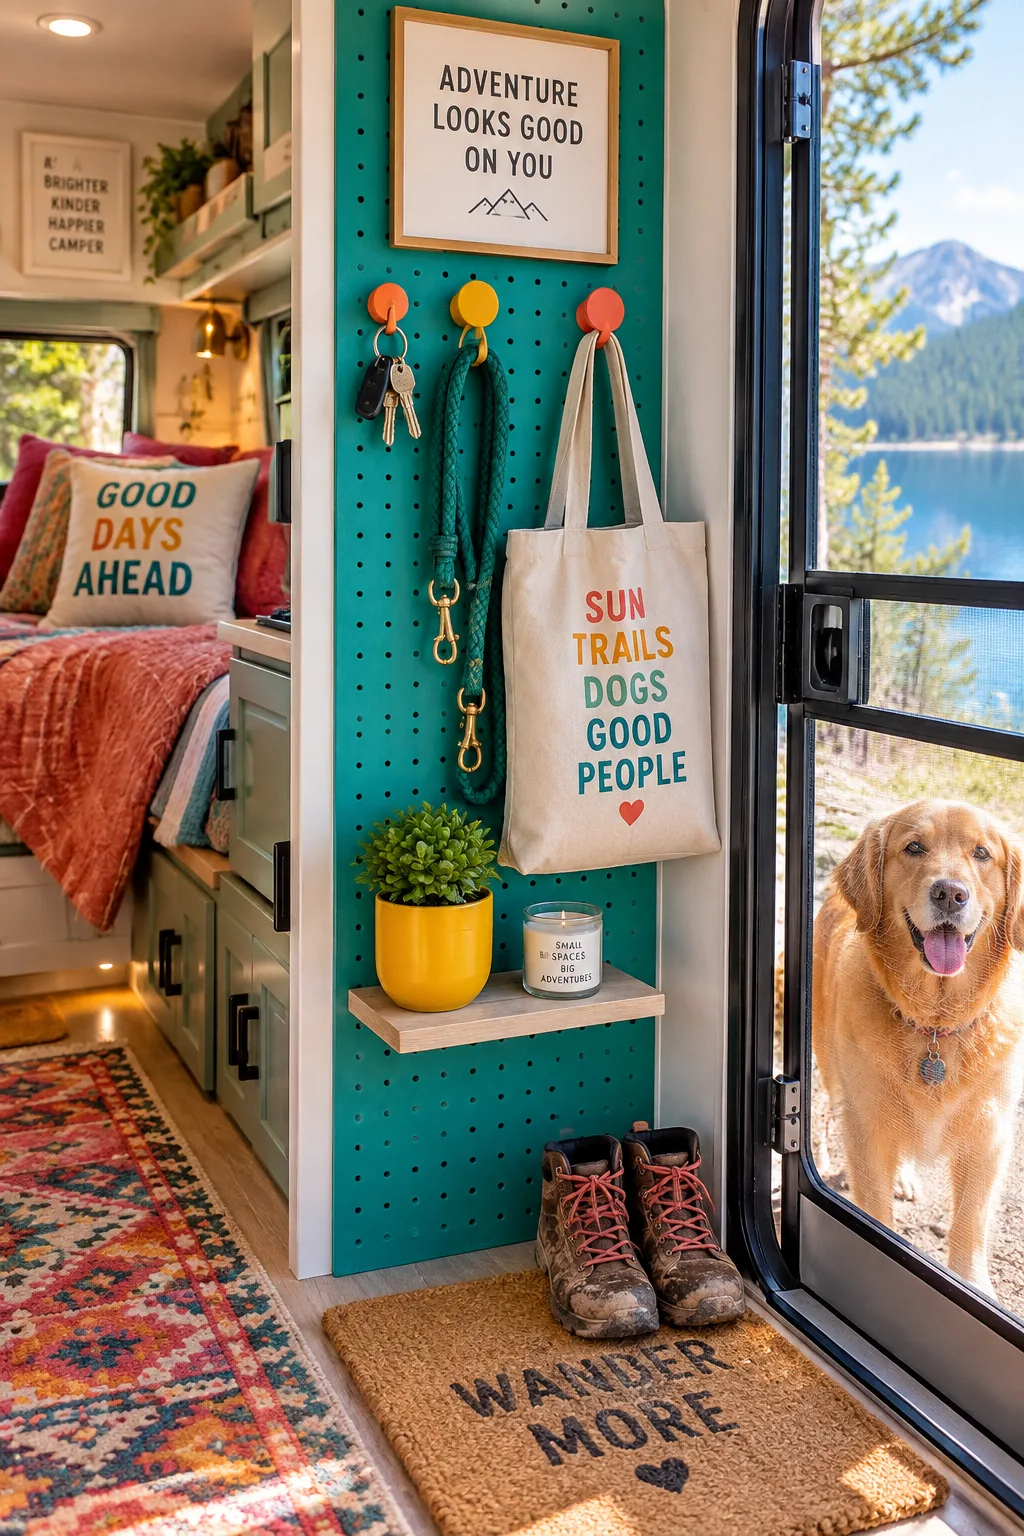
Most travel trailers lack a dedicated entryway drop zone for keys, leashes, and muddy shoes. Mounting a slim pegboard panel right next to the screen door solves this immediately. You can rearrange the hooks and tiny shelves whenever your storage needs change.
A tiny floating shelf at the bottom makes the perfect spot for a tiny succulent.
7. Warm Up the Kitchen
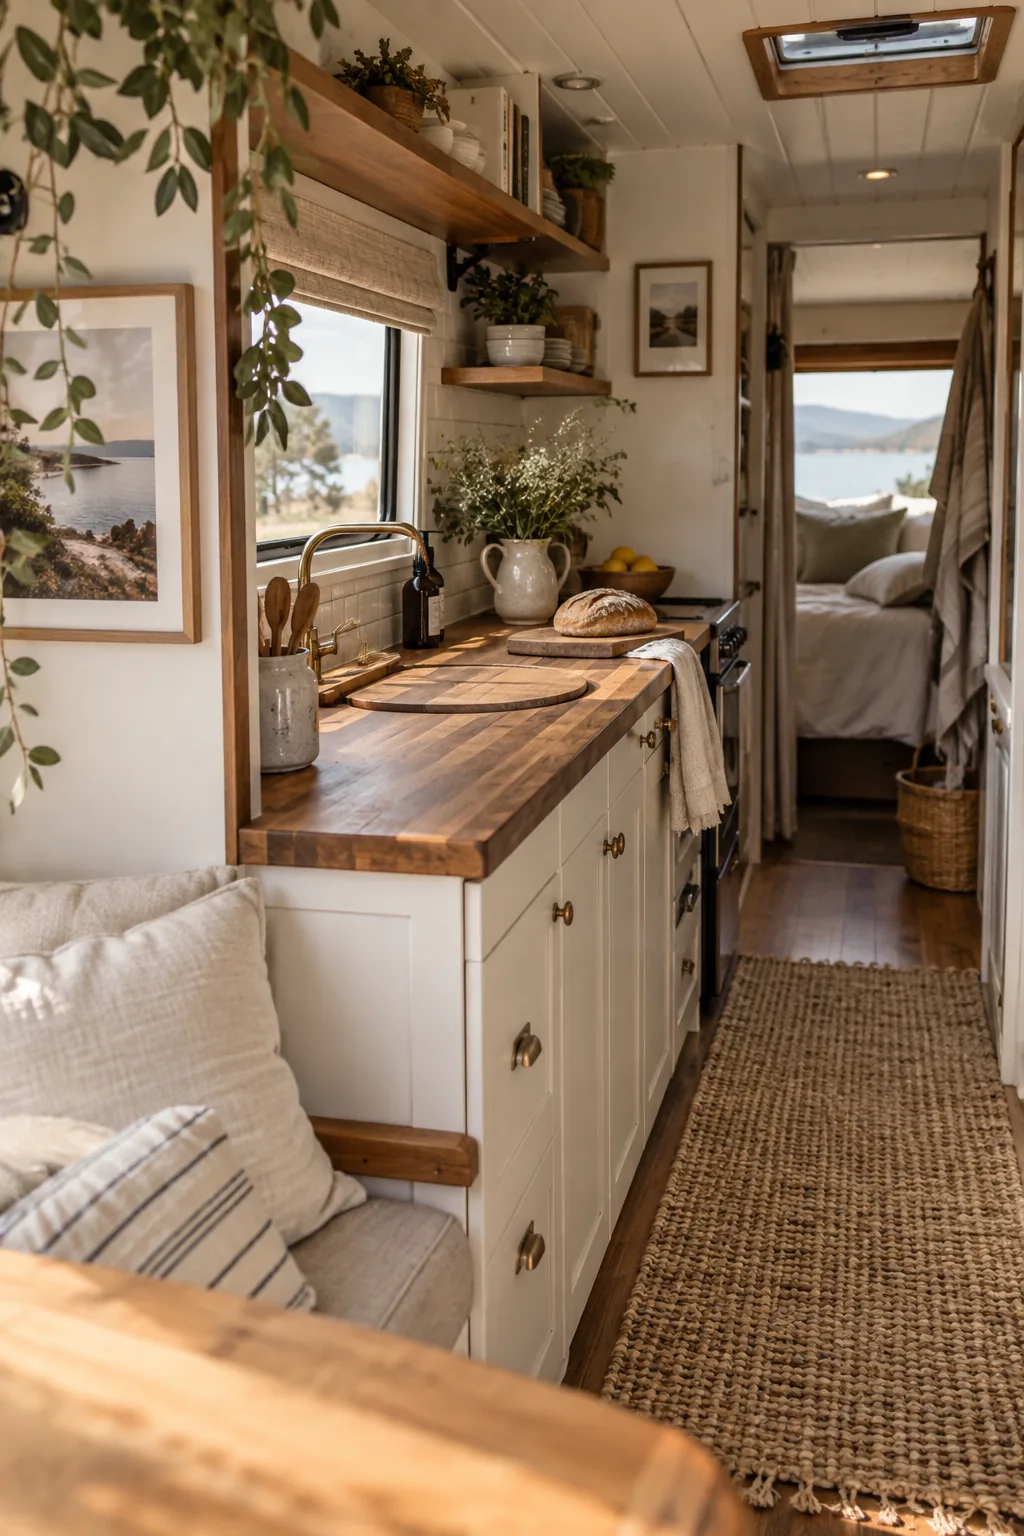
A warm, cabin-like aesthetic emerges the second you add butcher block countertops to a tiny galley kitchen. The rich wood grain breaks up the sea of painted cabinets and brings a touch of residential luxury to the road. Sealing the wood heavily protects it from the inevitable splashes around the small sink basin. You can even use the sink cutout to craft a perfectly fitted cutting board cover. This extends your prep area significantly without altering the footprint.
8. Layer the Bedding
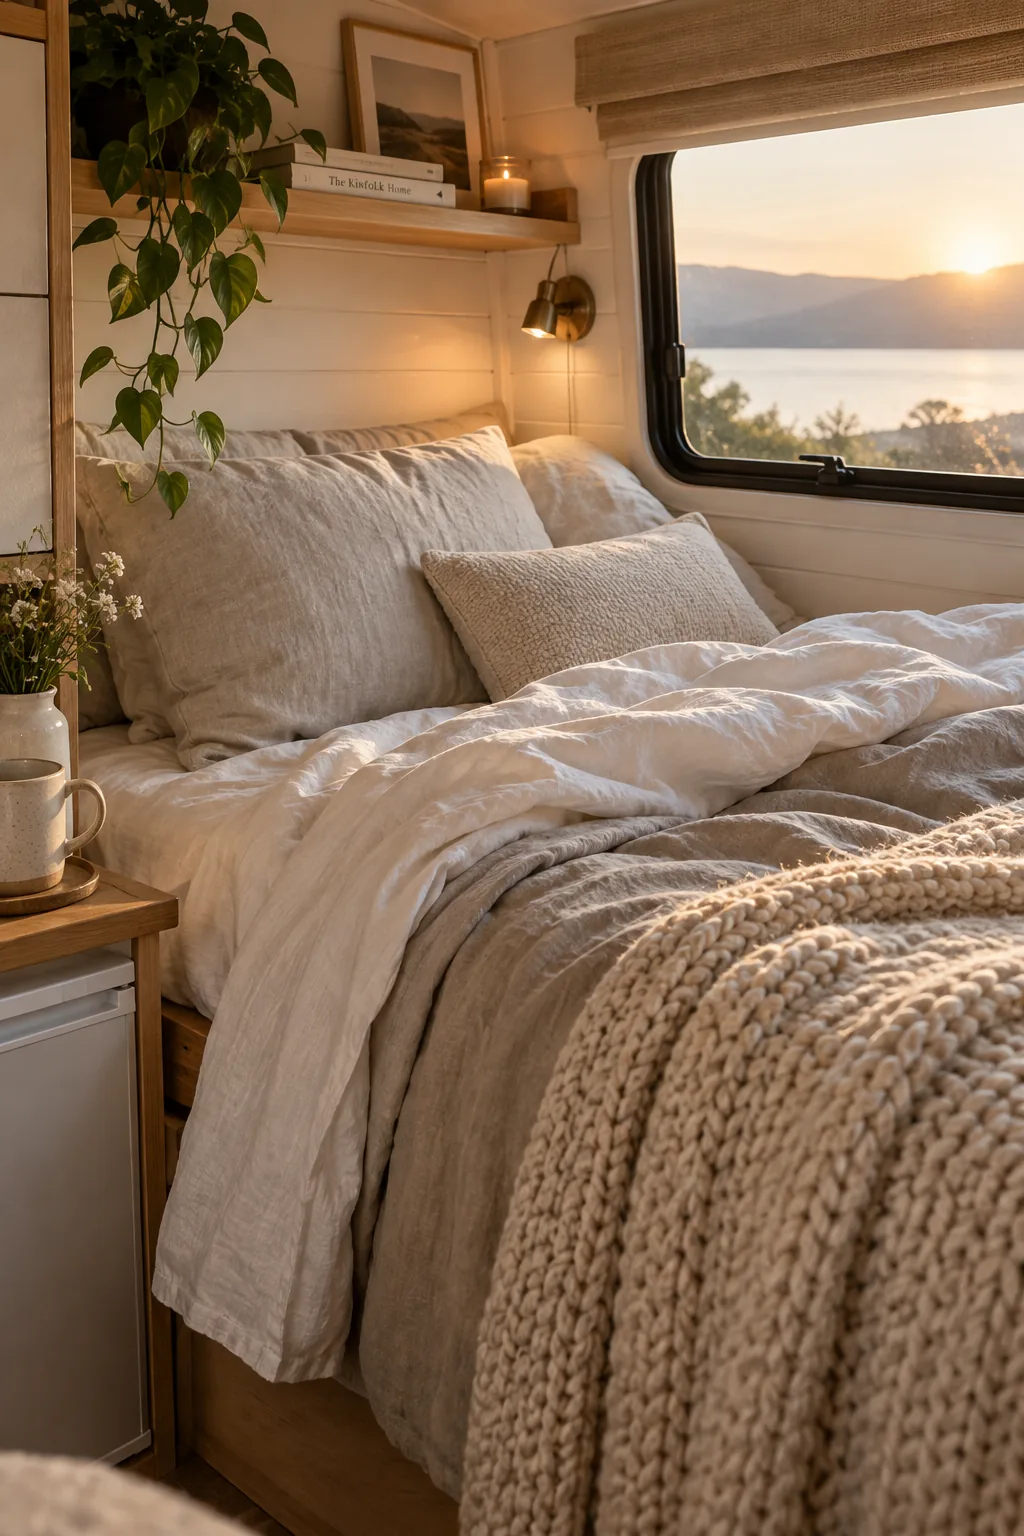
Replacing an RV queen mattress with a standard residential mattress adds about 60 pounds of unnecessary weight to your rig. You can achieve that same luxurious sleep by keeping the lightweight RV mattress and layering it with high-quality upgrades. A thick memory foam topper masks the thin factory springs completely. Wrapping the whole setup in linen bedding ensures everything stays breathable during hot summer nights.
- Two-inch gel foam topper
- Deep pocket fitted sheets
- All-season down alternative duvet
9. Install Modern Sconces
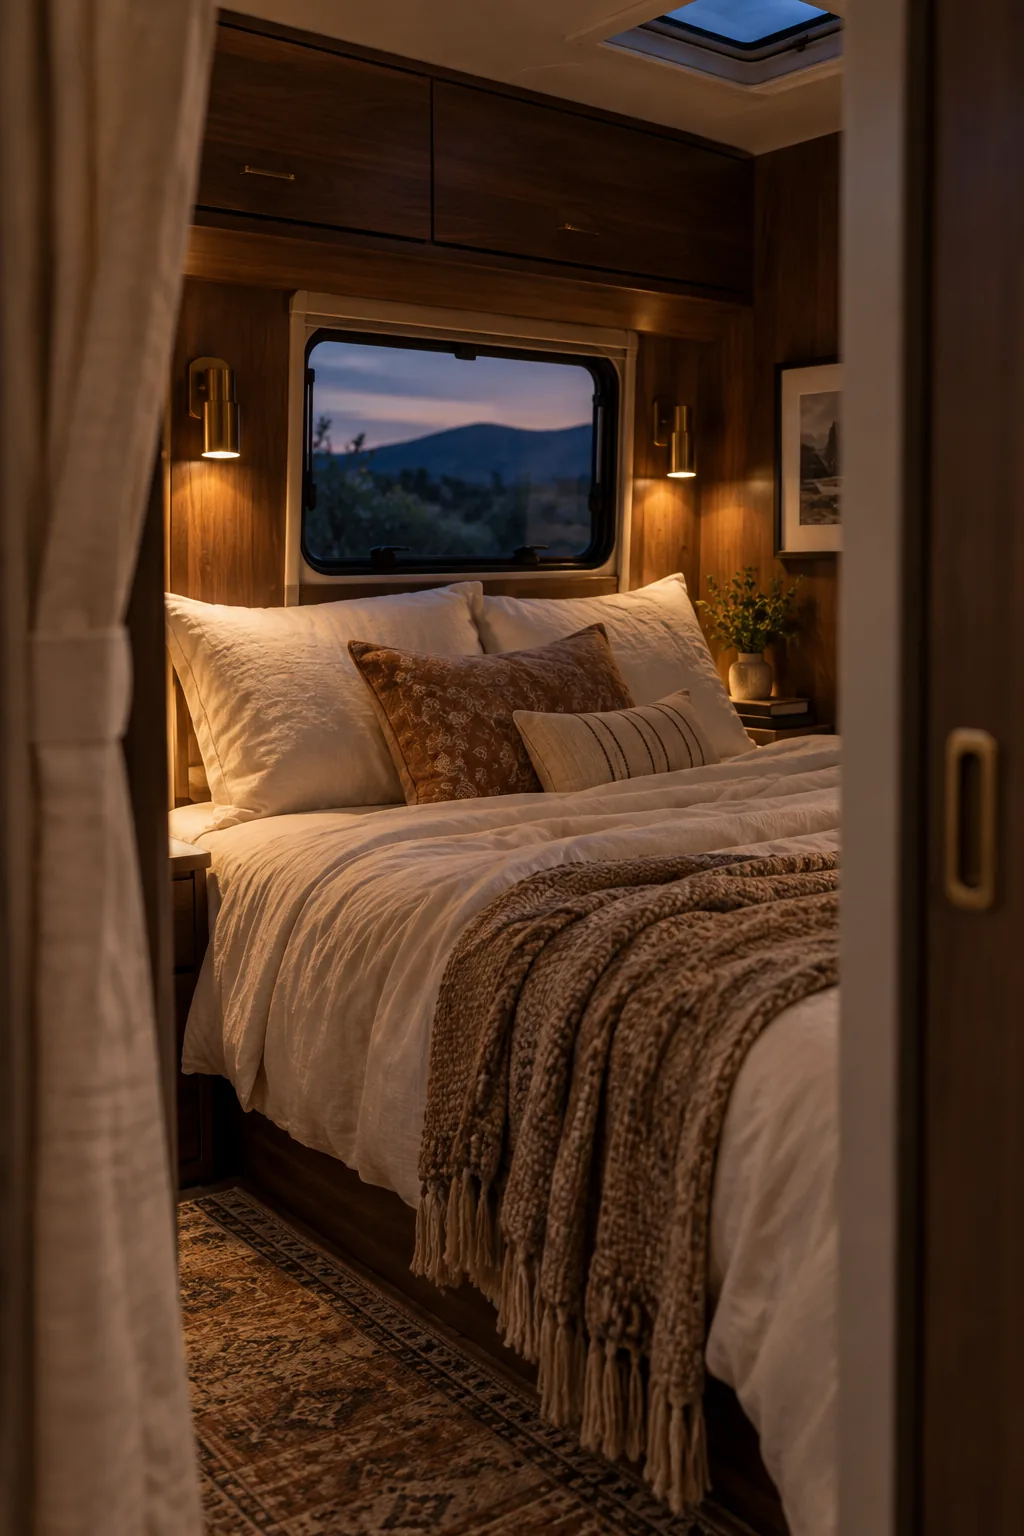
Swap out the bulky factory light fixtures for 12-volt brass sconces to elevate the entire bedroom area. Wiring them directly into the existing electrical system keeps things simple while adding a massive dose of modern style.
10. Hang a Large Mirror
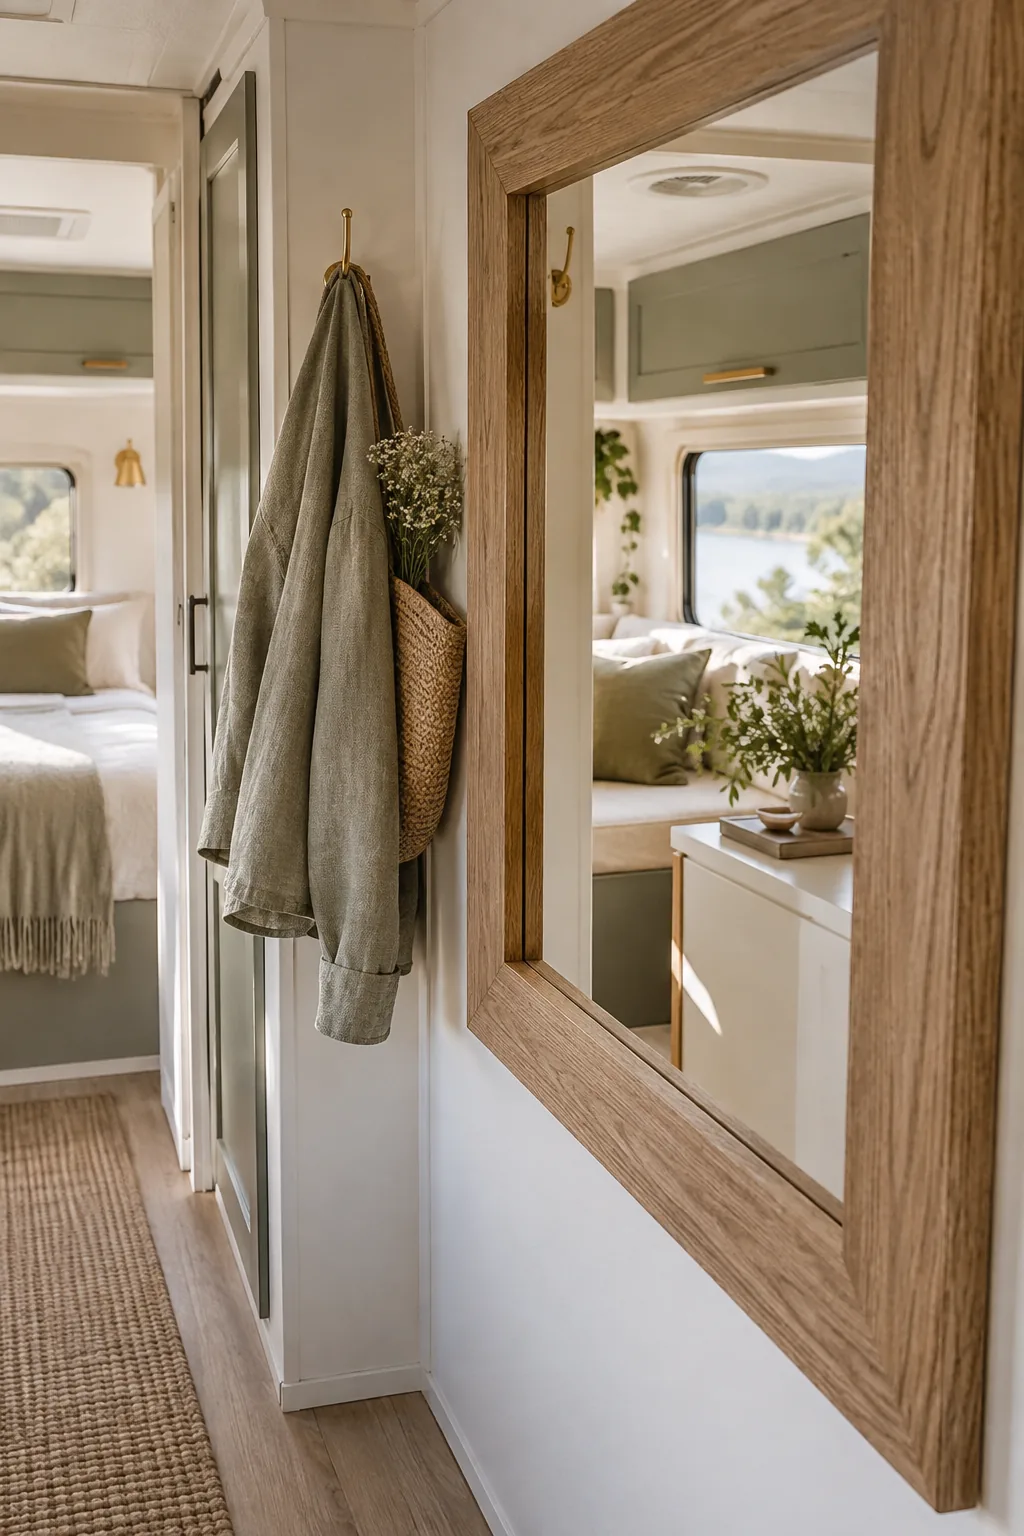
Hang a large framed mirror directly across from the main window to bounce natural light into the darkest corners. Securing it to the wall with heavy-duty mounting tape prevents it from swinging while you drive down the highway. This simple addition visually doubles the width of a narrow hallway. You get the function of a dressing mirror without sacrificing any floor space.
11. Paint the Shower Surround
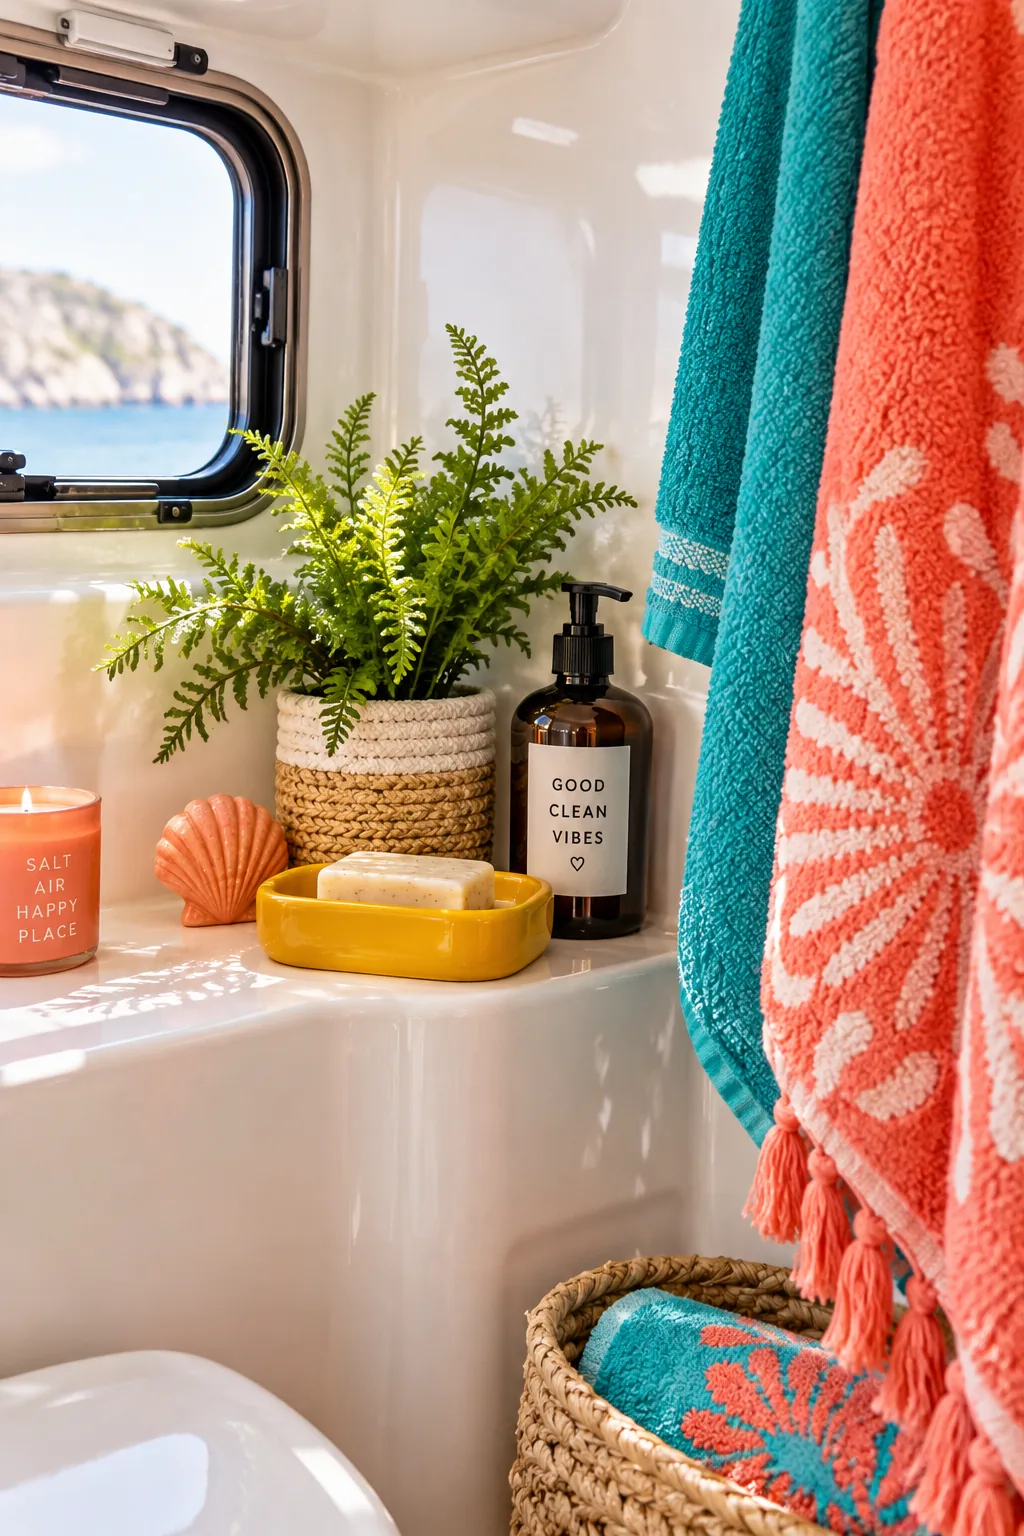
Camper bathrooms are notoriously dark and covered in cheap yellow plastic. Painting the shower surround with a specialized marine epoxy paint instantly refreshes the tiny room. The glossy finish mimics the look of real porcelain without the heavy weight of tile.
Why it works: A bright white bathroom reflects light beautifully and makes a claustrophobic shower feel like a boutique hotel space.
12. Hang Your Mugs
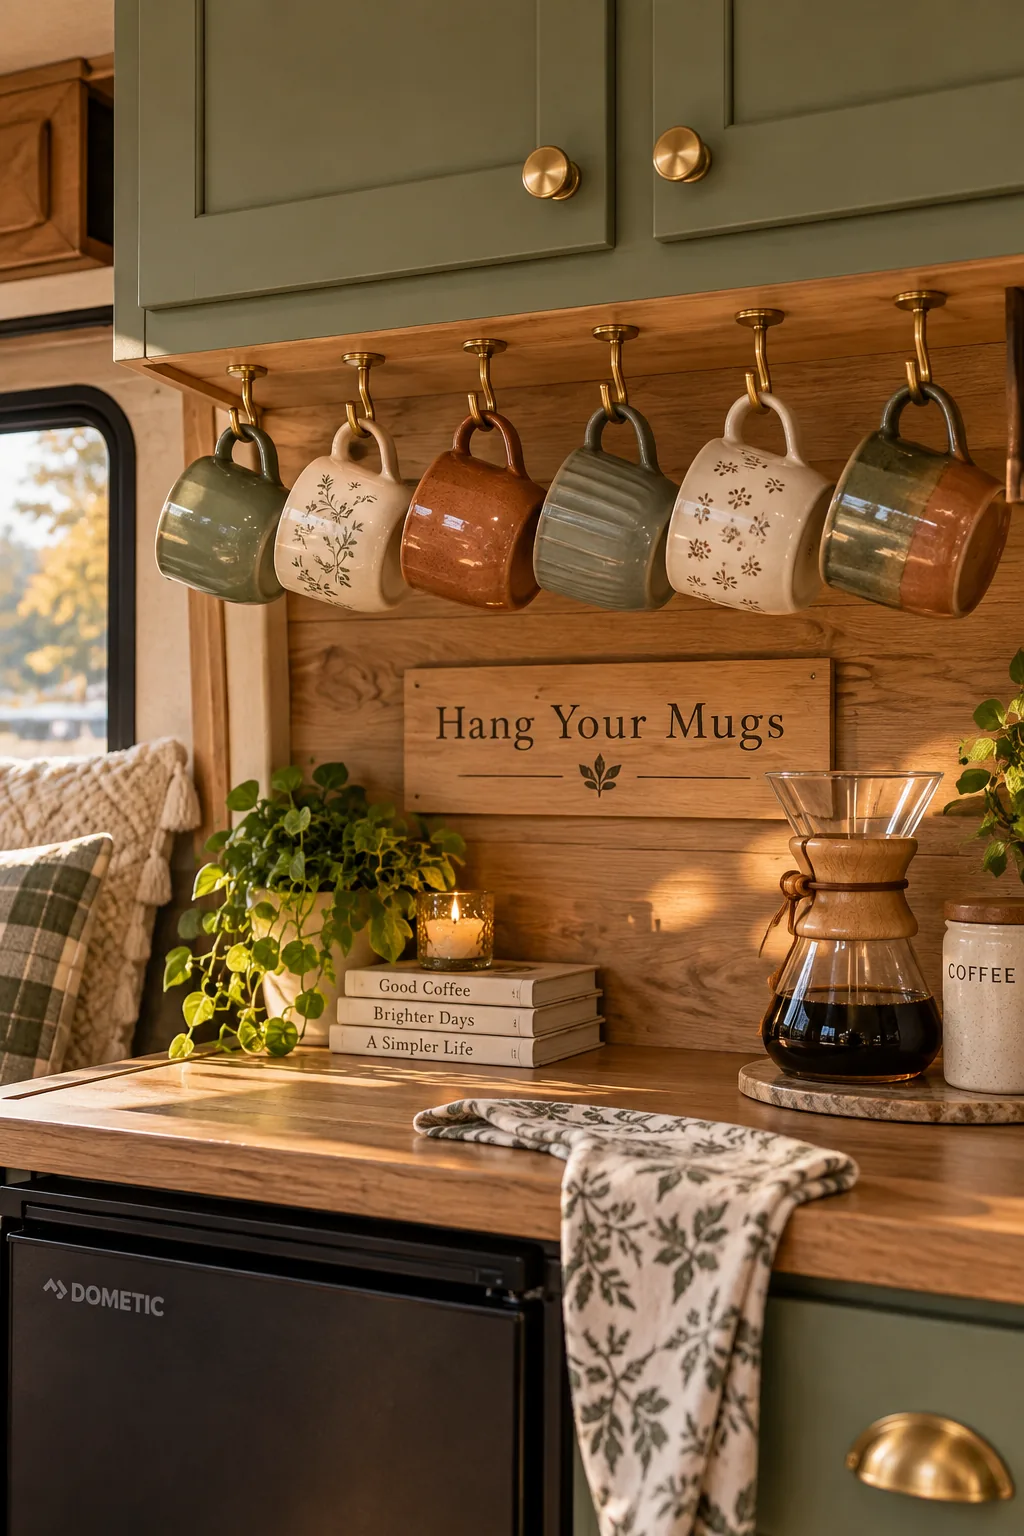
I always struggled with finding a place for my coffee mugs in my first travel trailer.
Screwing simple under-cabinet hooks into the bottom of the upper galley cabinets changed everything. The mugs hang safely out of the way but are always within reach for early mornings.
You can squeeze at least six cups into an area that was completely unused before.