The Ultimate Kitchen Shelving Spacing & Measurement Cheat Sheet
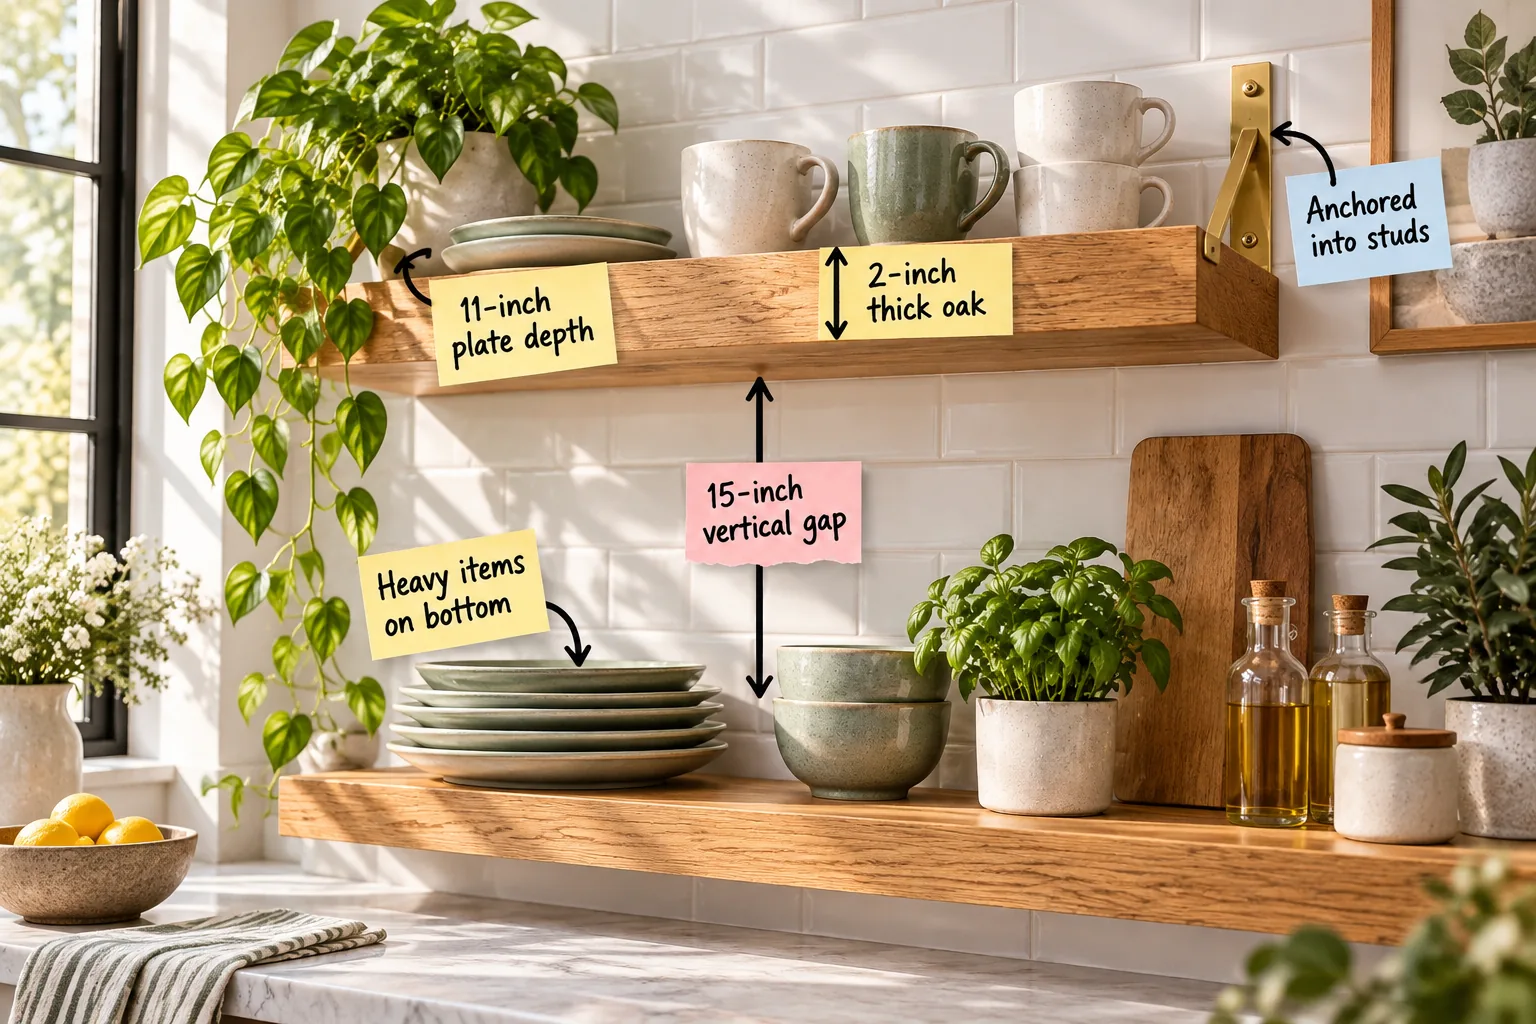
Grab our complete open shelving measurement and spacing cheat sheet to map out, install, and style perfectly proportioned kitchen displays. You will learn the exact dimensions for shelf depth, vertical gaps, and bracket placement to confidently organize your everyday dishes.
Anchoring brackets directly into wall studs
To safely hold heavy ceramics and solid wood, you must anchor mounting brackets directly into wall studs rather than relying on flimsy drywall toggles. Properly aligning and securing these brass brackets into the structural framing guarantees maximum load-bearing capacity against your tile.
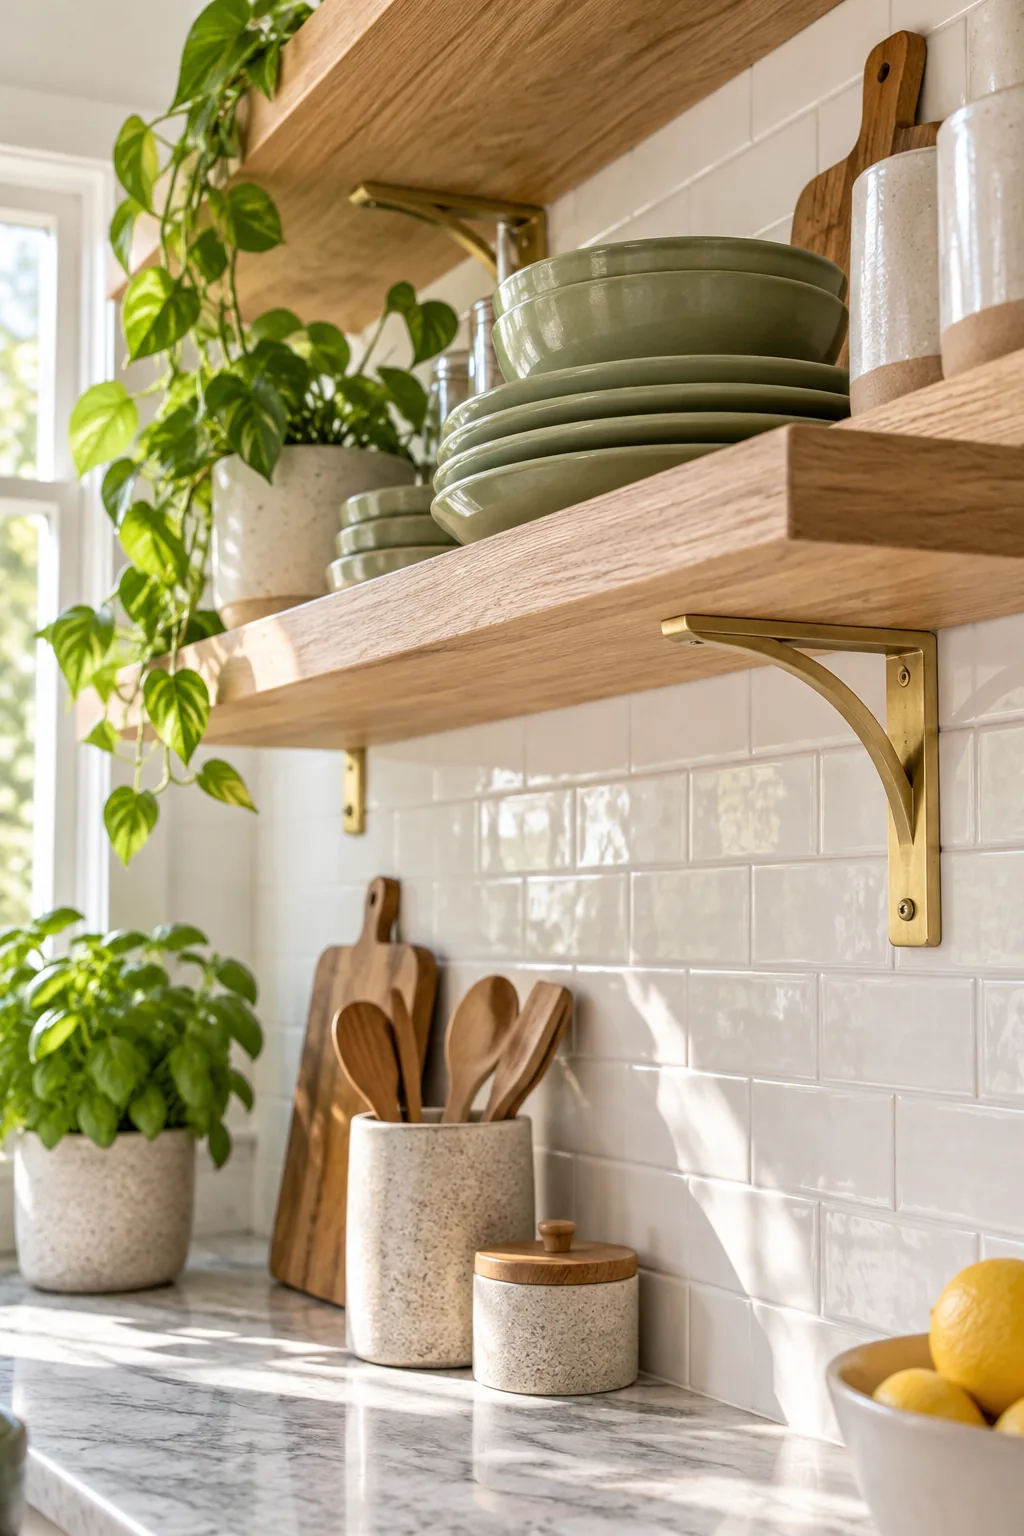
By establishing a rigid connection to the house framing, you prevent the entire shelving unit from sagging or pulling away over time. This foundational step guarantees your beautiful kitchen display remains structurally sound even when fully loaded with thick plates.
Securing heavy-duty mounting hardware
Once you locate the structural framing behind your walls, you must systematically attach your chosen brass supports. Following a strict installation sequence guarantees that every bracket sits perfectly plumb and level before you ever introduce the heavy wooden boards.
- Scan the wall with a high-quality magnetic stud finder to pinpoint framing centers.
- Mark your precise drilling locations using a laser level for perfect horizontal alignment.
- Bore clean pilot holes through the tile to prevent the surrounding grout from cracking.
- Drive heavy-duty lag screws firmly through the brass hardware into the wooden studs.
- Verify the level across multiple brackets before tightening the final anchoring screws completely.
Taking the time to measure and level each individual support ensures your finished installation will look professionally built. Rushing this critical hardware phase often leads to crooked displays that make your carefully curated ceramic collections look visually unbalanced.
Choosing a sturdy two-inch shelf thickness
You should always select solid oak boards that are exactly two inches thick for your kitchen project. This substantial dimension prevents the natural wood from bowing under the weight of heavy dishes while providing a beautiful, high-quality look.
Selecting the wrong lumber can ruin your kitchen design before you even place a single plate on it. Investing in thick, premium hardwood guarantees your open storage remains perfectly flat and visually grounding for decades of daily family use.
Sealing your wood against kitchen moisture
Before permanently mounting your beautiful oak boards, apply a food-safe, waterproof sealant to protect the organic grain from daily environmental stress. A high-quality matte polyurethane or hardwax oil defends the porous surface against rising steam, accidental water spills, and airborne cooking oils.
Sizing for an eleven-inch dinner plate depth
Cut or order your oak boards to an exact 11-inch depth so your standard dishes sit perfectly flush. This precise dimension has become the standard for keeping dinner plates completely safe without letting them hang dangerously over the front edge.
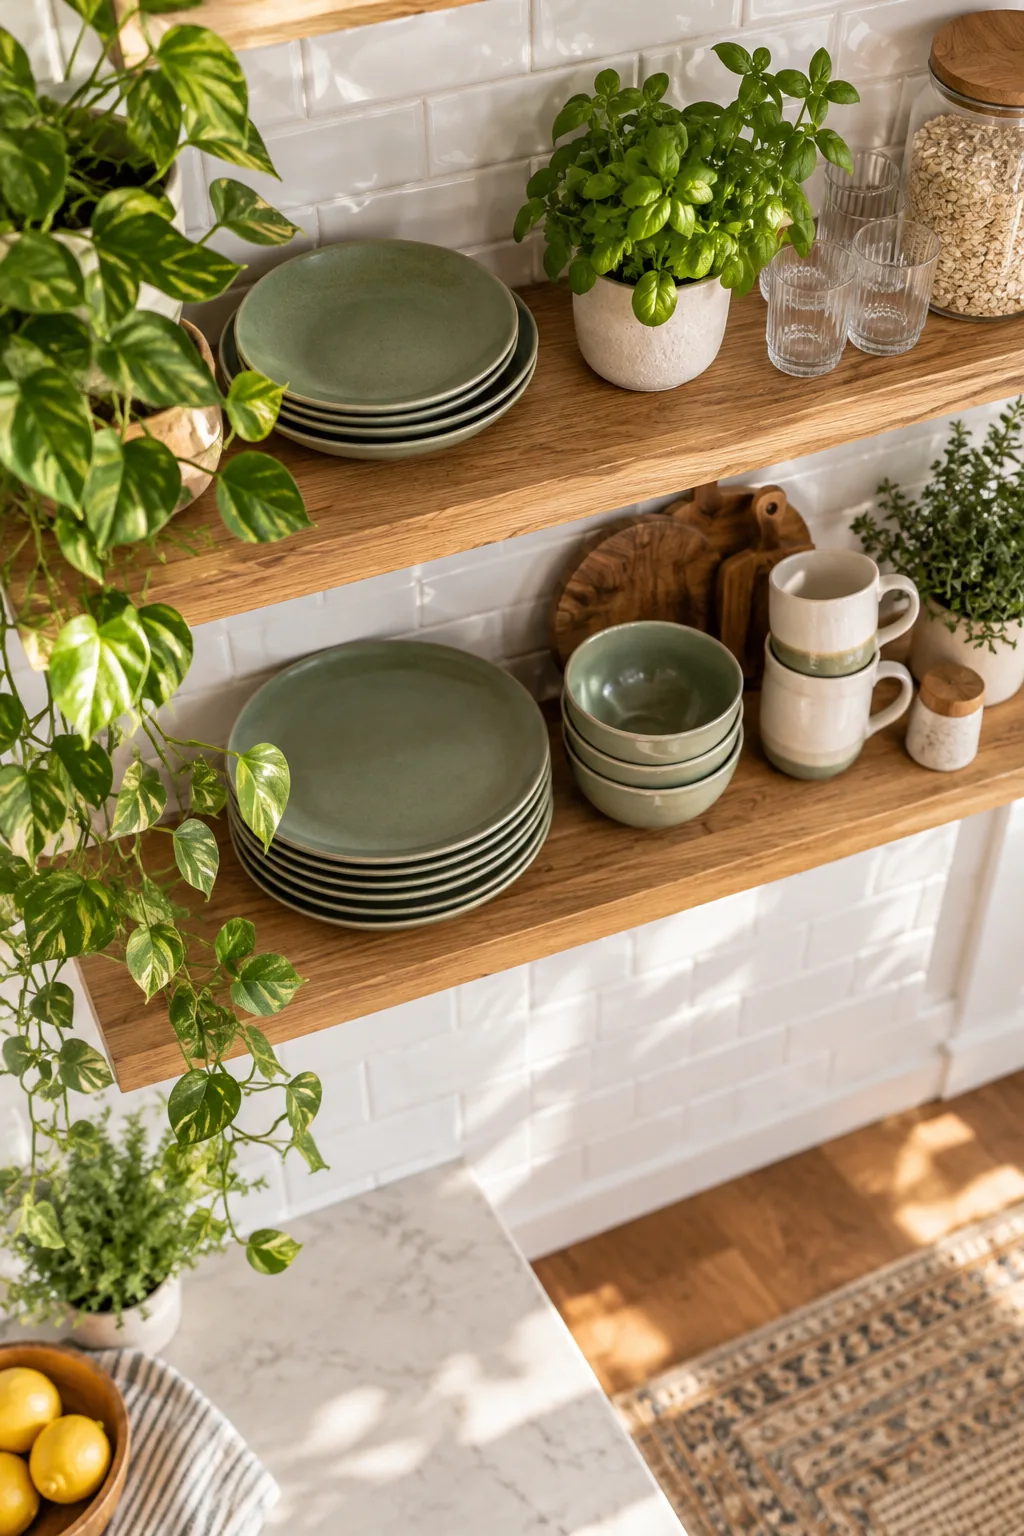
In my own Denver kitchen, limiting the depth to exactly eleven inches stopped my family from constantly bumping into protruding platters while cooking. This tailored measurement keeps your primary walkways clear while still offering plenty of room for everyday essentials.
Verifying your cabinet and walkway clearance
Maintaining a sleek profile prevents your open storage from feeling visually heavy or physically intrusive in smaller, highly trafficked kitchen spaces. Always measure the exact distance between your planned shelves and any adjacent cabinet doors to ensure everything can swing open without unexpected collisions.
Measuring the fifteen-inch vertical gap
You must leave exactly 15 inches of empty vertical space between the top of the bottom shelf and the upper tier. This generous gap accommodates tall pitchers and stacked mugs while keeping the upper tier easily reachable during busy mornings.
| Dimension | Measurement | Key Purpose | Placement Area |
|---|---|---|---|
| Shelf Thickness | 2 inches | Prevents bowing | All wooden tiers |
| Plate Depth | 11 inches | Flush storage | Wall to front edge |
| Vertical Gap | 15 inches | Pitcher clearance | Between shelves |
| Bracket Spacing | 16 to 32 inches | Structural support | Driven into studs |
| Lowest Height | 18 inches | Workspace room | Above countertop |
| Top Clearance | 12 inches | Visual breathing room | Below the ceiling |
Referencing these precise structural numbers ensures your final arrangement feels mathematically balanced and highly functional. Eastern design principles rely heavily on this kind of spatial harmony to create environments that feel effortlessly calming rather than chaotic.
Accommodating oversized pitchers and appliances
If you own uniquely tall coffee makers, professional stand mixers, or oversized decorative vases, you might need to adjust the lowest clearance zone. Simply measure your tallest essential item and add two inches of visual breathing room to determine your custom foundational height.
The complete open shelving spacing cheat sheet
Use our comprehensive spacing cheat sheet to finalize your layout and compile these crucial rules into one actionable blueprint. Maintaining the strict fifteen-inch vertical gap provides the perfect clearance for both practical daily storage and essential visual breathing room.
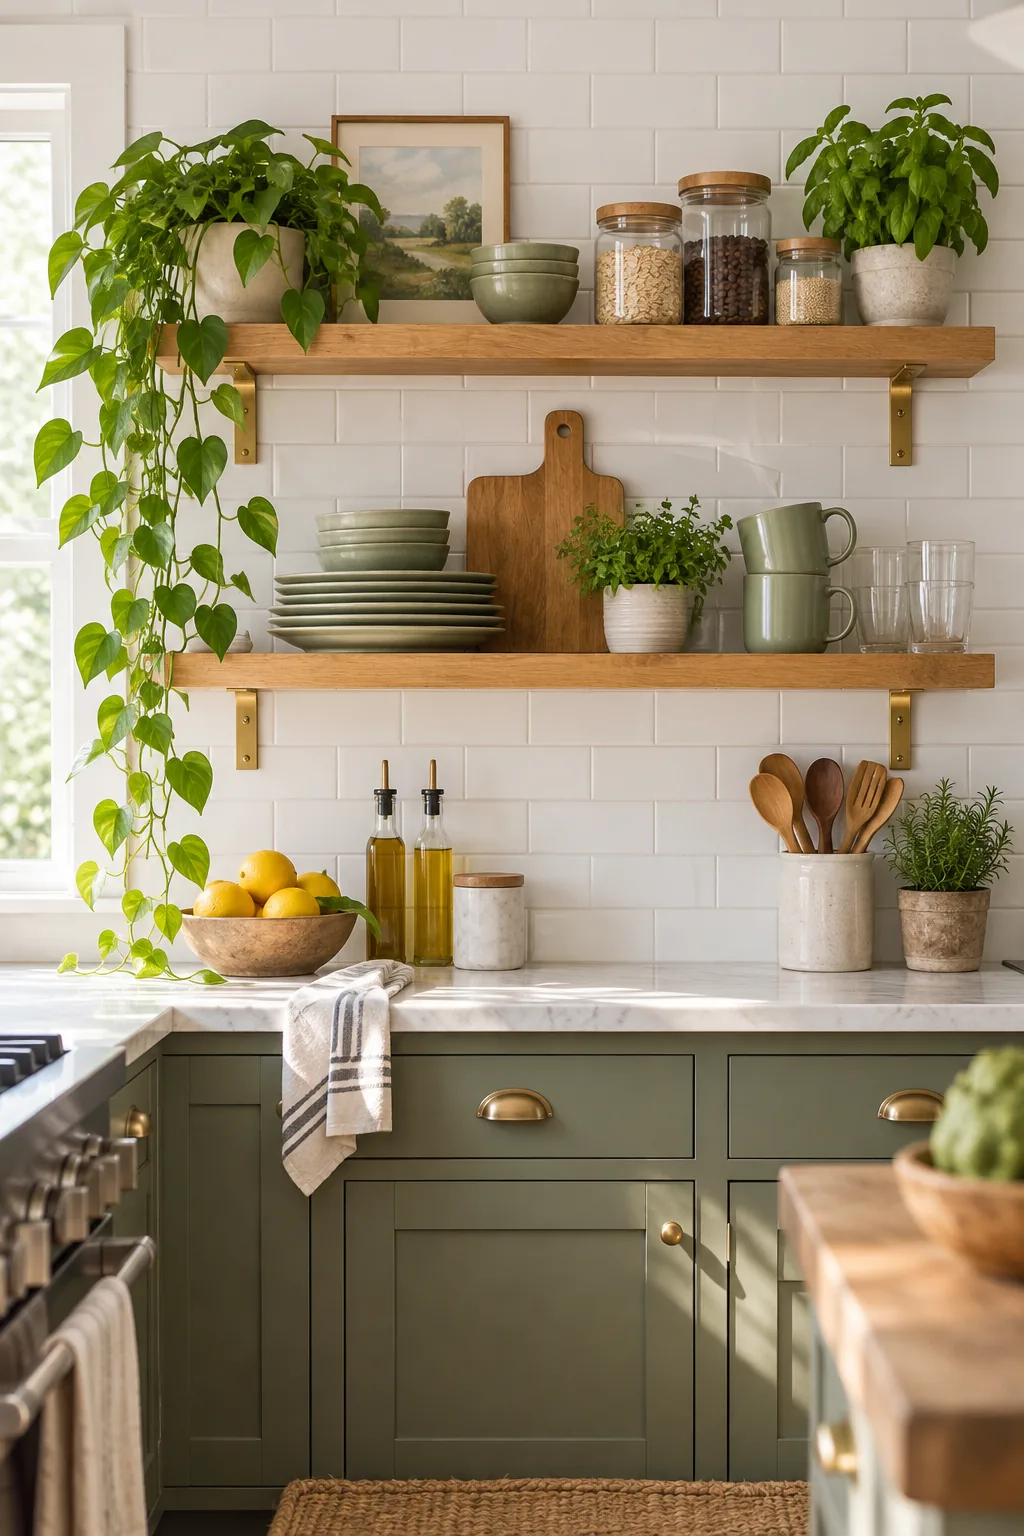
By combining the 11-inch depth, 15-inch gap, and 2-inch thickness rules, you create a flawless architectural foundation. This definitive open shelving measurement and spacing cheat sheet guarantees your kitchen remodel will look professionally customized and perfectly proportioned.
Establishing the ideal countertop clearance
Always mount your lowest wooden board exactly eighteen inches above the primary countertop to match standard upper cabinet heights perfectly. This universal measurement preserves your essential workspace for chopping vegetables and operating small appliances without making the prep area feel claustrophobic or cramped.
Grounding the bottom shelf with heavy items
Store your thickest ceramic plates and heavy mixing bowls on the lowest shelf to anchor the visual weight of the entire wall. Placing your heaviest ceramic stacks on this lowest tier provides immense ergonomic and visual benefits for your daily cooking routine.
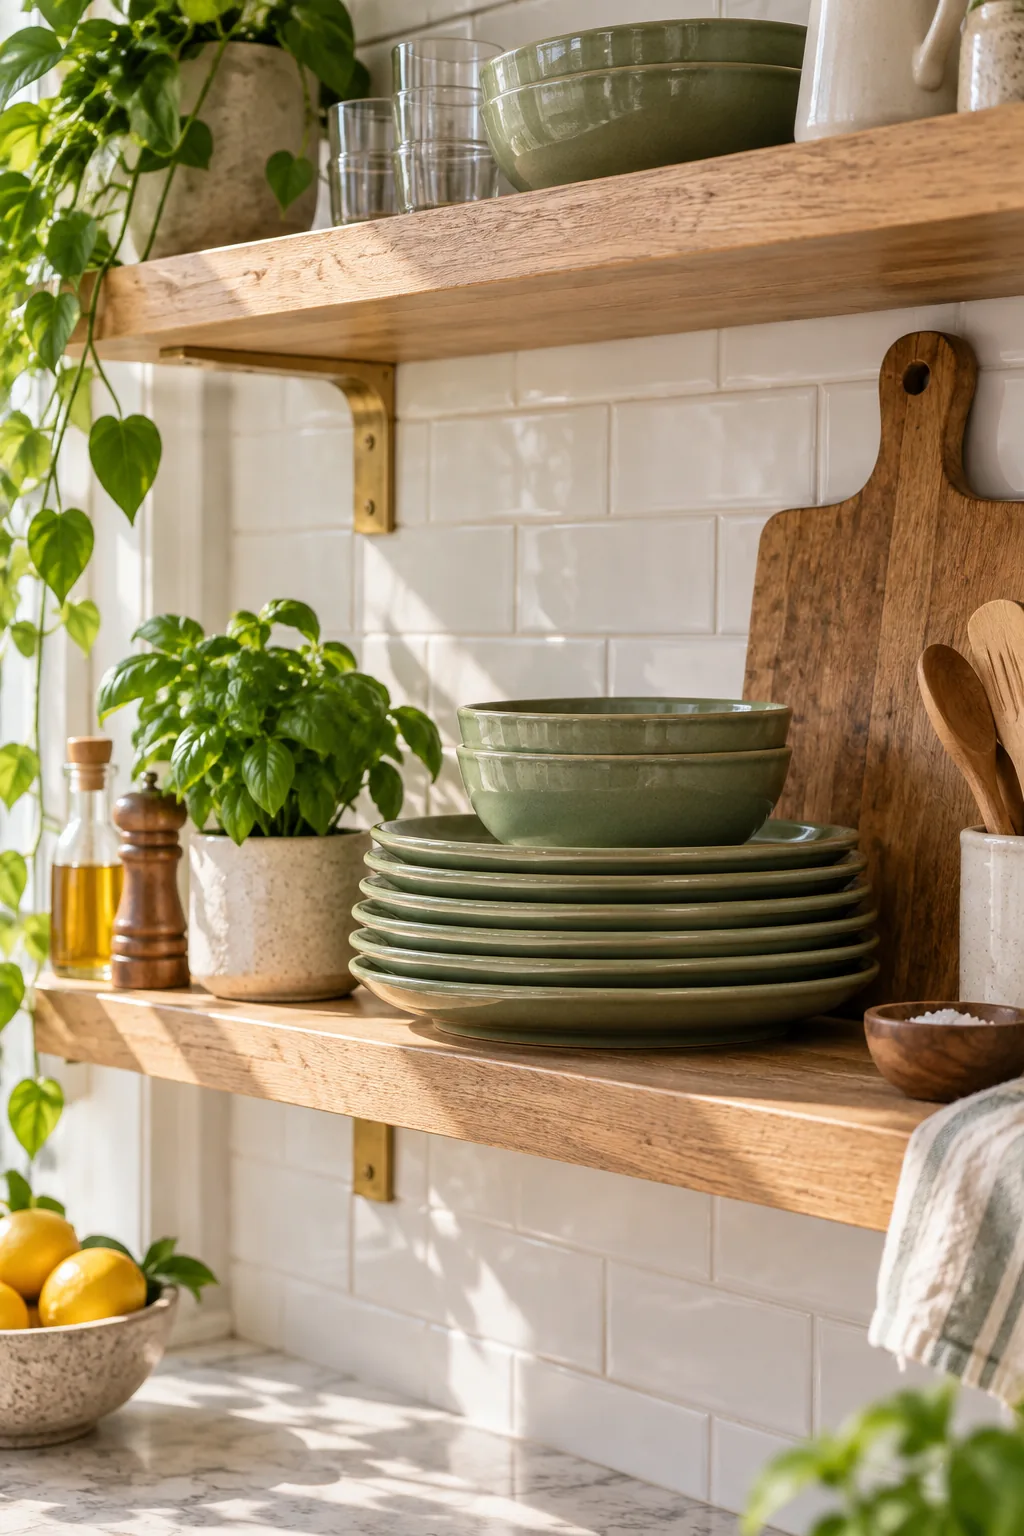
This practical styling rule keeps the most frequently used, heaviest items at an ergonomic lifting height to prevent daily shoulder strain. Grounding the bottom tier with dense objects also creates a stable, balanced aesthetic that feels naturally pleasing to the eye.
Organizing your most frequently used daily dishes
Keep the heavy bowls and plates you grab every single morning at the very front of the lowest tier for instant access. Prioritizing accessibility for your daily workhorse pieces reduces friction in your morning routine and naturally dictates a highly functional, user-friendly kitchen layout.
Styling the upper shelves with lighter pieces
Reserve the higher shelves for lightweight items like small mugs, delicate glassware, and decorative accents to reduce reaching strain. Once your heavy plates are safely placed, you can focus on arranging the rest of your everyday items beautifully.
In my recent Cherry Creek loft project, I placed all the fragile wine glasses on the top tier to keep them safe from busy hands. Keeping lighter objects up high maintains an airy, uncluttered feel near the ceiling while protecting delicate pieces.
Incorporating trailing plants for visual softness
Introduce organic textures by placing small, trailing houseplants on the highest boards to break up the rigid geometric lines of your stacked plates. The cascading green leaves draw the eye upward, adding vibrant life and a touch of natural asymmetry to your structured ceramic displays.
Balancing colors across your ceramic collections
Distribute your dominant accent colors evenly across the different structural tiers to create a harmonious, unified visual rhythm throughout the room. If you place a heavy cluster of sage green bowls on the bottom left, balance it with a subtle green pitcher on the top right.
Maintaining an airy everyday display
Keep your open shelves looking intentional by leaving generous negative space between your carefully curated item groupings. Balancing this empty space with daily use keeps an open shelving display looking incredibly fresh, intentional, and naturally integrated into the room.
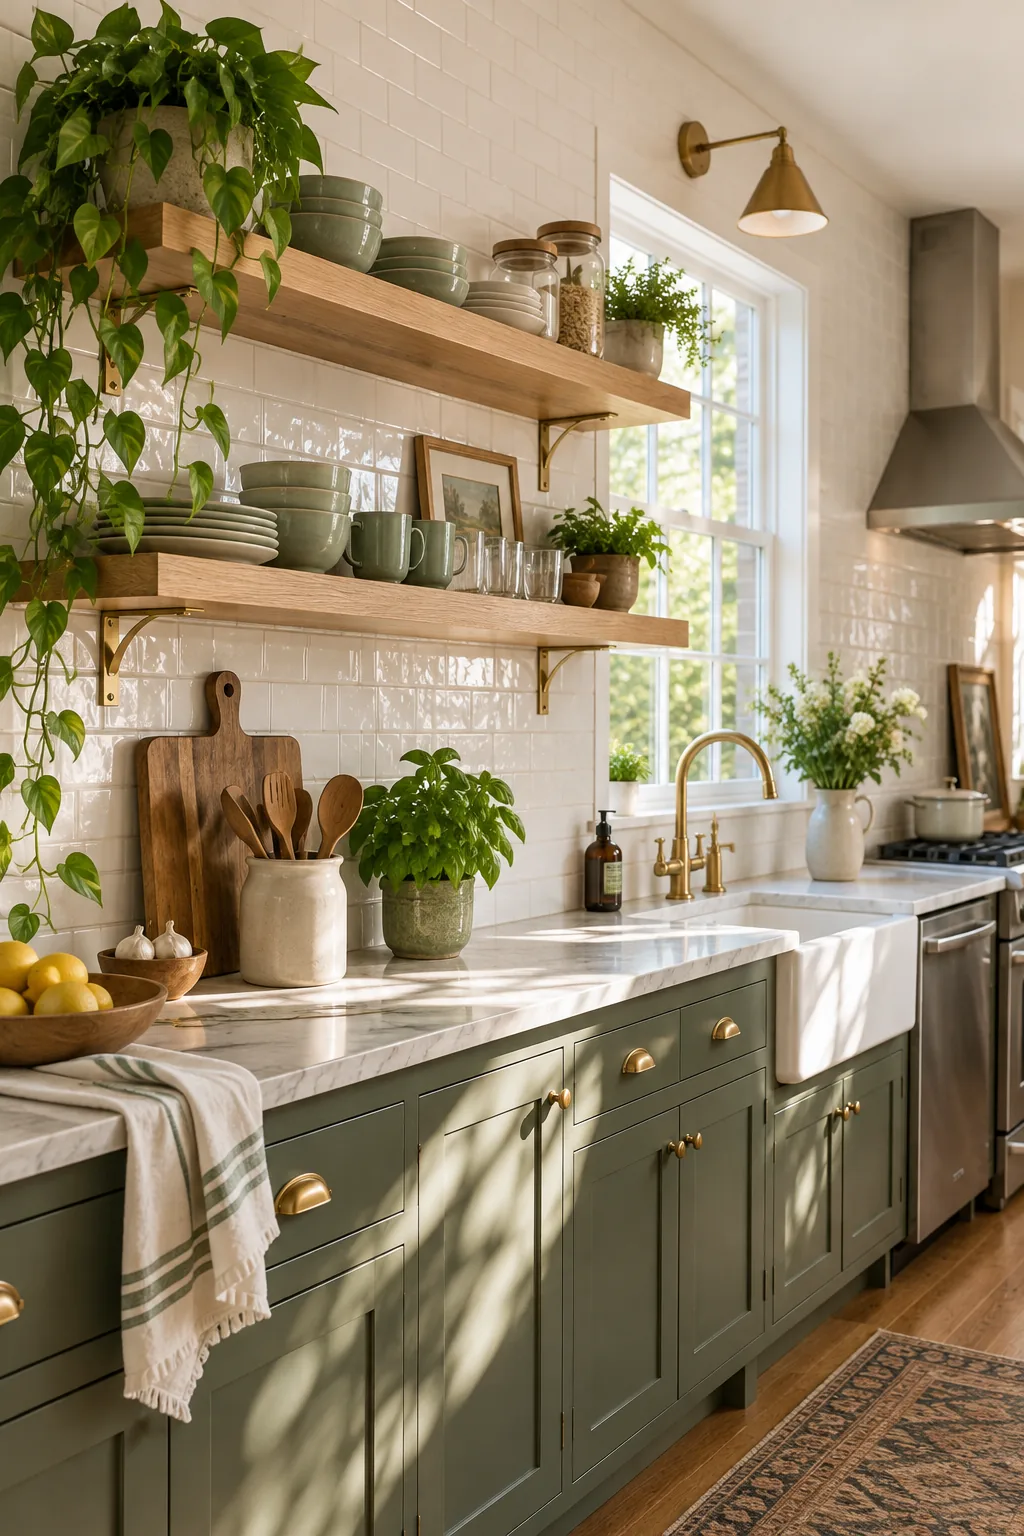
Regularly rotating your everyday dishes ensures they stay clean and dust-free while adding dynamic life to the kitchen. Embracing this mindful approach to organization transforms basic wall storage into a continuously evolving, highly personal focal point for your home.
More open shelving styles to inspire your kitchen
Explore how these exact spacing rules translate beautifully across completely different kitchen aesthetics.
Moody Dark Walnut: Rich walnut wood against textured black tile creates a dramatic, moody atmosphere that highlights amber glassware beautifully.
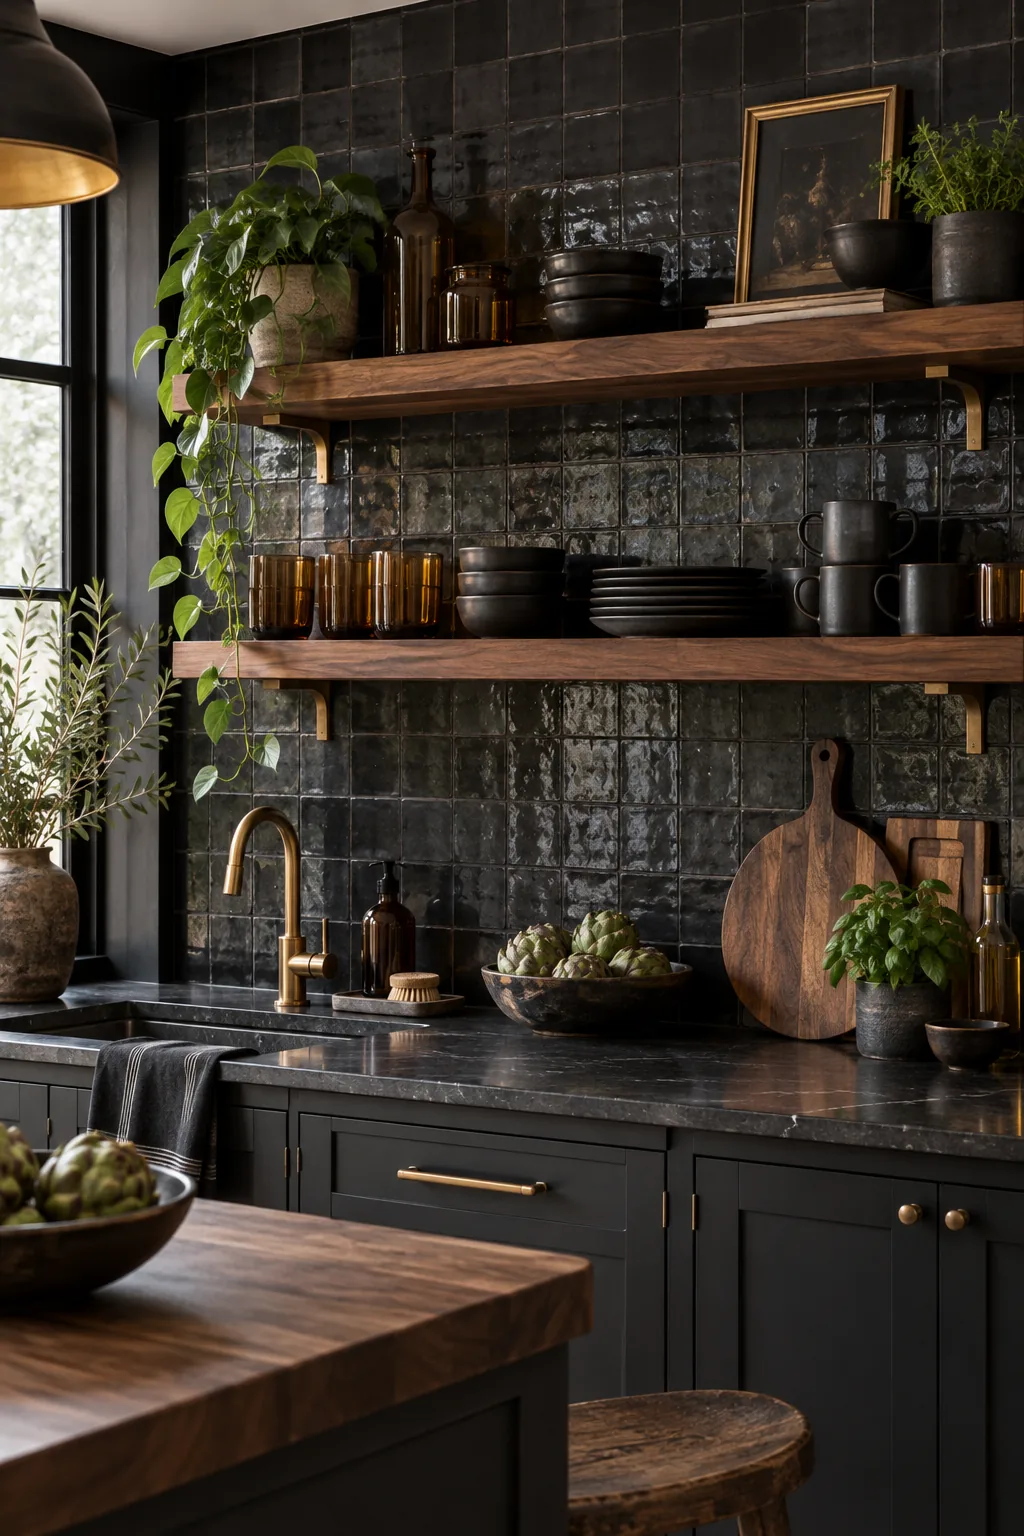
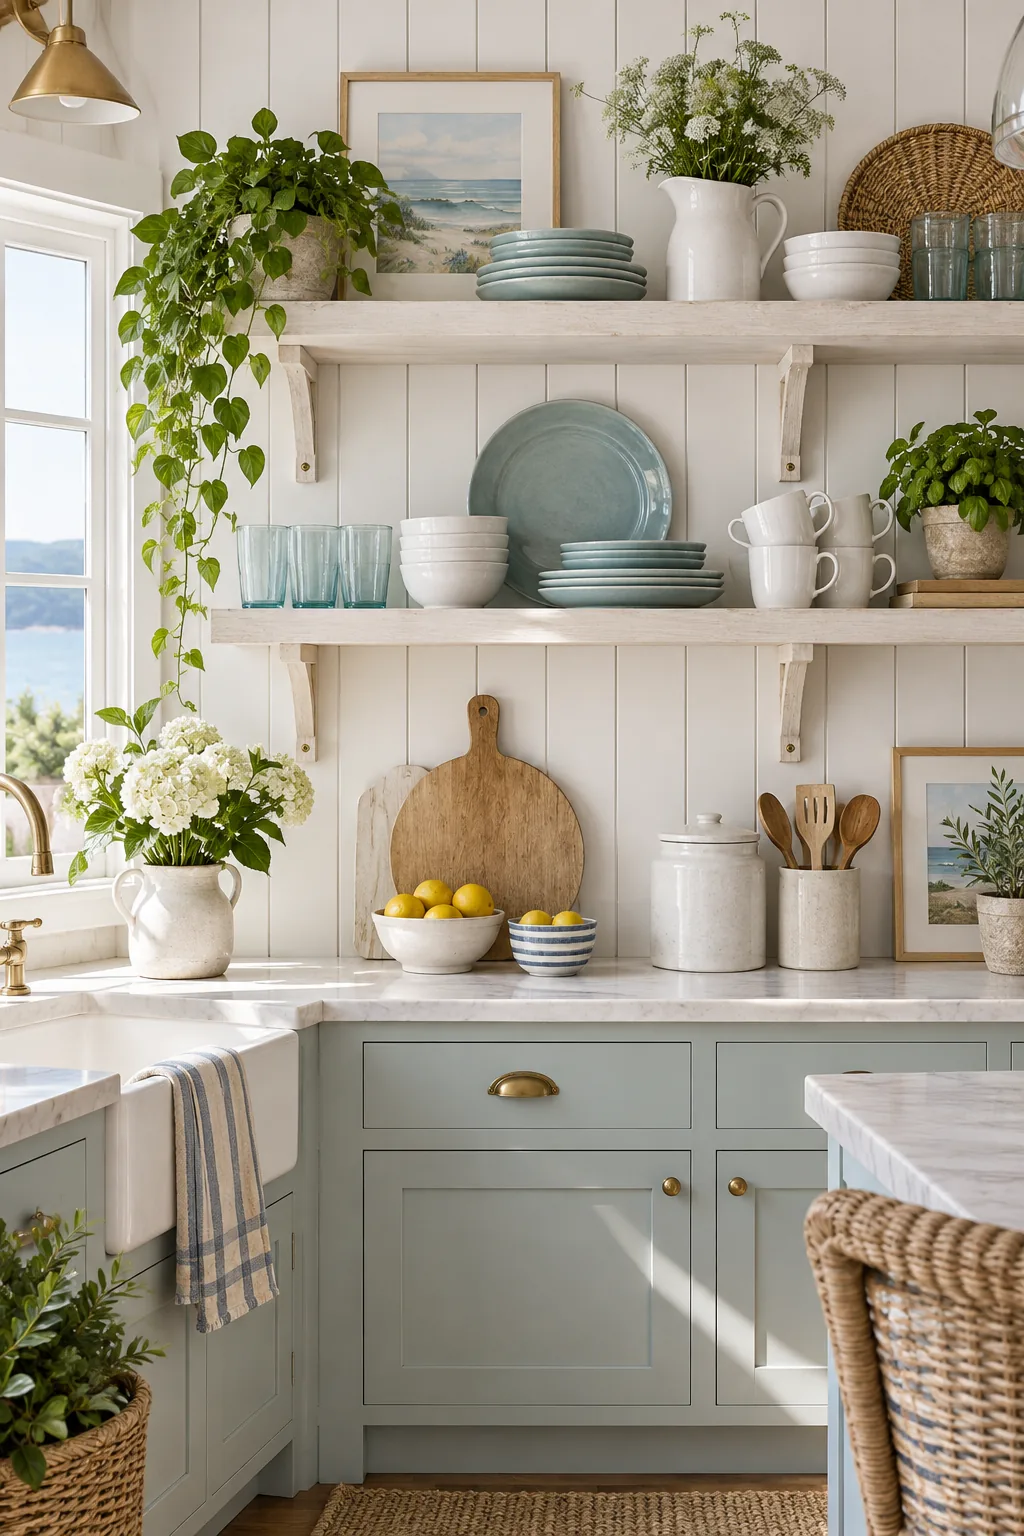
Coastal Whitewashed Pine: Whitewashed pine paired with vertical shiplap brings a breezy, relaxed coastal vibe perfect for displaying sea-glass tones.
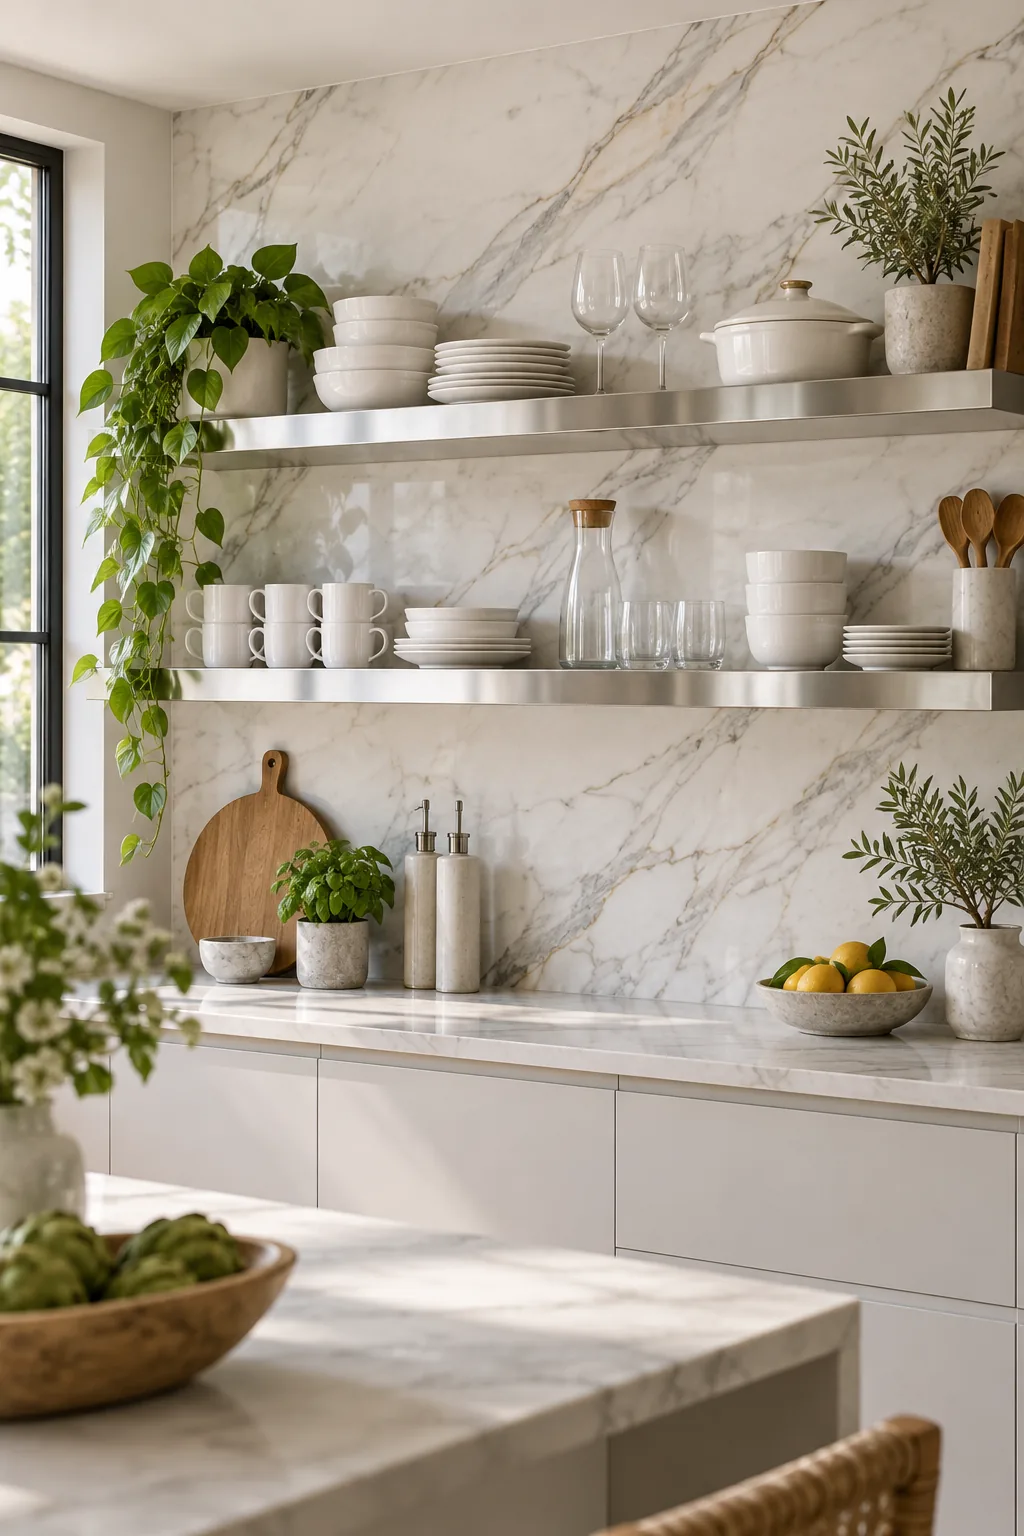
Minimalist Stainless Steel: Sleek metal shelving on a continuous marble slab offers a clean, contemporary look that keeps the focus on crisp white porcelain.
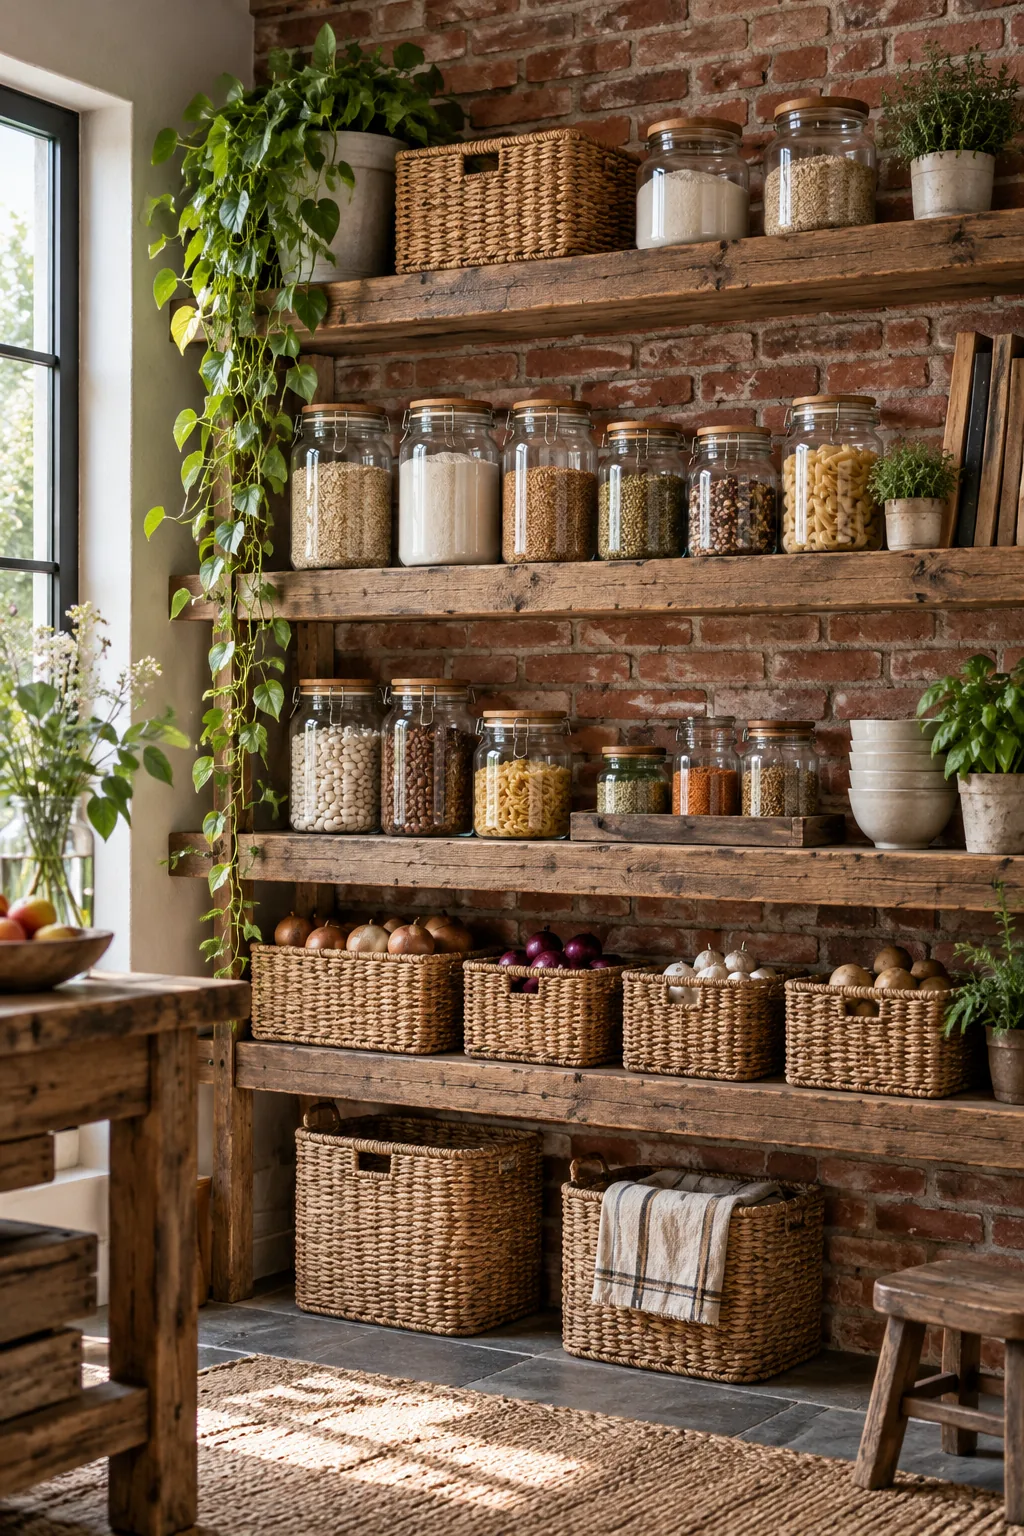
Rustic Reclaimed Brick: Weathered barn wood against exposed brick adds incredible texture and warmth, making it the perfect backdrop for pantry jars.