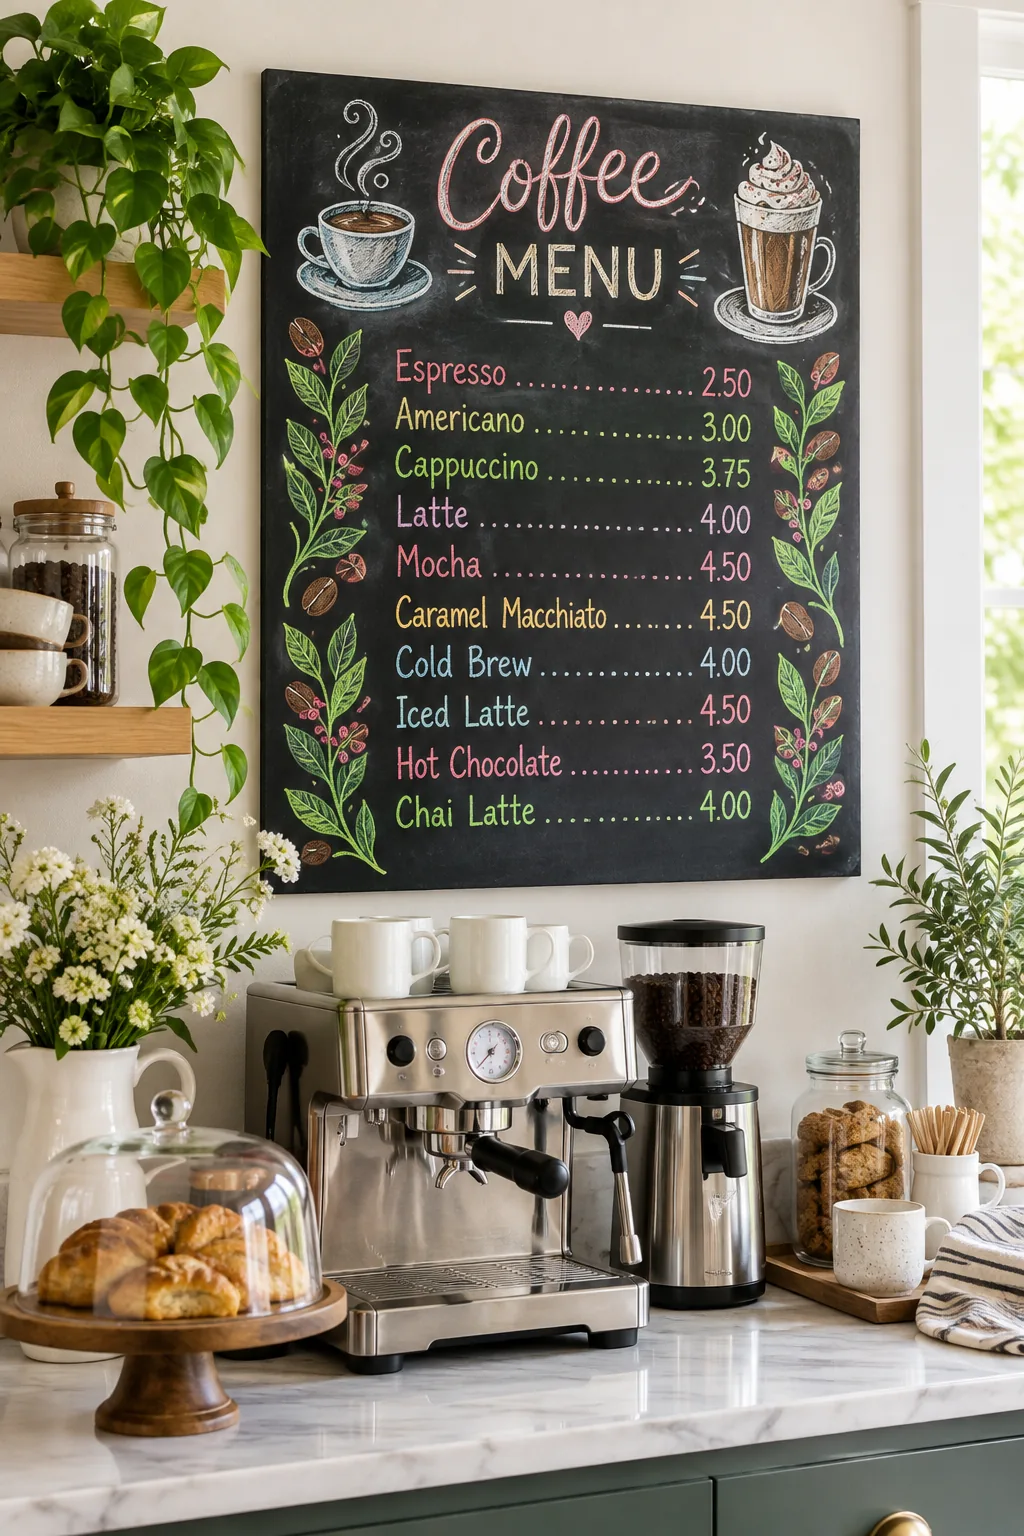
Download the 60x90cm Kitchen Chalkboard Menu Layout Sheet
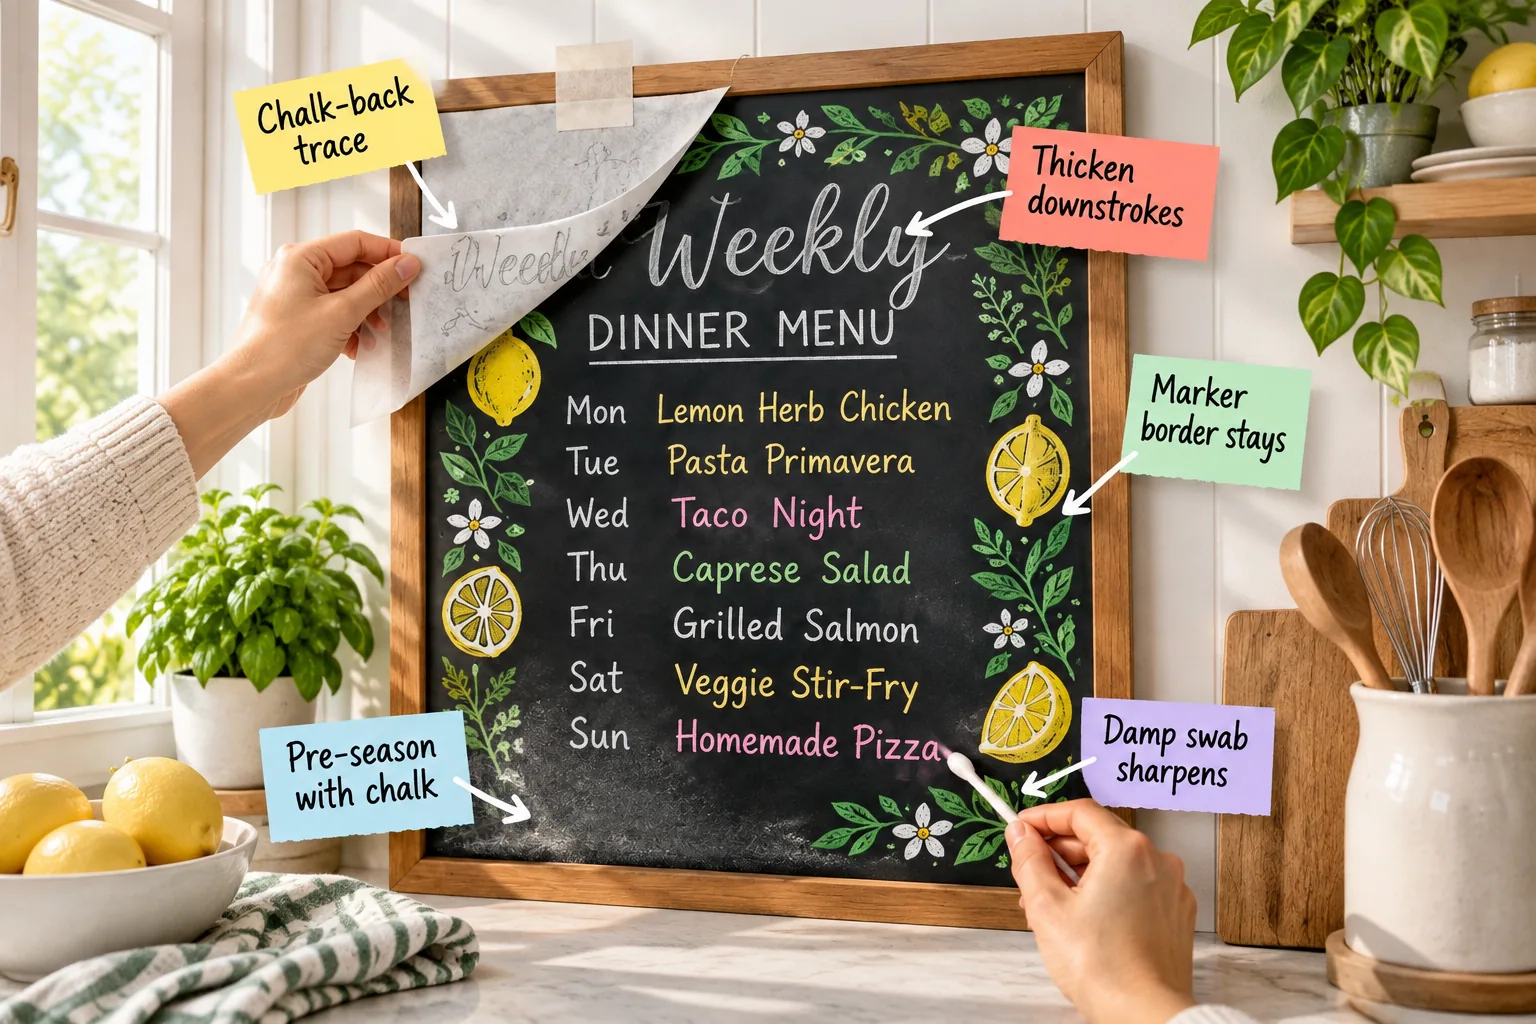
Grab your printable one-page Kitchen Chalkboard Menu Layout Sheet to easily map, trace, and letter a perfectly spaced weekly dinner menu. We will build this board layer by layer, from surface prep to the final crisp lettering, so you can update it effortlessly.
The Secret to a Perfect Kitchen Menu
A 60×90 cm framed chalkboard is the absolute ideal size for a highly readable family menu that beautifully anchors your kitchen wall. The real secret to a board that looks professional but remains practical is dividing the surface into dedicated, purpose-driven zones.
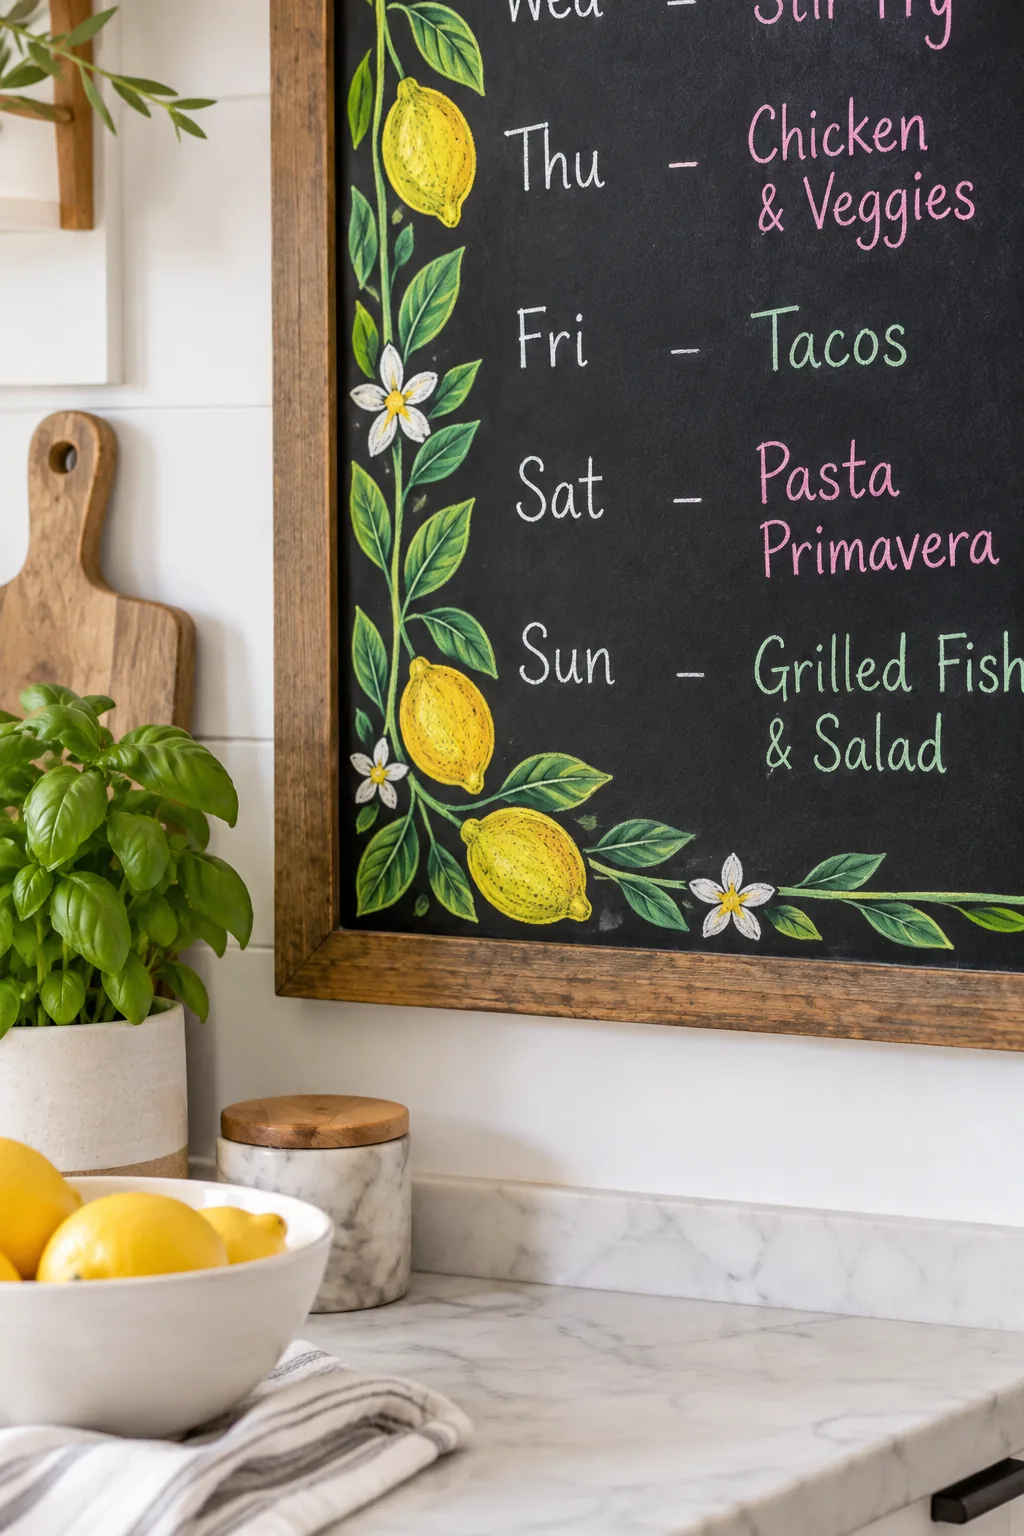
By separating the permanent painted artwork from the temporary weekly updates, you preserve the beautiful framework while easily wiping away the daily meals. This dual-zone approach ensures your kitchen menu always looks pristine without requiring hours of re-drawing every single Sunday evening.
Pre-Seasoning the Chalkboard Surface
You must always pre-season with chalk by rubbing a standard stick of white chalk sideways over the entire board, then wiping it away with a dry felt eraser. This essential first step creates a soft gray patina that prevents future writing from burning into the surface.
I completely ruined my first beautiful kitchen chalkboard in my Austin apartment by eagerly skipping this crucial seasoning step. I wrote out my weekly meals in bright liquid chalk on the fresh black surface, and those ghosted words are still permanently burned into the slate today.
Setting the Semi-Permanent Border
Draw your decorative lemon and herb border using high-quality liquid chalk markers to establish the permanent zones. Because these liquid markers dry incredibly hard and resist dry erasers, your vibrant marker border stays perfectly intact when the daily meals are wiped away.
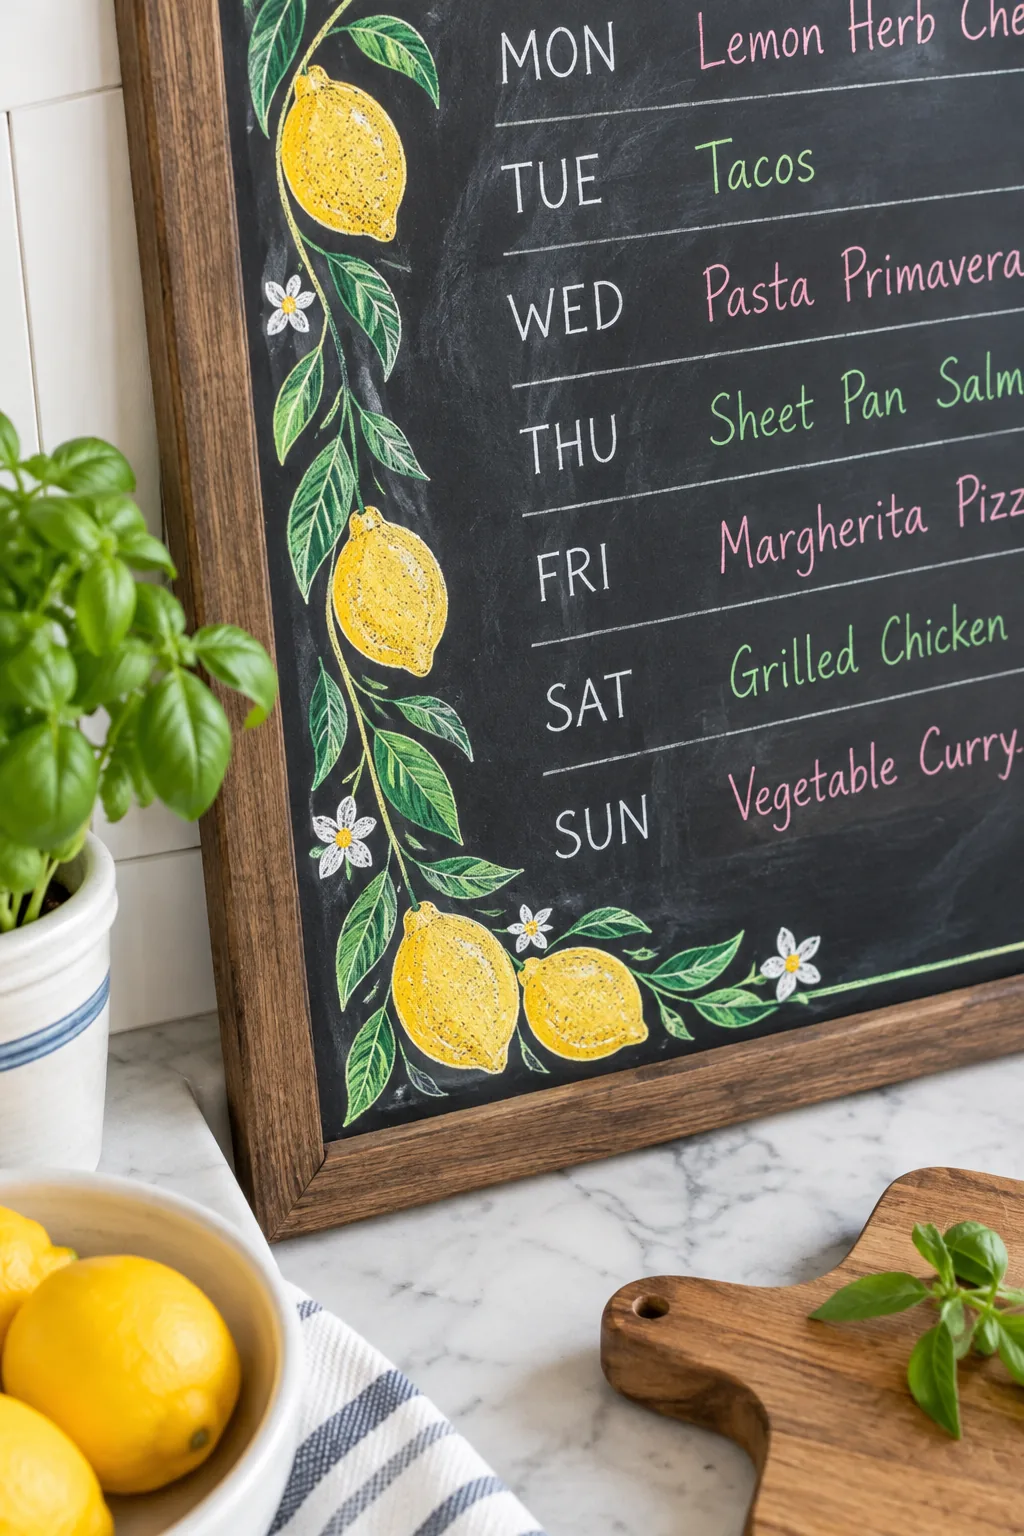
The vibrant liquid chalk creates a beautifully opaque, semi-permanent frame that anchors the entire menu design on your wall. You can confidently scrub away last week’s dinner entries with a dry eraser, knowing your carefully doodled lemons and vines will never smudge or fade.
The Chalk-Back Transfer Method
You do not need perfect handwriting to create a flawless script header when you utilize the brilliant chalk-back trace method. This simple transfer technique uses your printed layout sheet and loose chalk dust to create a perfect, faint outline directly on the board.
- Print the layout sheet at full scale so the script header perfectly matches your specific board dimensions.
- Rub standard white stick chalk heavily and evenly over the entire back of the printed paper.
- Tape the paper securely to the top center of your seasoned chalkboard using gentle painter’s tape.
- Trace firmly over the printed letters using a sharpened pencil or a smooth ballpoint pen.
- Lift one bottom corner gently to verify the chalk dust is successfully transferring to the board.
- Carefully peel away the paper to reveal the faint, perfect chalk outline transferred beneath.
Before I discovered this tracing trick, I would spend an entire hour erasing and re-writing headers until my hand physically cramped. Now, I just tape up my printed sheet, trace the lines, and get a perfectly centered, professional-looking script every single time.
Faux Calligraphy for the Header
Once your faint outline is transferred, trace over it using a fine-tipped liquid chalk marker to lock the header permanently in place. The secret to mimicking a traditional calligraphy pen without the specialized tools is to manually thicken downstrokes on every single letter.
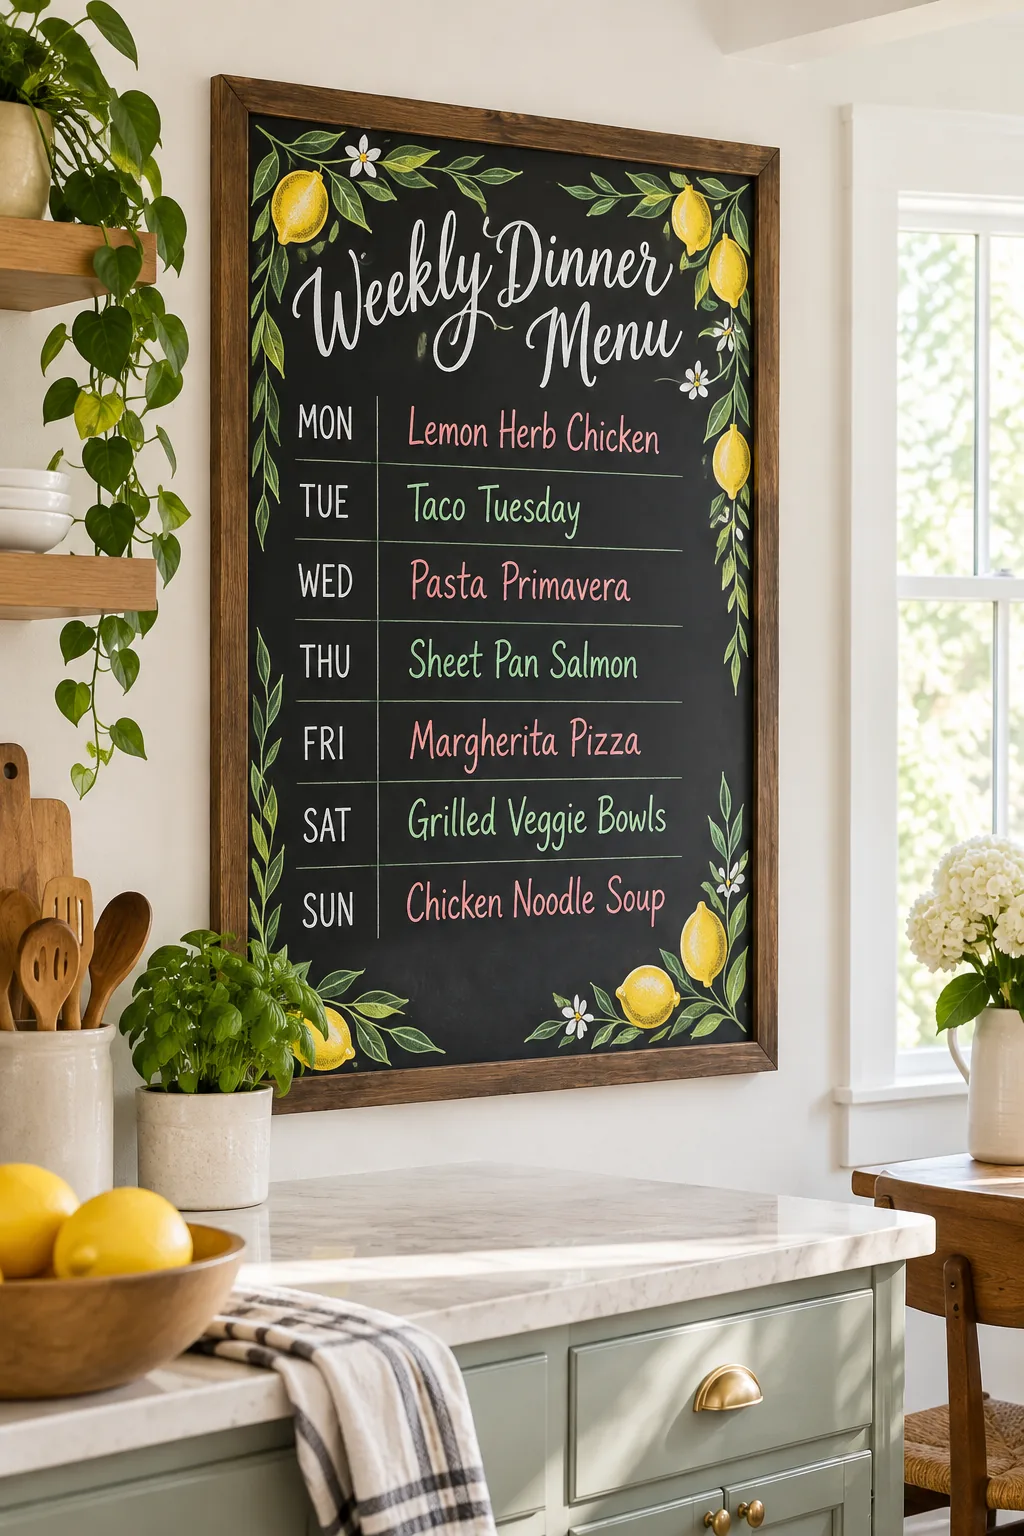
Every time your pen path moves downward toward the bottom of the board, draw a second line parallel to the first and fill in the gap. This simple faux calligraphy technique adds beautiful weight and pressure variation to the script, making the header look incredibly professional.
Writing the Daily Menu Items
Switch back to standard stick chalk for your Monday through Sunday entries so they remain incredibly easy to erase. Keep your daily meal letter heights to exactly 4 cm tall to maintain the correct, highly readable spacing within your 60×90 cm frame.
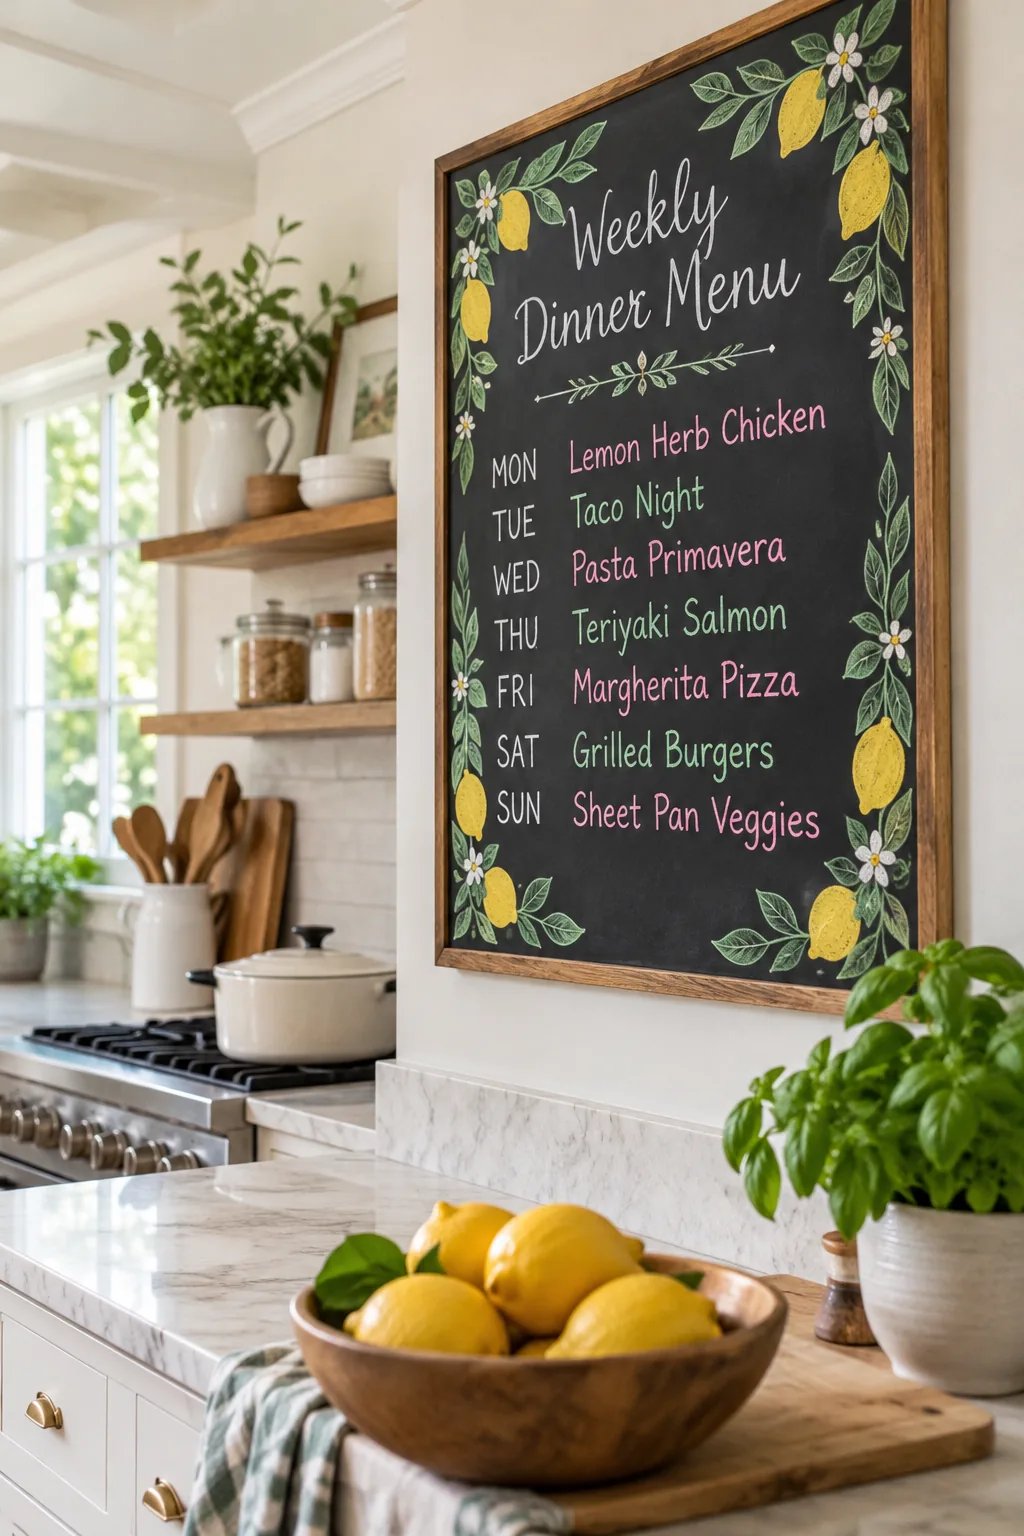
Maintaining consistent letter sizing prevents the bottom of your weekly menu from looking cramped, messy, or difficult to read. Using a structured spacing guide ensures every single day of the week gets equal room, making the board perfectly balanced from top to bottom.
| Board Zone | Vertical Spacing | Letter Height | Chalk Medium |
|---|---|---|---|
| Decorative Border | Outer 5 cm edge | N/A | Liquid Marker |
| Script Header | Top 15 cm | 8 cm | Liquid Marker |
| Day Labels | 5 cm per day | 3 cm | Stick Chalk |
| Meal Entries | 8 cm per day | 4 cm | Stick Chalk |
| Bottom Notes | Bottom 10 cm | 3 cm | Stick Chalk |
Crisping Edges with a Damp Swab
Standard stick chalk inevitably leaves behind a little loose dust, but a carefully applied damp swab sharpens those messy edges instantly. Running a slightly moistened cotton swab along the outside of your daily menu letters binds the loose dust, making cheap stick chalk look incredibly crisp.
The tap water here in Austin is incredibly hard, and using it to clean my chalkboard always left cloudy white mineral streaks behind. Switching to a tiny bowl of distilled water for my cotton swabs completely eliminated those frustrating cloudy spots for good.
Download the Kitchen Board Layout Sheet
Grab your printable one-page Kitchen Chalkboard Menu Layout Sheet to get the exact line spacing, the 4 cm letter height guides, and the marker-versus-chalk map. This comprehensive download includes the complete 6-step tracing sequence so you can perfectly recreate this weekly dinner menu.
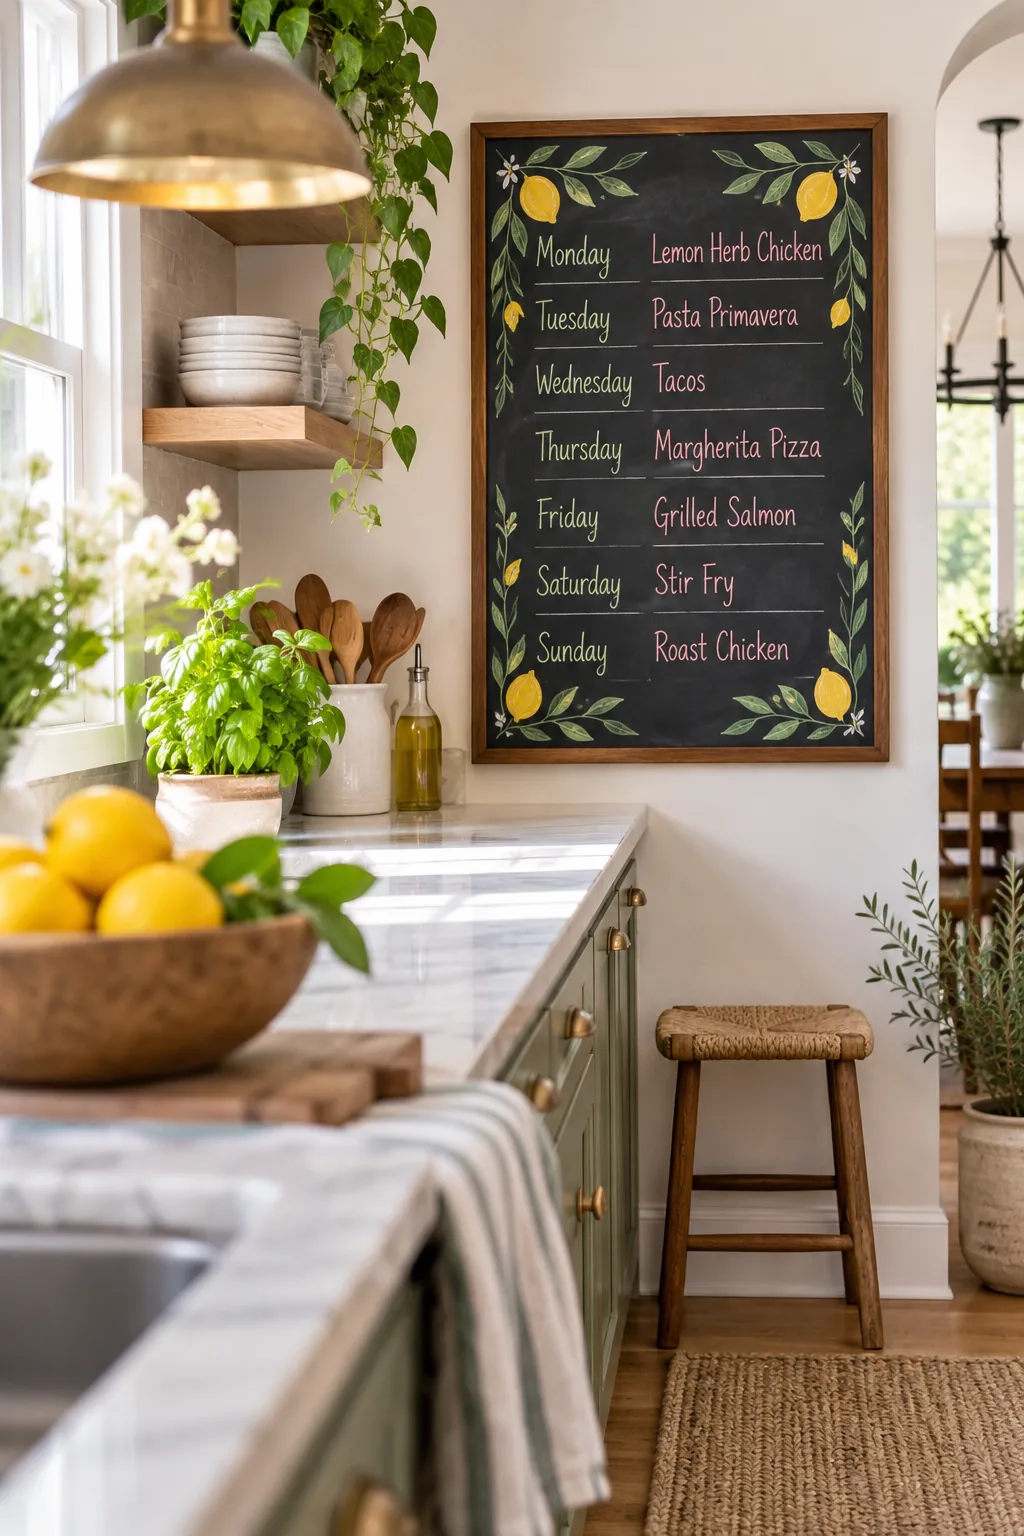
I designed this exact layout sheet after my workshop students kept asking how I managed to keep my own kitchen menu so perfectly aligned every week. Printing this guide takes all the frustrating guesswork out of the spacing, so you can just enjoy the relaxing process of lettering.
Chalkboard Menu Styling Ideas
Adapt this tracing and zoning method to fit your own home's style.
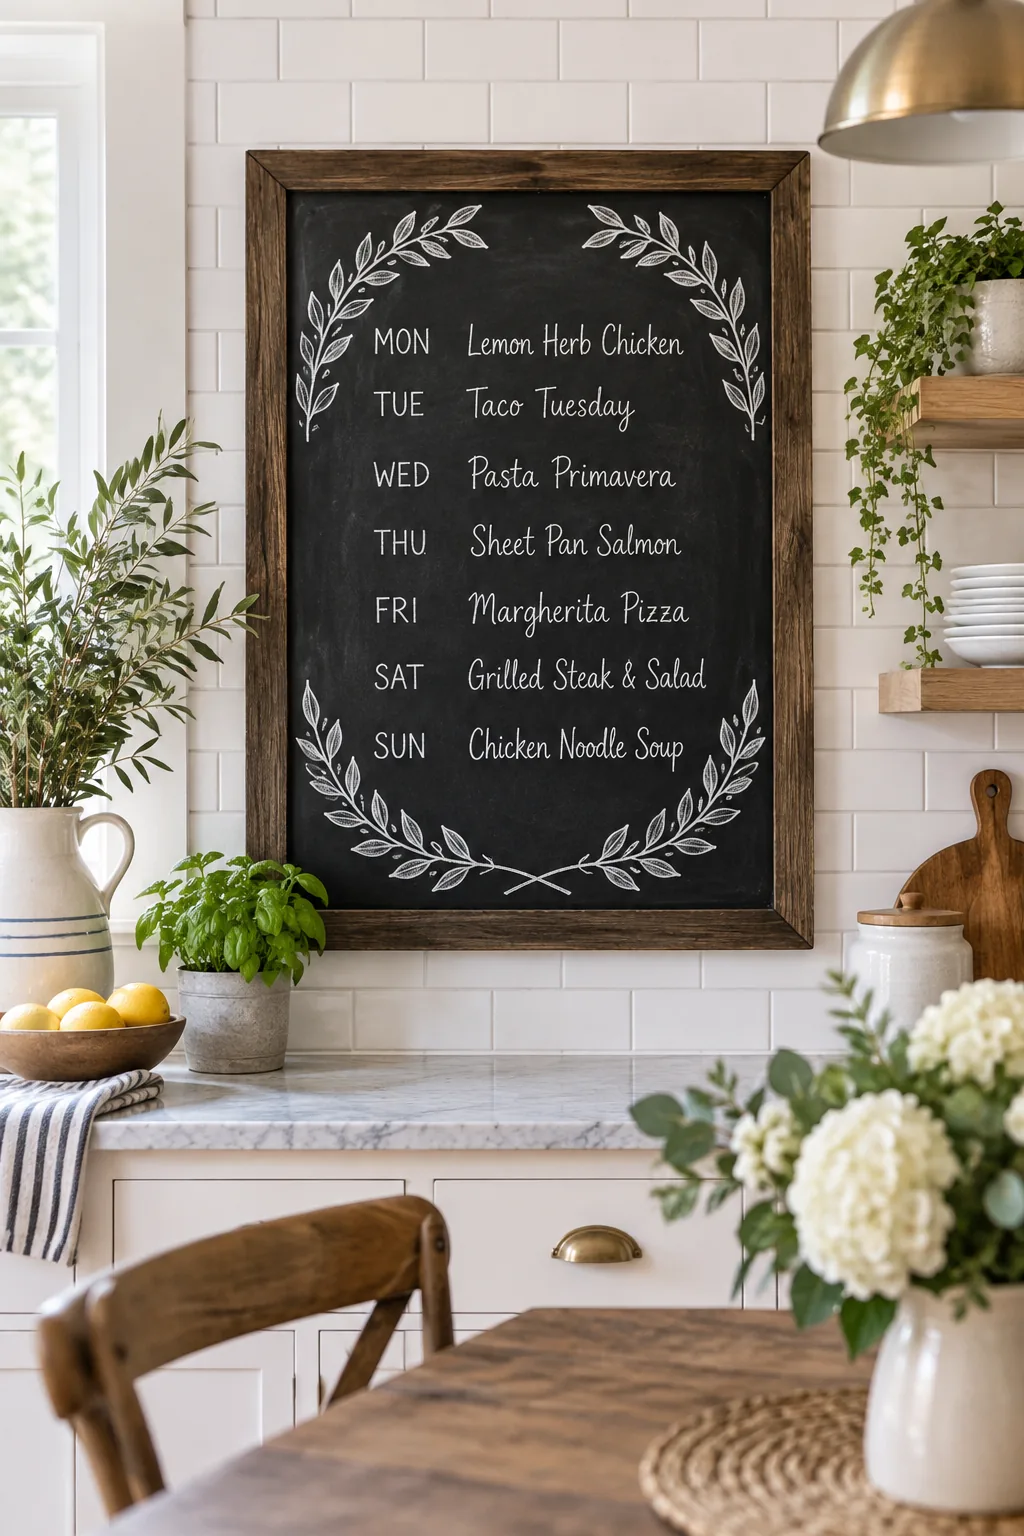
Modern farmhouse white on black.: Stick to pure white chalk for both the marker border and daily menu to create a clean, high-contrast farmhouse aesthetic.
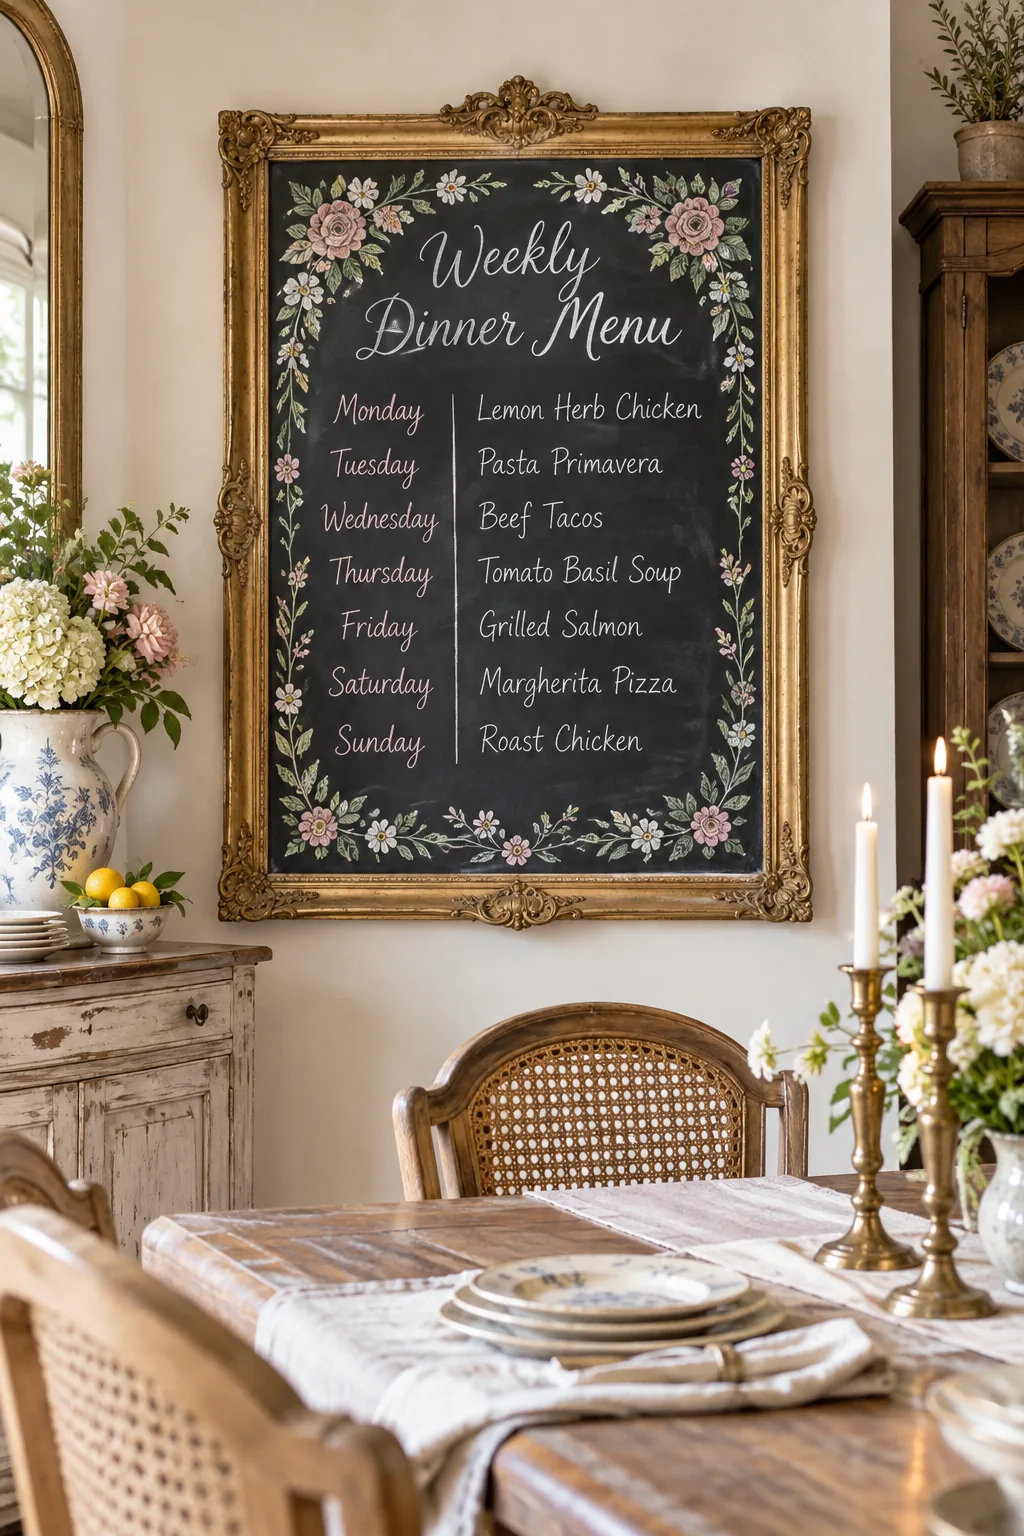
French country pastel floral border.: Frame the board in vintage gold and use soft pastel chalk markers for a romantic dining room menu.
Vibrant neon home cafe menu.: Use bright neon chalk markers for the permanent border to make a frameless slate board pop above your coffee station.