How to Build a 10×12 Gravel Patio in One Weekend (with Plans)
I know exactly how it feels to want a gorgeous, weed-free outdoor space by Sunday evening without guessing how much stone to order. Grab my printable two-day weekend schedule and exact 10×12 tonnage chart below so you can confidently start building your new backyard oasis.
The Two-Day Weekend Build Schedule
Following my strict hour-by-hour weekend schedule keeps the project manageable and guarantees a finished space by Sunday evening.
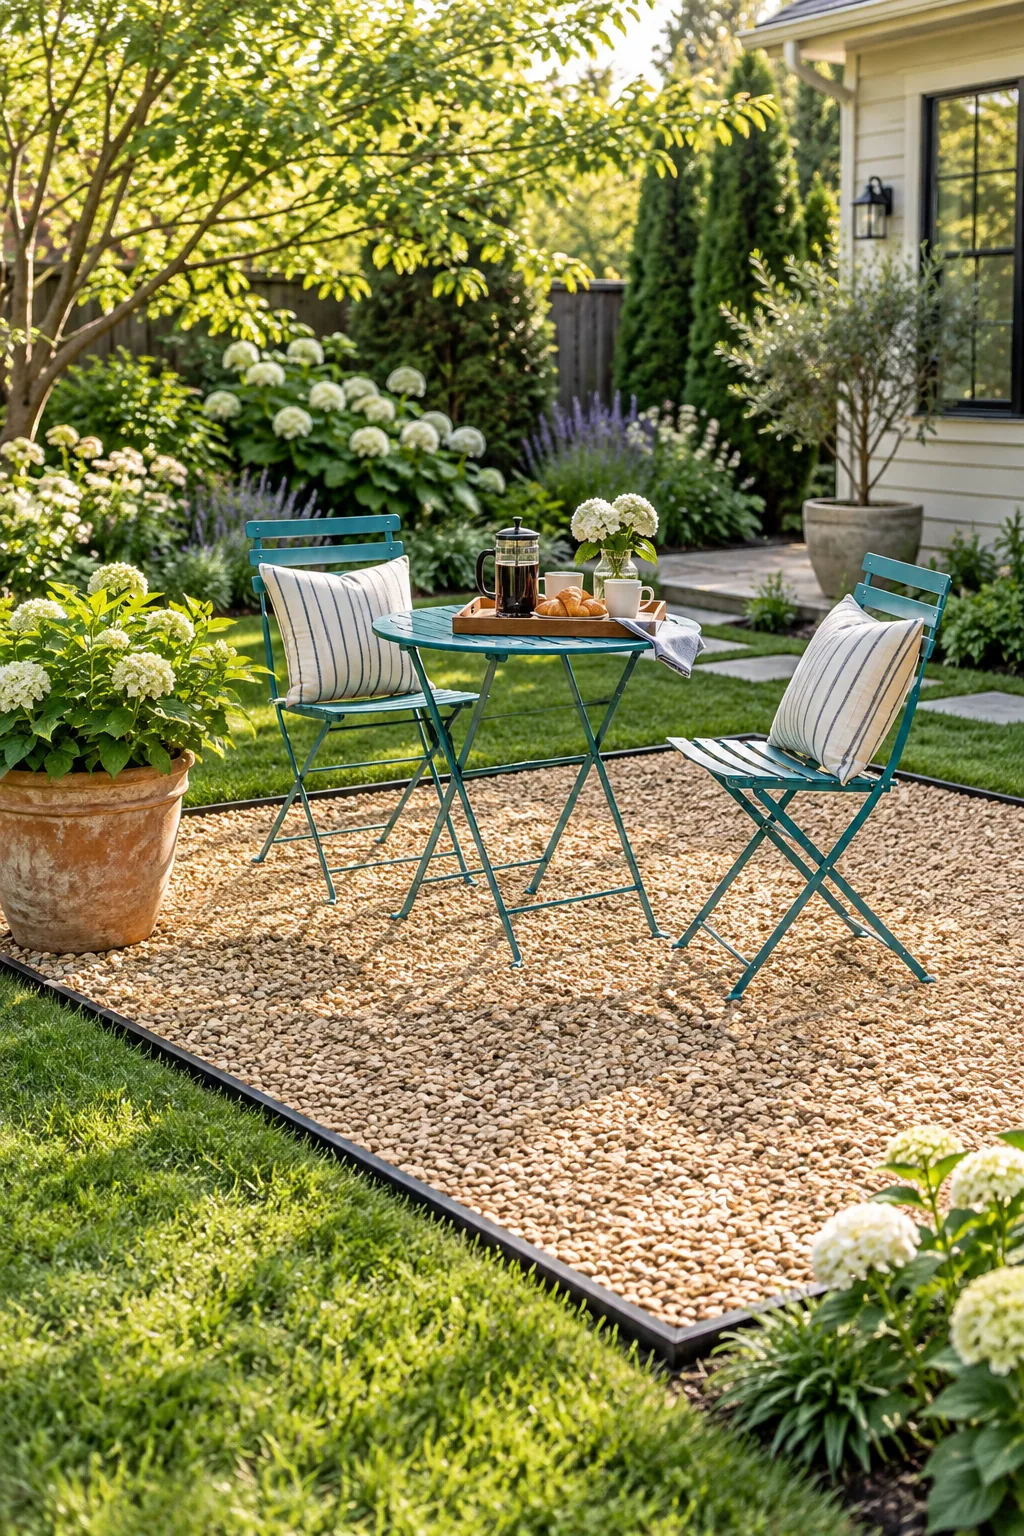
To hit that Sunday dinner deadline, order 1.5 tons of base stone and 0.6 tons of top chips by Friday, then use this timeline to stay on track.
- Saturday 8 AM: Mark out the 10×12 footprint, check for utility lines, and dig down exactly 5.5 inches.
- Saturday 1 PM: Stake the black steel edging into the perimeter and begin compacting the wet base stone.
- Sunday 9 AM: Lay the honeycomb stabilizer grid panels directly over the compacted base and trim the edges.
- Sunday 11 AM: Spread the angular top chips, sweep the surface flush, and arrange your patio furniture.
Sizing the 10×12 Footprint
Once you square the corners using the 3-4-5 measuring method, installing the steel edging first creates a rigid mold that holds the base materials firmly in place during compaction.
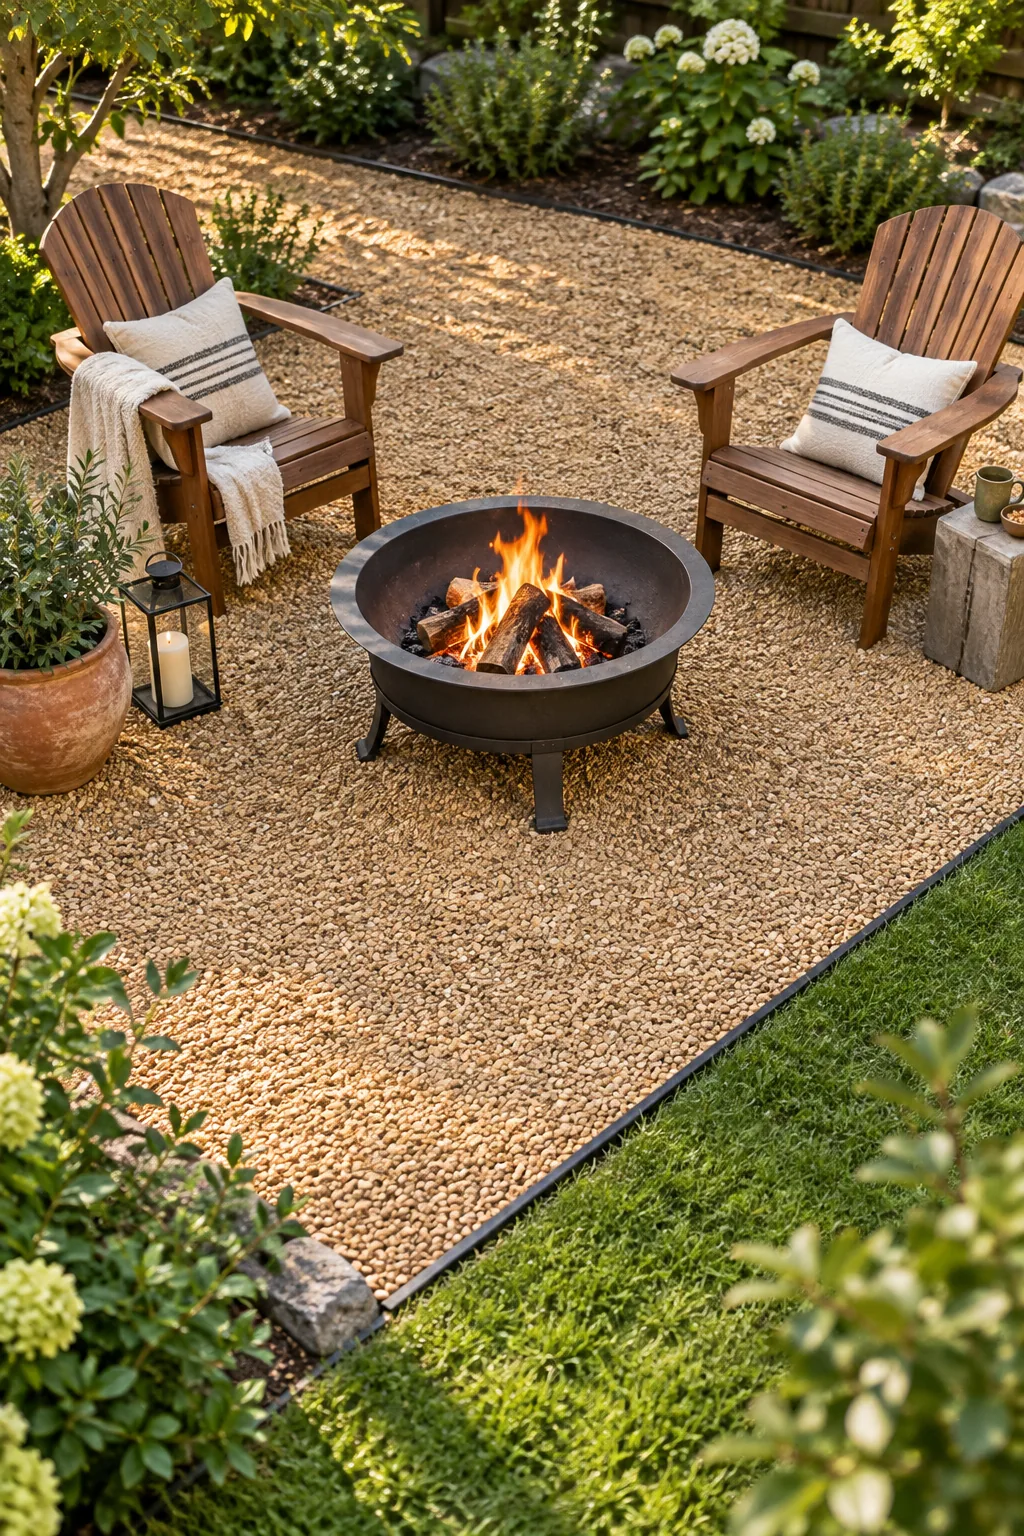
Before you break ground on Saturday morning, run through these essential site checks to ensure a smooth build.
Excavating the Soil to the Right Depth
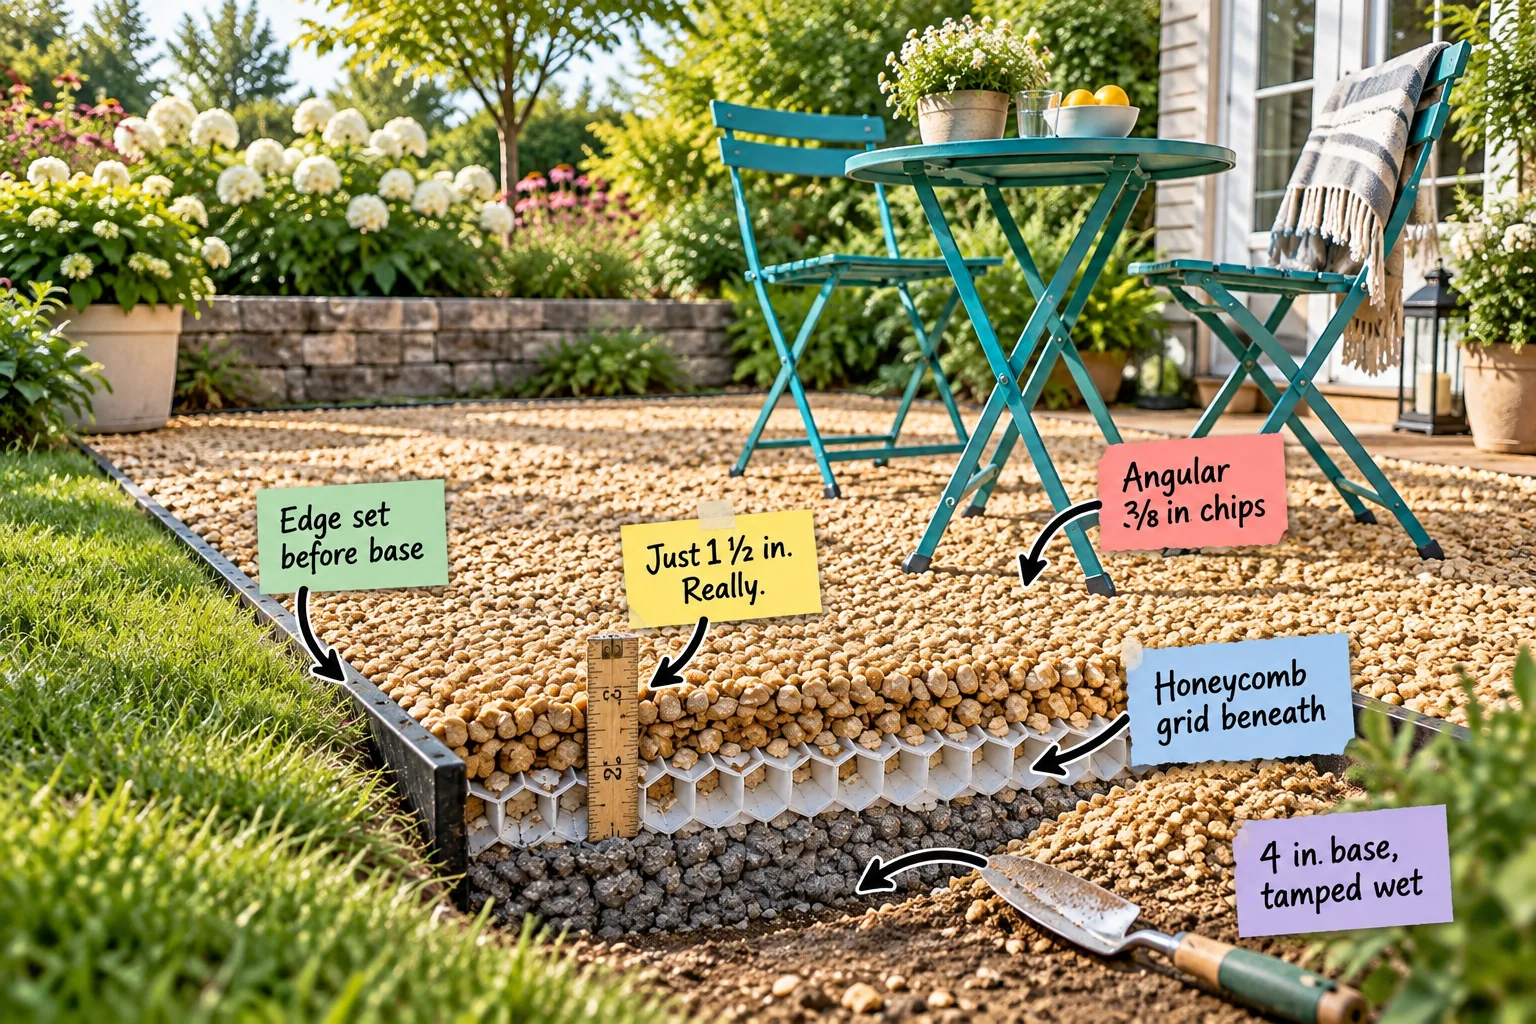
Digging out the grass and topsoil requires removing exactly 5.5 inches of dirt across the entire 120-square-foot footprint. This precise depth leaves room for four inches of base, one inch of grid, and a half-inch overfill so the final surface sits flush with the lawn.
Setting the Steel Edge Before the Base
I learned the hard way on my first Austin backyard project that if you do not get the edge set before base, the heavy crushed stone will slowly push outward into the surrounding grass.
| Layer | Material | Required Depth | Function |
|---|---|---|---|
| Perimeter | Black steel edging | 4 inches tall | Retains the stone base |
| Foundation | Crushed stone pack | 4 inches deep | Supports heavy furniture |
| Stabilizer | Honeycomb grid | 1 inch thick | Traps the top gravel |
| Surface | Angular top chips | 1.5 inches total | Provides the finished look |
A deeply compacted, misted stone base is the invisible foundation that stops heavy furniture from creating uneven ruts inside that steel frame.
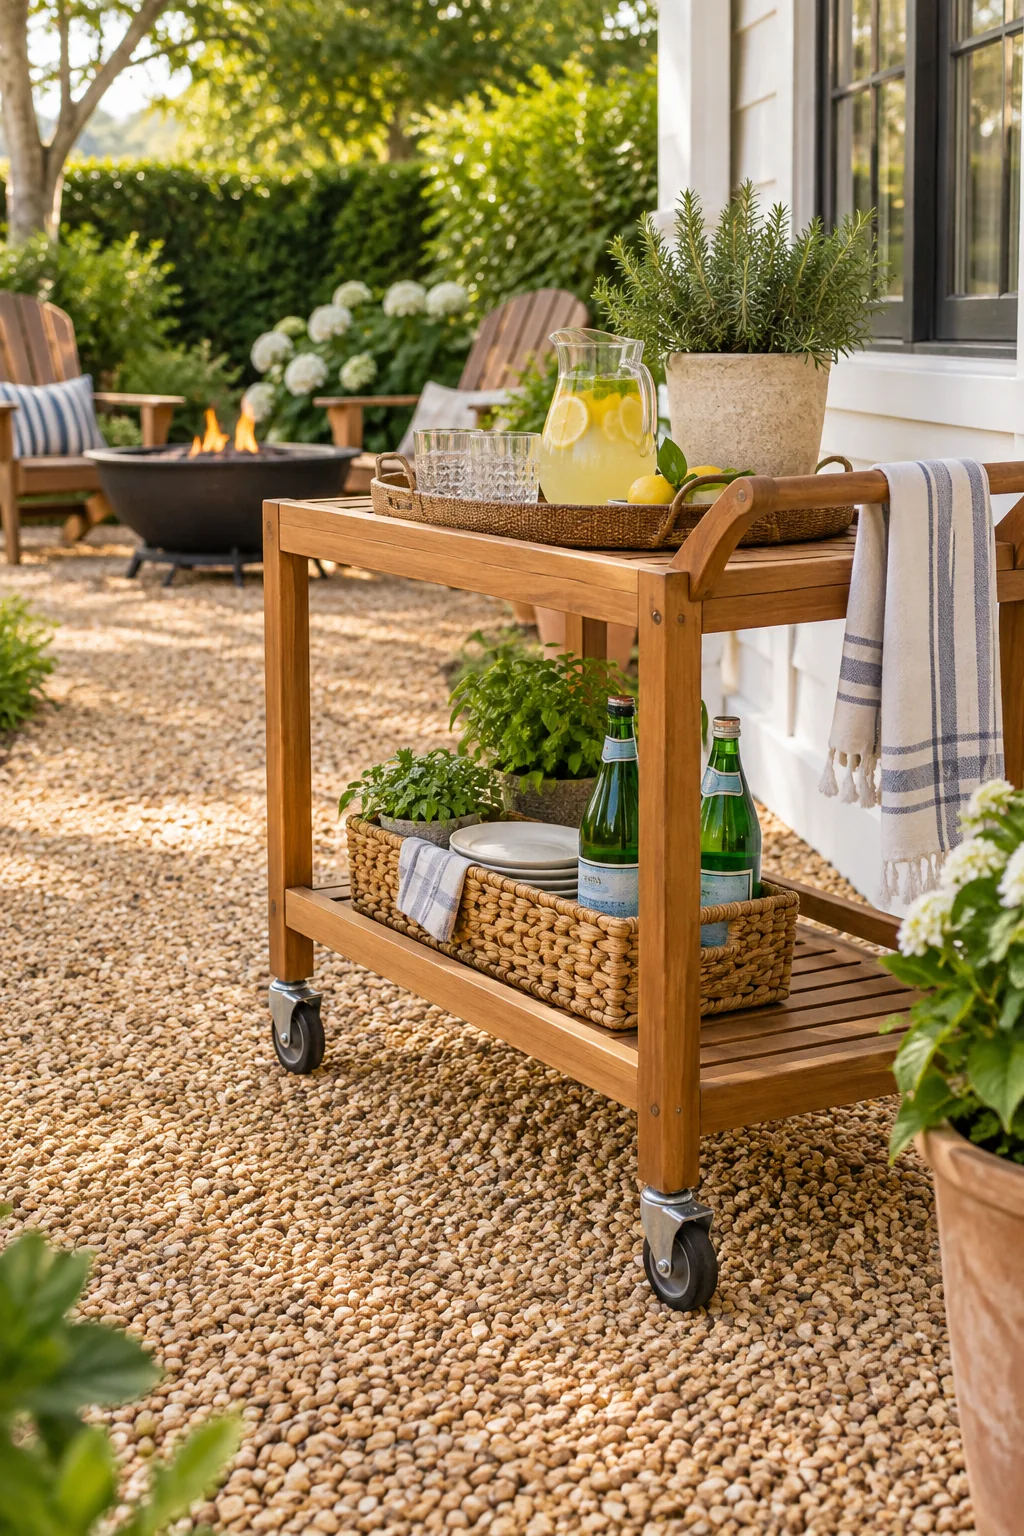
Tamping the 4-Inch Wet Base
To create a concrete-like foundation, you need a 4 in base, tamped wet. A patio is only as strong as its foundation, and rushing this hidden layer will cause your furniture to sink later.
Laying the Honeycomb Stabilizer Grid
The hidden honeycomb grid beneath traps the stones in small pockets, creating a surface so stable that even narrow wheels glide smoothly.
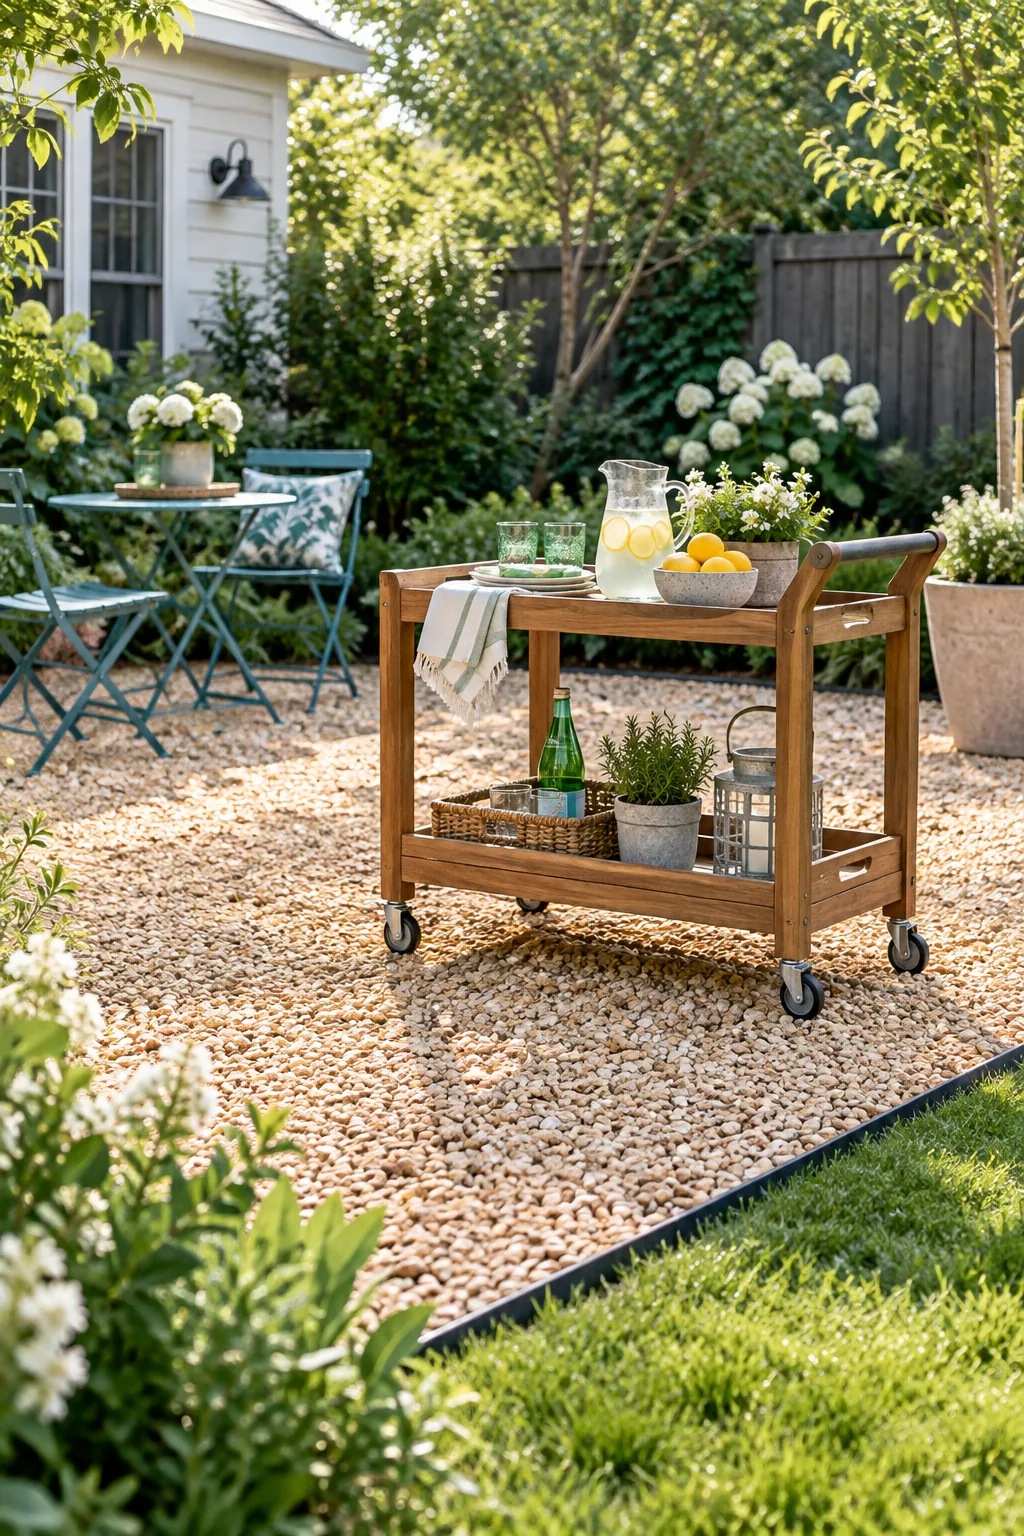
Trimming the Grid Panels to Fit
Because the honeycomb panels come in large rectangular sheets, you will need to trim the outer edges to fit snugly against your steel border. Use heavy-duty landscaping shears to cut the plastic cells, ensuring the grid covers every inch of the compacted base without buckling.
Choosing Angular 3/8-Inch Chips
Angular 3/8 in chips lock together underfoot like puzzle pieces, whereas smooth pea gravel acts like ball bearings that constantly shift.
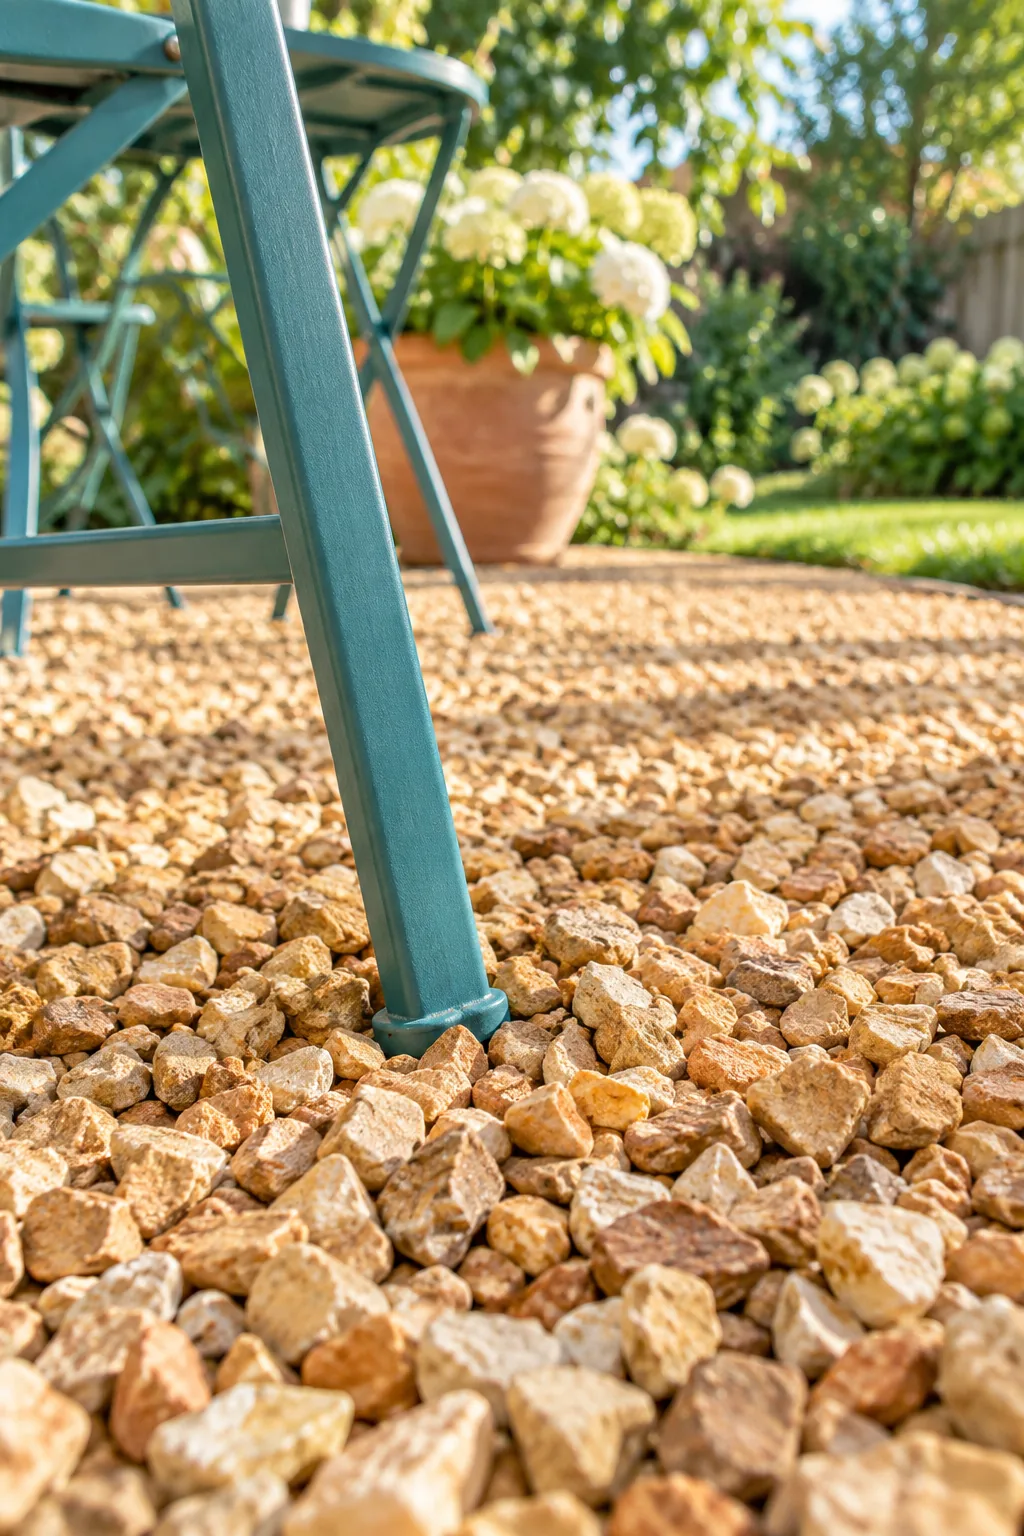
Spreading Exactly 1.5 Inches of Top Gravel
Limiting the top layer to just 1½ in. Really. ensures the plastic grid is hidden without creating a deep, unstable layer of loose stone. I overfilled my first fire pit area by three inches, and we sank every time we walked to the chairs.
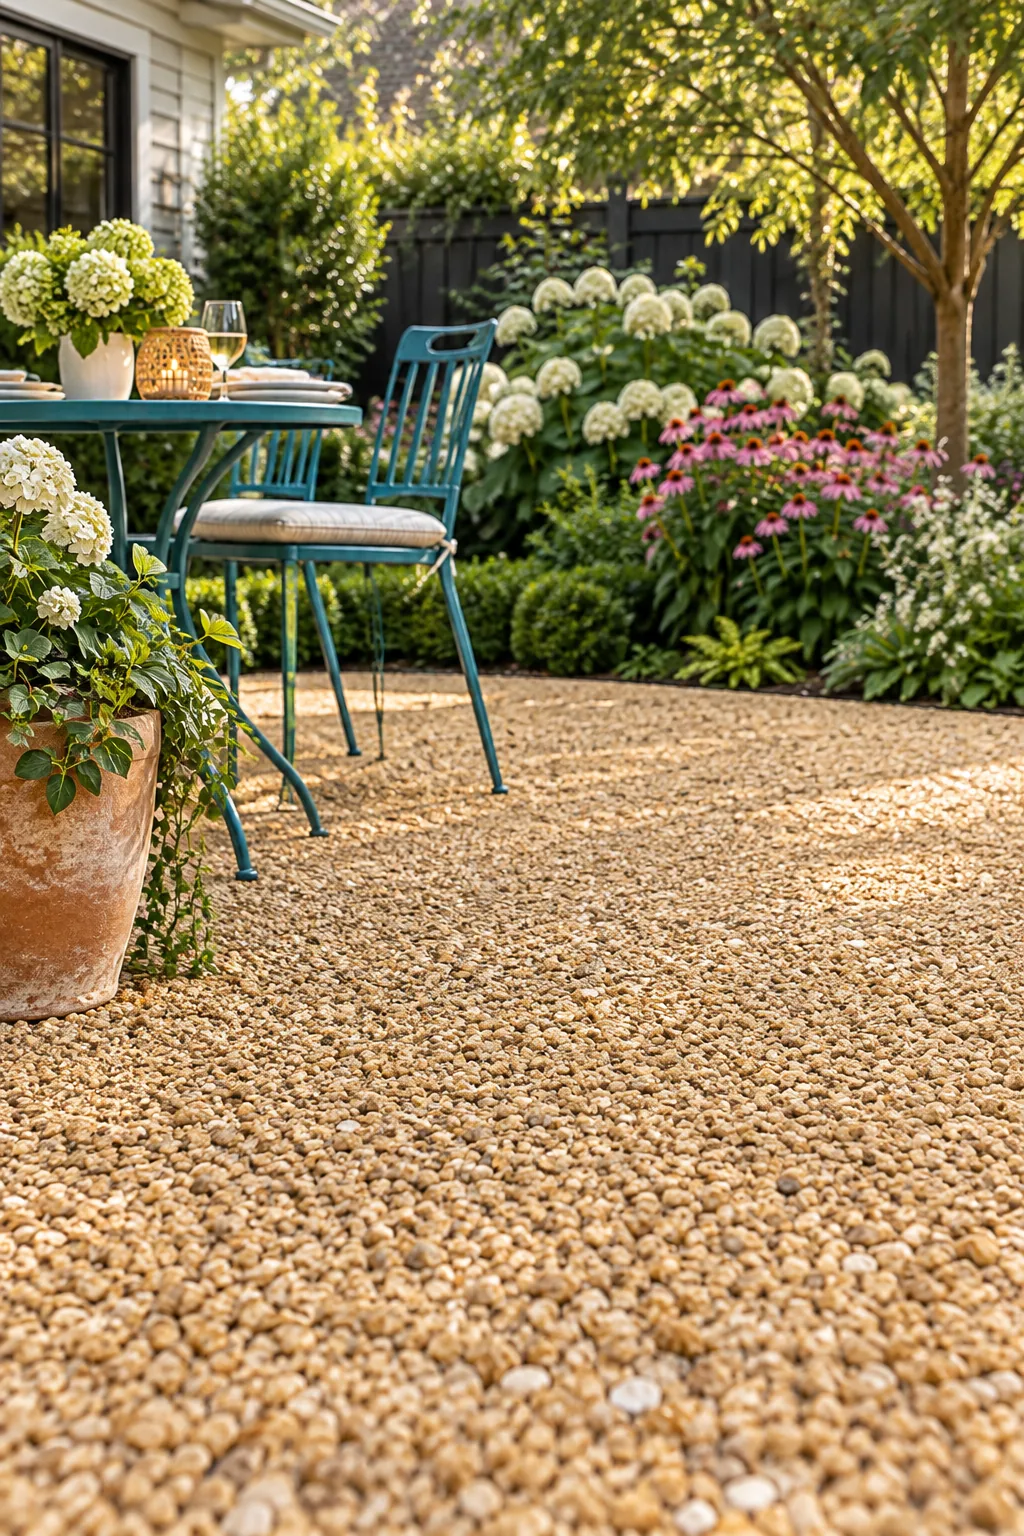
Sweeping the Surface Flush
Once the angular chips are spread across the grid, use a stiff push broom to sweep the stones evenly into every empty honeycomb cell. Sweeping back and forth exposes any low spots that need extra gravel while brushing excess chips away from the steel edging.
Styling the Patio for Sunday Dinner
Because there is no mortar to cure or concrete to dry, a stabilized gravel patio is ready to host dinner the moment the last stone is swept.
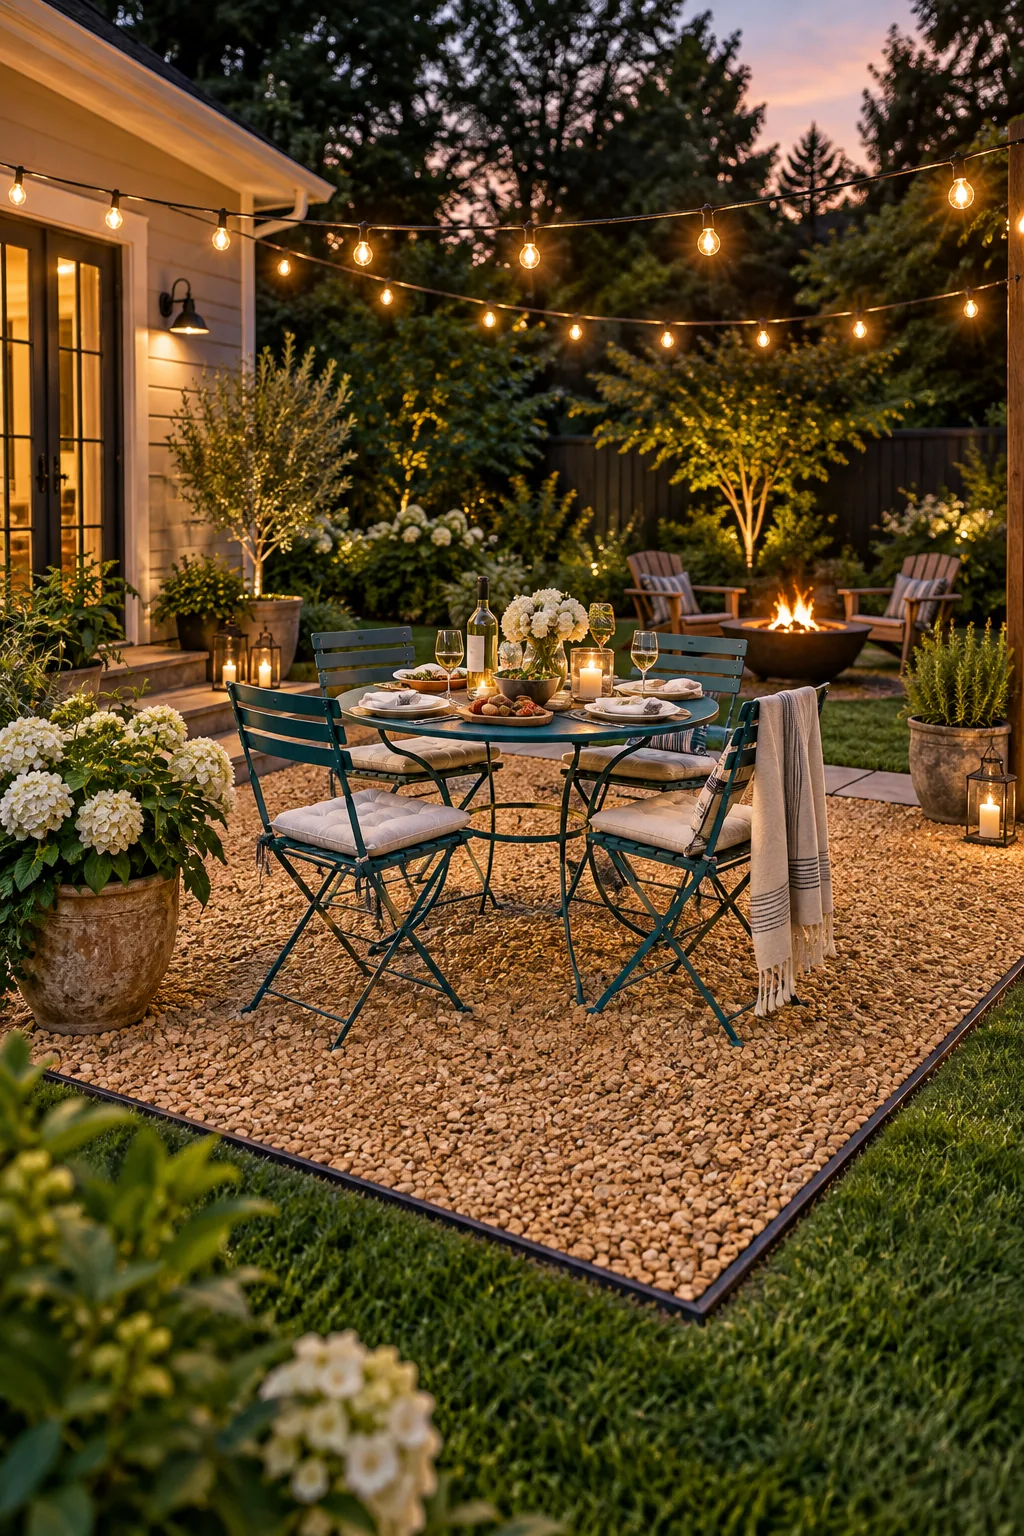
4 Ways to Style a Stabilized Gravel Patio
Once your foundation is solid, the top layer of stone dictates the entire mood of your outdoor room.
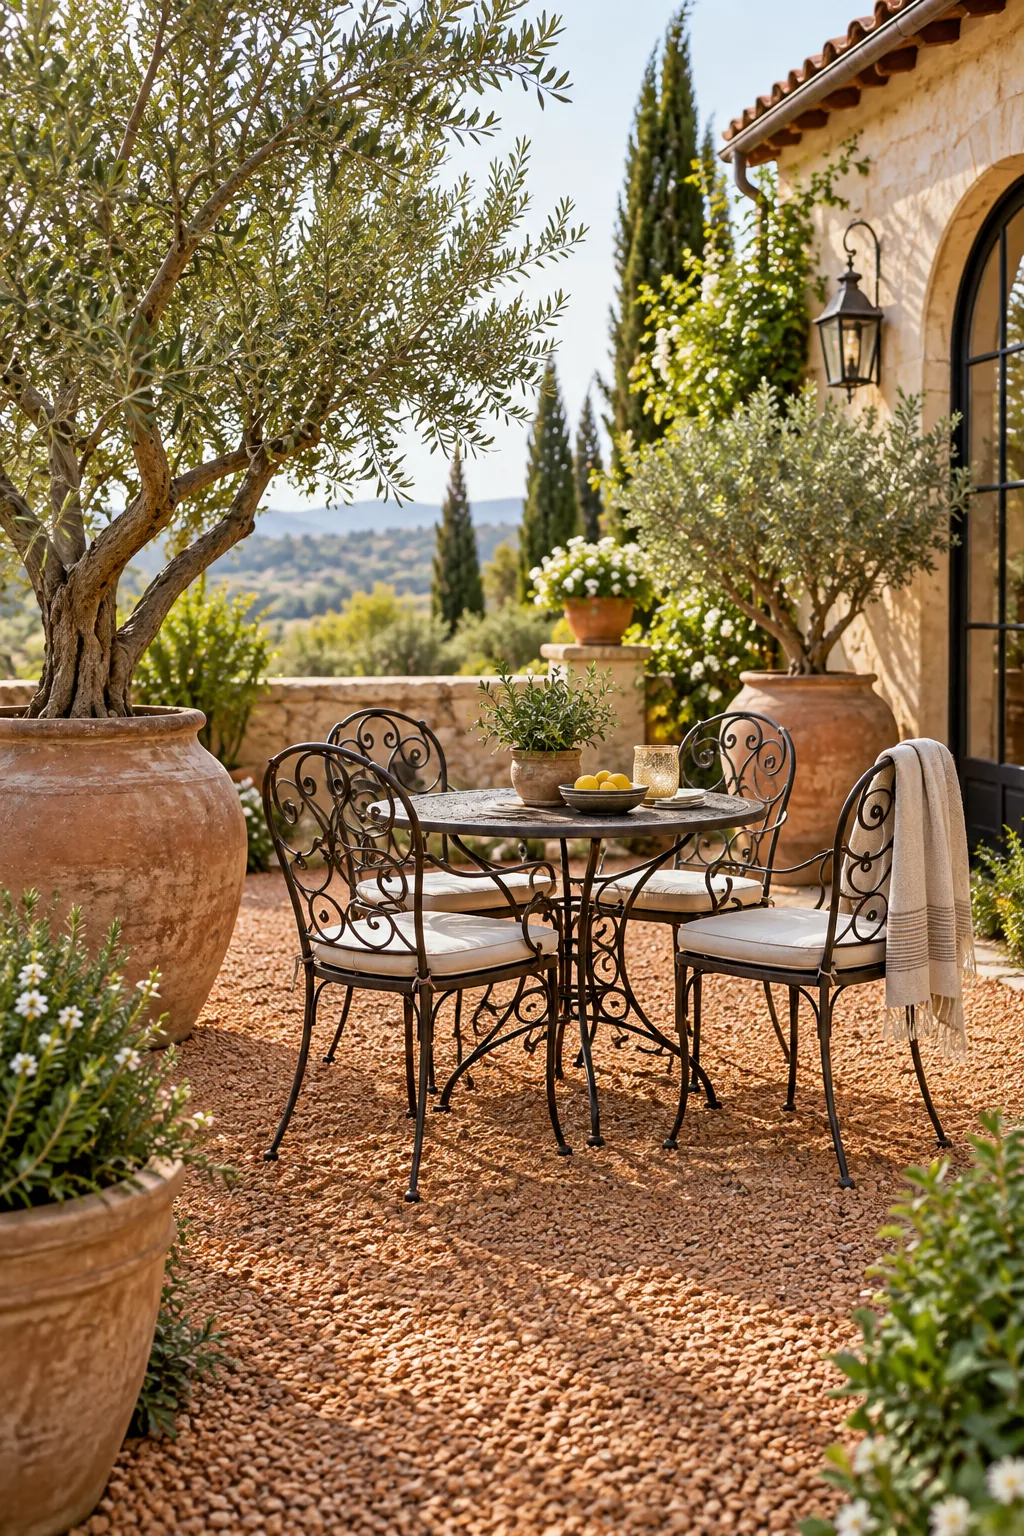
Mediterranean Courtyard: Warm terracotta chips and oversized potted olive trees instantly transport a basic backyard space to the European coast.
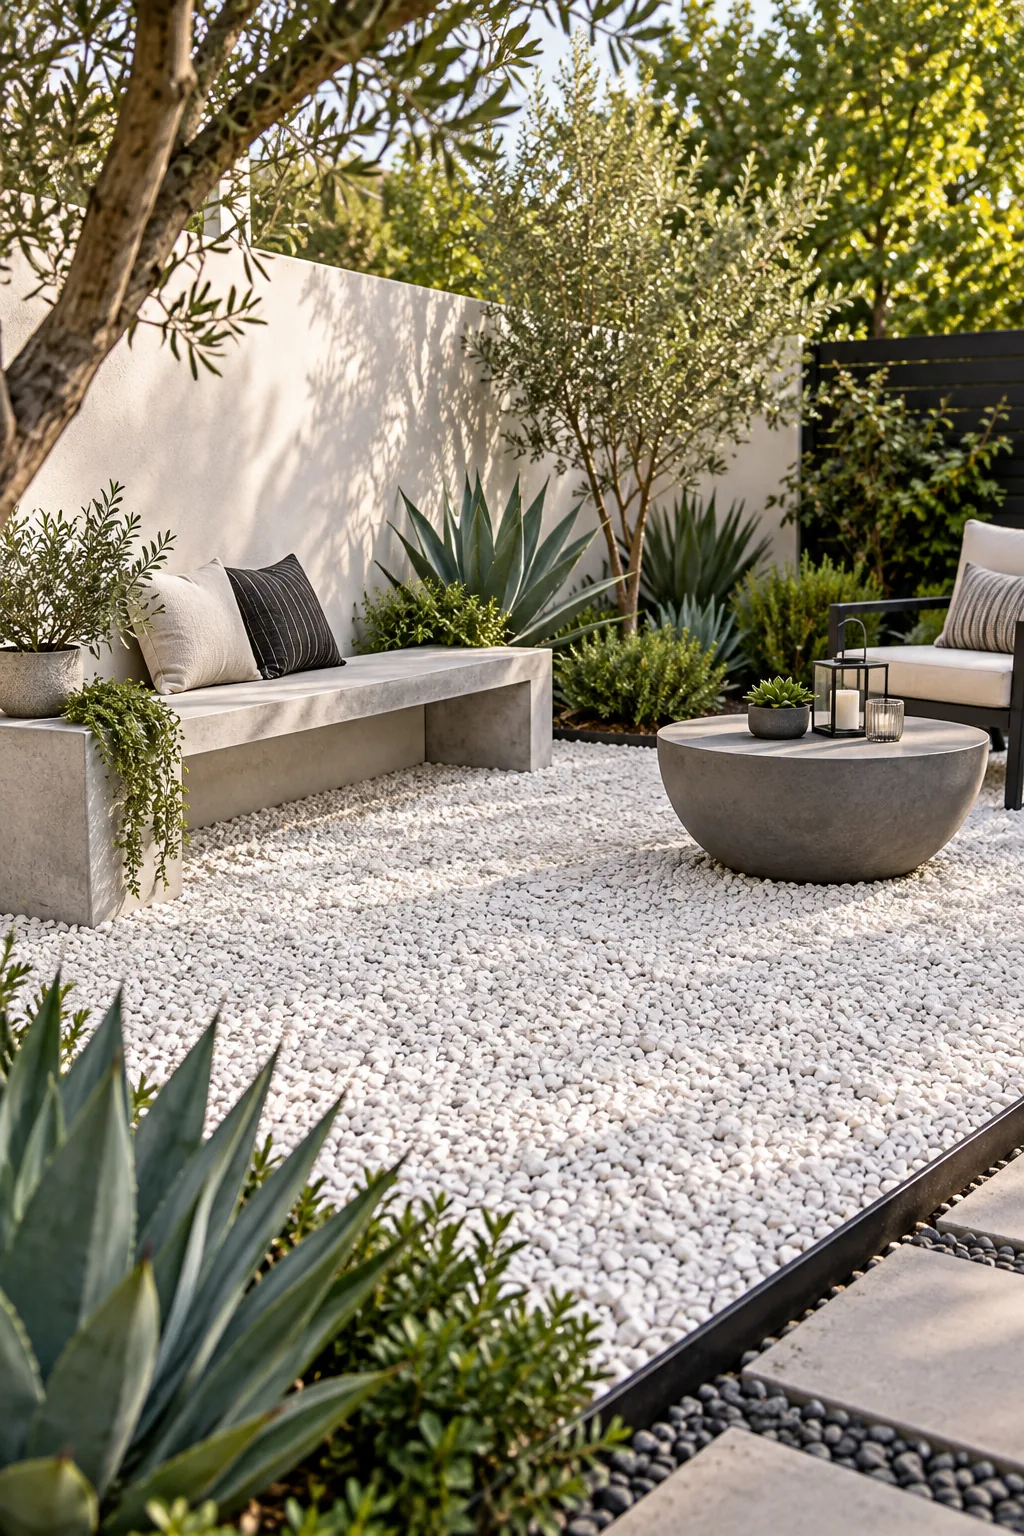
Modern Minimalist Oasis: High-contrast white marble chips paired with stark black edging create a clean, contemporary foundation for architectural plants.
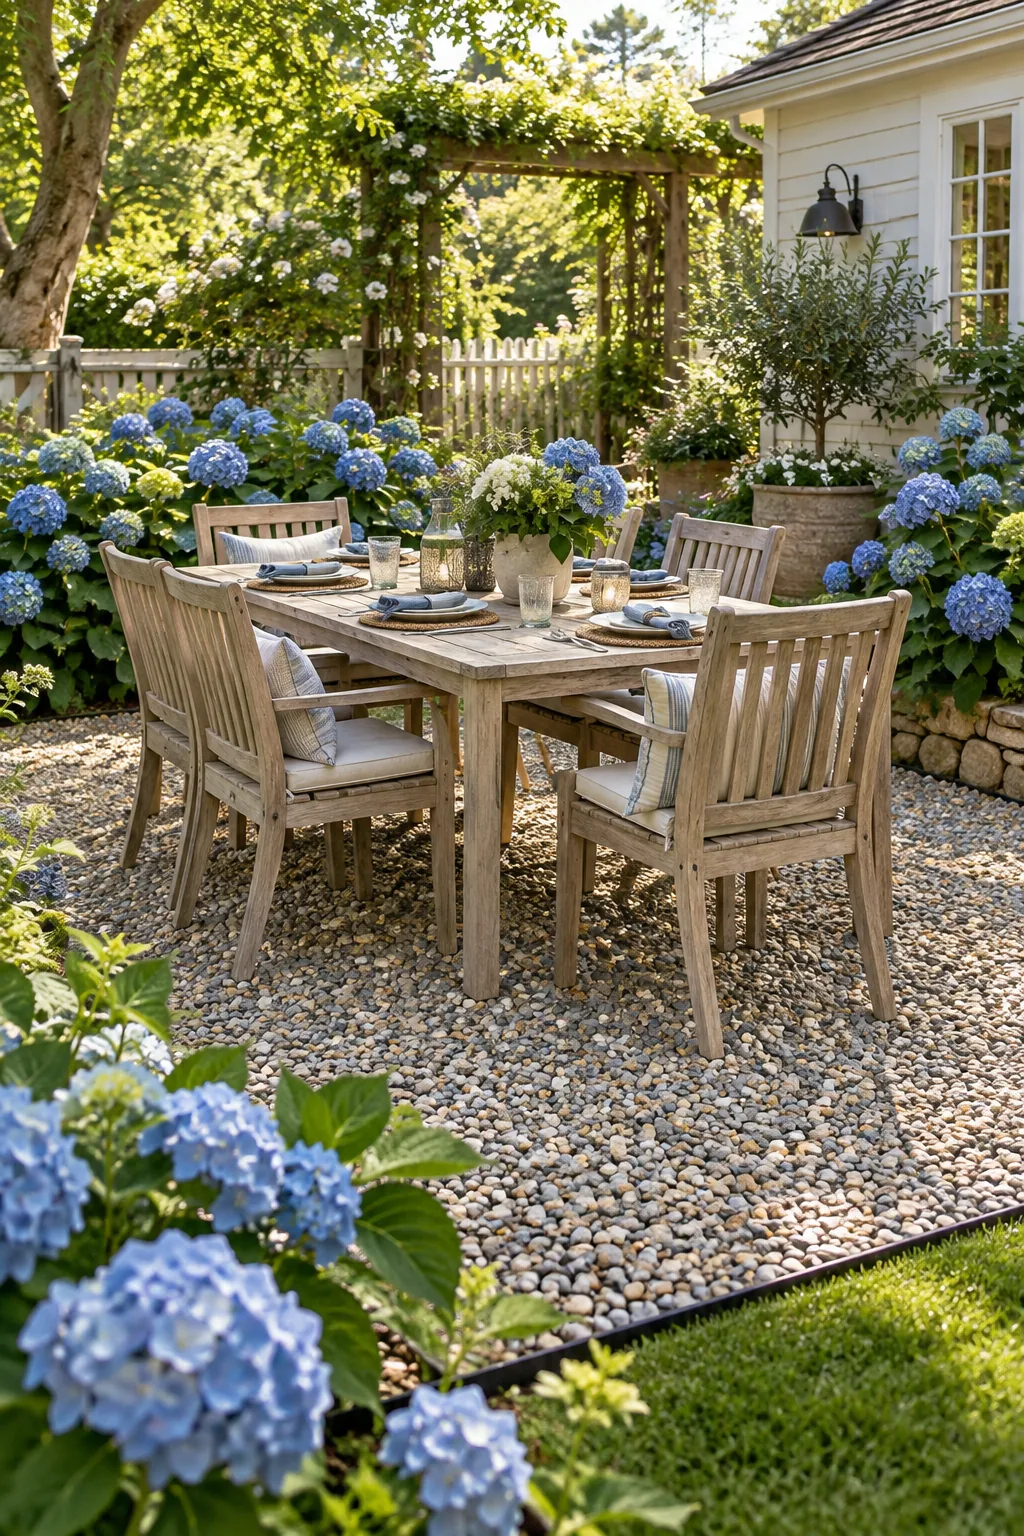
Weathered Cottage Garden: Muted grey and tan stones allow colorful blooming hydrangeas and naturally weathered teak furniture to take center stage.
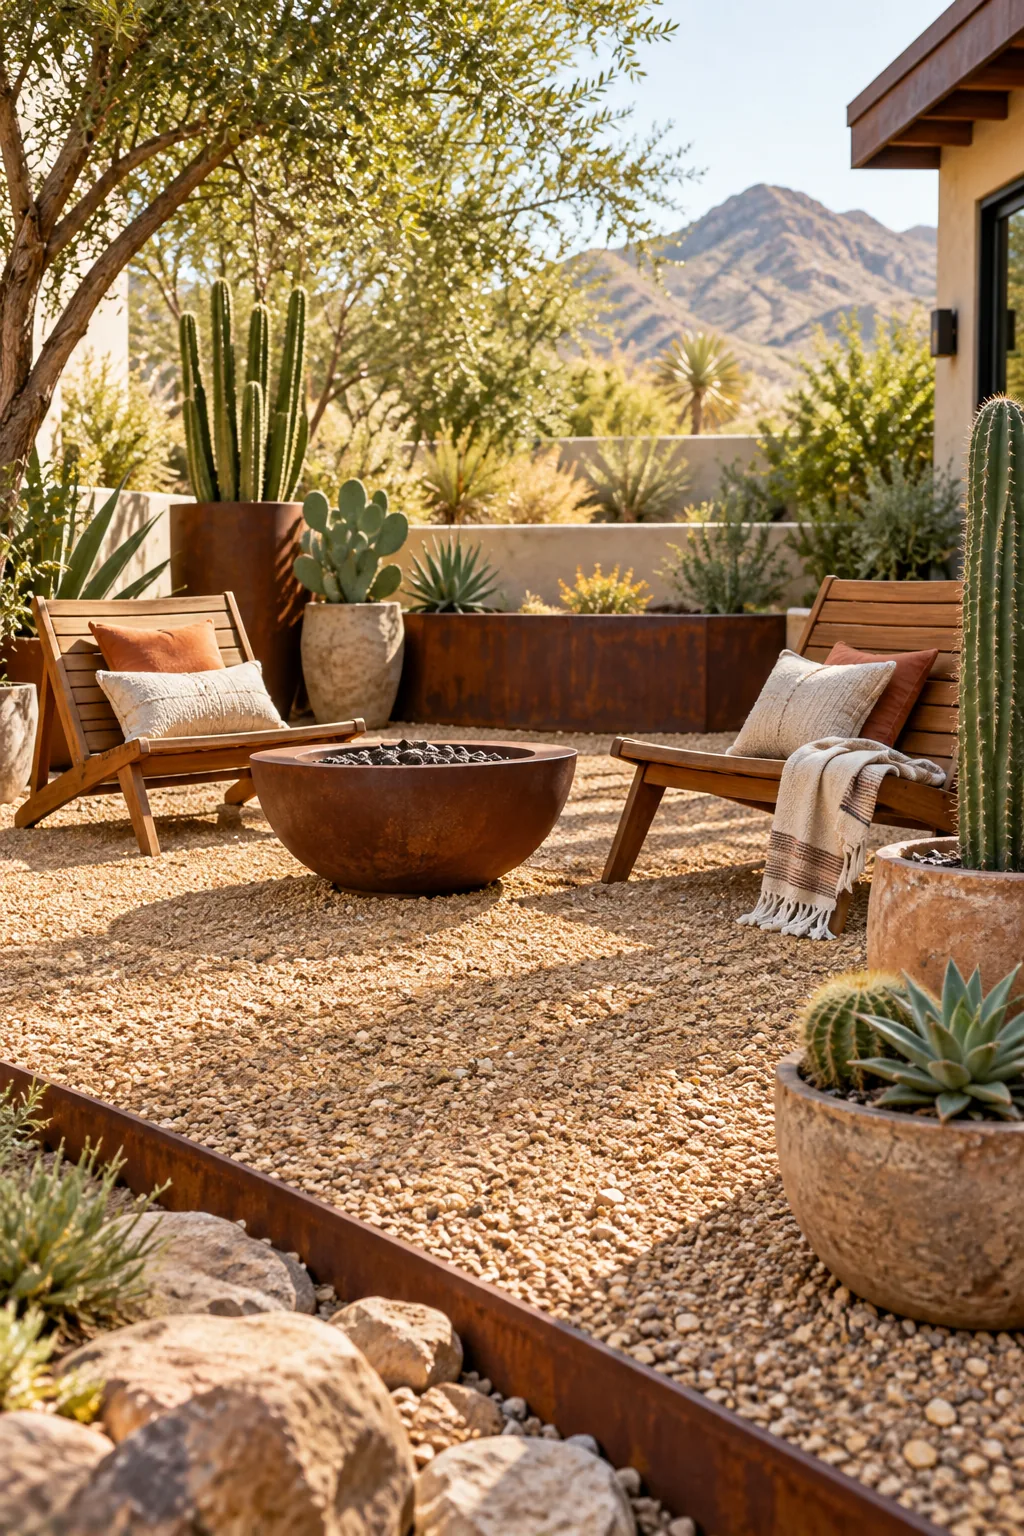
Warm Desert Retreat: Rusted corten steel edging and golden-toned gravel perfectly complement low-slung acacia wood loungers for a dry, earthy aesthetic.