
Kitchen Cabinet Organization: The Hidden Zone System & Map
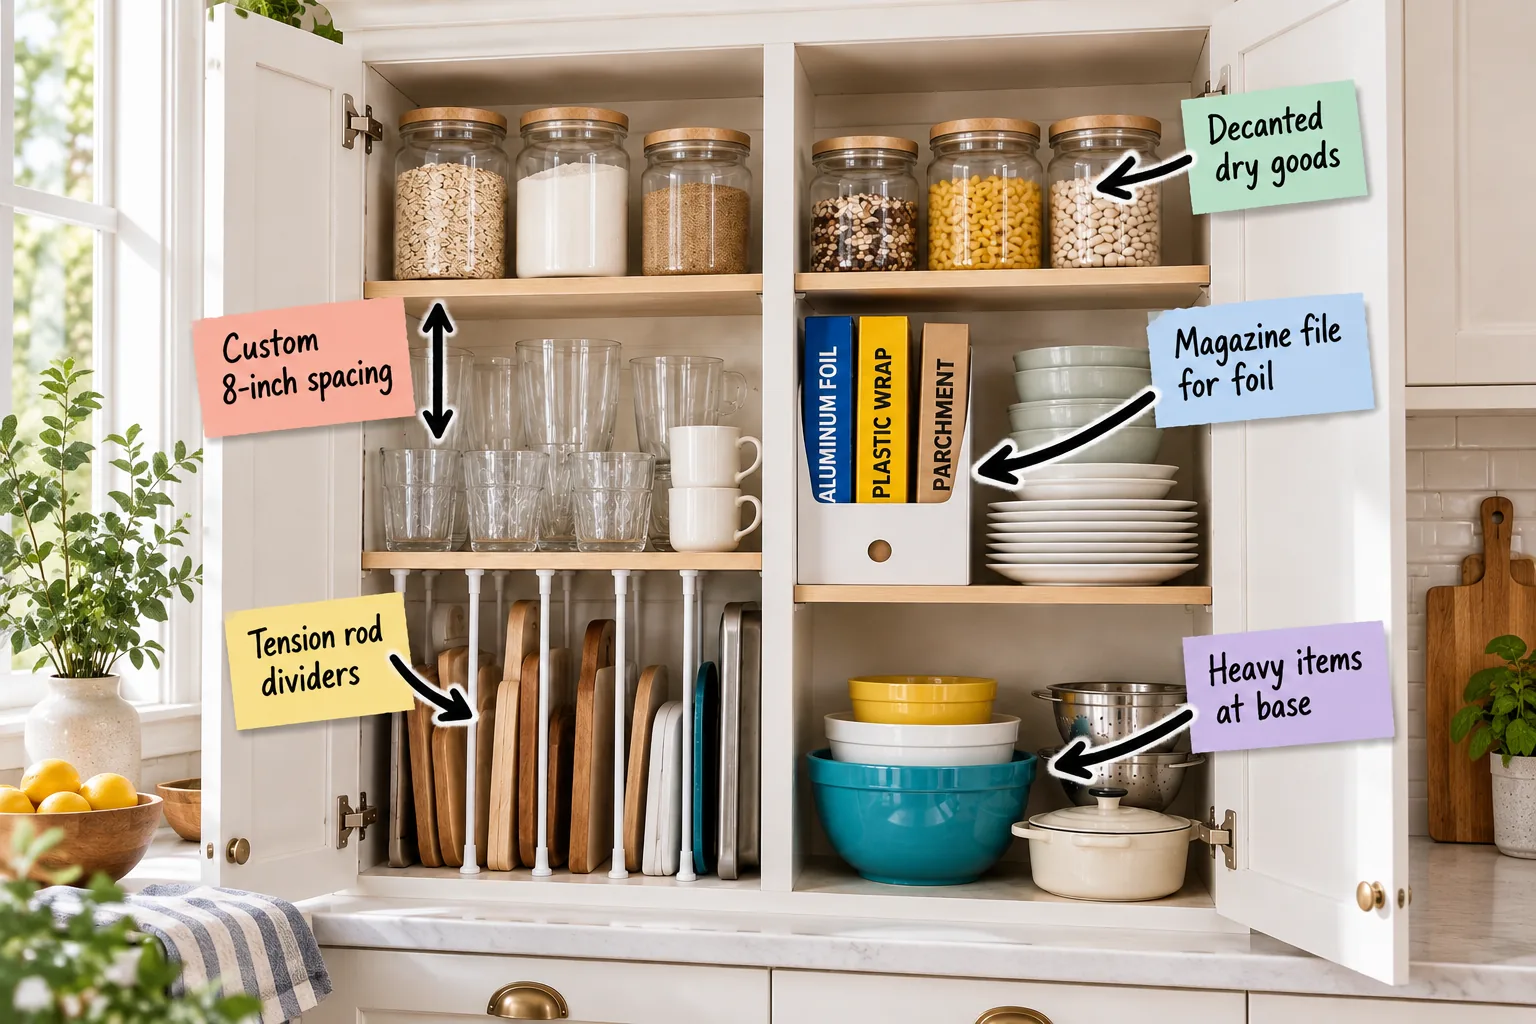
Mastering kitchen cabinet organization requires a hidden vertical zone system that dictates exactly where items live based on weight and daily access. Download my printable cabinet zone map and container sizing cheat sheet below to confidently recreate this highly functional storage layout in your own home.
The Hidden Zone System Explained
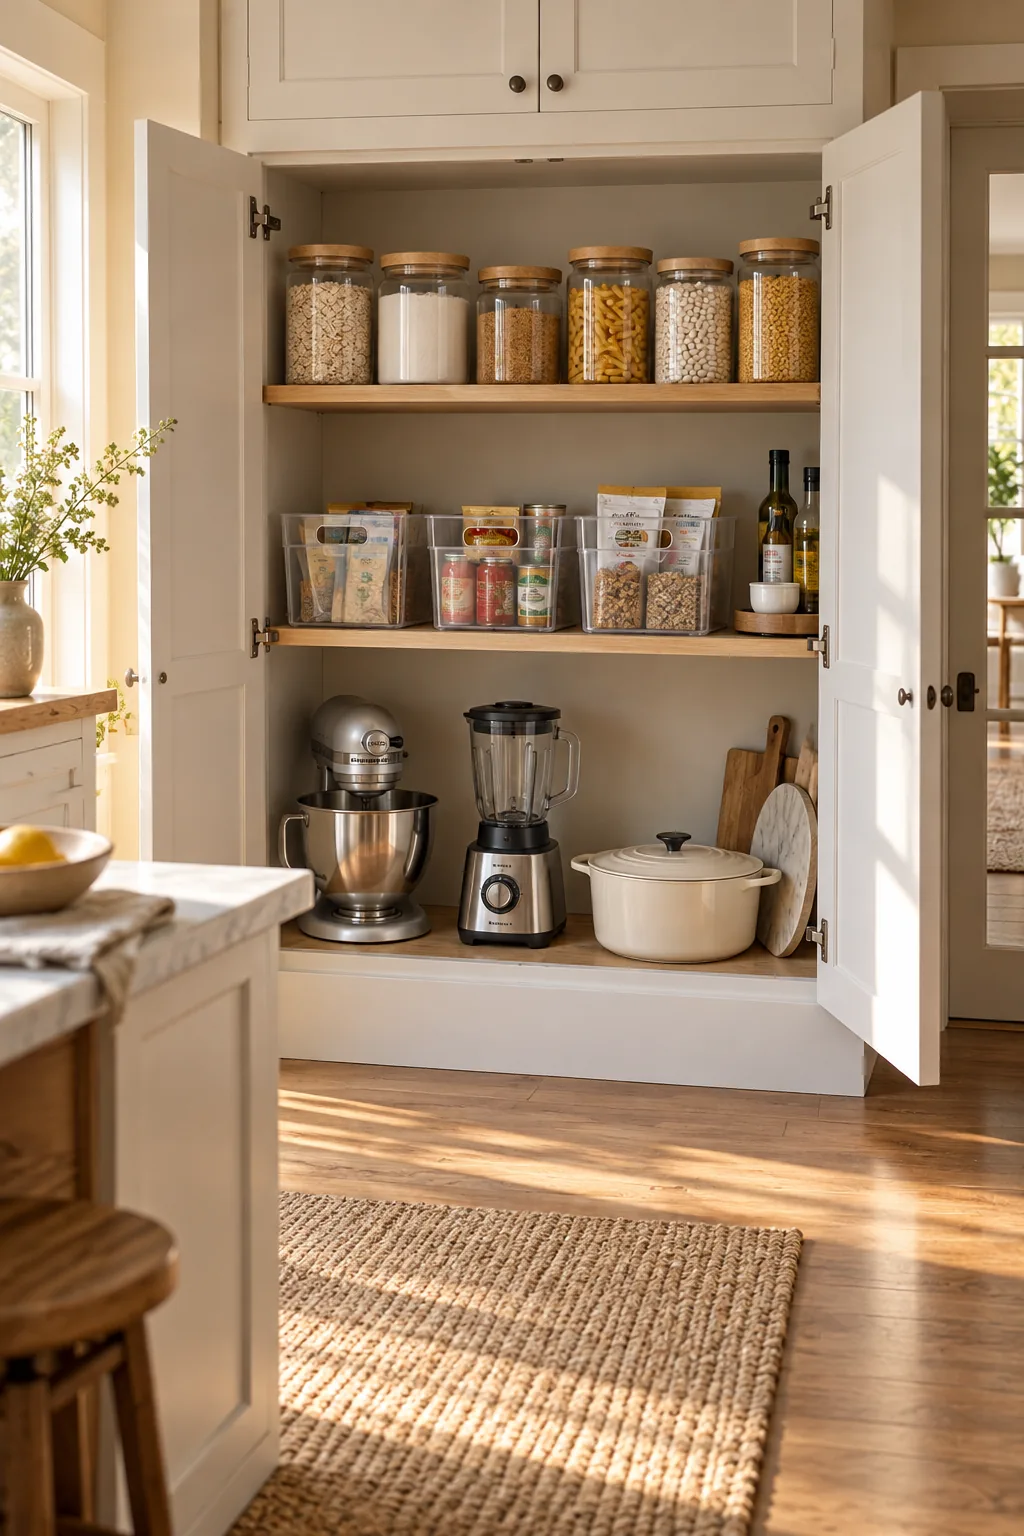
Divide every cabinet into three strict vertical zones to completely eliminate shelf bowing and keep your daily essentials within immediate reach. This three-tier vertical strategy dictates exactly where items live based on their physical weight and your frequency of use.
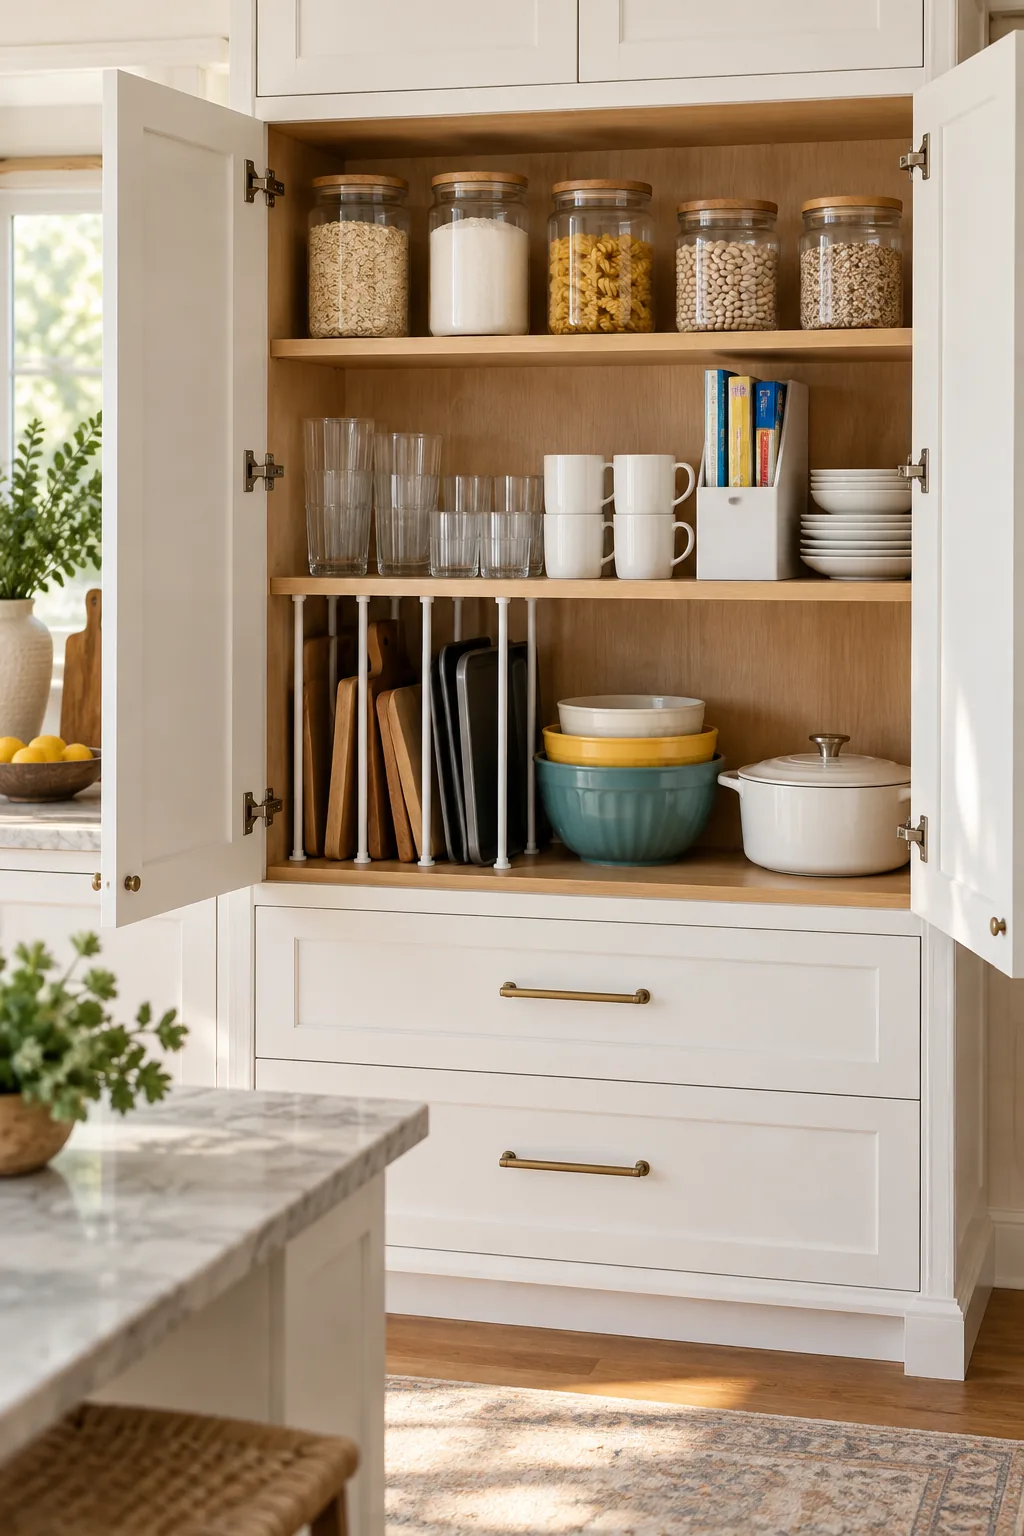
Grouping items by their physical mass establishes a natural workflow that prevents the chaotic blending of heavy cookware and delicate glassware. You establish a foundation of visual calm when every item has a mathematically planned, permanent home.
Assessing Cabinet Weight Capacities
Before moving any heavy items, you must evaluate the structural integrity of your existing cabinet shelves to prevent dangerous collapses. Standard particleboard shelves bend significantly faster than solid plywood, requiring strict adherence to weight distribution rules.
| Shelf Material | Thickness | Max Weight Span | Ideal Zone |
|---|---|---|---|
| Standard Particleboard | 5/8 inch | 25 lbs per foot | Zone 1 (Light) |
| Glass Shelving | 1/4 inch tempered | 30 lbs per foot | Zone 1 (Light) |
| Reinforced MDF | 3/4 inch | 40 lbs per foot | Zone 2 (Medium) |
| Solid Plywood | 3/4 inch | 50 lbs per foot | Zone 2 (Medium) |
| Cabinet Base Floor | Solid frame | 100+ lbs | Zone 3 (Heavy) |
Always measure the thickness of your shelves to confirm their load-bearing capacity before assigning your heaviest appliances or stacks of ceramic plates. Never place cast iron on a floating pegged shelf, regardless of the core material used.
Zone 1: Decanting Dry Goods Up High
Reserve the top shelf exclusively for lightweight, airtight storage by transferring baking staples into standard 1-liter and 2-liter glass jars. Using standardized airtight containers keeps lightweight staples completely accessible without risking heavy drops from above your head.
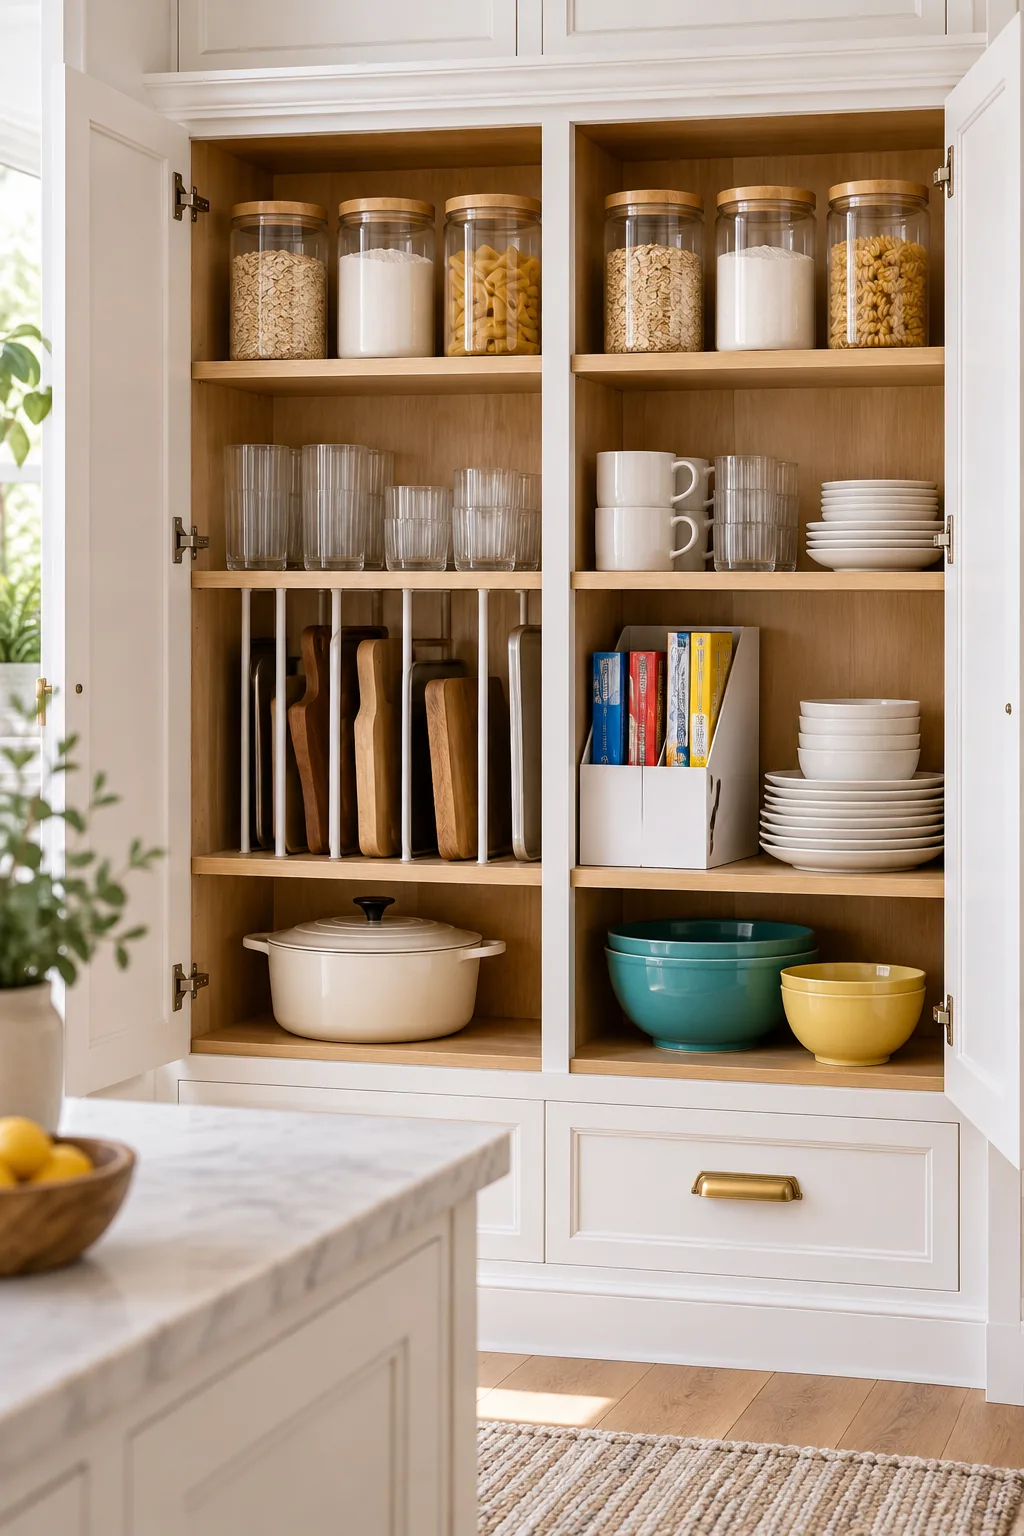
Matching clear glass silos on the top shelf keep the highest zone visually uncluttered, transforming a chaotic pantry into a balanced display. This selective decanting strategy protects your posture while elevating the overall aesthetic of your upper cabinetry.
Selecting the Right Airtight Seals
Not all glass jars offer the rigorous seal required to keep flour fresh and brown sugar completely soft in a dry climate. Testing the mechanical compression of a jar before purchasing in bulk ensures your pantry staples remain perfectly preserved.
- Fill the empty jar with water, lock the lid, and invert it for ten minutes to check for micro-leaks.
- Inspect the silicone gasket for a thick, continuous ring without any visible manufacturing seams or thin spots.
- Test the wire latch tension, ensuring it requires firm, deliberate pressure to snap closed and lock securely.
Investing in high-quality silicone gaskets prevents the rapid oxidation that ruins expensive organic grains and specialty baking flours. You will save significant money over time by avoiding premature food spoilage in these upper-tier storage zones.
Zone 2: Setting Custom 8-Inch Shelf Spacing
Adjust the middle shelf pegs to create exactly 8 inches of vertical clearance to perfectly accommodate standard water glasses and coffee mugs. This specific measurement eliminates the wasted dead air that typically plagues factory-set cabinet configurations.
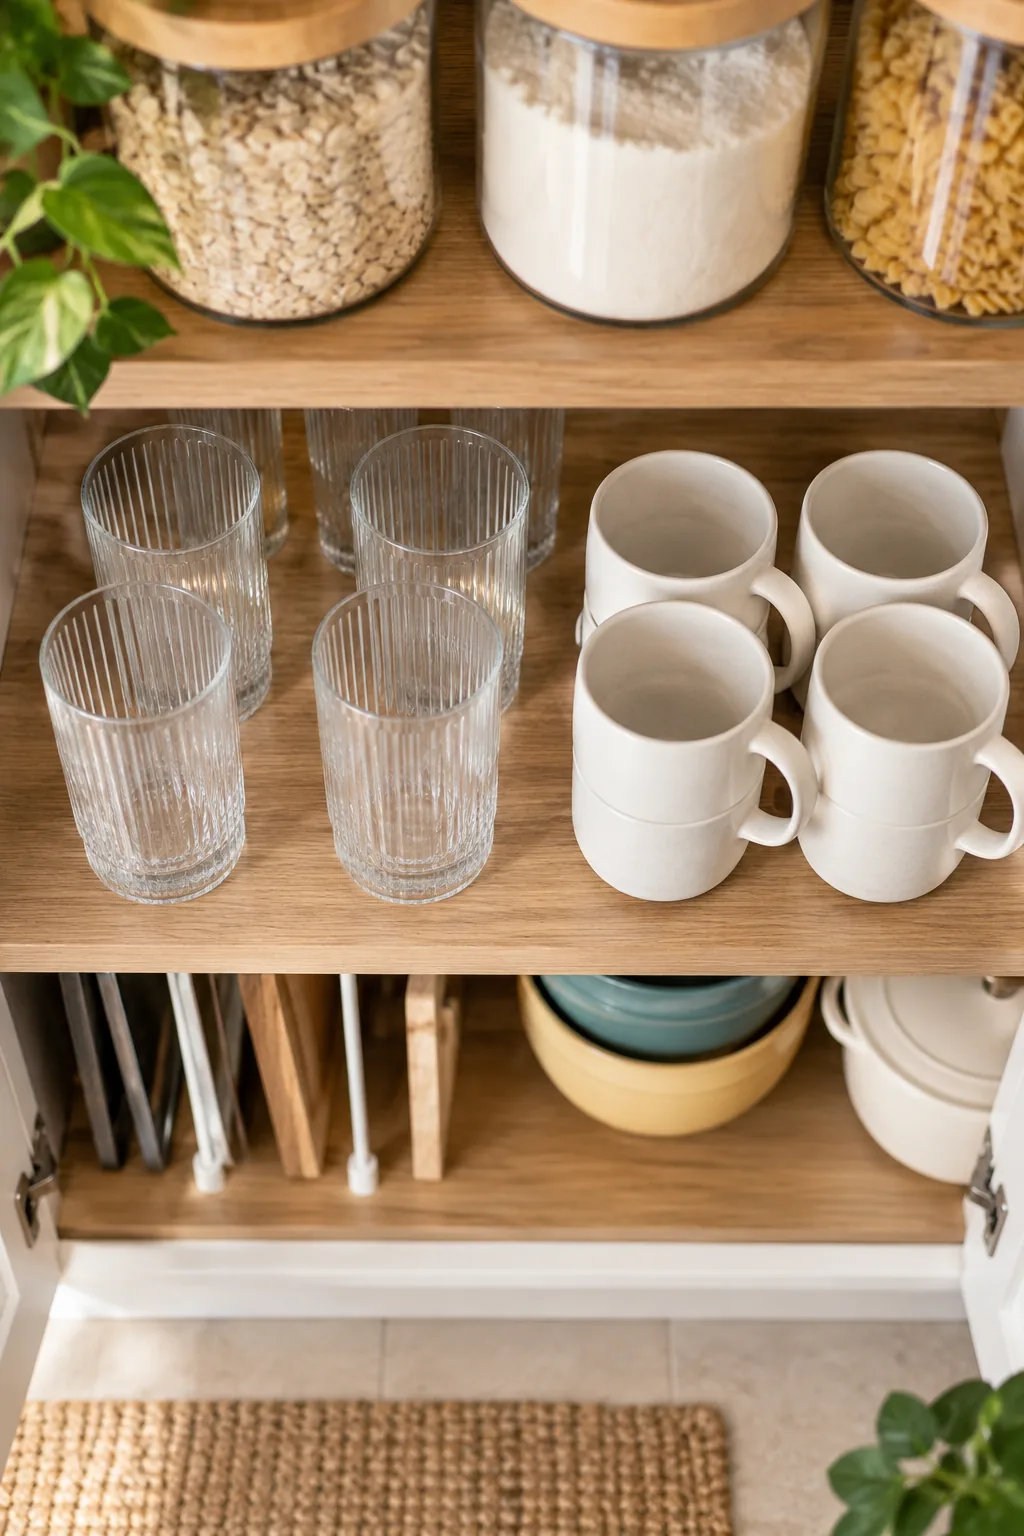
Lowering the shelf to tightly frame your tumblers instantly creates a highly efficient secondary tier for smaller daily items. You effectively reclaim lost vertical real estate, allowing for an entirely new row of functional storage just above your mugs.
Establishing a Symmetrical Visual Balance
When organizing the middle tier, arranging items by height and color creates an underlying sense of calm and intentional design. Bringing Eastern principles of symmetry into Western cabinetry transforms a purely utilitarian space into a deeply satisfying visual experience.
Maintaining strict alignment along the front edge of the shelf reinforces this orderly aesthetic every time you open the door. Pulling all glasses forward to a uniform depth makes the entire cabinet feel custom-built for your specific collection.
Repurposing Magazine Files for Wraps
Turn a standard wooden or sturdy acrylic magazine file sideways on the middle shelf to hold long, awkward wrap boxes upright. This creates a brilliant vertical filing system for aluminum foil and plastic wrap, preventing the dreaded avalanche of cardboard tubes.
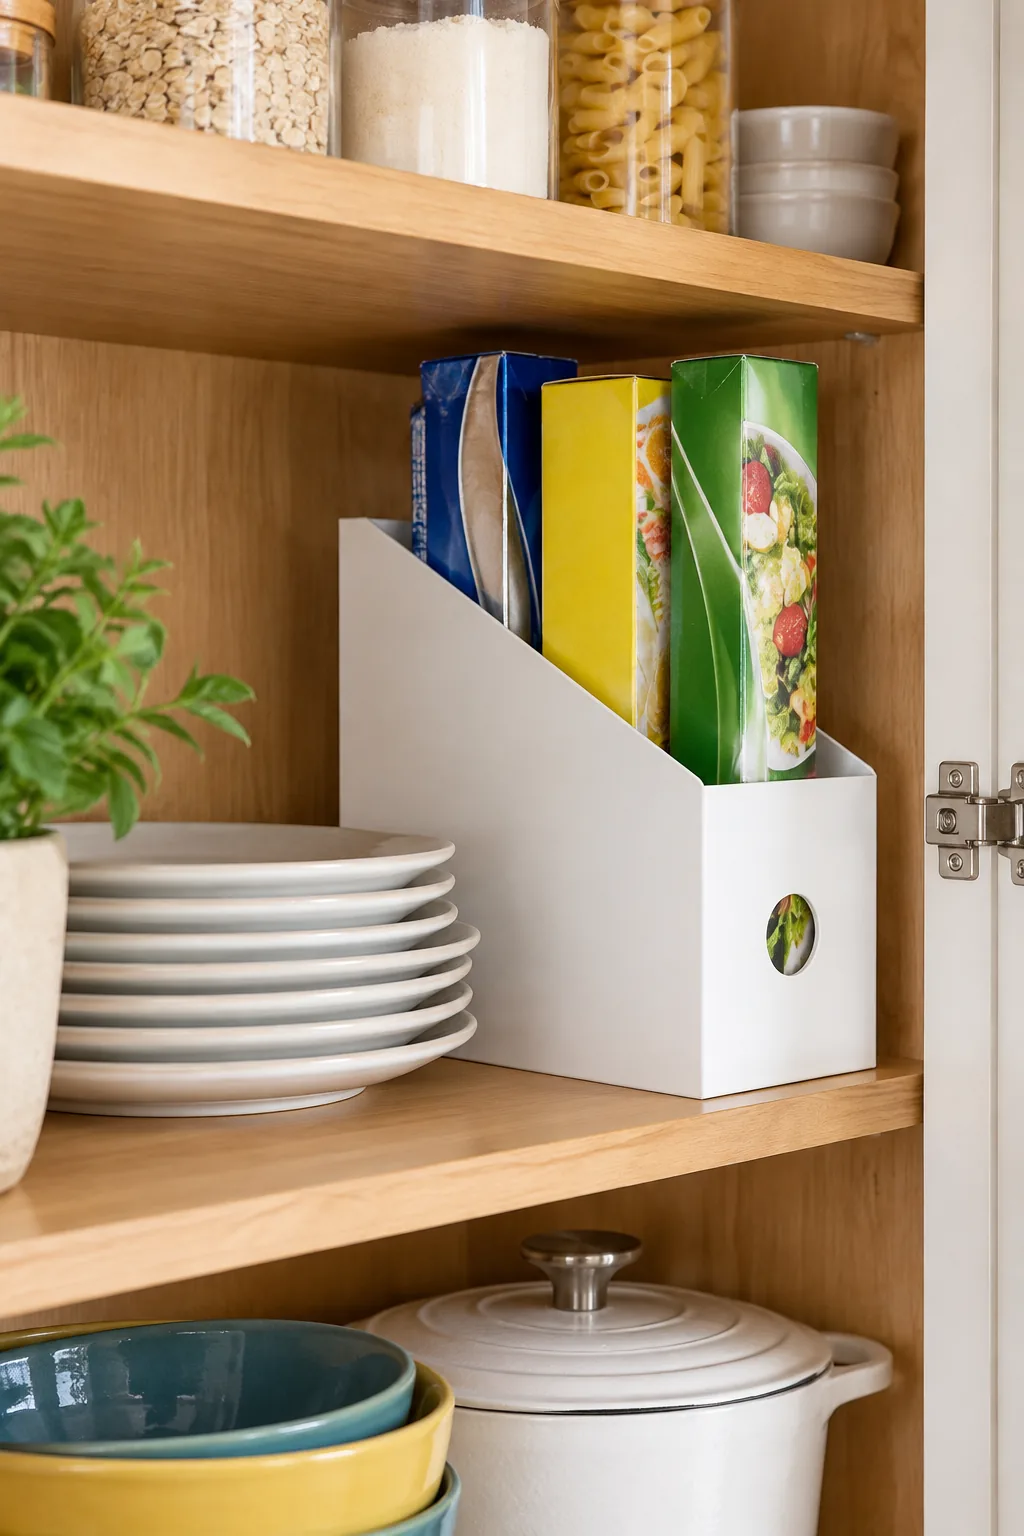
In my own Denver kitchen, sliding foil boxes upright finally stopped the daily frustration of cardboard tubes cascading out whenever I reached for parchment paper. Filing rather than stacking is the ultimate secret to maintaining order in high-traffic cooking zones.
Zone 3: Anchoring Heavy Items at the Base
Ground the heaviest kitchenware on the lowest level, resting directly on the cabinet base rather than relying on a pegged shelf. Grounding the heaviest ceramics and cast iron at the base level guarantees physical safety and preserves structural integrity.
After a client’s overloaded floating shelf actually snapped under the weight of her vintage Dutch ovens, I strictly enforce this bottom-tier rule for all heavy ceramics. Large mixing bowls and heavy pots belong exclusively on the reinforced floor of the cabinet.
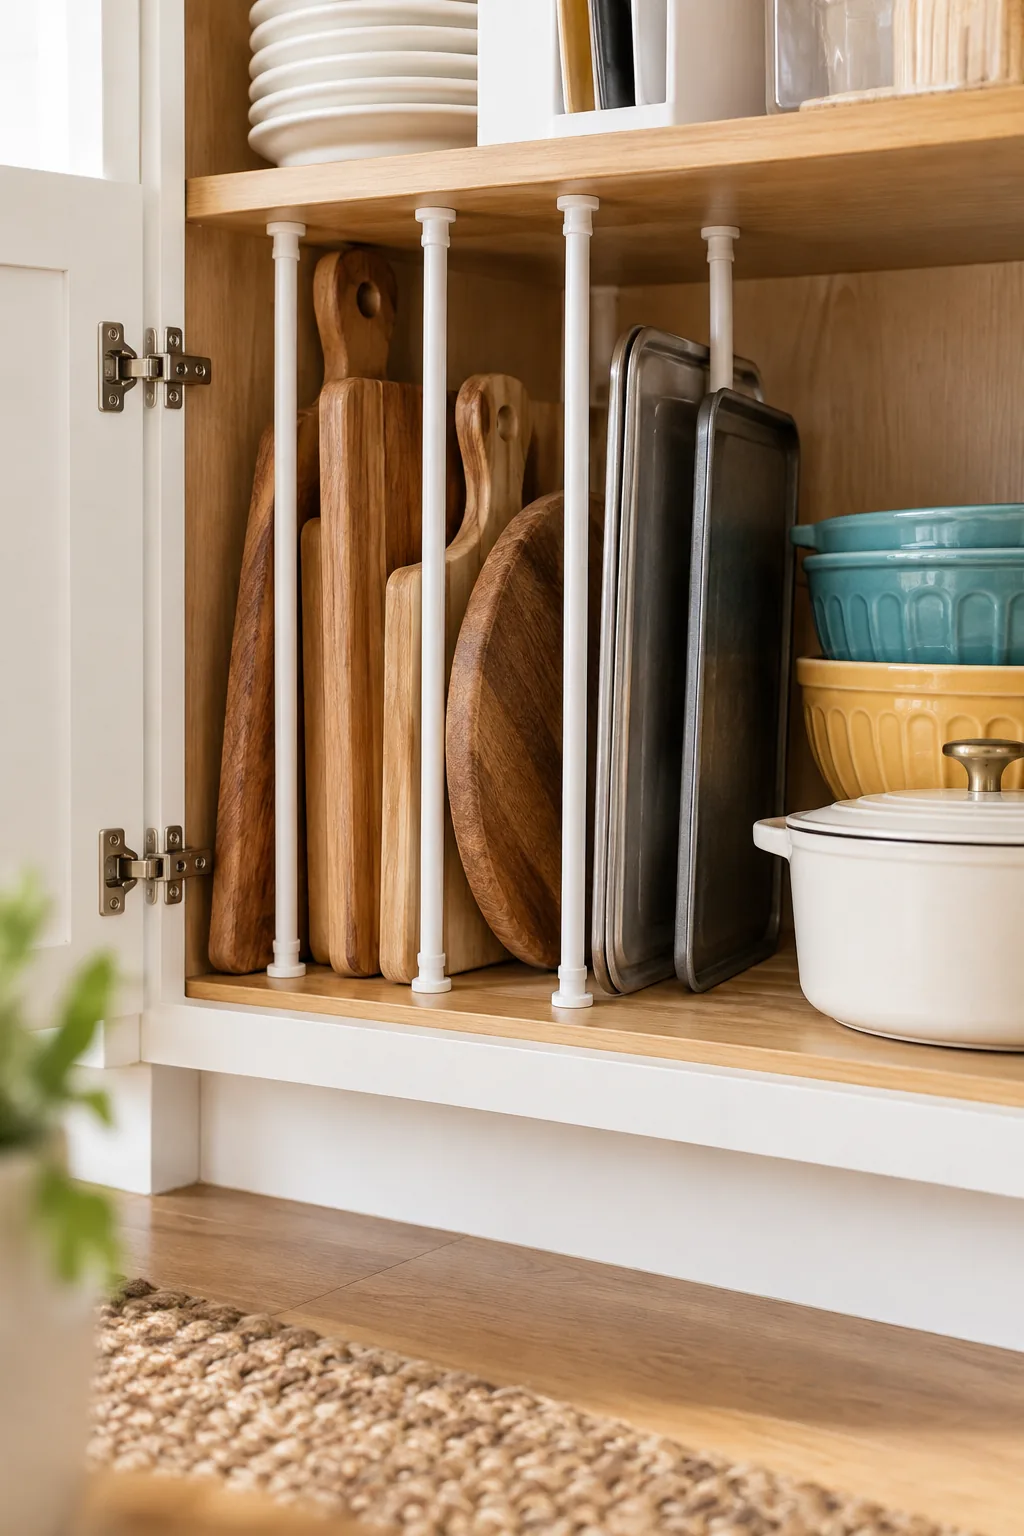
Filing Boards with Tension Rod Dividers
Install short, heavy-duty tension rods vertically every 3 to 4 inches along the bottom left shelf to manage awkward flat items. Installing these vertical tension rods keeps bulky cutting boards and baking trays filed upright rather than buried in frustrating stacks.
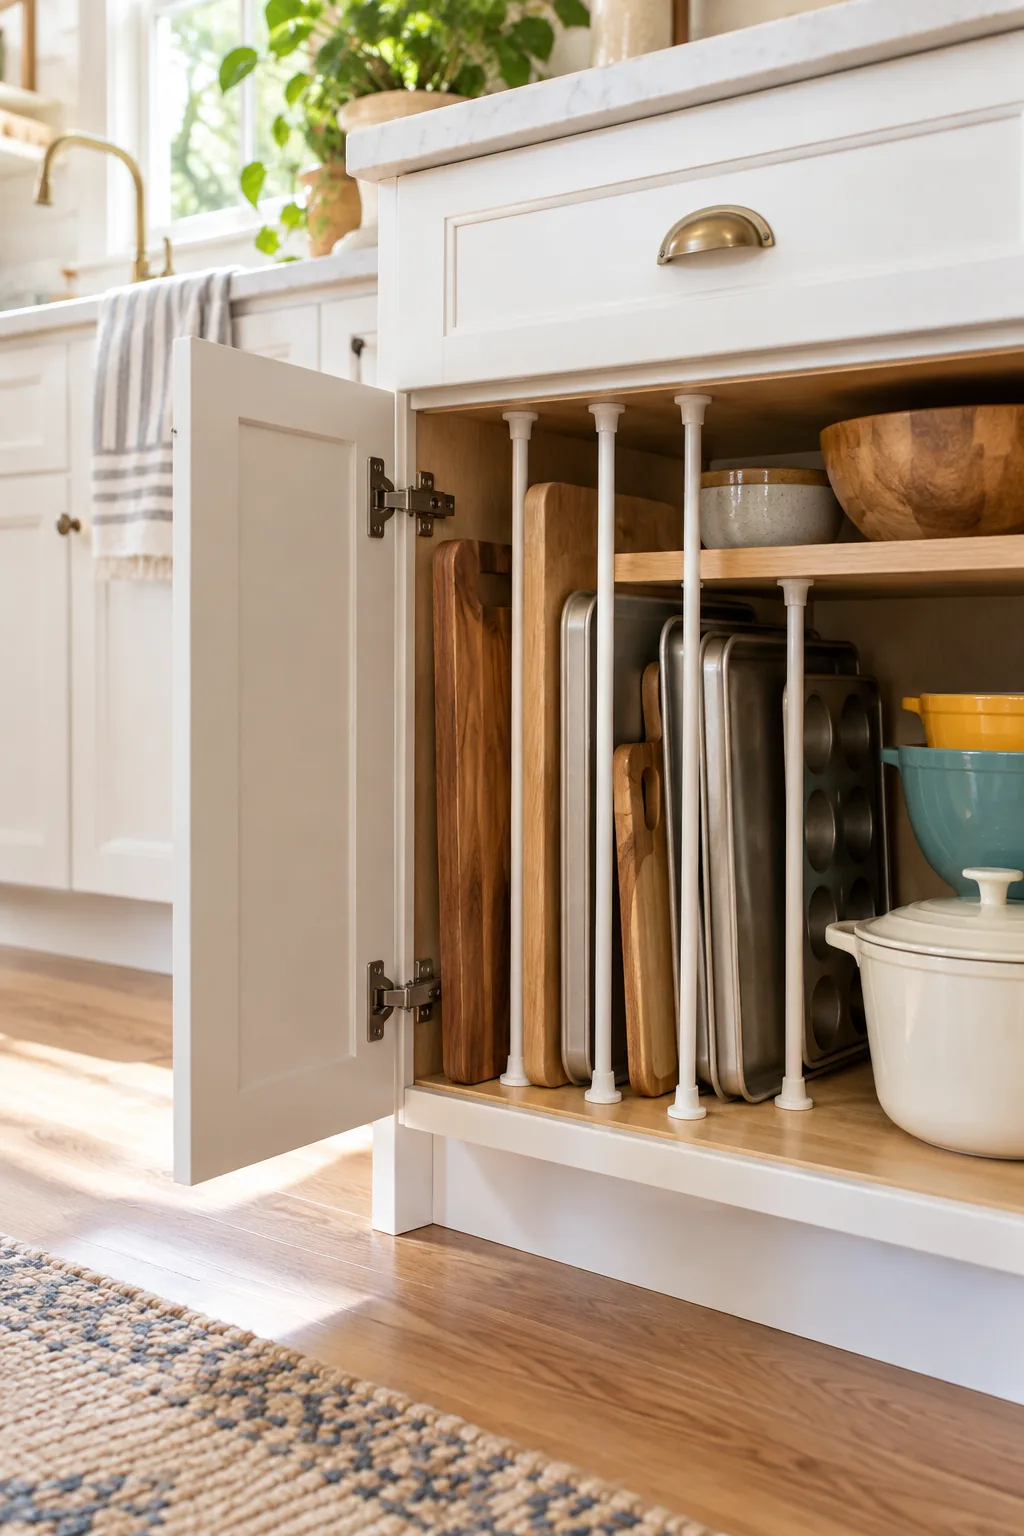
These rigid, adjustable slots allow you to slide a heavy walnut block out with one hand without disturbing the adjacent metal baking sheets. The tension mechanism provides enough lateral support to keep solid wooden boards perfectly vertical and easily accessible.
Installing Tension Rods Securely
Proper installation of these vertical dividers requires precise tension to prevent them from slipping when bumped by a heavy wooden board. Selecting the correct hardware ensures your new filing system remains rigid and reliable through years of daily cooking.
- Choose rods with thick, flat rubber end caps rather than rounded plastic tips to maximize surface friction against the wood.
- Extend the rod to exactly the interior height of the shelf, then twist one additional half-turn to lock the tension.
- Use a small spirit level to ensure each rod is perfectly plumb, preventing boards from leaning and creating a domino effect.
Wiping the shelf surface with rubbing alcohol before installation removes invisible grease that causes rubber tension caps to slowly slide out of place. Check the tension quarterly, as seasonal humidity shifts can slightly expand or contract your wooden cabinet frames.
Container Sizing and Measurement Rules
Always measure the internal depth of the cabinet, not the exterior frame, to ensure your new acrylic bins actually fit. Subtracting the depth of the metal hardware from your total usable space guarantees the doors will close flush without striking your organizers.
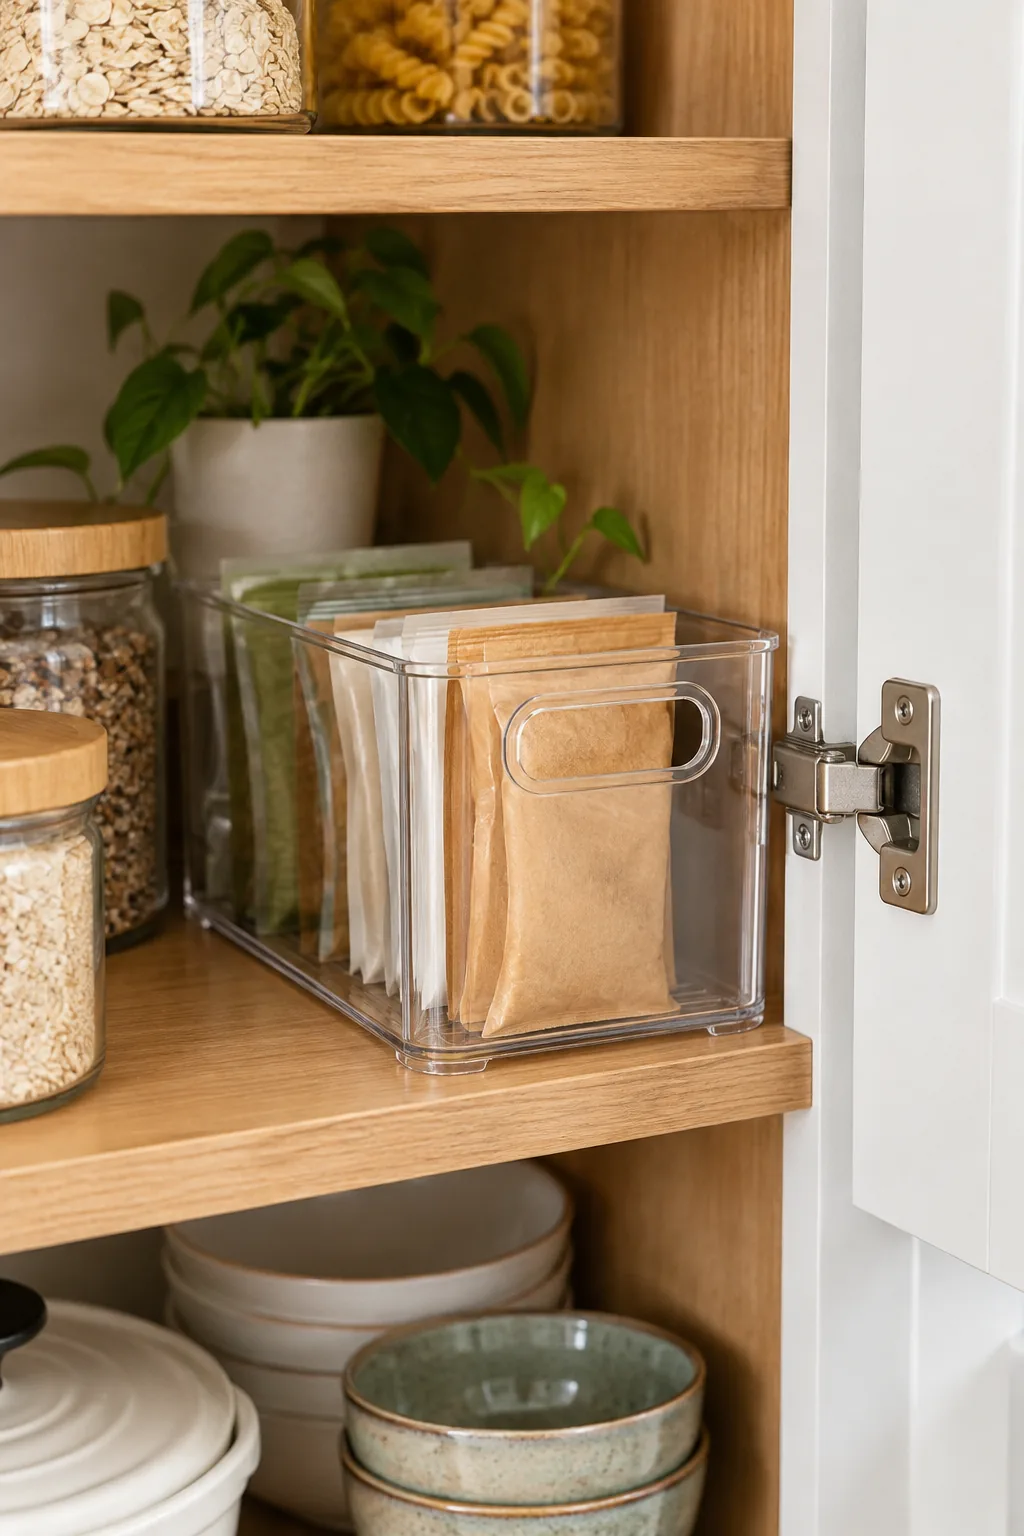
Before heading to the store for matching jars and acrylic dividers, avoid these common spatial errors that can ruin a perfectly planned layout.
Taking precise measurements prevents the frustrating realization that your beautifully decanted pantry staples protrude just enough to keep the cabinet ajar. Precision guarantees a flawless execution when you finally load your groceries into the new structural system.
Maintaining the Three-Tier Strategy
The true test of any organizational system is how effortlessly it absorbs new grocery runs and changing seasonal cooking habits. Staying disciplined about the three weight-based zones ensures your cabinets remain highly functional long after the initial setup day.
Resist the temptation to shove lightweight snacks onto the heavy bottom tier just because space is temporarily available. Protecting the logic of the hidden zone system requires a commitment to putting items back in their designated vertical tier.
4 Ways to Style the Zone System
See how this exact three-tier organization method adapts to different kitchen aesthetics.
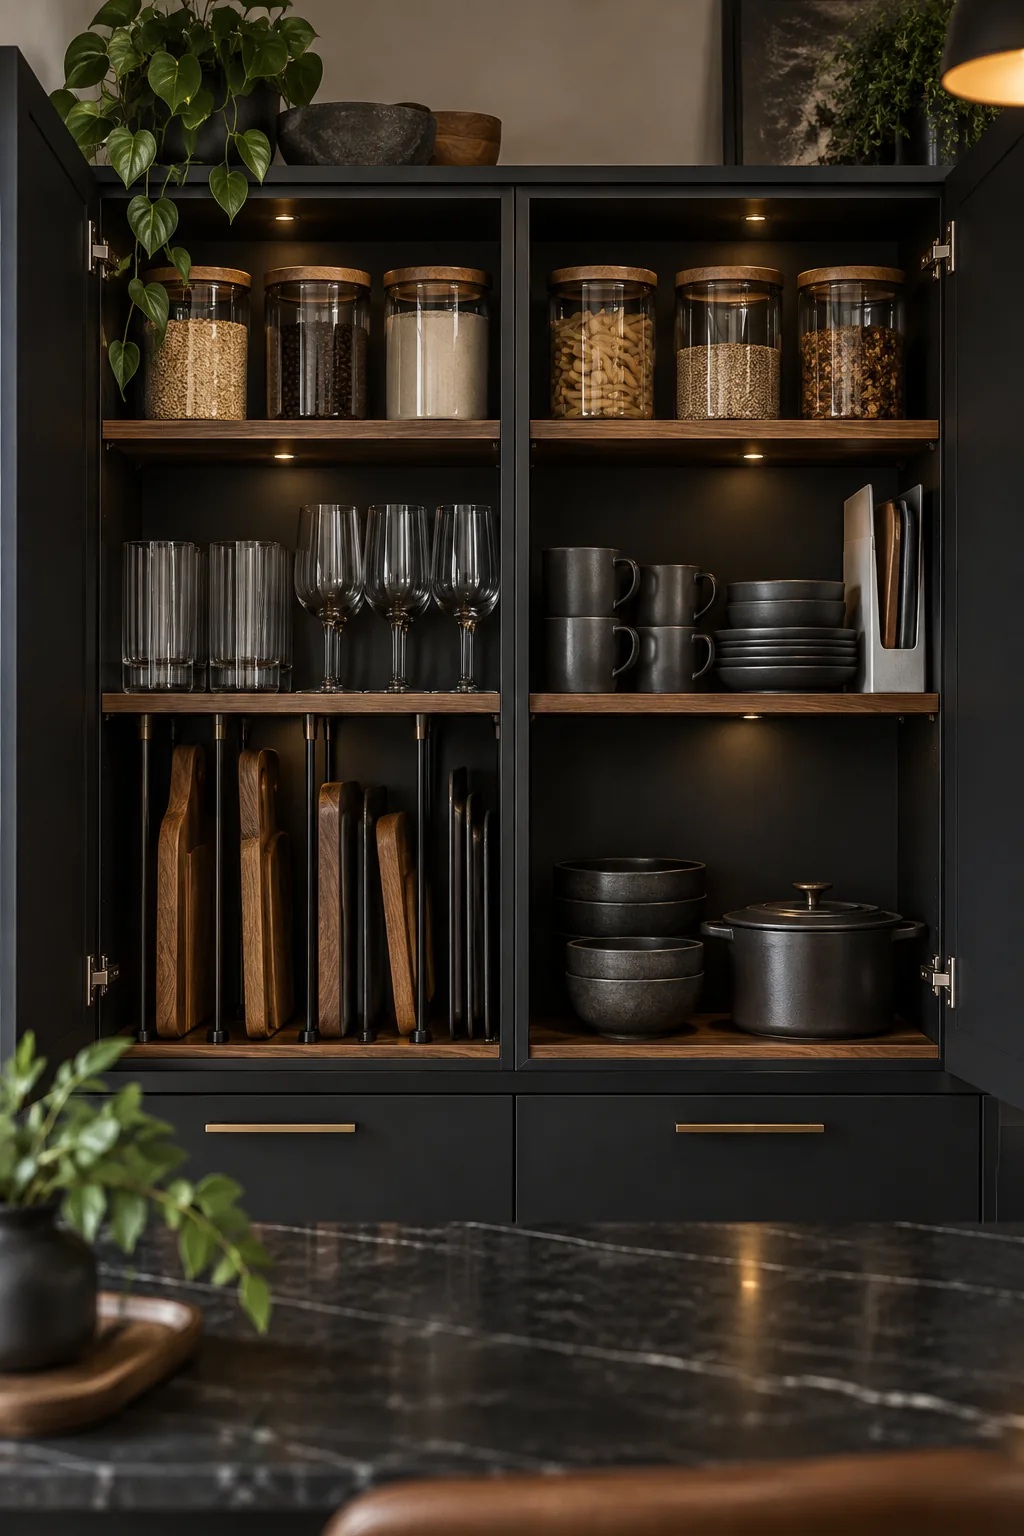
Minimalist Matte Black: Dark cabinet interiors paired with tinted glass jars create a moody, sophisticated look while maintaining the strict zone rules.
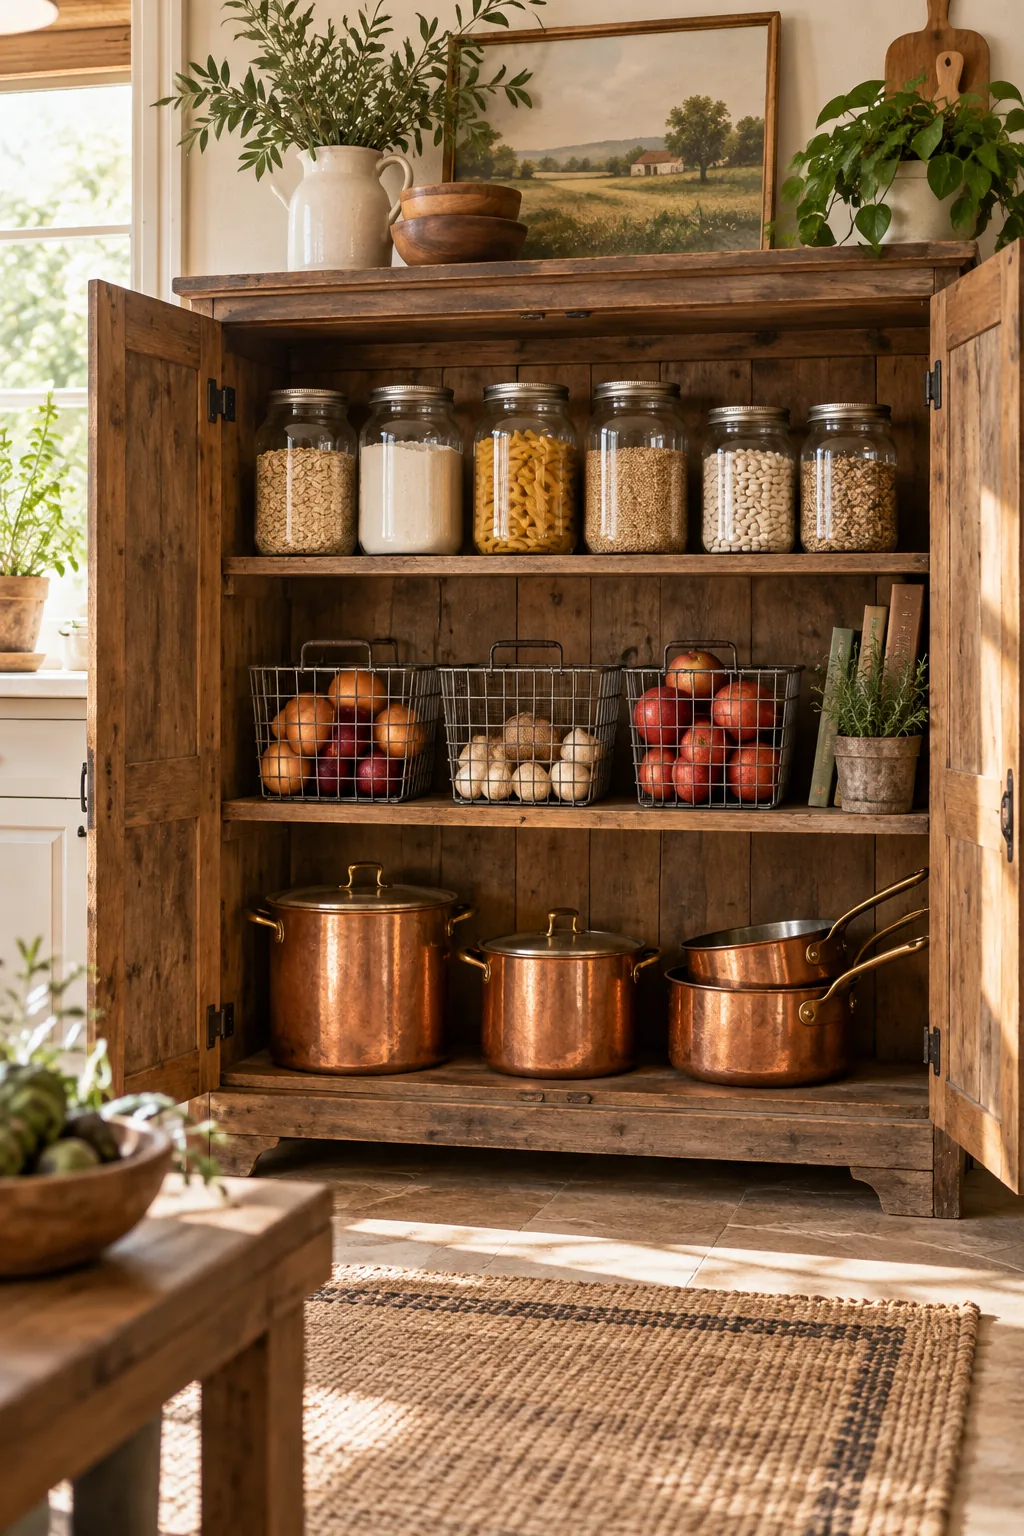
Warm Rustic Farmhouse: Swap modern acrylic for vintage wire baskets and classic mason jars to give the zone system a cozy, lived-in feel.
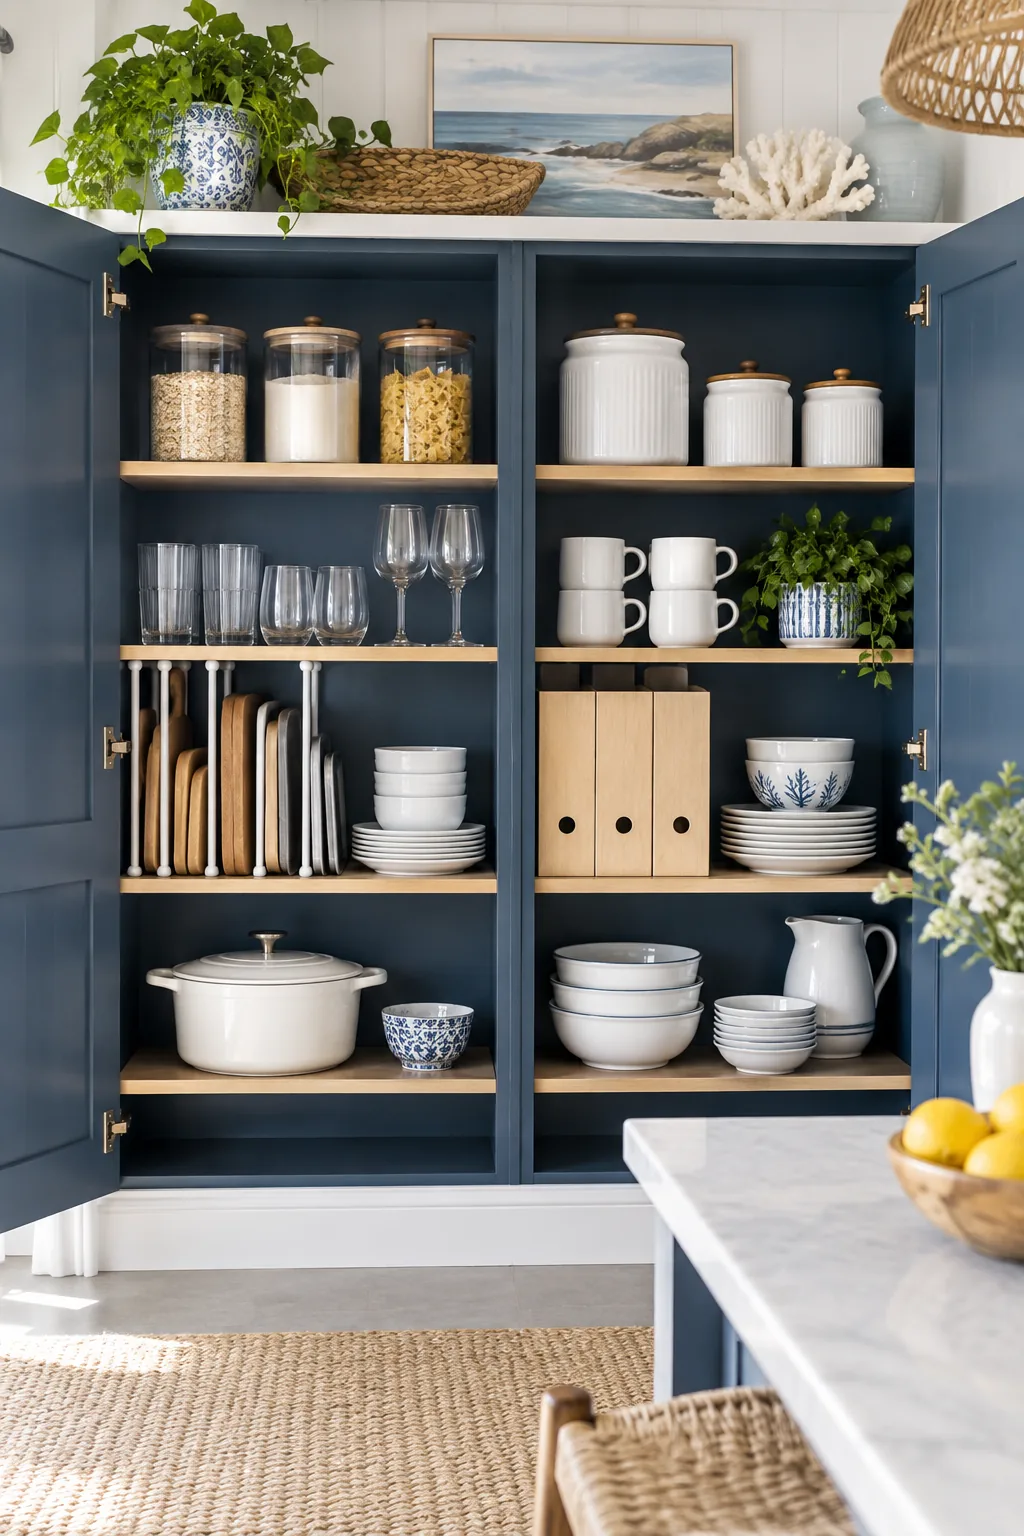
Bright Coastal Blue: A painted navy interior makes crisp white ceramic storage containers and light birch wood dividers pop beautifully.
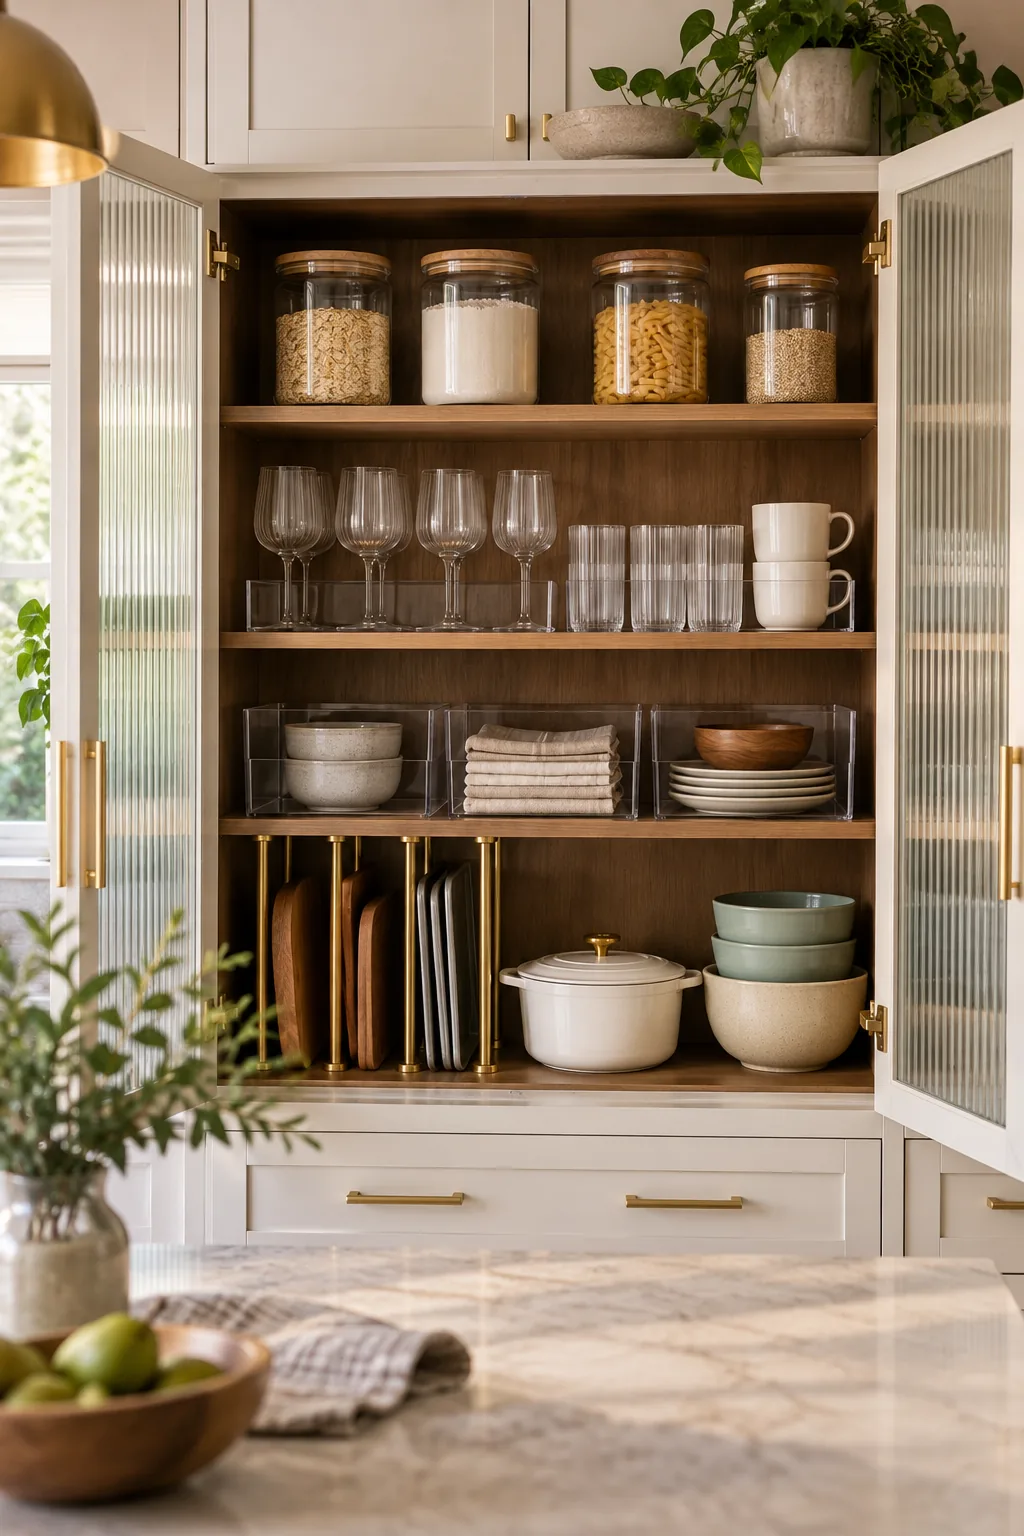
Modern Fluted Glass: Elevate the functional layout by upgrading to brass tension rods and crystal-clear acrylic bins that reflect the light.
Get the Cabinet Zone Map & Size Guide
Grab the printable cabinet zone map and container sizing cheat sheet to confidently plan your own kitchen layout. Downloading the printable zone map and sizing guide allows you to confidently replicate this exact three-tier storage system across every cabinet.
Use the sizing guide to match your specific shelf depths with the correct jar capacities and tension rod lengths for a custom fit. Following these exact blueprints guarantees your kitchen will function with the same seamless efficiency as a professionally designed space.