
Take a Magic Christmas Picture: Phone Settings & Shot List
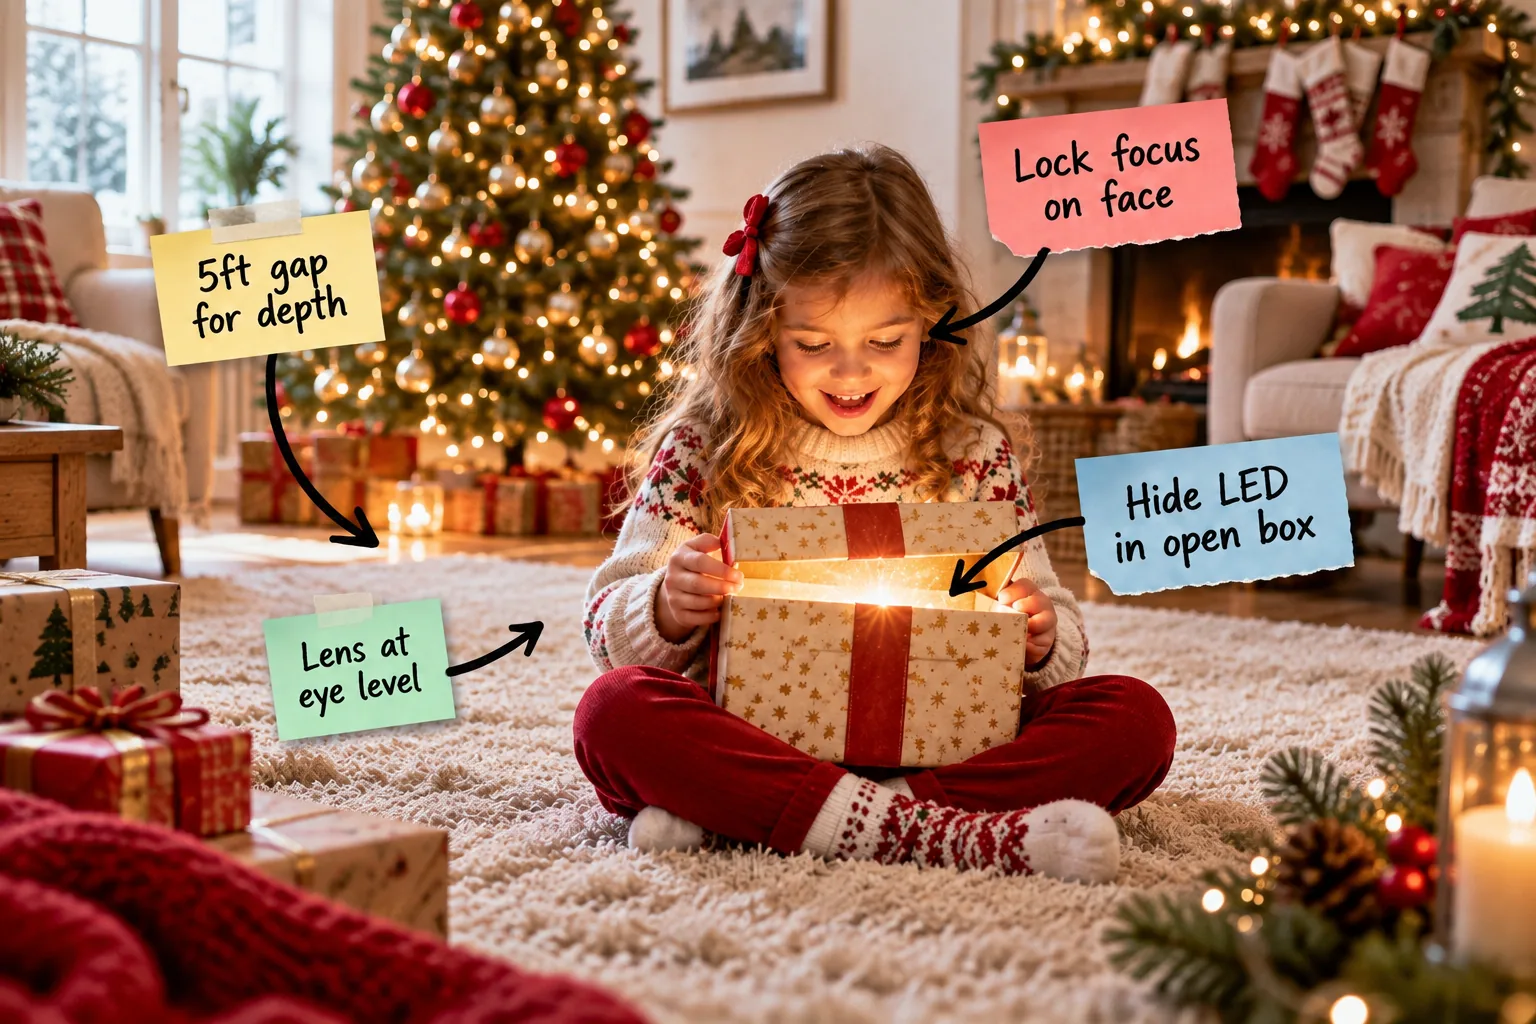
Grab our printable camera cheat sheet and 5-minute shot list to capture beautiful, glowing holiday portraits on your smartphone. You will easily arrange this glowing holiday scene and capture professional-looking memories in just five minutes without any expensive equipment.
Creating Depth With a Five-Foot Gap
In my Boston brownstone, I always start by pulling my subject away from the background to create natural separation. Position the child on a rug exactly five feet in front of the Christmas tree to create essential physical depth.

This specific five-foot distance forces your smartphone camera to blur the background lights into soft, glowing orbs while keeping the foreground perfectly sharp. You need this physical separation because standard phone lenses cannot naturally create optical blur without it.
Selecting the Right Rug for Texture
A textured surface grounds the portrait and prevents the floor from fading into a black void. Place a thick, neutral-colored woven or faux-fur rug directly under the child to catch the spill light and add cozy visual interest.
Positioning the Subject on the Rug
Have the child sit cross-legged exactly in the center of the rug to anchor the composition. This comfortable seated position naturally encourages them to lean forward slightly, which brings their face perfectly into the uplight beam.
Choosing the Right Background Tree Setup
A dense cluster of lights creates the best bokeh effect behind your subject. Ensure your tree has at least one hundred lights per vertical foot to guarantee a rich, sparkling backdrop that fills the entire frame beautifully.
| Tree Height | Minimum Lights | Ideal Spacing |
|---|---|---|
| 6 feet | 600 lights | Every 4 inches |
| 7.5 feet | 750 lights | Every 3 inches |
| 9 feet | 900 lights | Every 2 inches |
Distributing these lights deeply into the branches rather than just wrapping the exterior prevents dark gaps. This simple styling trick ensures the glowing orbs look layered and three-dimensional when they finally blur out of focus in the background.
Building the Glowing Gift Box
I love using a simple, battery-operated warm-white LED puck light hidden inside a wrapped gift box for that magical glow. Leave the lid propped open just enough to cast a warm, directional uplight directly onto the subject’s face.
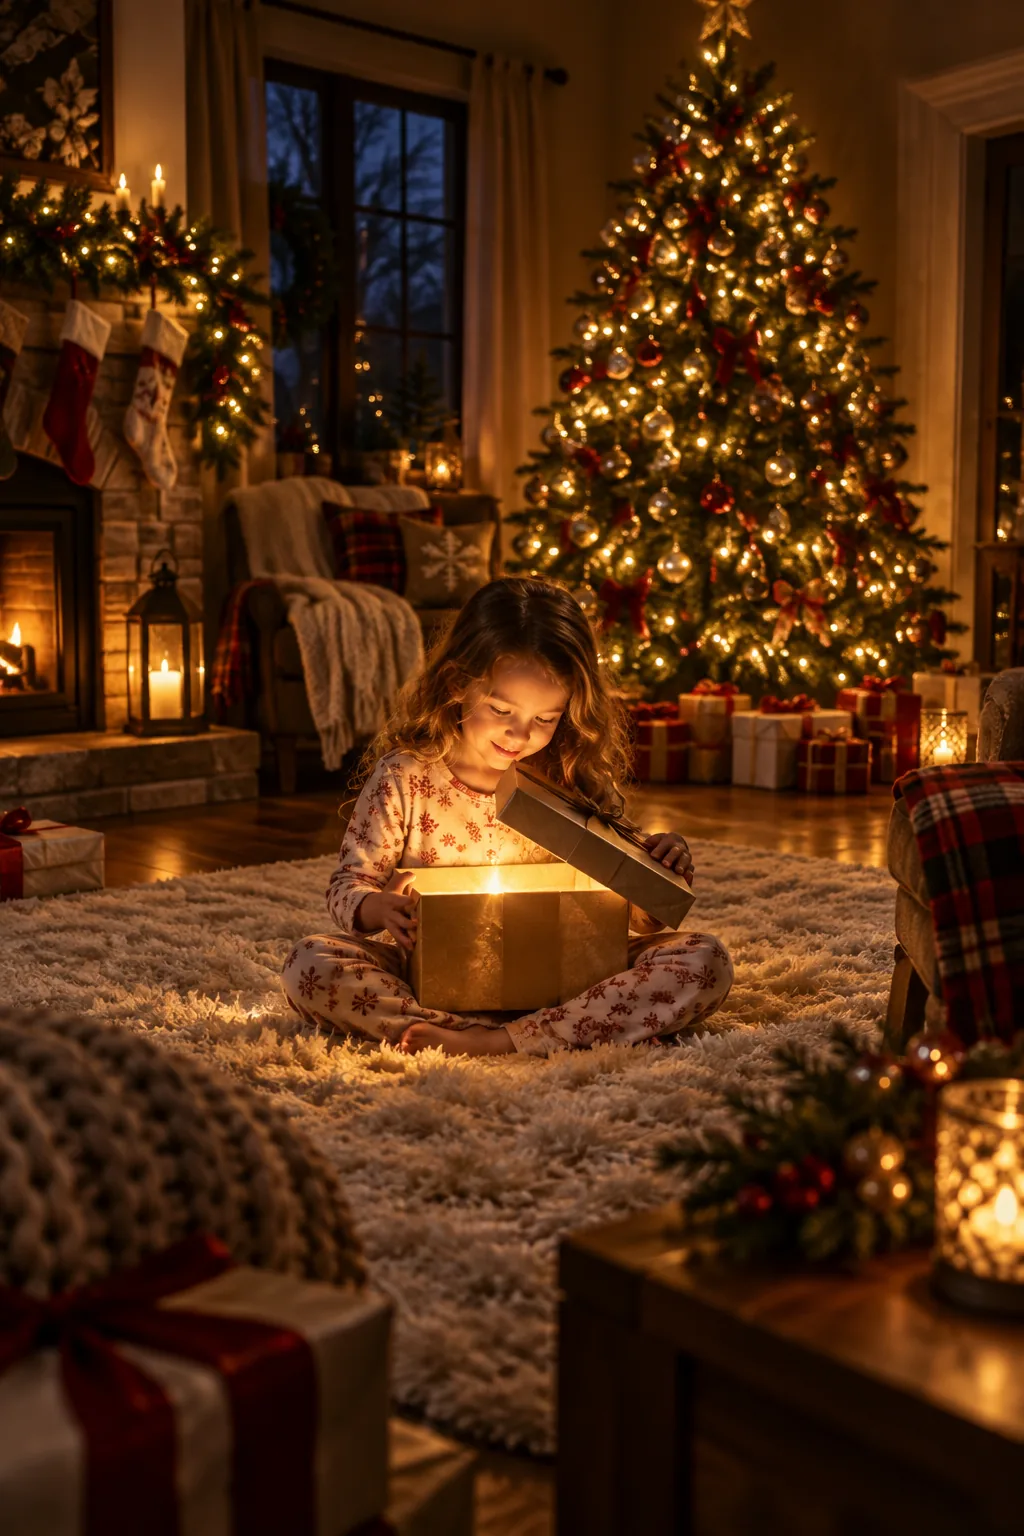
Getting the light source right inside the box makes all the difference for flattering skin tones. Avoid these common lighting errors before you start shooting to keep the portrait looking warm and entirely natural.
Testing the Light Angle
Before you hand over the prop, test the exact angle of the open lid to ensure it illuminates the eyes. A lid opened too wide will spill bright light onto the background, destroying the dark contrast you need.
Wrapping the Box to Prevent Light Leaks
Use thick, opaque wrapping paper to cover the prop box completely. Flimsy paper allows the bright LED to shine straight through the sides, which creates distracting hot spots on camera and ruins the illusion of a magical glowing interior.
Dimming the Room Lights
Turn off all overhead lighting and nearby lamps before bringing anyone into the room. The scene should be illuminated entirely by the Christmas tree in the background and the hidden LED box in the foreground.
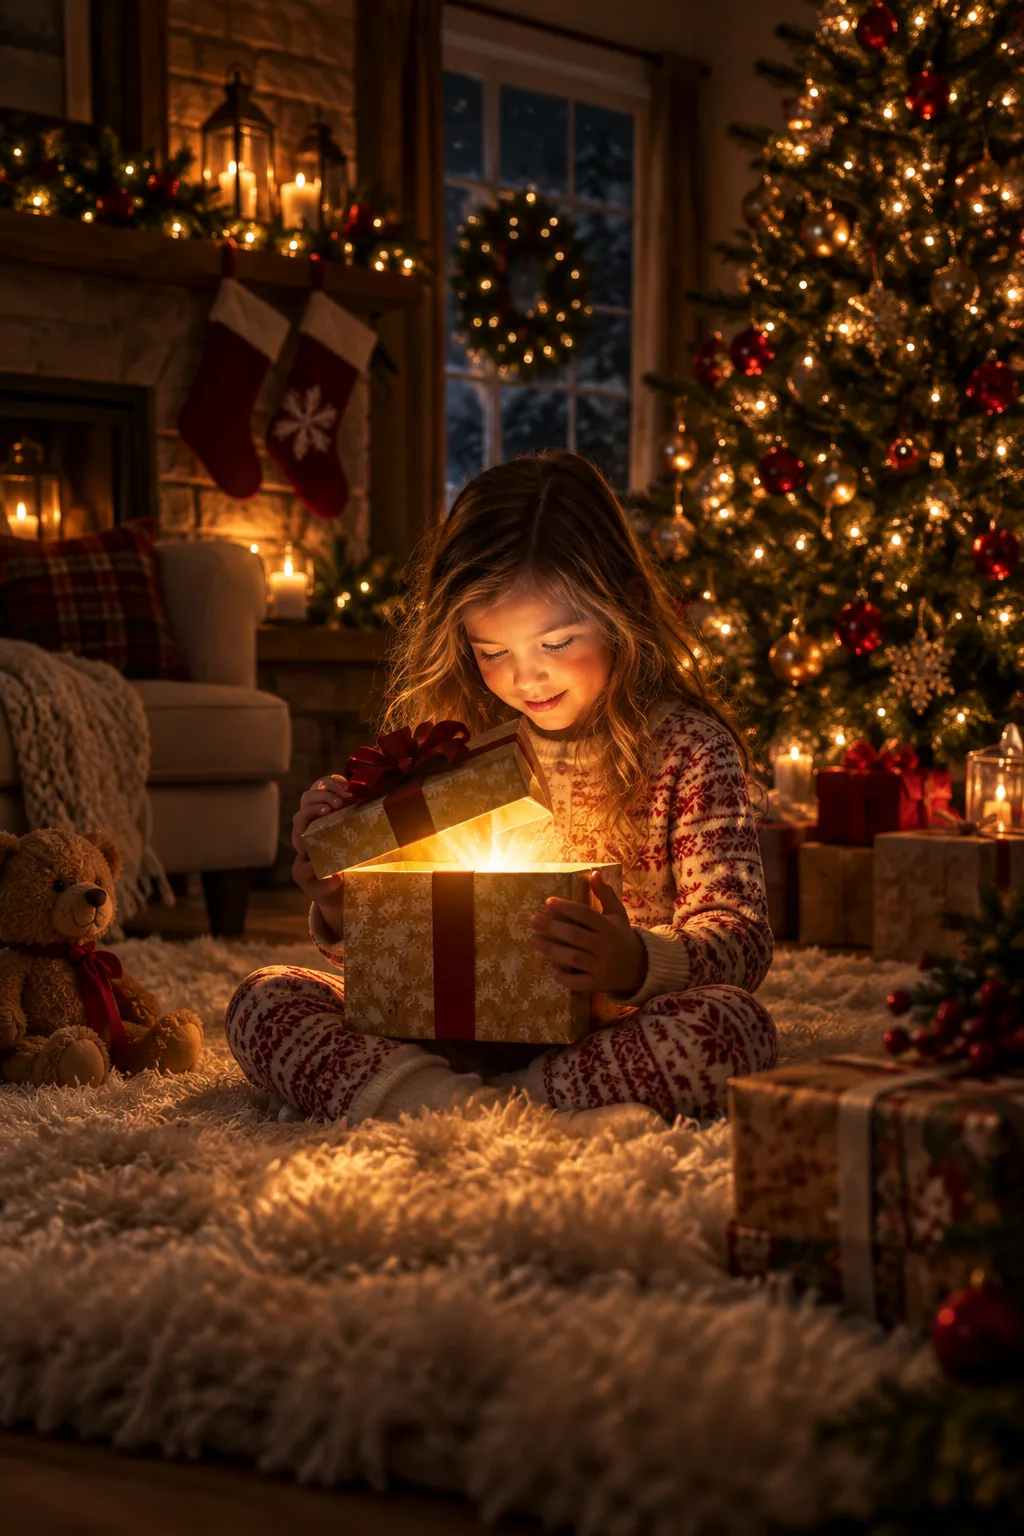
This high-contrast environment is absolutely essential for making the magical glow stand out on a standard smartphone camera. Eliminating ambient light stops the phone from trying to brighten the entire room artificially and washing out the tree.
Blocking Unwanted Window Light
If you are shooting during the afternoon, draw the curtains tightly to block any natural daylight. Even a small amount of blue-toned window light will overpower the delicate warm glow of the tree and the hidden LED box.
Dropping to Eye Level
Sit or lie down on the floor to shoot, positioning your smartphone lens exactly at eye level rather than angling down from above. You want the camera perfectly parallel to the floor for the best perspective.

This horizontal sightline makes the viewer feel like they are inside the magical moment rather than just observing it from an adult’s height. It also ensures the background tree fills the frame directly behind the subject’s head.
Securing the Phone for Sharpness
Low-light photography requires a perfectly still camera to avoid motion blur. Prop your elbows firmly on the floor or use a small tabletop smartphone tripod to lock the lens in place during the session.
Locking Focus on the Face
Smartphone cameras often hunt for focus in dark rooms, which ruins the moment before I even snap the photo. Tap and hold your finger on the child’s illuminated face on the screen until the AE/AF Lock banner appears.

Before you call the kids into the room, run through this quick camera setup to ensure you are ready to shoot immediately. A prepared camera means you can focus entirely on capturing the magic rather than fumbling with menus.
Lowering the Exposure
Once the focus is locked, tap the screen and drag the small sun icon downward to manually lower the exposure. You want the room to look intentionally dark and moody on your digital screen.
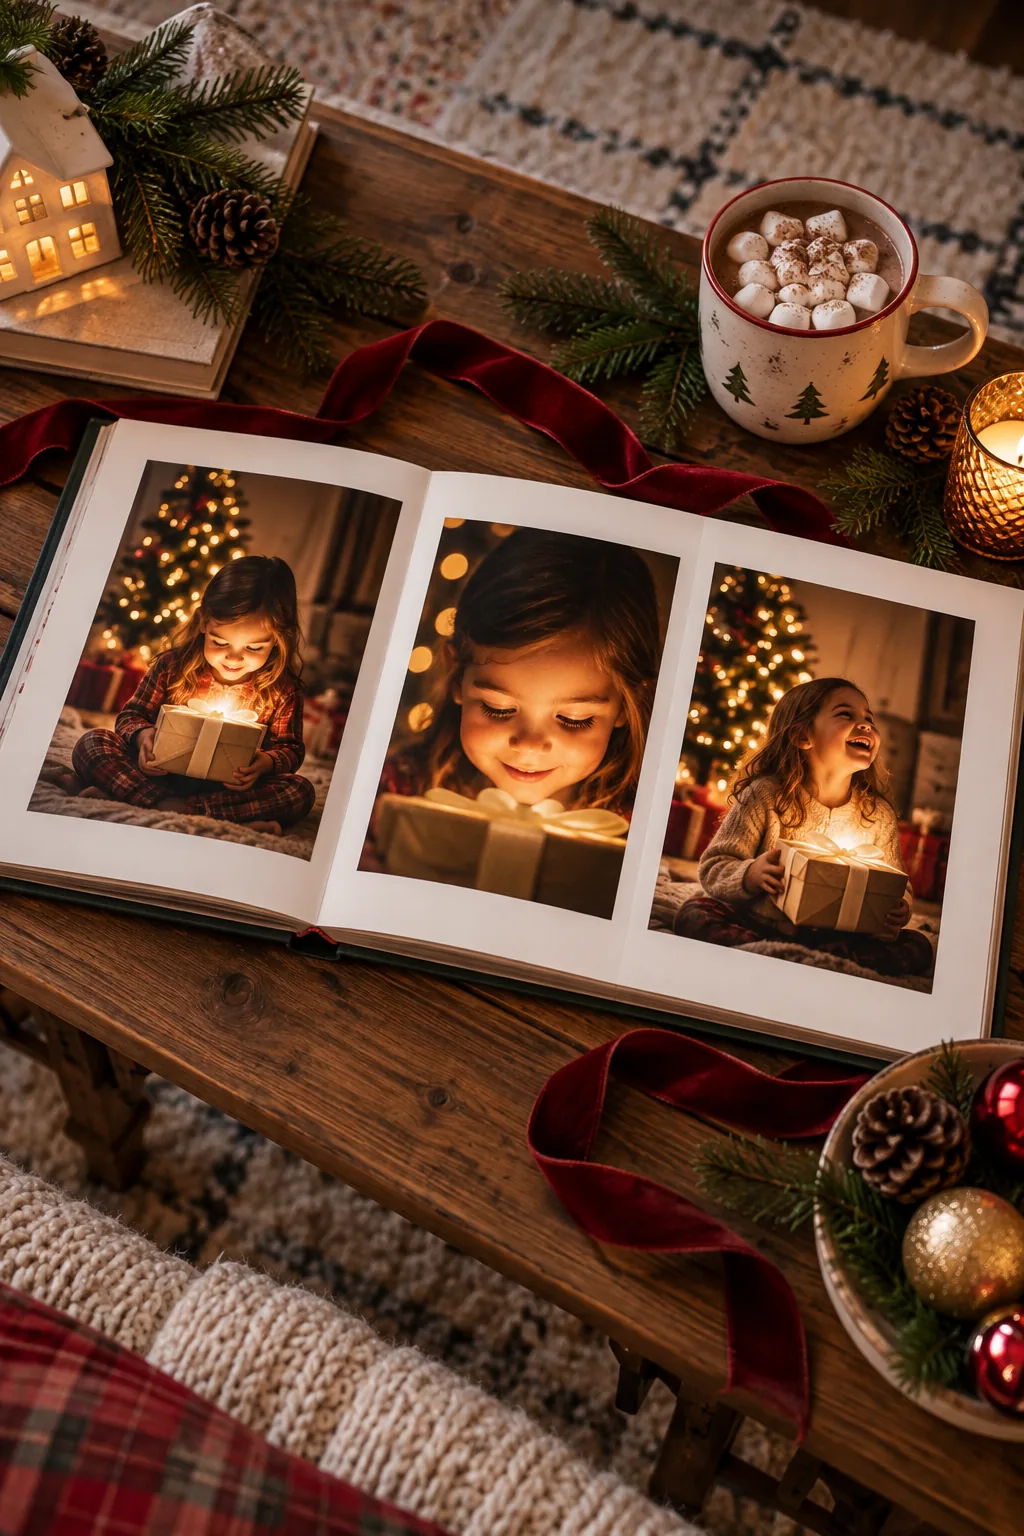
Darkening the shadows slightly prevents the bright LED from washing out the face and makes the background tree lights look richer and more vibrant. This single adjustment transforms a standard snapshot into a dramatic portrait.
Turning Off the Automatic Flash
Double-check that your camera flash is completely disabled rather than set to automatic. A sudden flash will instantly destroy the carefully crafted shadows, wash out the magical uplighting, and cause harsh reflections on the wrapping paper.
Managing Reflections and Glare
If your subject wears glasses, the hidden LED will create distracting green or white glare spots on their lenses. Ask them to tilt their chin down slightly, which instantly bounces the light reflection out of the camera’s direct view.
Your 5-Minute Shot List and Cheat Sheet
Download our printable camera settings cheat sheet and 5-minute shot list to keep your session fast and fun. Having these physical guides nearby eliminates the stress of remembering settings while managing excited kids.
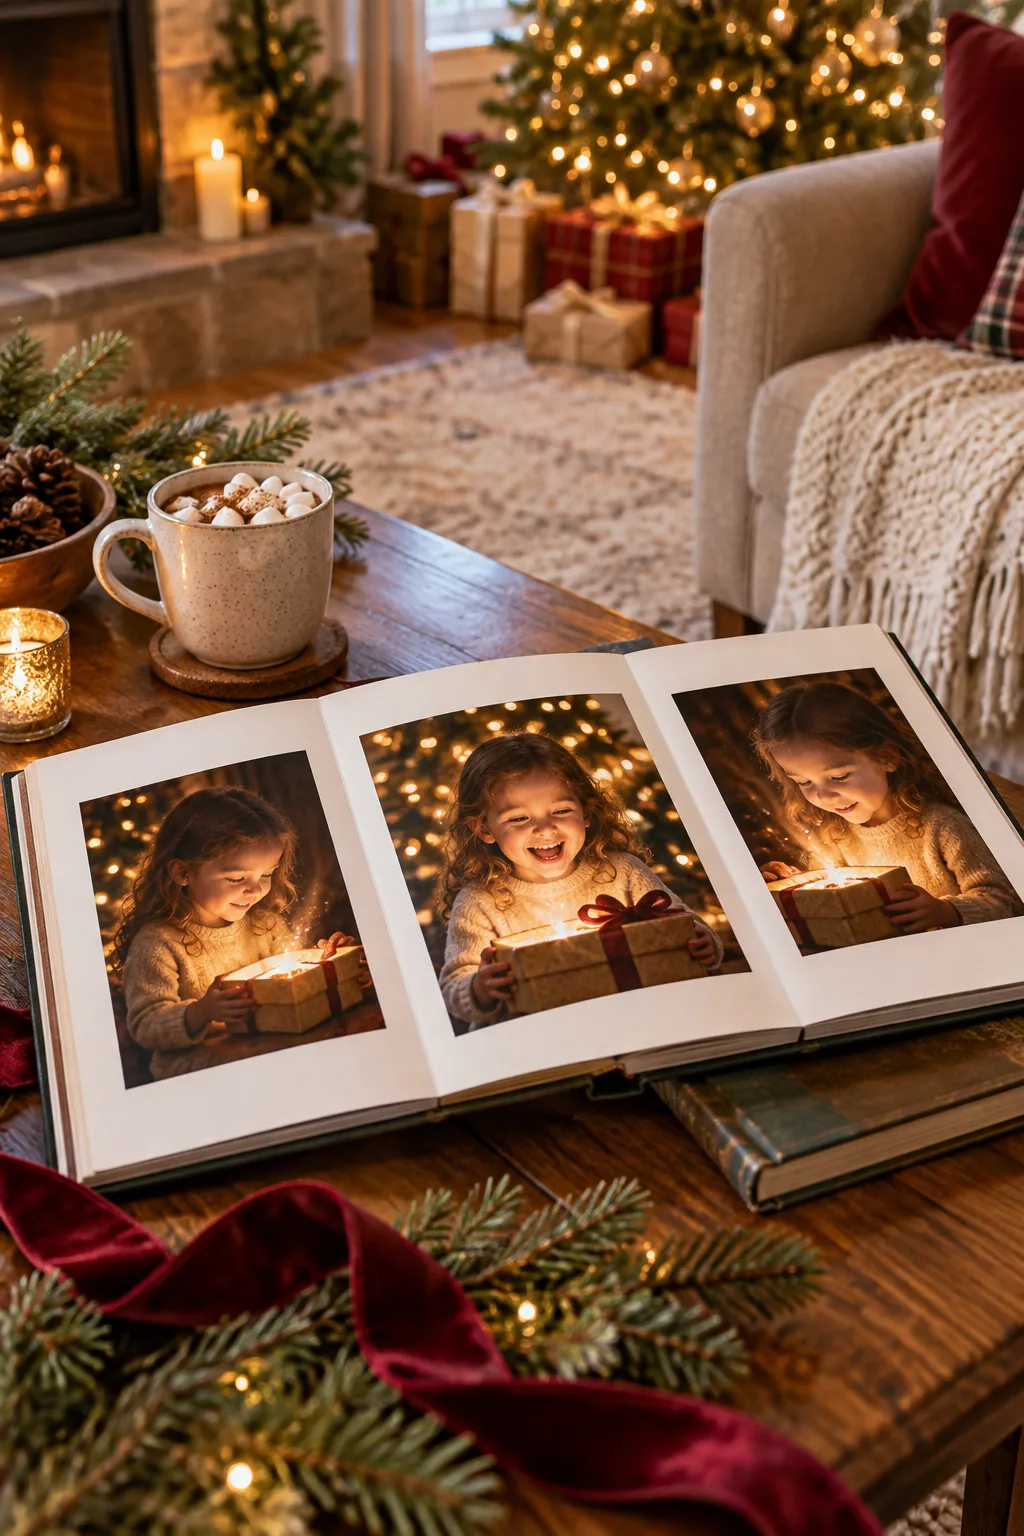
The list includes three quick prompts: looking into the box, looking up at the tree, and looking directly at the camera. Moving through these quickly guarantees great variety before anyone loses patience with the process.
Prompting the First Shot: Looking Inside
Start the session by asking the child to peer deeply into the open box. This pose naturally angles their face perfectly toward the hidden LED, ensuring the most flattering and dramatic lighting for your very first frame.
Prompting the Second Shot: The Tree
Next, ask them to look over the top of the box toward the glowing Christmas tree. This slight upward tilt catches the twinkling background lights in their eyes, creating beautiful catchlights that bring the portrait to life.
Reviewing the First Test Frame
Pause after your very first click to review the image closely on your screen. Check that the AE/AF Lock held firm and the subject’s eyelashes are perfectly sharp before you continue with the rest of the shot list.
Three Ways to Style the Magic Box Setup
Adapt this simple lighting trick to match your own holiday decor style.
Classic Red and Gold: Traditional plaid pajamas and a gold-wrapped box create a timeless, nostalgic holiday feel.

Flocked Winter Wonderland: Pair a chunky white knit sweater with a silver box for a frosty, elegant aesthetic.

Minimalist Scandinavian: Use simple kraft paper and twine to complement a sparse, natural alpine tree.

Capturing Genuine Reactions
I always keep the entire process under five minutes to capture authentic wonder before my kids get restless. Instead of asking for a smile, ask the child to whisper what they think is hiding inside the glowing box.

This natural prompt creates the soft, awe-struck expressions that make this low-light setup so incredibly special. You capture a genuine moment of holiday magic rather than a forced, stiff pose that looks overly staged.