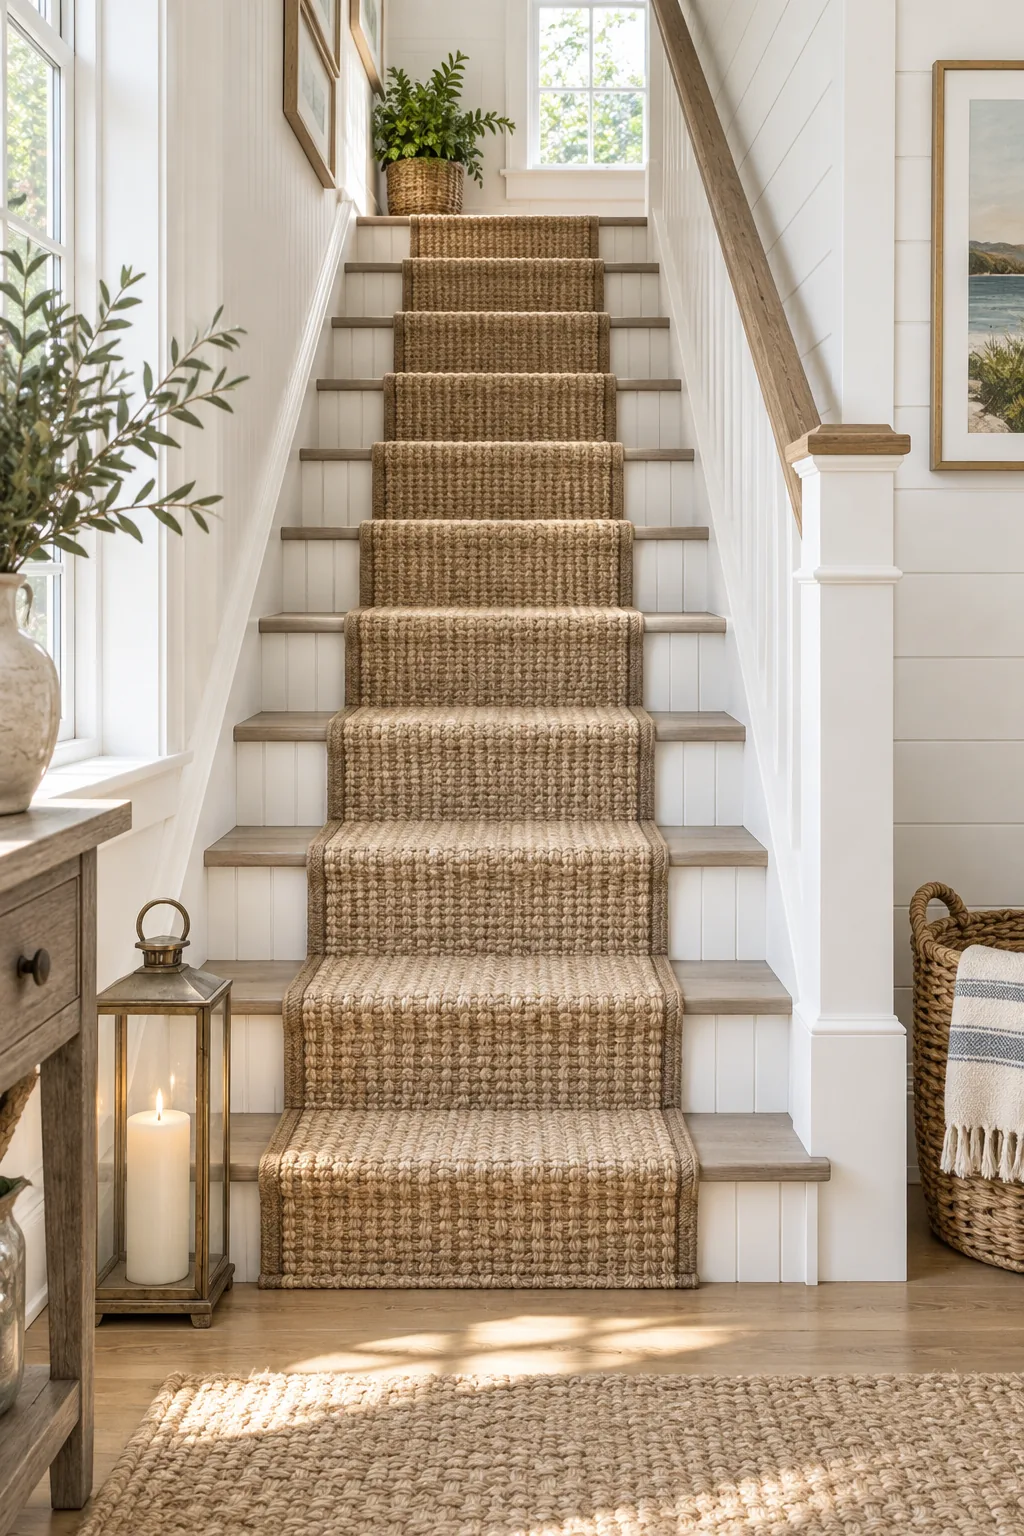
Oak Stair Treads over Old Steps: The Retrofit Sequence
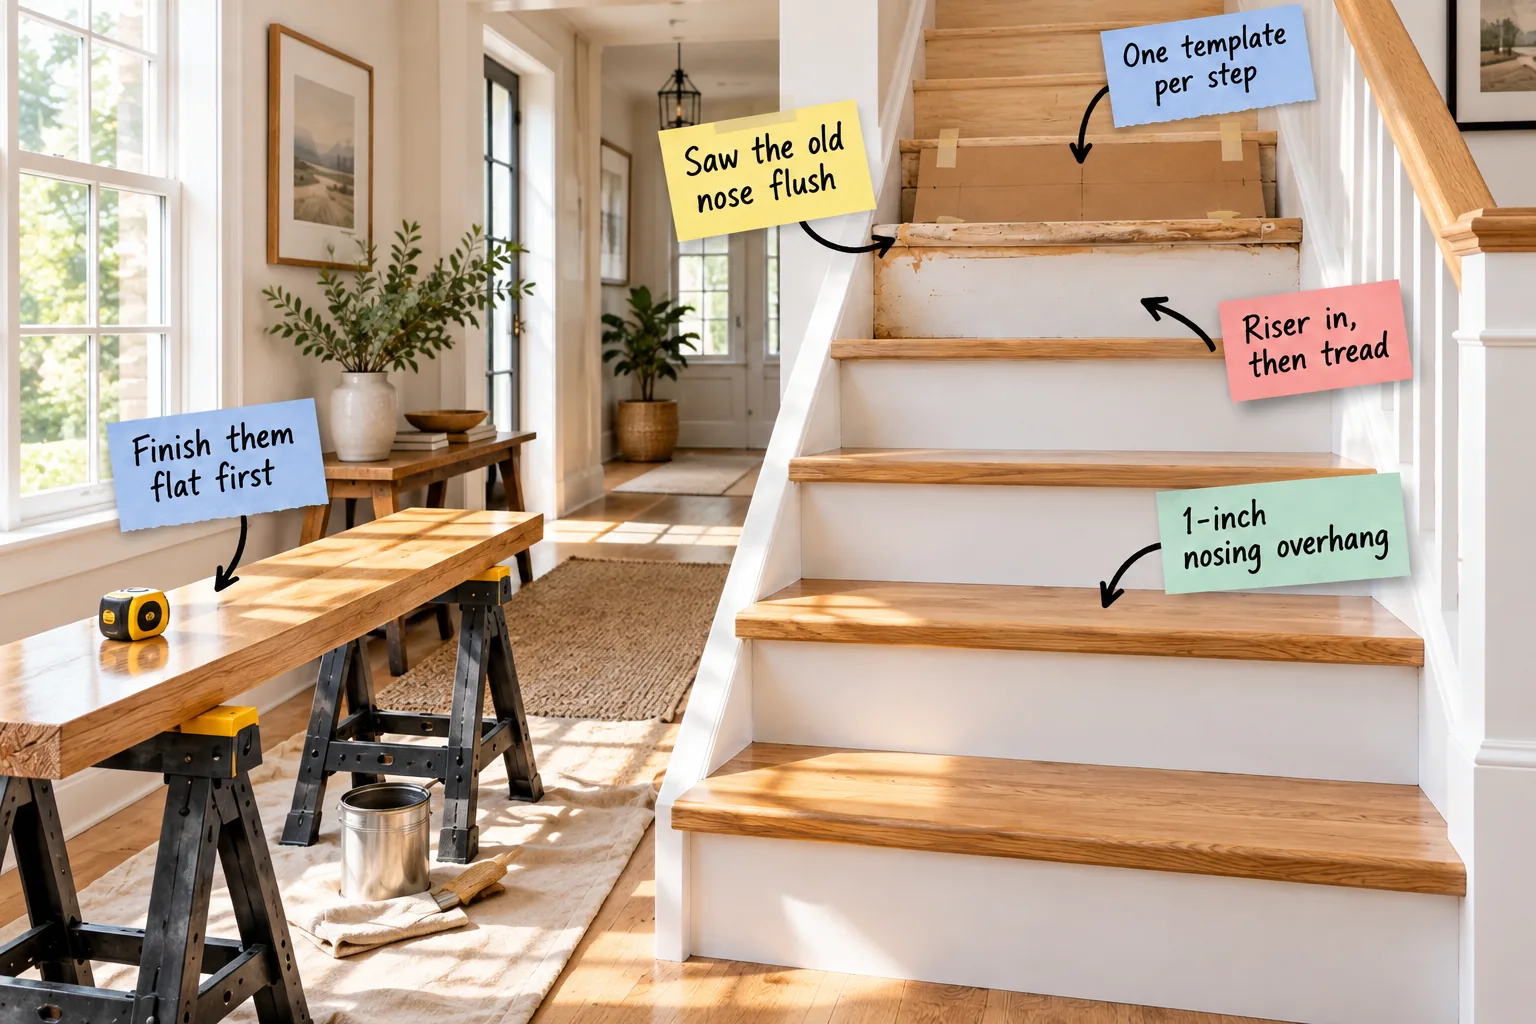
You can completely transform your staircase without heavy demolition, and this printable over-the-old-steps stair tread retrofit sequence gives you exactly what you need to track every cut, template, and curing time to reface a 13-step flight flawlessly. Grab the checklist below to manage your adhesive times and install your new oak treads right over the existing wood.
Pre-Finishing Your Treads Flat
Applying polyurethane to your raw oak treads while they are resting flat on sawhorses ensures a leveling, drip-free finish that you simply cannot achieve once they are installed on the staircase. Gravity works with you to create a flawless glass-like surface.
Choosing the Right Polyurethane
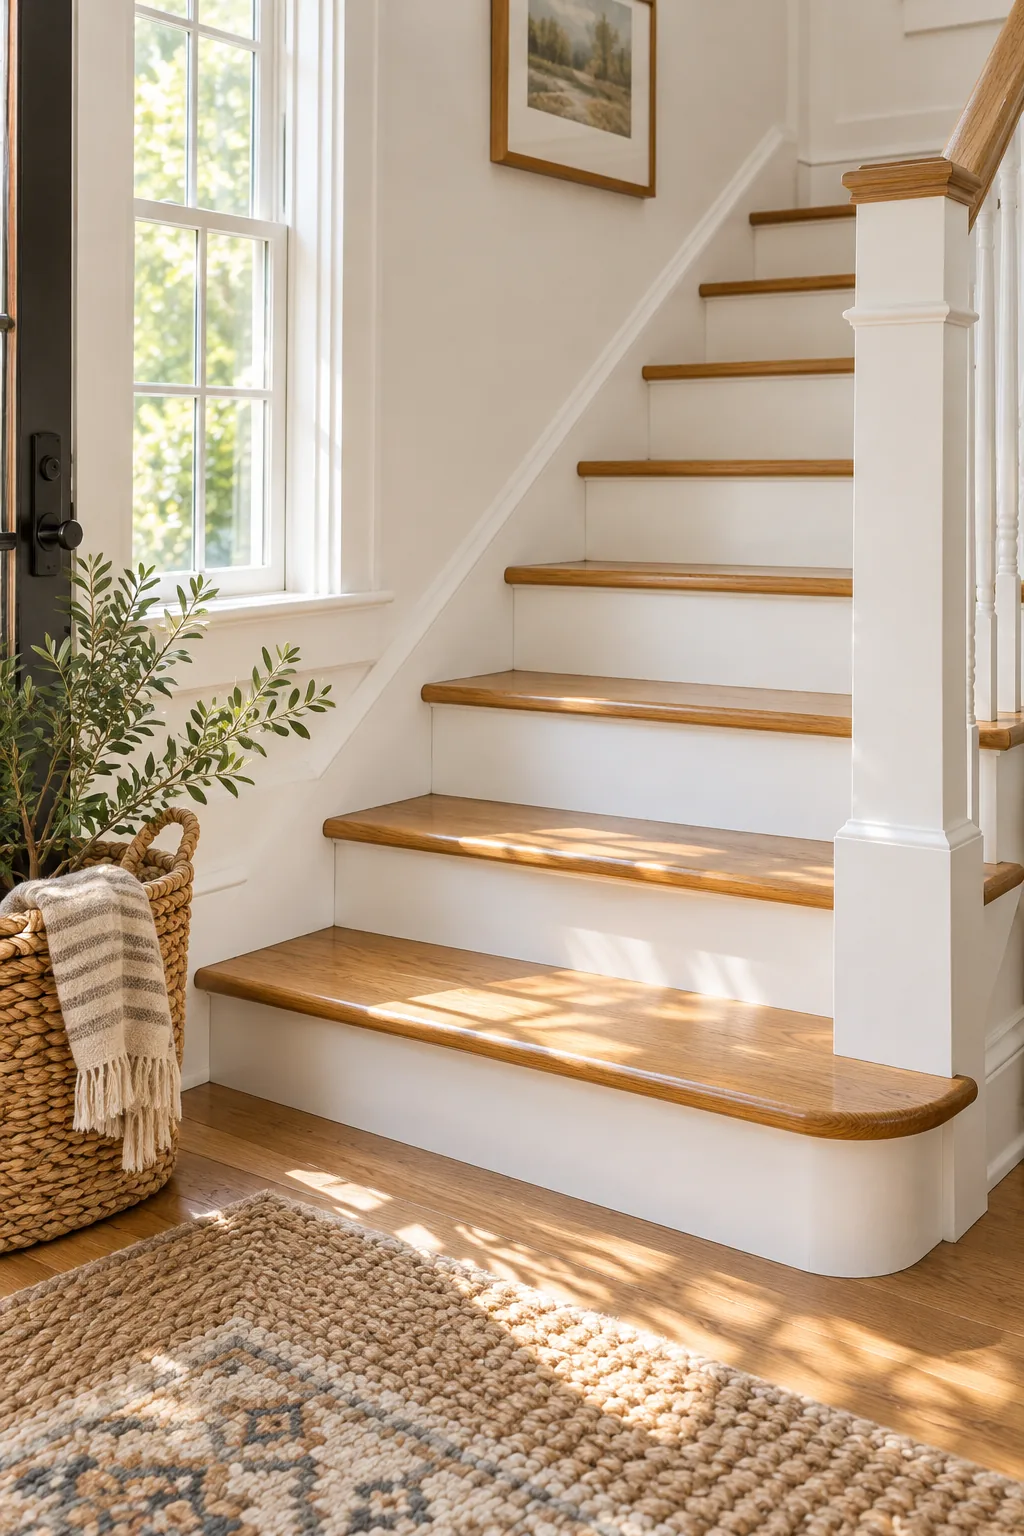
Selecting a high-traffic floor polyurethane guarantees that your new oak steps will withstand daily wear and tear from shoes and pets without scratching. Water-based formulas dry crystal clear, preserving the natural honey tone of the raw wood without yellowing.
Selecting the Best Wood Grain
Sorting through your oak treads before applying any finish allows you to place the most beautiful, prominent grain patterns on the highly visible bottom steps. Hiding boards with minor visual imperfections near the top landing ensures your entryway makes a stunning first impression.
The Three-Coat Finishing Schedule
Achieving a factory-smooth surface requires patience, so you should always plan for a strict three-coat application process before the wood ever moves inside the house. Lightly sanding between these layers removes microscopic dust bumps.
| Coat Number | Application Tool | Drying Time | Sanding Grit |
|---|---|---|---|
| First Coat | Synthetic brush | 2 hours | 220 grit |
| Second Coat | Foam applicator | 2 hours | 320 grit |
| Final Coat | Foam applicator | 24 hours | None |
Following this exact schedule allows the finish to build a thick, protective layer while smoothing out any raised grain between the applications.
Allowing the Finish to Cure Fully
Even after the final coat feels dry to the touch, the chemical cross-linking process takes several days to reach its maximum hardness. Moving the treads too early risks leaving permanent smudges or fabric imprints in the fresh clear coat.
Preparing the Work Area
Laying down heavy canvas drop cloths at the base of the staircase protects your existing flooring from falling sawdust and dropped tools. Sealing off adjacent doorways with plastic sheeting keeps the inevitable demolition dust from migrating into your clean living spaces.
Cutting the Old Nosing Flush
When I tackled my own stairs, I learned quickly that sawing off the old rounded bullnose flush with the original riser is the most critical step to create a flat, 90-degree backing. This clean cut prepares the foundation for your new structural layers.
Skipping the demolition phase might seem tempting, but taking shortcuts on the existing steps will absolutely ruin the final fit of your pristine new materials. You must address the old framework properly before covering it up.
Removing Old Carpet Staples
Before you even plug in your saw, you must meticulously scan every single step for hidden carpet staples or broken tack strip nails. A simple pair of end-cutting pliers makes quick work of pulling these stubborn metal fragments out of the old framing.
Checking the Exposed Stringers
Once the overhangs are gone, place a framing square against the old risers to verify that your structural stringers are still perfectly plumb. If you discover any severe bowing, you will need to shim the low spots before attaching the new cosmetic layers.
Why Every Step Needs a Template
I used to think my hallway walls were perfectly square until I tried fitting a tread, which taught me that you must scribe a unique template for every single step. This guarantees a tight fit against the wall with zero awkward gaps.
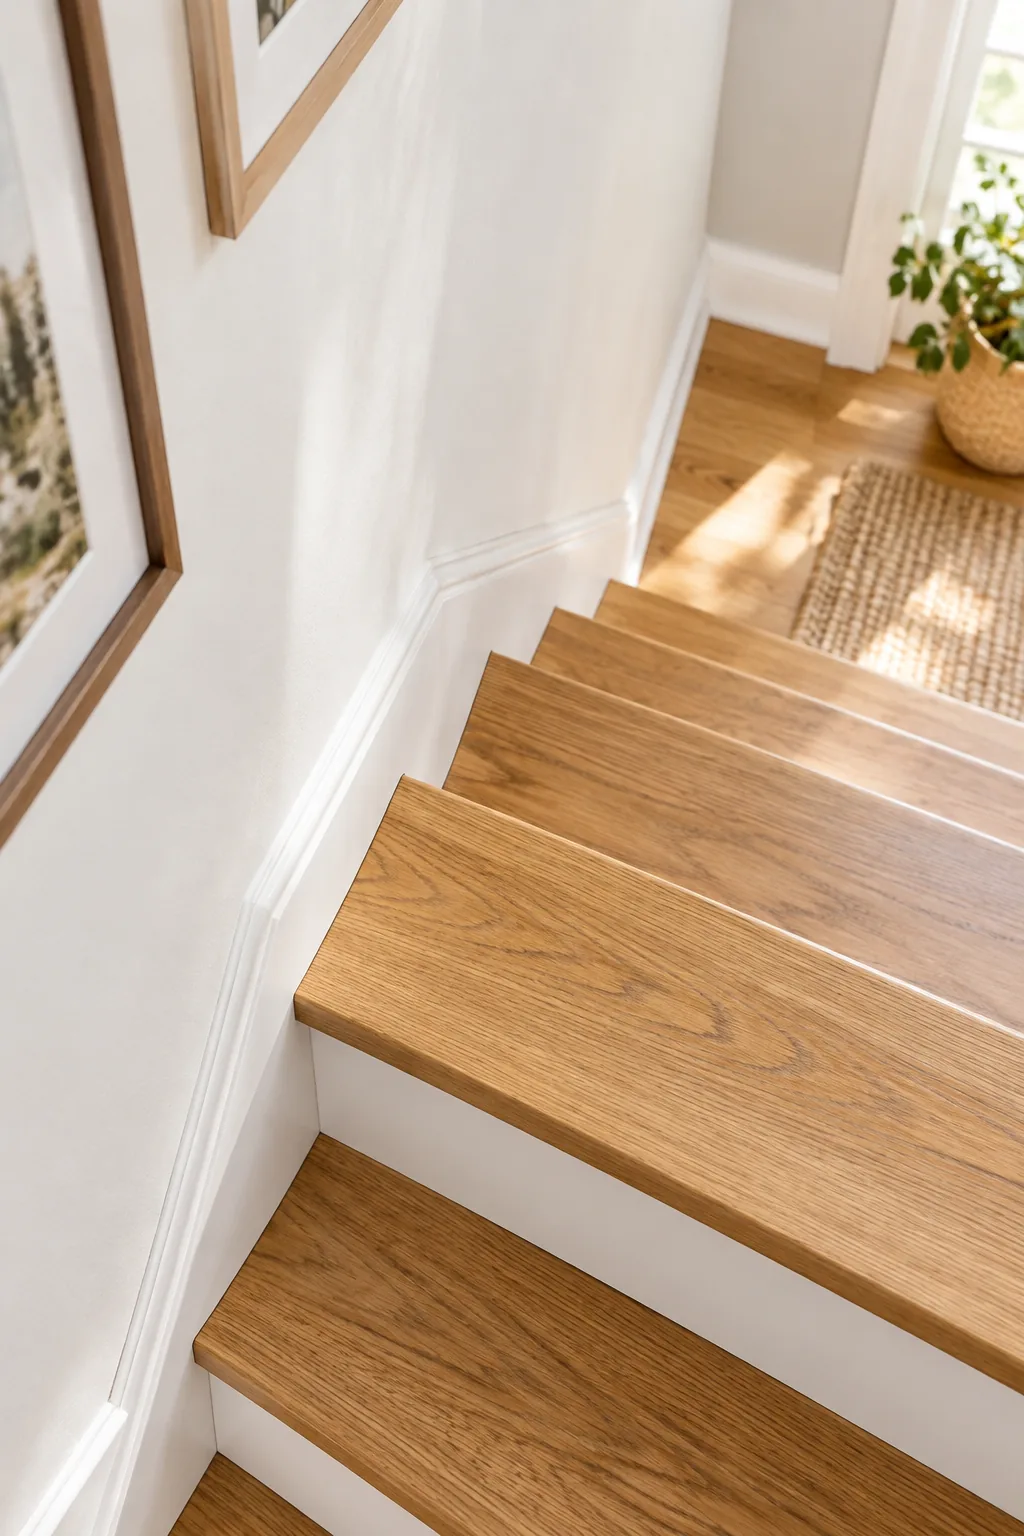
Assembling a Stair Tread Jig
Instead of wrestling with large sheets of cardboard, investing in an adjustable metal stair tread jig will save you hours of frustrating trial and error. This simple tool expands to touch both wall skirts simultaneously, locking in the exact width and side angles.
Scribing Against Uneven Wall Skirts
Older homes settle over time, meaning the left and right skirt boards will almost never sit at a perfect ninety-degree angle to the staircase framing. Capturing these slight variations with your template ensures the final oak plank slides into place like a puzzle piece.
Transferring the Angles to the Oak
Carry your locked jig outside and lay it directly on top of your pre-finished oak tread, making sure the front edge aligns perfectly with the wood nosing. Use a sharp carpenter’s pencil to trace the custom left and right angles directly onto the protective tape.
Matching the Stair Nose Profile
Choosing a tread with a classic rounded bullnose or a sleek square edge dramatically changes the architectural vibe of your entire home. Ensuring your new oak profile complements your existing baseboards and trim creates a cohesive, professionally designed aesthetic.
Making the Final Precision Cuts
Using a sliding compound miter saw equipped with a fine-tooth finishing blade guarantees a clean, splinter-free cut along your penciled scribe lines. Always cut slightly outside the line first, allowing you to shave off paper-thin layers until the fit is absolutely flawless.
The Riser-Then-Tread Rule
Installing your new white riser panel first allows the oak tread to sit directly on top, which structurally traps the vertical panel in place and completely hides the top seam. This sequencing prevents the riser from ever kicking backward under pressure.
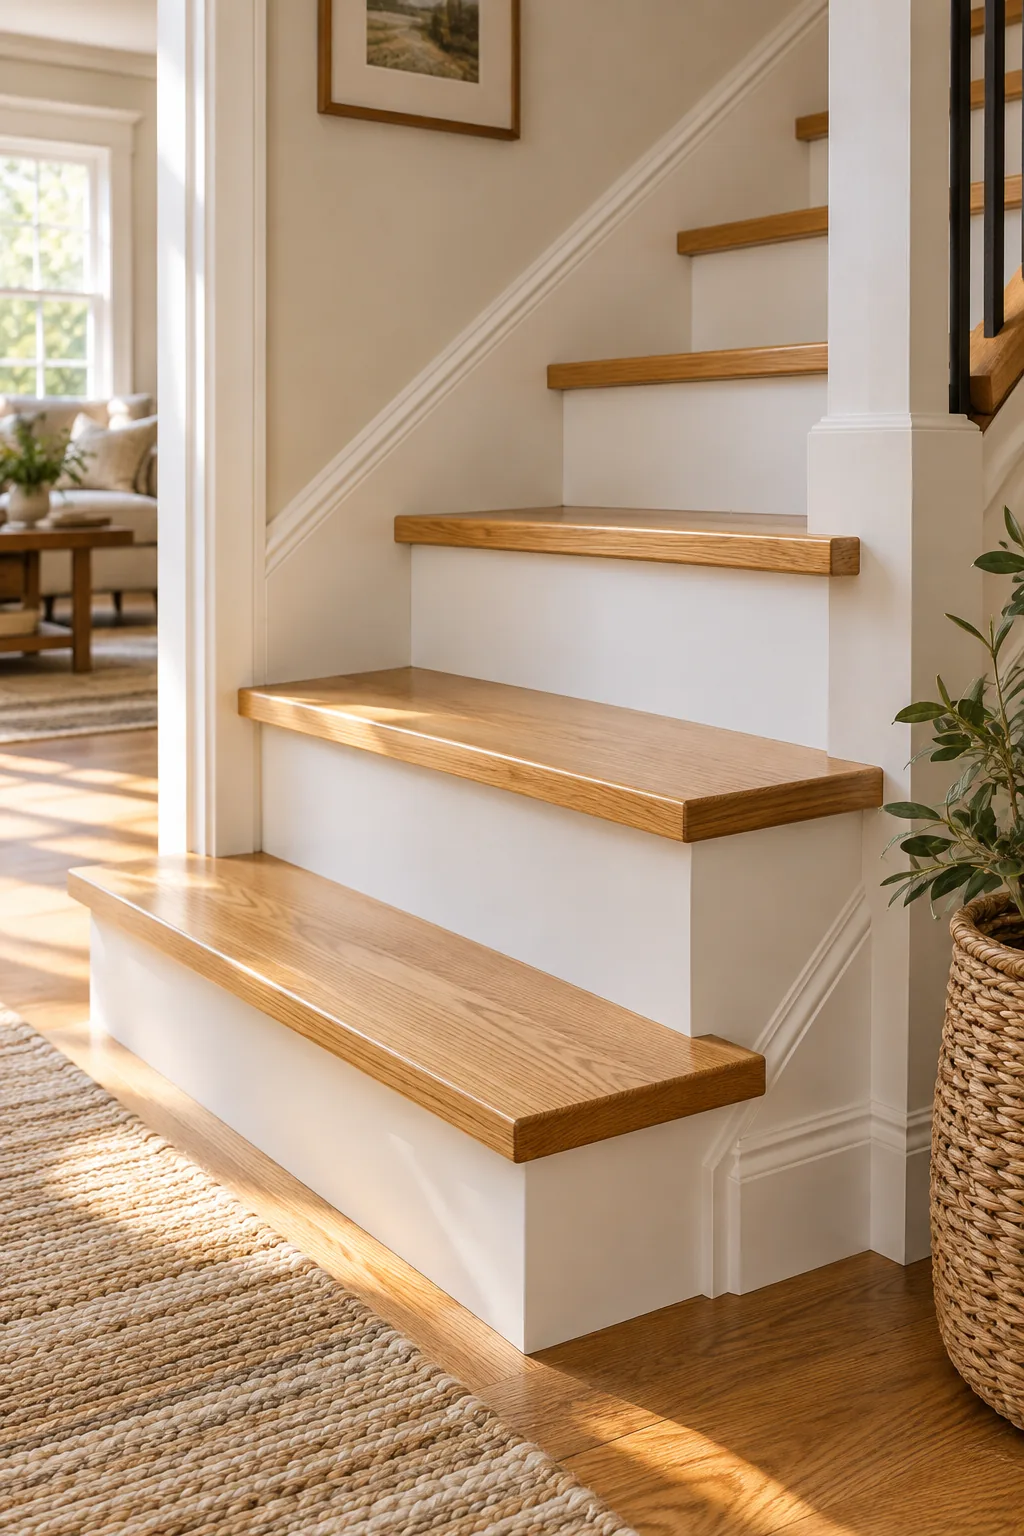
Dry-Fitting the White Riser Panels
Before applying any permanent adhesive, press the freshly cut white riser against the old framing to verify it sits perfectly flush without rocking. This quick dry-fit allows you to make minor adjustments to the height or width without fighting sticky glue.
Applying the Construction Adhesive
Generously applying a premium polyurethane construction adhesive prevents annoying squeaks from developing when the wood expands and contracts with seasonal humidity changes. Run a thick, continuous bead in a serpentine pattern across the entire back of the riser panel for maximum holding power.
Nailing the Risers into Place
Once the glued riser is pressed firmly against the old step, shoot a few brad nails into the top and bottom edges to hold it tight while the adhesive cures. The top nails will be covered by the upcoming tread, keeping the visible face pristine.
Measuring the 1-Inch Overhang
After testing a few depths on my own staircase, I found that leaving exactly a 1-inch nosing overhang past the face of the new white riser below it ensures comfortable foot placement. This precise projection prevents a tripping hazard on the descent.
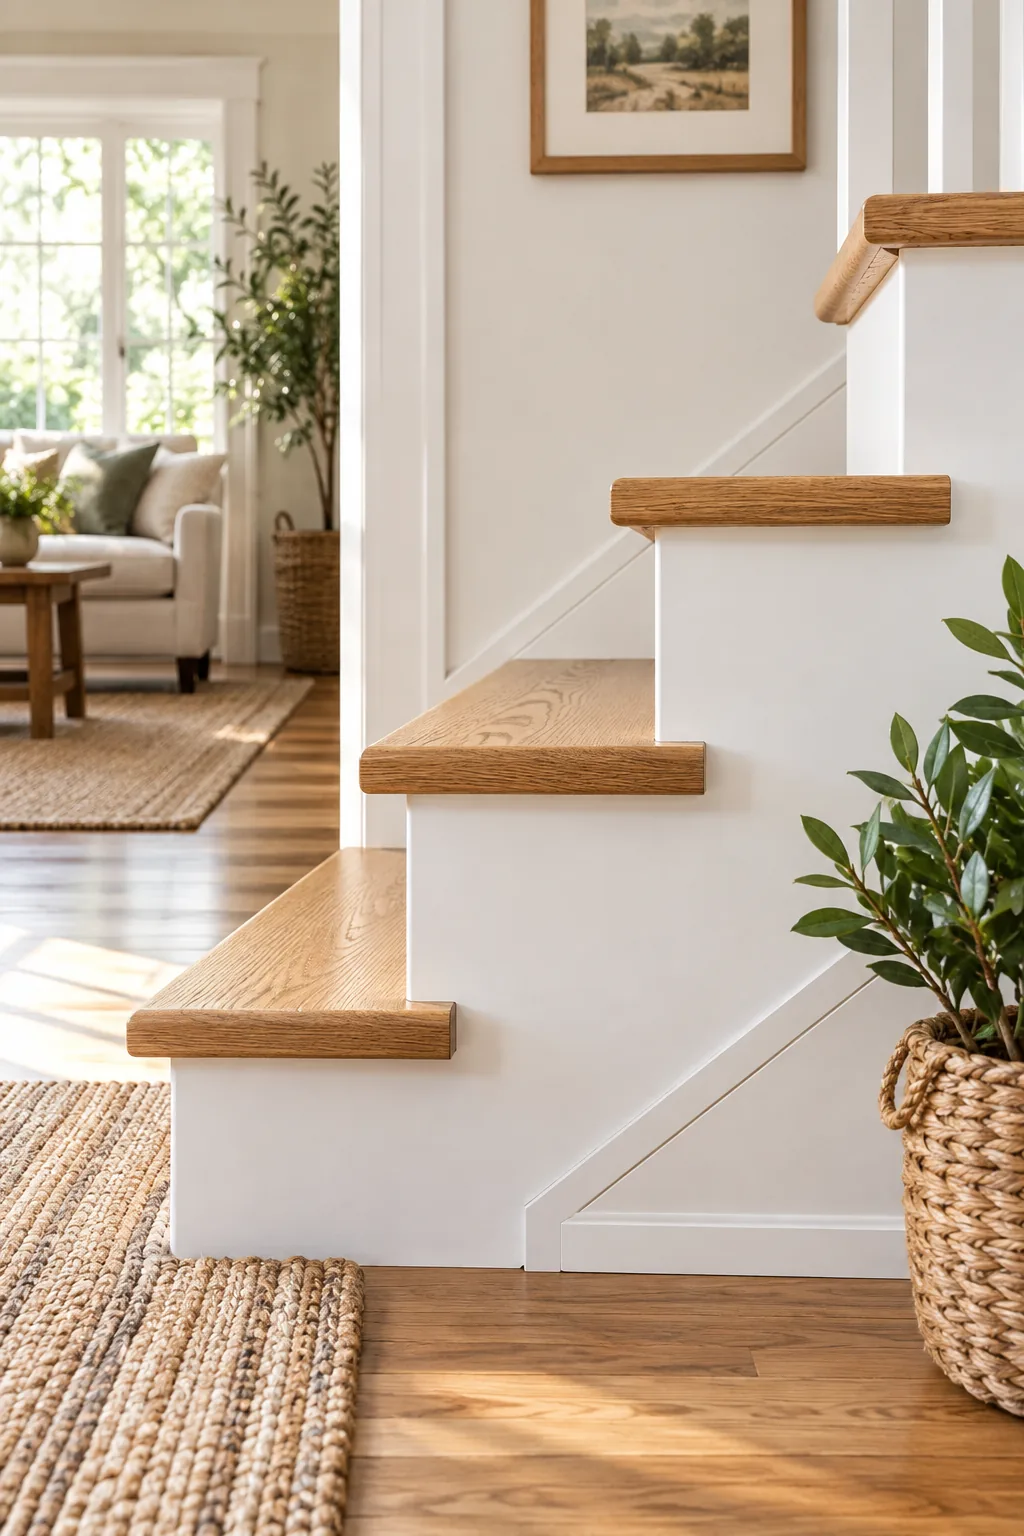
Creating a Consistent Shadow Line
Maintaining that exact one-inch projection on every single step creates a sharp, professional shadow line that ties the whole staircase design together. Even a quarter-inch variation between steps will catch the eye and make the entire retrofit look amateurish and sloppy.
Setting the Tread Depth Consistently
To guarantee this uniform projection, measure the total depth of your old step plus the new riser, then add your required one-inch overhang to find your final cut dimension. Ripping the back edge of the oak tread on a table saw dials in this perfect depth.
Pressing the Oak Tread into the Glue
Apply another generous serpentine bead of heavy-duty adhesive onto the horizontal framing before firmly pressing the custom-cut oak tread into its final position. Wiggle the board slightly side to side to spread the glue evenly and eliminate any trapped air pockets beneath the wood.
Securing the Tread with Finish Nails
Drive finish nails precisely where the back of the tread meets the next riser, angling them slightly downward to lock the heavy oak board securely into the stringers. Fill these tiny holes with a color-matched wood putty to render the fasteners completely invisible.
Caulking the Final Seams
Running a microscopic bead of paintable acrylic caulk along the edges where the white risers meet the wall skirts completely masks any tiny imperfections. Wiping the caulk line immediately with a damp sponge leaves a crisp, invisible transition that looks flawlessly built-in.
The Complete Over-the-Old-Steps Sequence
Following a rigid workflow requires you to repeat these core installation phases for every single step down the flight to guarantee professional results.
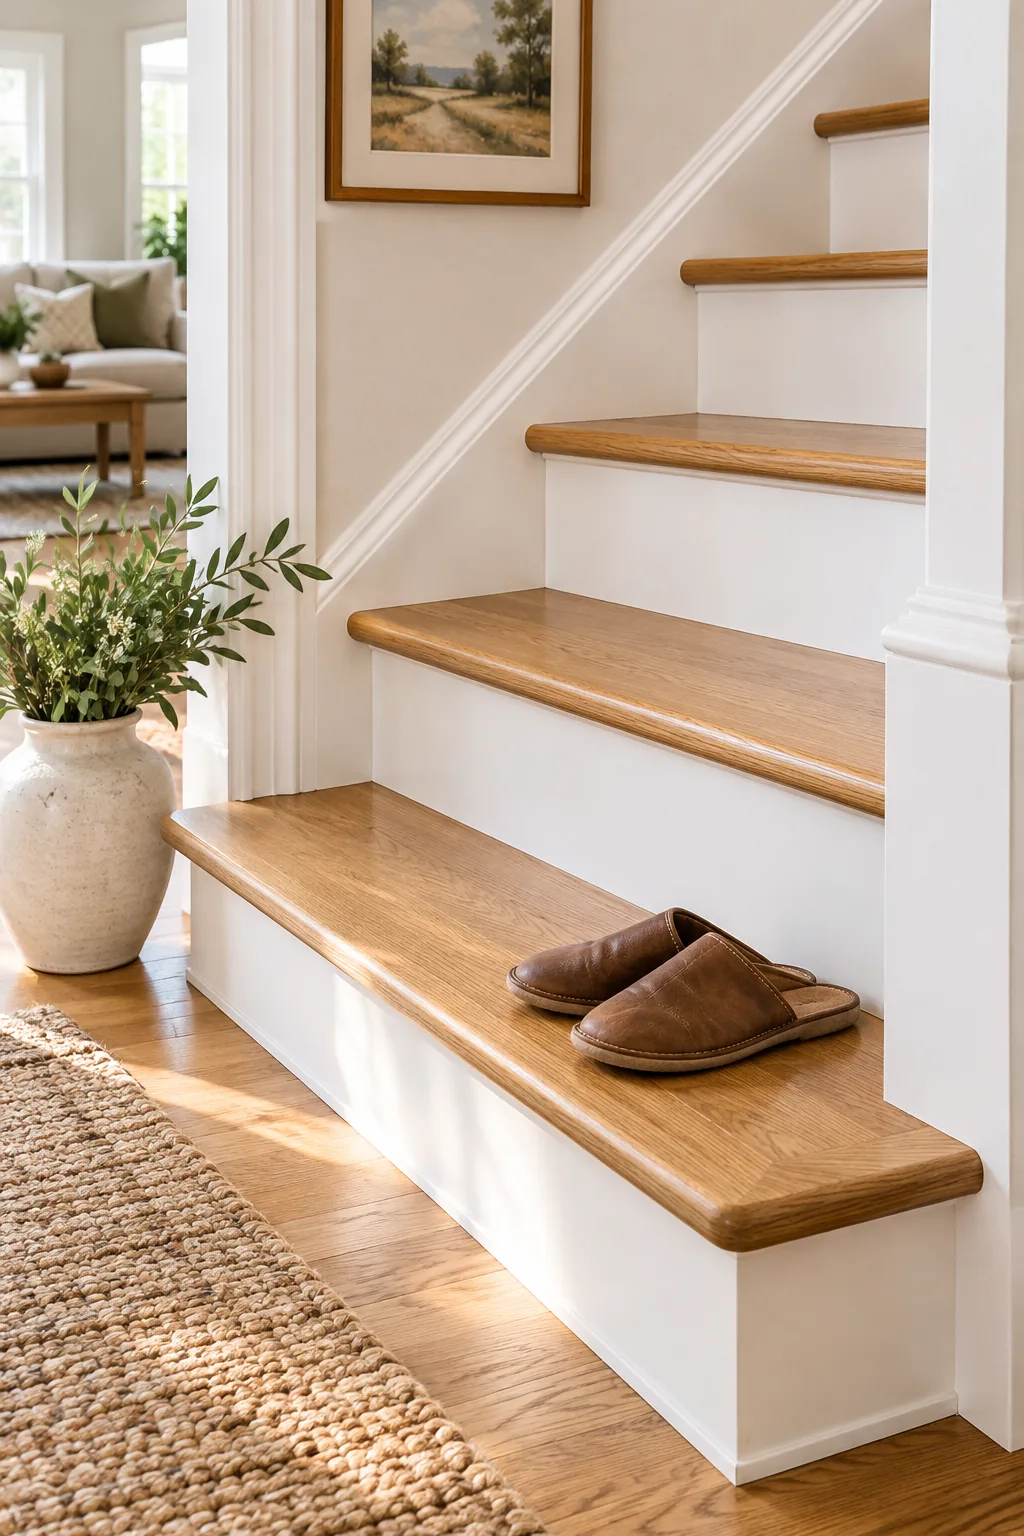
- Prep the old frame by cutting the nose flush.
- Scribe the custom template for the specific tread.
- Install the white riser first, then the oak tread.
This strict order prevents you from mixing up the critical layers or letting your construction adhesive dry out before the heavy wood is properly seated.
Keep this sequence on your clipboard to track your progress down the entire 13-step flight without missing a step.
Tracking the 13-Step Flight Progress
Working from the bottom step upward allows you to stand on the unfinished stairs while you work, preventing accidental damage to your freshly laid oak. Checking off each completed step on your printed sequence keeps your momentum steady and your mind organized throughout the weekend.
Keeping Traffic Off the Fresh Stairs
Blocking off the newly refaced staircase with painter’s tape or a physical barrier prevents family members from accidentally stepping on the treads before the glue bonds. Even light foot traffic during the initial curing phase can shift the boards out of square.
Enjoying Your Refaced Staircase
Refacing right over the old steps delivers the luxurious look of solid hardwood without the massive expense and mess of a full structural rebuild. Your new staircase will immediately elevate the entire aesthetic of your home’s entryway.
Managing Adhesive and Cure Times
Recording the specific drying, curing, and walk-on times from your finish and construction adhesive labels directly onto your checklist ensures you respect the full cure times before allowing heavy foot traffic. Patience here guarantees a permanent, squeak-free bond.
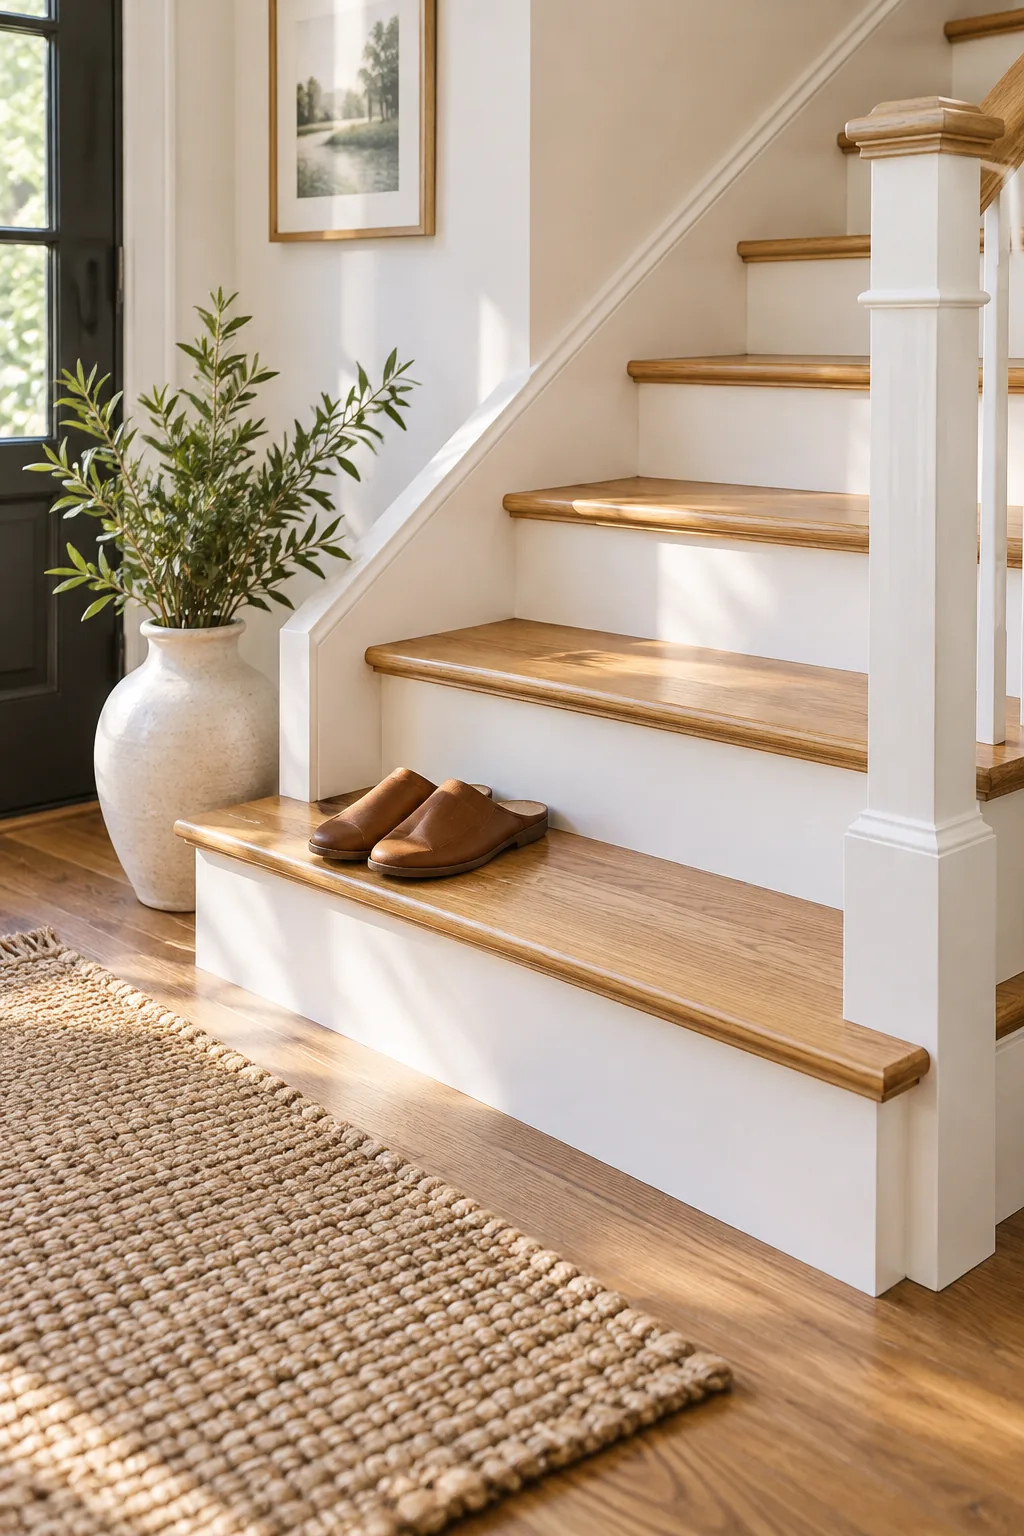
Once the final cure time elapses, you can safely remove the barriers and admire the dramatic transformation of your beautiful new entryway.
3 Ways to Style Retrofit Treads
See how different wood tones and riser pairings can completely change the mood of your staircase.
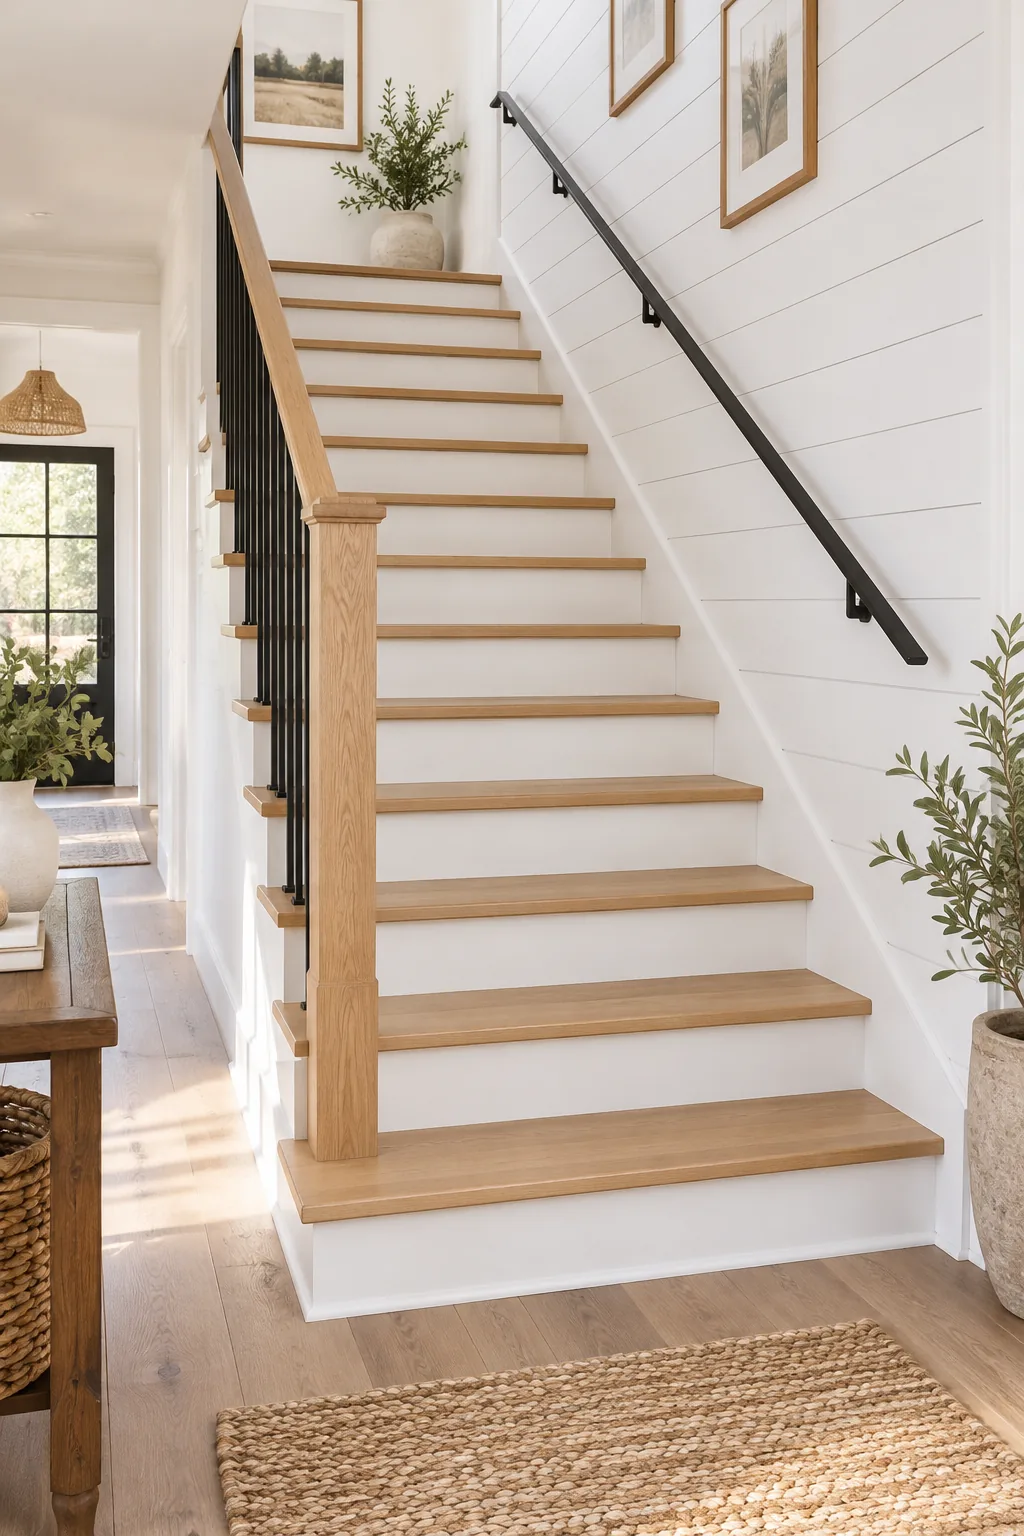
Modern Farmhouse Shiplap: Light white oak paired with stark white risers and shiplap walls creates a bright, airy farmhouse entry.
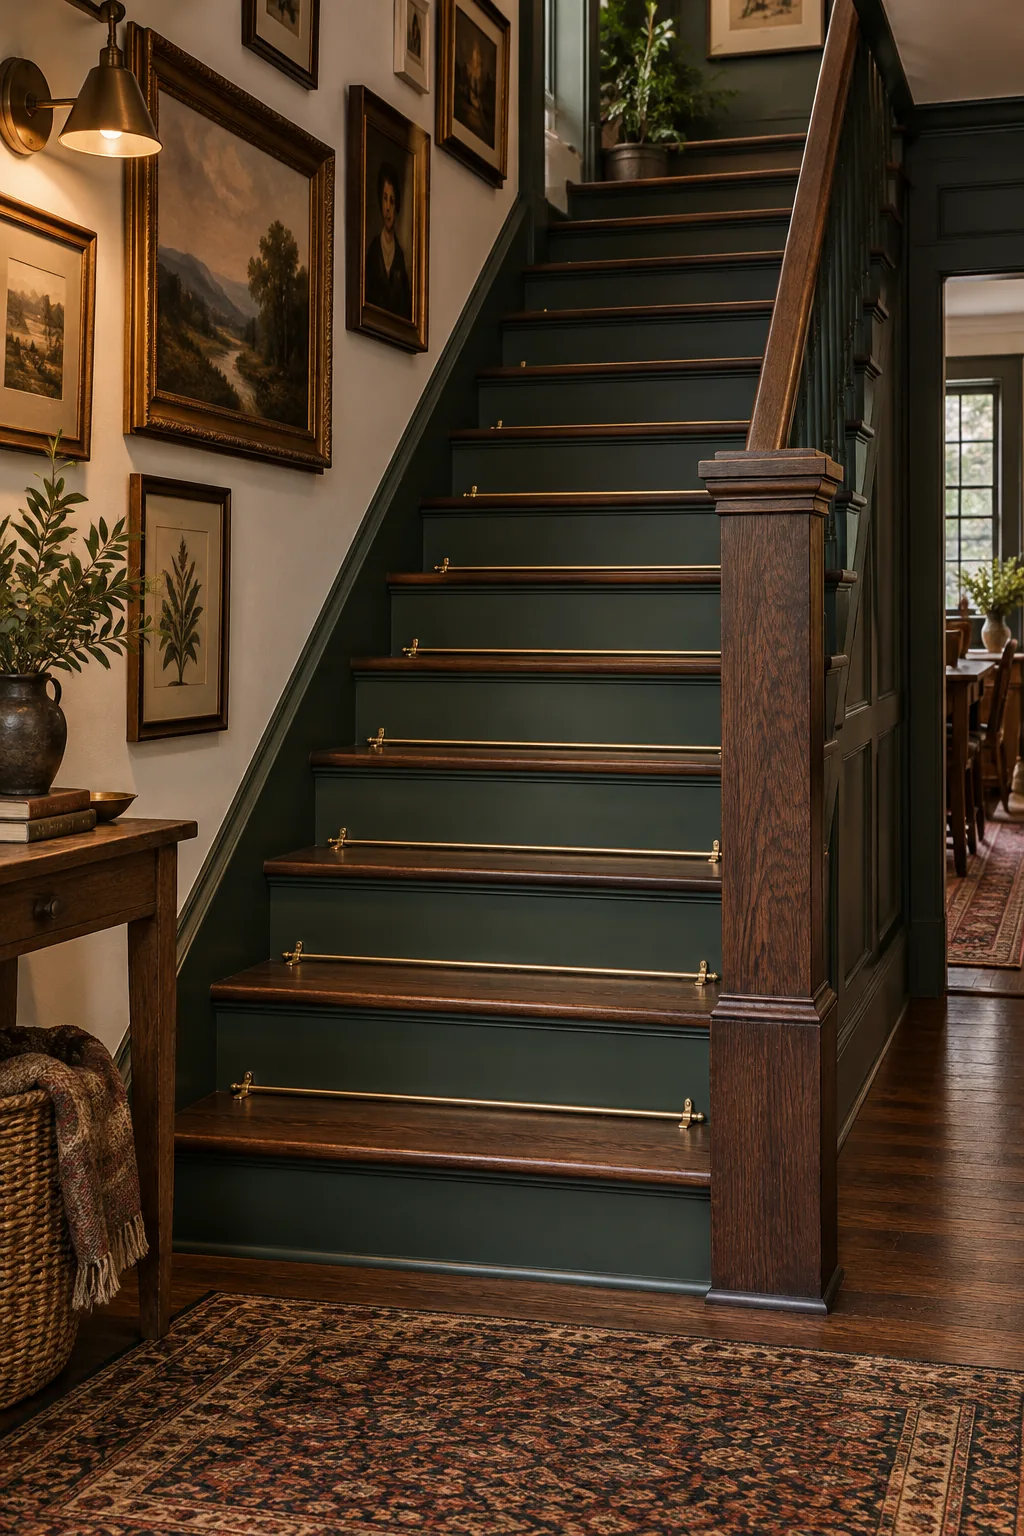
Moody Craftsman Green: Dark walnut stained treads pop beautifully against deep green risers, accented by traditional brass stair rods.
Coastal Cottage Beadboard: Driftwood-toned ash treads and textured beadboard risers bring a relaxed, breezy coastal feel to the hallway.