
Driveway Entrance Design: Flared vs. Straight Measurements
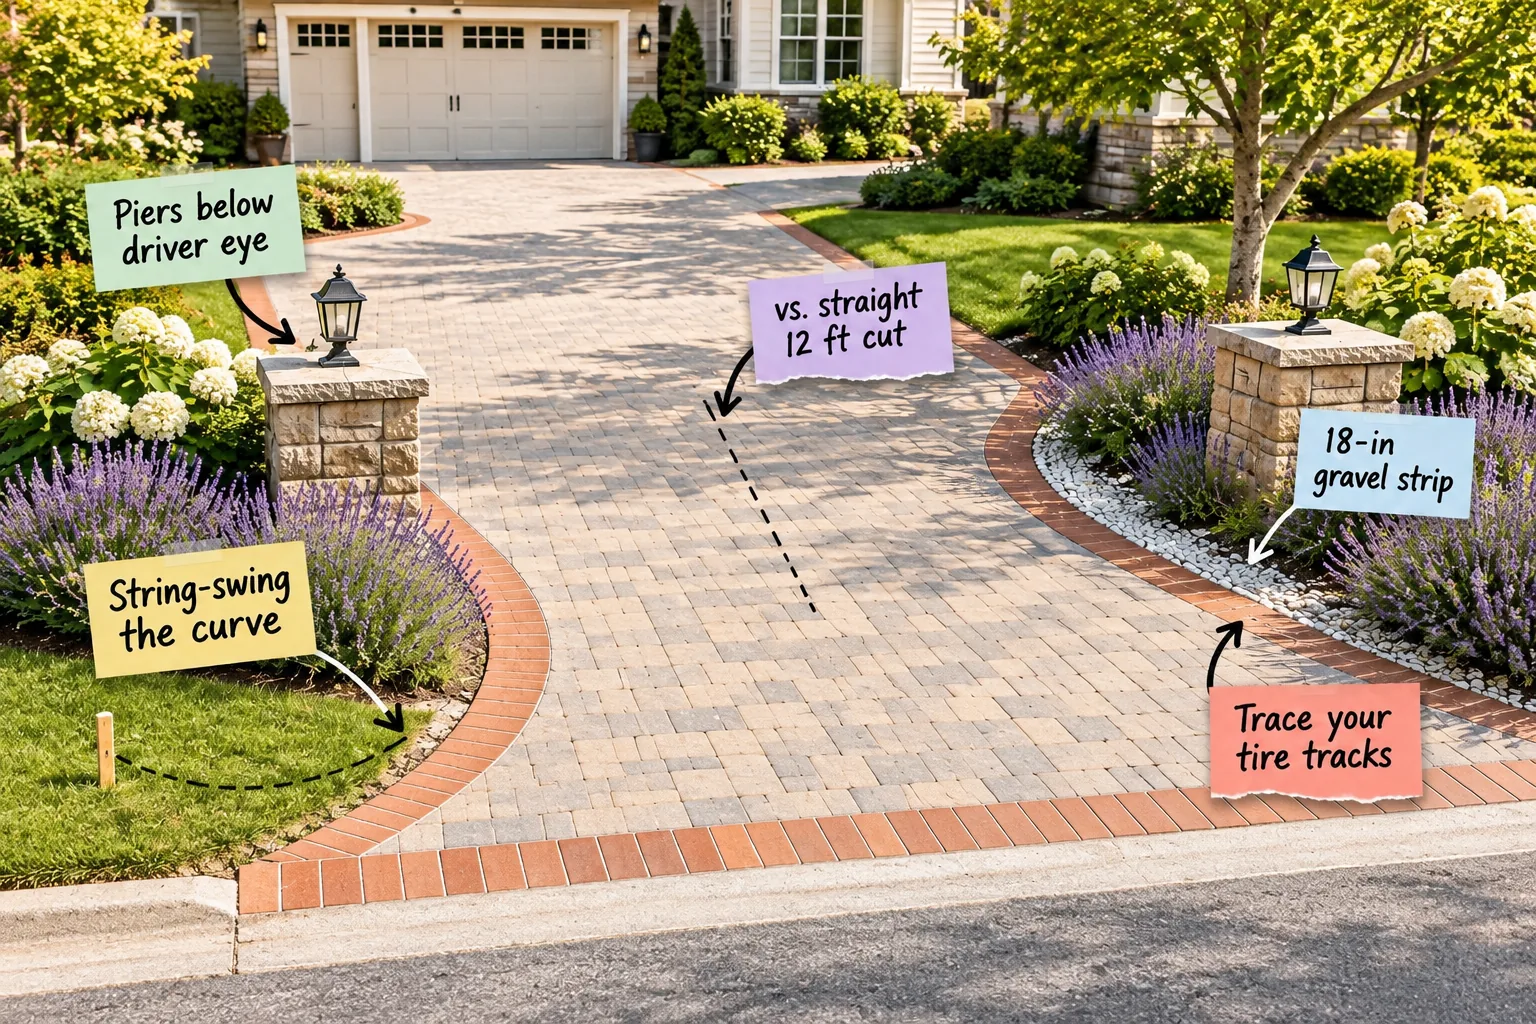
Planning a new driveway entrance can feel overwhelming, but you will be able to mark out a perfectly proportioned flared design using our flared-entrance measurement sheet. This simple sizing guide gives you the exact radius returns, pier setbacks, and mouth widths needed to build a welcoming, professional entrance.
The Flared vs. Straight Decision
When you compare a standard straight 12 ft cut to a flared entrance, the difference in daily drivability is absolutely huge for your family. A straight cut restricts your turning radius, which inevitably leads to ugly, muddy tire ruts ruining your front lawn.
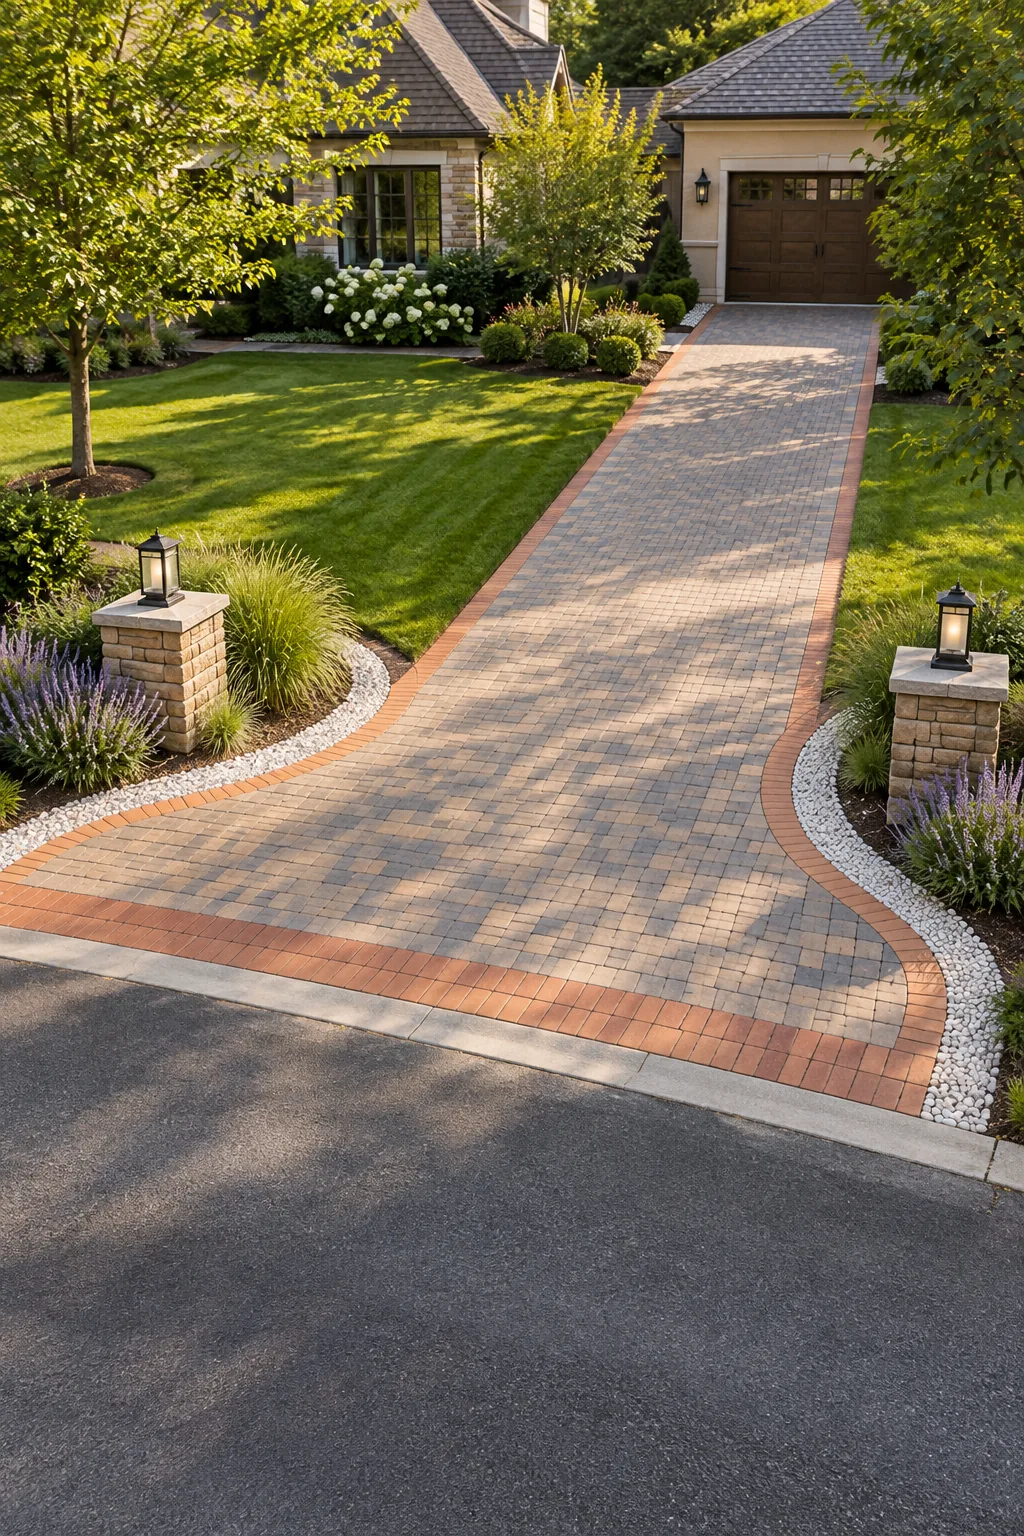
Widening the street connection accommodates modern vehicle wheelbases comfortably so you never accidentally drop a wheel off the edge. This flared design gently guides cars into the driveway, making nighttime arrivals and sharp turns significantly safer and much easier to navigate.
Understanding Vehicle Wheelbase Dynamics
Before digging, you have to account for how a car actually moves through space during a tight turn. Longer vehicles require a much wider swing, meaning your entrance geometry must support the rear tires dragging closer to the inside corner.
- Measure the wheelbase of your longest family vehicle from the front to the rear axle.
- Add at least three feet of buffer space to your calculated inside turning radius.
- Account for delivery trucks if your home receives frequent heavy package drop-offs.
Tracing Your Tire Tracks
To design the correct right flared paver edge, you need to literally trace your tire tracks as they sweep into the drive. I like to dust the driveway apron with a little landscaping chalk and drive through the turn naturally.
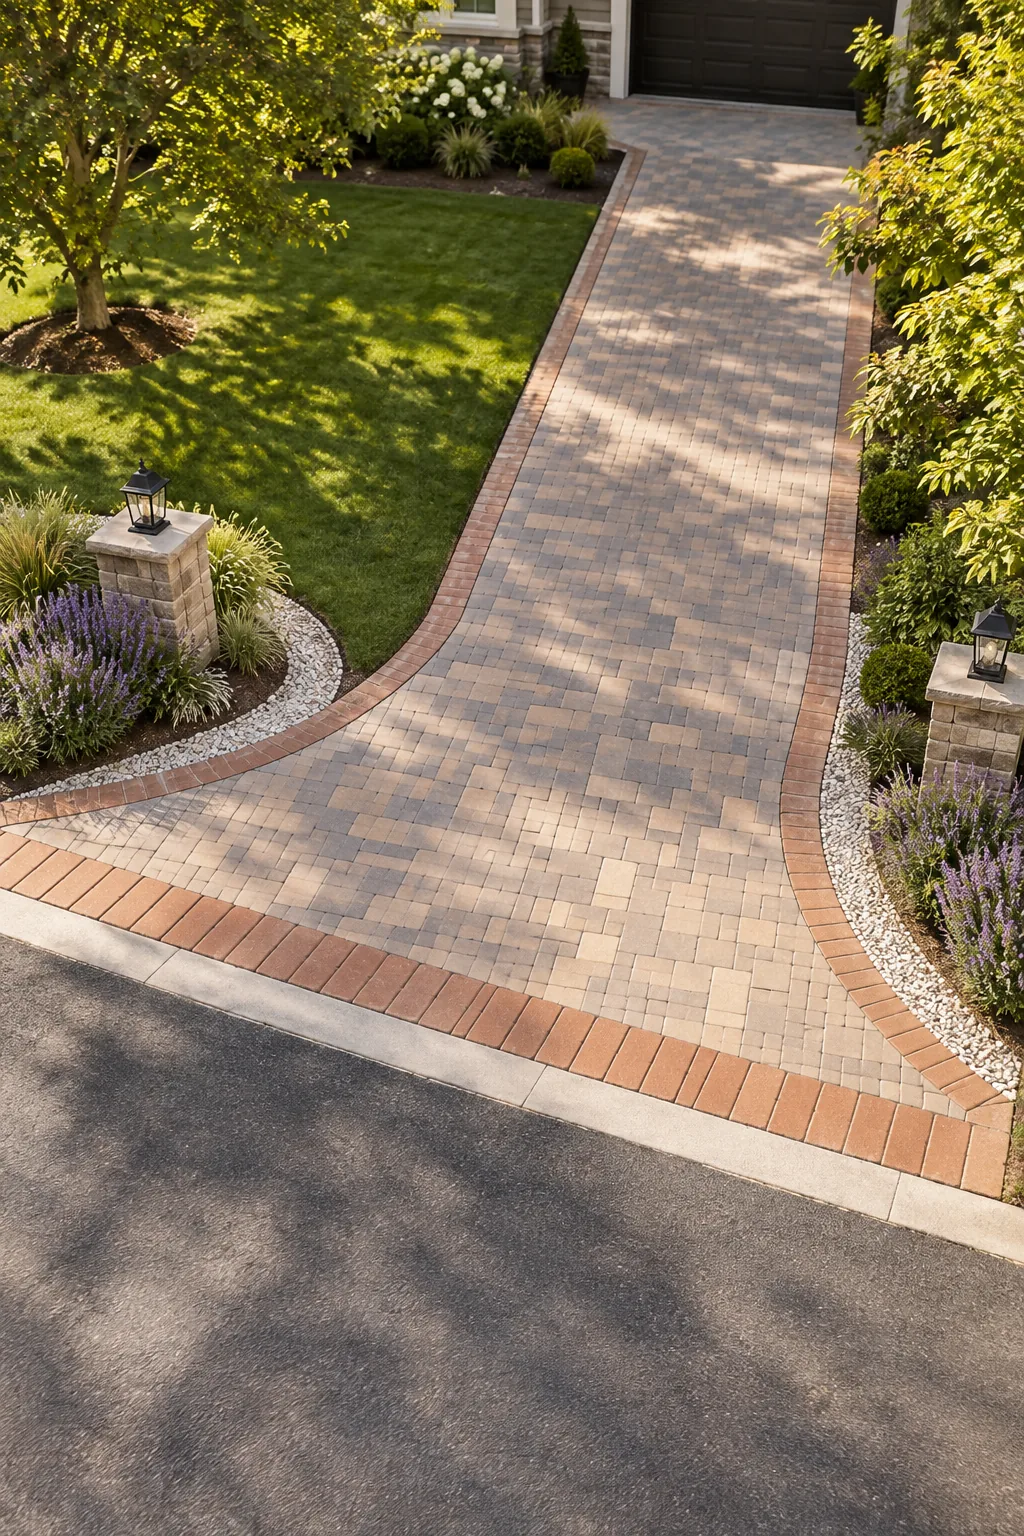
Mapping this exact path ensures the paved surface supports the vehicle’s weight perfectly without wasting expensive materials. This clever technique gives you a highly functional turning apron without requiring an overly massive, visually overwhelming driveway footprint in your front yard.
Marking the Outer Apron Boundary
Once you know where the tires naturally want to go, mark an outer boundary line exactly twelve inches beyond that tire path. This extra foot of hardscape provides a crucial safety margin, keeping heavy tires safely away from your fragile garden beds.
String-Swinging the Radius
When I laid out my own driveway, I learned to string-swing the curve using a center stake to create a flawless left flared edge. A standard 5 ft radius return creates a smooth, professional sweep connecting the main drive to the street.
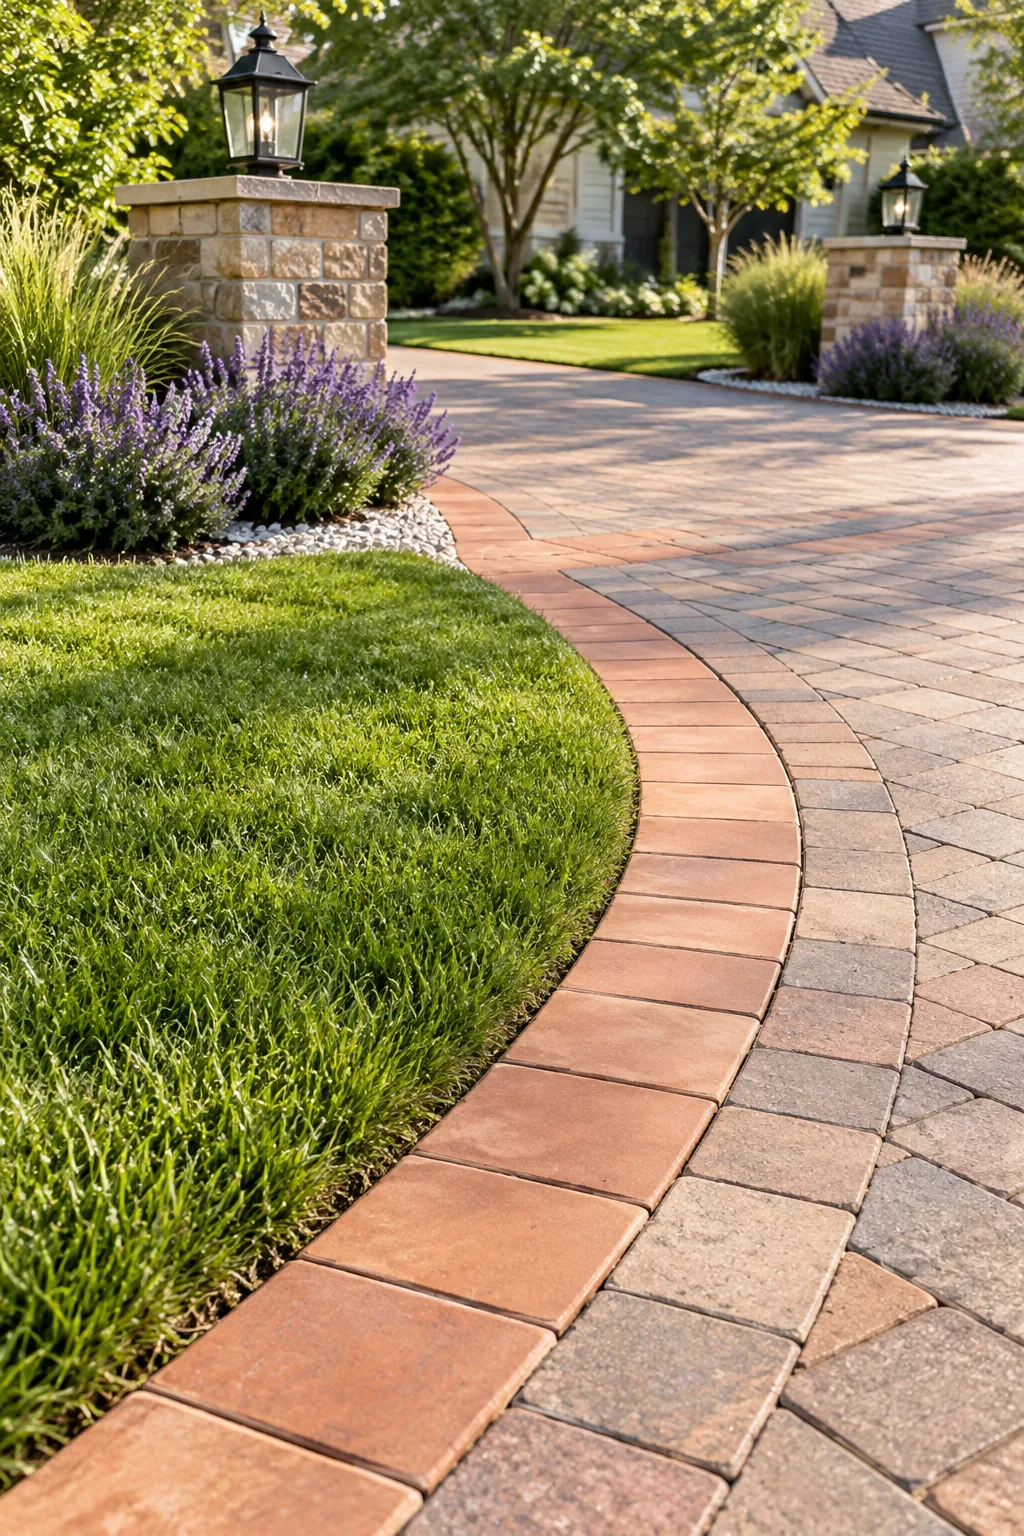
Achieving a perfectly smooth curve requires absolute tension control over your marking tool. If your marker line stretches even slightly while drawing, the resulting paver edge will look wavy, distorted, and ultimately unprofessional once the stones are permanently set in place.
Selecting the Right Pivot Stake
Your pivot stake acts as the absolute center of your geometric radius, so it cannot shift in the dirt. Drive a heavy steel rebar pin at least twelve inches into compacted soil to guarantee your swing arc remains perfectly uniform.
The Flared-Entrance Measurement Sheet
Our flared-entrance measurement sheet details the exact street-level dimensions needed for standard residential driveway widths. I created this chart so you can stop guessing and start marking your layout with absolute confidence before ordering your expensive bulk masonry materials.
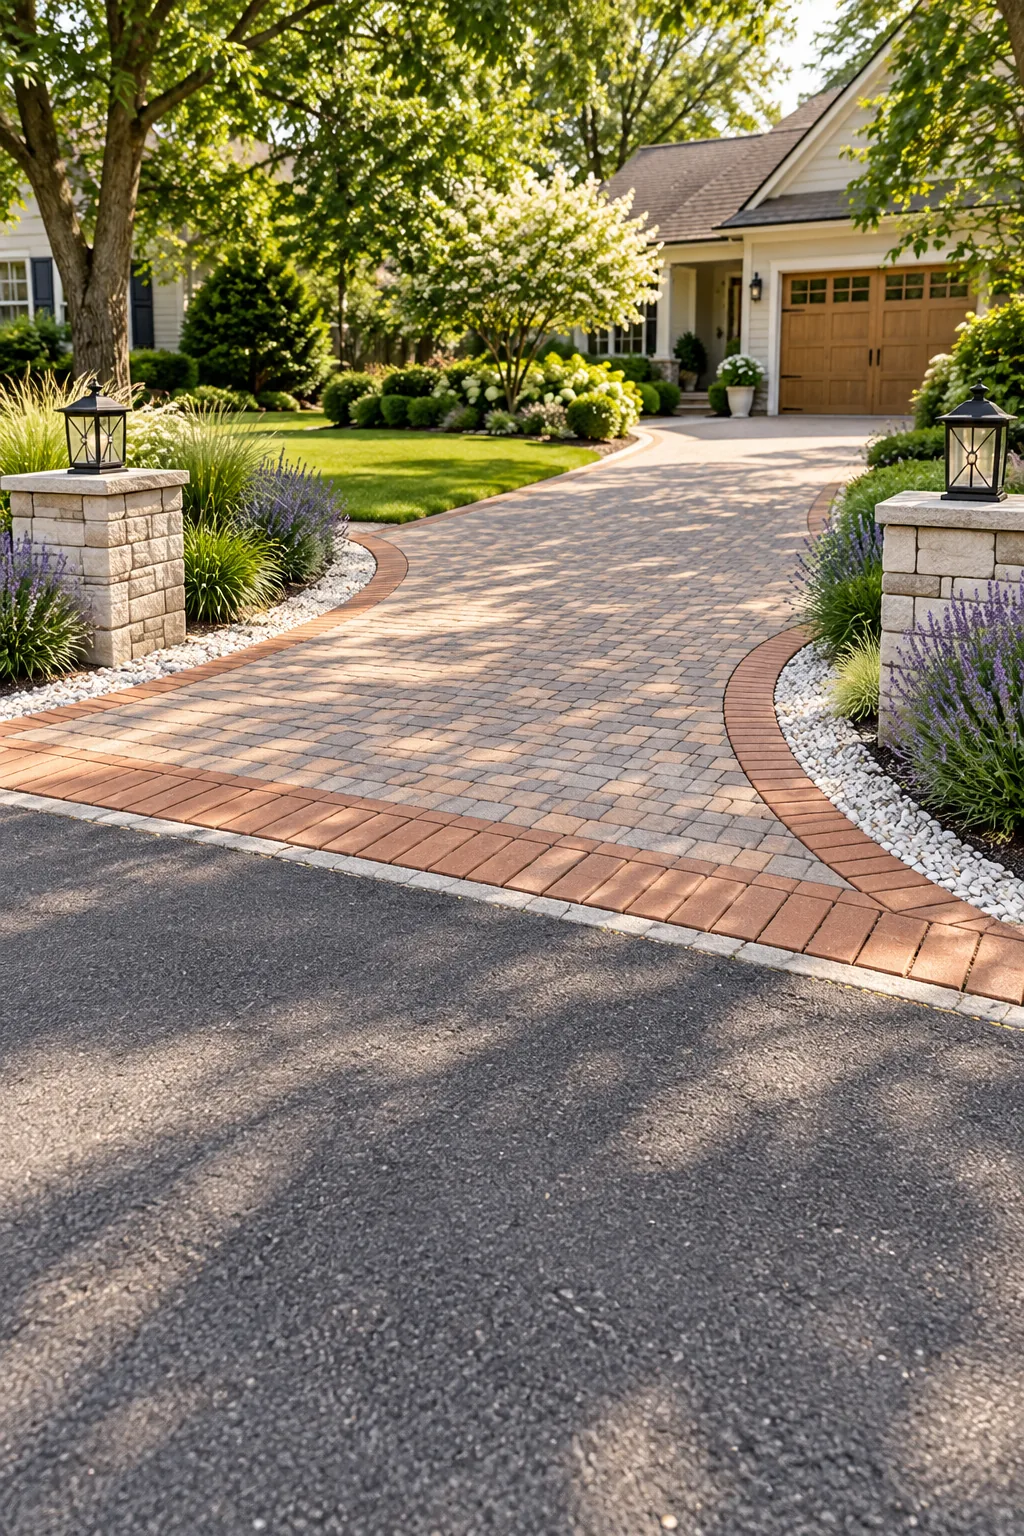
Use this quick reference table to size your radius returns, determine your total street mouth width, and set your safety sightlines correctly. Always verify these baseline dimensions against your local municipal setback codes before beginning any major excavation.
| Driveway Width | Street Mouth Width | Radius Return | Pier & Plant Setback |
|---|---|---|---|
| 10 ft drive | 20 ft mouth | 5 ft radius | 3 ft setback |
| 12 ft drive | 22 ft mouth | 5 ft radius | 3 ft setback |
| 16 ft drive | 26 ft mouth | 5 ft radius | 4 ft setback |
| 20 ft drive | 30 ft mouth | 5 ft radius | 4 ft setback |
Adjusting for Narrow Two-Lane Streets
If you live on a particularly narrow two-lane suburban street, you might need to increase your radius return to a full six feet. A wider sweep compensates for the lack of swing room in the roadway, preventing awkward multi-point turns.
Setting the Soldier-Course Threshold
I always anchor the street connection with a terracotta soldier-course band across the threshold, just like we did at my Austin home. This distinct horizontal border visually separates the public road from your private property with a beautiful, classic detail.
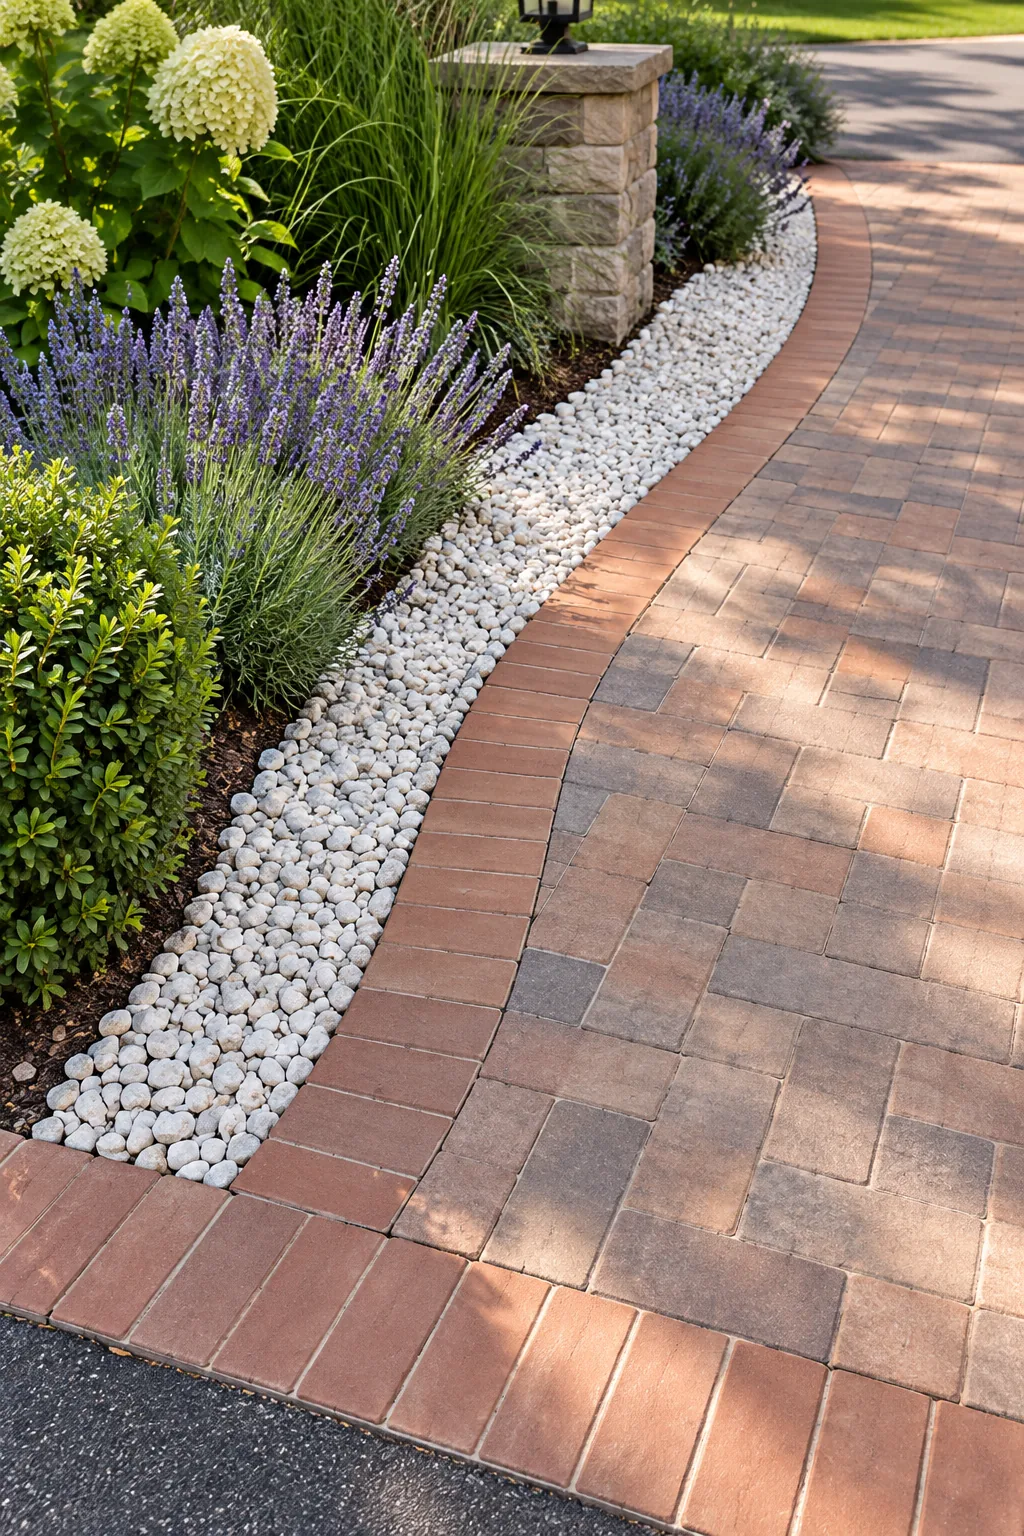
Beyond looking incredibly charming, this soldier course provides a strong, rigid structural edge against the shifting street asphalt. Laying these border bricks perpendicular to the traffic flow locks the main driveway field in place, preventing the pavers from creeping outward.
Choosing High-Density Clay Pavers
For that critical threshold border, always select high-density, vehicular-rated clay pavers rather than standard patio bricks. These heavy-duty units can withstand the immense twisting friction of heavy car tires turning sharply without cracking or crumbling at the vulnerable street edge.
The 18-Inch Gravel Strip
Installing a clean 18-in gravel strip between the right flared paver edge and your garden beds is a drainage lifesaver. After surviving our heavy spring downpours, I swear by this simple border for keeping the entrance looking pristine.
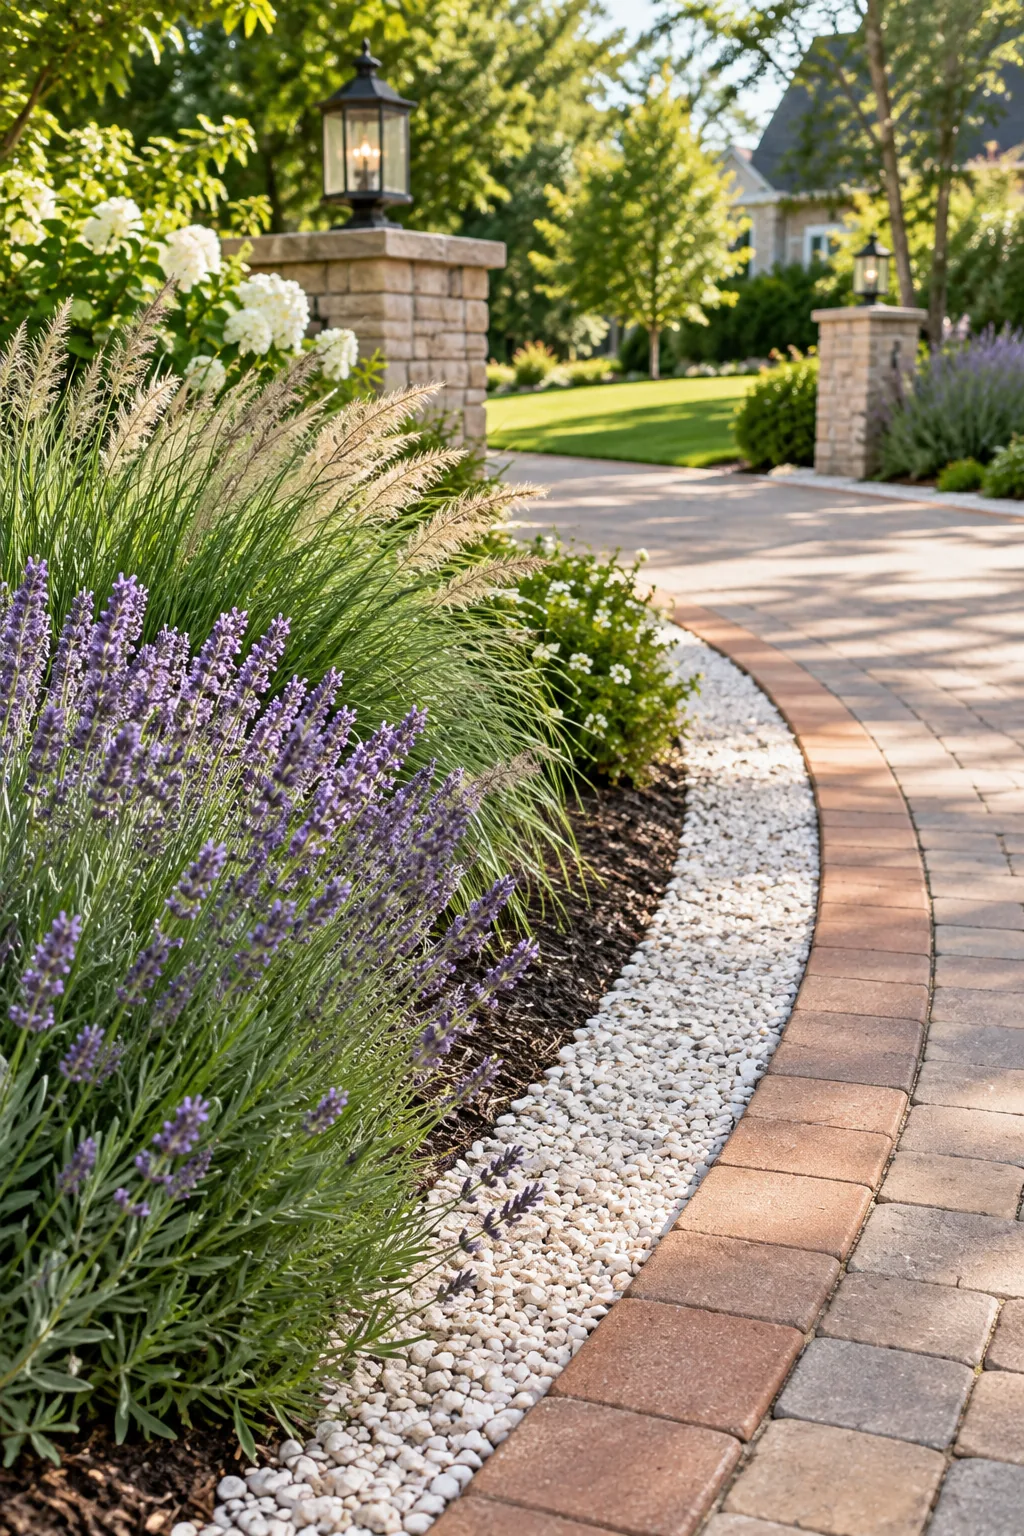
This highly permeable buffer captures rushing rainwater runoff directly from the non-porous pavers before it floods the street. It also acts as a brilliant splash guard, keeping loose, muddy soil from washing onto your beautiful, newly swept driveway surface.
Grading the Soil Below the Gravel
To make that gravel strip function properly, you must grade the underlying soil bed to slope away from the driveway edge. A gentle drop of one inch per foot ensures water actually drains into the yard rather than pooling against the pavers.
Sizing Corner Plantings
You must keep corner plantings strictly regulated to maintain safe driver visibility when pulling out into traffic. Framing the entrance with knee-high lavender and low ornamental grasses ensures the beautiful foliage never blocks your critical street view.
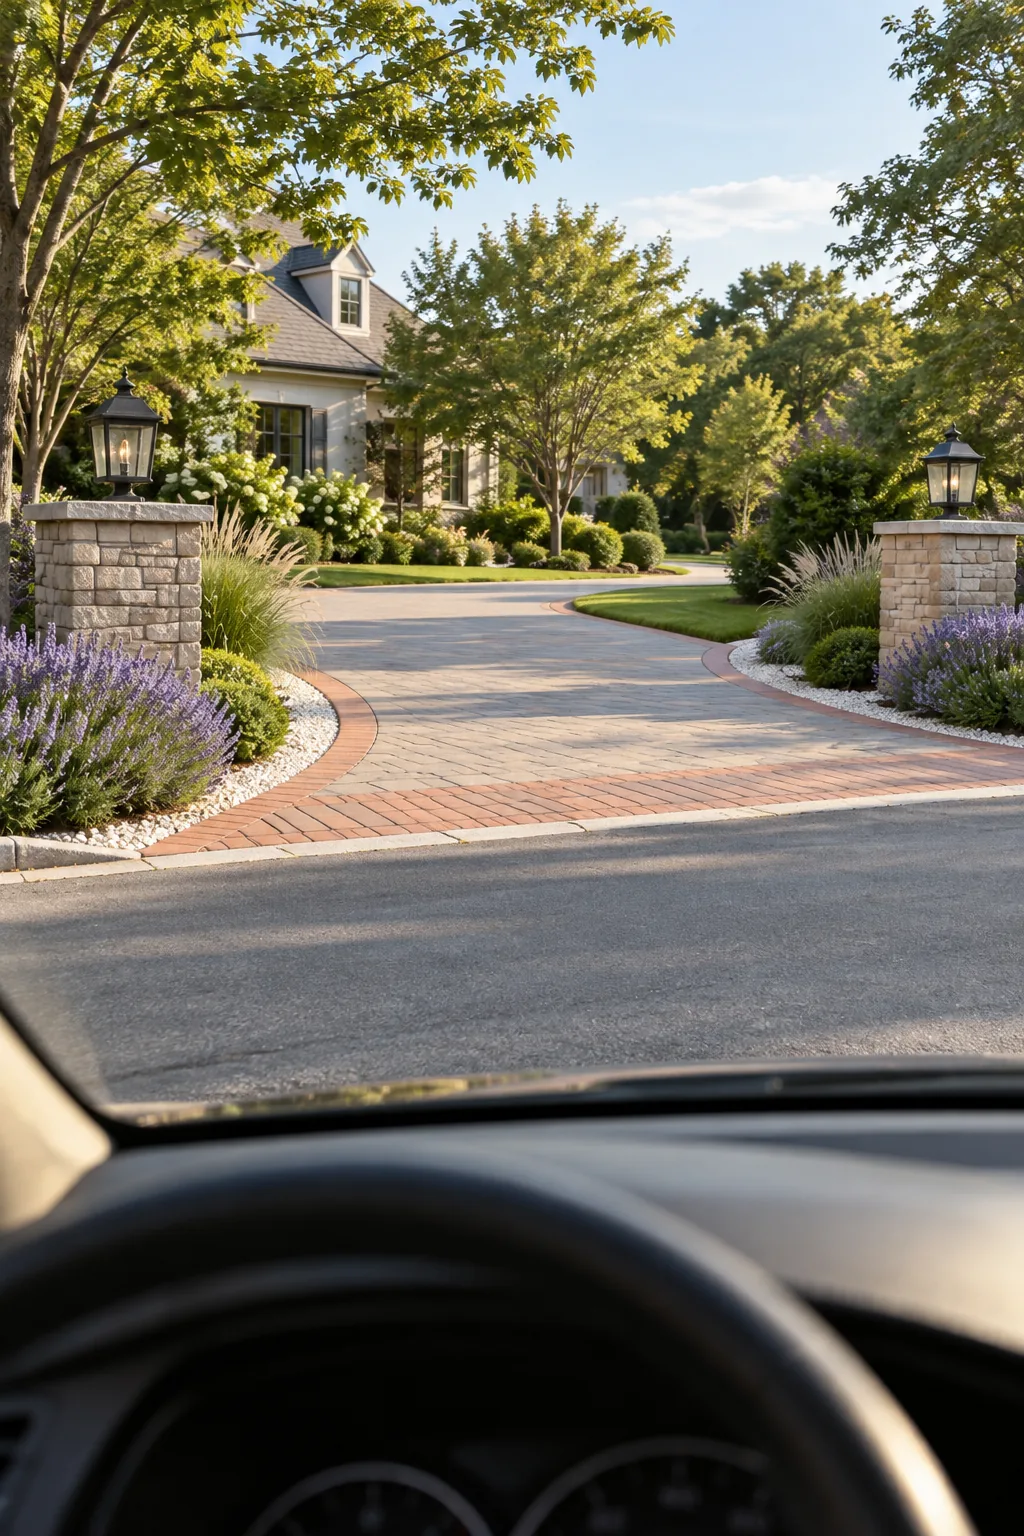
Following the maximum safe corner-planting height listed in our measurement sheet protects both your family and passing pedestrians. If your plants grow too tall, they create a dangerous blind spot that makes exiting the driveway incredibly risky.
- Check the measurement sheet for your maximum allowed corner planting height.
- Select low-growing, compact perennials that stay well under that limit at full maturity.
- Prune back any fast-growing ornamental grasses every spring before they block sightlines.
Maintaining Sightlines Through the Seasons
Remember that driver sightlines change dramatically as your landscape matures and shifts through the growing seasons. Always account for the massive summer blooming spikes of plants like Russian sage or tall daylilies, which can temporarily obscure your view of oncoming cars.
4 Flared Entrance Styles to Copy
Find the perfect material combination to match your home's exterior architecture.
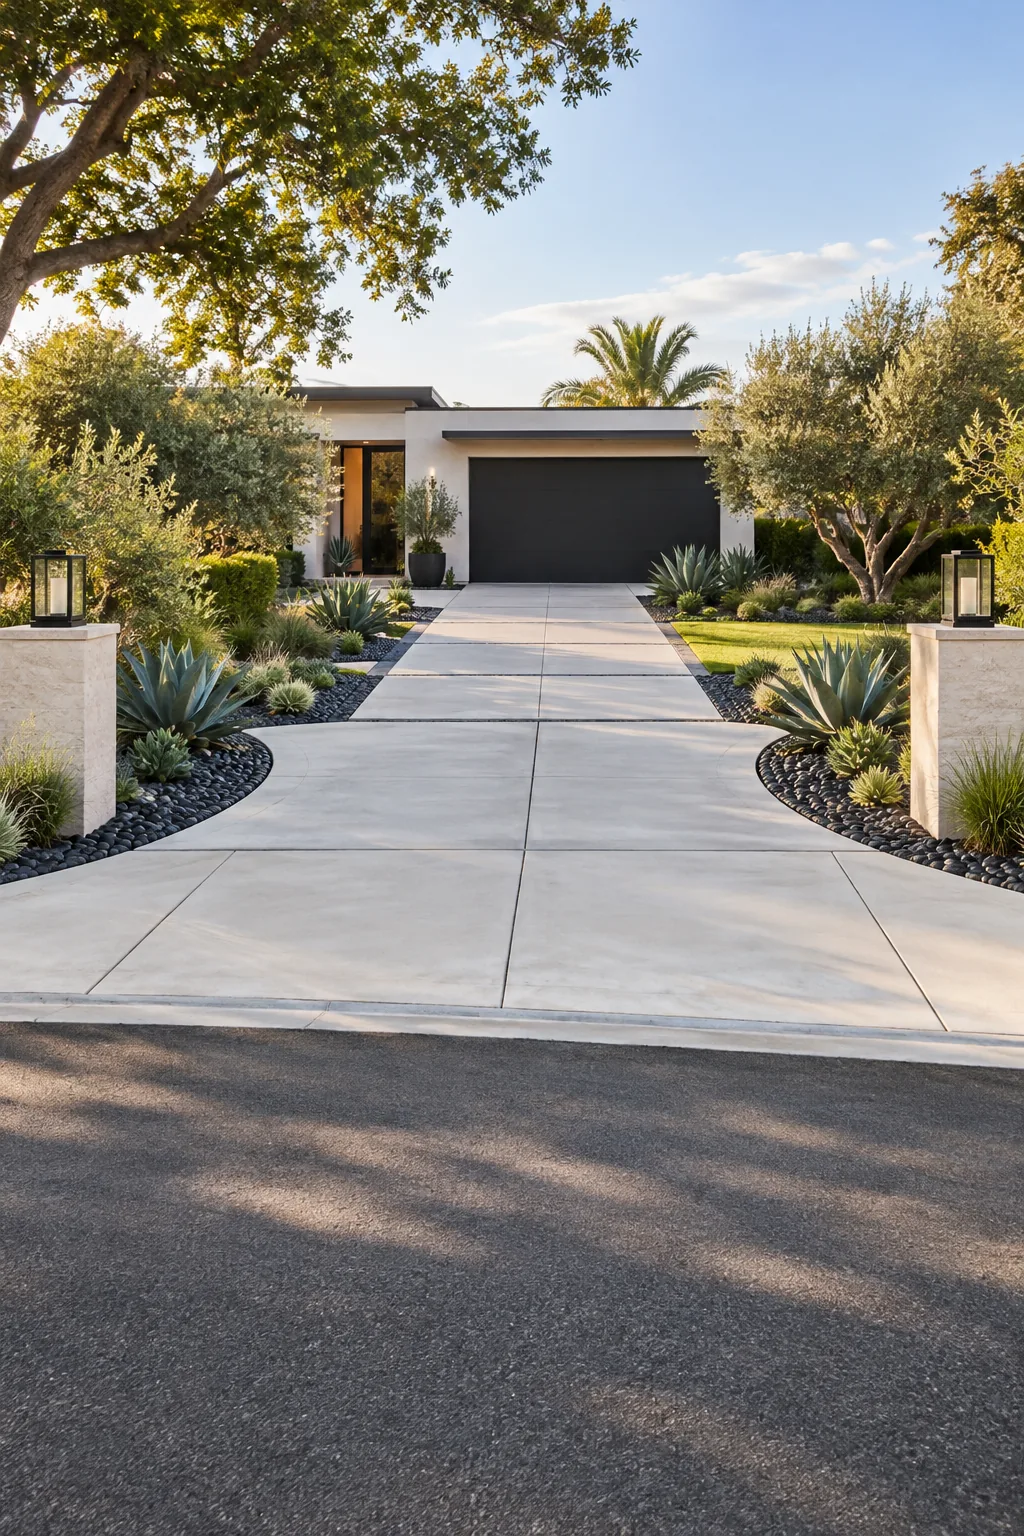
Modern Concrete & Black Gravel: Large-format concrete slabs paired with dark gravel create a sleek, high-contrast entrance that perfectly complements contemporary exterior architecture.
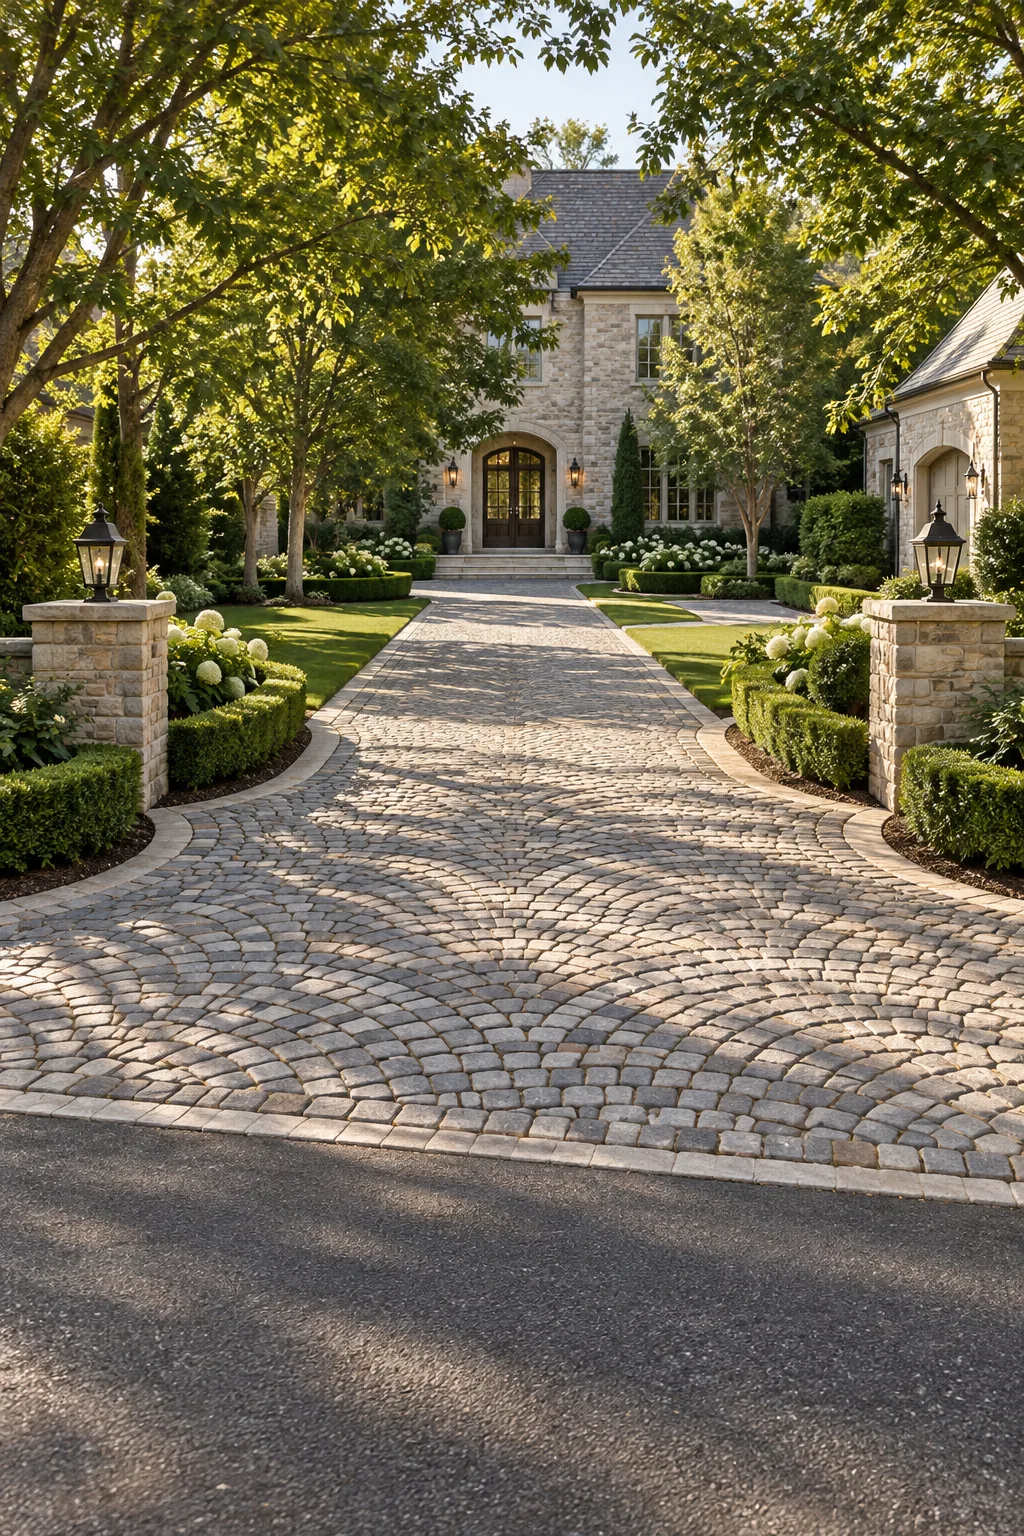
Reclaimed Cobblestone & Boxwood: Weathered granite cobblestones laid in a traditional fan pattern bring instant historic charm when bordered by formal, tightly clipped hedges.
Crushed Shell & Driftwood: A permeable crushed shell surface edged with natural driftwood offers a relaxed, beach-inspired aesthetic that handles heavy coastal rainfall beautifully.

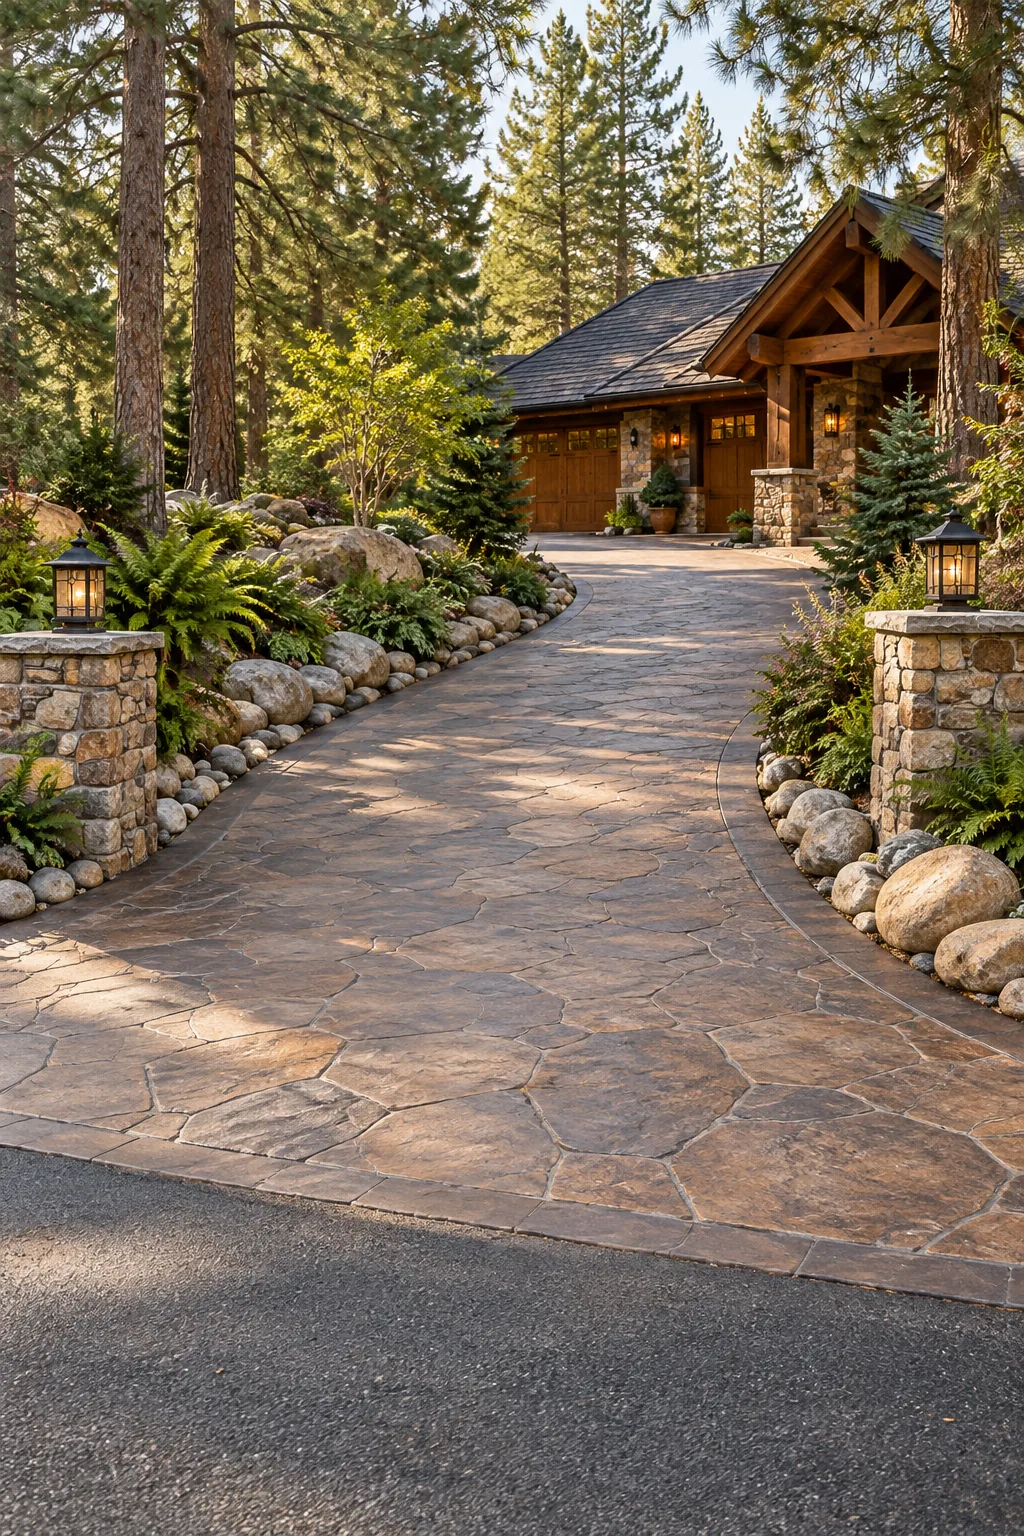
Stamped Asphalt & River Rock: Earth-toned stamped asphalt provides the look of natural flagstone at a lower cost, pairing perfectly with oversized river stones and native foliage.
Keeping Piers Below Driver Eye Level
When we built our entrance columns, I made absolutely sure the piers sit below driver eye level. Positioning low stone piers slightly set back from the paver edge frames the entrance beautifully without crowding the tight turning radius.
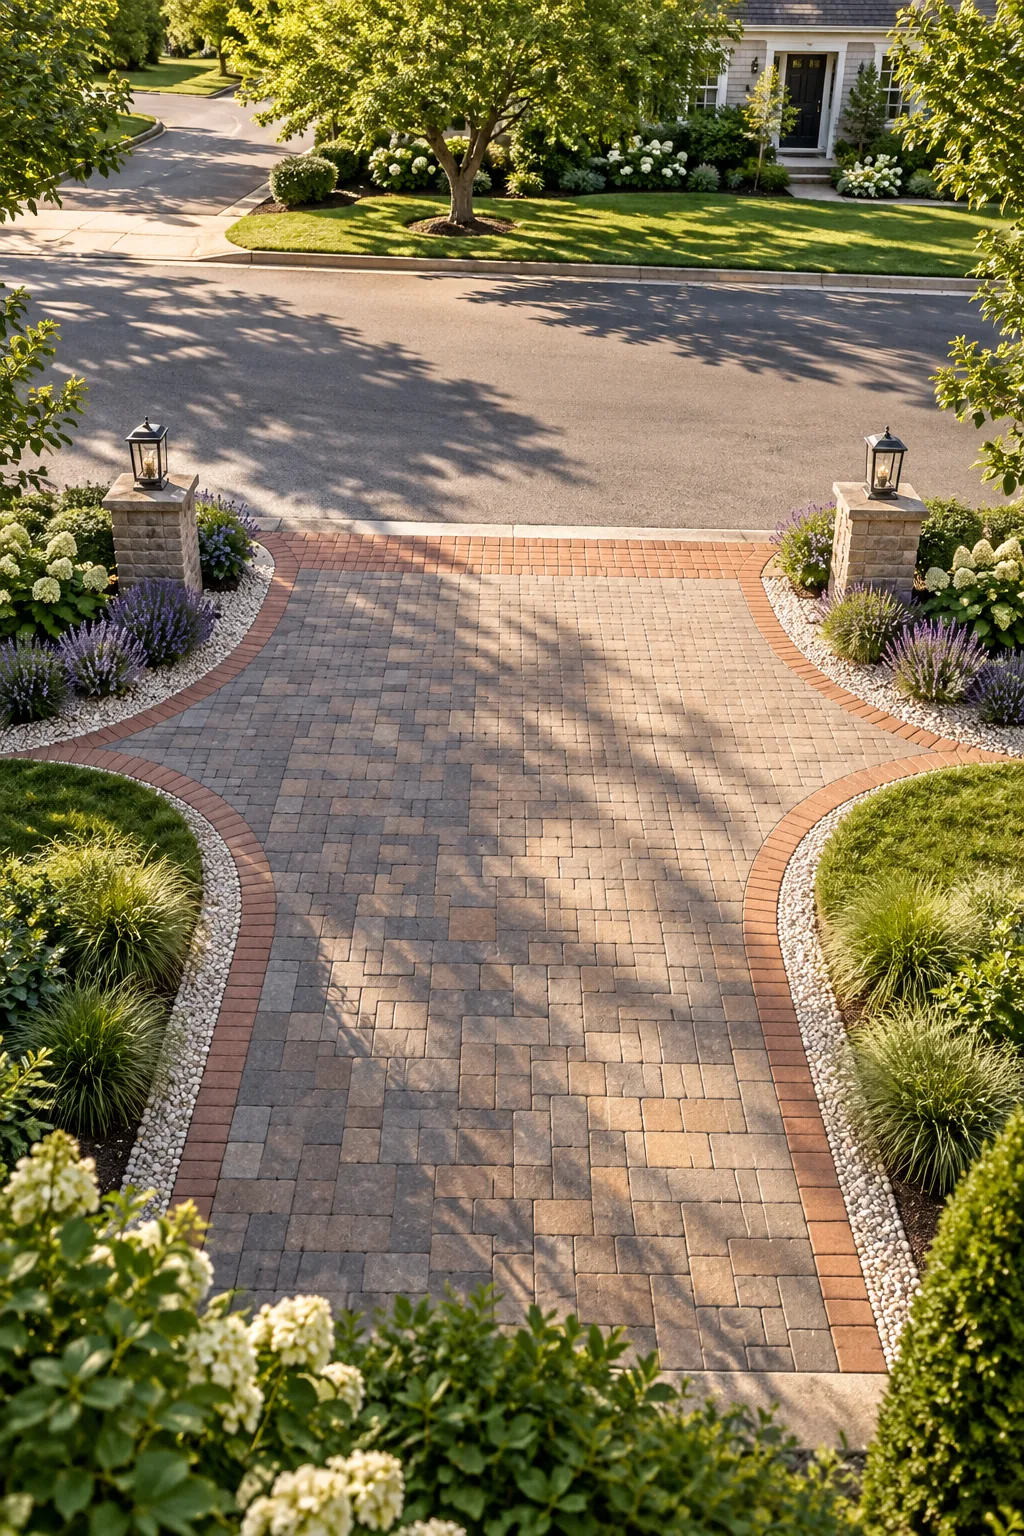
Masonry columns add undeniable curb appeal to any property, but poor placement can quickly turn them into dangerous blind spots. Correct positioning requires carefully balancing the aesthetic architectural scale with strict, non-negotiable safety sightlines for the driver.