
How to Build a Honeycomb Brick Fence (Plus Quantity Sheet)
Planning a hit-and-miss wall means you need our printable Brick Fence Quantity Sheet to calculate exact materials for your open-pattern front structure. You will be able to accurately order materials and confidently specify the layout, spacing, and finishing details for a flawless build.
The Honeycomb Brick Quantity Sheet
Calculating materials for a hit-and-miss wall requires entirely different math than a solid structure because of the negative space. Our printable quantity sheet provides exact counts for bricks, mortar bags, and solid piers per linear metre, comparing open honeycomb panels directly against solid sections.
Before finalizing your order with the brickyard, verify these site-specific details to ensure your delivery perfectly matches the estimates on your quantity sheet.
Pouring a Rigid Foundation Footing
Open brickwork demands an exceptionally stable base to prevent differential settlement that could crack the delicate honeycomb pattern. You must pour a steel-reinforced concrete footing that extends below your local frost line depth, ensuring it spans the entire length without any weak joints.
Choosing the Right Mortar Mix
The structural integrity of a hit-and-miss wall relies heavily on the compressive strength of your mortar. A standard Type N mix offers the perfect balance of flexibility and strength, allowing the terracotta bricks to expand slightly during hot summer afternoons without cracking the joints.
| Mortar Type | Cement Ratio | Sand Ratio | Best Application |
|---|---|---|---|
| Type N | 1 part | 6 parts | Standard exterior honeycomb walls |
| Type S | 2 parts | 9 parts | High-wind structural piers |
| Type O | 1 part | 9 parts | Historic brick restoration only |
Always mix your mortar in small, manageable batches that you can comfortably use within a strict 45-minute window. Once the mix begins to stiffen in the wheelbarrow, adding more water will fatally compromise the chemical cure and weaken the final bond.
Selecting the Right Trowel Size
Working with intricate hit-and-miss patterns requires far more precision than laying a standard solid block wall. A compact 250mm pointing trowel gives you the exact control needed to butter the short edges of the bricks without dropping excess cement into the open negative spaces below.
Blending Bricks from Multiple Pallets
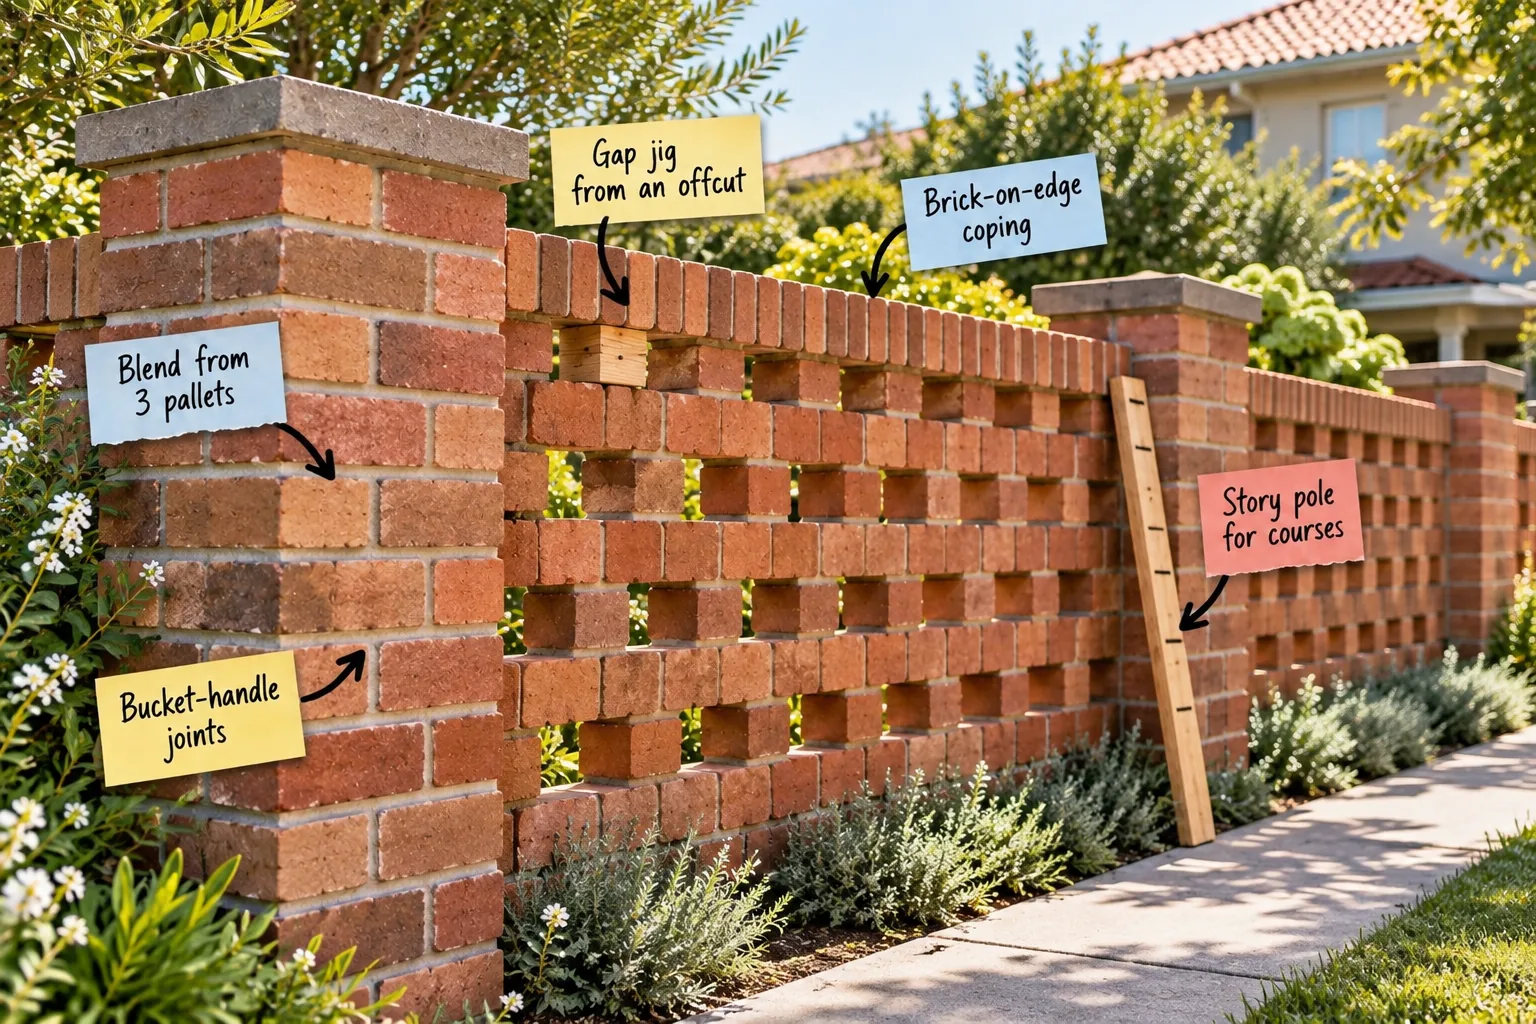
Terracotta bricks naturally vary in color depending on their specific position inside the firing kiln. To avoid noticeable color banding in the finished fence, always pull bricks to blend from 3 pallets simultaneously, mixing the subtle shades evenly throughout the entire structure.
Setting the Solid Corner Leads
Before laying out the intricate open panels, you must build up the solid corners, known as leads, at both ends of the fence line. These sturdy anchor points establish the exact height and alignment for the rest of the wall, giving you a reliable reference.
Marking Courses with a Story Pole
Maintaining perfectly level horizontal lines across both solid piers and open panels requires strict coursing discipline. A story pole for courses—a timber batten marked with the standard 76mm brick height plus a 10mm mortar joint—ensures every single layer stays perfectly on track.
When I built my first garden wall, I skipped making a story pole and ended up with wavy mortar lines that drove me crazy. Taking ten minutes to mark a straight piece of timber guarantees your fence looks like it was built by a seasoned pro.
Perfecting Gaps with a Timber Jig
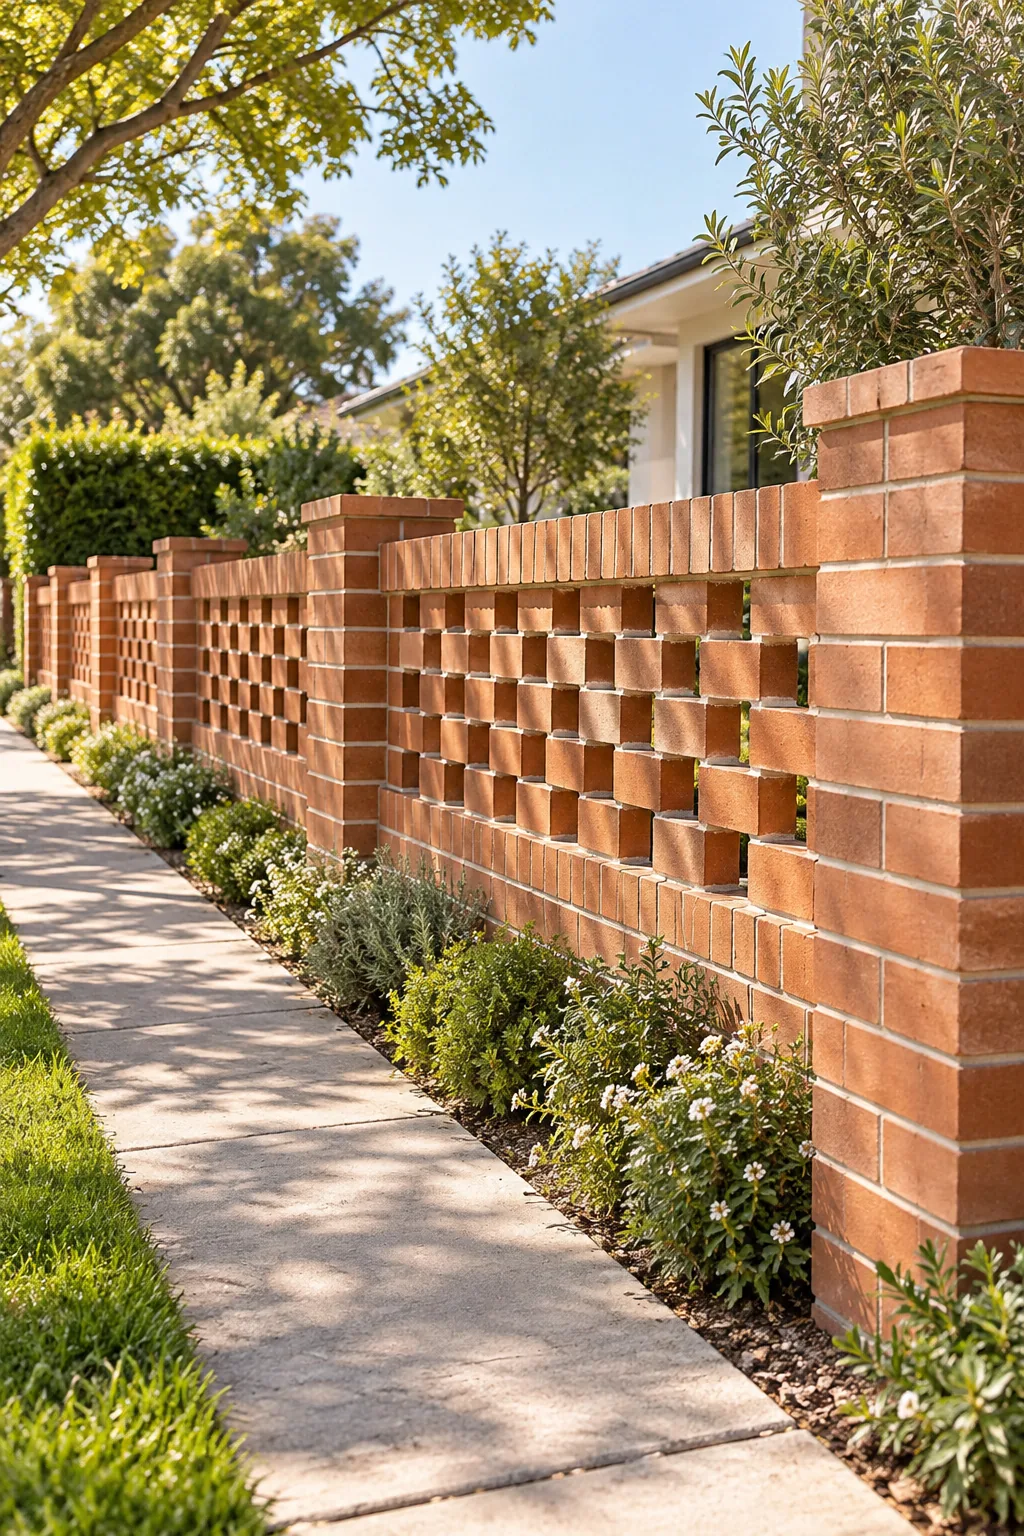
The beauty of a honeycomb bond lies in its perfectly uniform negative space across the entire span. Cutting a simple gap jig from an offcut to the exact width of your desired opening guarantees consistent spacing without measuring every single brick by hand.
- Select a smooth timber offcut that matches the exact width you want for your honeycomb gaps.
- Sand the edges of the block slightly so it slips easily in and out of the wet mortar.
- Rest the jig against the previous brick, butter the next one, and push it tight against the timber.
While you can choose any gap size, matching the opening to standard brick dimensions makes the overall pattern feel much more intentional. I always size my spacer block to exactly half a brick width, which creates a beautifully balanced geometric grid.
Checking Plumb and Level Constantly
Open masonry patterns easily amplify minor alignment errors, making a reliable spirit level your most crucial diagnostic tool. You must check the face for plumb and level after laying every three bricks, adjusting the mortar bed thickness before it begins to set.
Calculating the Perfect Pier Spacing
Planning the exact distance between your support columns prevents awkward partial cuts at the ends of your hit-and-miss panels. You should base your pier spacing strictly on multiples of your brick length plus the mortar joints, ensuring the pattern terminates cleanly every single time.
Anchoring with Solid Brick Piers
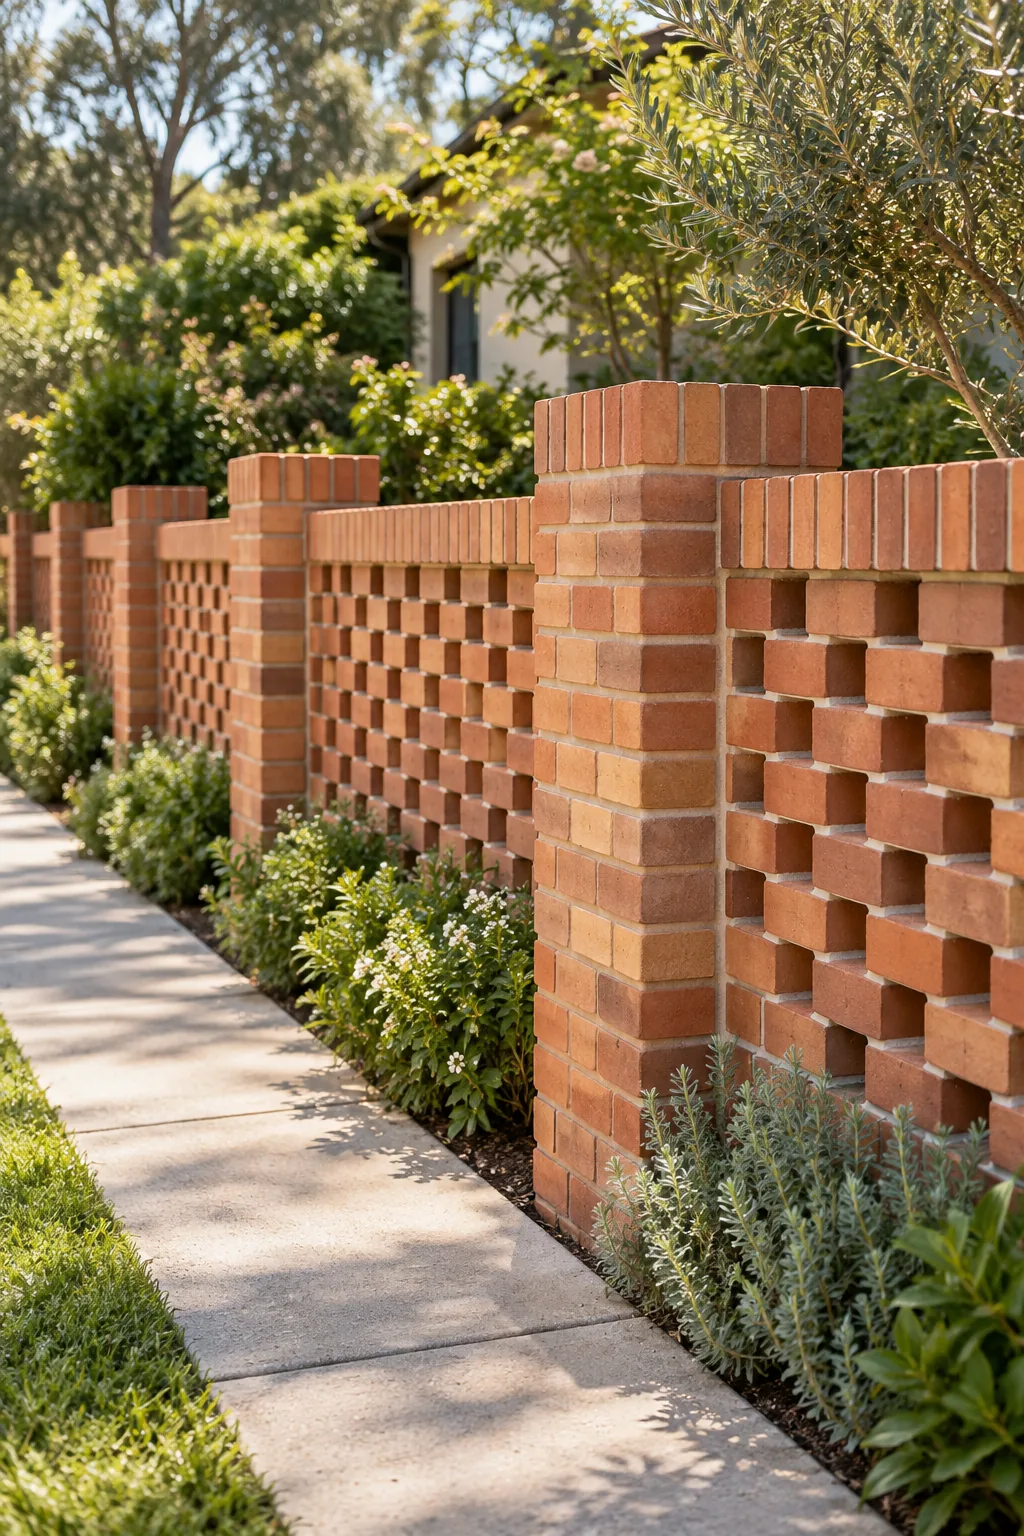
Open brickwork naturally lacks the structural rigidity of a standard double-brick solid wall. Solid square piers must be built at regular intervals dictated by your local wind load codes to frame the honeycomb panels and provide the necessary lateral support for the entire fence.
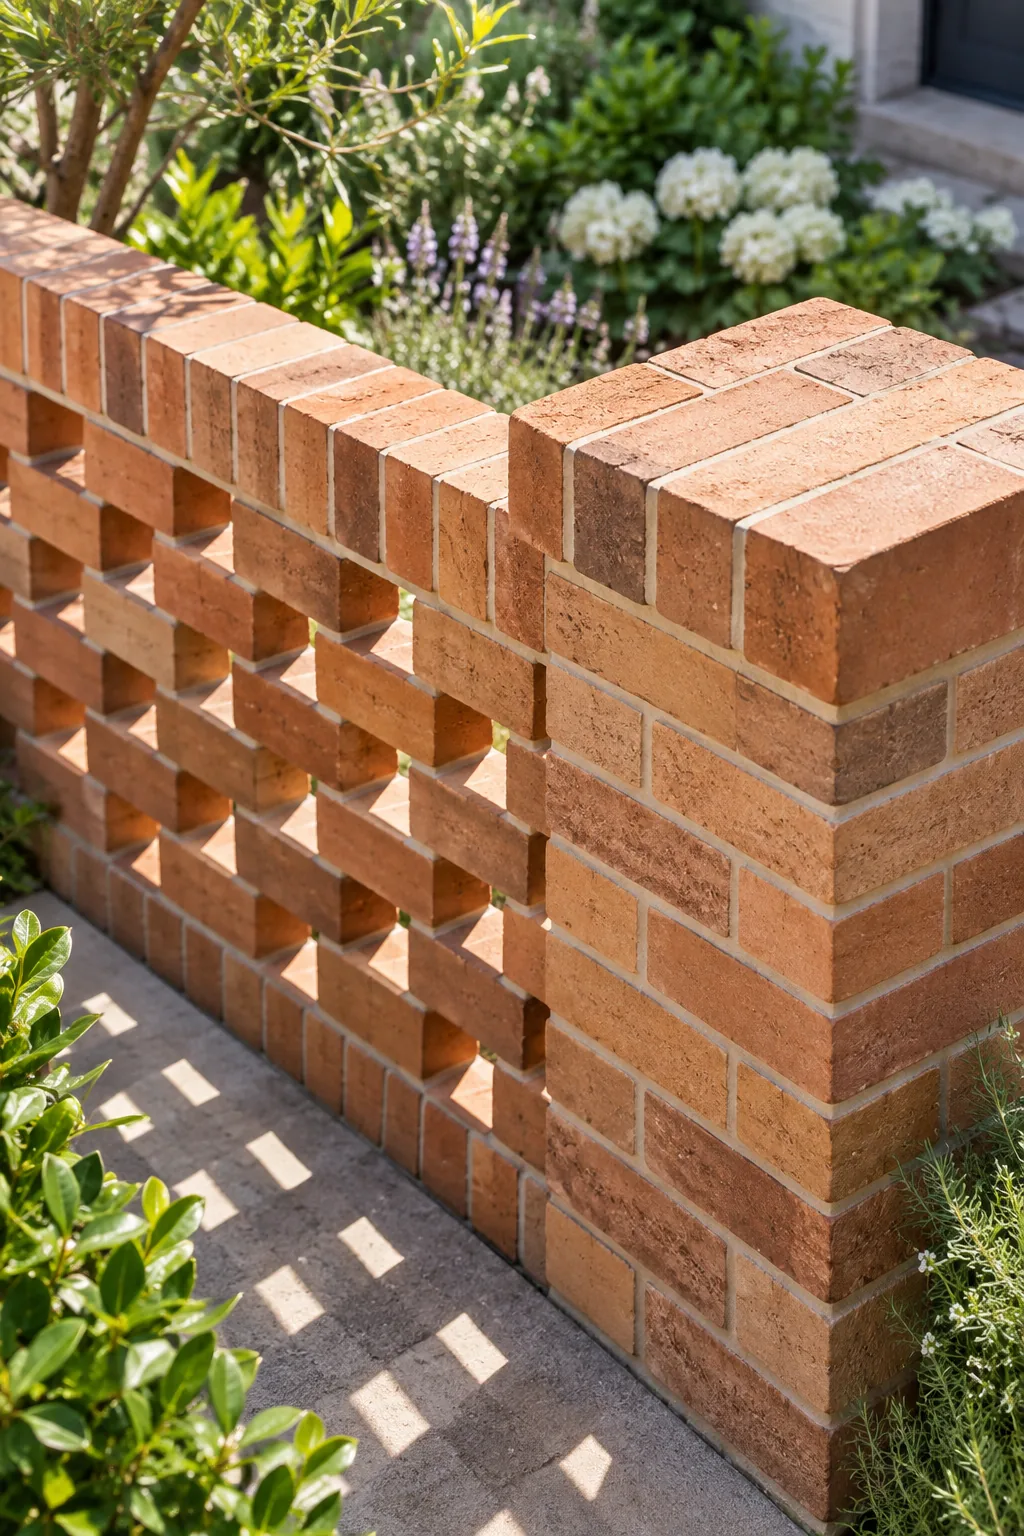
Tying the open panels directly into these robust piers creates a continuous structural framework. You achieve this by interlocking the solid coursing with the honeycomb layers, ensuring the delicate negative spaces are fully supported by the heavy masonry anchors on either side.
Installing Wall Ties for Stability
When connecting the open hit-and-miss sections to the solid structural piers, heavy-duty galvanized wall ties are absolutely non-negotiable. Bedding these metal straps deeply into the mortar joints every fourth course physically locks the delicate panels to the rigid columns, preventing dangerous separation.
Managing Mortar Squeeze-Out
As you press each terracotta brick into the bed, excess mortar will inevitably squeeze out into the open honeycomb cavities. You must slice off this wet overhang immediately with the edge of your trowel, preventing ugly blobs from hardening inside the negative spaces.
Planning for Drainage Weep Holes
Even with a solid coping layer, some wind-driven rain will inevitably penetrate the open honeycomb cavities and pool at the base. You must leave vertical mortar joints completely empty every three bricks along the bottom course, creating functional weep holes that allow trapped water to escape.
Finishing with Bucket-Handle Joints
The mortar profile impacts both the look and the long-term longevity of your new fence. Tooling the wet lines into bucket-handle joints creates a smooth, concave finish that compresses the mortar, sealing the edges firmly against the brick to shed rainwater effectively.
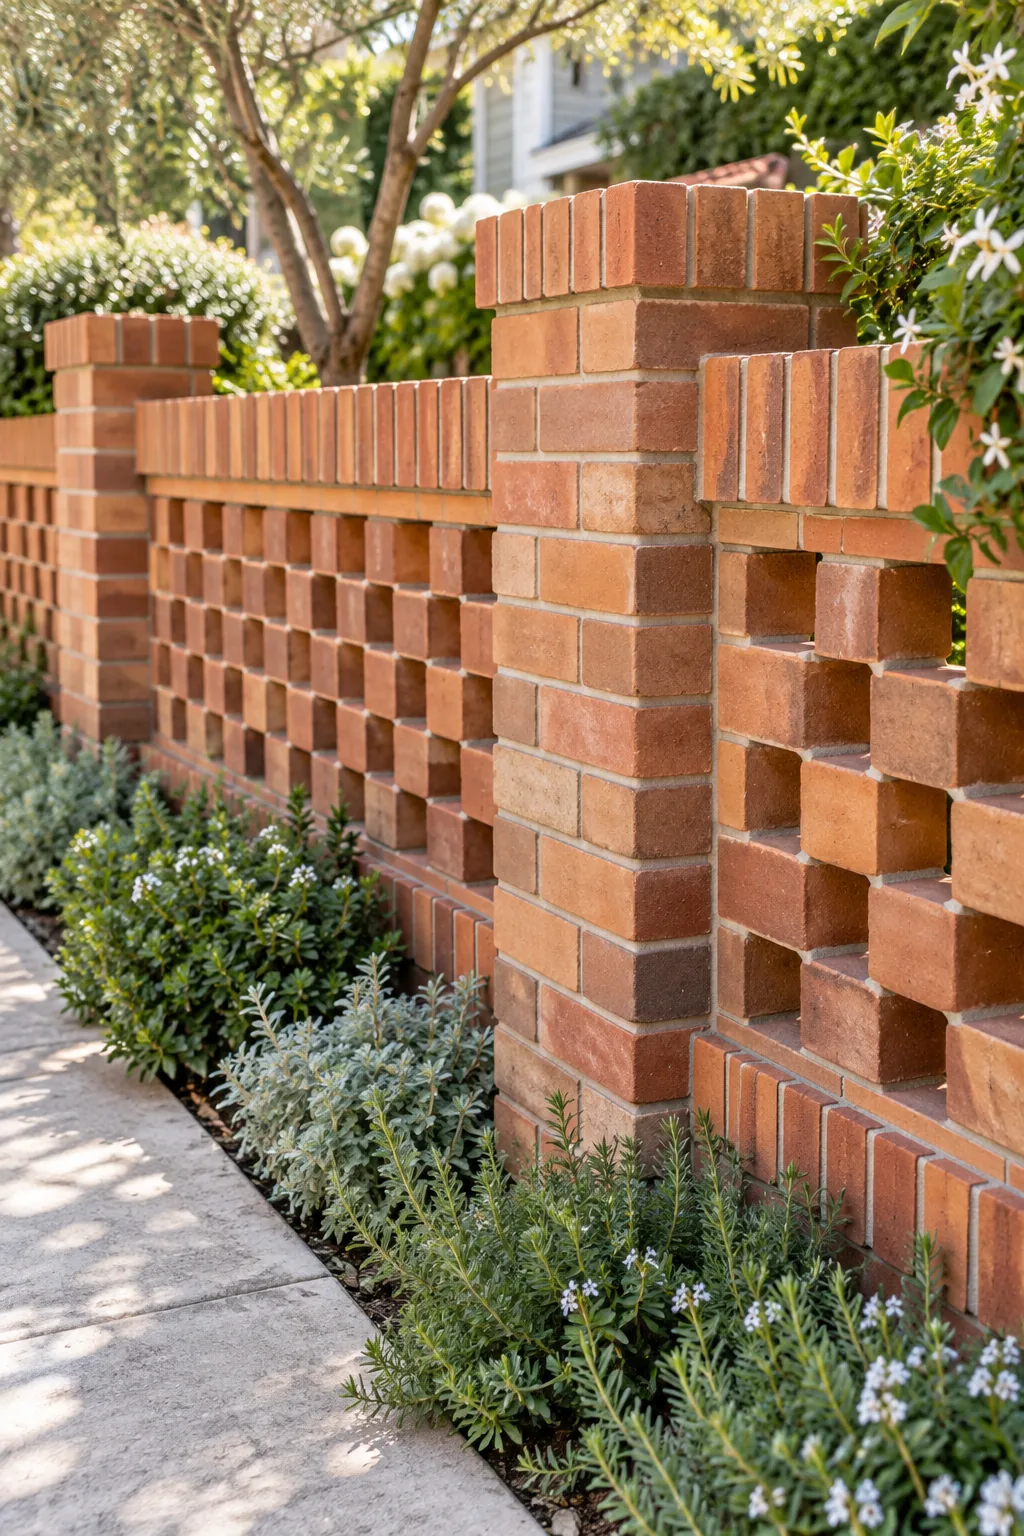
You should wait until the mortar is thumbprint hard before running your jointing tool along the courses. Hitting the joints too early pulls wet cement out of the gaps, while waiting too long requires excessive force that can easily crack the fragile terracotta edges.
Capping with a Brick-on-Edge Coping
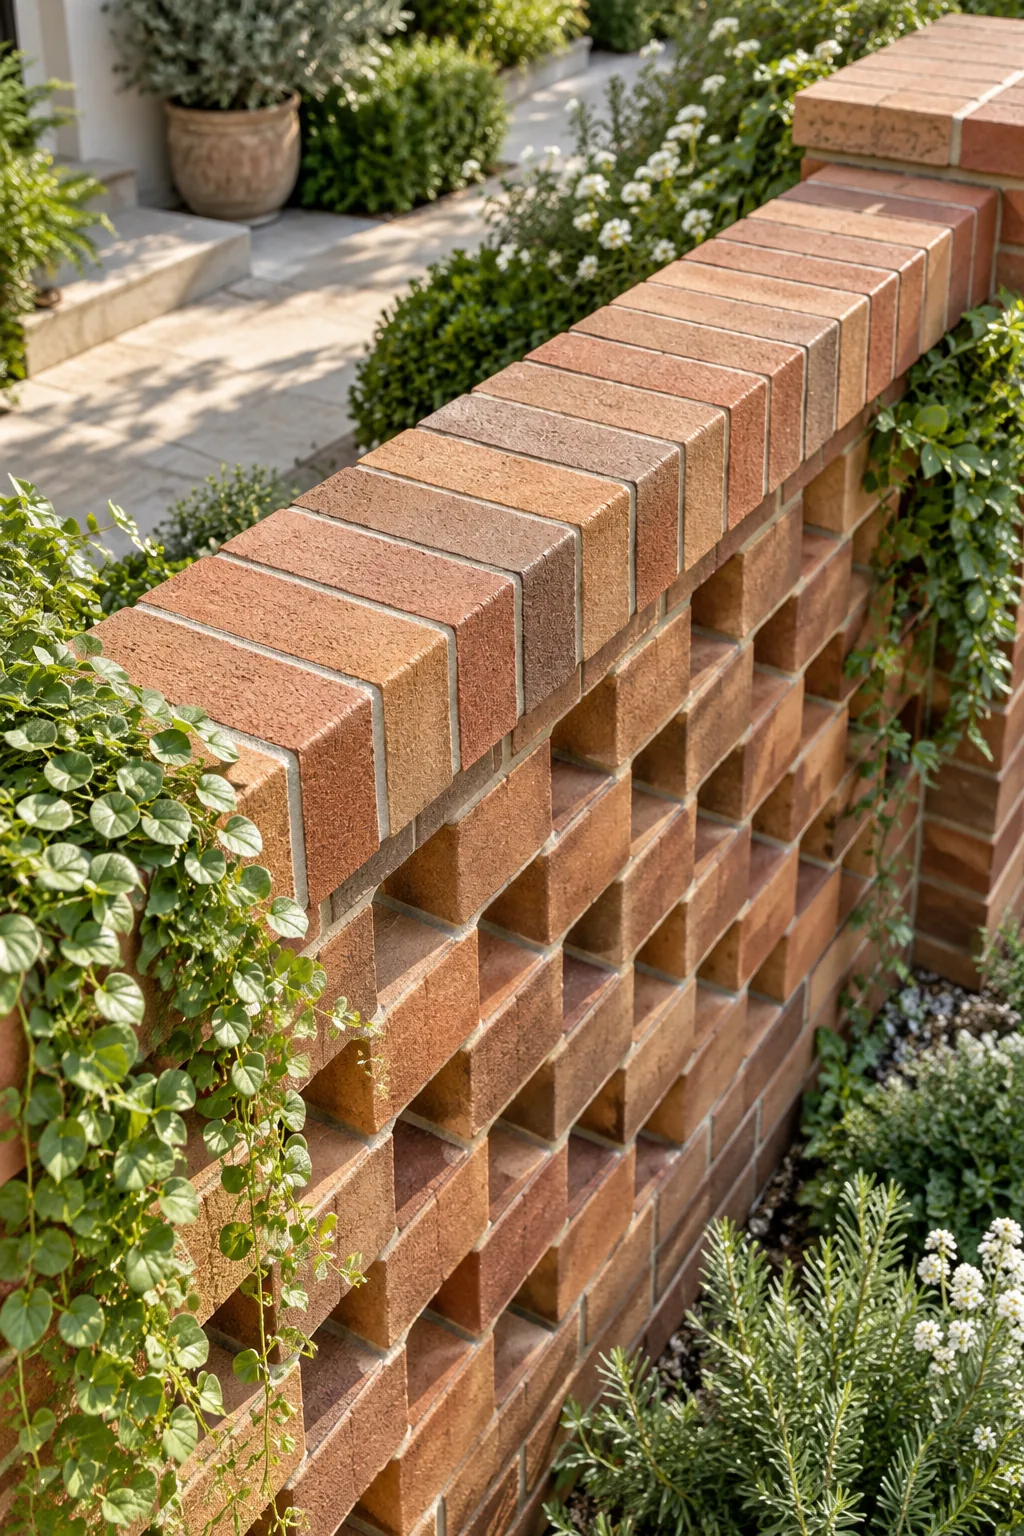
The top of a hit-and-miss wall is highly exposed to the weather and requires a dedicated finishing layer. A continuous row of upright bricks creates a solid brick-on-edge coping that visually finishes the fence and prevents water from pooling inside the open cavities.
- Select your most flawless, unchipped bricks for the coping layer, as they will be highly visible.
- Apply a slightly thicker mortar bed beneath the upright bricks to ensure a completely watertight seal.
- Slope the top surface just a few degrees toward the street so rainwater naturally runs off the face.
This solid capping row also adds crucial weight to the top of the honeycomb panels, locking the uppermost courses in place. The downward pressure from the heavy upright bricks significantly increases the overall shear strength of the delicate hit-and-miss sections below.
Protecting the Fresh Build from Rain
Freshly laid mortar remains highly vulnerable to heavy rainfall for the first 48 hours of the curing process. You must drape heavy-duty waterproof tarps over the completed fence sections every evening, securing them tightly to the solid piers to prevent sudden washouts.
Honeycomb Fences in Three Distinct Styles
Explore how changing the brick color and finish completely transforms the look of an open-pattern wall.
Whitewashed coastal courtyard: Painting the entire structure bright white modernizes the traditional brick texture and beautifully highlights tropical foliage.

Dark charcoal modern: Matte black bricks turn the open pattern into a striking, moody architectural statement that contrasts sharply with pale gravel.

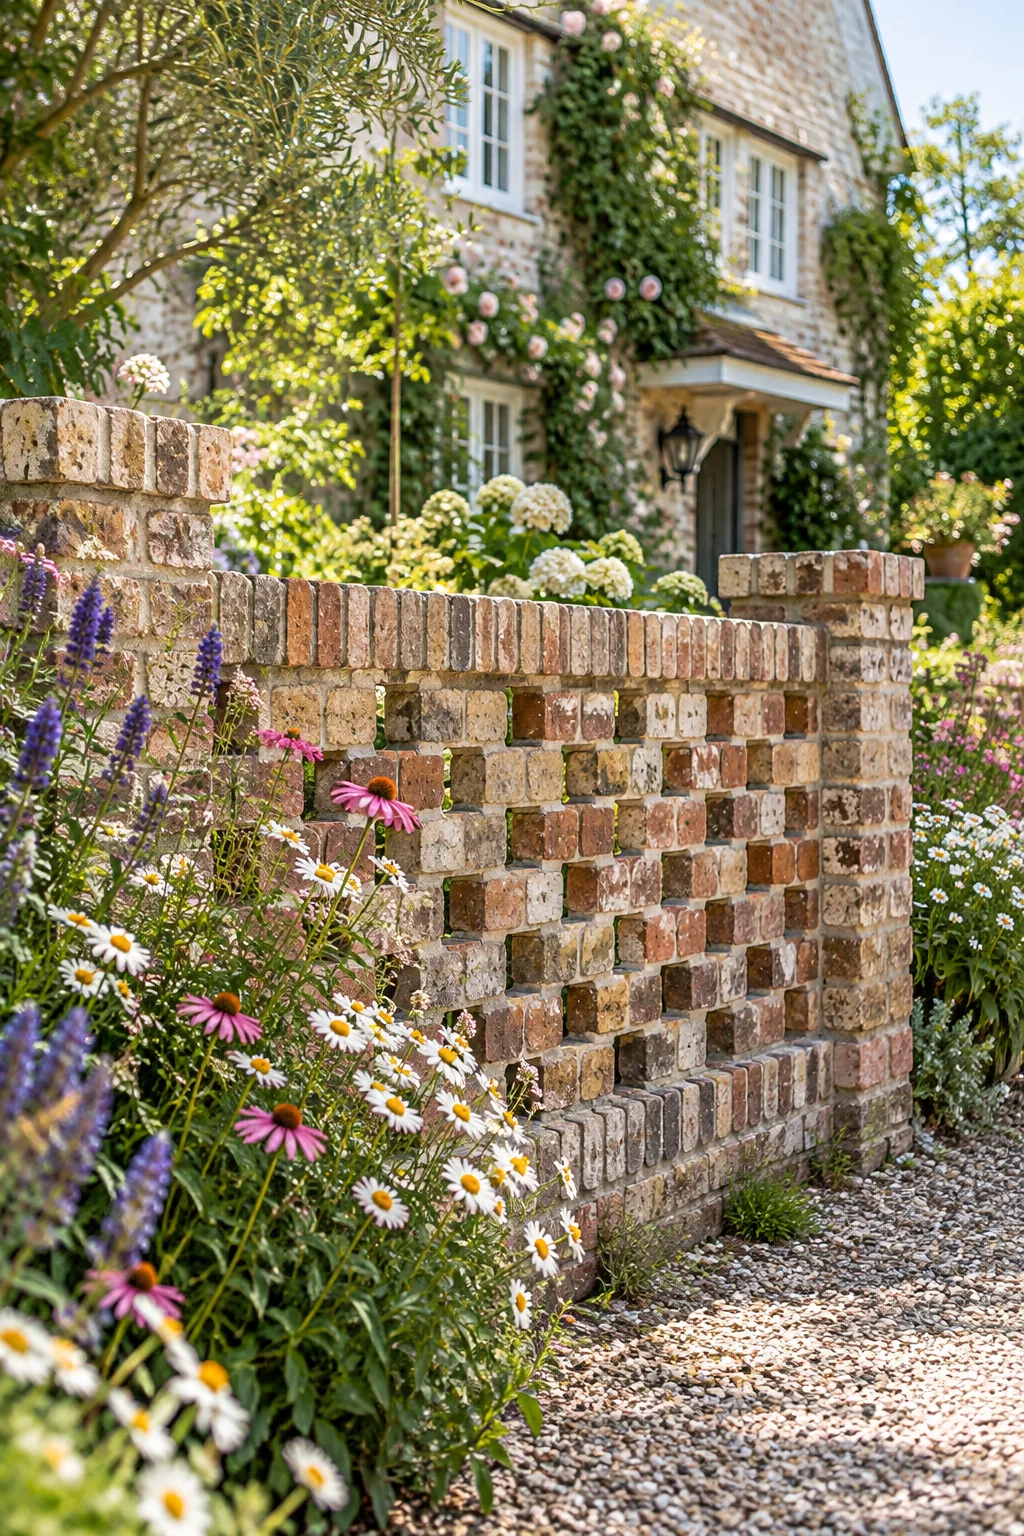
Reclaimed rustic garden: Using tumbled recycled bricks gives the open fence instant history, blending perfectly with a relaxed, overgrown cottage garden.
Cleaning and Sealing the Masonry
Once the mortar has fully cured for at least three weeks, the brickwork requires a gentle acid wash to remove stubborn construction smears. Applying a breathable, penetrating masonry sealer afterward protects the porous terracotta from moisture penetration and harsh urban pollution.
During one of my early patio projects, I skipped the sealer and spent the next spring scrubbing white efflorescence stains off every single brick. Rolling on a quality penetrating sealer takes just an hour but keeps your fence looking pristine for years.