
Small Pool Bar Design: Download the Compact Schematic
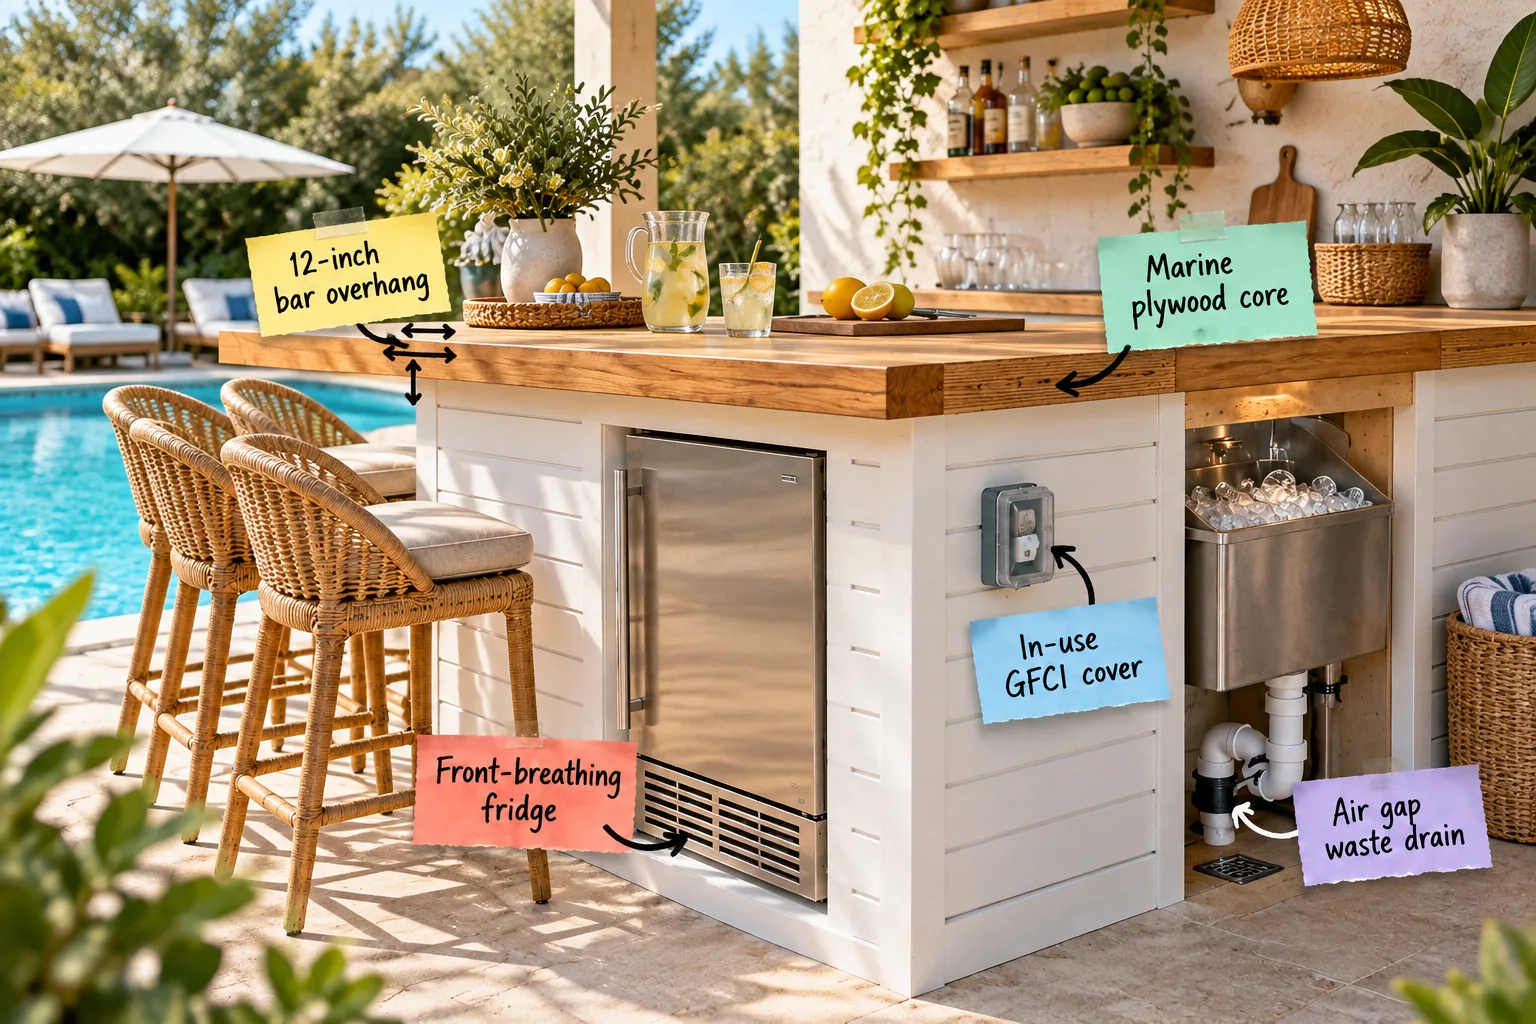
Planning a compact outdoor kitchen means fitting full-sized utility into a tight footprint, and you will be able to download the exact dimensions and mechanical layout needed to build a durable, code-compliant outdoor bar. Grab the complete downloadable compact bar schematic to master the hidden plumbing, electrical, and structural mechanics of a small pool bar design.
The 12-Inch Seating Overhang
We will move from the visible countertop surfaces down through the hidden systems, starting with the 12-inch bar overhang that makes entertaining possible. Extending the teak top exactly 12 inches past the base cabinet provides the ideal measurement for comfortable seating without requiring heavy structural corbels.
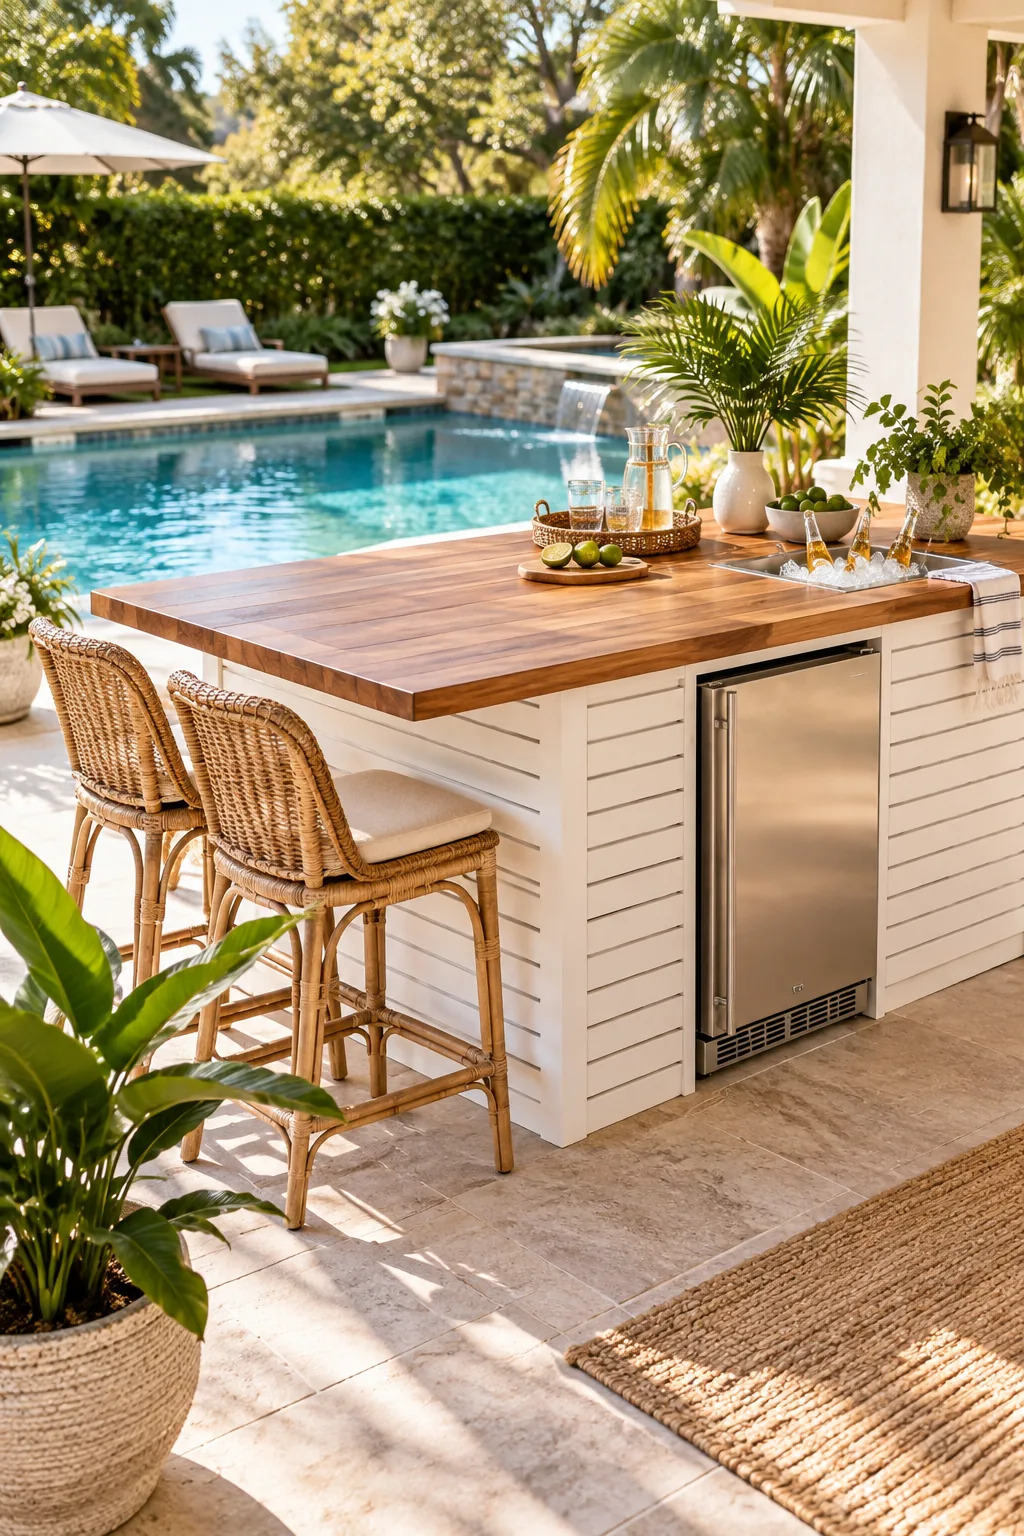
Standard outdoor stools require this specific knee clearance so guests can sit upright without kicking the cabinetry. Keeping the extension to exactly one foot ensures the solid wood remains self-supporting while maximizing your patio space.
Supporting the Extended Counter
If you decide to push the counter depth beyond that standard foot, you must install structural brackets to prevent the wood from sagging over time. Follow this simple sequence to determine your support spacing:
- Measure the total length of your overhanging countertop in inches.
- Divide that measurement by 24 to find the number of required corbels.
- Mark your cabinet framing at 24-inch intervals to locate the mounting studs.
- Secure heavy-duty steel brackets directly into the vertical framing members.
Distributing the load evenly across the cabinet frame keeps the surface perfectly level for mixing drinks. Proper support prevents the countertop fasteners from tearing out of the base during heavy use.
Marine Plywood Sub-Counter Core
Beneath that beautiful teak lies a structural edge of marine plywood core, which is absolutely necessary to prevent warping in highly humid pool environments. I learned this the hard way when my first patio table delaminated after just one muggy Austin summer.
This specialized sub-top material uses waterproof adhesives that will not degrade when exposed to ambient moisture or splashed pool water. Providing a rigid, moisture-proof foundation keeps the expensive solid wood top from twisting out of square.
Edge Banding and Moisture Sealing
Even with waterproof adhesives inside the core, you must seal the exposed structural edges before installing the final countertop. Choosing the right exterior-grade sealant determines how long your sub-top will survive the elements.
| Sealant Type | Best Application | Cure Time |
|---|---|---|
| Marine Epoxy | High-splash zones near pools | 24 hours |
| Exterior Polyurethane | Covered patio bars | 12 hours |
| Silicone Caulk | Sealing cabinet joints | 2 hours |
Applying two coats of marine epoxy to the raw plywood edges creates an impenetrable barrier against standing water. This hidden prep work guarantees your outdoor kitchen remains structurally sound for decades.
Front-Breathing Refrigeration
Moving down into the cabinetry, built-in outdoor bars require a front-breathing fridge to function safely. The bottom grille vents heat forward into the open air, preventing catastrophic compressor failure inside a tight, enclosed cabinet.
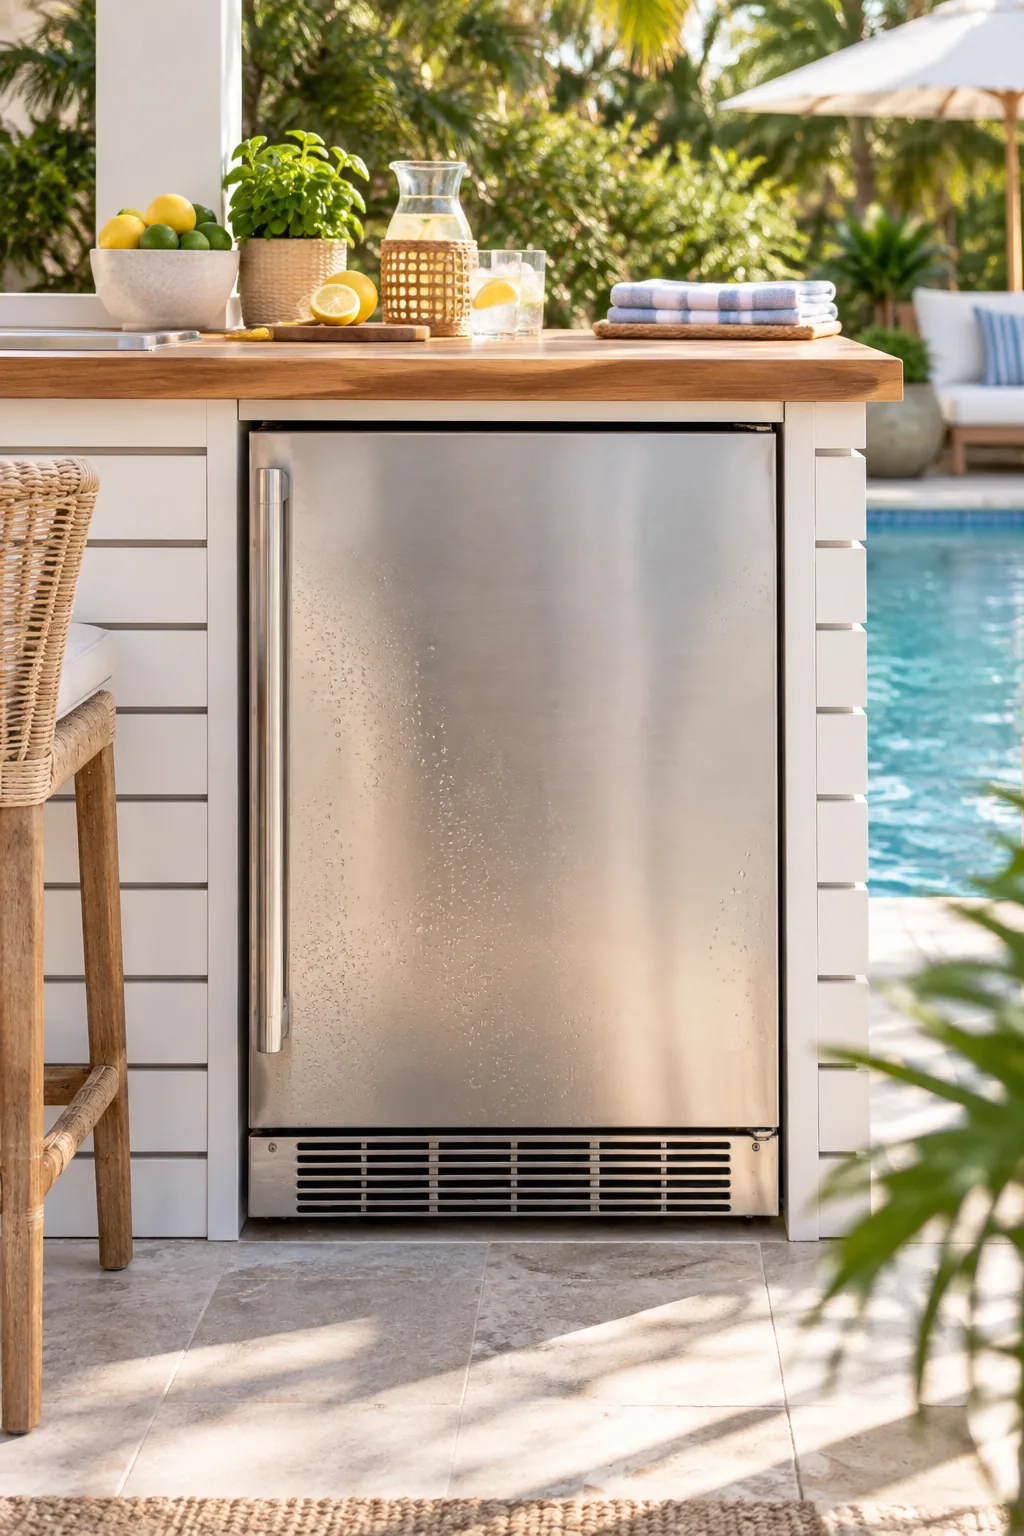
Standard indoor refrigerators exhaust heat from the back, which quickly bakes the appliance when trapped under a counter. Specifying a specialized outdoor unit ensures your beverages stay cold even on the hottest summer afternoons.
Sizing the Undercounter Cavity
Before framing the base cabinet, verify the exact rough opening dimensions required by your specific appliance manufacturer. Leaving an extra quarter-inch of clearance on all sides allows you to slide the heavy unit into place without scratching the surrounding woodwork.
Code-Compliant GFCI Placement
Powering that refrigerator requires strict adherence to local building codes, including an in-use GFCI cover on the weatherproof outlet box. Placing it on the side of the bar cabinet avoids water pooling from wet swimsuits or splashed pool water.
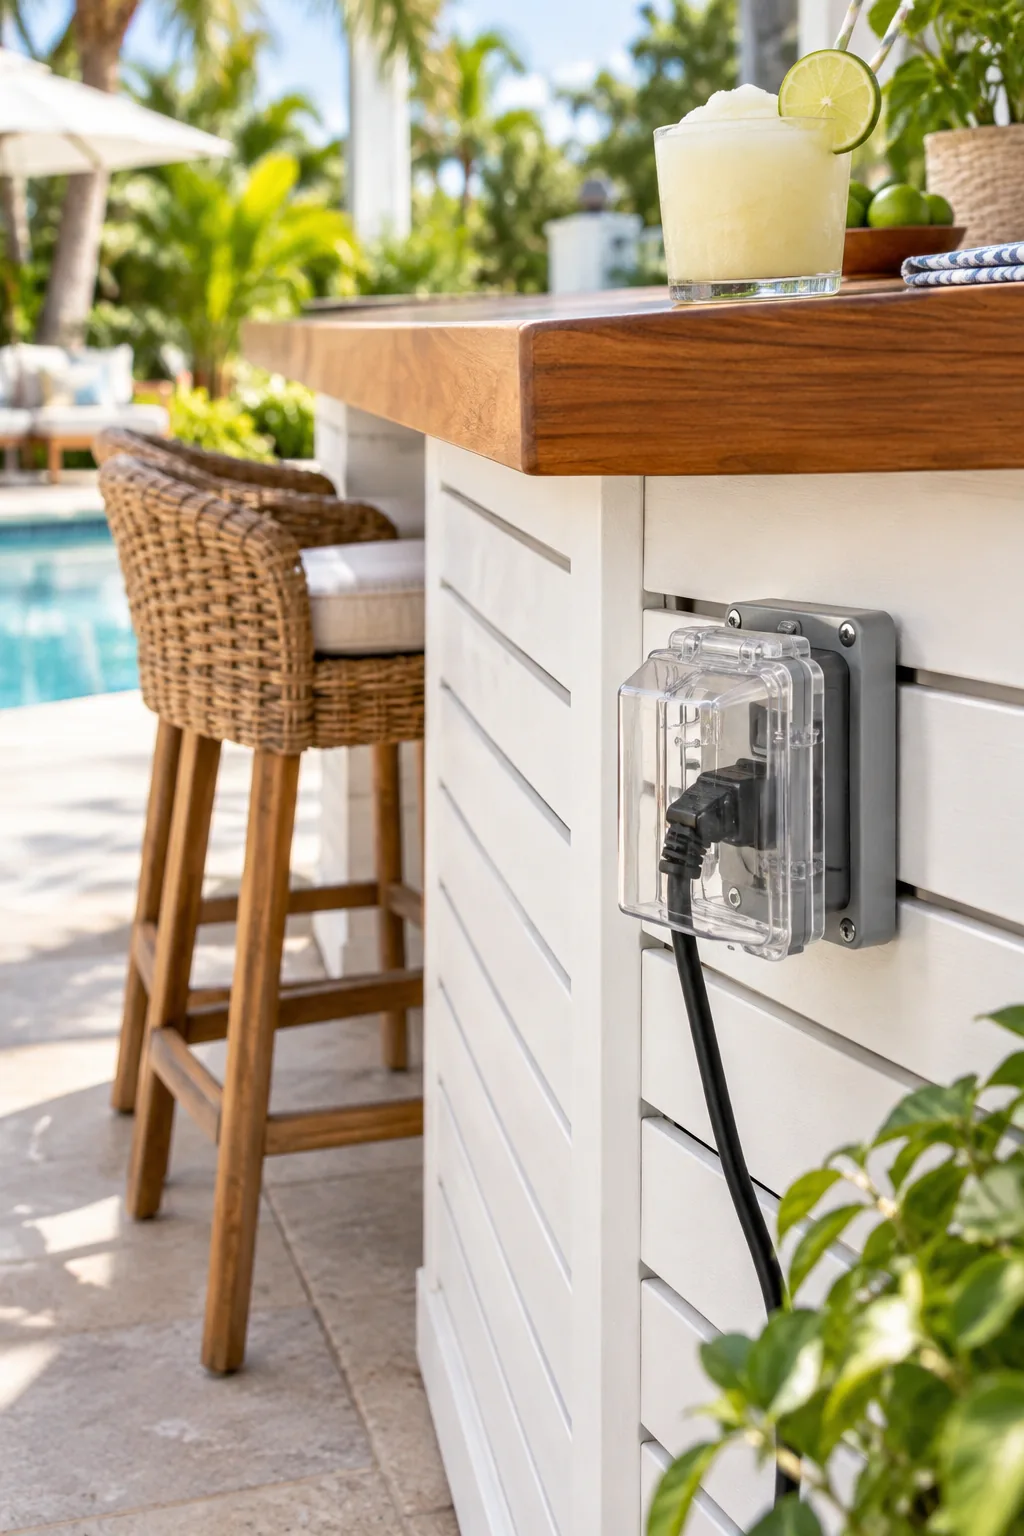
Getting the electrical layout wrong is not just a code violation; it is a serious hazard in a wet environment. Avoid these common installation errors when planning your power supply.
Routing the Armored Conduit
Running power to your island requires burying armored electrical conduit from your main house panel to the patio slab. Trenching this line before pouring concrete hides the unsightly wires while shielding them from landscaping tools.
Selecting Weatherproof Outlet Covers
When purchasing your exterior electrical supplies, verify that the covers are stamped with a heavy-duty wet location rating. Clear acrylic bubble covers allow you to visually inspect the connection without exposing the sensitive internal wiring to rain.
Air Gap Waste Drain for Ice
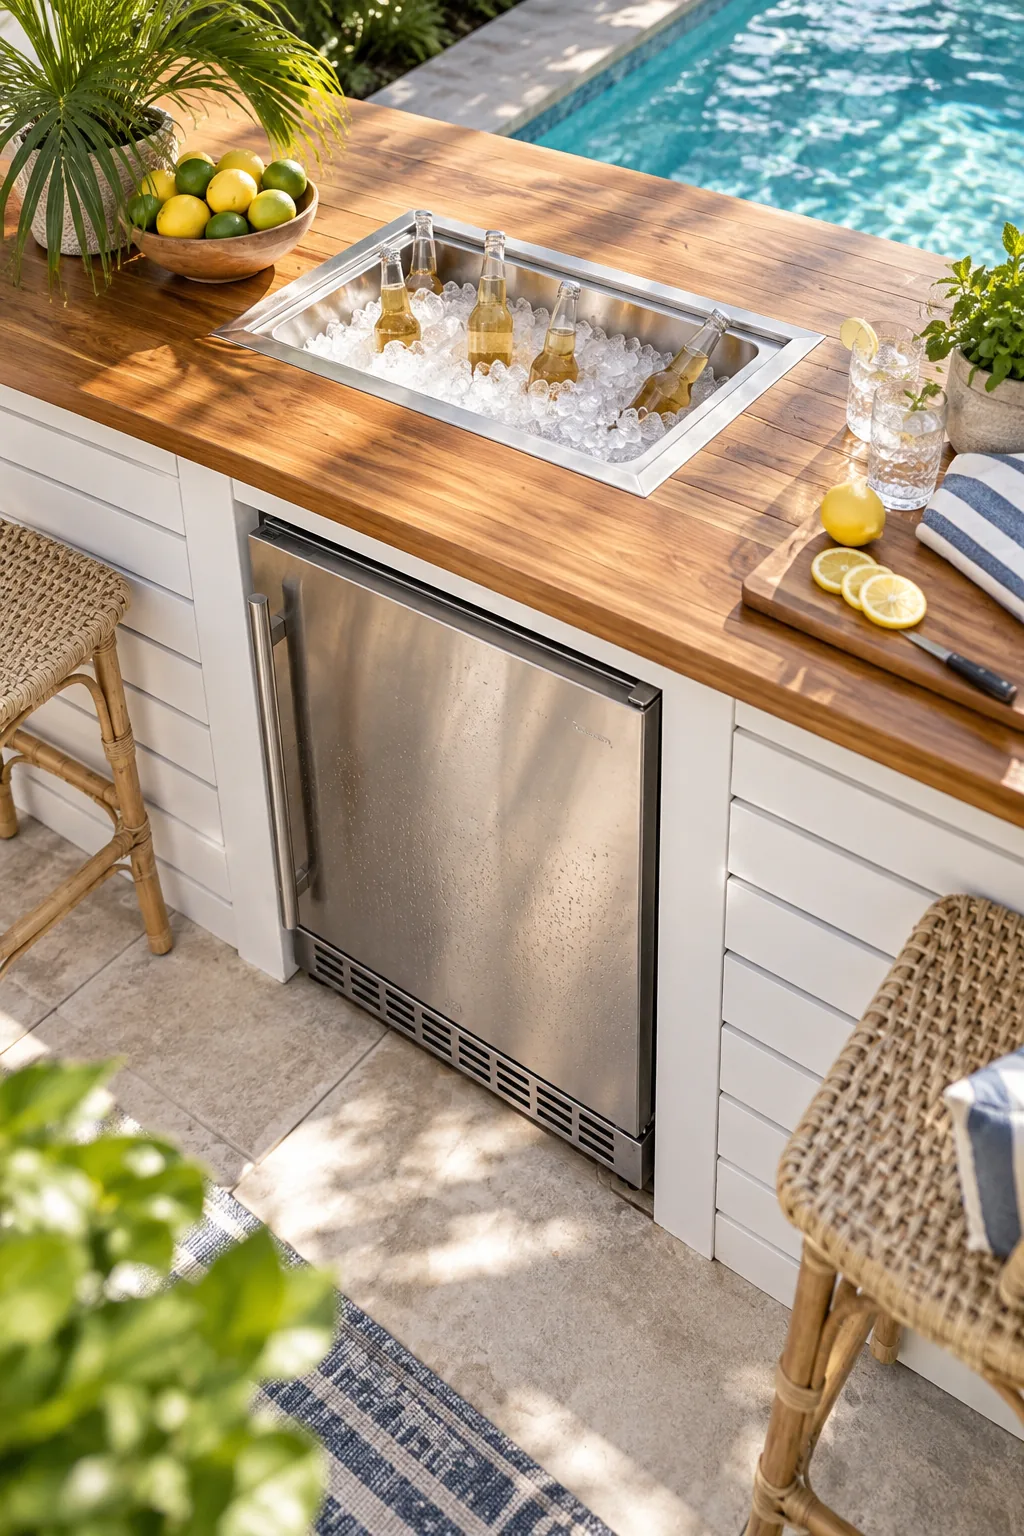
On the plumbing side, the drop-in stainless ice chest utilizes an air gap waste drain visible just beneath the bin. This mechanical separation safely prevents contaminated patio water from backing up into your clean ice supply.
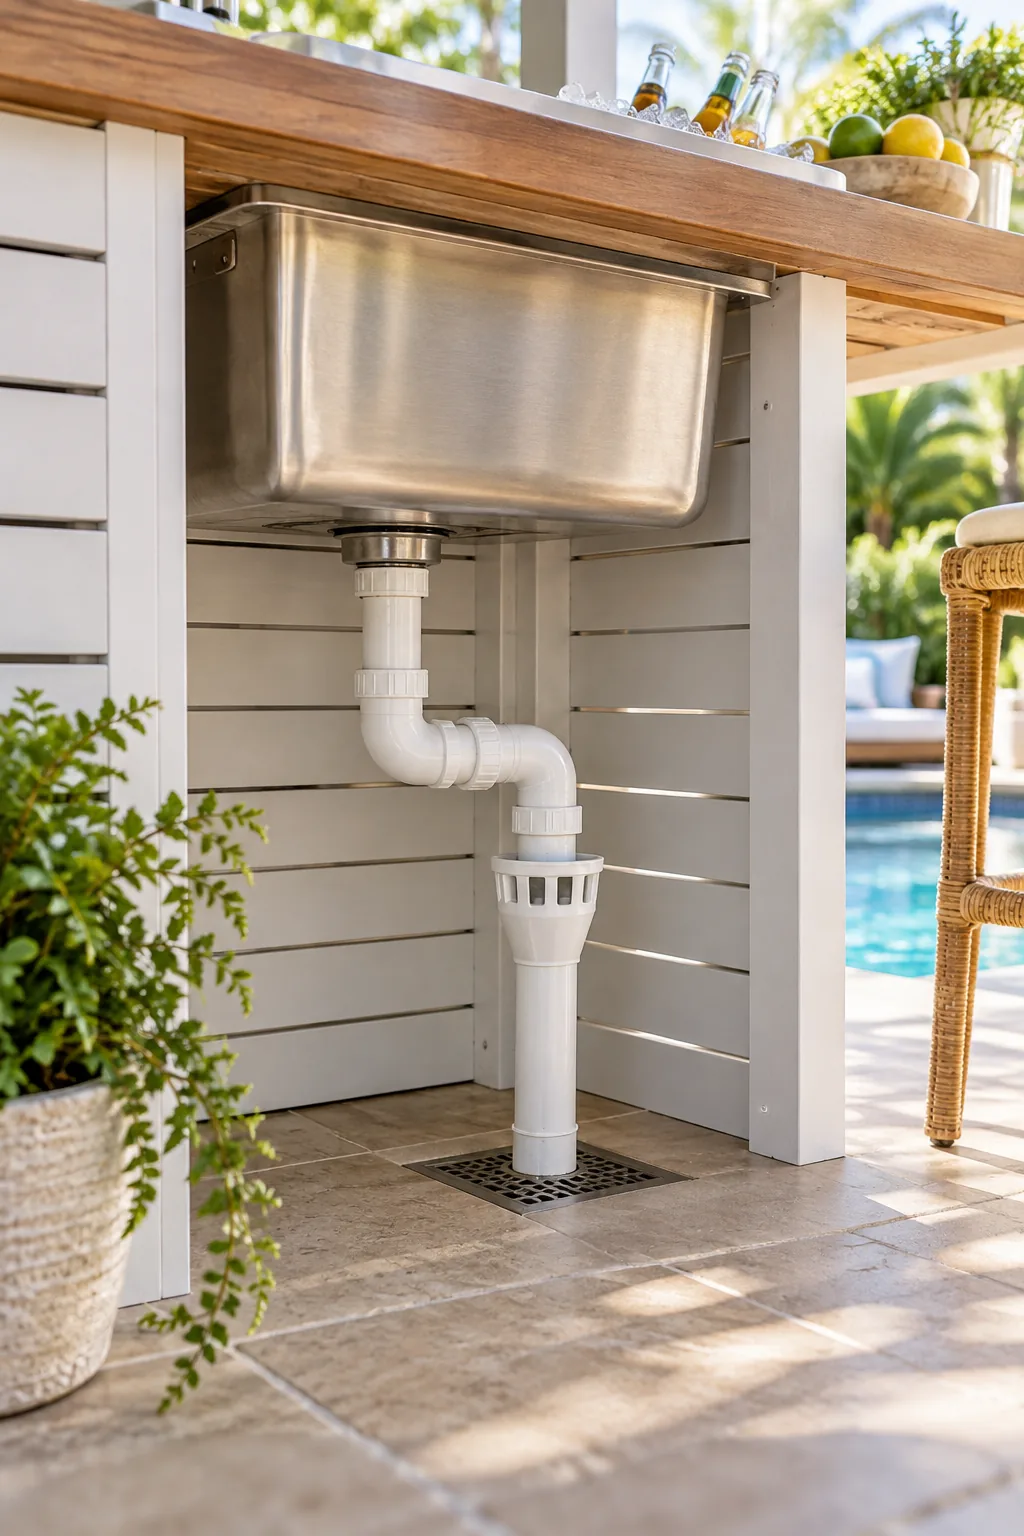
Instead of a continuous pipe, the melted ice drips through open air into a wider catch basin below. Breaking the physical connection ensures that bacteria from the yard can never siphon upward into your drinks.
Pitching the Gravity Drain Line
Once the meltwater enters the lower catch basin, it must flow away from the structure through a properly pitched PVC pipe. Dropping the line a quarter-inch for every horizontal foot guarantees the water drains quickly.
Maintaining this exact slope prevents stagnant puddles from forming inside the plumbing during the off-season. Consistent gravity drainage keeps your outdoor entertaining area smelling fresh and completely mosquito-free.
Connecting to a Dry Well
Directing that waste line into a gravel-filled dry well located a few yards away safely disperses the moisture into the soil. Digging the well at least three feet deep ensures the surrounding lawn absorbs the runoff without flooding your patio.
Slatted Cabinet Ventilation
Wrapping the exterior in white slatted wood cladding serves a crucial mechanical purpose beyond just looking beautiful. I chose this exact slatted style for my own backyard bar because it completely eliminated the musty odors I used to get in closed cabinets.
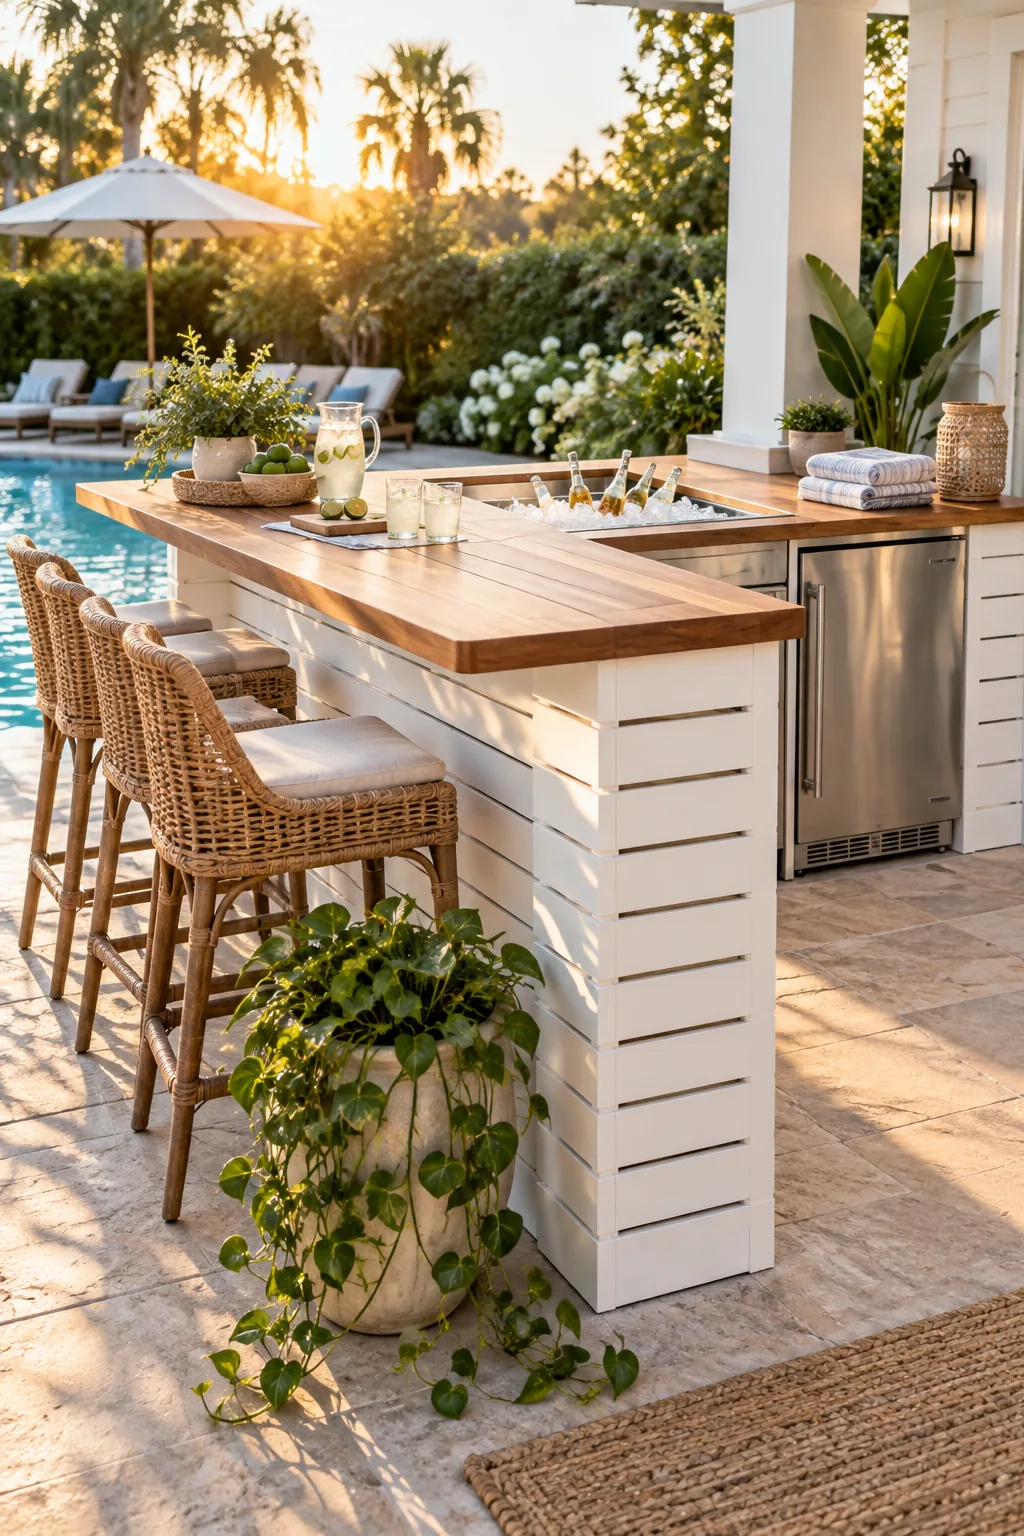
The slight horizontal gaps allow constant ambient airflow around the internal plumbing and electrical mechanics to reduce trapped moisture. Letting the structure breathe naturally prevents the internal framing from rotting over the winter.
Spacing the Exterior Slats
Achieving that perfect balance of airflow and visual coverage requires mounting the cedar boards with a precise eighth-inch gap. Using standard tile spacers during installation keeps the horizontal lines perfectly parallel across the entire facade.
Protecting the Internal Framing
Before attaching those decorative outer boards, wrap the exposed pressure-treated base framing in a breathable house wrap. This protective layer sheds wind-driven rain while still allowing trapped humidity to escape from the interior cavity.
Anchoring to the Patio Slab
Securing the entire lightweight structure against strong summer storms requires drilling concrete anchors through the bottom wall plates. Sinking heavy-duty wedge anchors every three feet locks the base firmly to the patio surface.
Small Pool Bar Style Variations
Explore how this same compact layout adapts to five completely different backyard aesthetics.
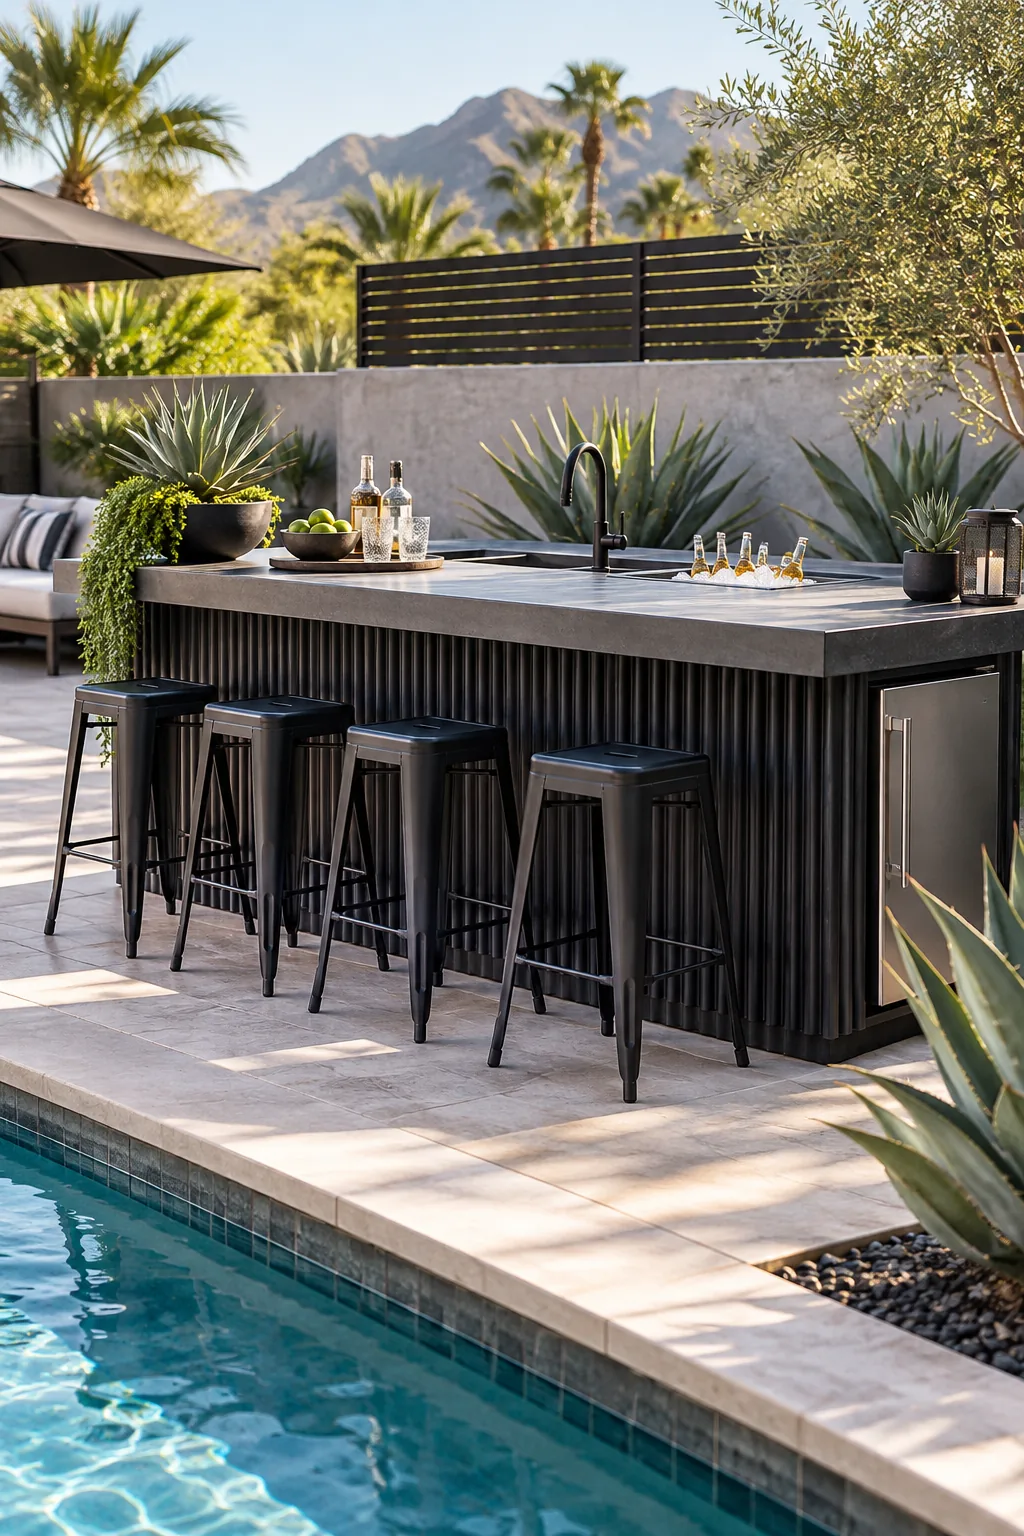
Modern Charcoal and Concrete: Swap the teak for poured concrete and the white wood for matte black metal to create a striking, industrial focal point.
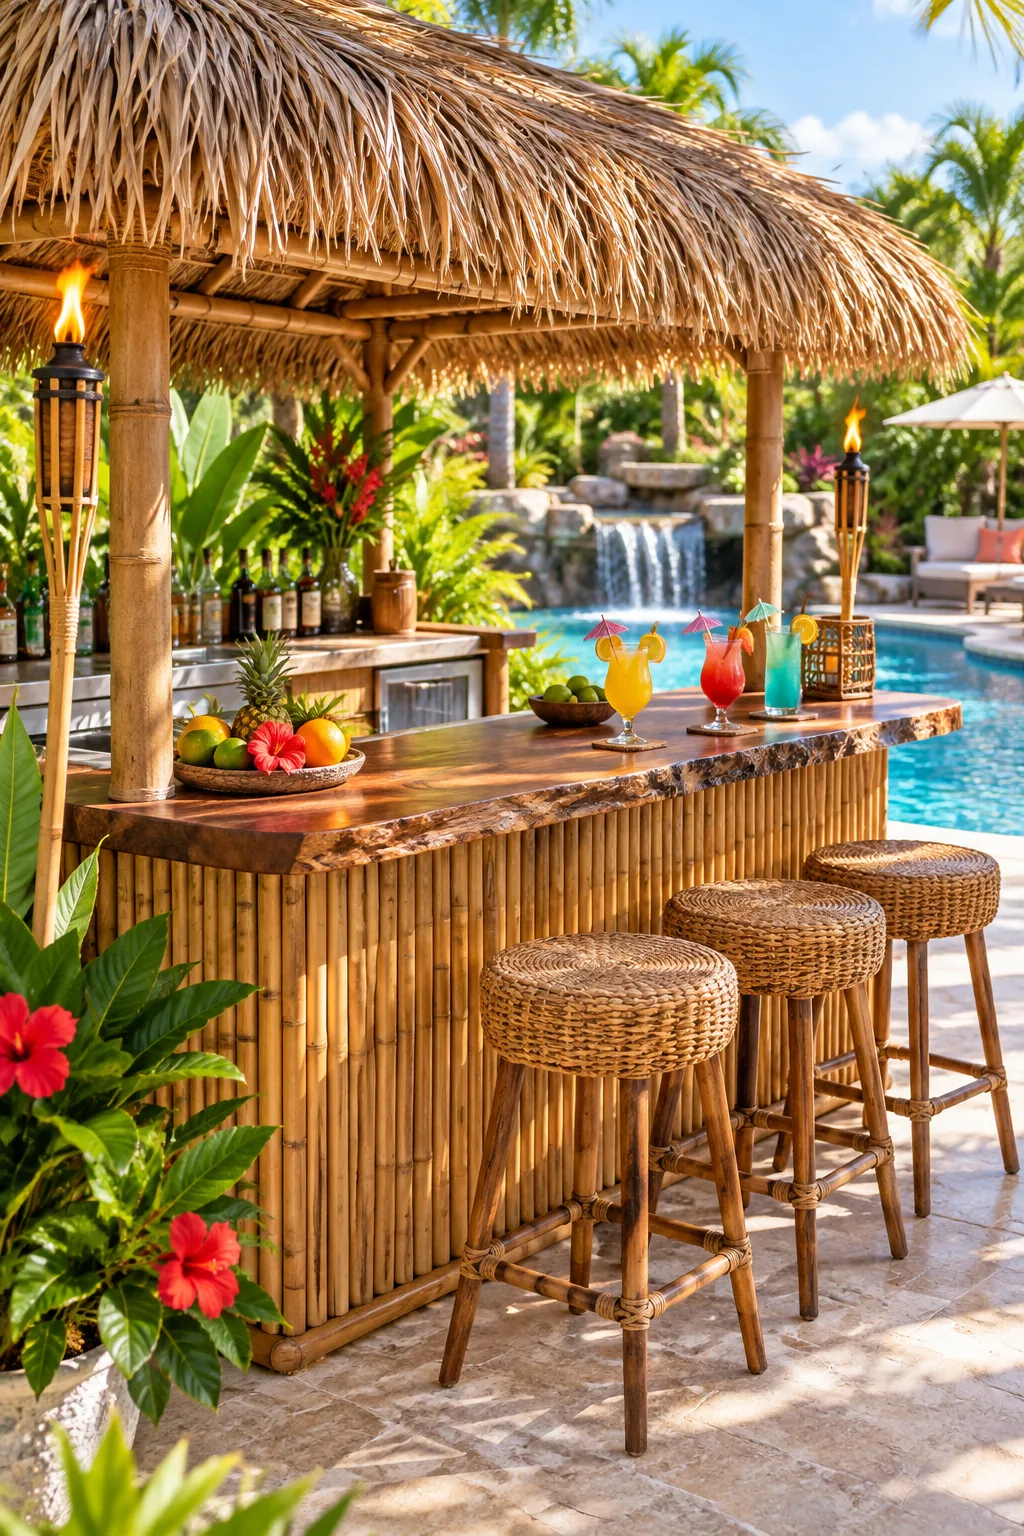
Tropical Bamboo and Thatch: Wrap the base in weather-resistant split bamboo and add a live-edge counter for an instant backyard island getaway.
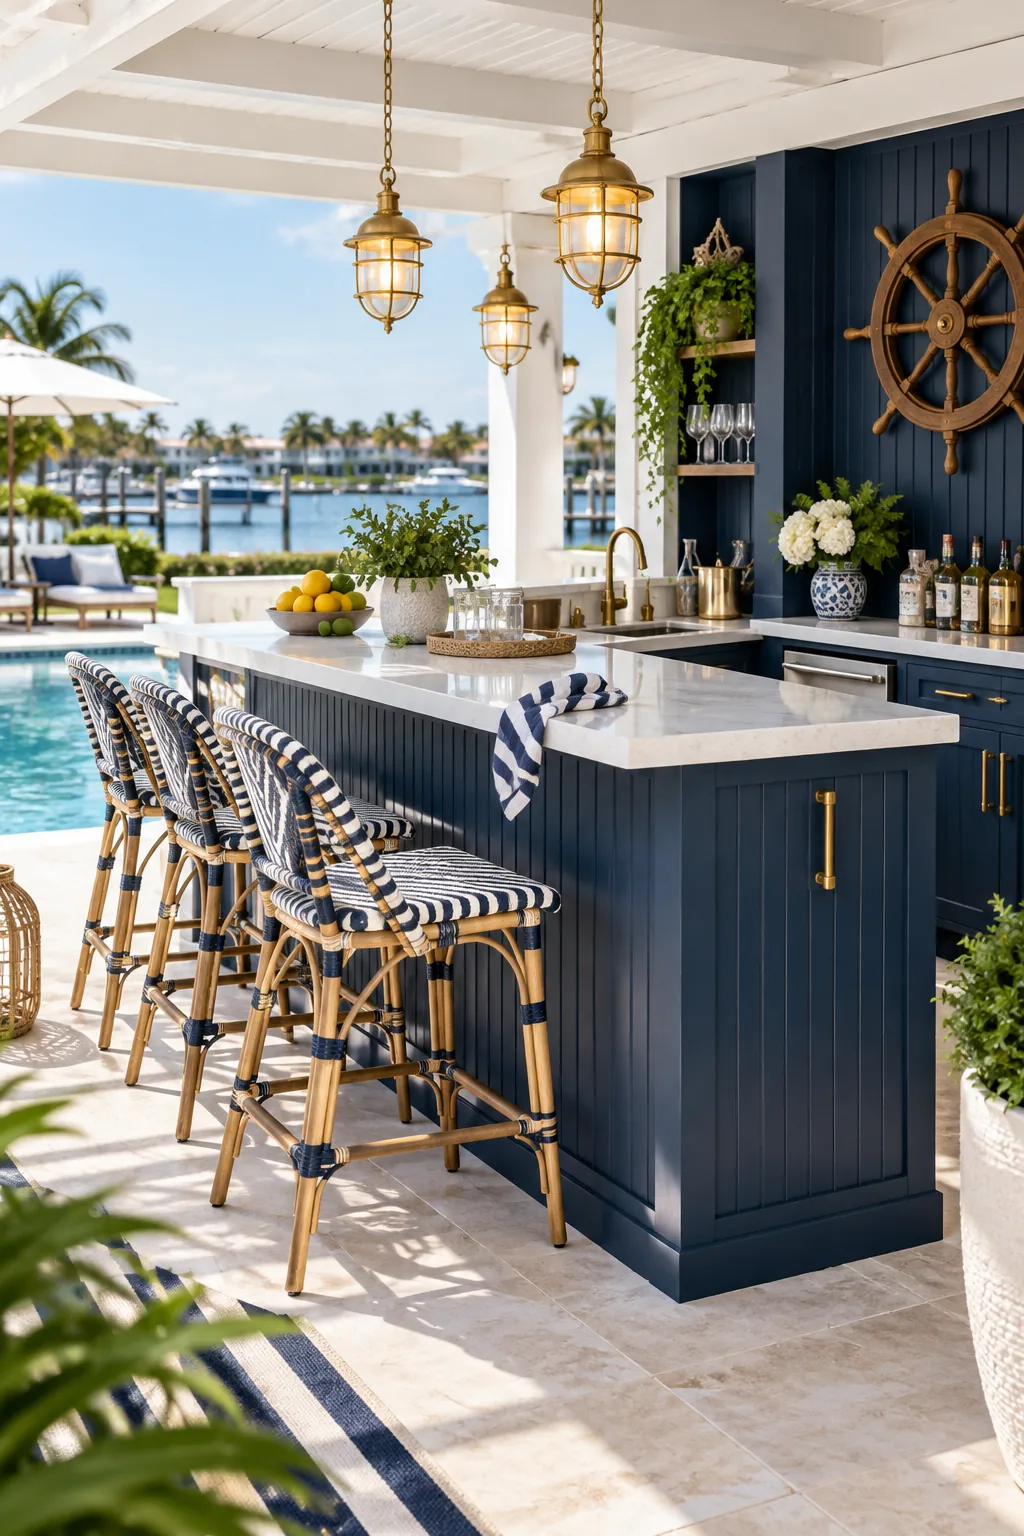
Coastal Navy and Brass: Deep navy beadboard paired with a crisp white quartz top and polished brass hardware delivers a tailored, yacht-club aesthetic.
Mediterranean Stucco and Tile: Finish the base in warm terracotta stucco and tile the surface with vibrant patterns to evoke a Spanish villa courtyard.

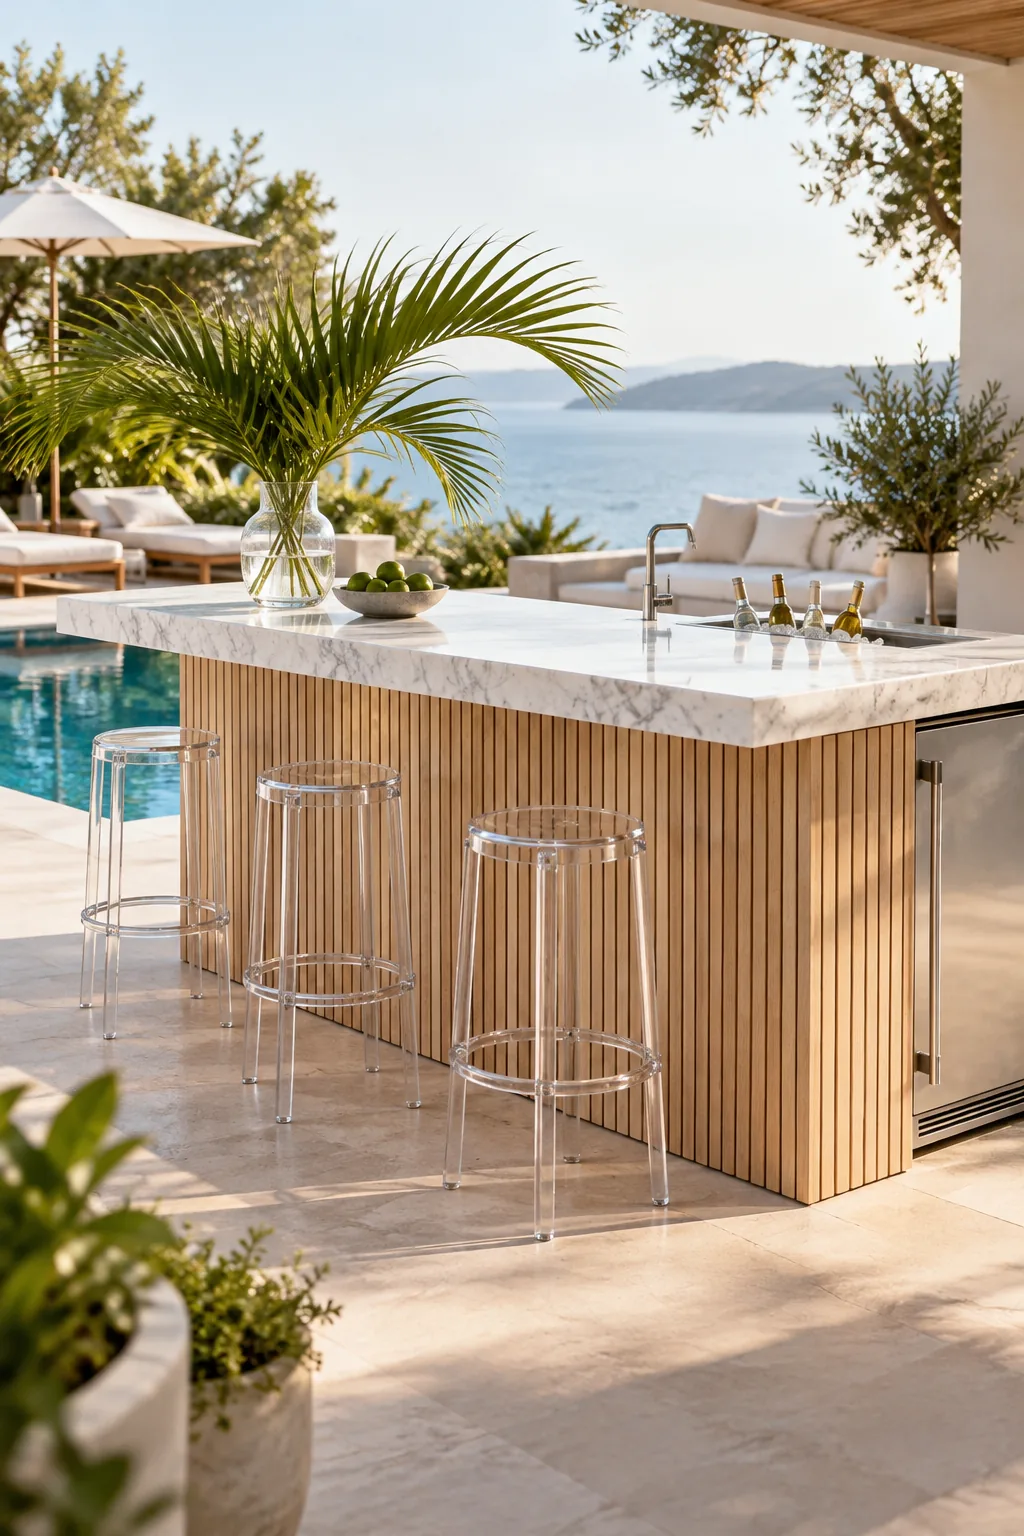
Minimalist White Oak and Marble: Combine vertical white oak slats with a thick slab of honed marble for a serene, high-end resort atmosphere.
The Compact Bar Schematic
Bringing all these mechanical layers together into a functional layout is easy when you follow the tested dimensions. Grab the compact bar schematic to get the complete downloadable plans, including all the required mechanical clearances discussed above.

Before you download the plans and purchase your materials, verify that your patio can accommodate the footprint. I always tape out the exact perimeter on my concrete first, so take these four site measurements to ensure a smooth build.