How to Arrange Grocery Store Flowers Like a Pro Florist
You can confidently trim, grid, and arrange any standard grocery bunch into a professional-looking display using our printable one-page Grocery-Bunch Arranging Sheet. Grab this essential vase-by-vase stem cut sheet below to turn your next supermarket bouquet into a stunning centerpiece today.
The Printable Vase-by-Vase Cut Sheet
I designed this printable one-page Grocery-Bunch Arranging Sheet to completely eliminate the guesswork from your weekly floral refresh. It covers the exact stem cut lengths for a tall cylinder, bud jar, wide bowl, pitcher, and a standard glass mason jar.
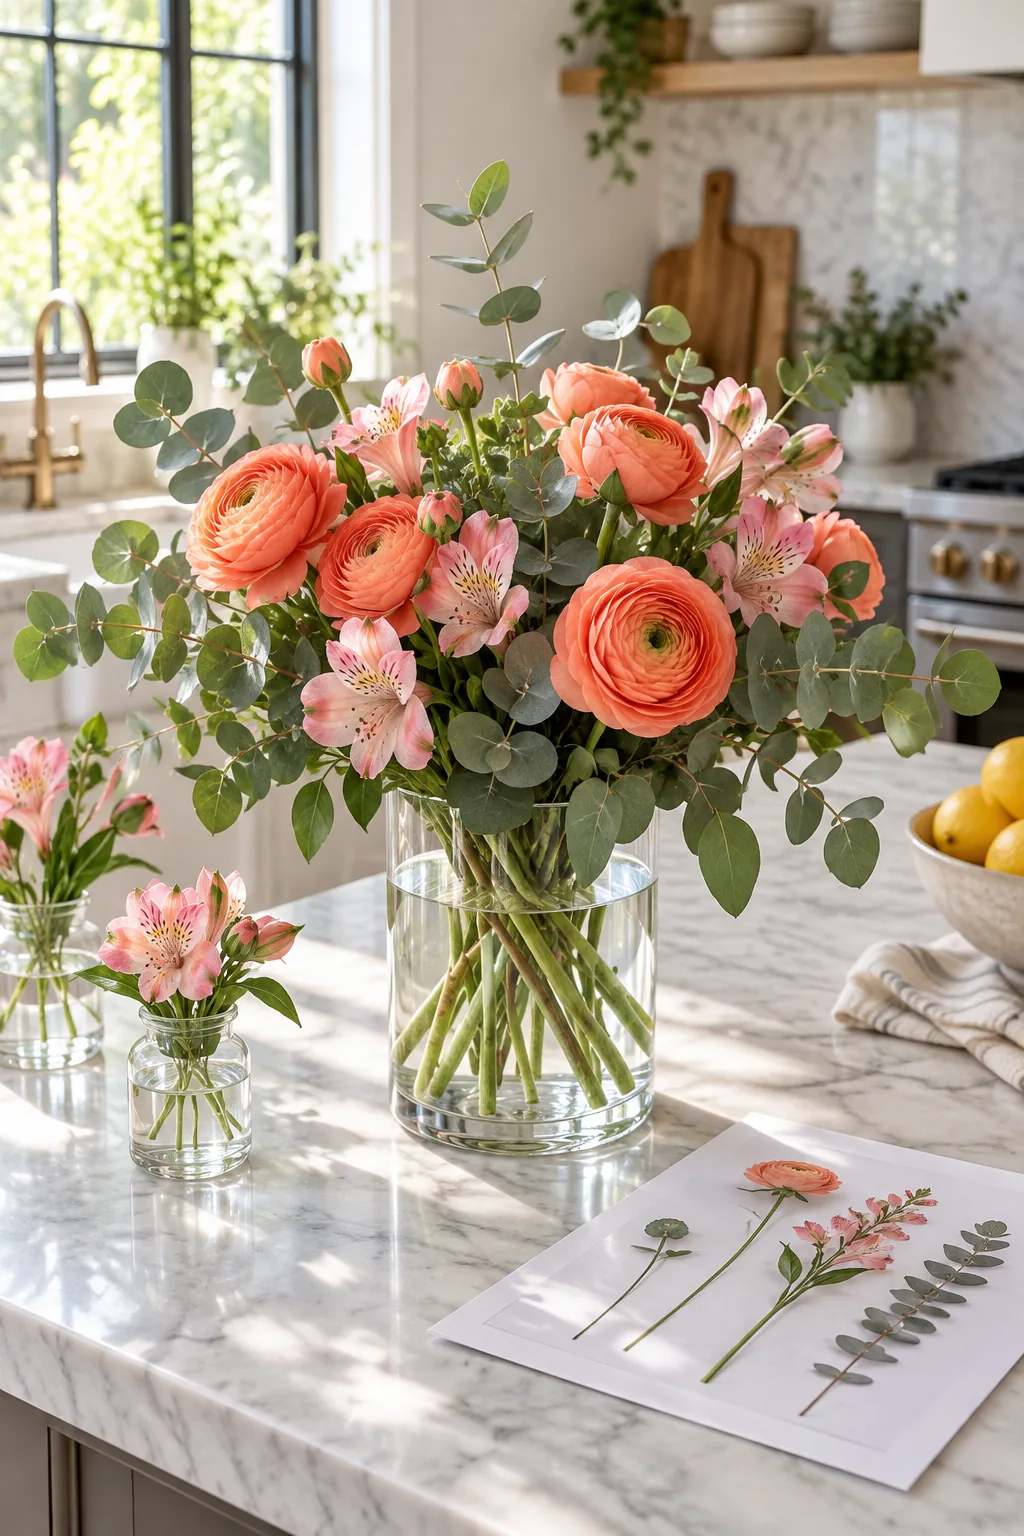
This handy reference also includes a numbered assembly order so you know exactly when to add your greenery, focal blooms, and delicate fillers. Keep it pinned to your fridge before your next grocery run to ensure perfect proportions every single time.
| Vase Shape | Stem Multiplier | Tape Grid | Best For |
|---|---|---|---|
| Tall Cylinder | 1.5× vase height | Yes | Long-stem roses and elegant lilies |
| Bud Jar | 2.0× vase height | No | Short alstroemeria and spray offcuts |
| Wide Bowl | 1.0× vase height | Yes | Heavy, dense focal blooms like peonies |
| Pitcher | 1.5× vase height | No | Loose, casual wildflower and greenery mixes |
| Mason Jar | 1.25× vase height | Yes | Standard mixed supermarket weekly bunches |
| Flared Trumpet | 1.75× vase height | Yes | Tall, dramatic branches and snapdragons |
Selecting the Right Supermarket Bunch
A professional finish starts right in the grocery store aisle by choosing flowers with the strongest structural potential. Look for tight buds and crisp, vibrant foliage rather than fully opened petals that will inevitably drop within a day or two.
- Check the stems: Avoid any bunches with slimy or discolored stems sitting in cloudy bucket water.
- Squeeze the base: Gently pinch the base of a rose head; a firm base indicates a fresh flower.
- Mix the textures: Grab one bunch of focal flowers, one delicate filler, and one dedicated greenery pack.
- Inspect the leaves: Ensure the upper foliage is completely free of brown spots or dry, curling edges.
Reviving Wilted Supermarket Blooms
If your grocery store finds look slightly tired after the car ride home, a quick warm water bath can beautifully revive them. Recut the stems and let them sit in a dark, cool room for two hours before you begin arranging.
Prepping the Glass and Water
Before you drop a single stem into your vessel, the container and the water itself require proper preparation. Clean glass prevents harmful bacterial growth, which is the absolute number one cause of premature wilting in cut flowers.
Building the Invisible Tape Grid
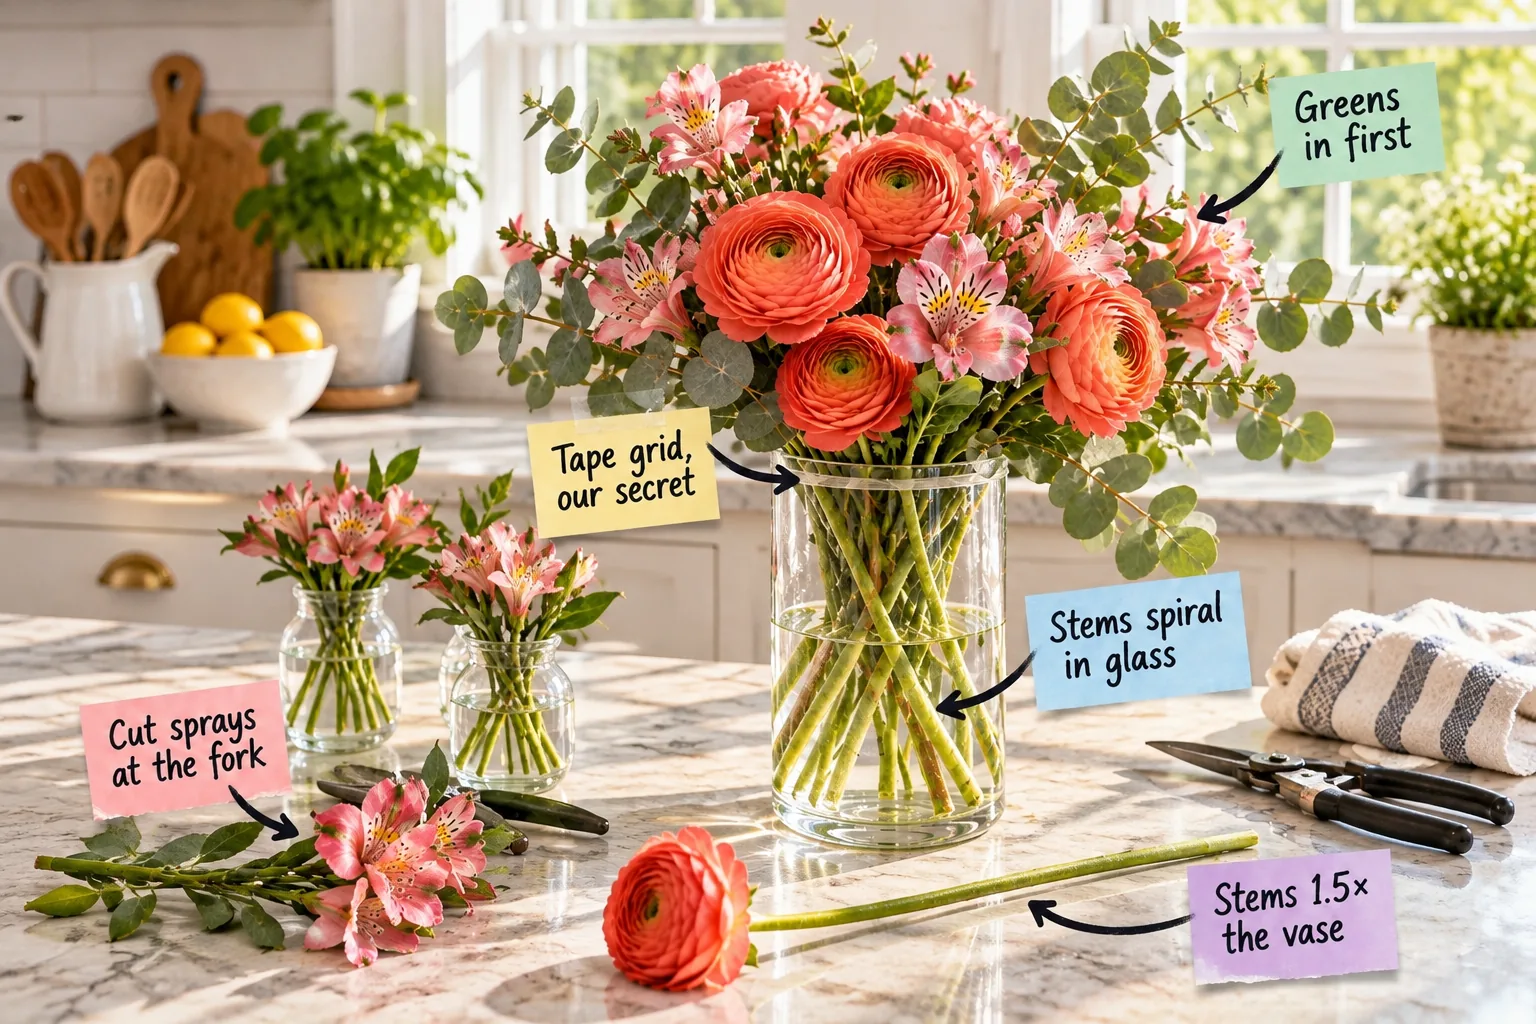
A clear tape grid stretched across the vase mouth keeps stems upright and airy, immediately preventing the dreaded grocery-store slump. Space the tape strips about an inch apart to create perfectly supportive little squares for your stems.
While this grid provides excellent structural support for heavy blooms, it only works if the adhesive holds tight against the glass. Even a single drop of water on the rim will cause the entire grid to slide inward.
Choosing the Right Floral Tape
Standard transparent office tape works beautifully in a pinch, but professional waterproof floral tape stretches slightly to grip the glass edge. This specialized material won’t peel away when water inevitably splashes over the rim during your daily top-offs.
Measuring Stems to 1.5x the Vase Height
The golden rule of floral design dictates that your tallest stems should be exactly 1.5 times the height of the vase to look balanced. This specific proportion keeps the entire silhouette from feeling awkwardly top-heavy or stunted.
Hold each stem against the edge of your kitchen counter to measure it against the vase before making any cuts. This simple visual check ensures your proportions remain perfectly scaled throughout the entire building process.
Stripping the Lower Foliage
Any leaves left below the waterline will quickly rot, muddying the water and drastically shortening the lifespan of your arrangement. You must meticulously remove all lower greenery to keep the water crystal clear and odor-free.
- Measure the depth: Note exactly where the stem will hit the water level in your specific vase.
- Pinch and pull: Run your thumb and index finger down the stem to strip away the lower leaves.
- Trim sharp thorns: Carefully snip off any rose thorns that might catch and tear the tape grid.
- Scrub the residue: Wipe away any sticky sap left on the bare stem with a damp paper towel.
Trimming Multi-Bloom Sprays at the Fork
When handling alstroemeria or spray roses, you achieve much better control by snipping them exactly where the side shoots branch off the main stem. This brilliant technique transforms a bulky, awkward cluster into delicate, individual blooms.
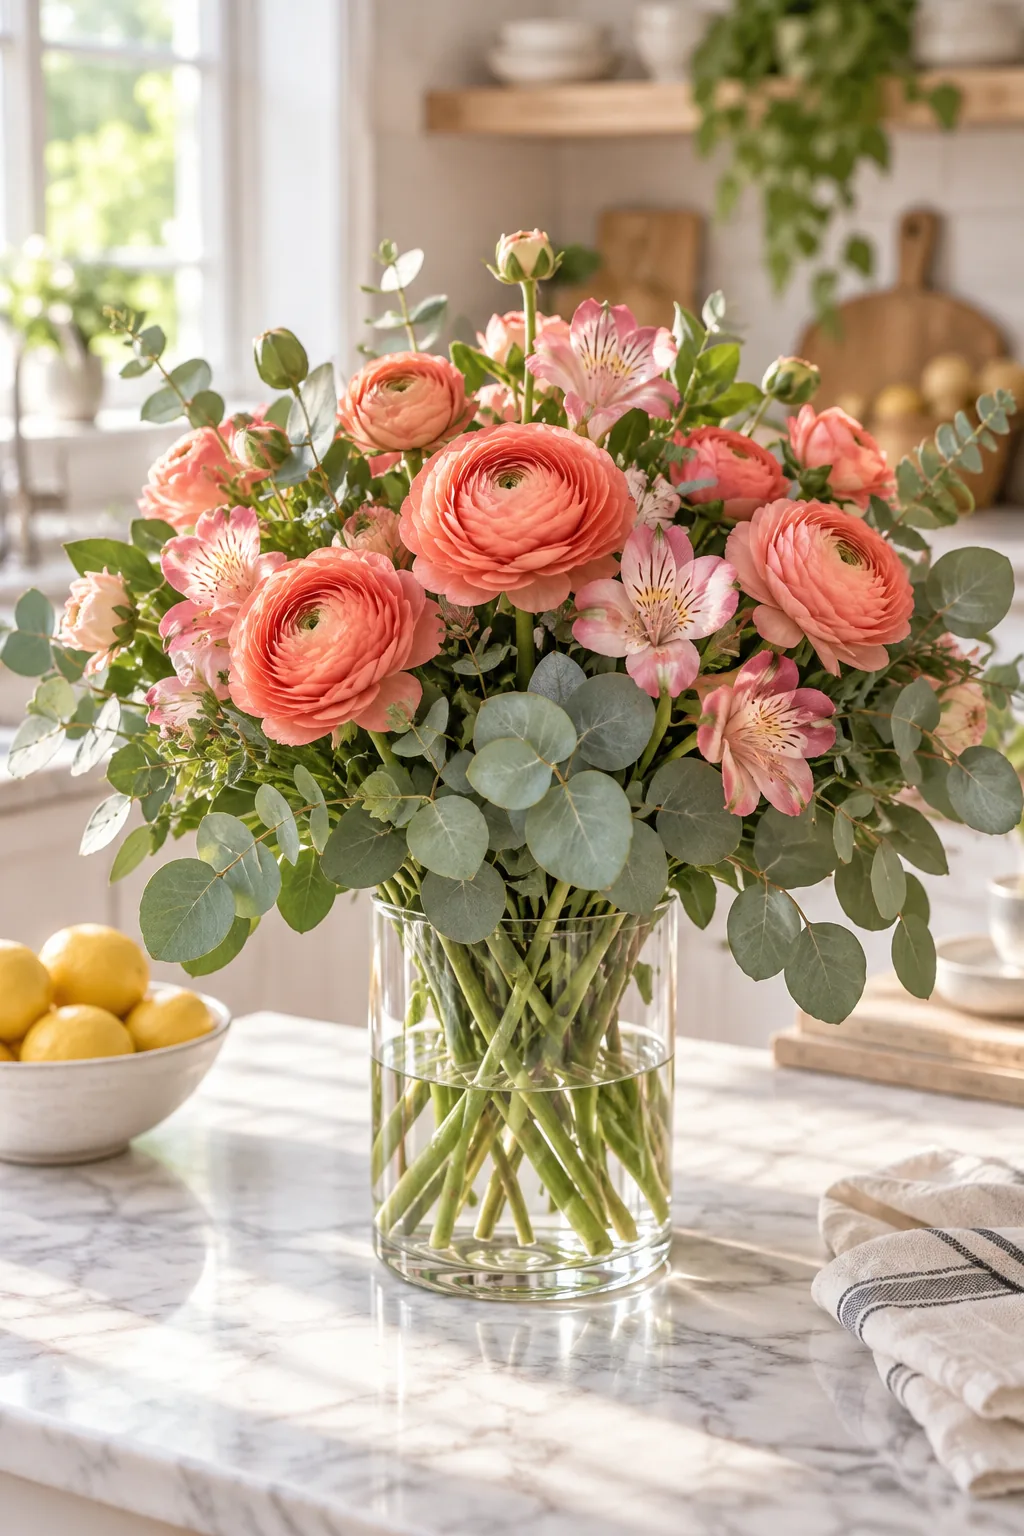
- Isolate the leader: Identify the tallest central bloom and keep its stem long for the main vase.
- Snip the branches: Cut the shorter side shoots away right at the natural botanical fork.
- Remove damaged buds: Pinch off any tiny, blackened buds that will never fully open.
- Save the offcuts: Set aside these shorter pieces for your secondary miniature arrangements.
Dropping the Greens in First
Always begin your arrangement by inserting eucalyptus or other leafy foliage to establish the outer frame and determine the overall width. This essential foundation layer beautifully hides the tape grid before you add a single flower.
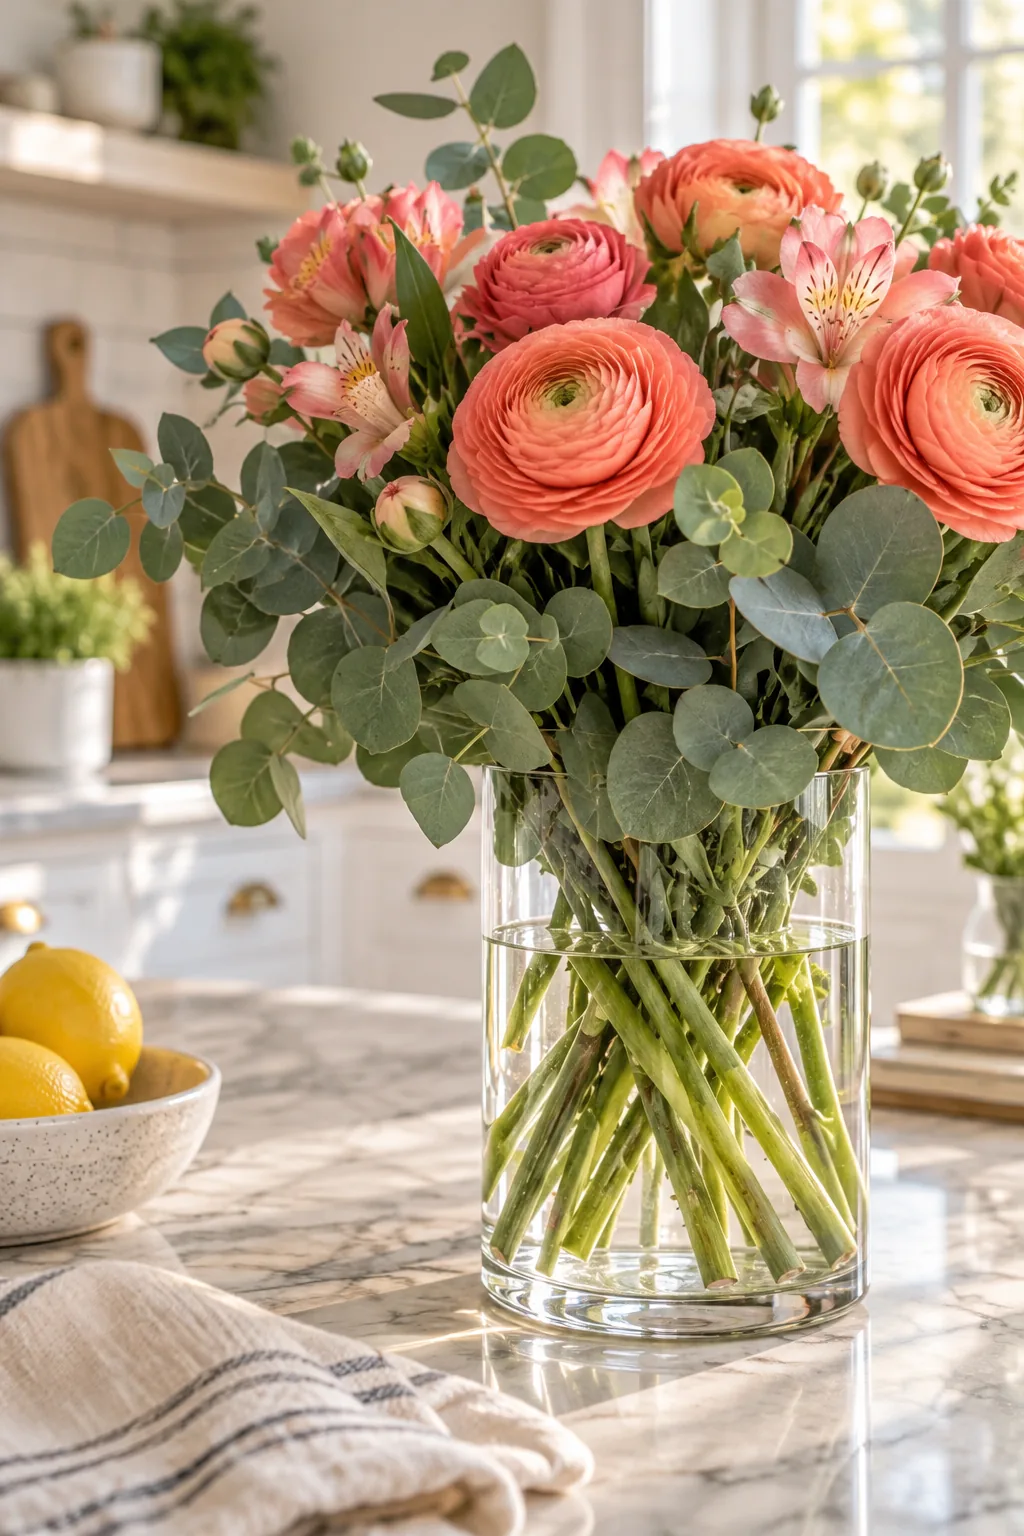
Angle these initial greenery stems outward toward the rim, leaving the center squares of your grid completely open. This creates a supportive nest that will eventually cradle the thicker, heavier stems of your primary focal flowers.
Spinning the Stems in a Clear Spiral
As you insert each new stem, cross it diagonally in one consistent direction to create a beautiful locking mechanism. This locks the stems together for physical stability and looks highly intentional through clear glass below the waterline.
A visible spiral looks incredibly professional, but it is remarkably easy to accidentally muddy the water or tangle the stems if you lose focus during assembly.
Nesting the Focal Blooms
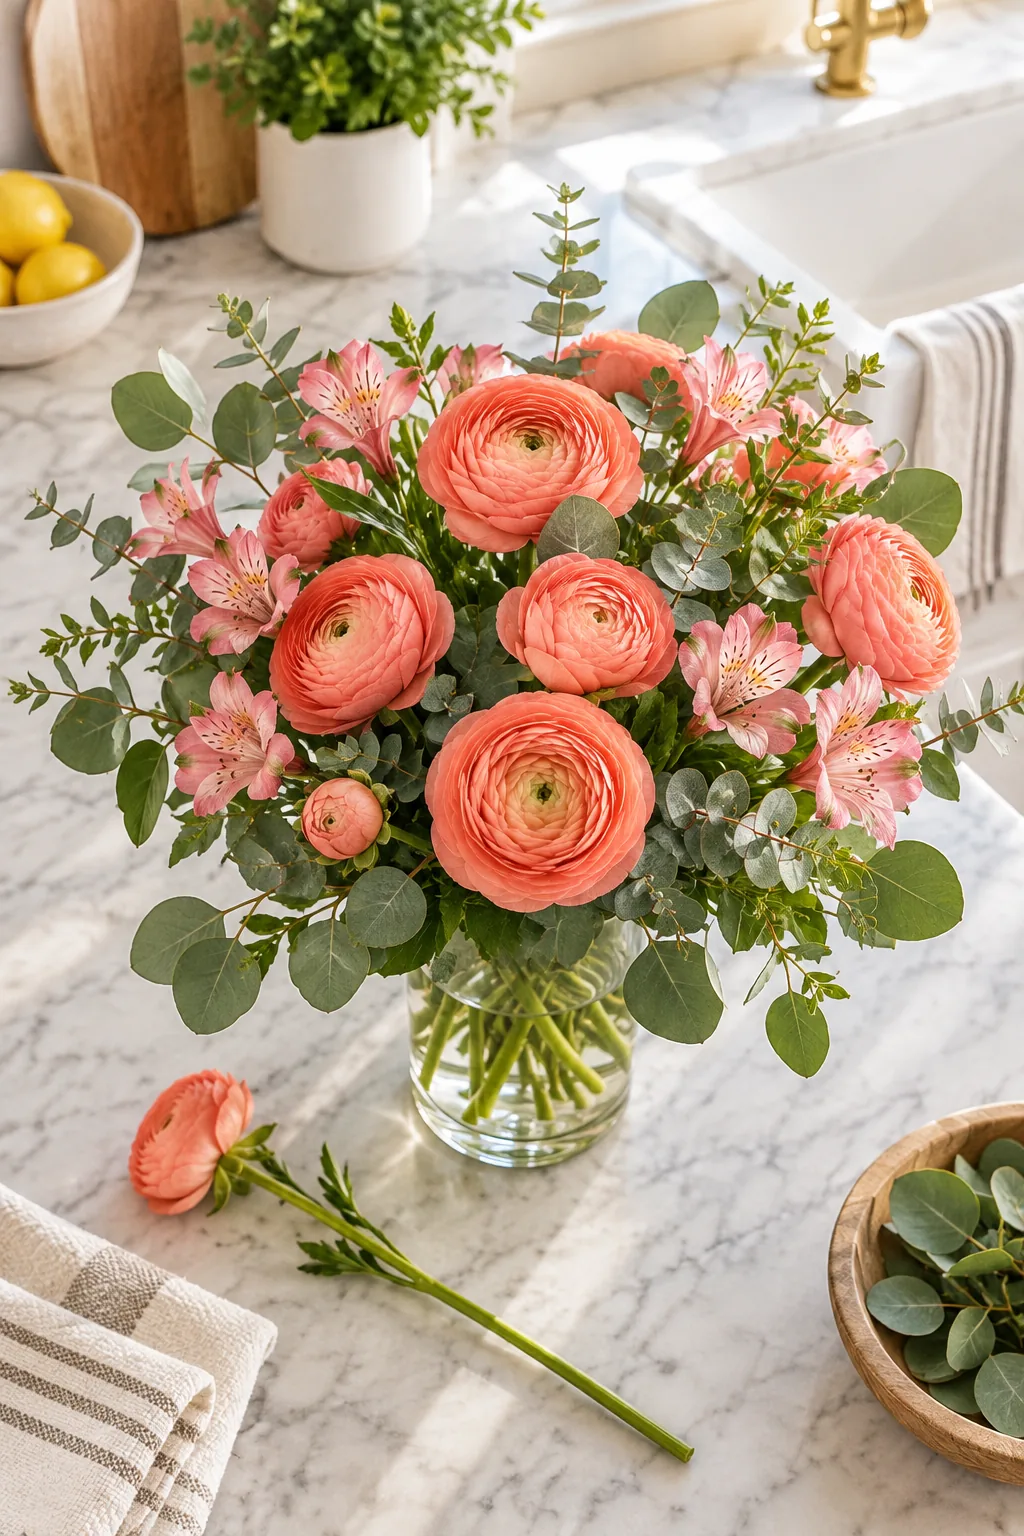
Guide the placement of your large focal blooms, like vibrant coral ranunculus, directly into the established greenery framework. In my own Boston apartment, I always tuck the heaviest focal flowers slightly lower than the surrounding foliage to visually anchor the display.
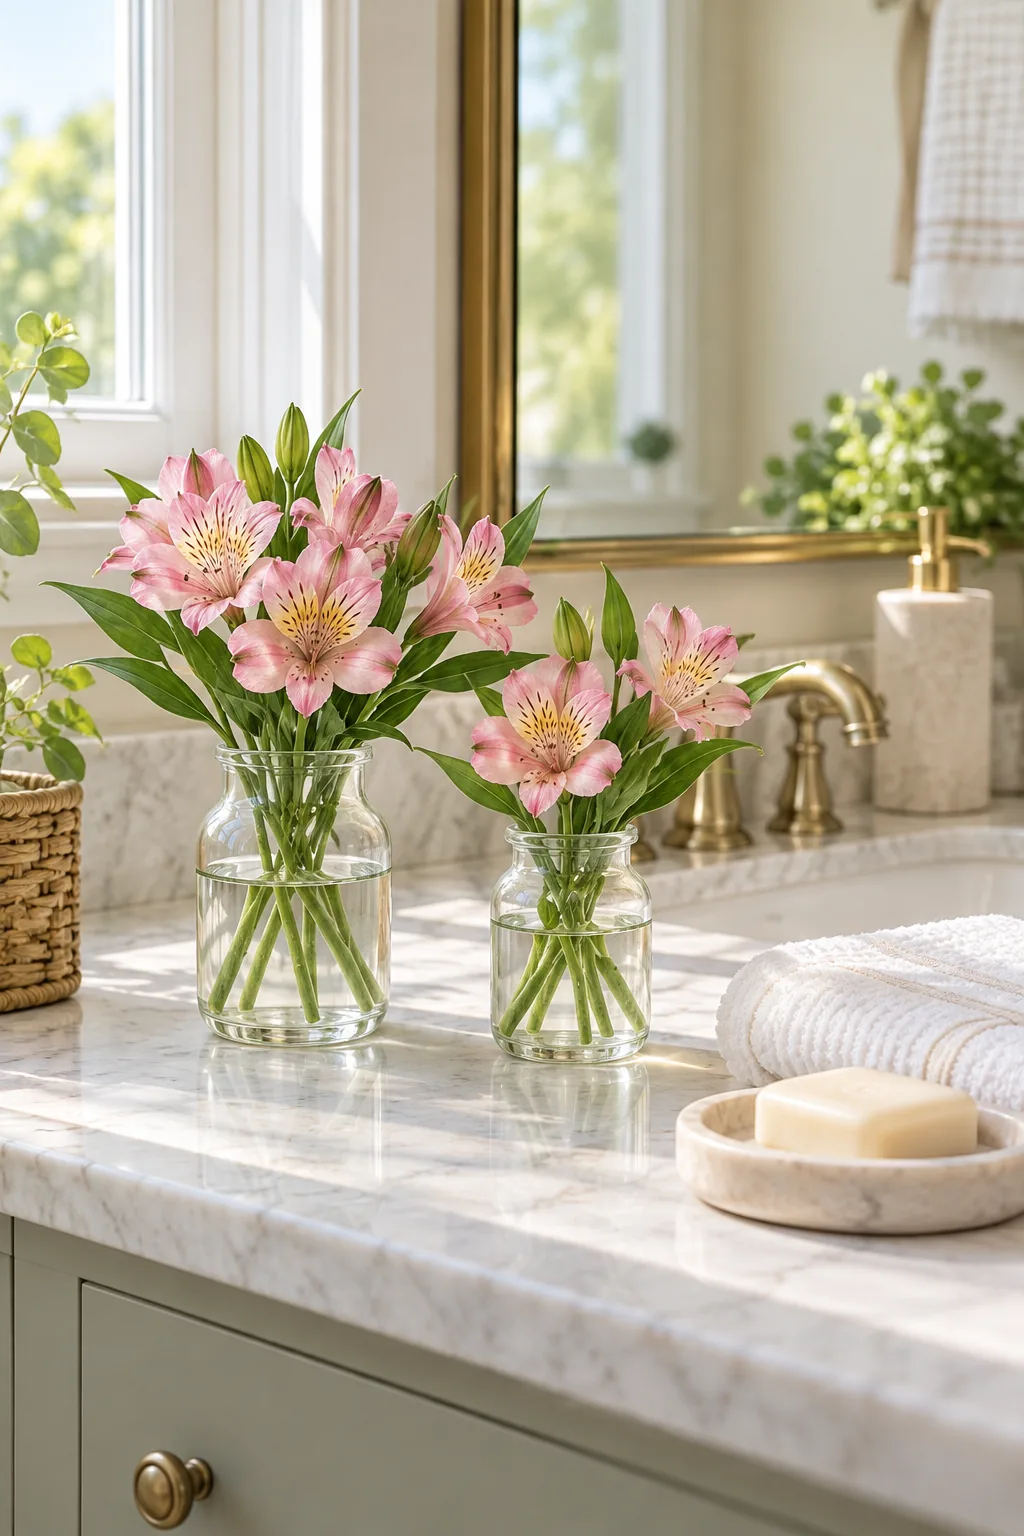
Creating Asymmetry for a Natural Look
Avoid making your centerpiece perfectly symmetrical, which often looks stiff and overly manufactured. Allow one or two delicate statement stems to reach slightly higher on one side, mimicking how they would naturally grow in a wild, untamed garden.
Filling the Gaps with Secondary Flowers
Once your primary blooms are confidently set, weave in lighter filler flowers to bridge any empty spaces and soften the overall shape. Rotate the vase constantly as you work to ensure the arrangement looks stunning from every possible angle.
Avoiding Direct Sunlight and Drafts
After your arrangement is fully assembled, carefully choose its final display location to maximize its lifespan. Keep the glass away from direct, harsh window sunlight and heating vents, as sudden temperature changes cause delicate petals to crisp prematurely.
Maintaining the Water Level Daily
Freshly cut flowers drink an astonishing amount of water during their first twenty-four hours in a new vase. Check the water line every single morning, gently topping it off to keep the lowest stem ends fully submerged.
Refreshing the Floral Food
Supermarket flowers consume their initial nutrients quickly, leaving the water depleted after just a few days. Mix a fresh batch of commercial floral food in a separate pitcher before carefully pouring it into your established vase to feed the remaining blooms.
Pruning Dead Leaves Mid-Week
Even with perfect preparation, some lower leaves may eventually dip below the waterline as the arrangement naturally settles. Do a quick visual check every Wednesday, using sharp floral snips to surgically remove any submerged greenery before it introduces harmful bacteria.
Repurposing Fading Blooms Later
As the primary arrangement ages, some delicate flowers will inevitably wilt faster than the hardy greenery. Pull these fading stems out immediately to prevent ethylene gas from ruining the remaining healthy, vibrant blooms in your display.
Styling the Leftover Bud Jars
Gather the separated short side shoots from your multi-bloom sprays and place these 3-to-4-inch offcuts into small, narrow-necked vessels. I keep a tiny cluster of these leftover jars on my brownstone’s entryway console to carry the floral theme throughout the home.
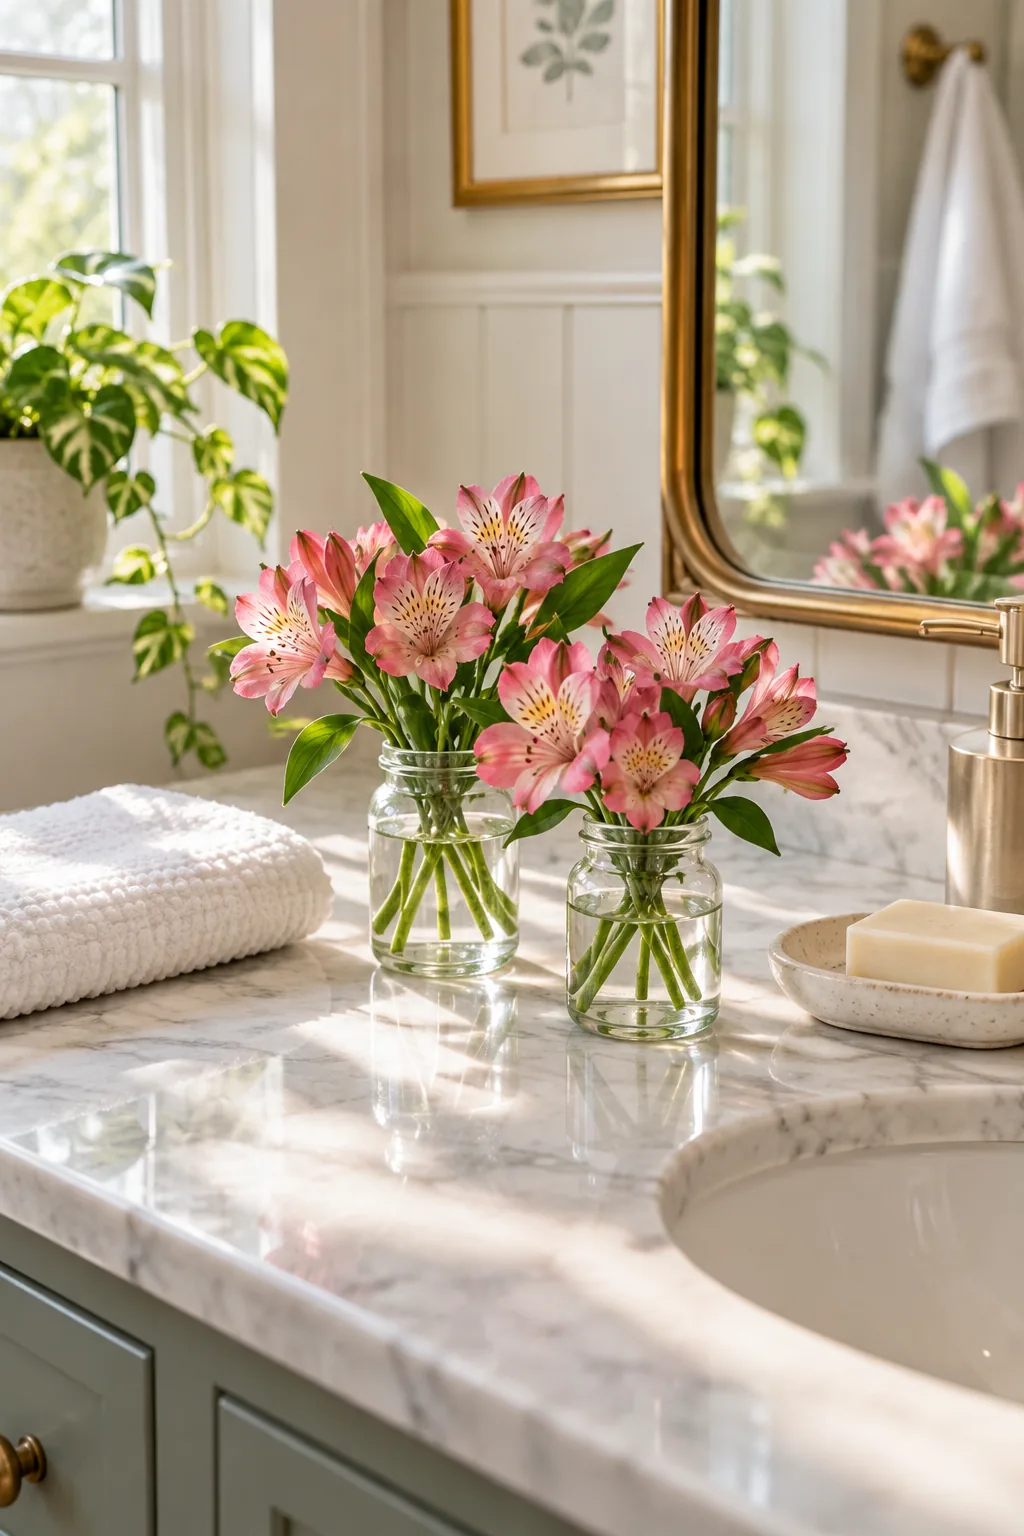
These miniature secondary arrangements effortlessly spread the joy of a single grocery run to a bathroom vanity, guest nightstand, or home office desk.
Vase Shapes and Styling Ideas
Once you master the basic tape grid and spiral, try adapting the technique to these different vessels and moods.
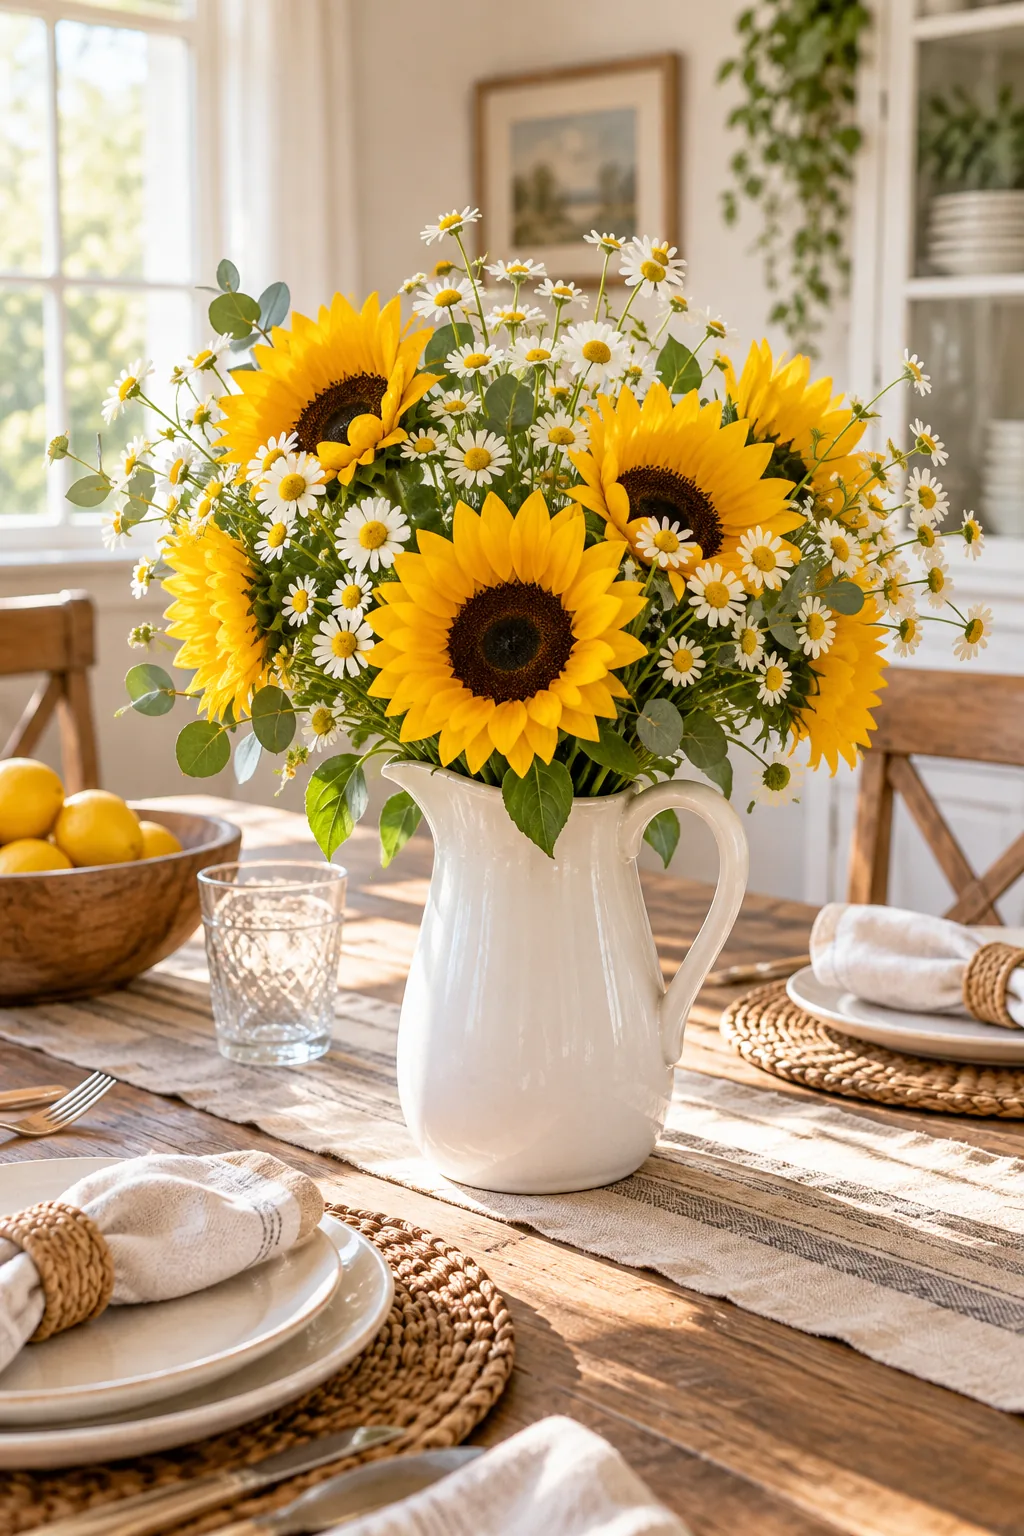
Rustic Farmhouse Pitcher: A heavy ceramic pitcher perfectly supports top-heavy blooms like sunflowers while hiding messy stems.
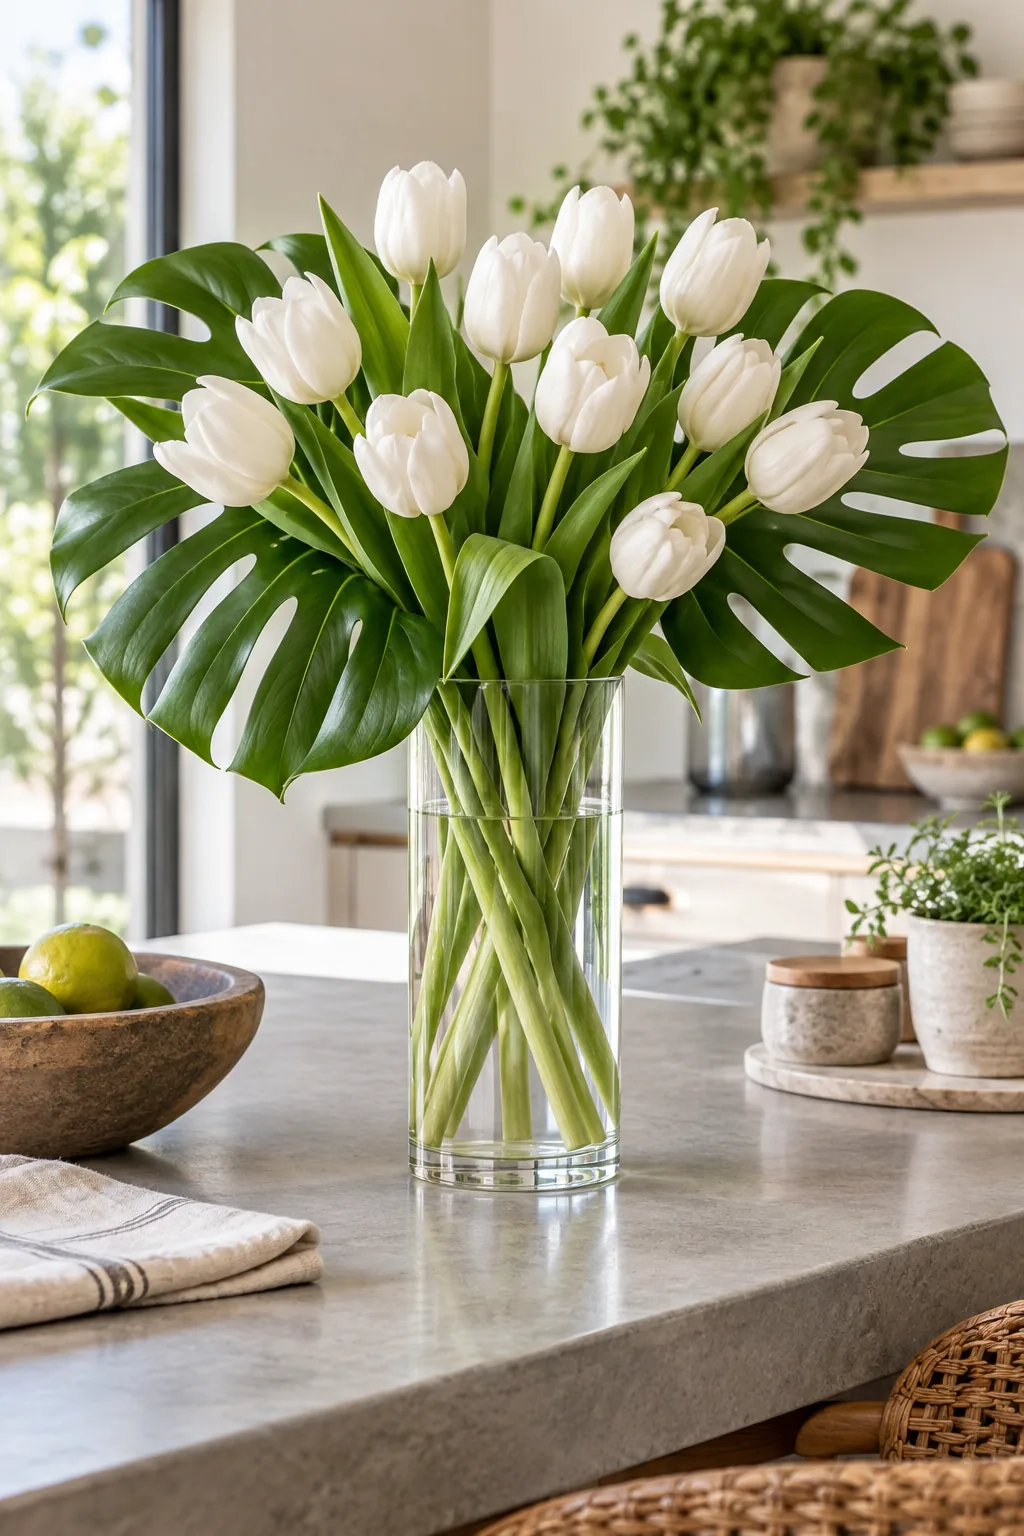
Modern Minimalist Cylinder: Keep the color palette restricted to crisp white and vibrant green for a sleek, architectural look.
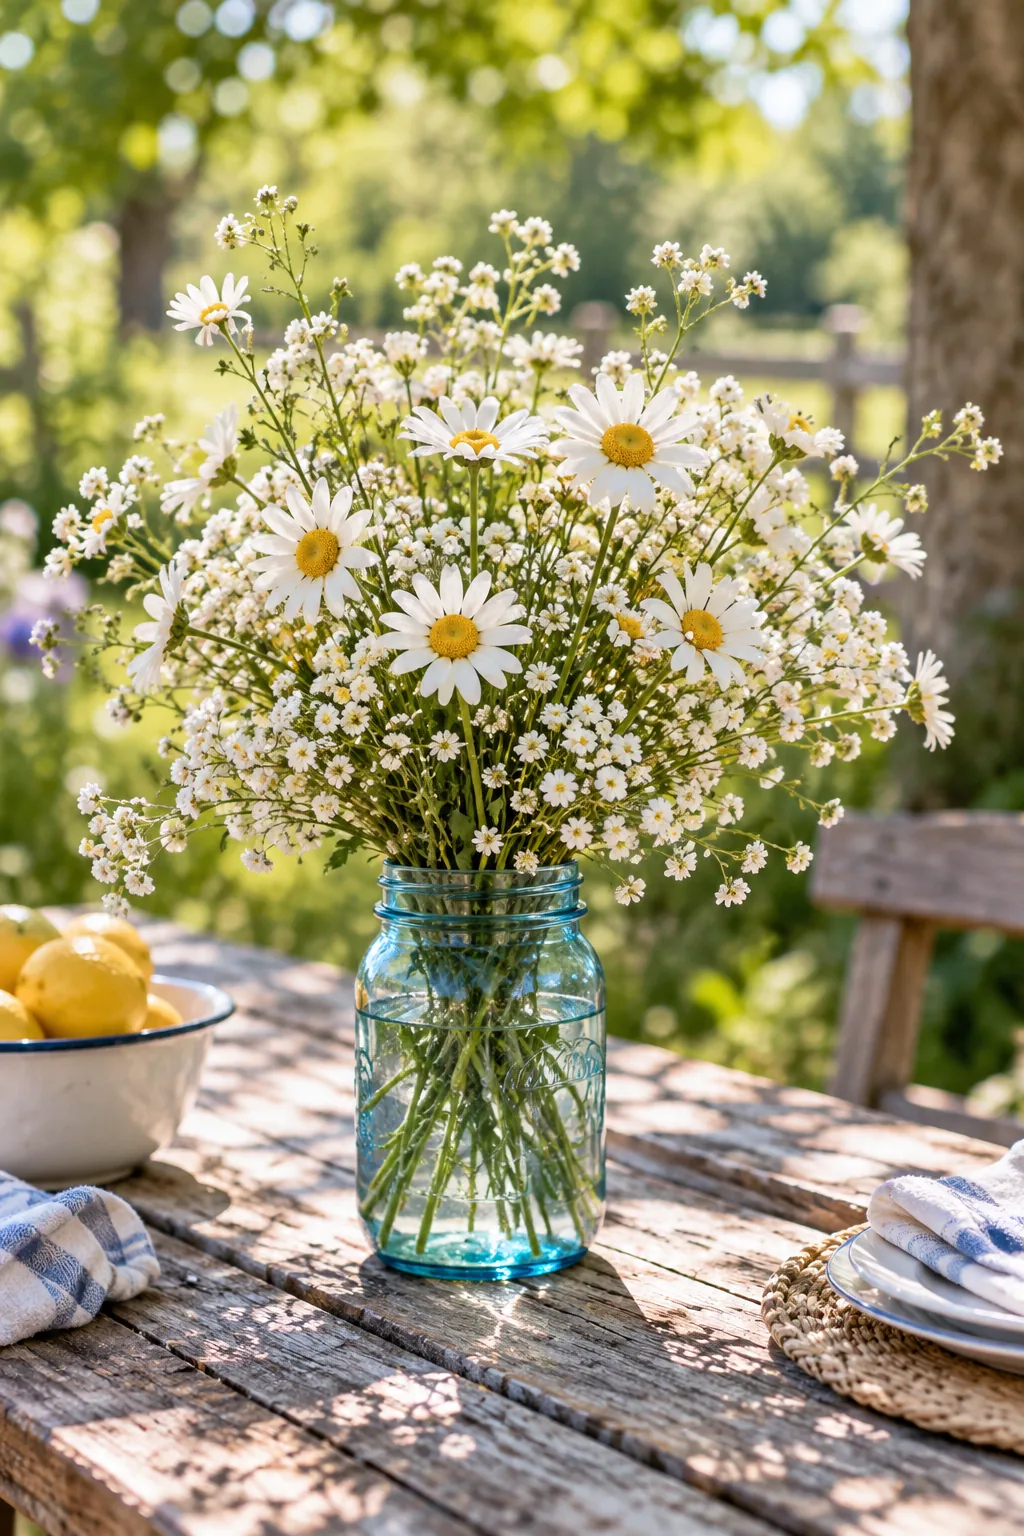
Vintage Mason Jar: The narrow neck of a mason jar naturally clusters delicate wildflowers without needing a tape grid.
Moody Dark Bowl: A low, wide bowl requires a tight tape grid but creates a dramatic, sprawling centerpiece that won't block conversation.