
White Rock Landscaping: The Ultimate Yardage & Prep Guide
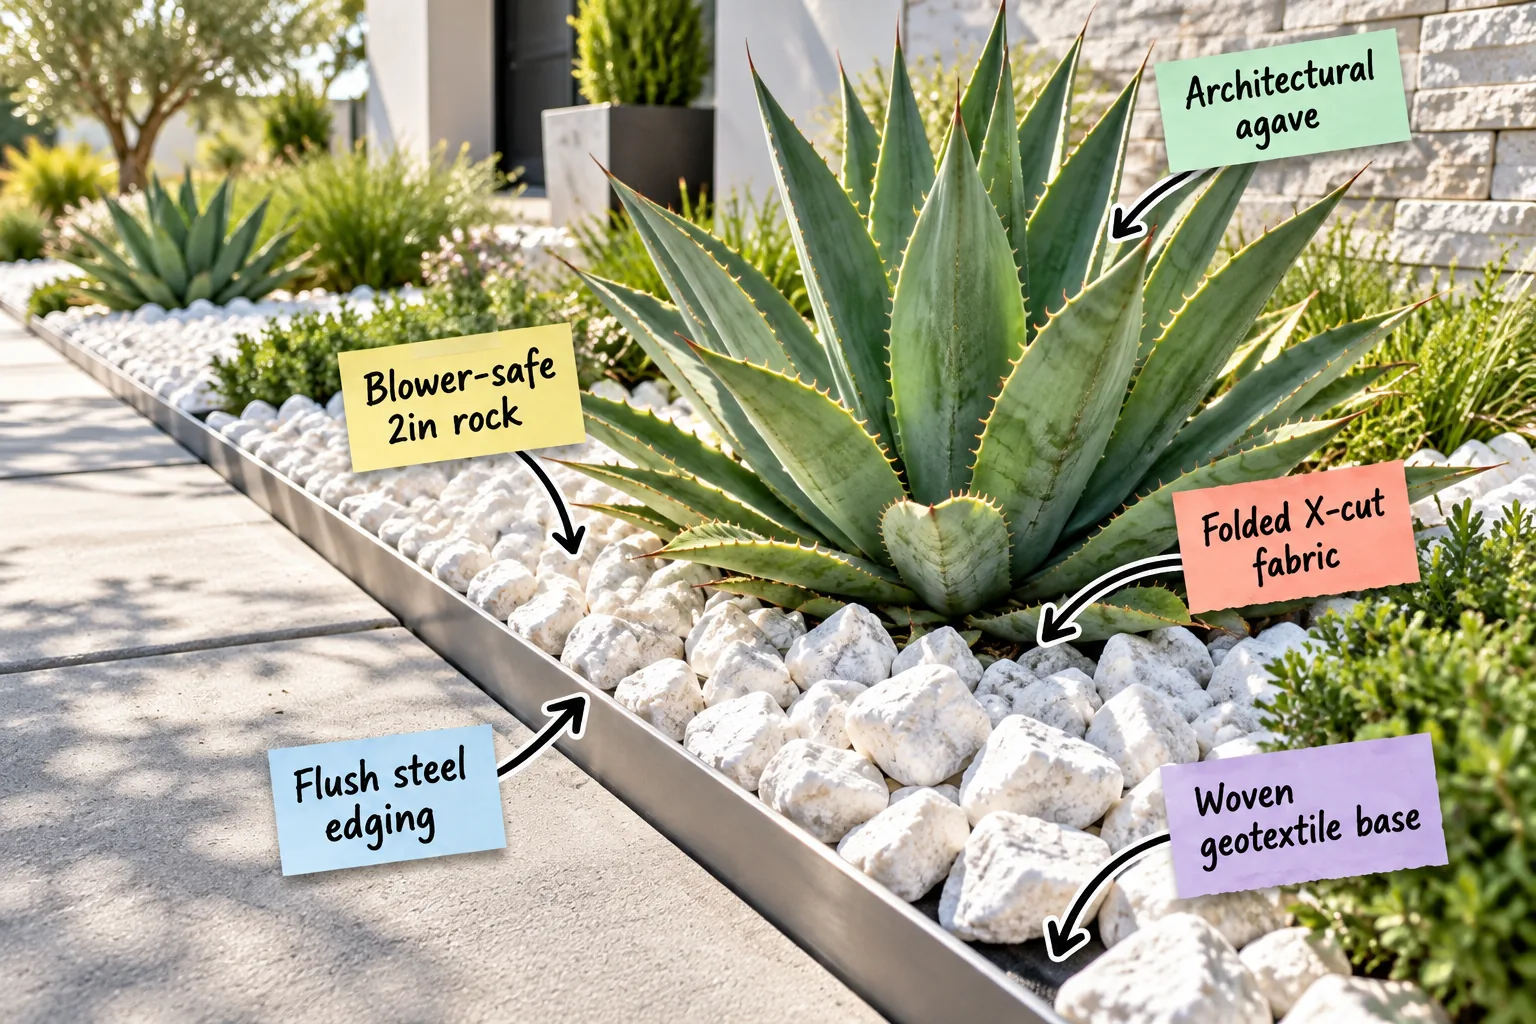
Master the pristine yard trick with this guide to calculating exact materials, prepping the bed, and choosing blower-safe stones. I will show you how to calculate the cubic yardage needed and properly prep your garden bed for a flawless, weed-free finish.
Setting the Flush Steel Edging
A crisp, modern border is the absolute foundation of the pristine yard trick. Install flush steel edging exactly level with the adjoining concrete walkway to create a seamless transition that looks incredibly professional and clean.
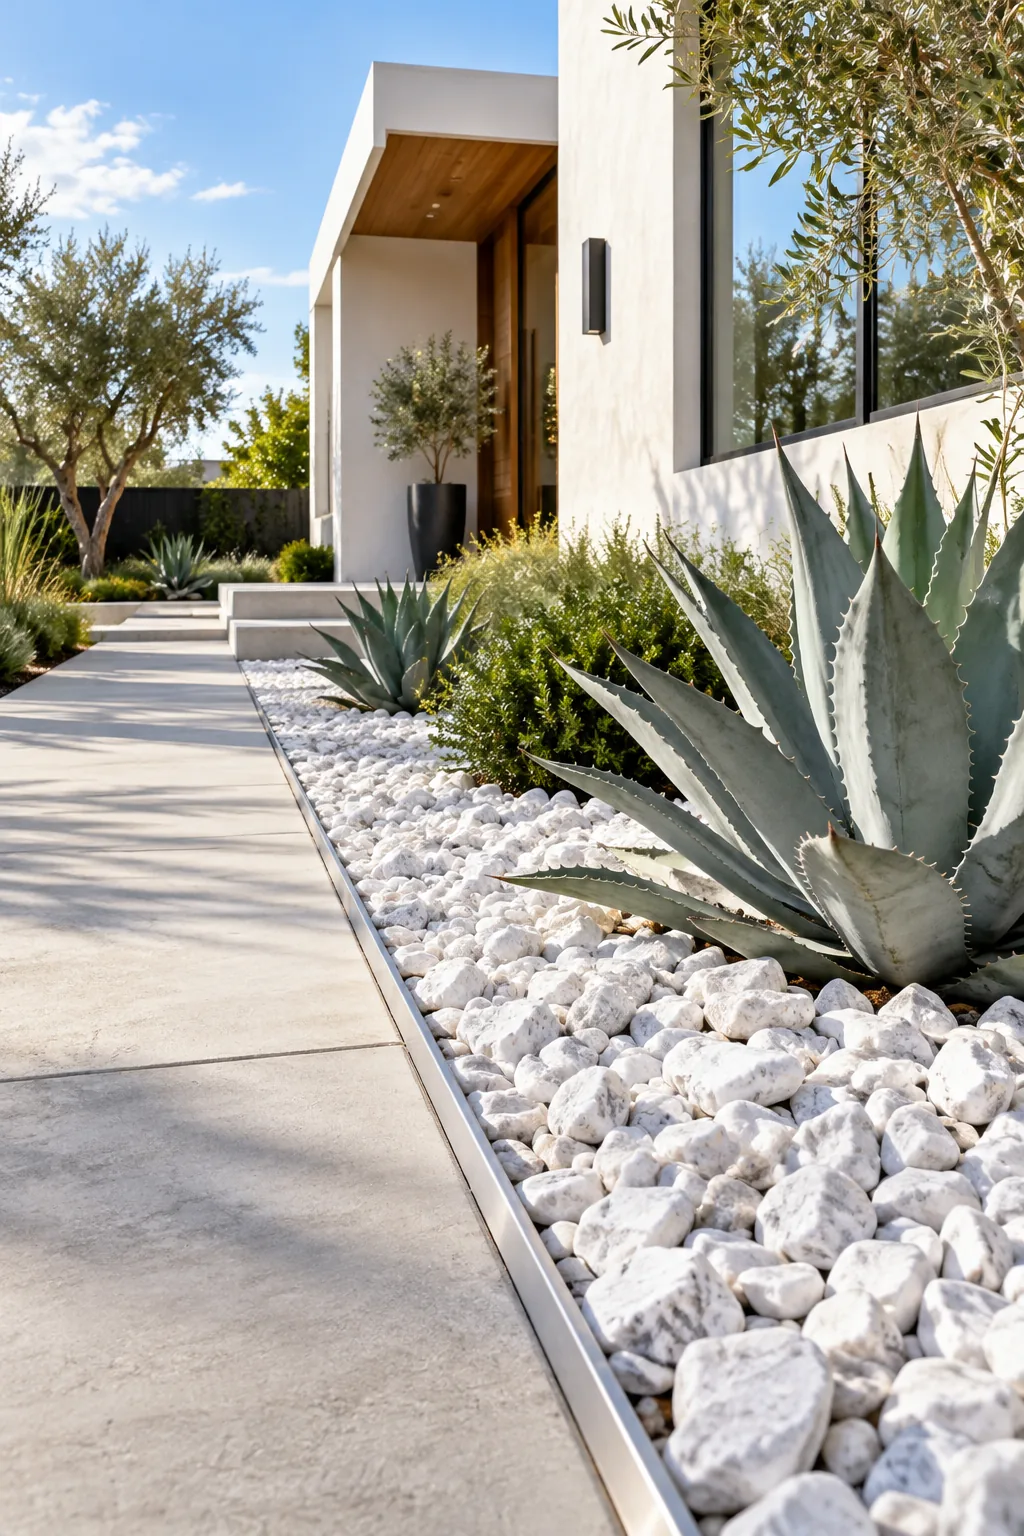
This rigid physical barrier prevents heavy rocks from migrating onto your path, keeping the lines sharp. Once your perimeter is securely locked in, you can safely move on to prepping the underlying soil inside the bed.
Trenching for the Metal Border
To achieve that perfectly flush look, dig a narrow perimeter trench that matches the exact height of your steel edging strips. Sink the metal border deep enough so the top edge sits completely flush with the surrounding hardscape.
Securing the Edging Stakes
Drive the included steel stakes through the overlapping edging brackets using a heavy rubber mallet. Space these anchor stakes every 3 feet to ensure the metal border never bows outward under the immense weight of the crushed marble.
Leveling the Soil Base
Before laying any fabric, take the time to aggressively grade and tamp the bare dirt until it is perfectly flat. A smooth, compacted foundation ensures your heavy stones will eventually sit level without settling into unsightly dips.
| Bed Dimension | Grading Slope | Compaction Method |
|---|---|---|
| Against foundations | Drop 1 inch per foot | Hand tamper |
| Open yard areas | Flat 0% slope | Vibratory plate |
| Bordering walkways | Match concrete slope | Hand tamper |
Taking the time to verify these grading slopes prevents rainwater from pooling directly under your rocks. Proper compaction also stops the heavy marble from creating deep sinkholes that ruin the sleek, modern aesthetic over time.
Laying the Woven Geotextile Base
Skip cheap plastic weed barriers and invest in a heavy-duty woven geotextile base. When I first landscaped my Austin front yard, using this exact commercial-grade fabric was the only thing that finally stopped our aggressive Bermuda grass from invading.
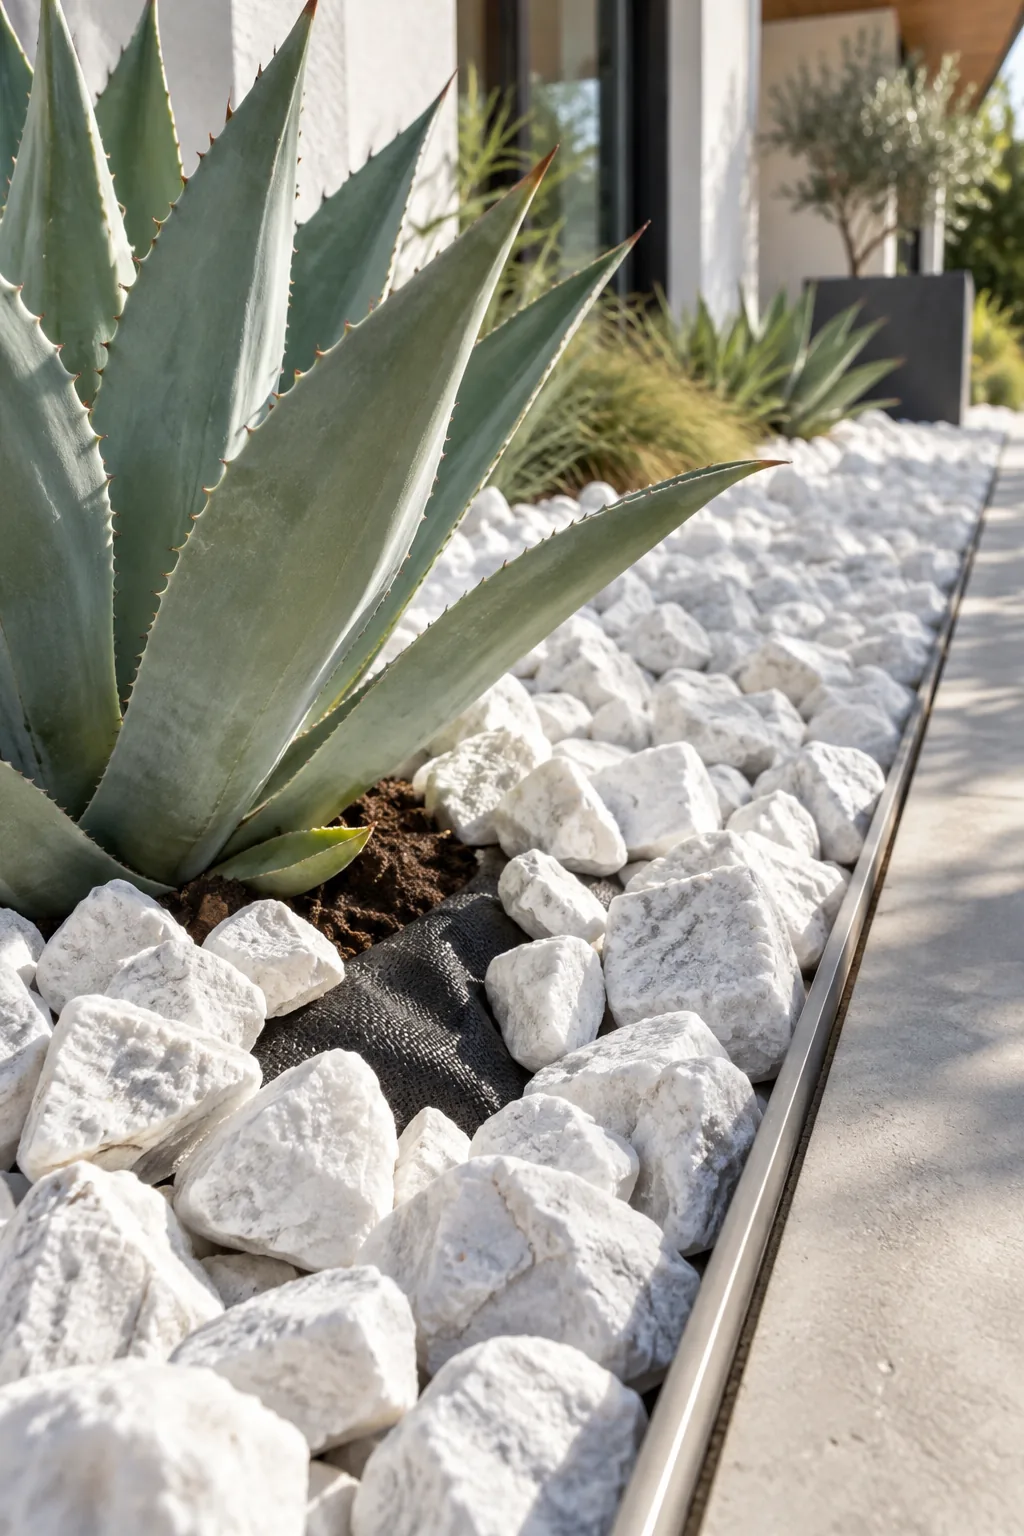
This highly permeable layer blocks stubborn weeds from reaching the surface while allowing heavy rainwater to drain instantly. Fast drainage keeps your white stones completely free of standing mud and prevents ugly green algae growth.
Overlapping the Fabric Seams
Always overlap adjoining strips of geotextile fabric by a minimum of 8 inches to prevent sneaky weeds from pushing through the gaps. Generous overlaps guarantee that shifting soil underneath will never expose bare dirt to the sunlight.
Securing the Folded X-Cut
When adding plants, slice a neat folded X-cut into the geotextile fabric rather than removing a large circle. This simple technique keeps the protective weed barrier as intact as possible around the sensitive root zone.
Fold the four triangular flaps downward into the planting hole to firmly trap the underlying soil. This ensures dark dirt never washes up to mix with your bright white rocks during a heavy spring downpour.
Digging the Planting Holes
Excavate the dirt through your fabric flaps, making the hole exactly twice as wide as the nursery pot. Mound the excavated soil into a wheelbarrow rather than piling it on the black fabric to keep your workspace completely spotless.
Amending the Native Soil
Mix the excavated native dirt with a specialized cactus potting blend to drastically improve the drainage around the roots. Succulents absolutely hate sitting in wet soil, so adding pumice or coarse sand creates the perfect arid growing environment.
Selecting the Right Succulents
Choosing the correct structural plants is critical for minimizing future maintenance in a white stone bed. Look for slow-growing, sculptural varieties that naturally retain their shape and thrive in high-heat, fast-draining environments without needing constant pruning.
Sticking to a minimalist planting palette highlights the clean lines of the landscaping rather than hiding it. Limiting yourself to just two or three distinct plant varieties creates that high-end, intentional modern look you see in magazines.
Planting the Architectural Agave
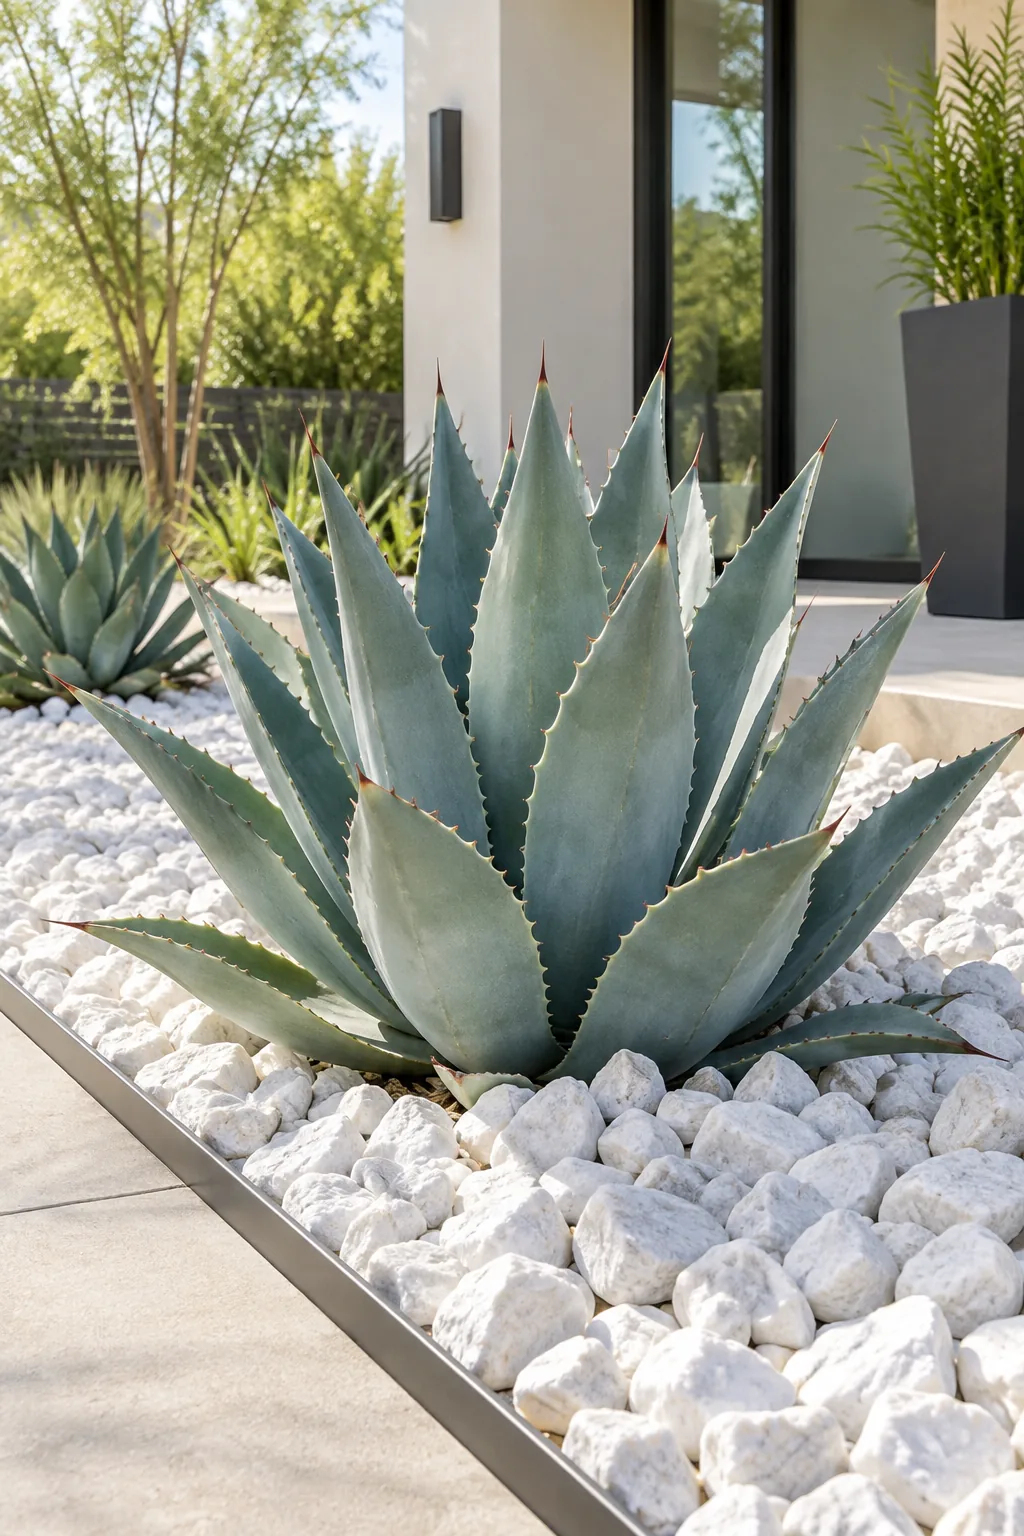
A pristine rock bed requires plants that do not drop constant organic debris throughout the changing seasons. An architectural agave provides a striking, sculptural focal point that stays vibrantly green year-round without shedding.
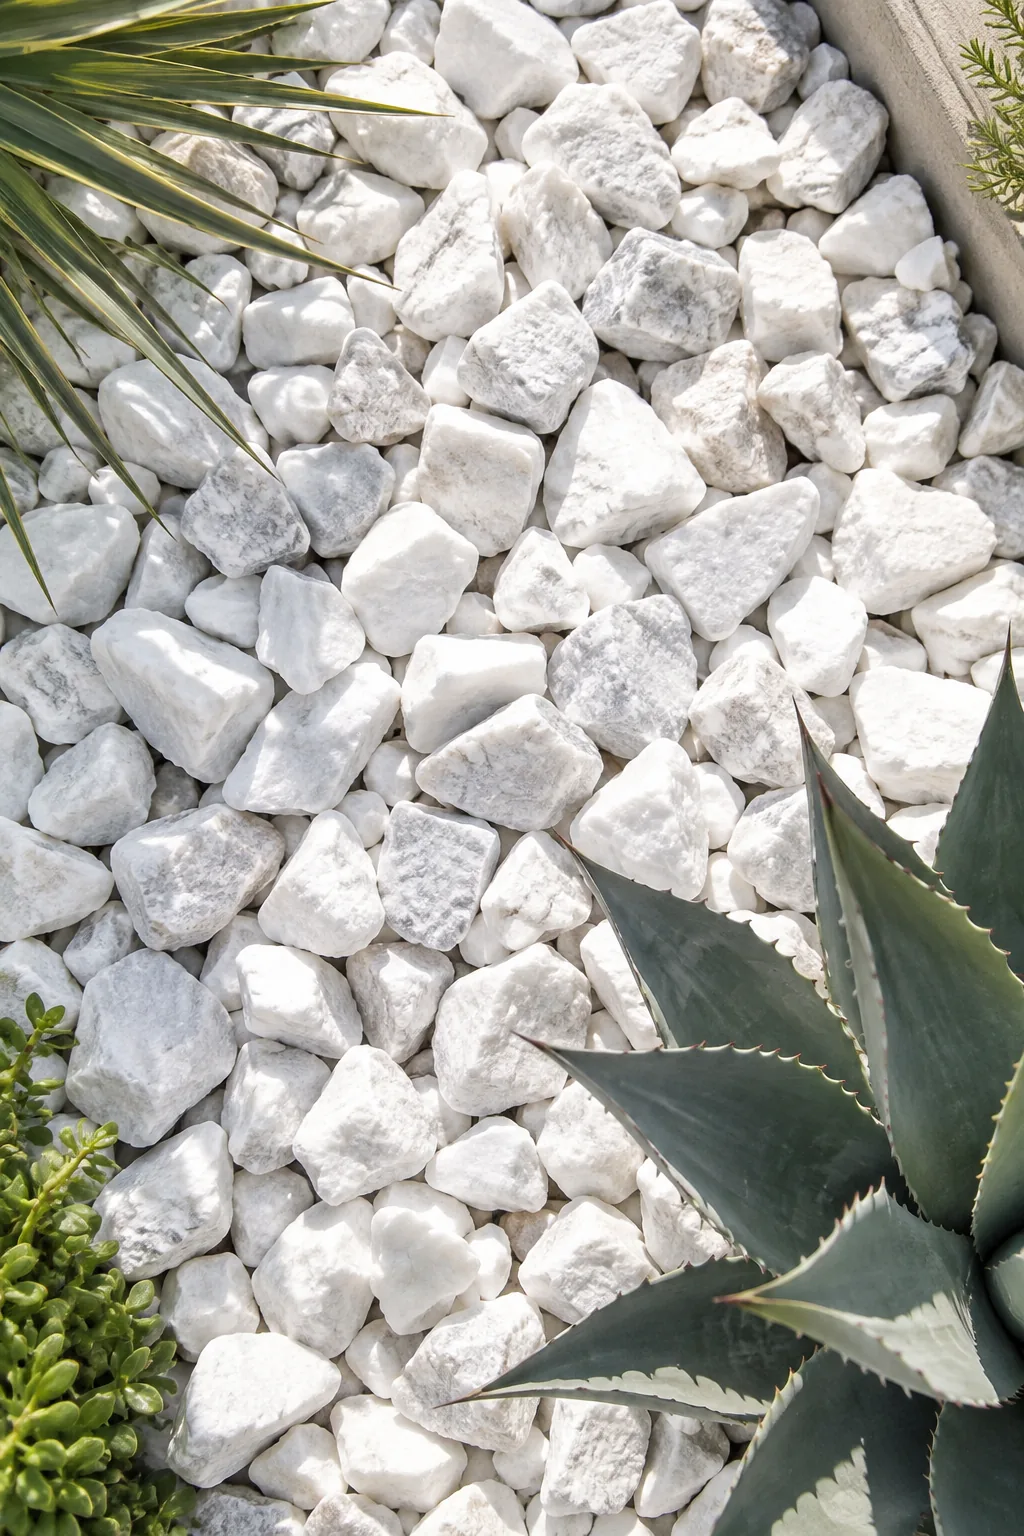
Because succulents never shed messy leaves, they drastically reduce your weekly maintenance time. Once your structural plants are securely tucked into their fabric cuts, you are fully ready to prepare for the bulk gravel delivery.
Backfilling the Root Zones
Carefully pack the amended soil mixture around the agave roots, pressing down firmly to eliminate hidden air pockets. Pull the four fabric flaps back up snugly against the base of the plant to completely seal off the dark dirt.
Choosing Blower-Safe 2-Inch Rock
Pea gravel blows away far too easily during routine yard maintenance. Select a blower-safe 2-inch rock, which is heavy enough to stay perfectly in place when you tidy up.
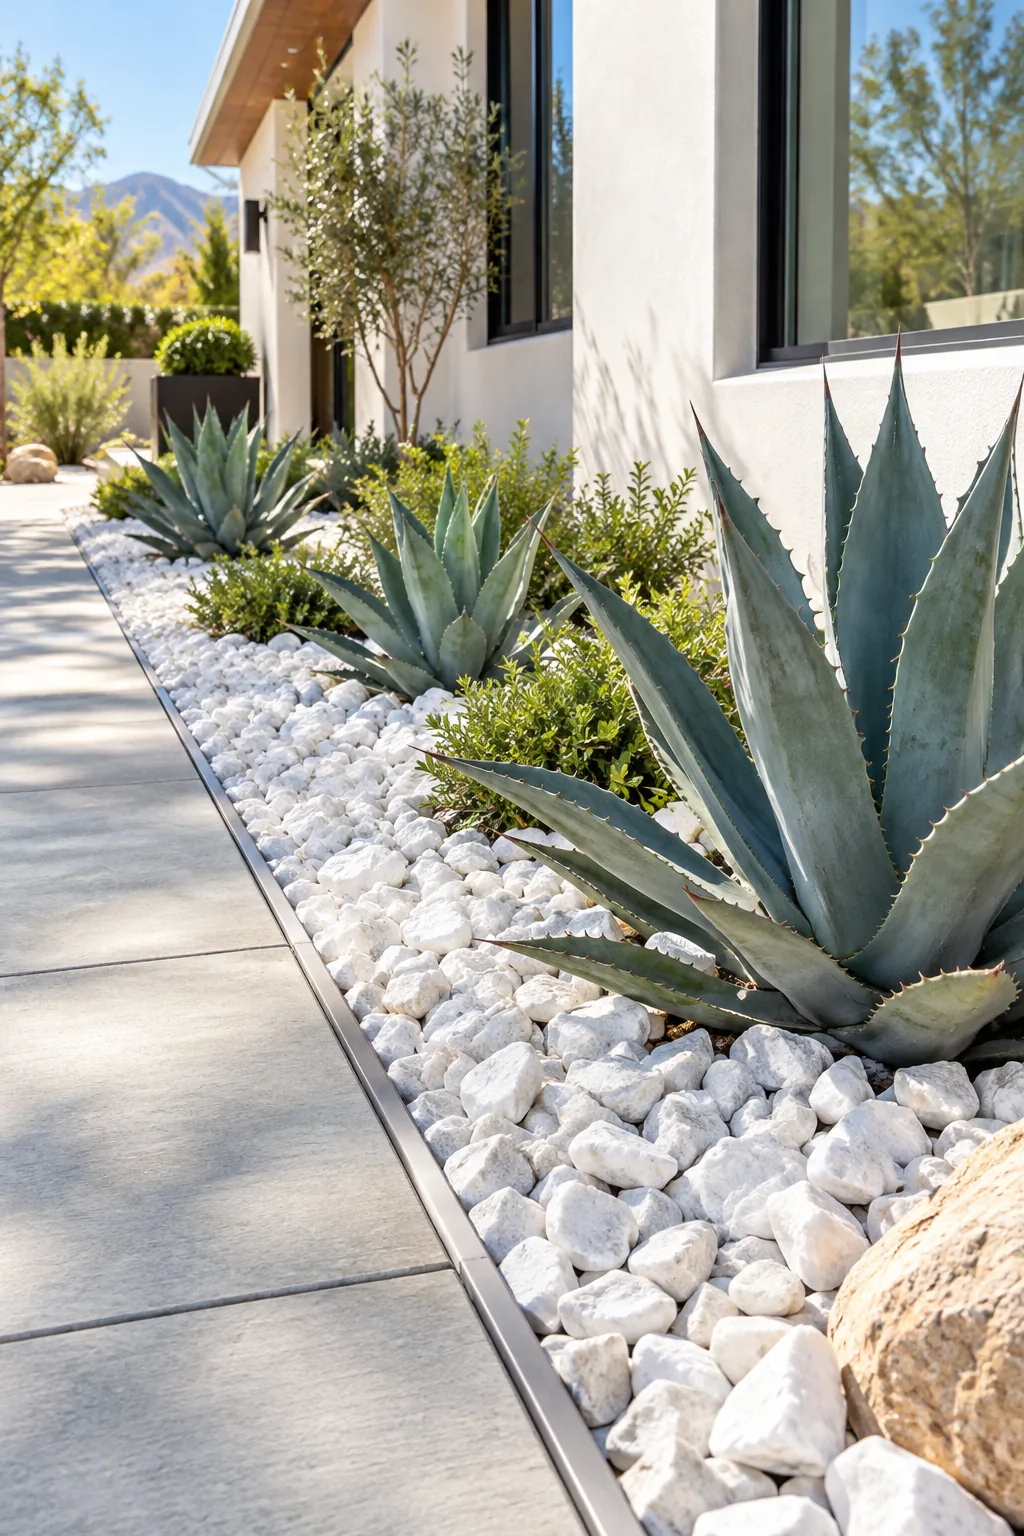
I learned this the hard way after sending handfuls of tiny gravel flying at my windows with a leaf blower. Larger chunky marble lets you aggressively clear away dust and stray grass clippings without disturbing the bed.
Comparing Stone Materials
While river rock offers a soft, natural look, bright white marble provides the sharpest contrast against modern concrete walkways. Always request a physical sample from your local stone yard to verify the color and chunk size before ordering.
Calculating Your Rock Yardage
To achieve full coverage without bare spots, plan for a rock depth of exactly 3 inches. Multiply your bed’s length by its width in feet, then divide that square footage by 108 to find the exact cubic yards required.
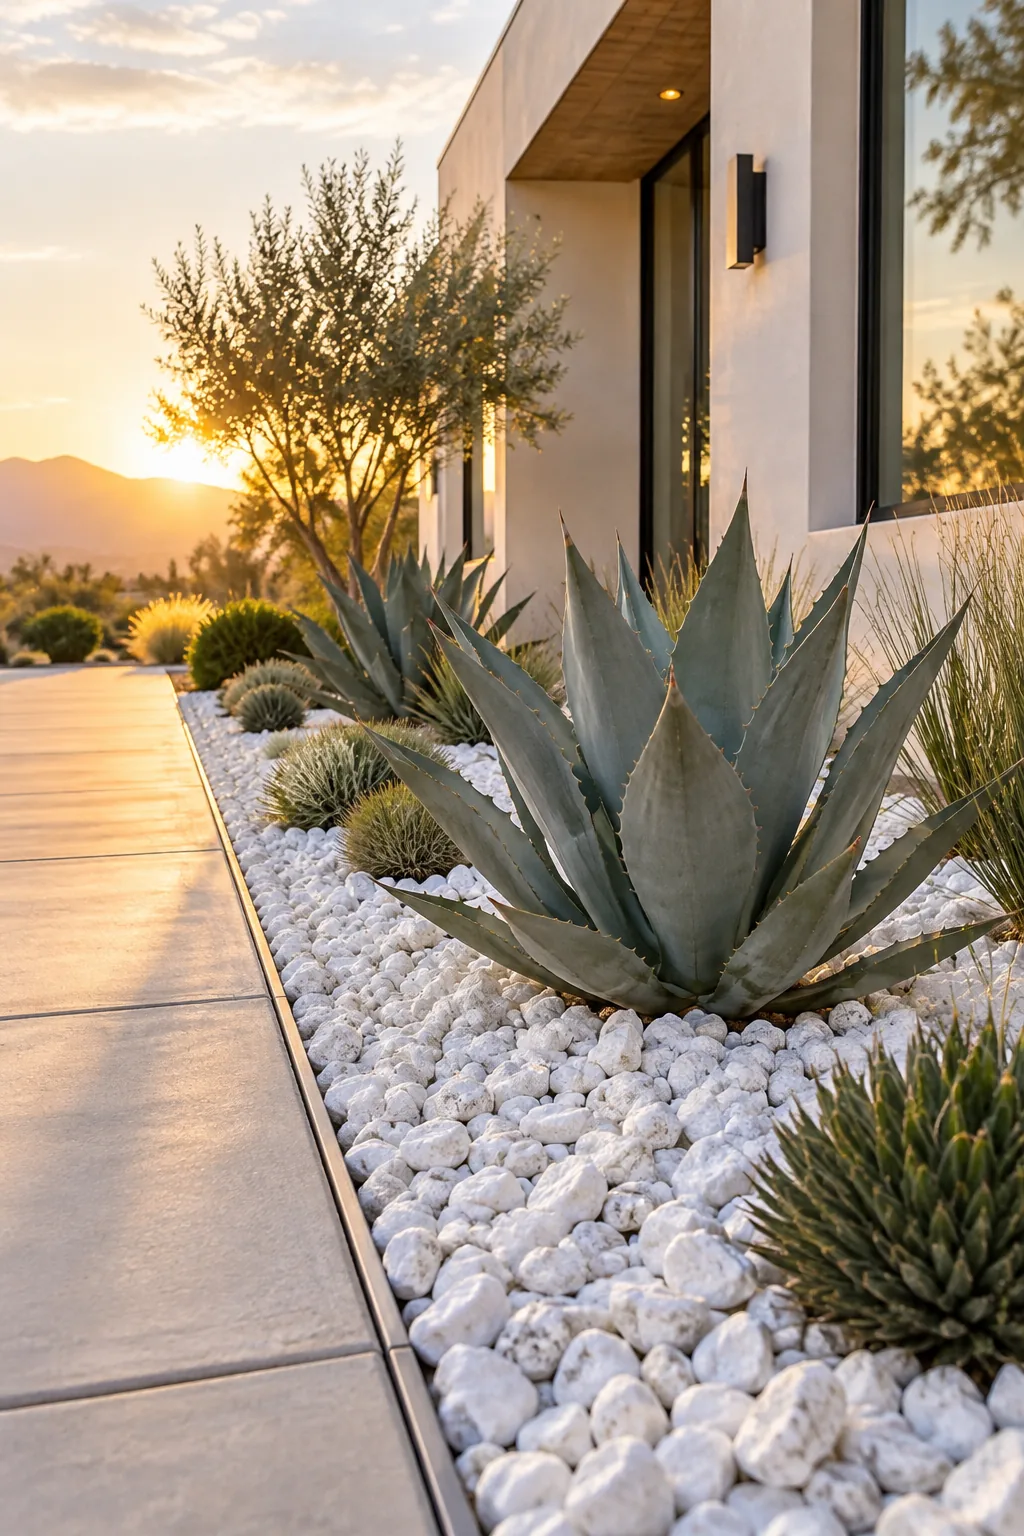
Before scheduling your bulk rock delivery, ensure the underlying soil is fully prepared to receive the immense weight and volume of the stones.
Managing the Bulk Delivery
Coordinate with your stone supplier to drop the bulk load directly onto a heavy-duty tarp on your driveway. Moving cubic yards of stone is incredibly labor-intensive, so staging the pile as close to the planting bed as possible is crucial.
- Lay a thick protective tarp over your concrete driveway to prevent nasty scratches.
- Ask the delivery driver to dump the load near the edge of the landscaping bed.
- Use a heavy-duty steel wheelbarrow to transport the rocks in small, manageable batches.
Taking these precautions protects your existing hardscape from the abrasive edges of the crushed marble. Working in small batches also prevents physical exhaustion when manually moving thousands of pounds of rock across the yard.
Spreading the Stone Evenly
Pour the rocks gently around the base of your agave plants using a small bucket rather than dumping a heavy wheelbarrow load. Use a sturdy metal bow rake to pull the stones into an even, uniform 3-inch layer.
Detailing Around the Plants
Hand-place the final few stones directly under the agave leaves to create a perfectly seamless white canvas. Wearing heavy leather gloves protects your hands from the sharp agave spikes and the abrasive edges of the freshly quarried marble.
White Rock Landscaping Ideas
Explore how bright white stones can elevate different architectural styles and outdoor zones.
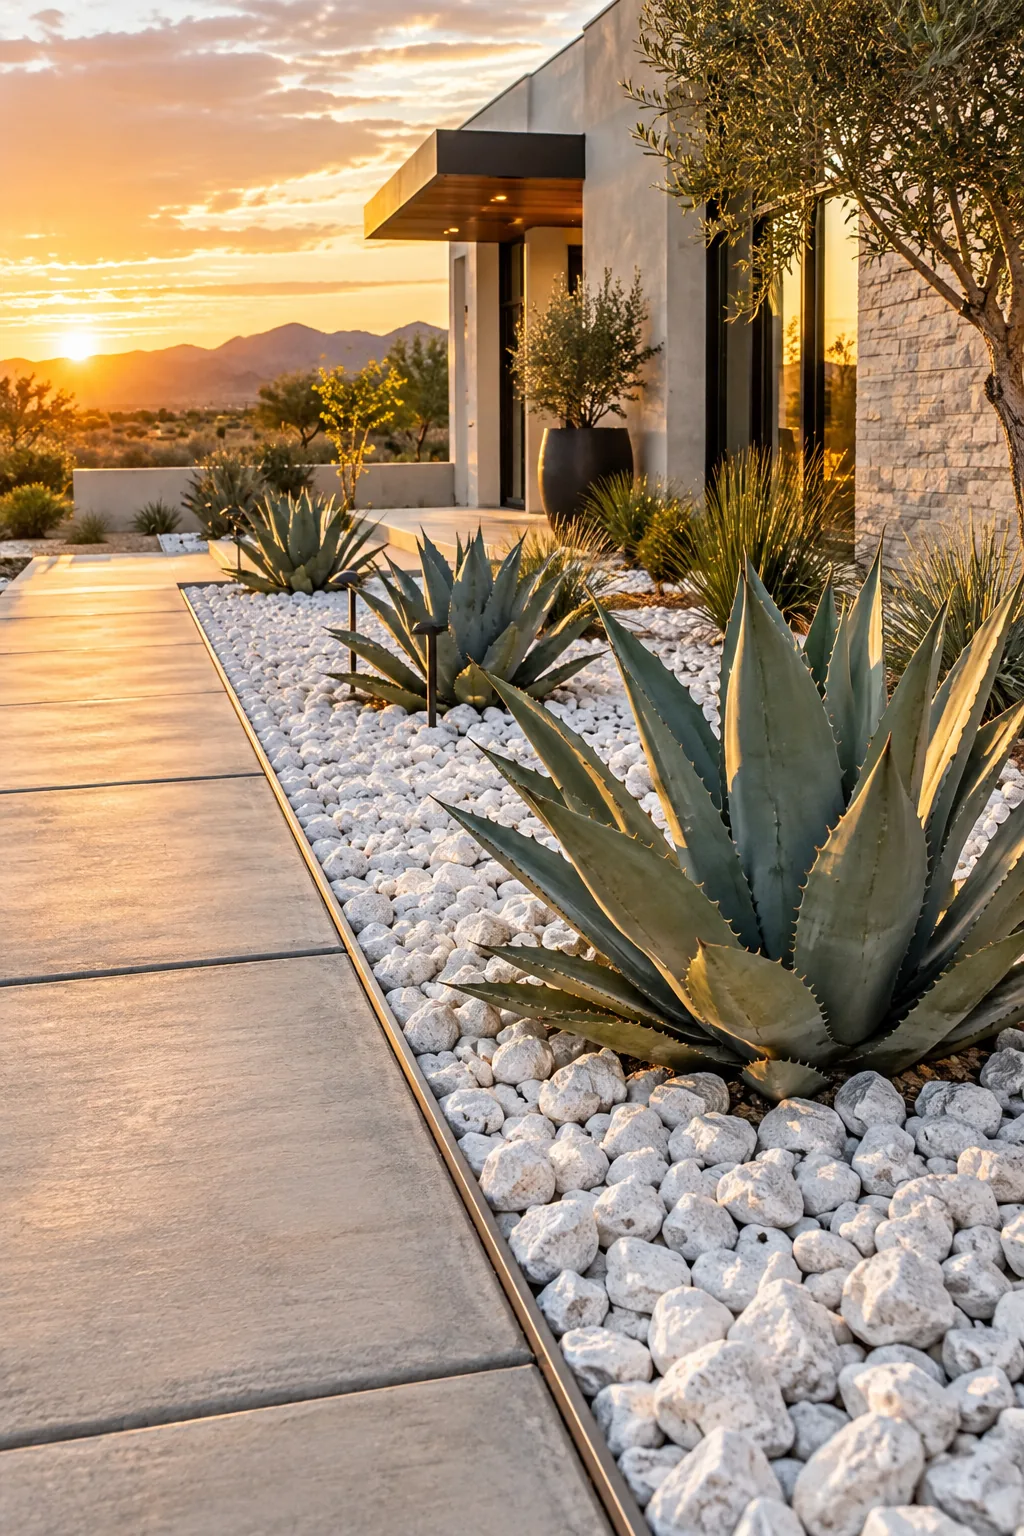
Desert Modern Front Yard: Pair bright white stones with rusted corten steel for a striking, high-contrast desert aesthetic.
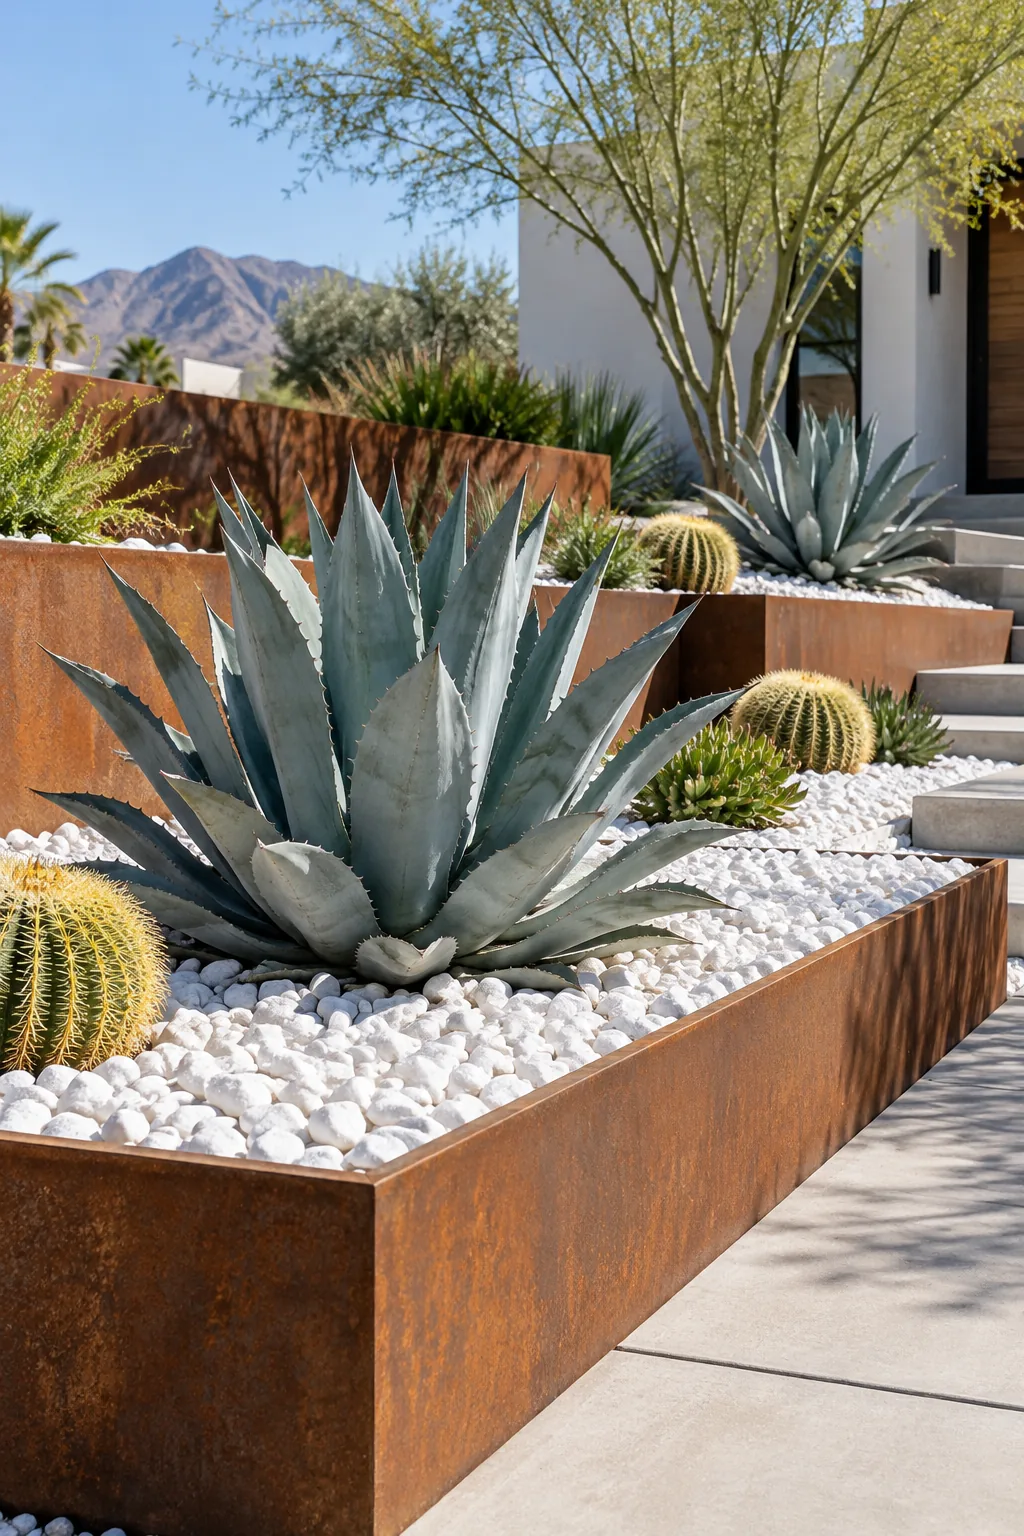
Minimalist Zen Courtyard: Use matte black planters inside the white rock bed to create a dramatic, architectural focal point.
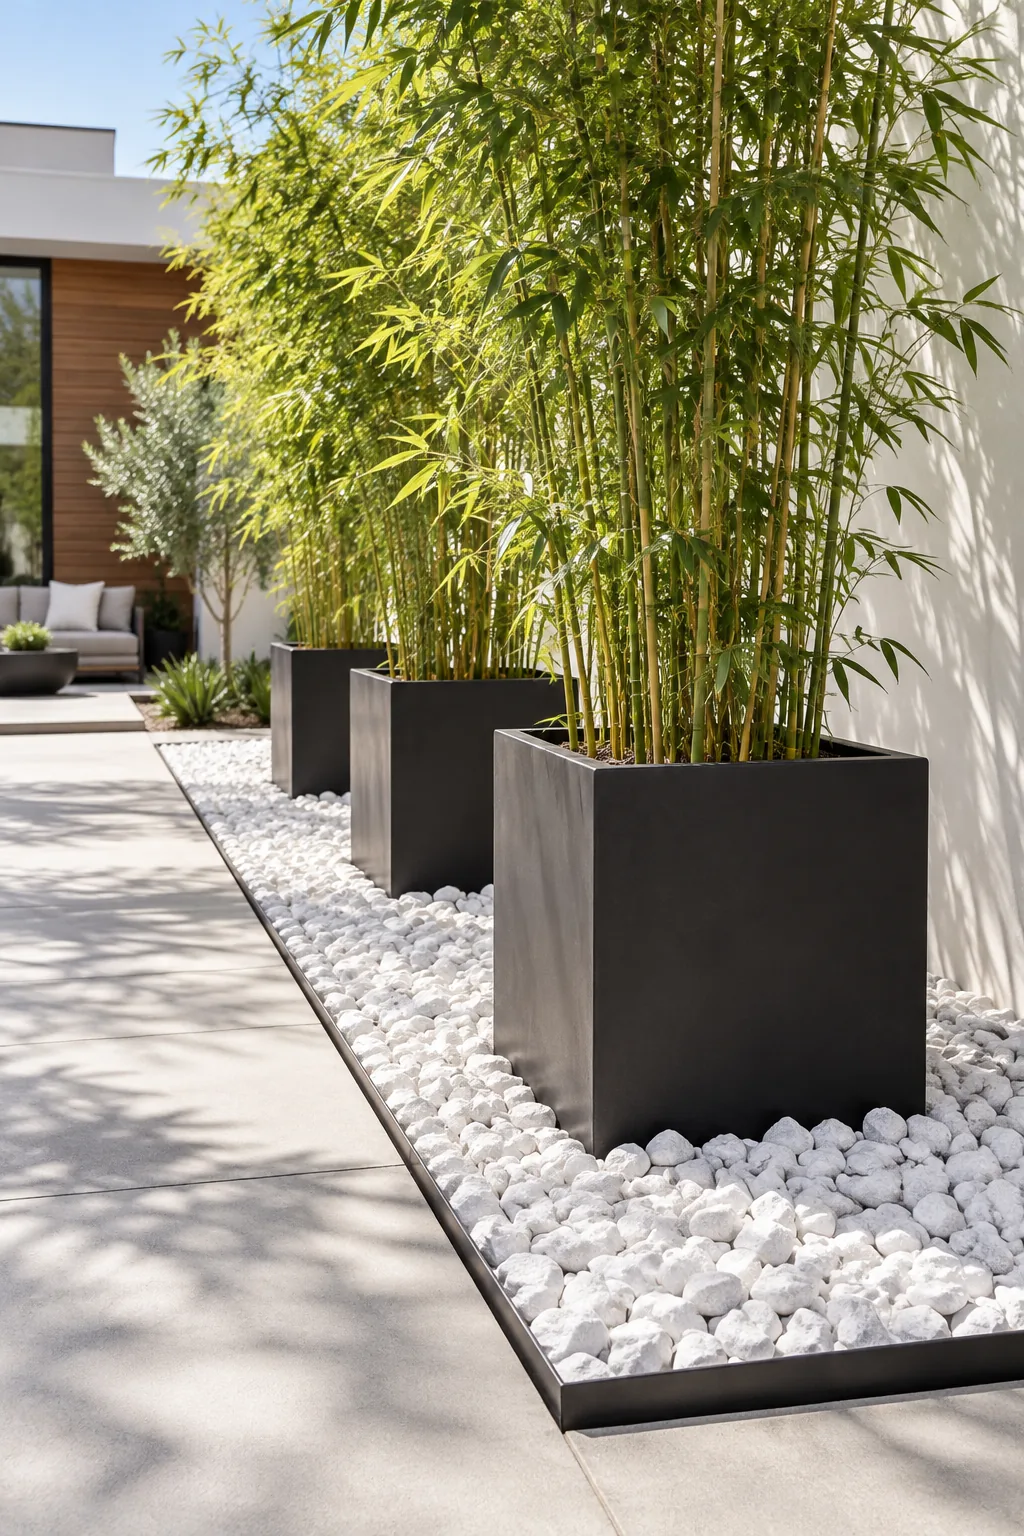
Coastal Poolside Border: Soften the bright white stones with wispy ornamental grasses that sway beautifully in the coastal breeze.

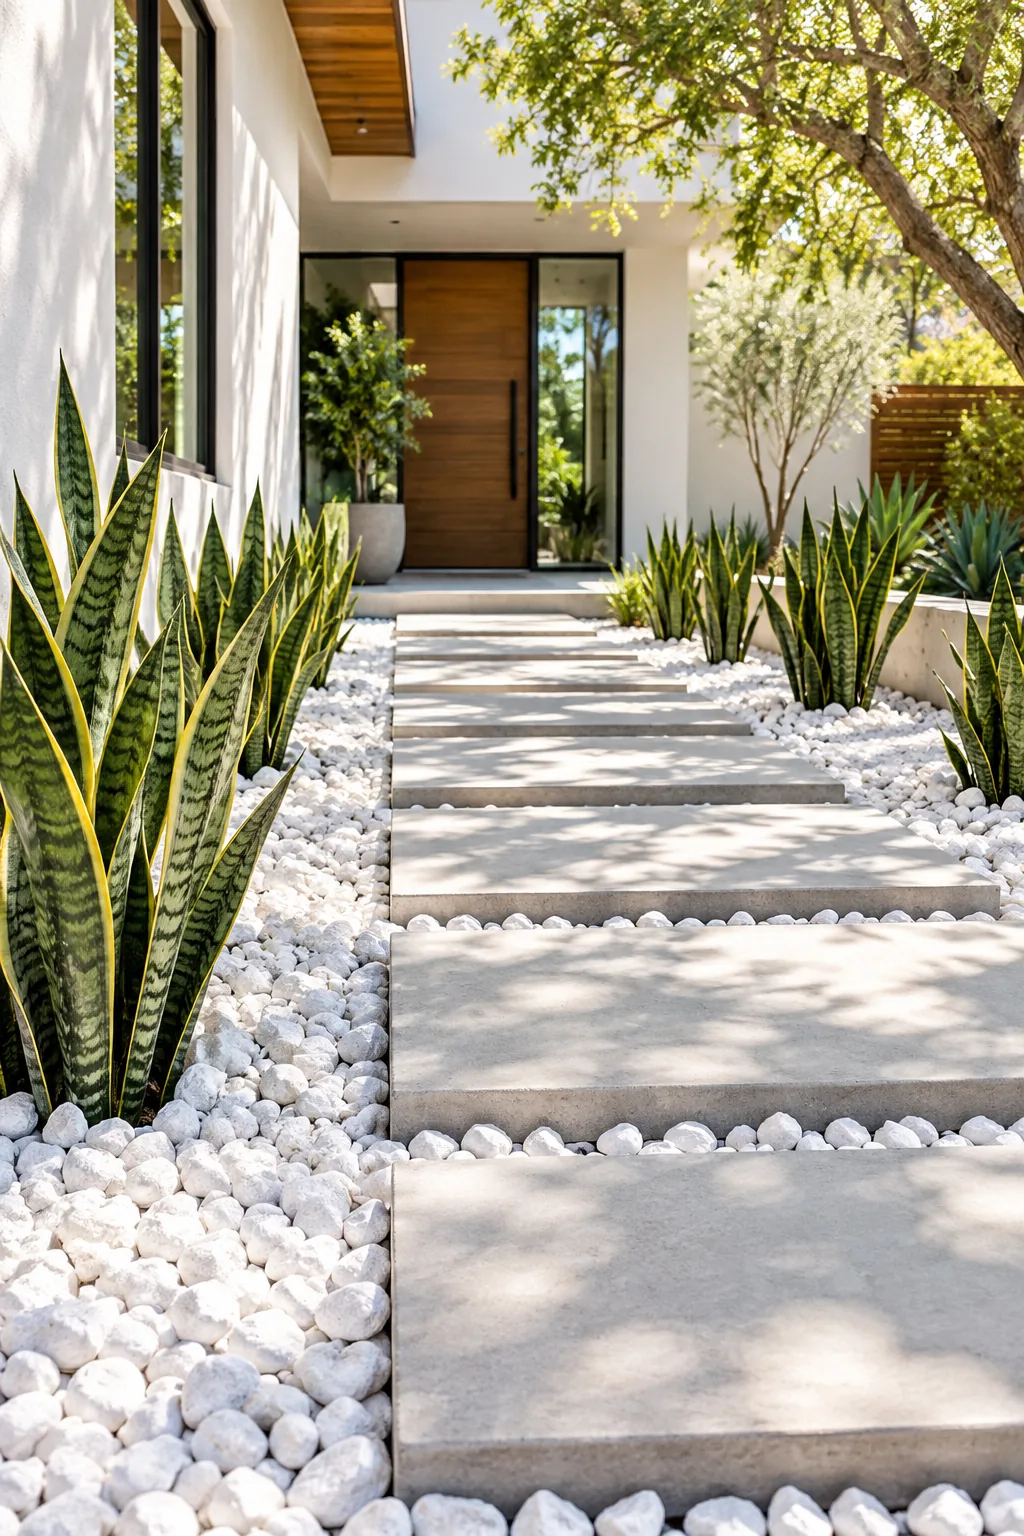
Mid-Century Paver Walkway: Surround oversized floating concrete pavers with white rock to create a classic mid-century entry path.
Maintaining the Pristine Finish
White marble rocks will naturally collect a fine layer of environmental dust and pollen over time. Keep the landscaping looking flawless by blowing off loose debris weekly to stop organic matter from breaking down.
Give the stones a gentle rinse with the garden hose once a month to restore their original bright glow. This quick wash pushes any remaining fine dirt down through the permeable fabric, leaving the surface pristine.