
Essential Curbless Shower Floor Specs for Small Bathrooms
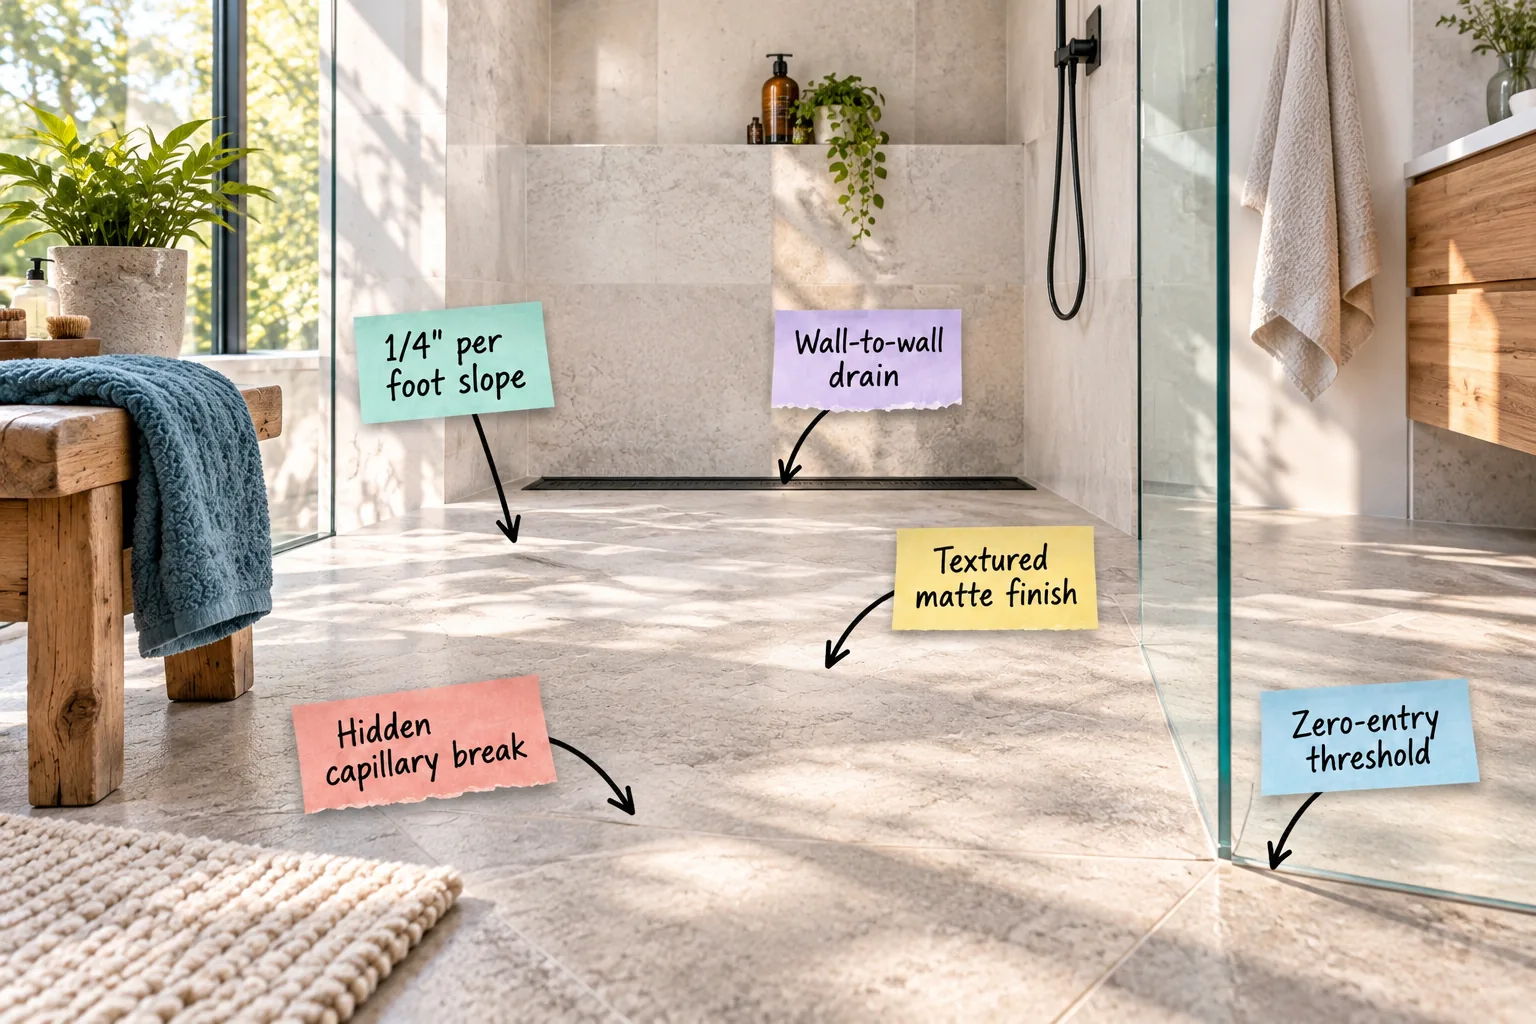
If you are planning a sleek zero-entry shower, grab my complete curbless shower spec sheet to master the perfect slope, continuous tile, and linear drain. You will be able to hand your contractor the exact measurements needed to build a flawless, accessible space.
Selecting a Textured Matte Finish
In my own Denver home, I learned that continuous large-format stone only works safely if it features a heavily textured, matte finish. Any tile crossing into wet zones must carry a Dynamic Coefficient of Friction (DCOF) rating of 0.42 or higher to prevent slipping.
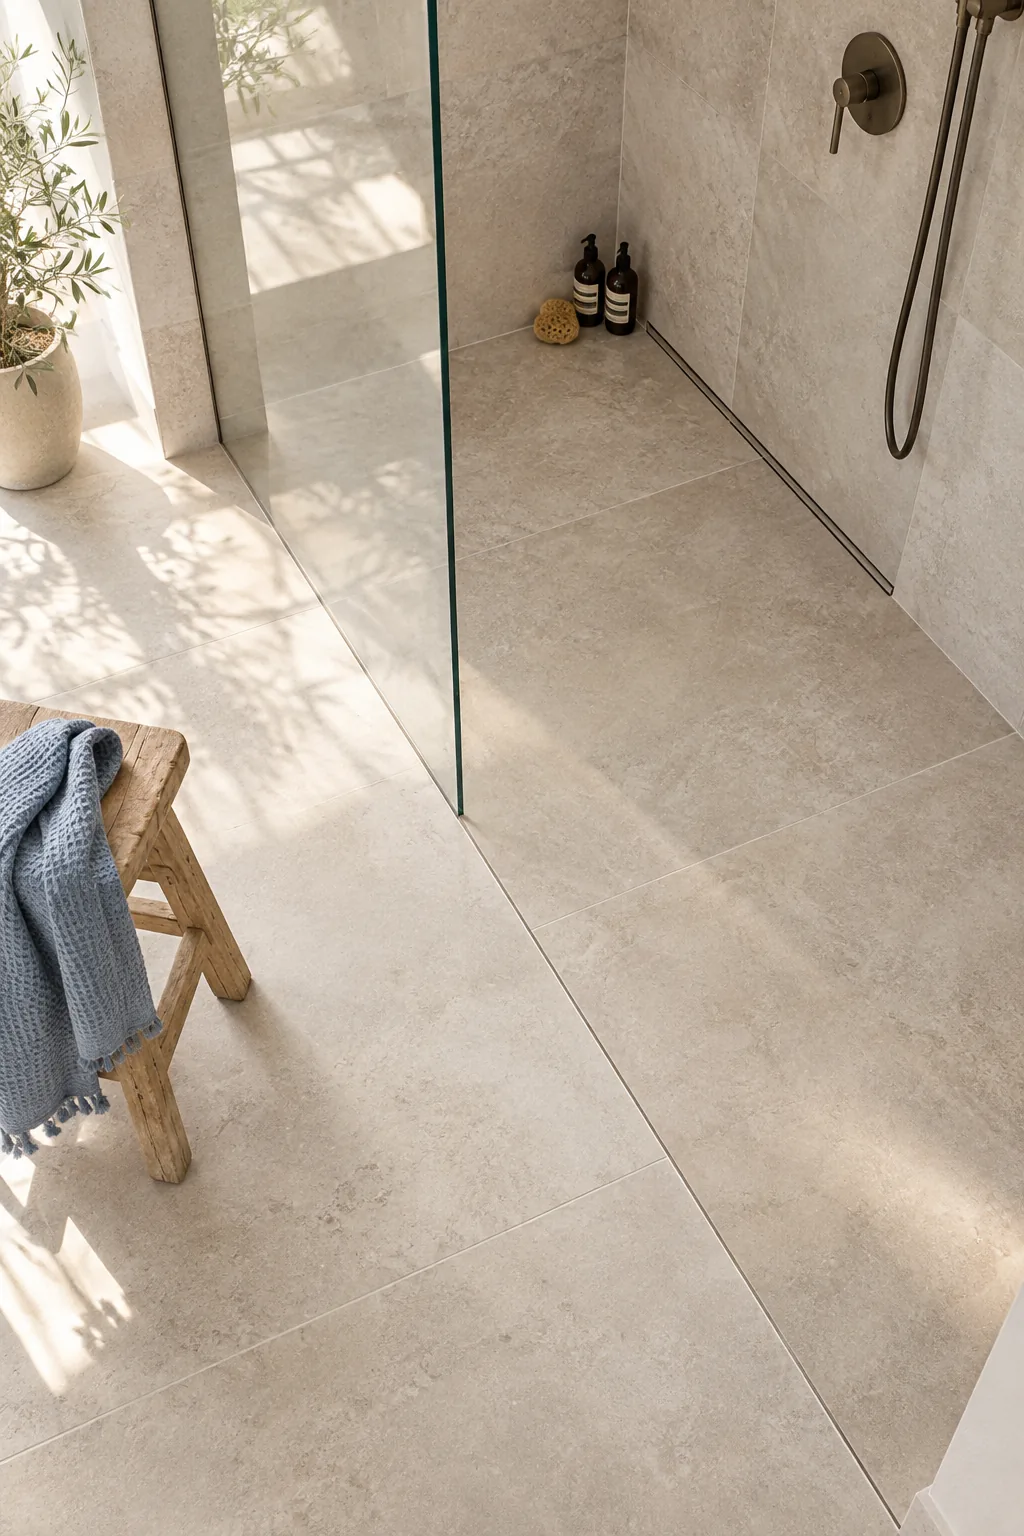
Maintaining that same high-friction stone across the entire bathroom floor creates a beautifully grounded, Zen-like balance. It ensures your wet room feels expansive while remaining structurally sound and perfectly safe underfoot for your family.
Balancing Western Function and Eastern Flow
I always approach bathroom flooring by uniting Western practical safety standards with Eastern principles of uninterrupted energy. Running a single tactile material from the doorway to the back wall establishes a calming visual rhythm that immediately soothes the eye.
Testing Dynamic Coefficient of Friction
Before ordering your stone, always verify the manufacturer’s official friction test results rather than relying on showroom labels. A polished marble might look stunning, but its surface becomes dangerously slick the moment shampoo and water hit the floor.
| Surface Finish | Dry Friction | Wet DCOF | Safety Rating |
|---|---|---|---|
| Polished Stone | High | Below 0.30 | Unsafe |
| Honed Marble | High | 0.35 – 0.40 | Marginal |
| Textured Slate | High | 0.45 – 0.50 | Excellent |
| Matte Porcelain | High | 0.42 – 0.60 | Optimal |
Requesting physical samples allows you to run a wet thumb across the surface to feel the resistance yourself. This quick tactile test often reveals more about daily usability than a printed specification sheet ever could.
Executing the Zero-Entry Threshold
Achieving a truly flat transition where the glass panel meets the floor requires dropping the shower subfloor below the main bathroom level during framing. This structural recess allows the finished tile to sit perfectly flush across the invisible boundary.
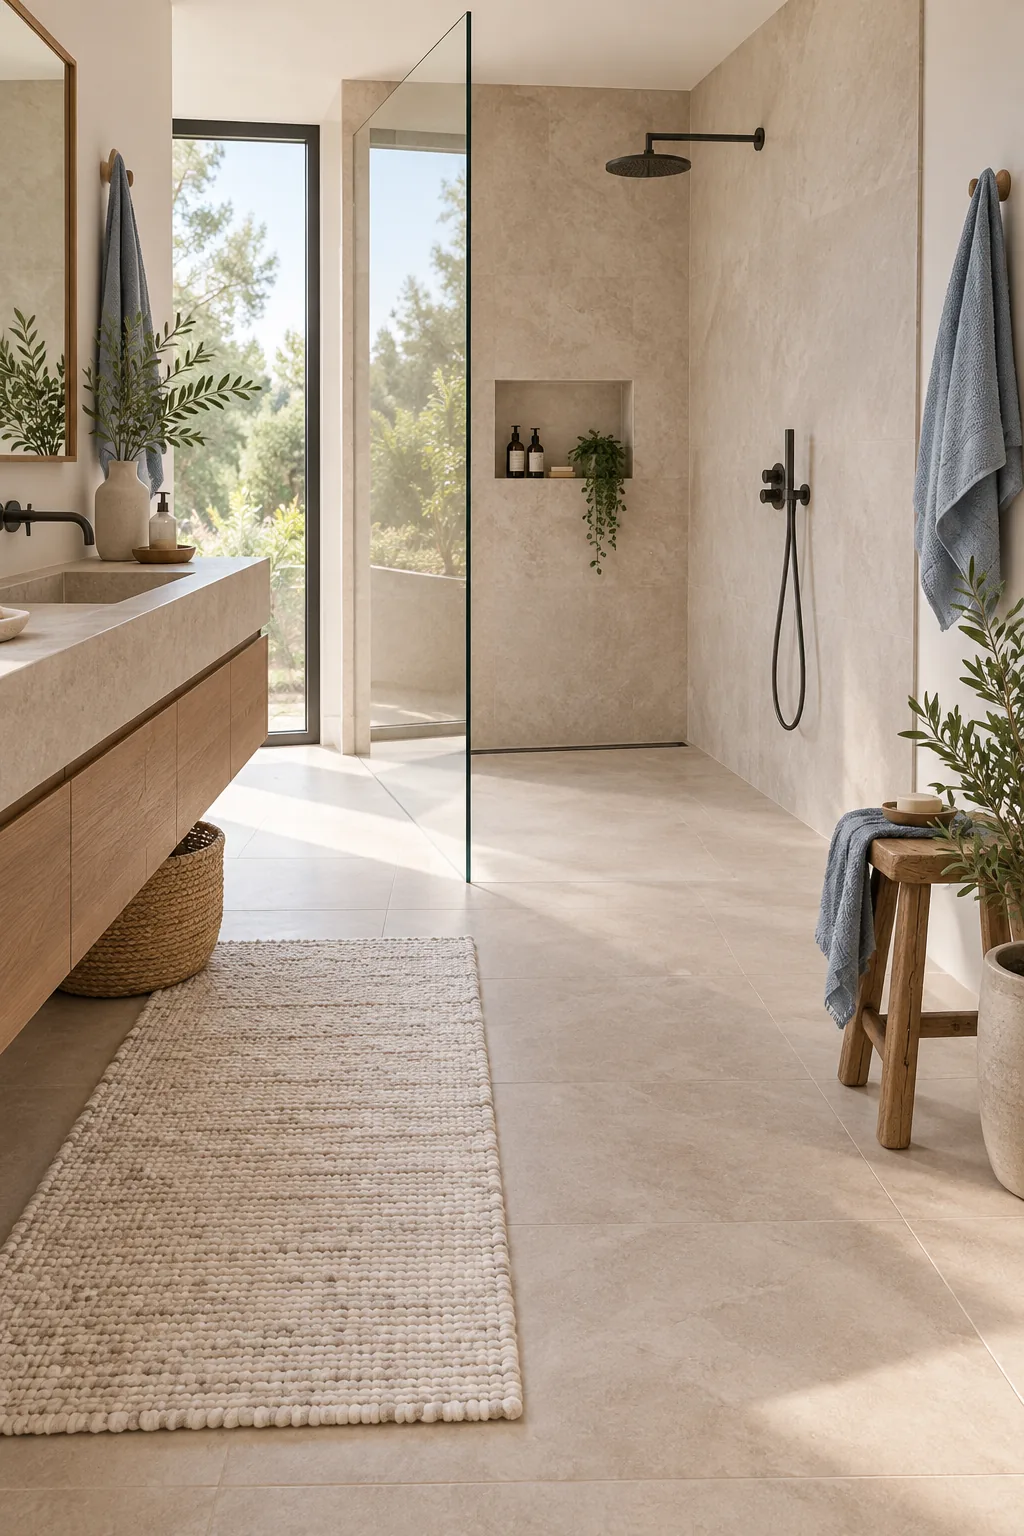
The resulting zero-entry threshold eliminates visual clutter and dangerous tripping hazards entirely. It seamlessly bridges the dry and wet zones, honoring that crucial balance between accessible function and minimalist modern design.
Modifying the Floor Joists
Lowering the subfloor often involves altering your home’s structural framing to gain the necessary depth. You must execute these modifications in a strict sequence to ensure you never compromise the integrity of the room below.
- Consult an engineer: Verify that altering the joists will safely support the heavy stone load.
- Sister the joists: Bolt new lumber alongside existing framing to reinforce the entire span.
- Lower the crown: Shave the tops slightly while reinforcing the bottom edges for proper depth.
Completing these structural framing adjustments correctly guarantees your heavy stone floor will never sag or crack over time. Proper support is the invisible foundation of every successful curbless shower installation.
Routing the Plumbing Lines
When you alter the joist depth, you must also carefully map out where the new waste lines will run. Navigating around structural supports requires precise planning to maintain the necessary downward angle for your plumbing pipes.
Hiding the Capillary Break
I always insist on a hidden capillary break beneath the transition tile, a lesson I learned after repairing a client’s wicked baseboards early in my career. This vital gap prevents standing water from secretly wicking into the dry area.
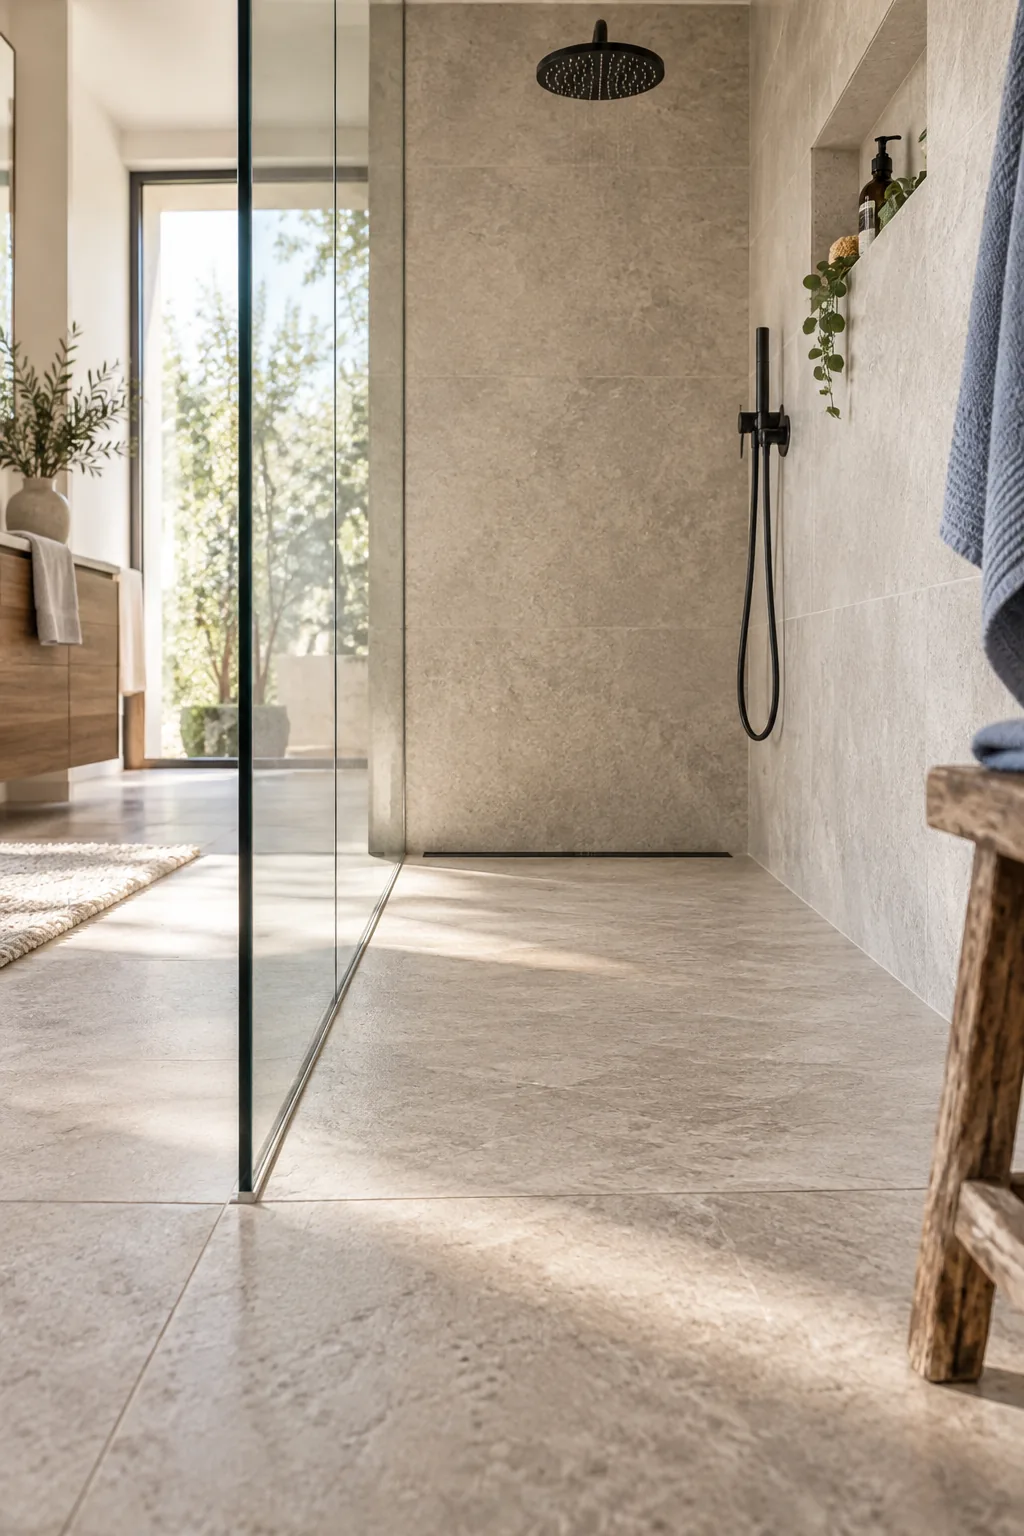
Instead of packing this transition line with hard grout, we leave a 1/8-inch gap filled with flexible silicone. This invisible barrier stops moisture migration dead in its tracks while allowing the floor assembly to naturally expand and contract.
Applying the Flexible Silicone Joint
Color-matching your silicone caulk to the adjacent stone grout renders this crucial expansion joint virtually invisible. Applying a perfectly smooth bead requires a steady hand and a specialized profiling tool to ensure water sheds easily away from the glass.
Preventing Grout Deterioration
Traditional cement-based grout will eventually crack if placed directly under a heavy, vibrating glass door. Relying on premium elastomeric sealants at all changes of plane ensures your waterproofing strategy remains entirely intact for decades.
Pitching the Essential Slope
Proper drainage relies entirely on a mandatory 1/4-inch per foot slope angled subtly downward toward the back wall. This single-plane pitch allows you to run large-format tiles seamlessly without relying on messy, diagonal envelope cuts.
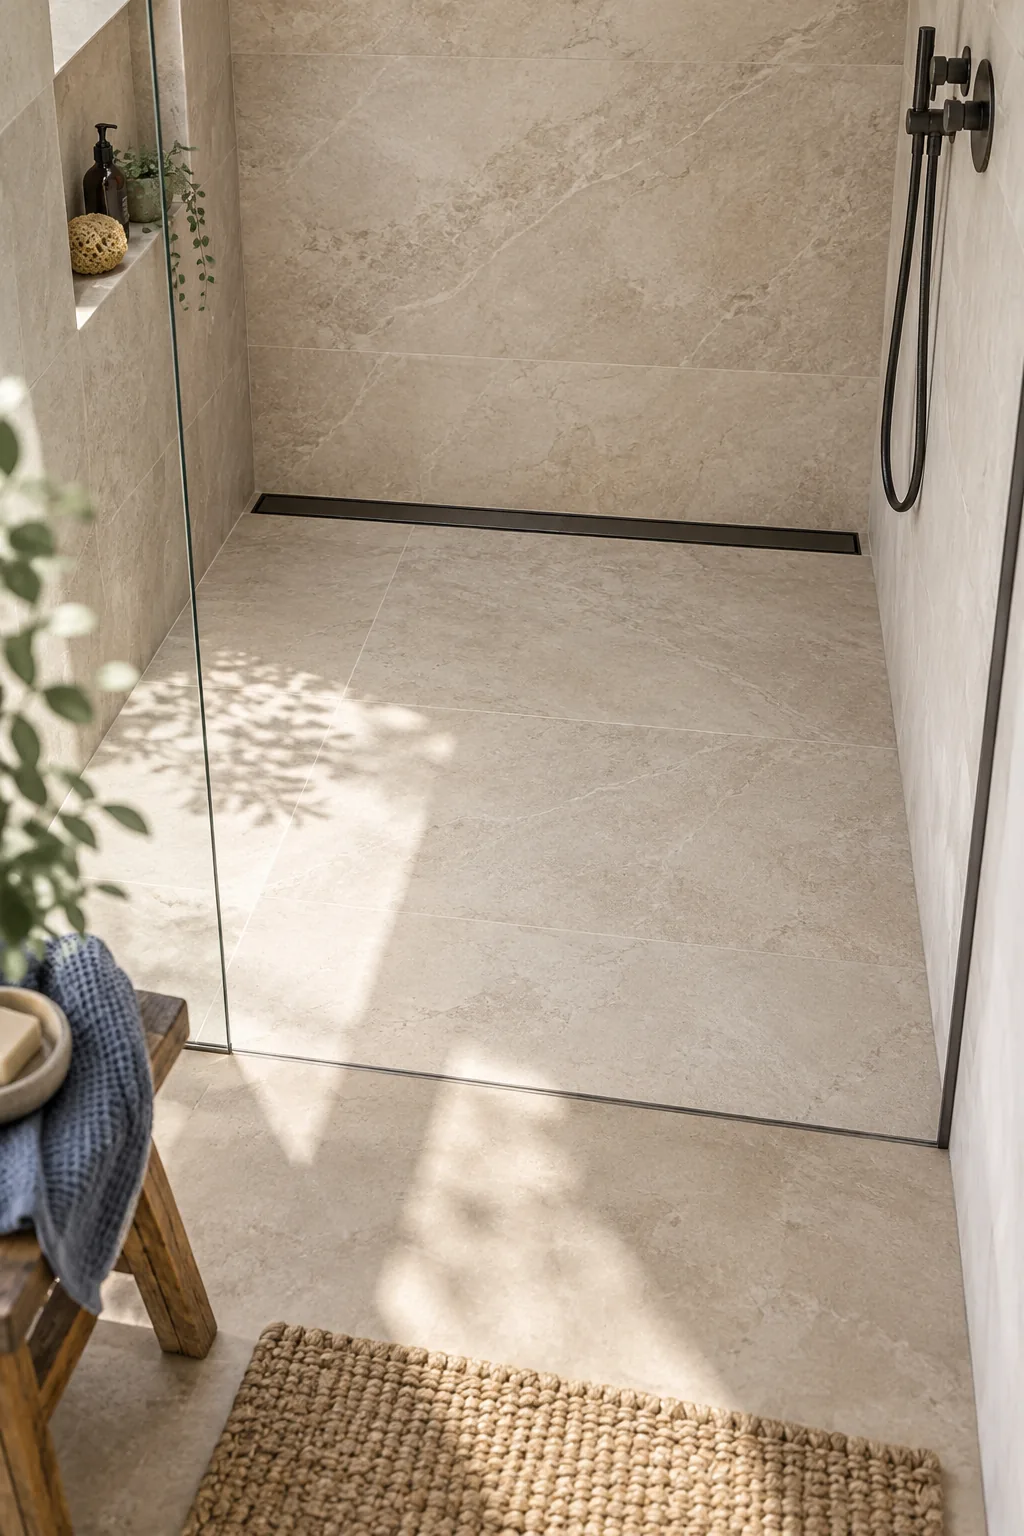
Getting the pitch right is the most critical structural step. Even minor deviations can ruin the functionality of your seamless design by allowing water to pool near the bathroom vanity.
Verifying the Single-Plane Angle
Your contractor should use a long screed board to establish the mortar bed before applying the waterproofing membrane. Checking this mud bed with a digital level ensures the pitch remains absolutely consistent across the entire width of the shower.
Elimating Diagonal Cuts
By sloping the floor in exactly one direction, you preserve the natural veining and massive scale of your chosen stone. This uninterrupted surface creates a profound sense of calm that heavily fragmented tile layouts simply cannot achieve.
Sizing the Wall-to-Wall Drain
To effectively capture runoff from a single-plane slope, your linear drain must span exactly against the back enclosure. This wall-to-wall drain acts as a total catch basin, ensuring no water escapes the pitched zone.
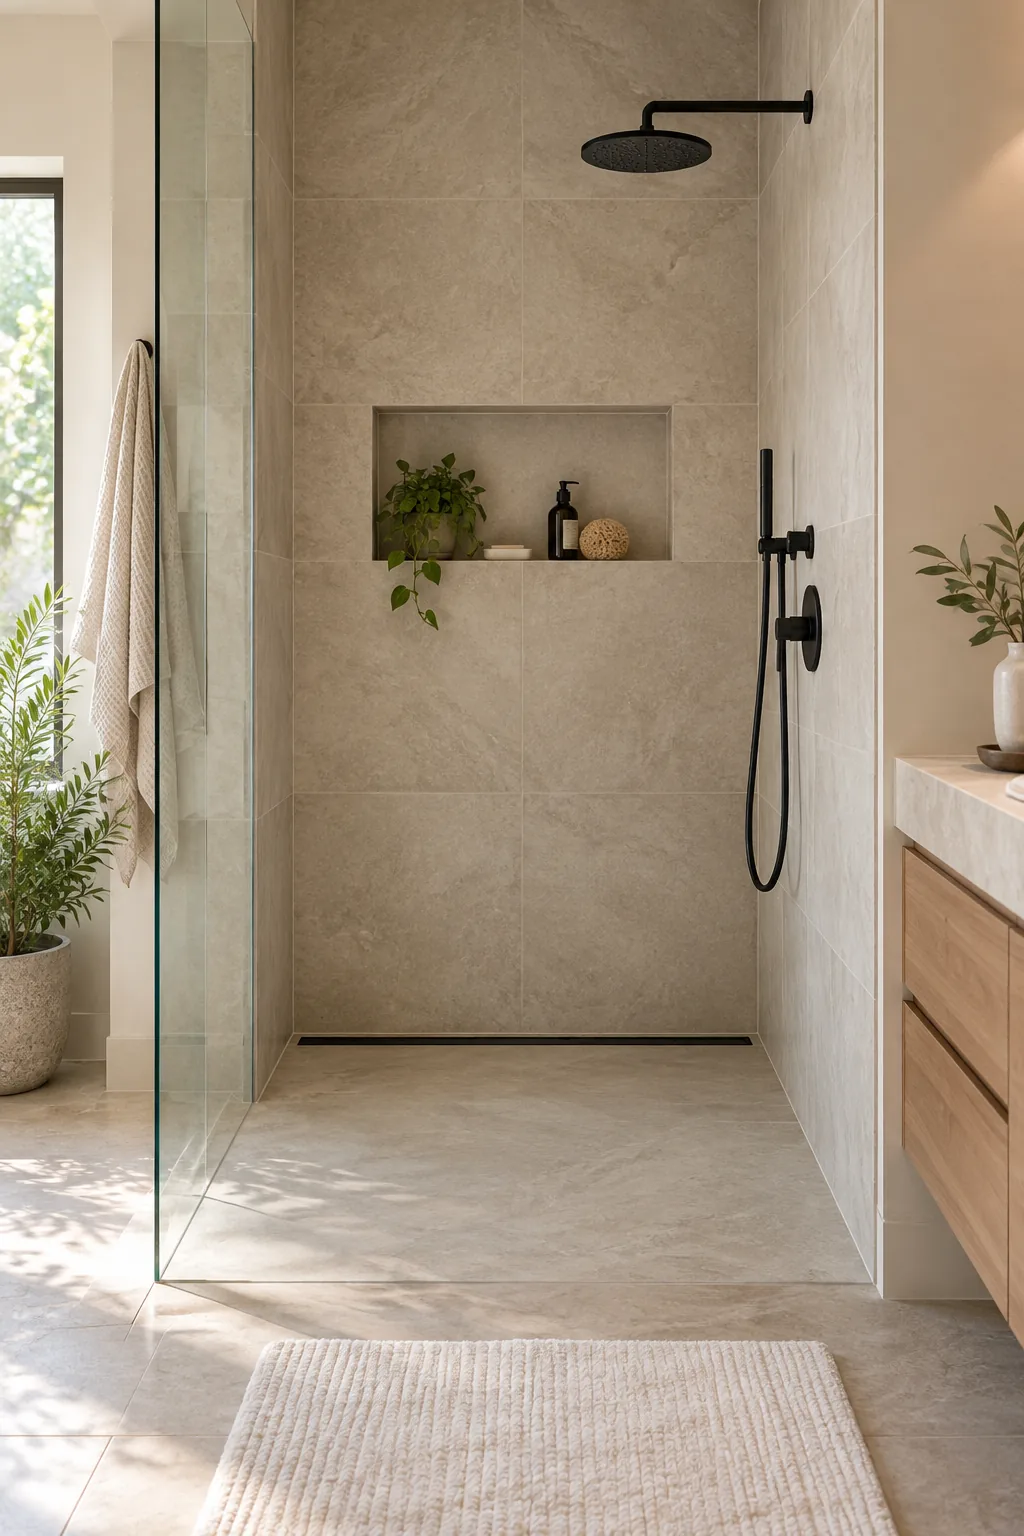
If you leave even a small gap at the edges of the drain grate, water will inevitably pool and create a slipping hazard. Precision ordering is key to keeping the back wall perfectly dry and beautifully balanced.
Matching Drain Flow to Shower Output
Before finalizing your drain purchase, calculate the combined gallons-per-minute output of your showerhead and body sprays. Your selected linear channel must possess a tested flow rate that comfortably exceeds this maximum volume to prevent temporary flooding.
Selecting a Custom Drain Grate
Opting for a tile-insert grate allows you to camouflage the stainless steel channel using cutoffs from your floor stone. This minimalist detail practically erases the drain from view, elevating the entire bathroom into a bespoke architectural experience.
Waterproofing the Surrounding Dry Zone
Because a curbless design lacks a physical barrier, you must extend the waterproofing membrane at least 3 feet outside the shower enclosure. Splashes will inevitably escape, and this extended protection keeps your structural subfloor completely safe.
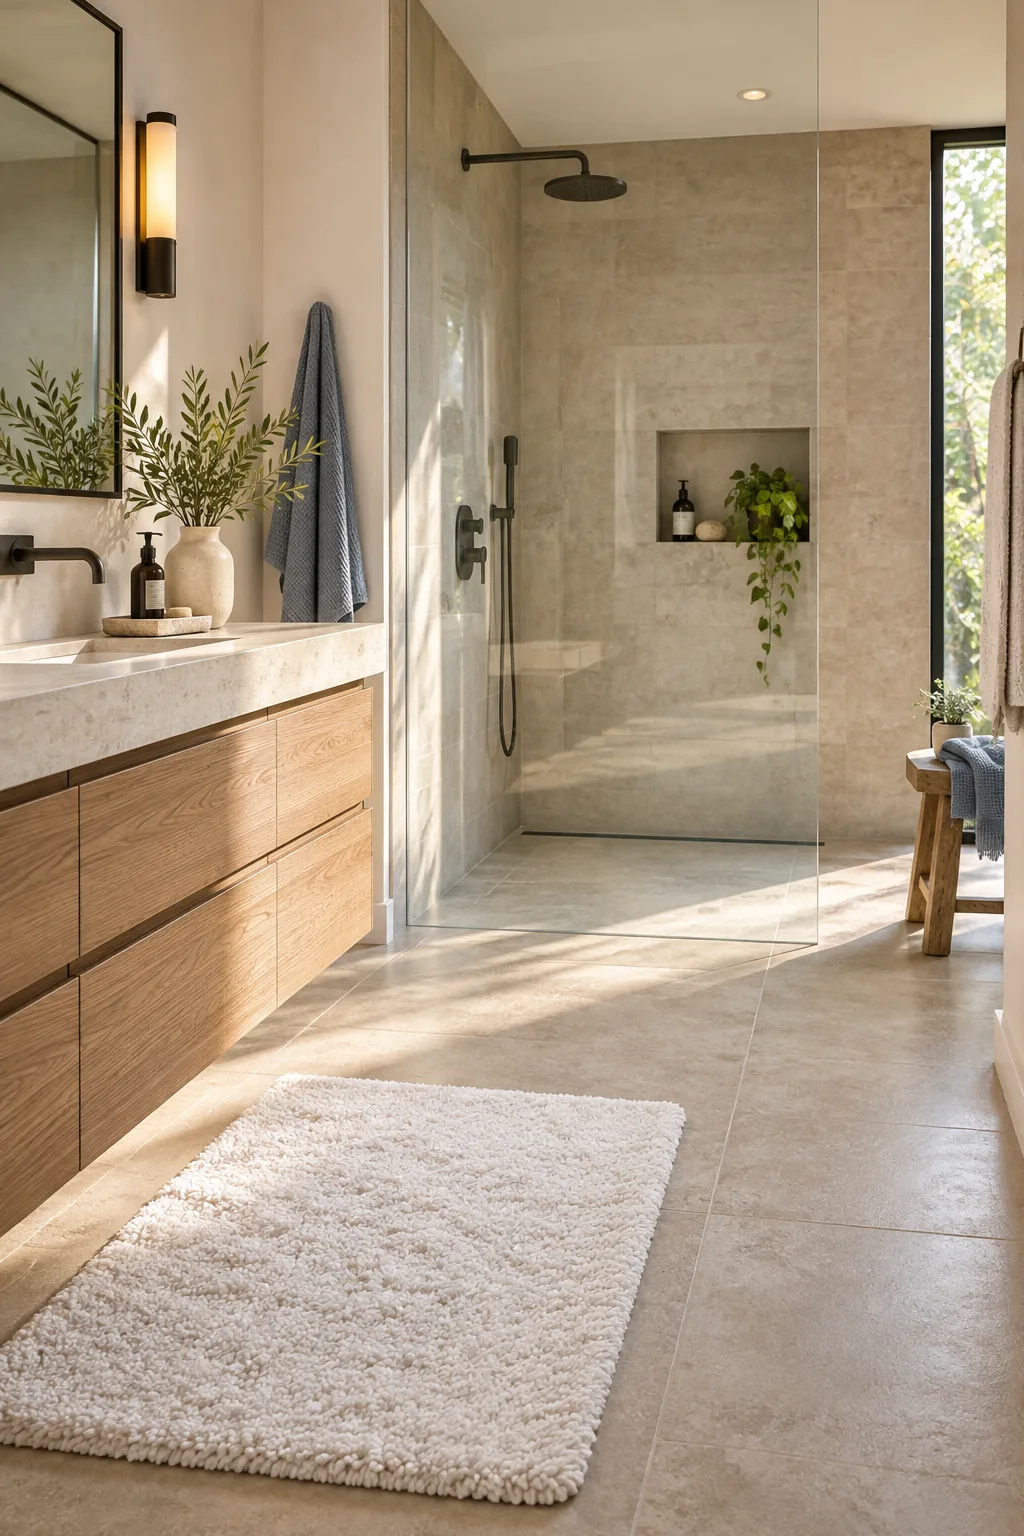
Wrapping this membrane continuously across the bathroom floor honors the reality of how water behaves in open spaces. It is a non-negotiable insurance policy against hidden rot, mold growth, and costly future framing repairs.
Sealing the Wall Transitions
The membrane must also run up the surrounding bathroom walls by at least six inches to create a watertight pan. Taping and sealing these corners with specialized banding ensures moisture cannot penetrate the vulnerable joint where the floor meets the drywall.
Extending the Uncoupling Membrane
Running an uncoupling membrane beneath the entire bathroom floor prevents foundational shifts from cracking your beautiful stone. This dual-purpose layer manages moisture while simultaneously absorbing minor structural movements before they reach the fragile tile surface.
Heating the Stone Floor
Integrating an electric radiant heating mat beneath the stone dramatically accelerates evaporation in the wet zone. This comforting warmth keeps the floor dry between showers, preventing mildew growth while adding a touch of everyday luxury to your morning routine.
Maximizing Space in a Small Bathroom
Removing the traditional curb visually expands the room’s footprint, making a cramped layout feel instantly breathable and luxurious. Running the exact same stone from the vanity straight to the back shower wall tricks the eye into perceiving much more square footage.
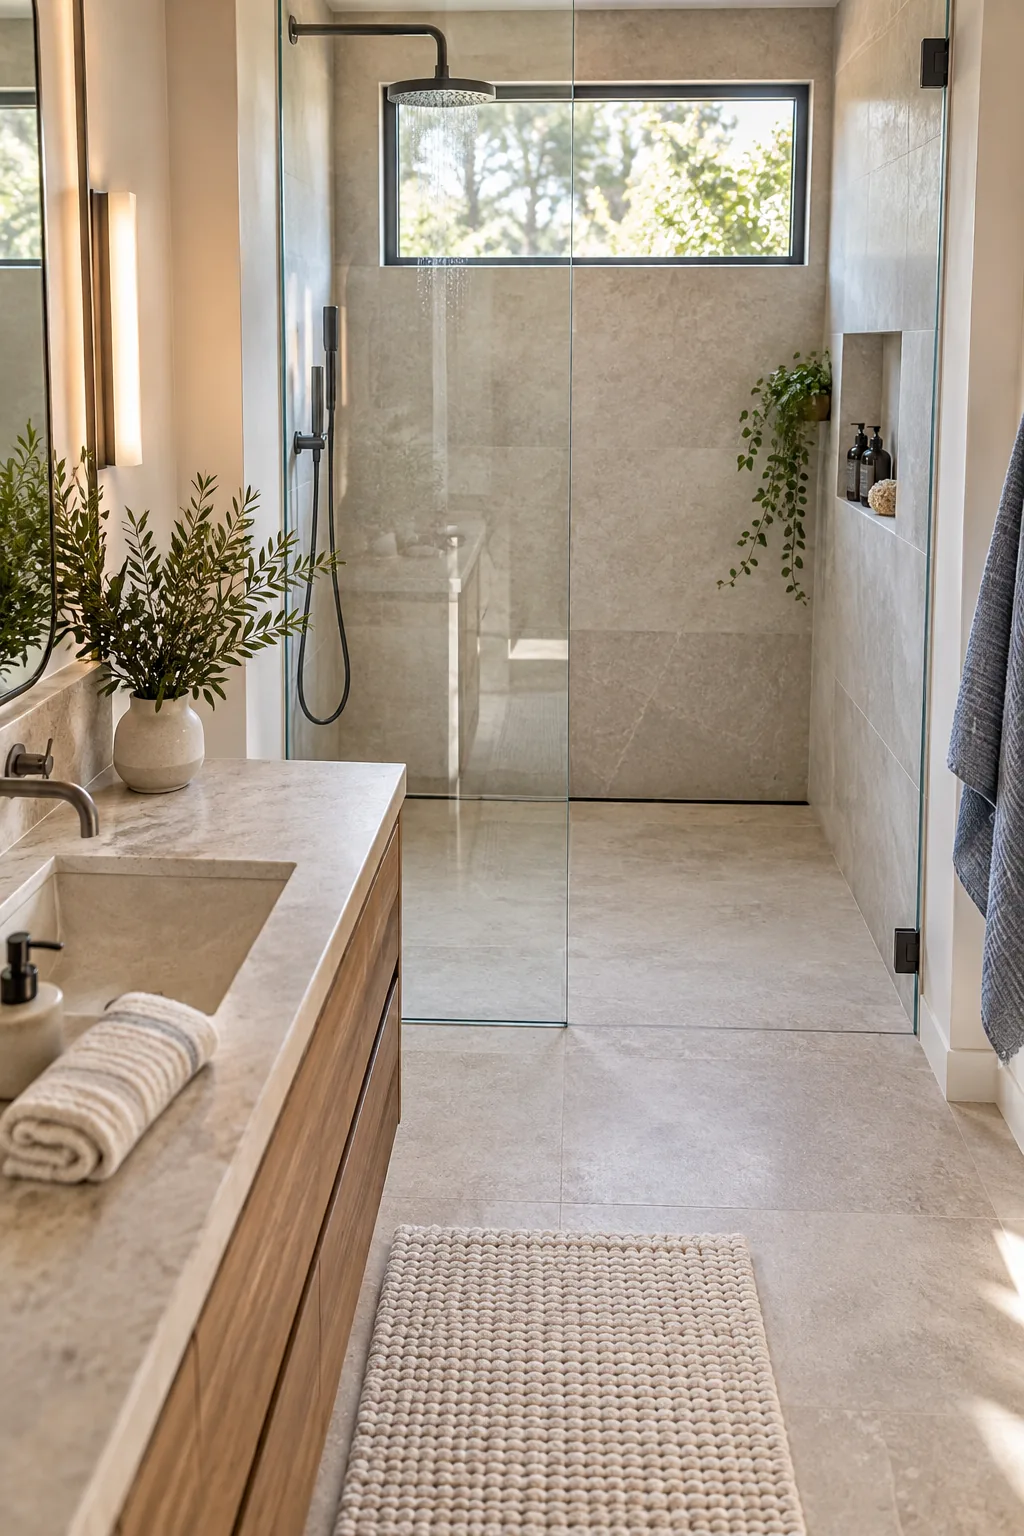
This unbroken sightline creates a calming, unified aesthetic that makes small bathrooms feel like high-end spas. The continuous flooring effortlessly blends intense daily utility with a serene, expansive architectural atmosphere.
Coordinating Vanity Clearances
When the entire room functions as a potential wet zone, floating your vanity cabinet off the floor becomes a brilliant design move. This elevation protects your custom millwork from stray moisture while further enhancing the illusion of a larger floor plan.
Installing Frameless Glass Panels
Securing the glass directly into a recessed floor channel eliminates the need for bulky metal clips or heavy frames. This minimalist approach allows natural light to flood the entire room, making the shower disappear into the broader bathroom architecture.
Curbless Shower Styles to Inspire Your Build
Explore how different materials and color palettes transform the zero-entry concept.
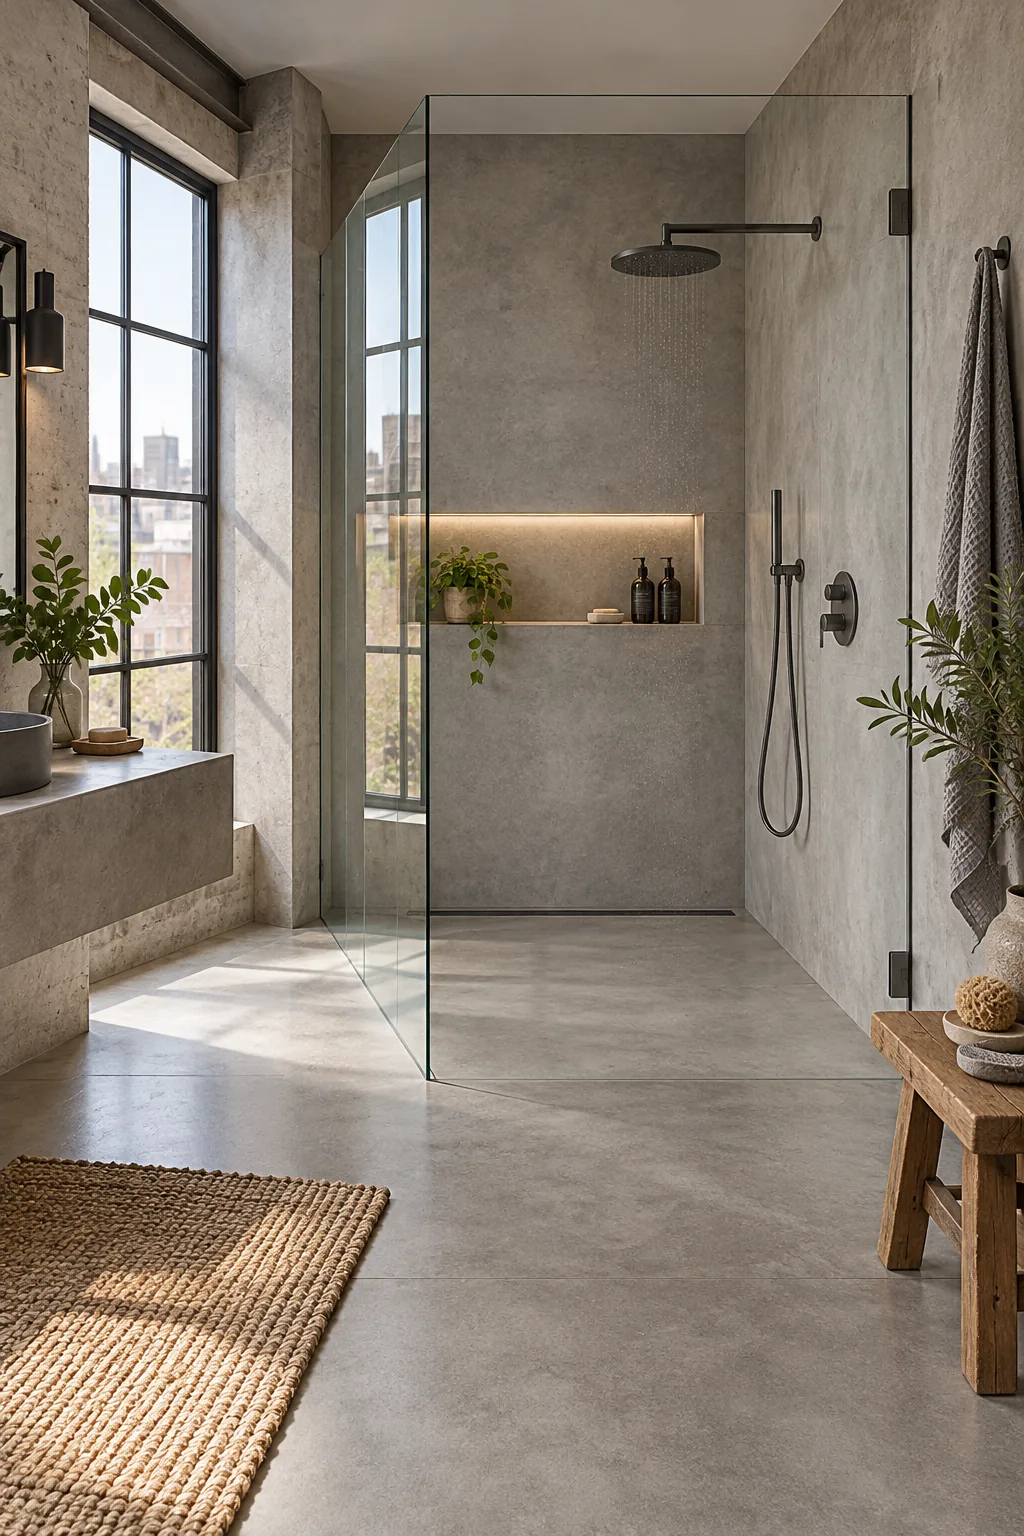
Minimalist Gray Industrial Concrete: Poured concrete offers the ultimate seamless surface, completely eliminating grout lines for a sleek, industrial aesthetic.
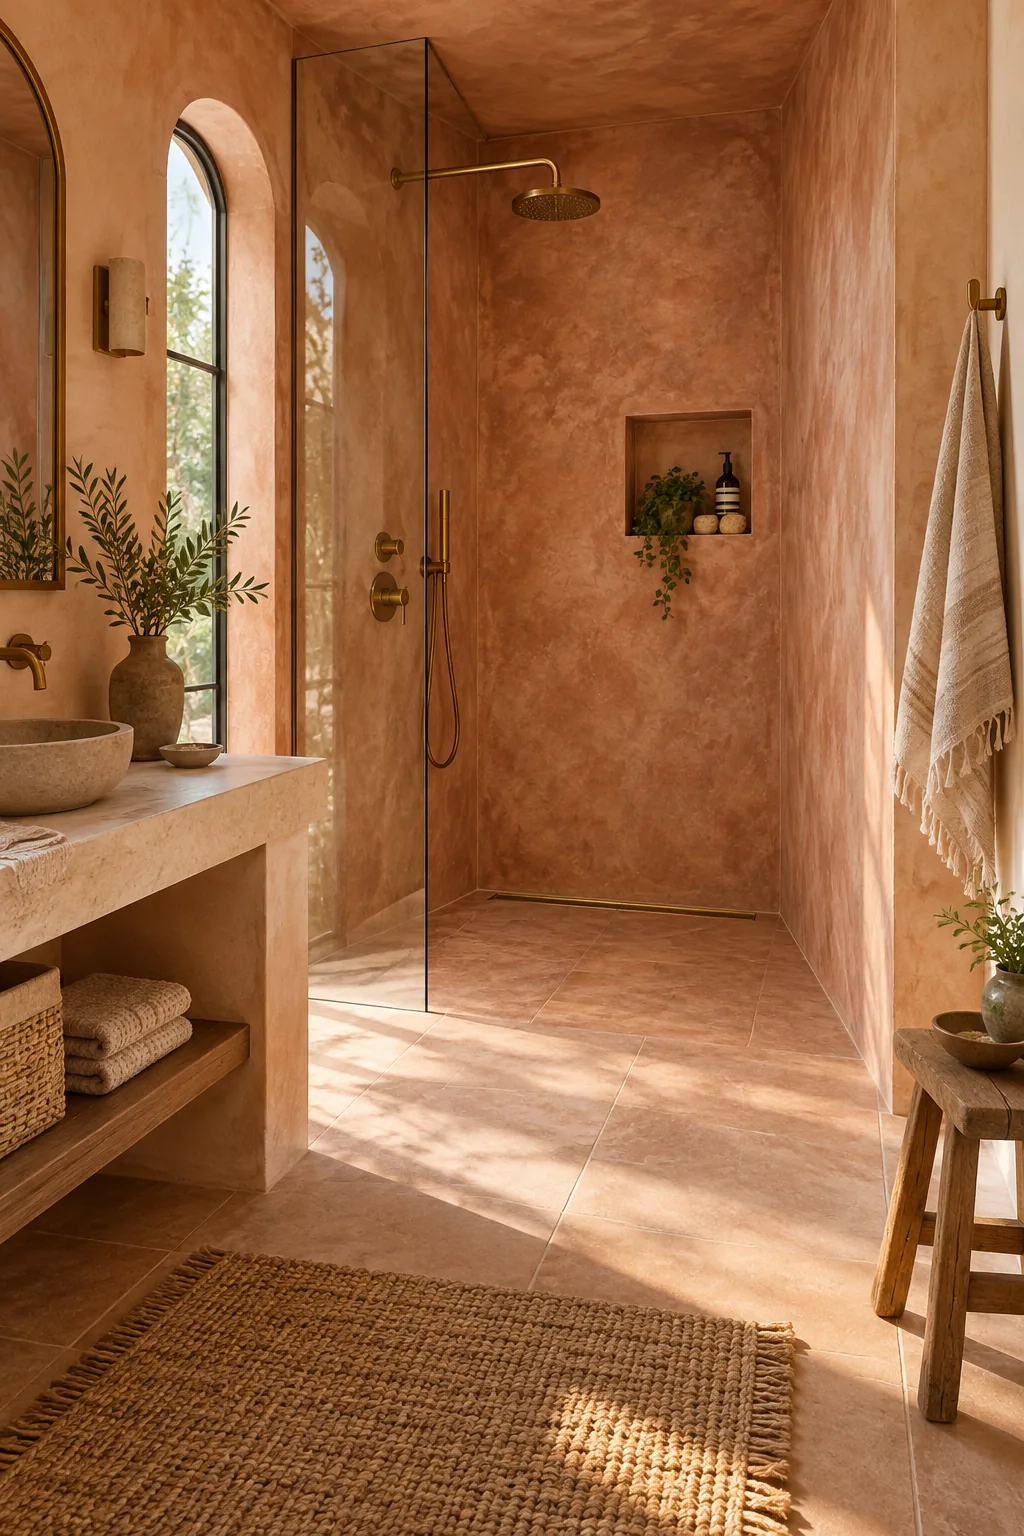
Earthy Mediterranean Terracotta Warmth: Large terracotta tiles bring incredible warmth to a space, pairing beautifully with a custom brushed brass linear drain.
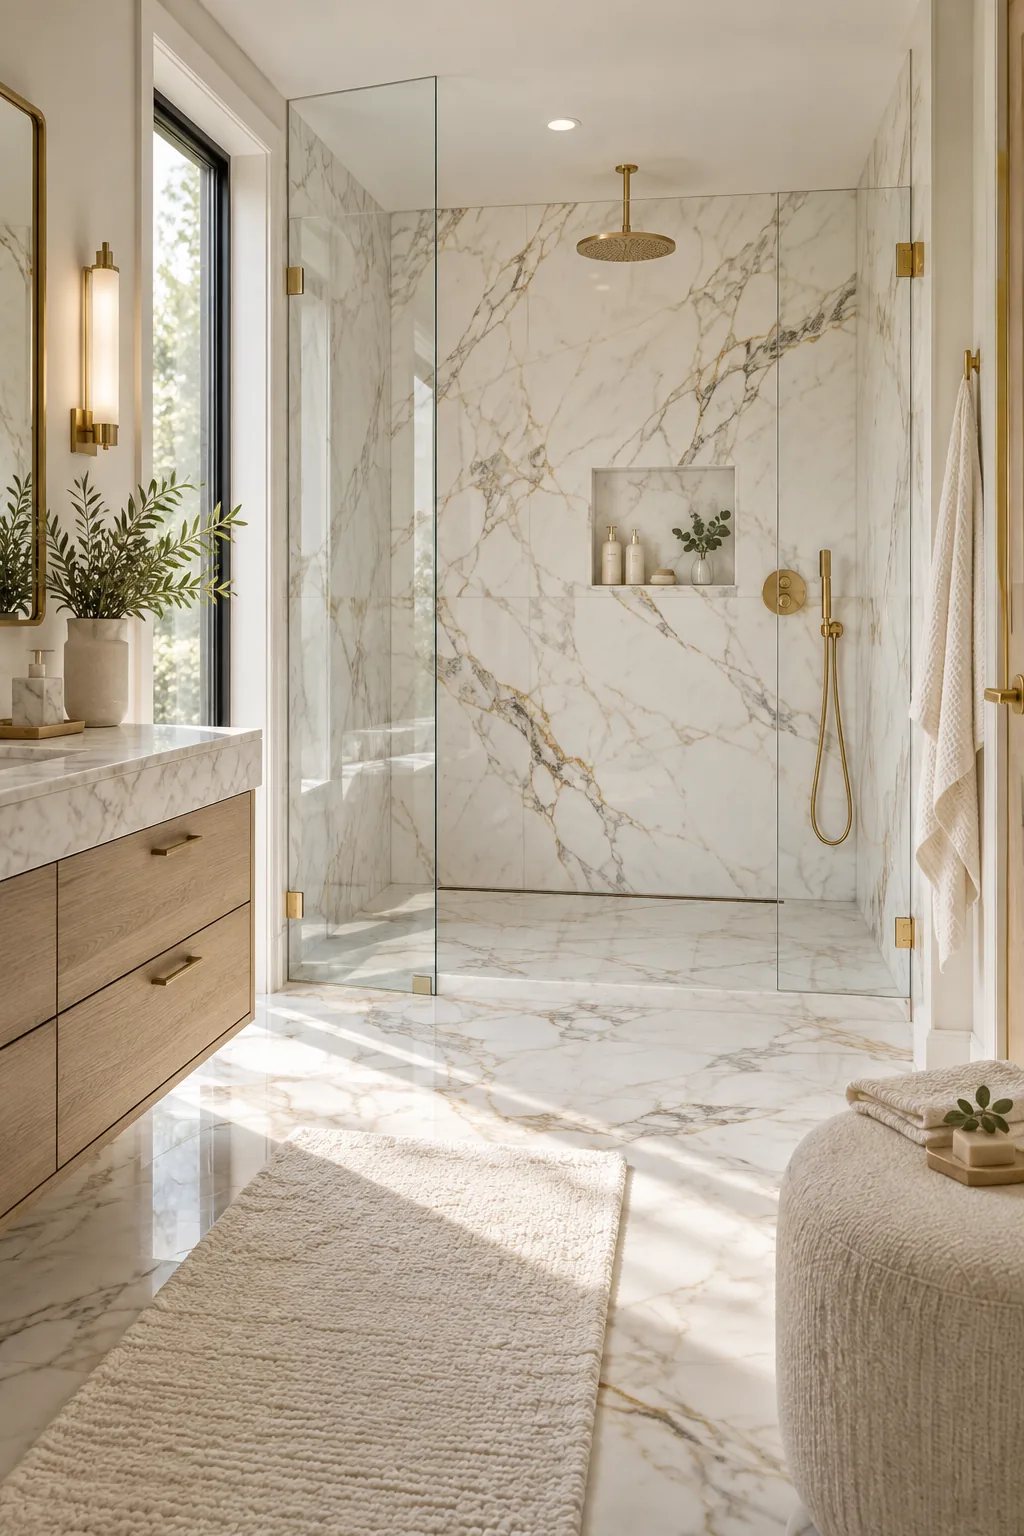
Classic White Marble Elegance: Continuous Calacatta marble elevates the entire room, making the zero-entry shower feel like a high-end luxury spa.
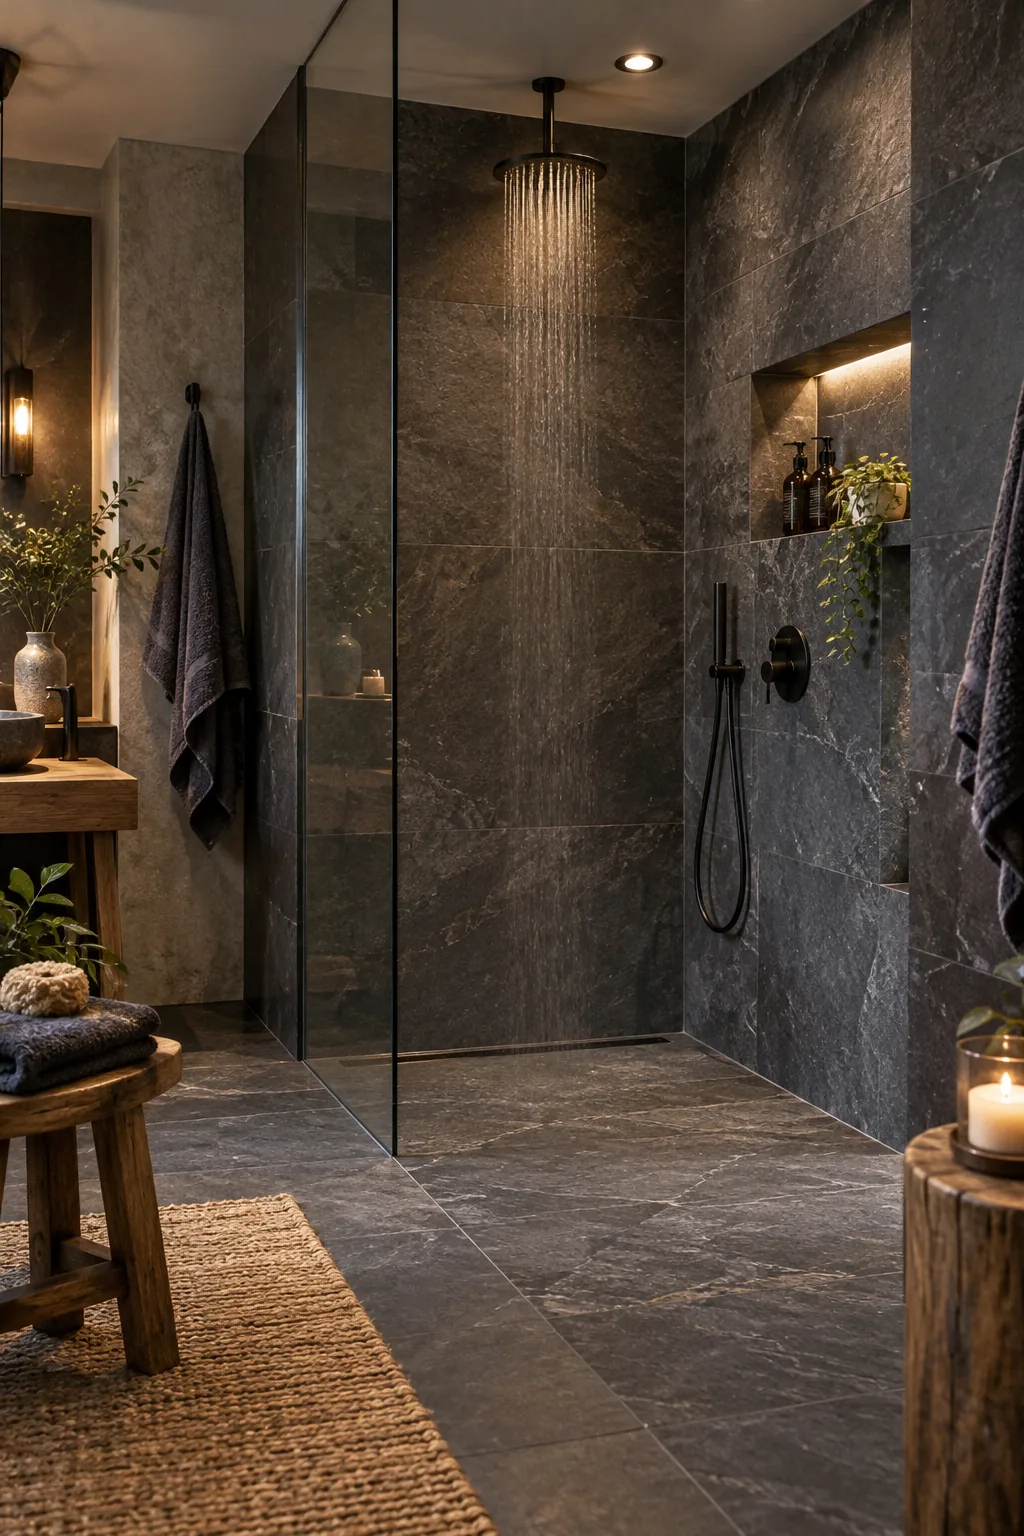
Moody Charcoal Slate Spa: Dark slate tiles naturally provide excellent slip resistance while creating a deeply relaxing, moody atmosphere.
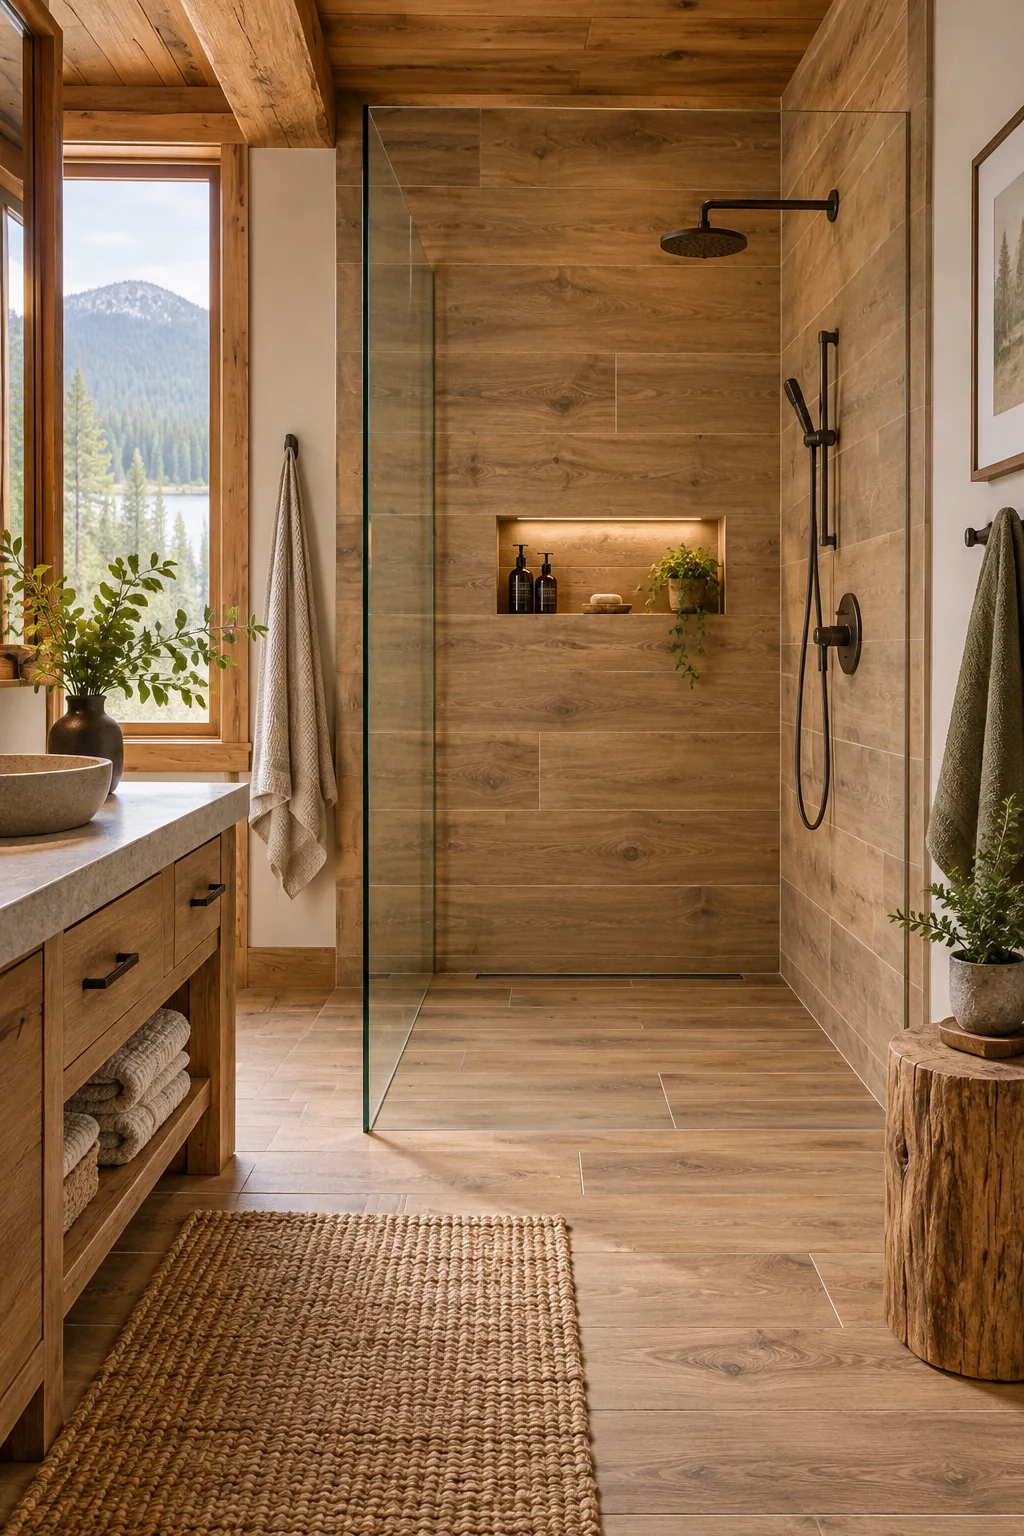
Rustic Wood-Look Porcelain: Wood-look porcelain planks run uninterrupted from the vanity to the drain, bringing rustic warmth without water damage concerns.
Your Complete Curbless Shower Spec Sheet
To guarantee your project goes smoothly, download the complete curbless shower spec sheet containing all necessary slope ratios and hardware dimensions. Print this document and hand it directly to your contractor during your very first site meeting.
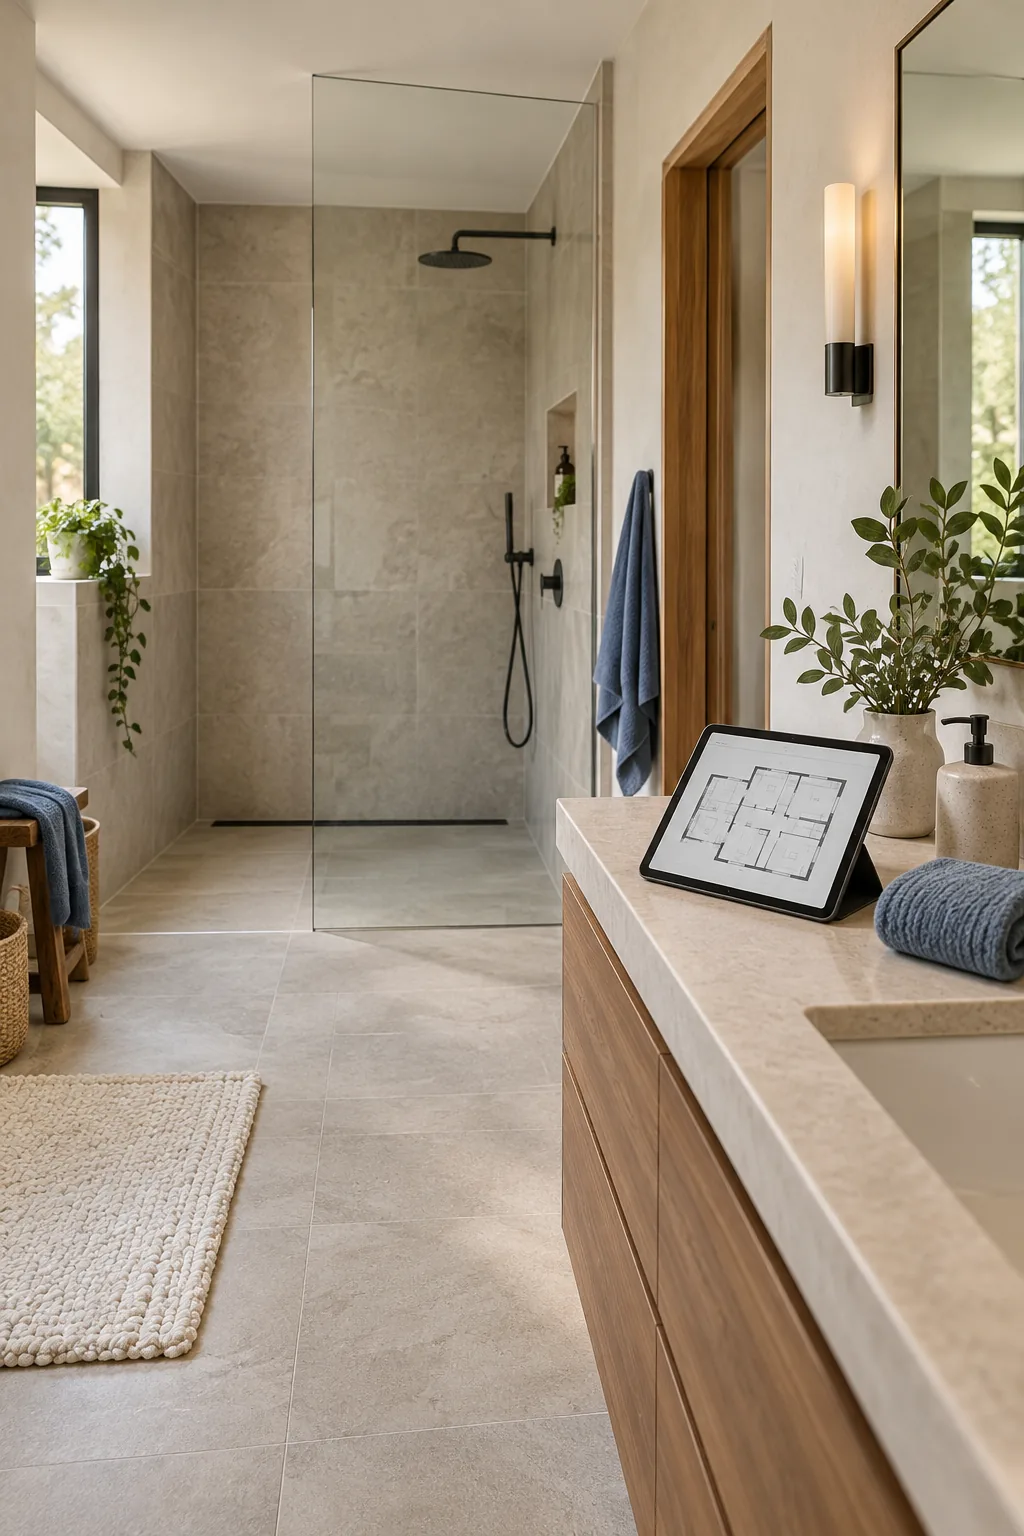
Before you finalize your materials, order expensive stone, or sign a binding construction contract, run through these mandatory structural checks.