How to Redline Stock House Plans into Your Dream Home
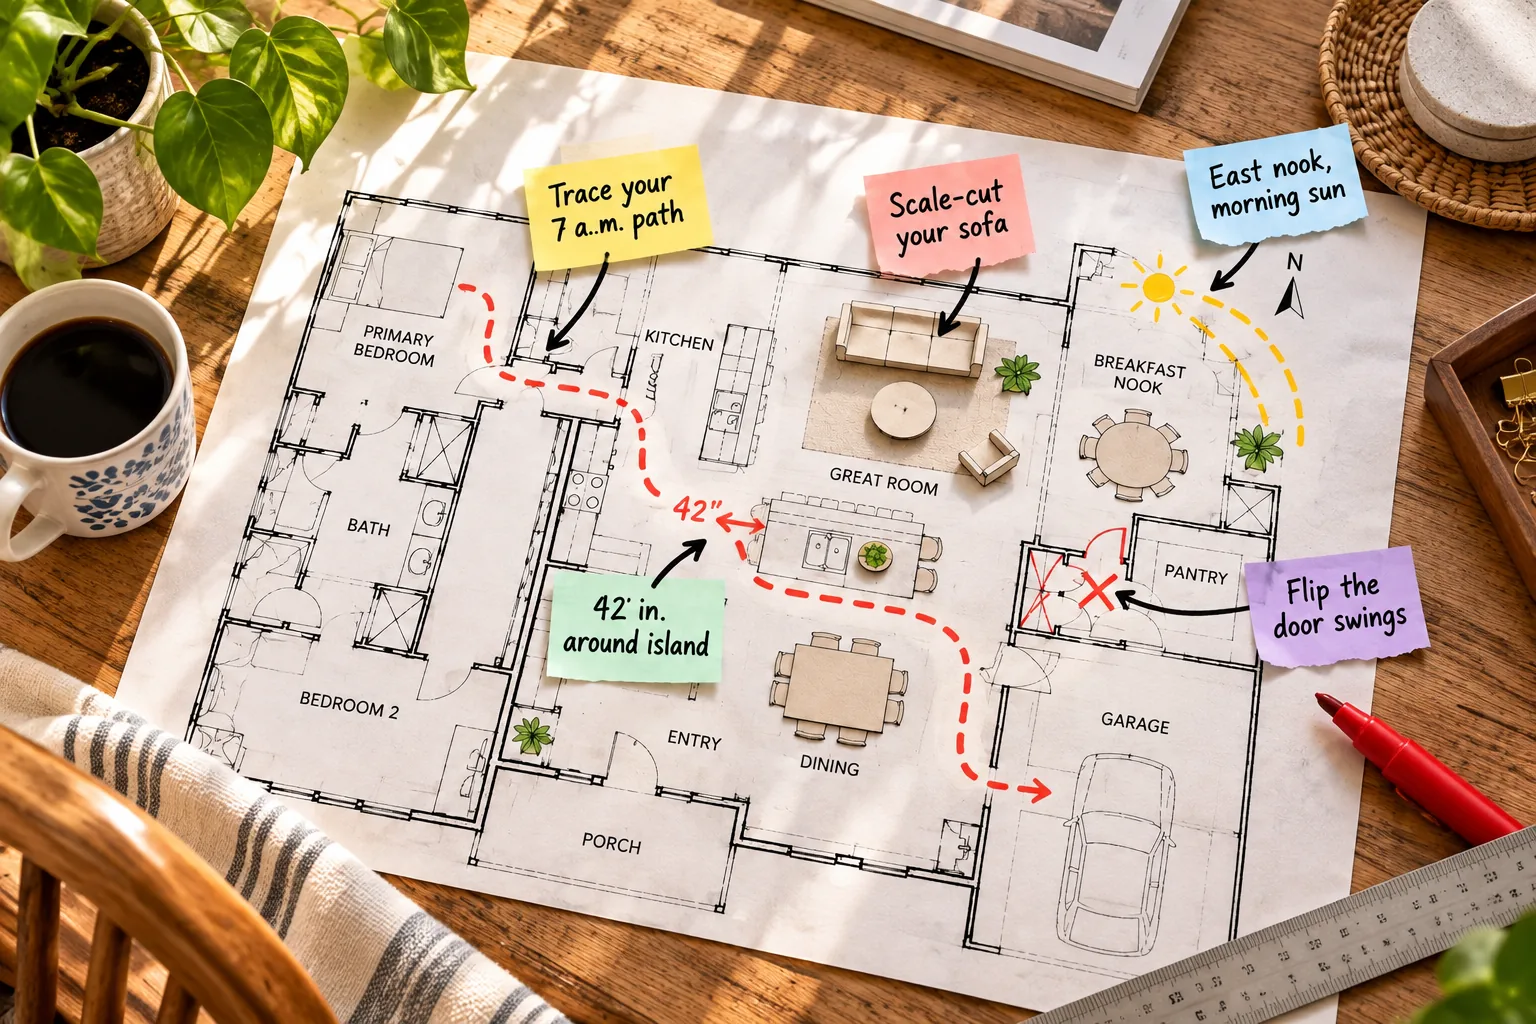
Before you finalize a build, you need to confidently evaluate the layout to ensure it fits your daily routines, furniture, and natural light preferences. Grab our printable 20-Point Plan Markup Checklist to fix traffic flow, scale furniture, and correct door swings before you break ground.
Trace Your Daily Movement Paths
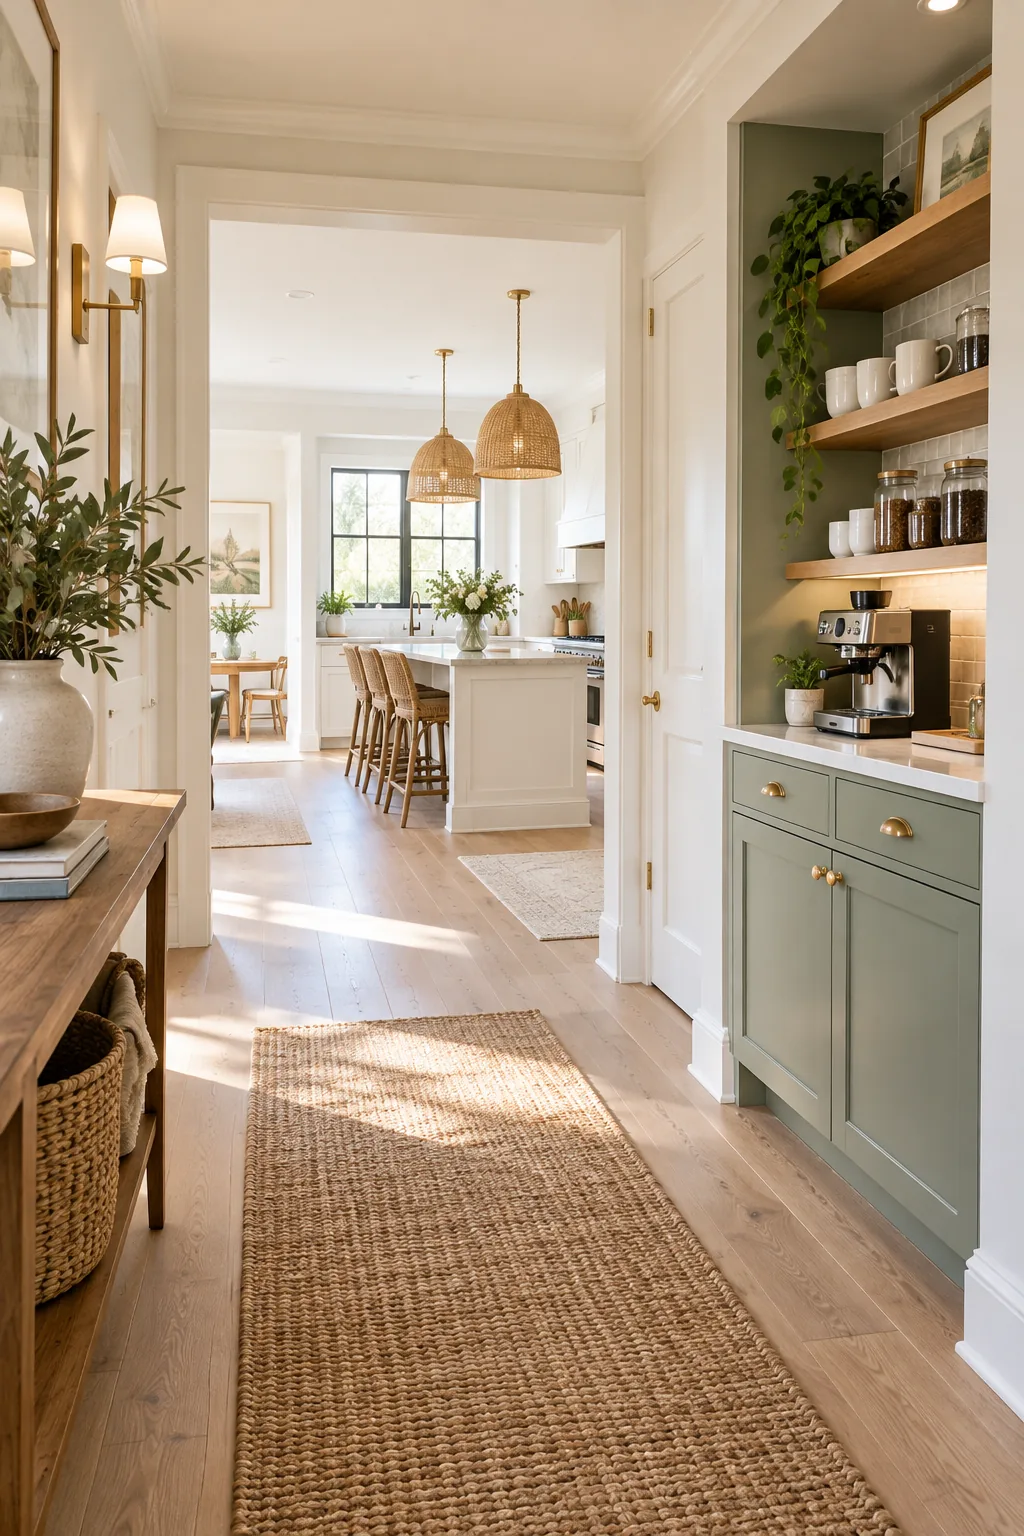
Drawing a literal line for your morning routine reveals unnecessary detours around structural walls before framing even begins. Grab a red marker and trace your 7 a.m. path from the primary bedroom directly through the kitchen coffee spot and out to the garage door.
Eliminate Unnecessary Detours
Following that physical line on paper immediately exposes awkward structural obstacles blocking your natural flow. If you find yourself routing around a proposed powder room just to reach the kitchen sink, you need to redline that central wall.
Calculate Your Daily Steps
A well-designed floor plan minimizes the friction of mundane tasks by keeping related zones tightly connected. Count the paces between your laundry room and the primary closet to ensure you aren’t hauling heavy baskets across the entire house.
Map the Sun’s Daily Arc
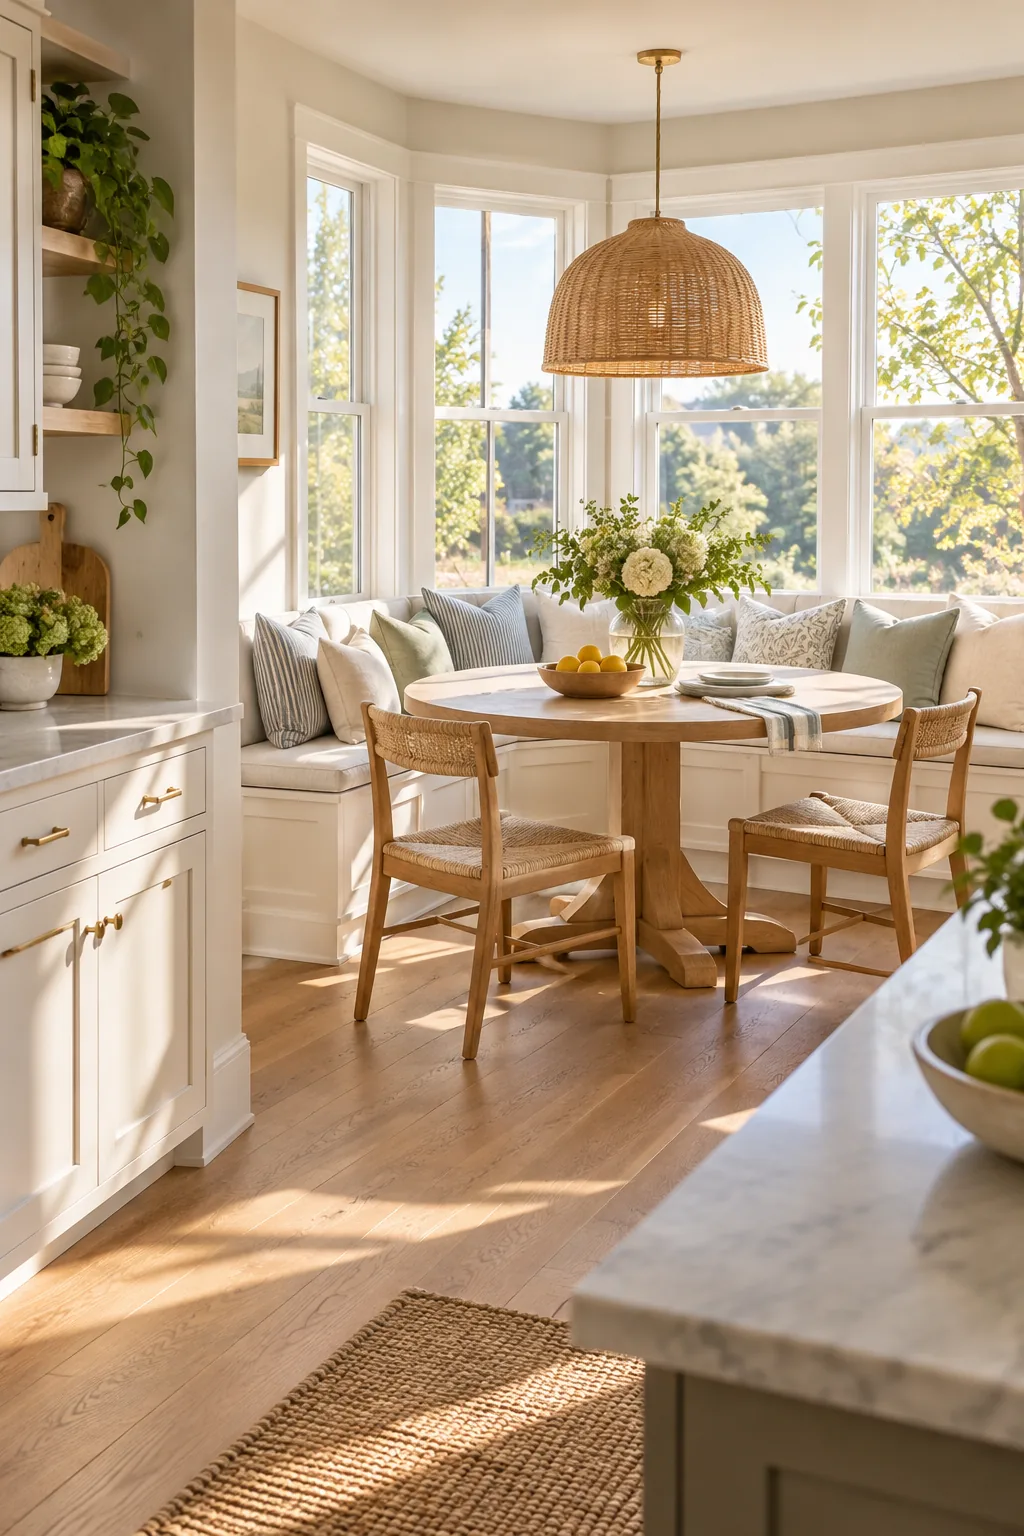
Orienting your plan to the compass ensures you match each room’s function to the natural light, transforming your daily experience. In my own Denver home, I marked East nook, morning sun on the plans, guaranteeing I could drink coffee in bright, natural warmth.
Once you know exactly where the sun hits your living spaces, you can also use the floor plan to protect your home from unwanted temperature spikes.
Balance the Seasonal Exposures
Southern exposure provides consistent, indirect sunlight that balances the energy of a main living space all afternoon. You should prioritize placing your most heavily used family rooms along this southern axis to maximize daytime illumination and foster a calm, centered atmosphere.
Plan for Evening Shadows
Western windows bring in harsh, low-angle light that can blind you during dinner and overheat the house. Minimize large glass panes on the west elevation, or plan for deep exterior roof overhangs to block the intense summer rays.
Test Real Furniture at Scale
Paper cutouts immediately expose great rooms that look massive on blueprints but cannot actually hold standard seating arrangements. I always scale-cut your sofa out of paper for my clients, proving instantly when a room is too narrow for their existing sectional.
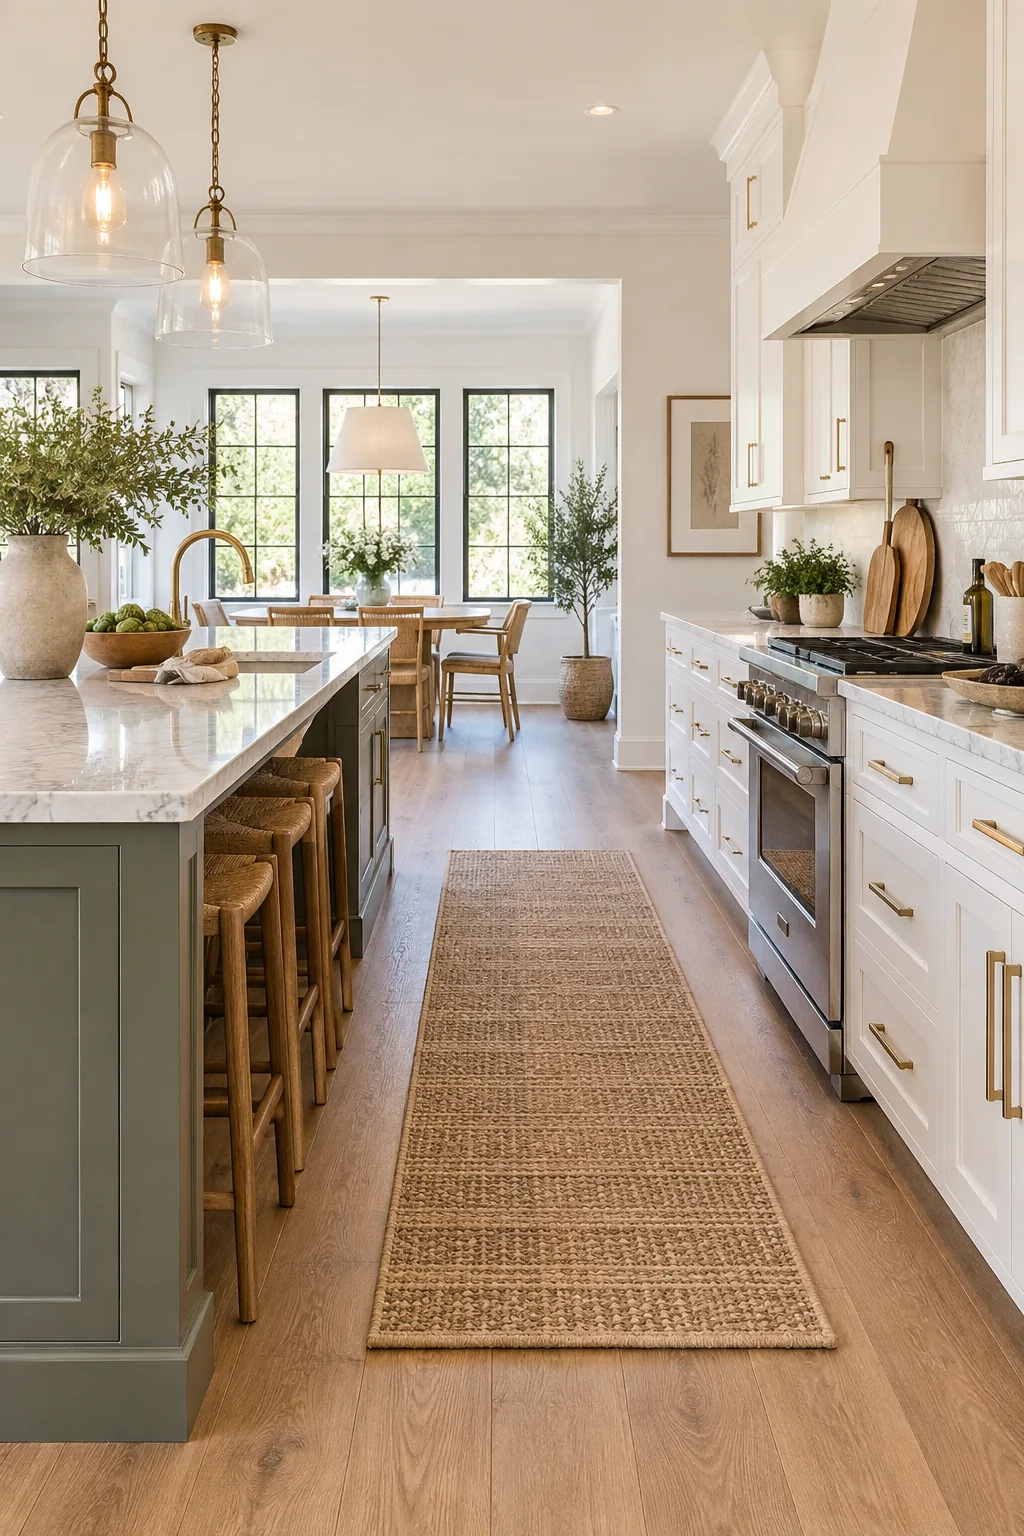
Match the Architect’s Scale
You cannot guess at furniture placement when every millimeter on the page represents a physical constraint in reality. Ensure your paper rectangles perfectly match the plan’s exact scale, where 1/4 inch equals 1 foot.
Position the Room Anchors First
Start your layout by placing the largest, most inflexible items to establish structural harmony before adding secondary pieces.
- Locate the focal point, such as a fireplace or view window, to orient the seating arrangement.
- Place the primary sofa facing the focal point, ensuring a clear walking path behind it.
- Position the dining table, leaving at least 36 inches of clearance on all sides for chairs.
- Drop in the area rugs to confirm the floor space can accommodate standard sizes.
Verify Minimum Kitchen Clearances
Standard blueprints frequently skimp on walking space, but enforcing exactly 42 in. around island is the hard minimum for a functional single-cook layout. In my last remodel, I strictly maintained this clearance to ensure drawers and appliance doors could open without trapping the chef.
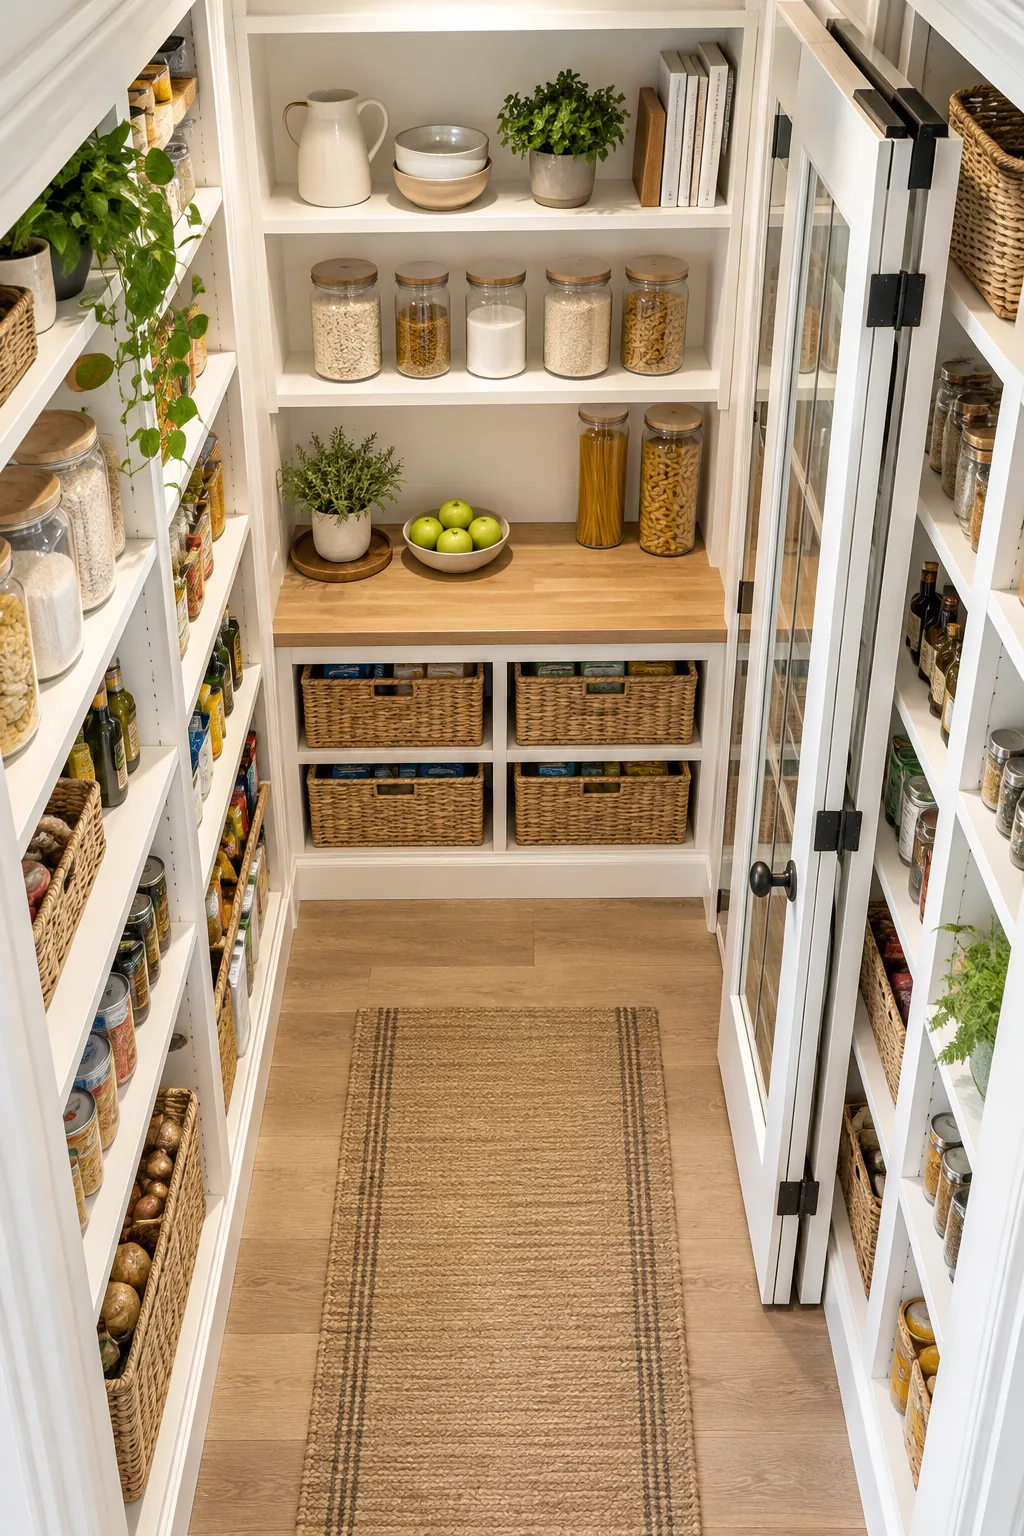
While measuring the island is a great start, a few other tight spots frequently ruin a kitchen’s functionality if left unchecked.
Map the Work Triangle
The path between your sink, stove, and refrigerator must remain completely unobstructed by the island corners. Draw a triangle connecting these three zones and verify that the total perimeter distance falls between 13 and 26 feet.
Reverse Problematic Door Swings
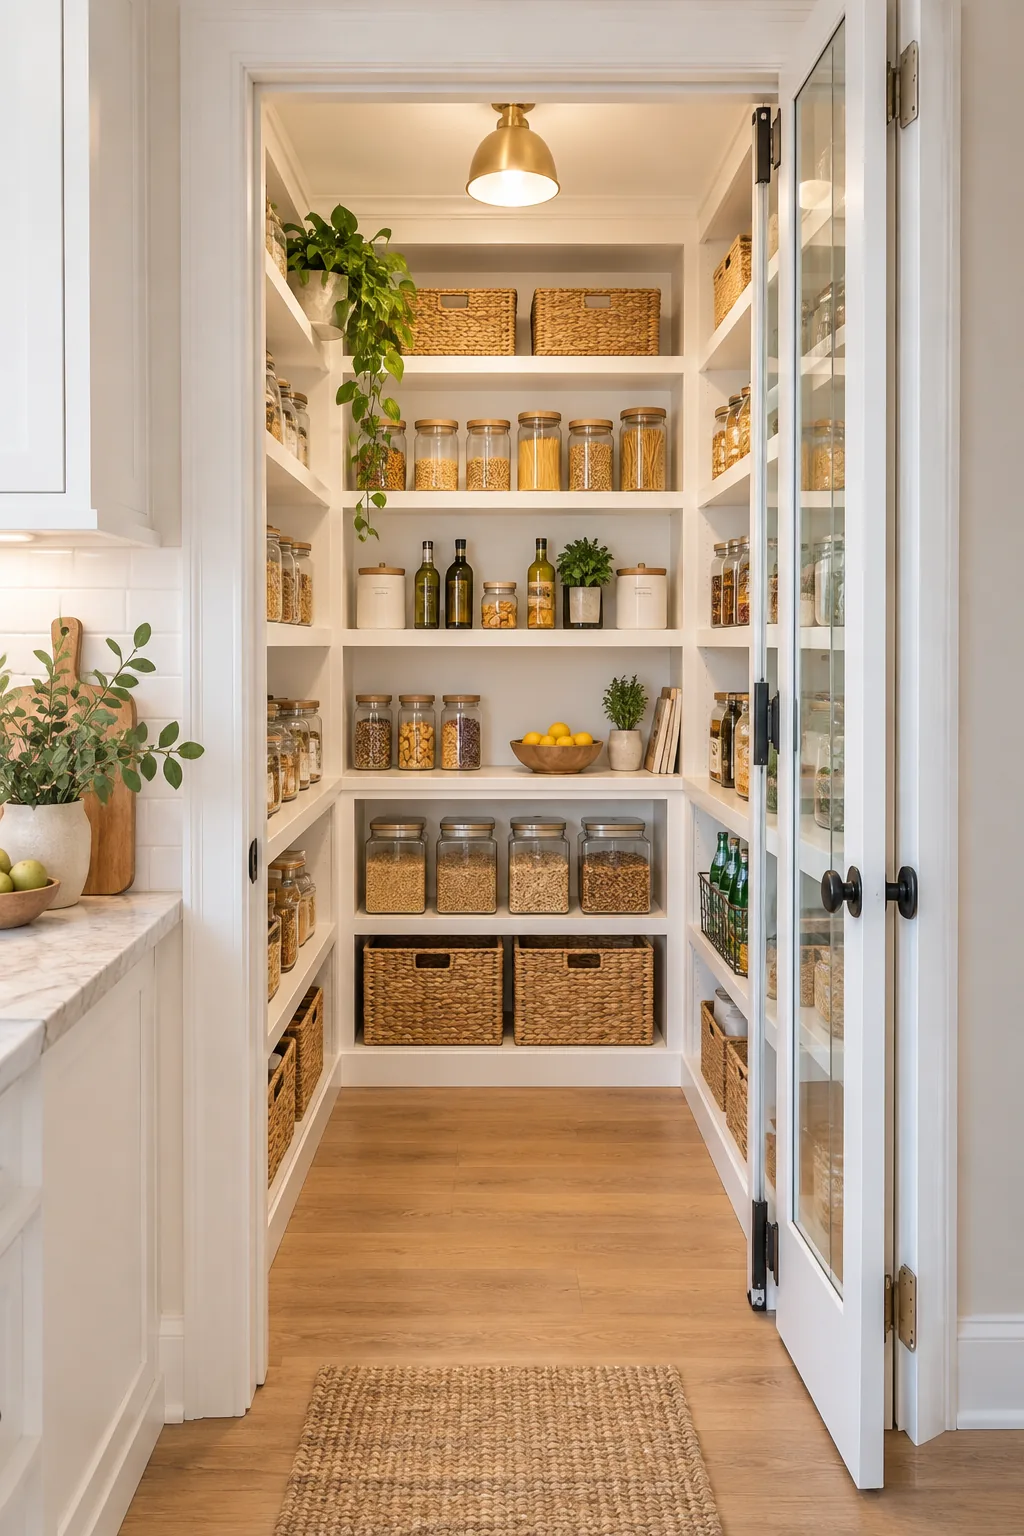
Look at every door arc on the plan to identify and reverse hardware swings that create annoying hallway collisions. In my own home, I had to flip the door swings on a walk-in pantry so they opened flat against a blank interior wall.
Preserve Hallway Real Estate
Doors that swing outward into narrow corridors create dangerous collision zones during busy morning routines. Always force bedroom and bathroom doors to swing inward, resting flat against an interior blank wall to keep traffic moving smoothly.
Optimize Pantry and Closet Access
A pantry door that opens directly into the center of the shelving destroys valuable storage space. Cross out those arcs in red and redraw them opening against a side wall, or switch to a space-saving pocket door.
Analyze Storage Drop Zones
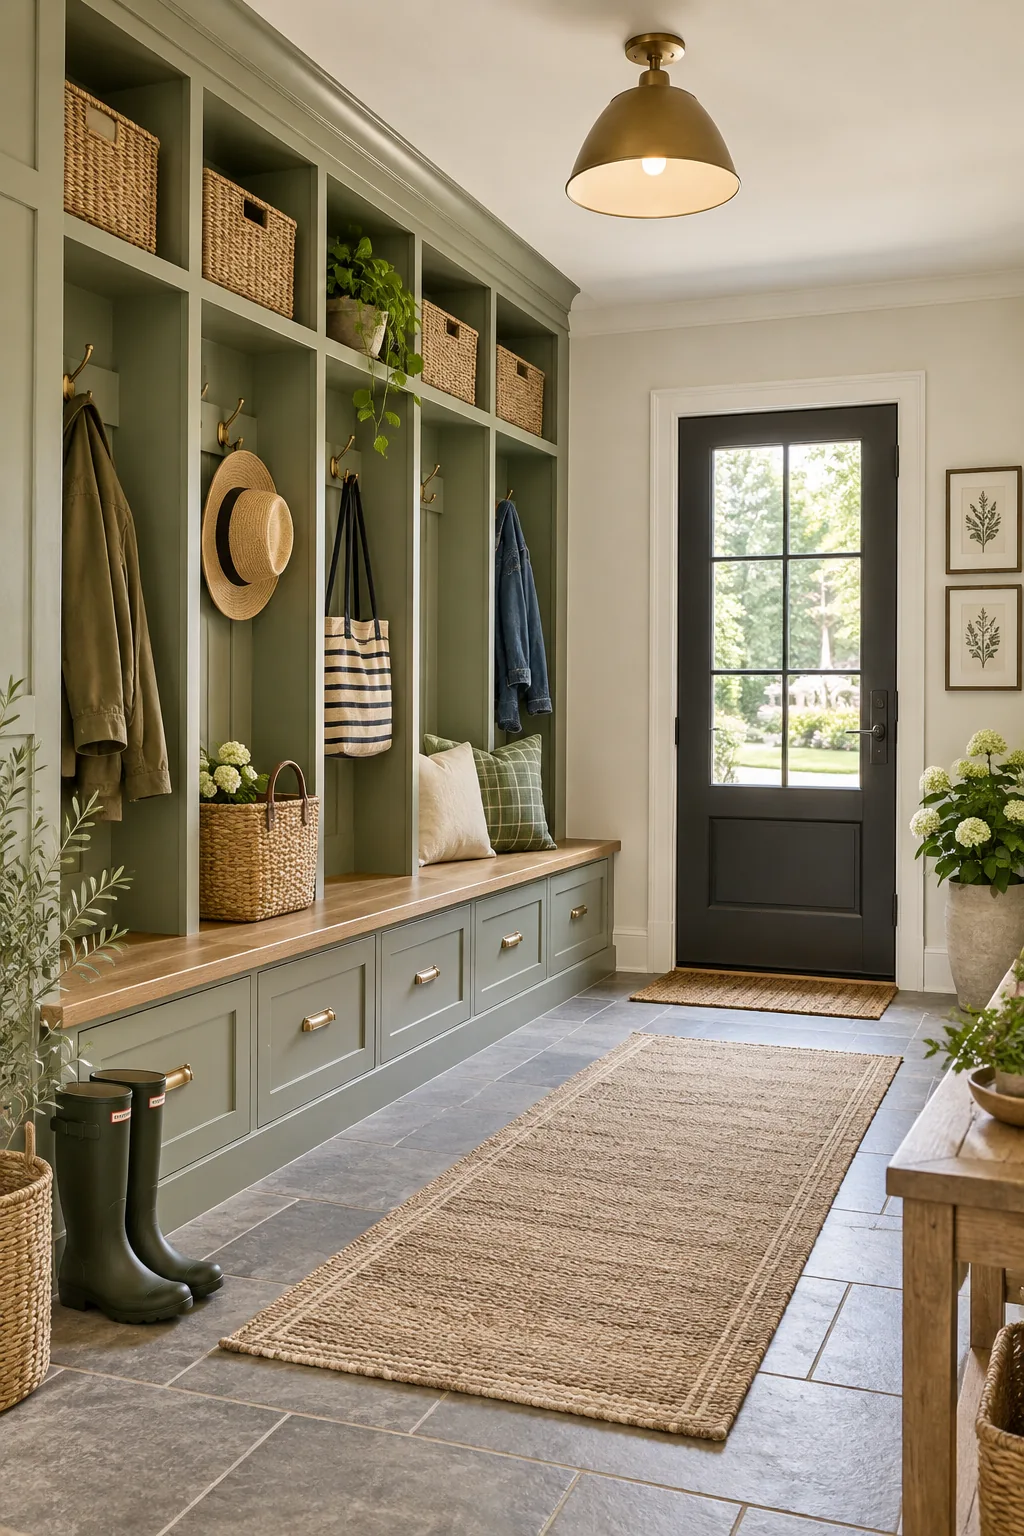
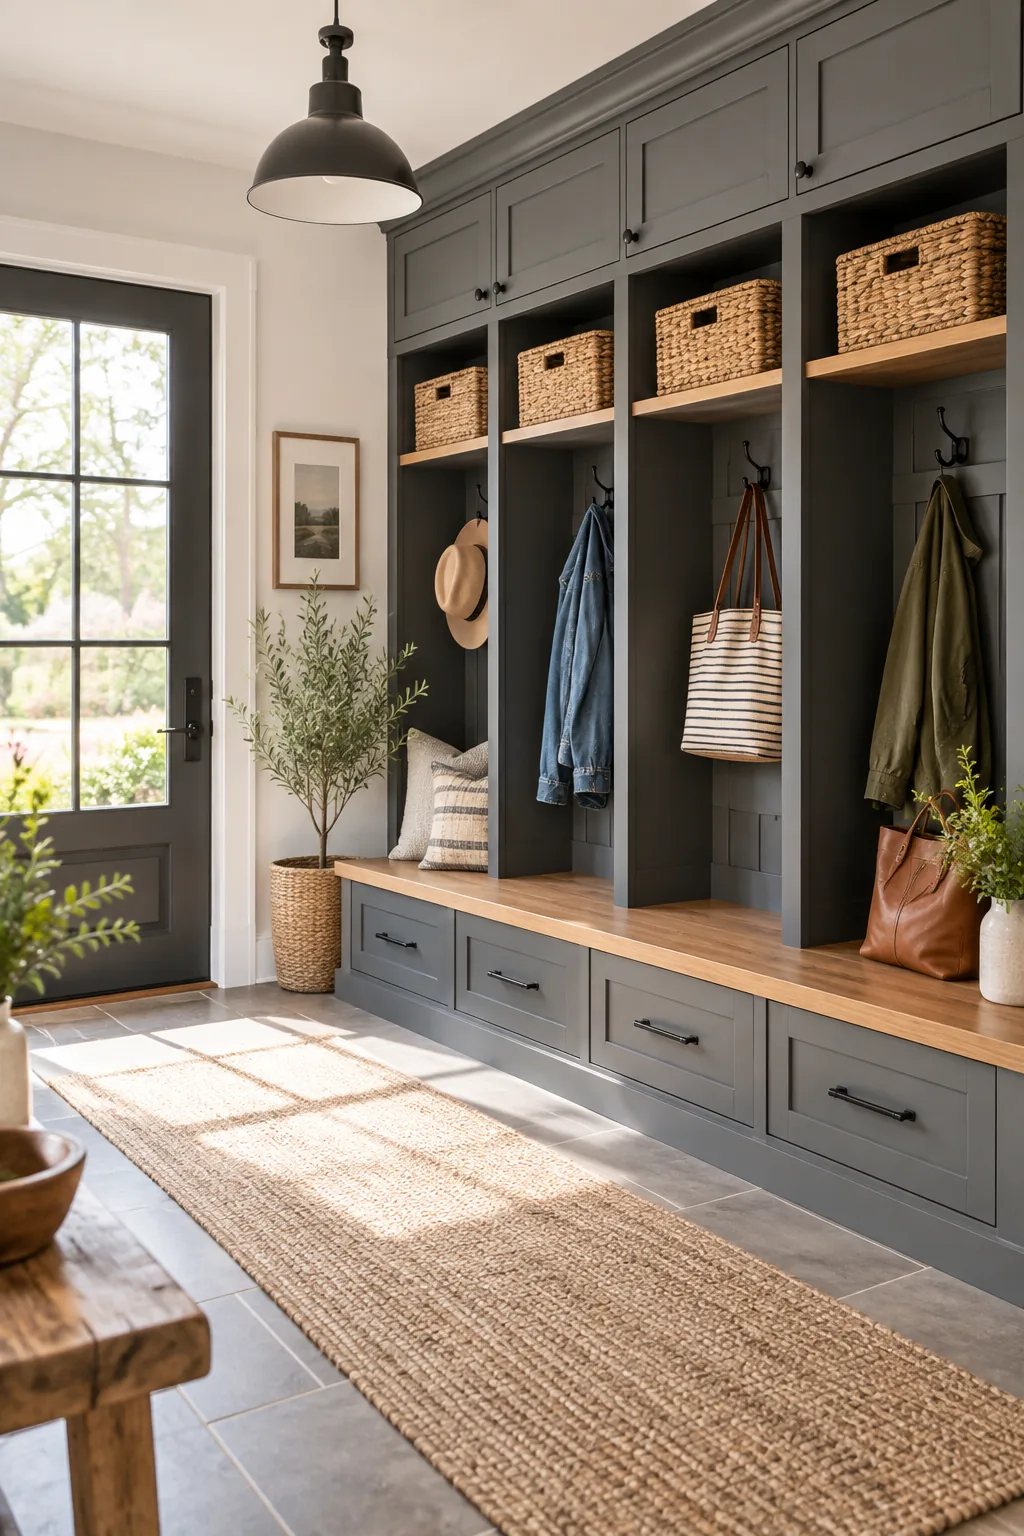
Every home needs a dedicated transition space to catch keys, coats, and muddy shoes before they enter the main living areas. Redline a specific alcove near the garage entry for a built-in bench and overhead cubbies.
Consolidate Plumbing Walls
Review your floor plan to see if bathrooms, laundry rooms, and the kitchen share wet walls. Stacking these plumbing lines vertically or aligning them horizontally saves significant construction costs and reduces future maintenance headaches.
Evaluate Window Placements
Cross-reference your exterior elevations with the interior floor plan to ensure windows align symmetrically from the outside while serving the interior.
| Room Type | Ideal Exposure | Window Style | Sill Height |
|---|---|---|---|
| Kitchen | East or South | Casement | 36 inches minimum |
| Bedroom | North or East | Double-hung | 24 to 36 inches |
| Bathroom | South or West | Awning | 60 inches minimum |
| Living Room | South | Picture | 18 inches maximum |
Check for Sightline Privacy
Draw a straight line from the front door directly into the house to see what visitors view first. Eastern design principles emphasize a protected, welcoming entry; redline any layout that offers a jarring, unobstructed view straight into a messy kitchen.
Define the Entertaining Flow
Trace the path your guests will take from the entryway to the main seating area and out to the patio. Redline any awkward corners that force large groups to bottleneck near the kitchen island during a party.
Assess Acoustic Separation
Evaluate the shared walls between noisy living spaces and quiet sleeping zones. Add a redline note to install staggered stud walls or solid-core doors wherever the primary bedroom shares a boundary with the family room television.
Plan for Future Accessibility
A dream home should adapt to your needs over decades of use. Verify that at least one full bathroom and a primary bedroom suite exist on the main floor to comfortably accommodate aging in place.
Widen the Primary Corridors
Standard plans often default to 36-inch hallways, which feel cramped when moving furniture or carrying laundry. Redline your main traffic arteries to a generous 42 to 48 inches for a more expansive, luxurious feel.
Confirm Ceiling Heights
Flat, two-dimensional floor plans can obscure dramatic changes in vertical volume. Mark up the plans to ensure your ceiling heights transition logically, maintaining at least 9 feet in the main living areas for a spacious atmosphere.
Locate the HVAC Equipment
Builders often tuck bulky furnaces and water heaters into valuable basement or garage square footage. Redline a dedicated mechanical closet that centralizes the equipment without eating into your usable everyday storage space.
Detail the Lighting Grid
Do not wait for the electrical walk-through to decide where your primary fixtures will hang. Mark specific locations for dining pendants and kitchen recessed lights directly on the plan to ensure they align perfectly with your scaled furniture.
Spaces That Prove the Power of Planning
See how exact redlining translates into beautifully functional finished rooms.
Coastal kitchen flow: Wide aisles and a central island keep this breezy coastal kitchen highly functional for multiple cooks.
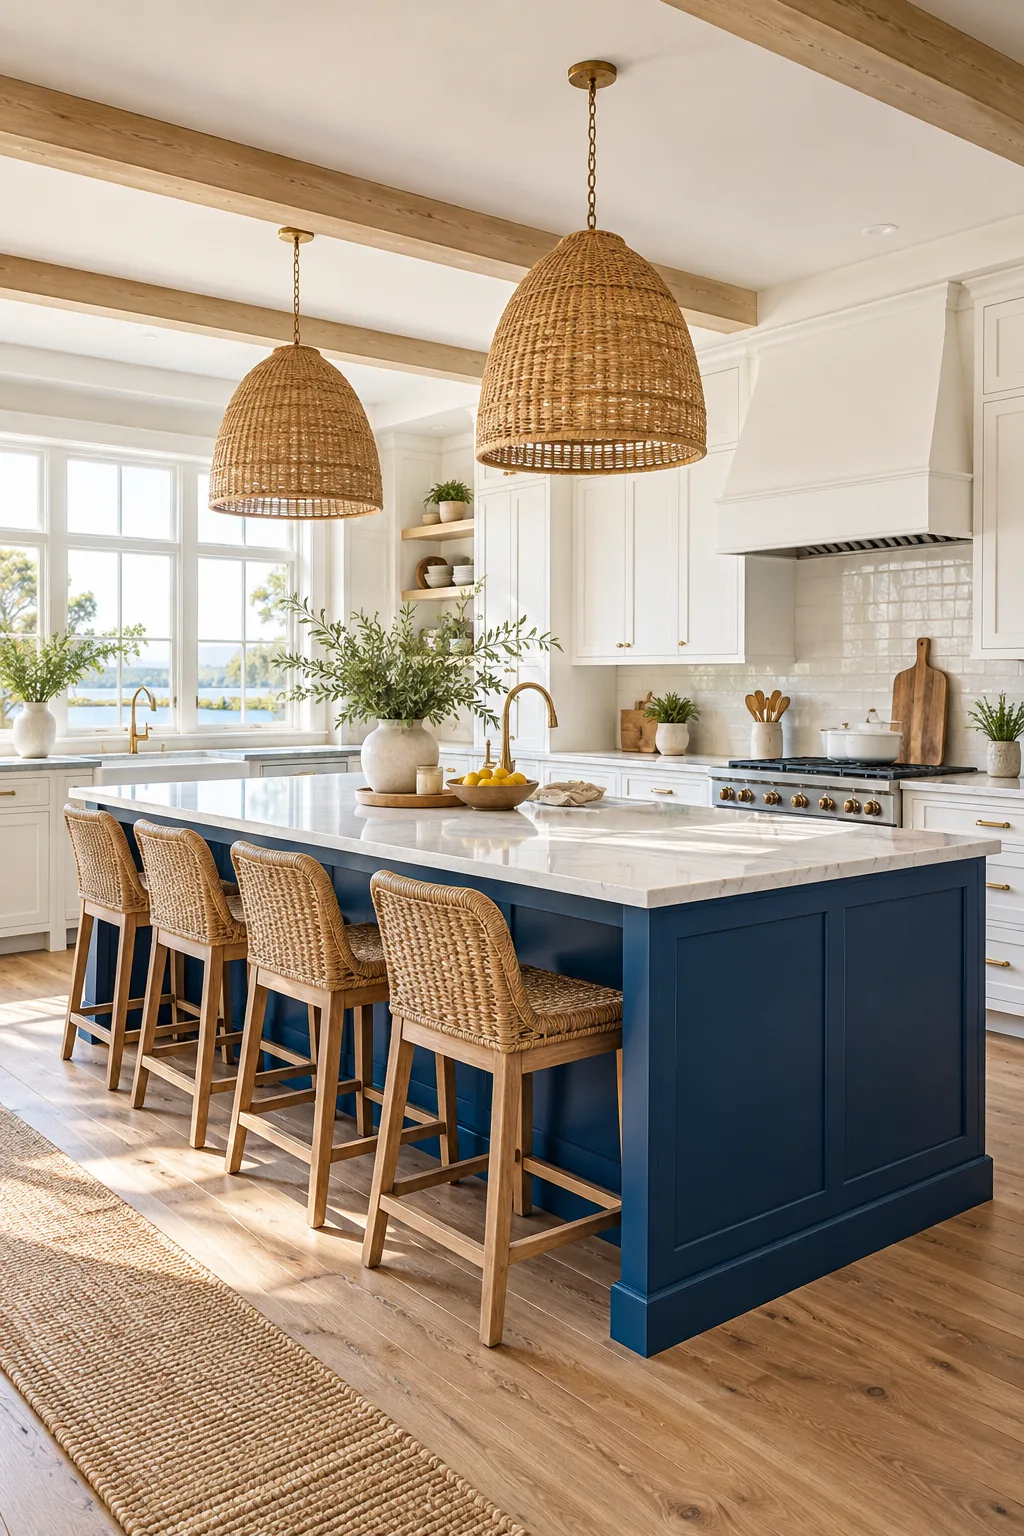
Modern farmhouse drop zone: Dedicated cubbies and hooks ensure every family member has a specific place for daily gear.
Industrial open concept: Perfectly scaled leather seating anchors the large industrial space without floating awkwardly in the center.

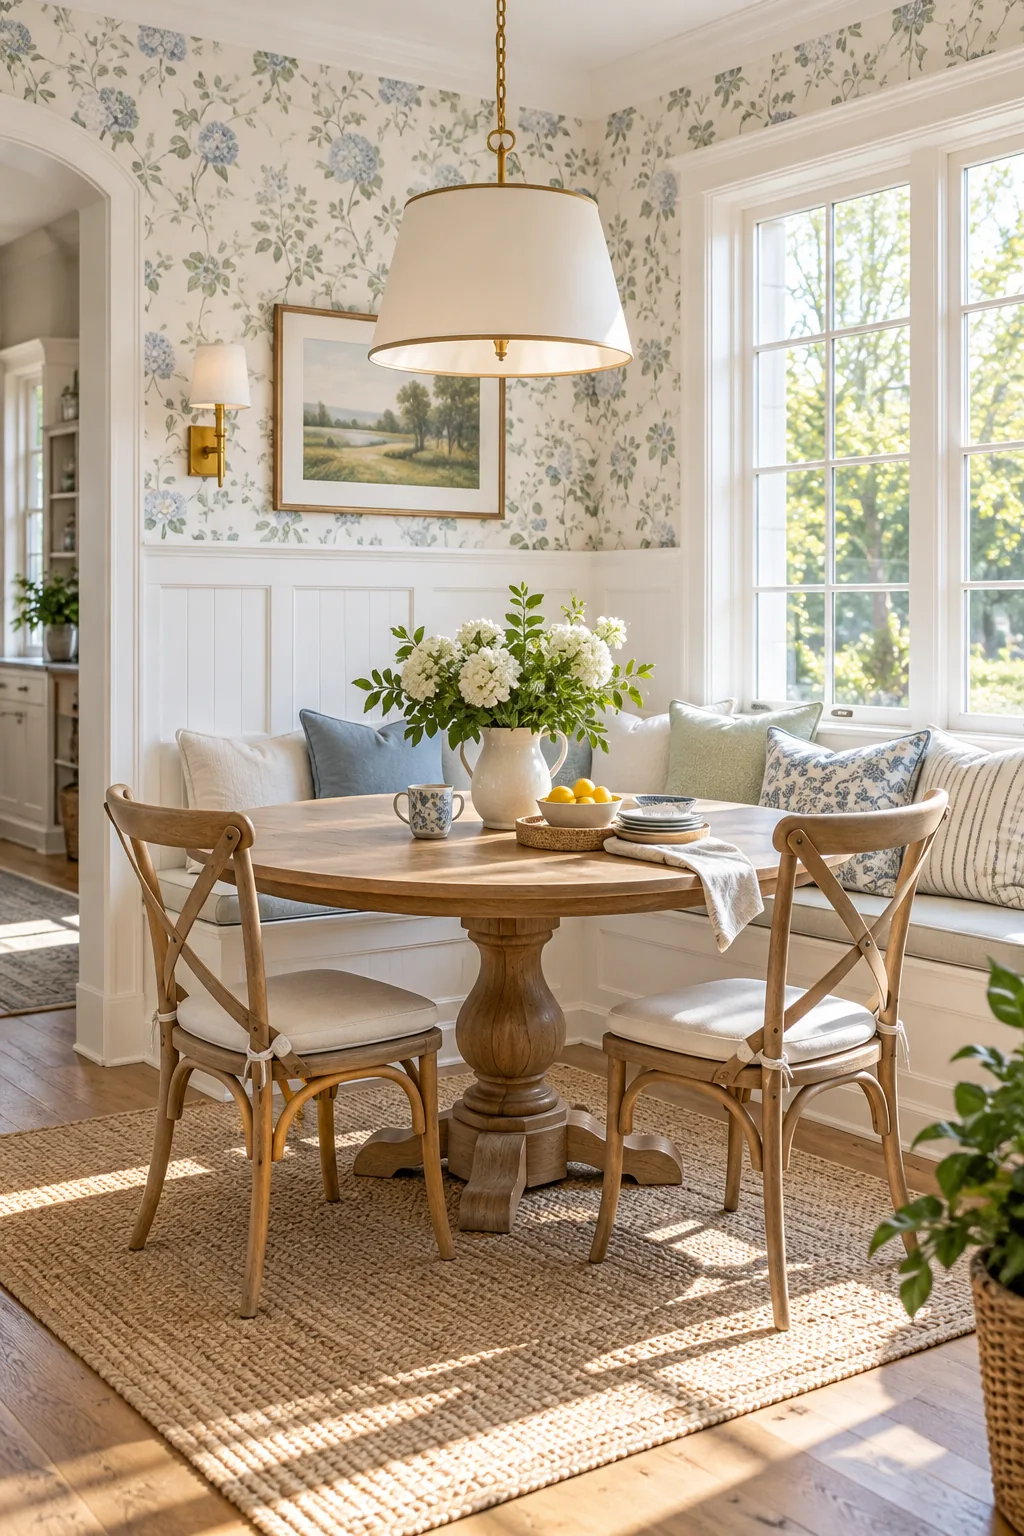
Traditional morning light: Eastern-facing windows flood this classic dining space with natural sunlight right at breakfast time.
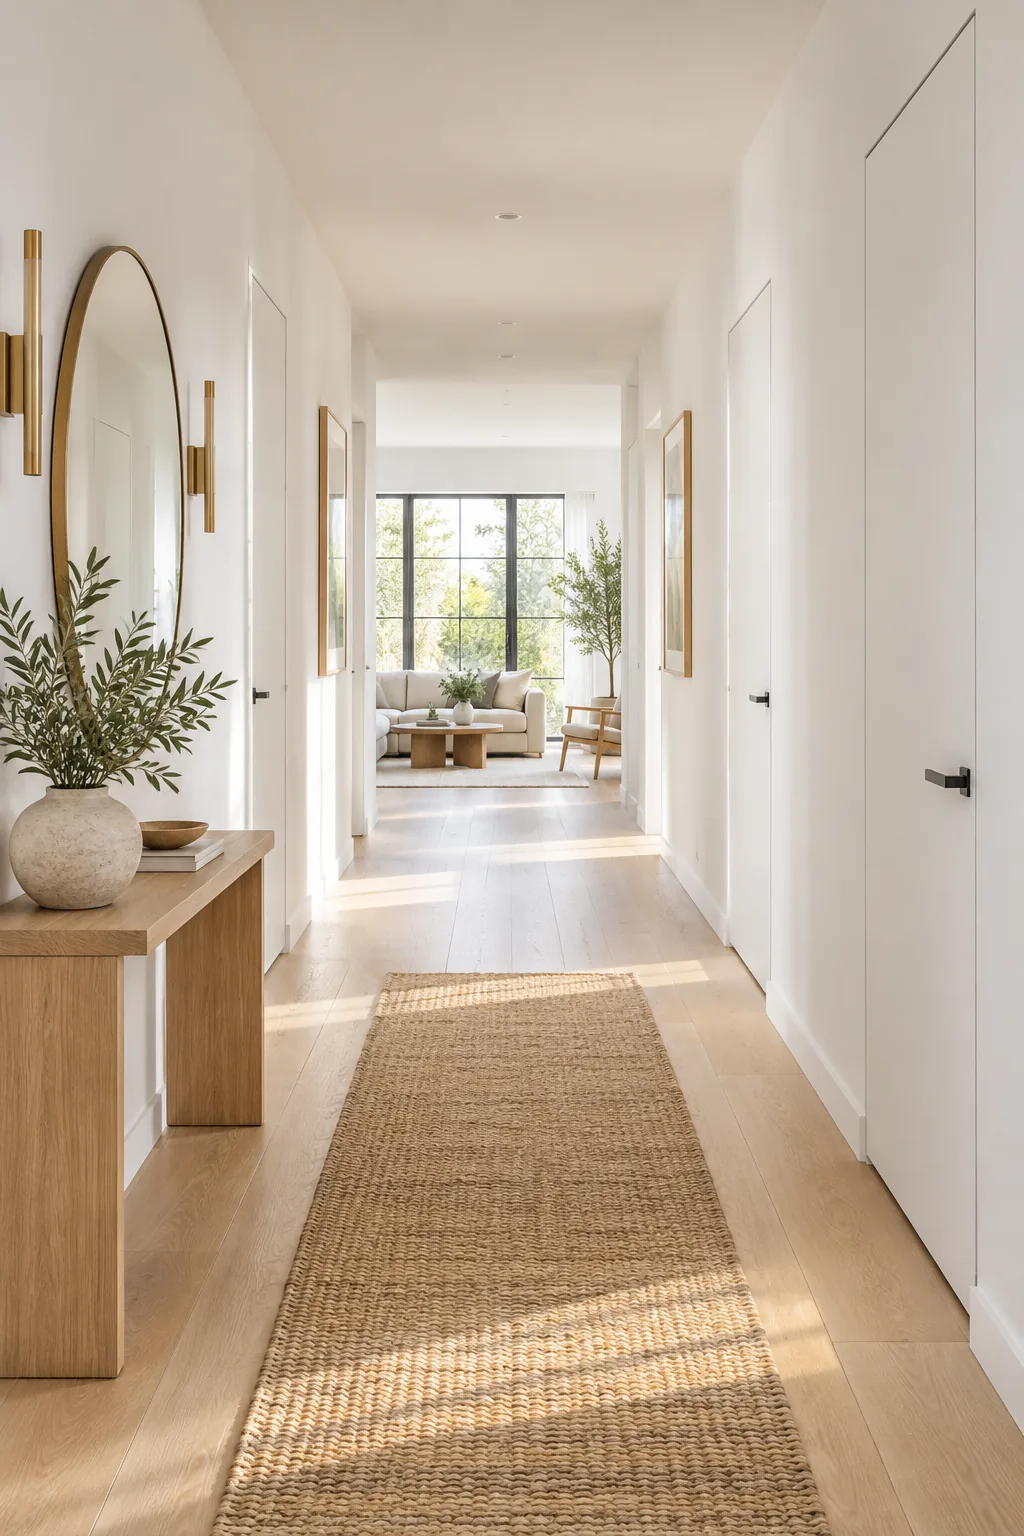
Minimalist traffic path: Flush doors and unobstructed walkways create a seamless transition between the private and public zones.
Print the 20-Point Markup Checklist
Download the complete two-page sequence of exact redline checks to run a final assessment on your stock house plan. This printable 20-Point Plan Markup Checklist captures everything from daily routes to mapping out dedicated storage drop zones for keys and coats before you order blueprints.