
How to Style a Kitchen Island Centerpiece (with Size Guide)
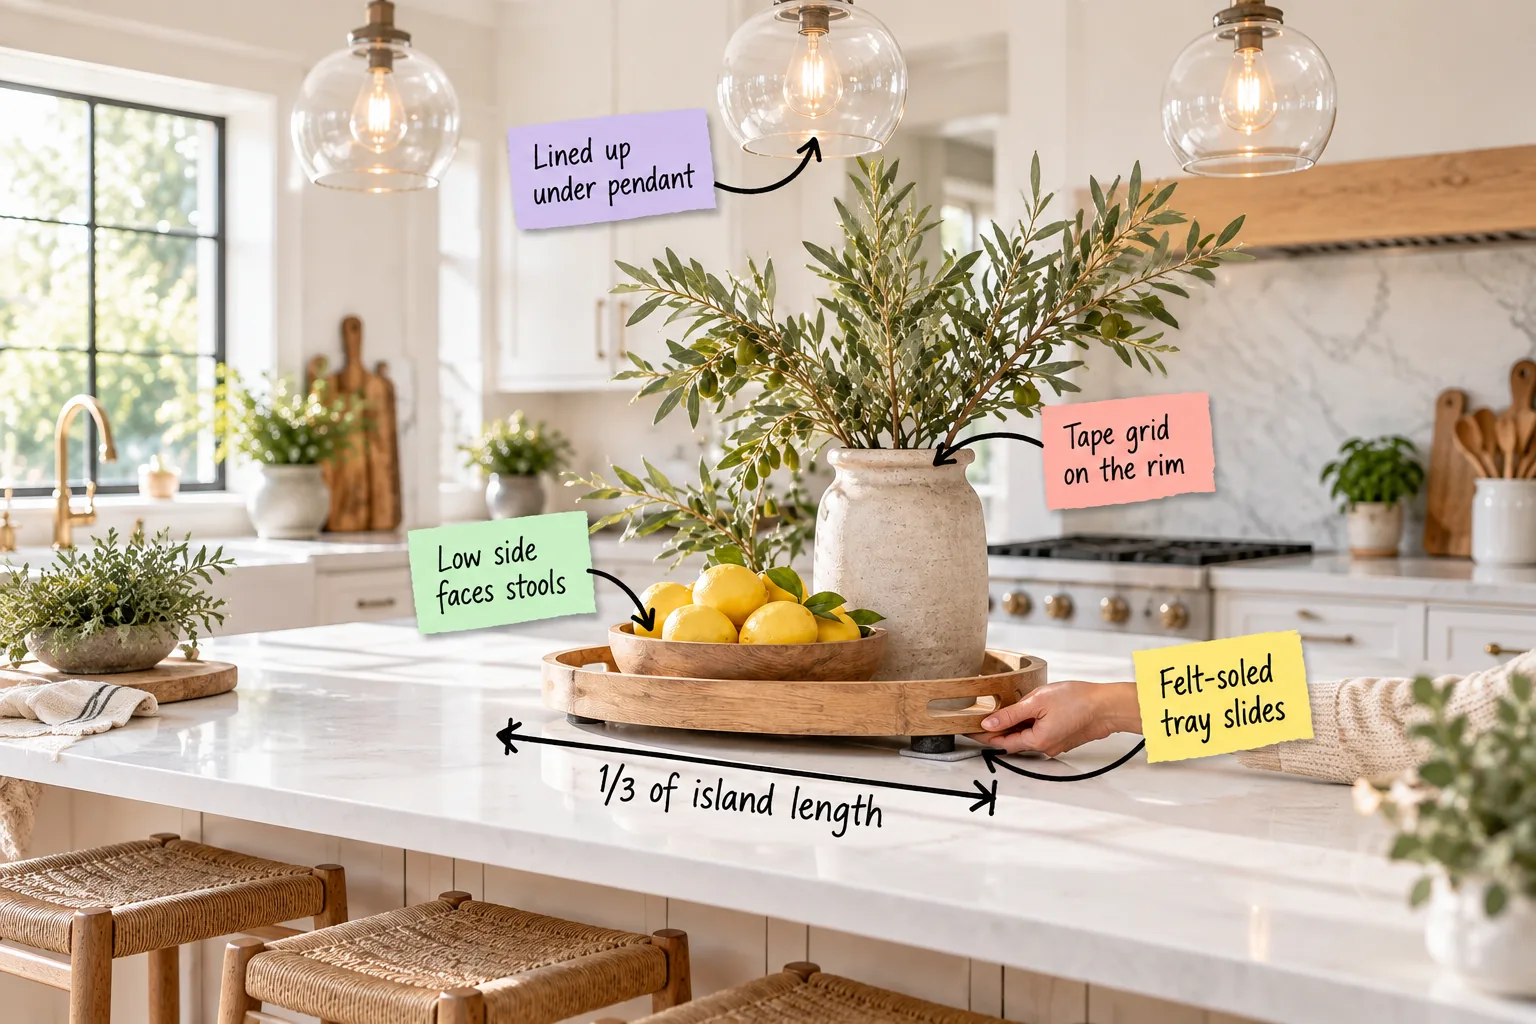
Learn how to style a kitchen island centerpiece that looks beautiful, politely slides out of the way, and perfectly fits your space. You will be able to master the one-third scale rule, arrange your branches, and print our custom tray-and-stem size sheet for your exact island length.
Sizing the Tray for Your Island
I always struggled with counter clutter in my Boston apartment until I started applying the one-third scale rule to my foundation trays. A centerpiece should anchor the kitchen without consuming the prep space, measuring approximately one-third of your total island length.
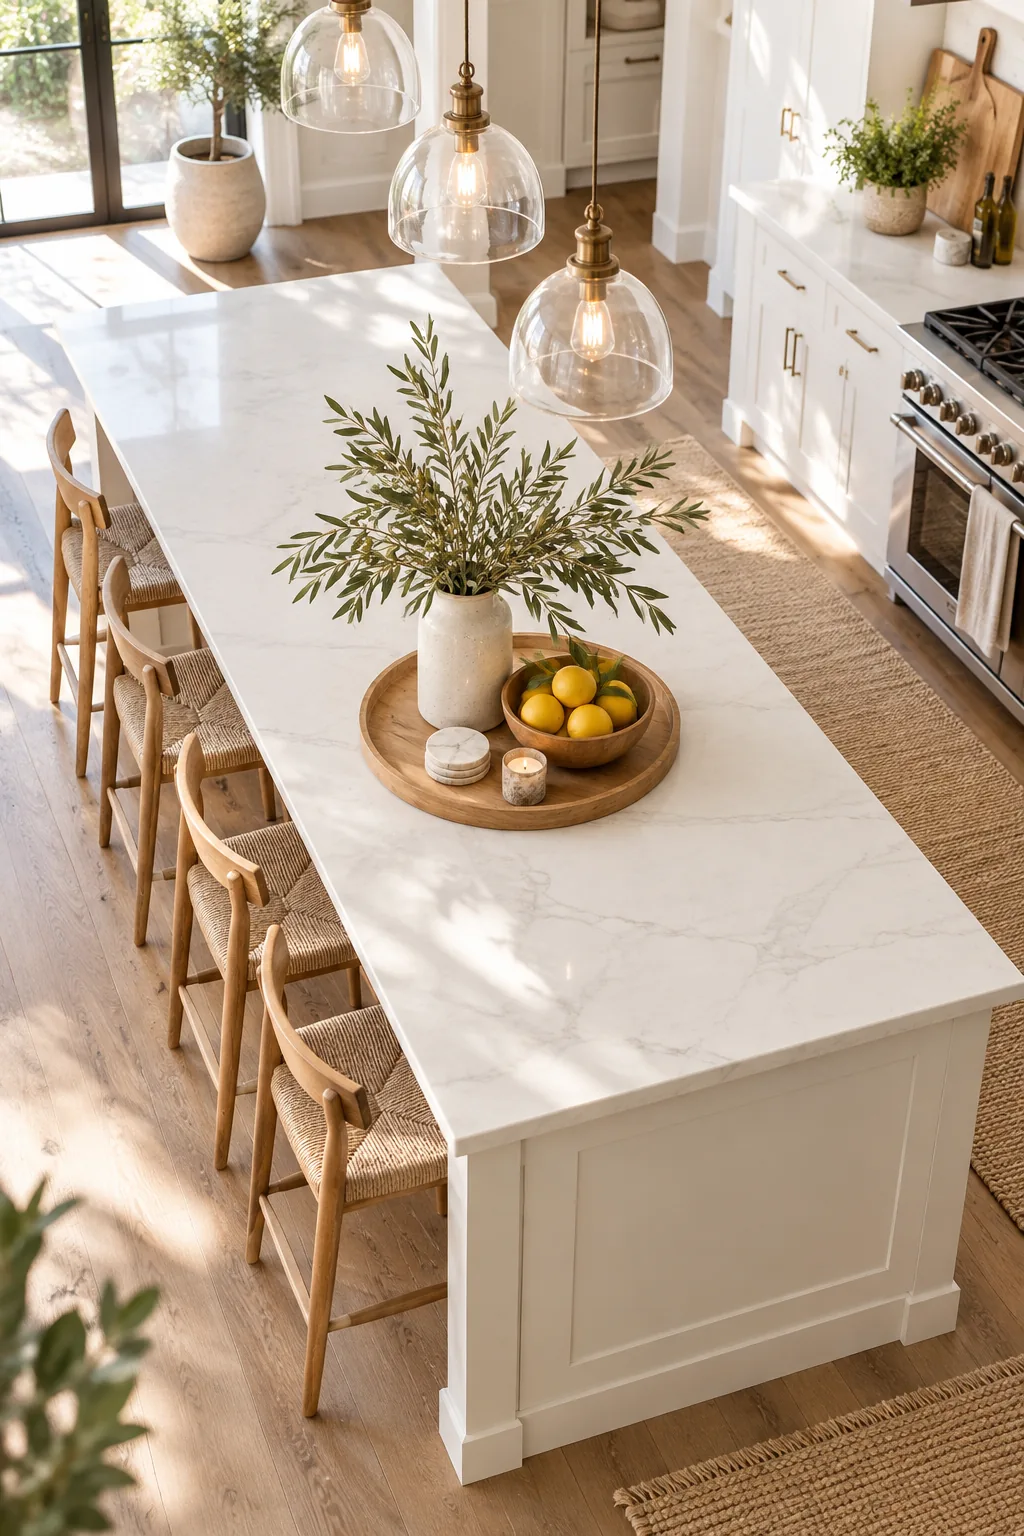
Getting the scale right is the absolute most important step for a standard 9-foot island, which requires a tray roughly 36 inches long. Avoid these common proportion errors when shopping for your foundation piece to ensure a balanced, professional look.
Choosing the Right Tray Material
The foundation sets the tone for the entire arrangement, and contrasting your countertop material is key to creating visual interest. If you have cool white quartz or marble, a warm solid oak or walnut tray instantly brings necessary life into the kitchen.
Always look for a tray with a raised edge of at least one inch to physically contain the styling elements. This shallow boundary keeps lemons from rolling away and visually groups your separate pieces into one cohesive, intentional collection.
Protecting the Countertop Surface
Beyond adding protective hardware, you should always wipe up any spilled water immediately to prevent moisture from trapping under the wooden foundation. Regularly lifting the tray ensures your expensive quartz or marble countertops remain pristine, completely free from hidden water rings or mineral etching.
Adding Felt Pads for Easy Sliding
A fully loaded wood tray packed with heavy stoneware and fresh fruit becomes incredibly difficult to move, which I learned after scratching my own quartz. Apply 1-inch heavy-duty felt furniture pads to the underside corners of your tray to protect your surfaces.
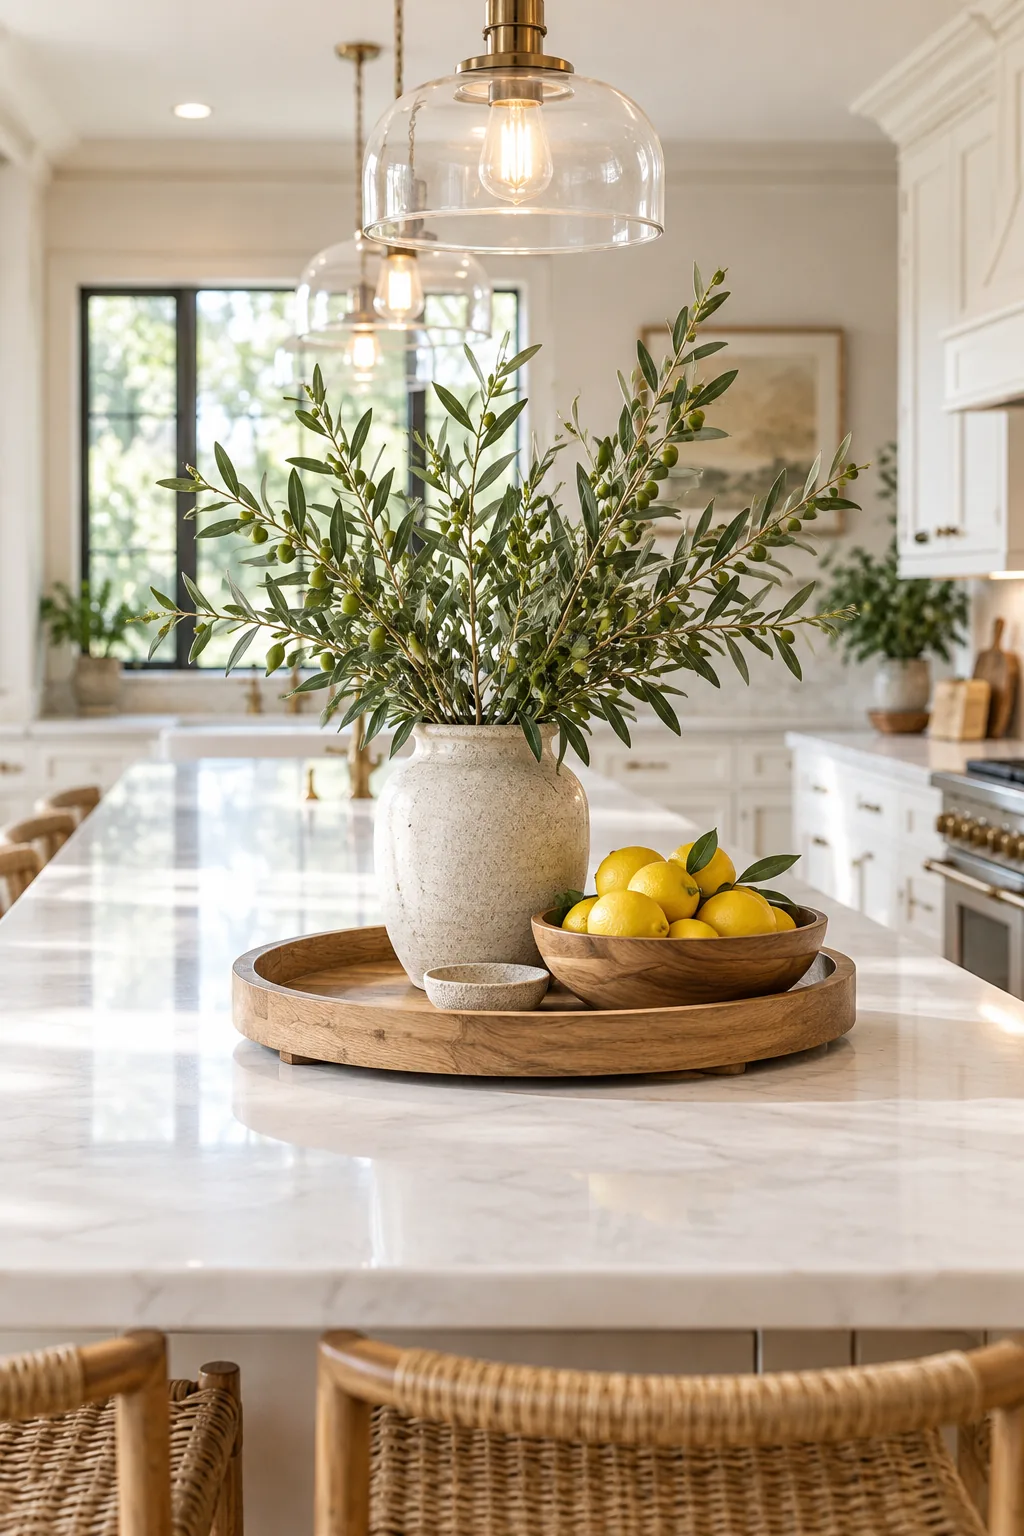
This simple, inexpensive upgrade lifts the wood a few millimeters off the counter, allowing you to slide the entire arrangement out of the way with one hand. You can effortlessly push it aside when wiping down the counters after a messy dinner prep.
Aligning with Your Overhead Pendants
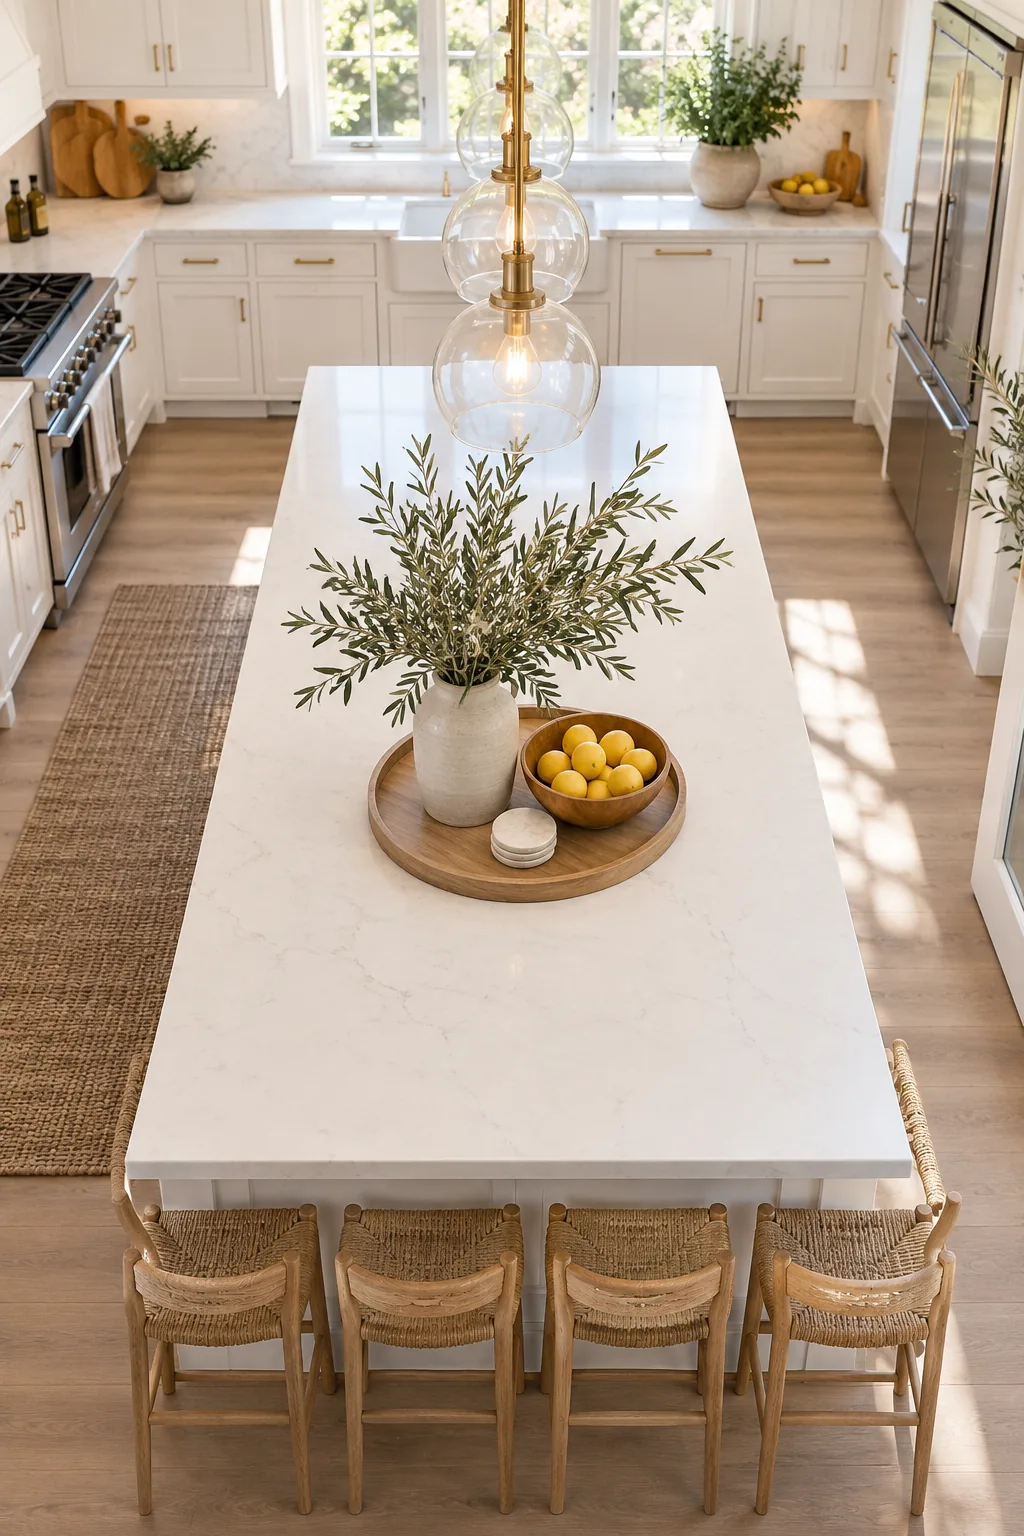
Connect the island styling directly to the architecture of the room by using your existing lighting plan as a foolproof centering guide. Position the tallest element of your centerpiece directly plumb with the middle glass pendant hanging above.
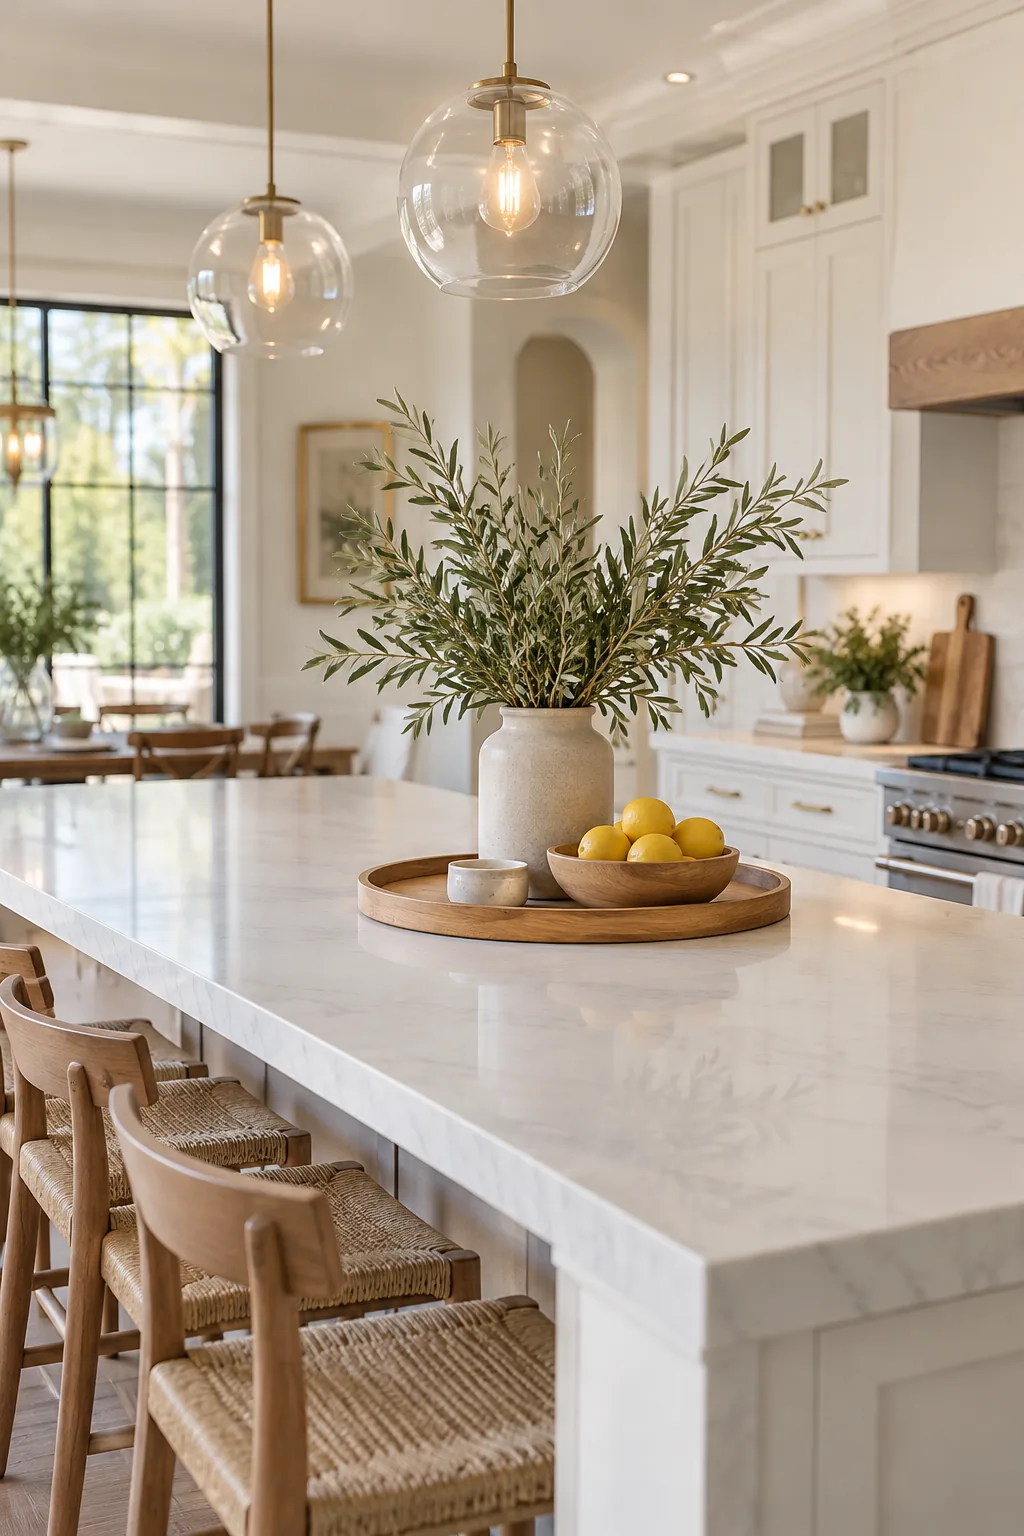
If you happen to have an even number of pendants, center the tall vessel precisely between the middle two fixtures to maintain perfect balance. This vertical alignment creates a deliberate, built-in look that makes temporary decor feel wonderfully permanent.
Selecting the Right Stoneware Vessel
A beautifully textured, heavy ceramic or stoneware vase provides the necessary visual weight to anchor tall, sprawling branches without tipping over. Look for a vessel with a slightly tapered neck, which naturally gathers the stems together before you secure their final outward angles.
Securing Branches with a Tape Grid
Heavy olive branches naturally tend to clump together or awkwardly fall out of wide-mouthed stoneware vessels when left unsupported. Build a crosshatch grid across the rim using clear, waterproof floral tape to provide an invisible, rigid support structure.
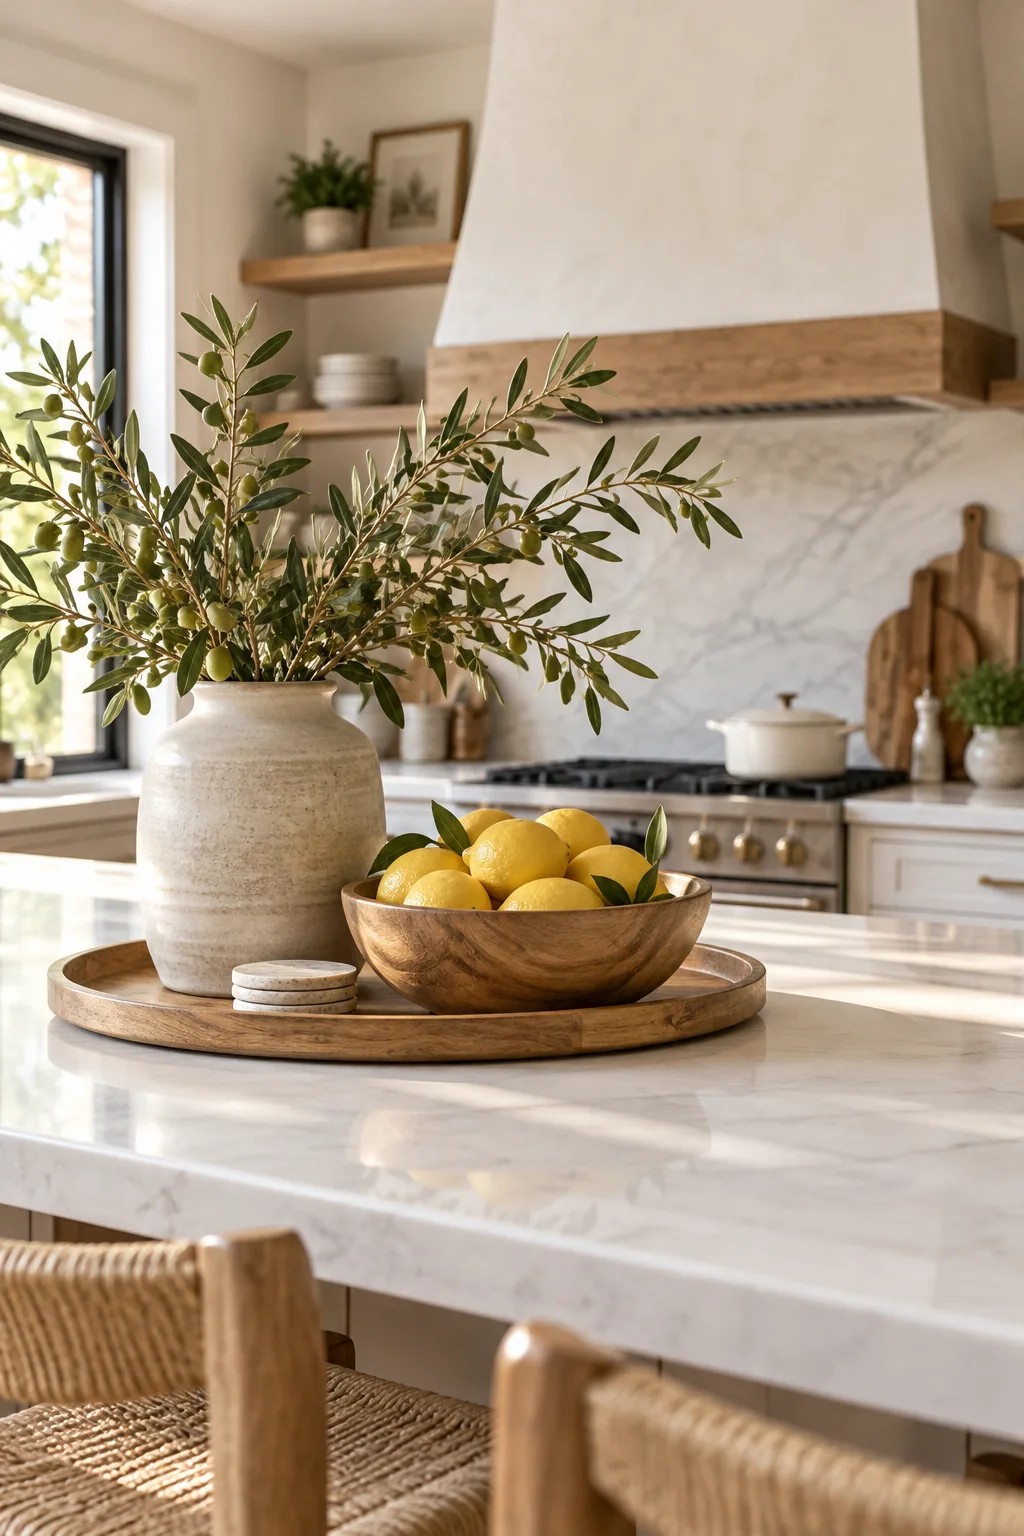
This hidden framework allows you to place each individual stem at a specific, airy angle that holds its shape beautifully for weeks. Your arrangement will look professionally styled and full, rather than carelessly dropped into the center of the vase.
Mapping the Perfect Branch Count
The volume of your foliage needs to match the visual weight of your foundation tray to avoid looking overly sparse or top-heavy. A reliable baseline is to use five to seven large branches for every 36 inches of tray length.
| Island Length | Tray Size | Branch Count | Max Height |
|---|---|---|---|
| 6 feet | 24 inches | 3-5 branches | 28 inches |
| 8 feet | 32 inches | 5-7 branches | 34 inches |
| 10 feet | 40 inches | 7-9 branches | 40 inches |
Mixing different branch heights within this specific count prevents the arrangement from looking like a solid, impenetrable wall of green leaves. Keep the tallest stems near the center and let the shorter, softer ones drape naturally toward the outer edges.
Selecting Stems That Dry in Place
Minimize your weekly maintenance routine by choosing woody stems that look incredibly beautiful even as they age and lose moisture. Olive branches, seeded eucalyptus, and preserved oak leaves will slowly dry in place without drooping or dropping messy leaves.
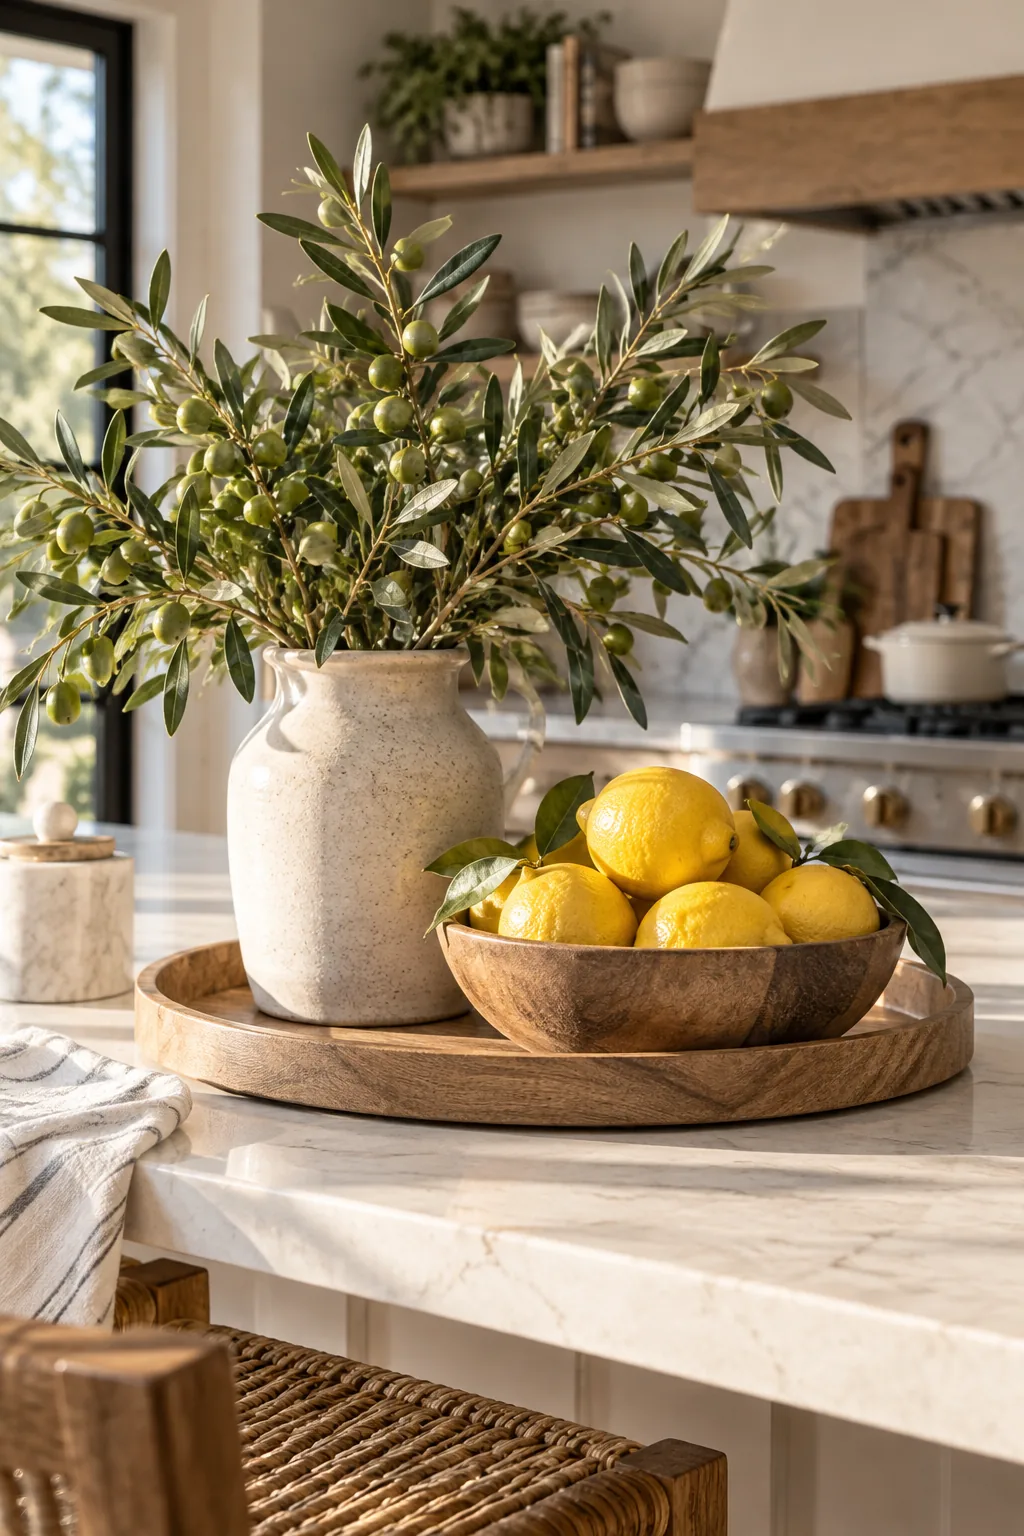
Because these hardy, structural varieties hold their exact shape as they cure, you only need to change the water for the very first week. After that initial period, they become a gorgeous semi-permanent display that requires absolutely zero daily upkeep.
Maintaining the Initial Water Level
Even stems destined to dry in place need a strong start to prevent them from crisping up too quickly in a warm kitchen. Properly preparing the vessel ensures the foliage transitions smoothly from fresh-cut to beautifully preserved without losing its vibrant color.
- Fill the stoneware vessel exactly halfway with room-temperature water to provide stability without submerging the tape grid.
- Strip all lower leaves from the branches so absolutely no foliage sits below the waterline, preventing bacterial growth.
- Empty and replace the water completely every two days for the first week before letting the vase dry out entirely.
Skipping this crucial hydration week often results in brittle leaves that shatter whenever you slide the tray across the island. A slow, controlled drying process keeps the branches looking pliable, fresh, and perfectly styled for months on end.
Refreshing the Arrangement Seasonally
While the structural branches remain perfectly preserved for months, swapping out the fresh elements keeps the display feeling active and intentional. Replace the bright summer lemons with deep red pomegranates or earthy artichokes as the seasons change to maintain a dynamic, evolving centerpiece.
Facing the Low Bowl Toward Seating
A centerpiece should never block conversation, so I always sit at my own island to test the sightlines before finalizing any design. Place the lowest element, like a shallow wooden bowl of lemons, on the seating side of the tray facing the bar stools.
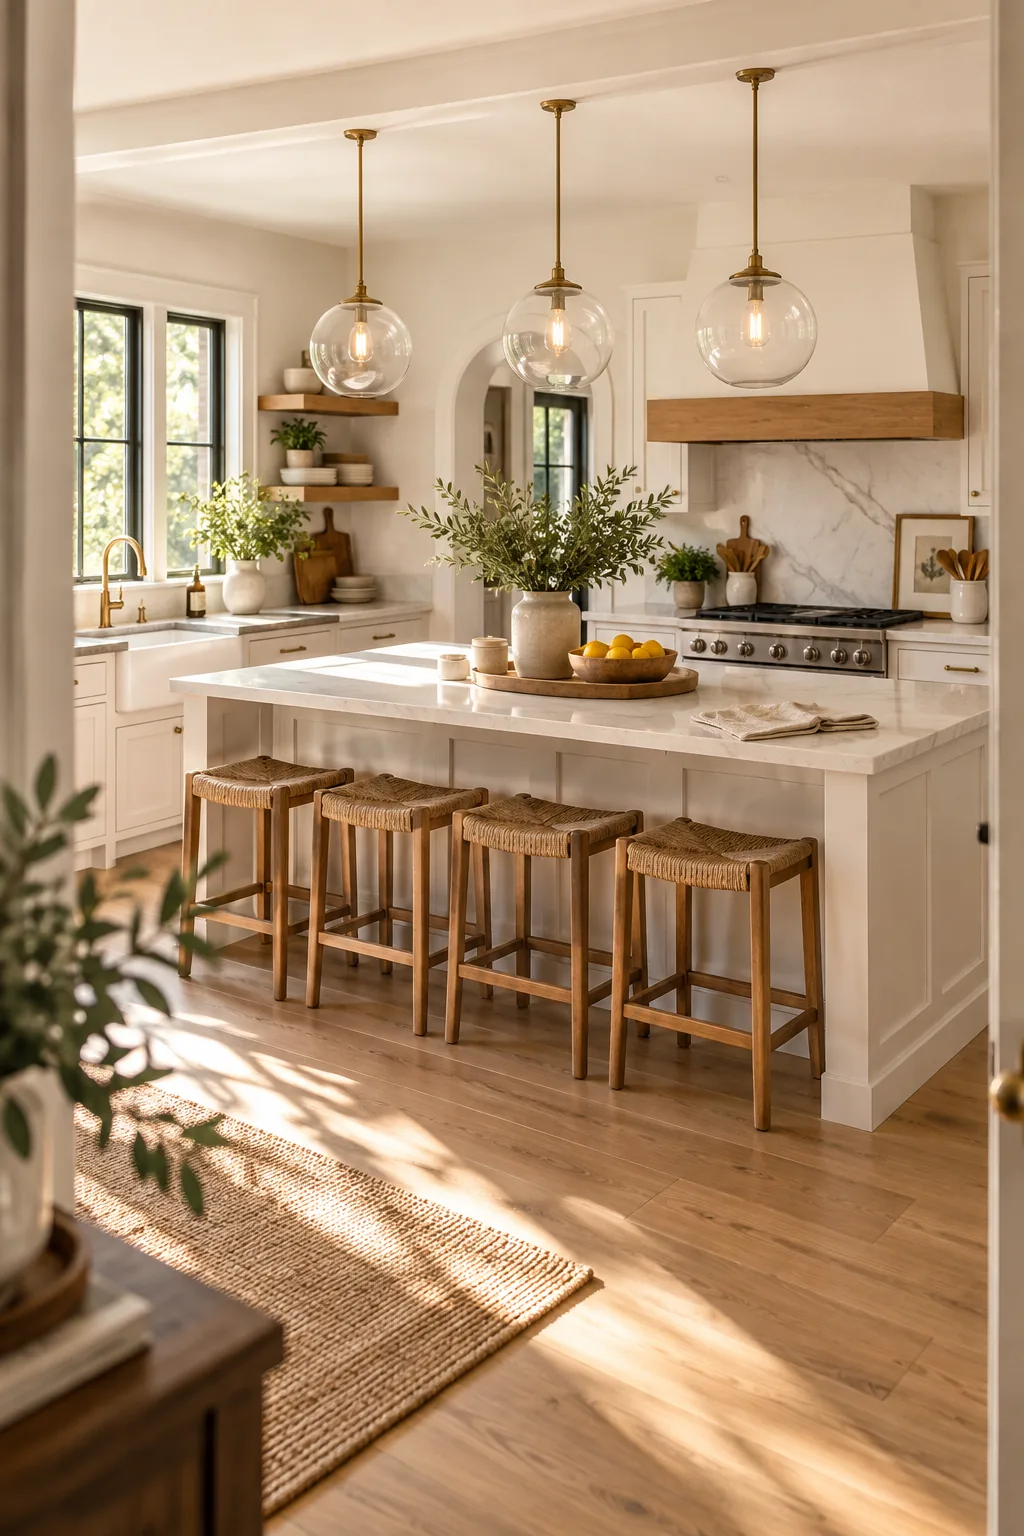
The arrangement must look intentional from both the cooking and the dining zones while keeping the tall stoneware pushed toward the working side. Always double-check your work from the guest’s perspective to ensure perfect, unobstructed visibility across the counter.
Three Ways to Style the Centerpiece Formula
Keep the one-third scale rule and swap the materials to match your kitchen's exact style.
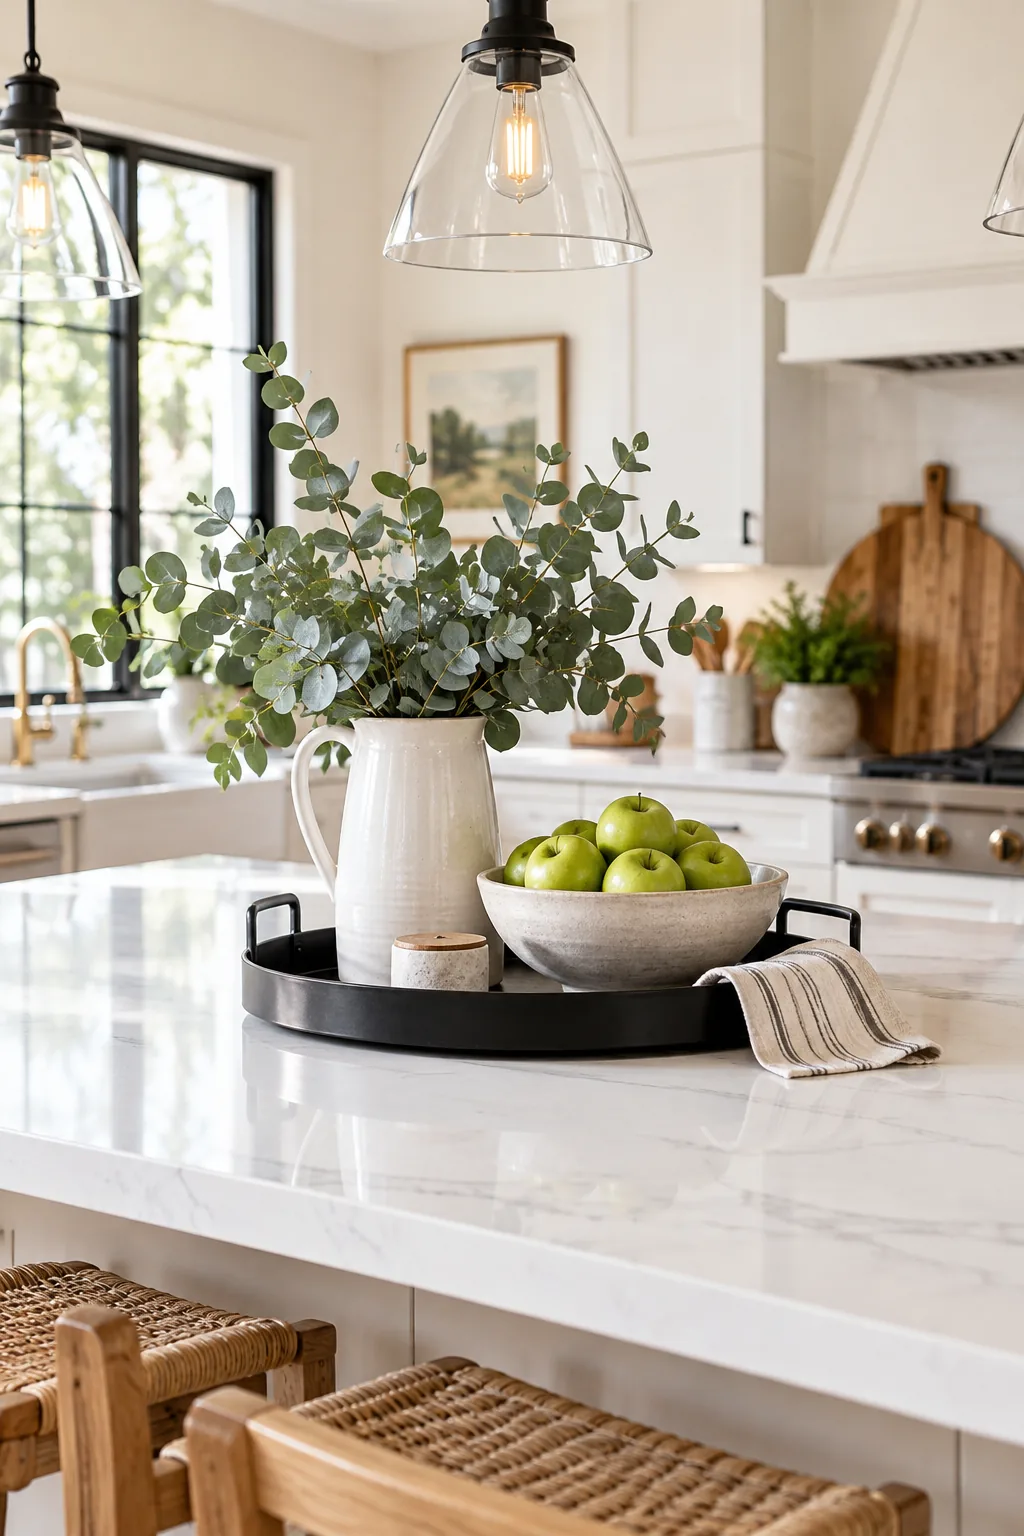
Modern Farmhouse: A matte black metal tray holds a white pitcher of eucalyptus and green apples, bringing high-contrast farmhouse charm to a bright white kitchen.
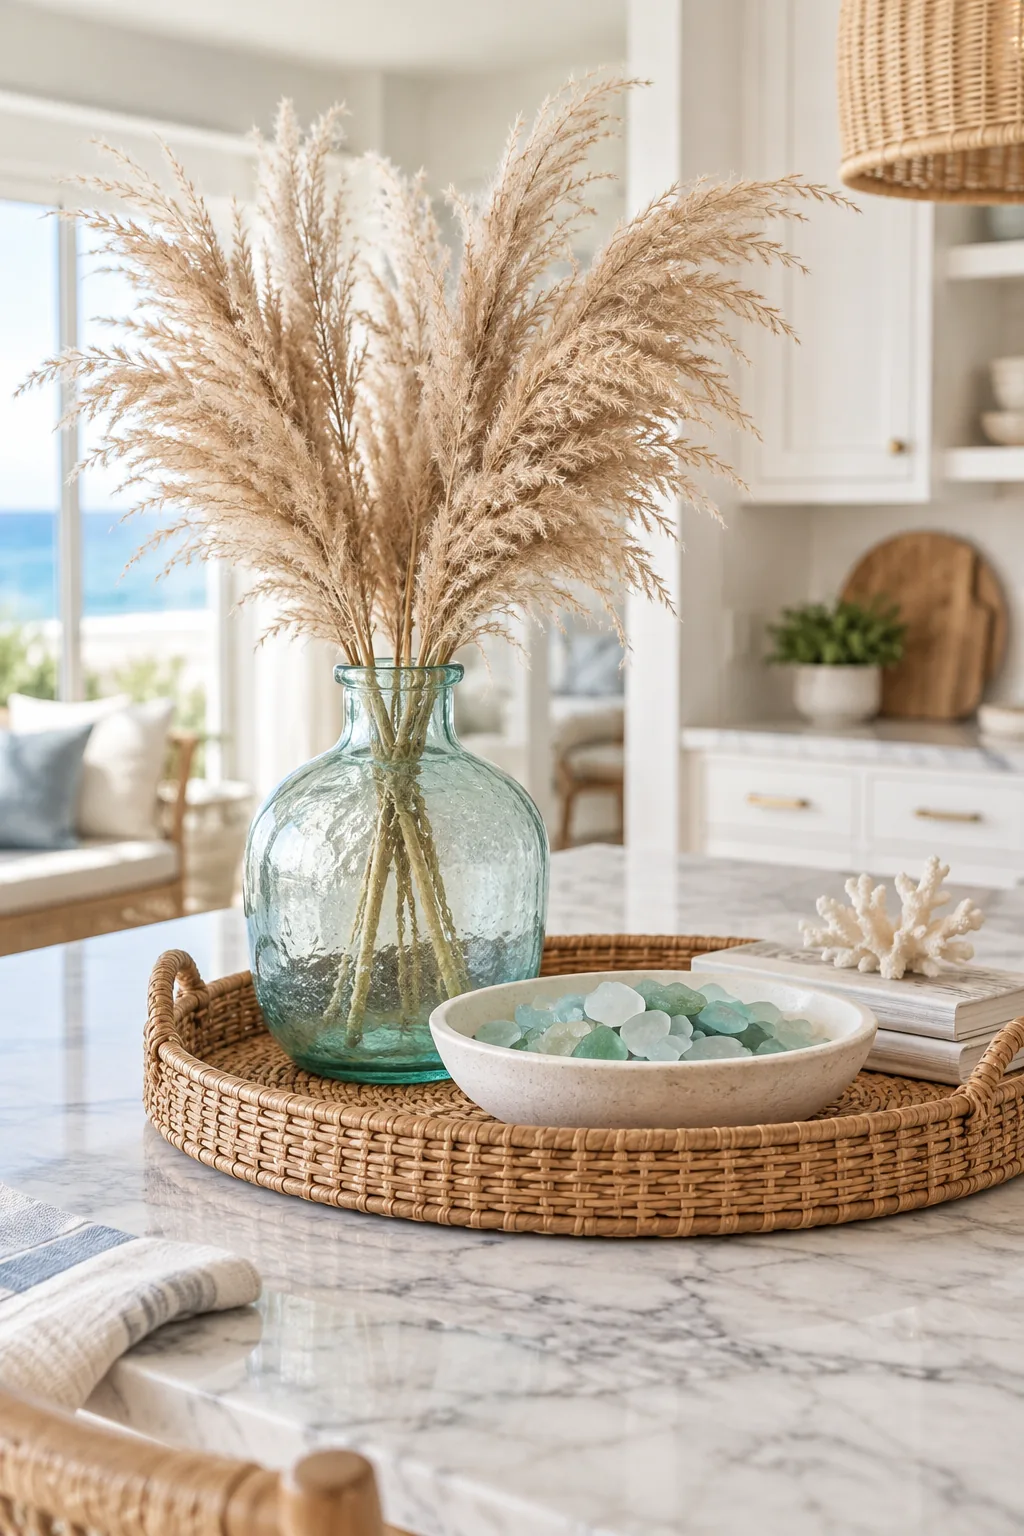
Coastal Transitional: A woven rattan tray warms up cool marble counters, featuring a recycled glass vase with dried pampas grass and a shallow bowl of sea glass.
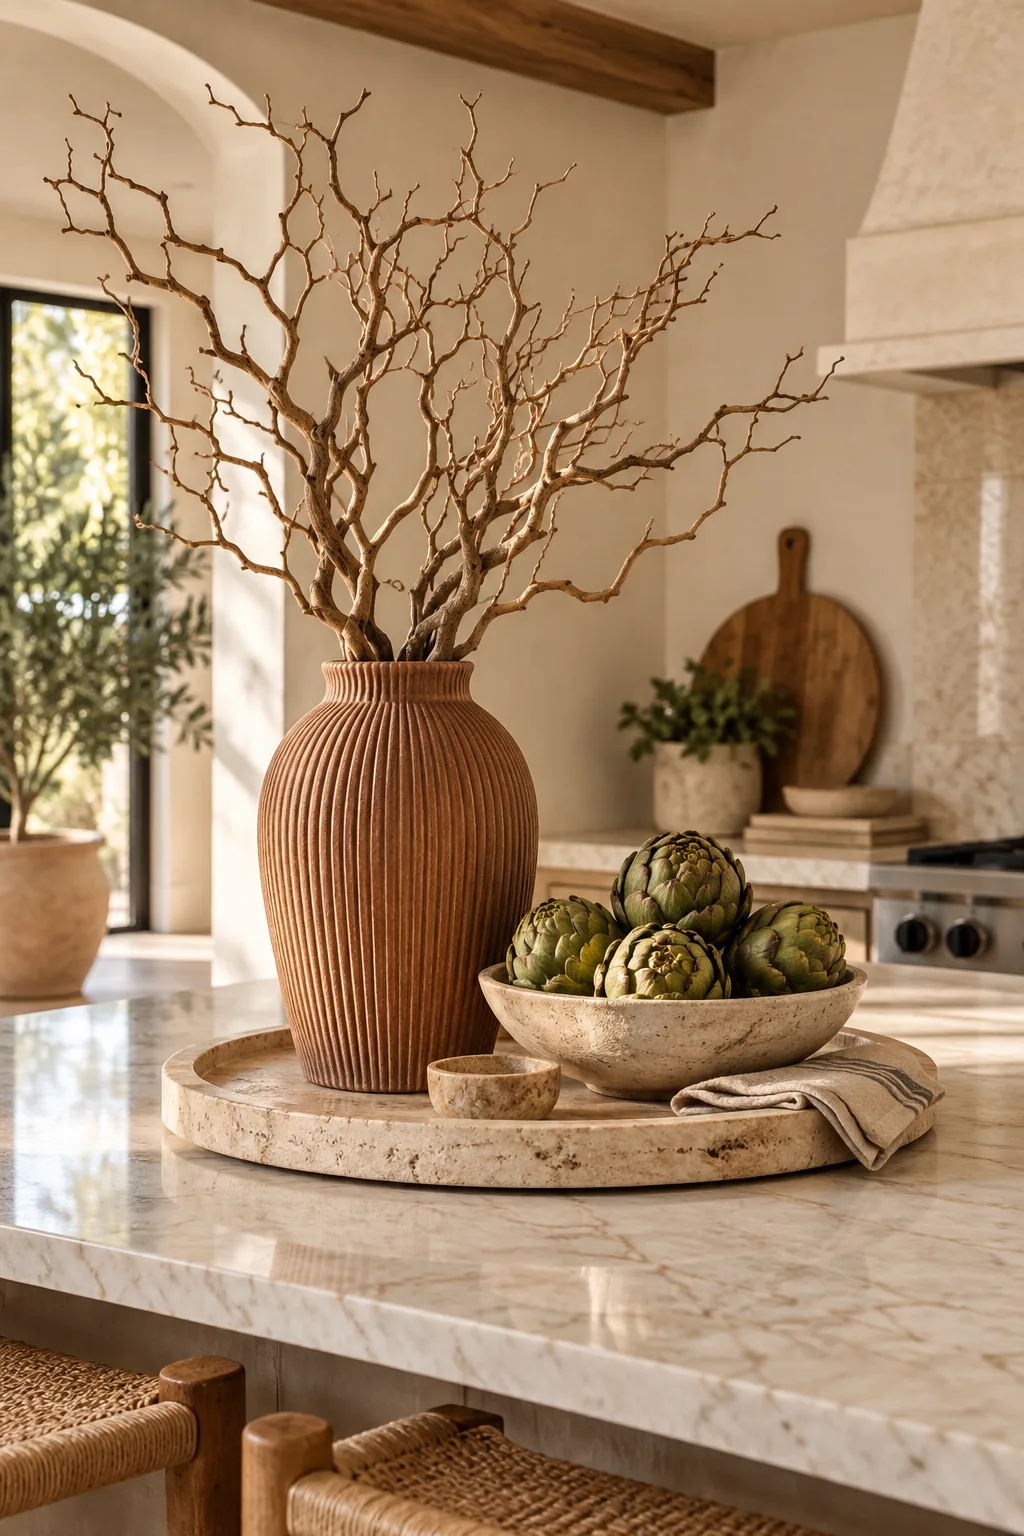
Warm Minimalist: A travertine slab tray grounds a ribbed terracotta vessel filled with bare manzanita branches, paired with fresh artichokes for a subtle, earthy aesthetic.
Your Printable Island Size and Stem Sheet
Take the guesswork out of scaling your arrangement by downloading our custom sizing resources for your specific kitchen dimensions. Print our one-page Island Centerpiece Size Sheet to get your exact tray length and maximum arrangement height calculated for you.
This comprehensive guide covers recommended branch counts for islands ranging from 5 to 10 feet long, ensuring perfect proportions every single time. It also includes three distinct seasonal stem-and-fruit shopping lists so you can confidently update your centerpiece throughout the year.