
Farm Style Fence Build Specs: Lumber and Spacing Cheat Sheet
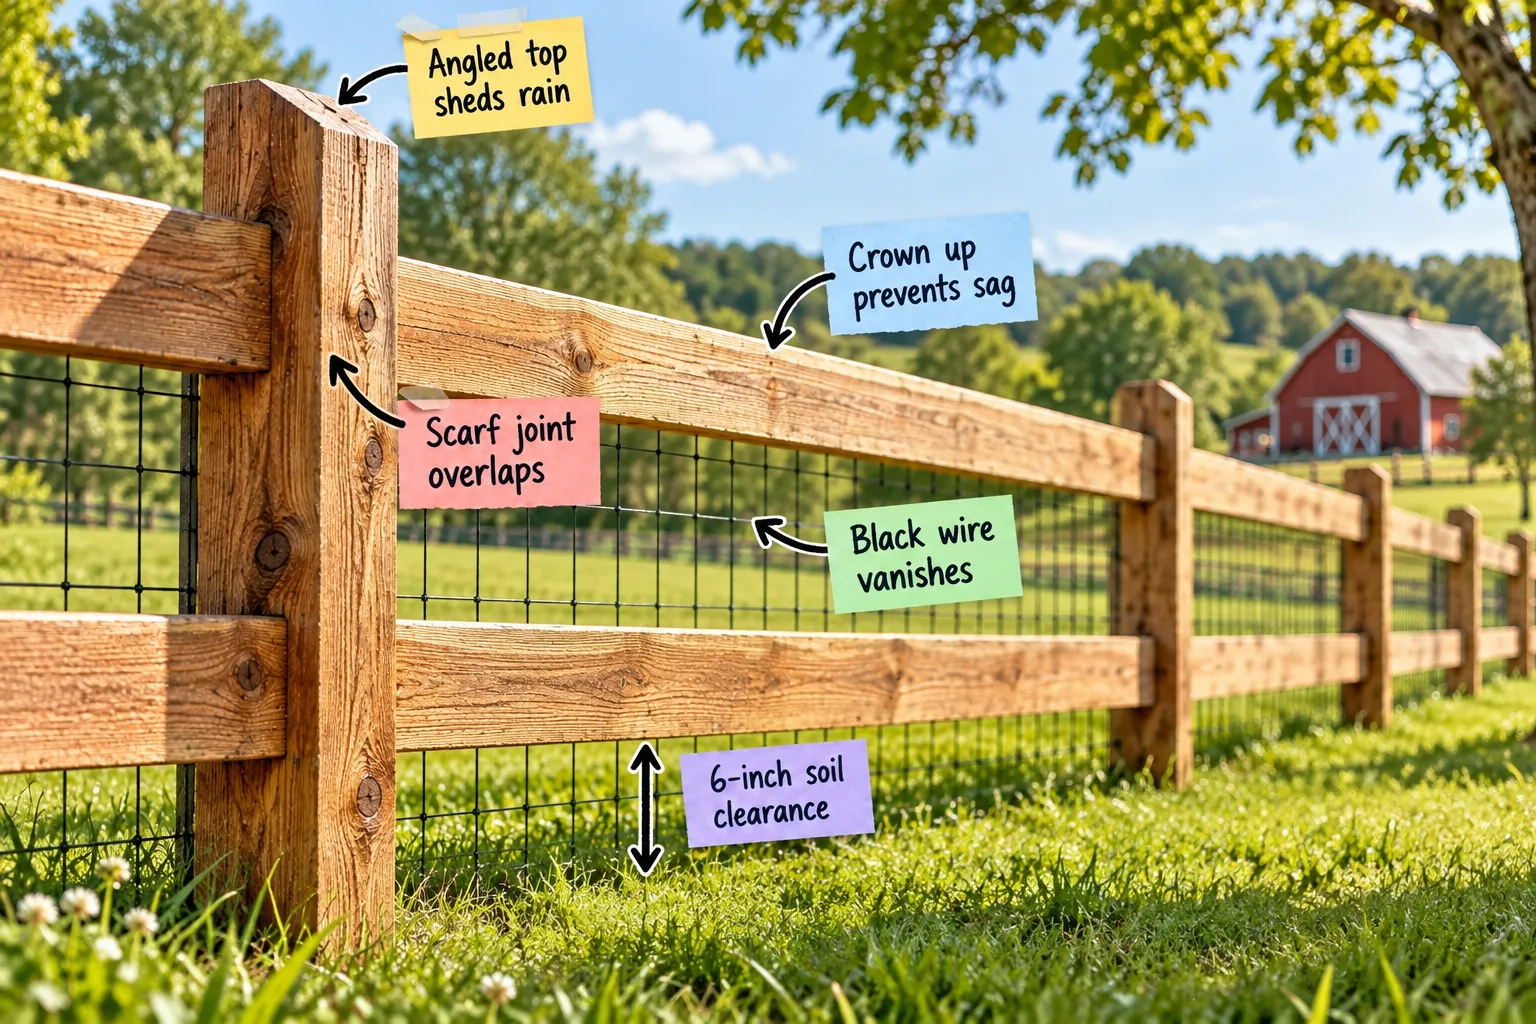
If you want a boundary that lasts for decades, you need the exact lumber and spacing cheat sheet to purchase the right materials and build a classic farm style fence.
Setting the Posts and Cutting the Tops
Before you attach any rails, you must cut a 15-degree bevel onto the top of every 4×4 or 6×6 post to ensure water continuously runs off.
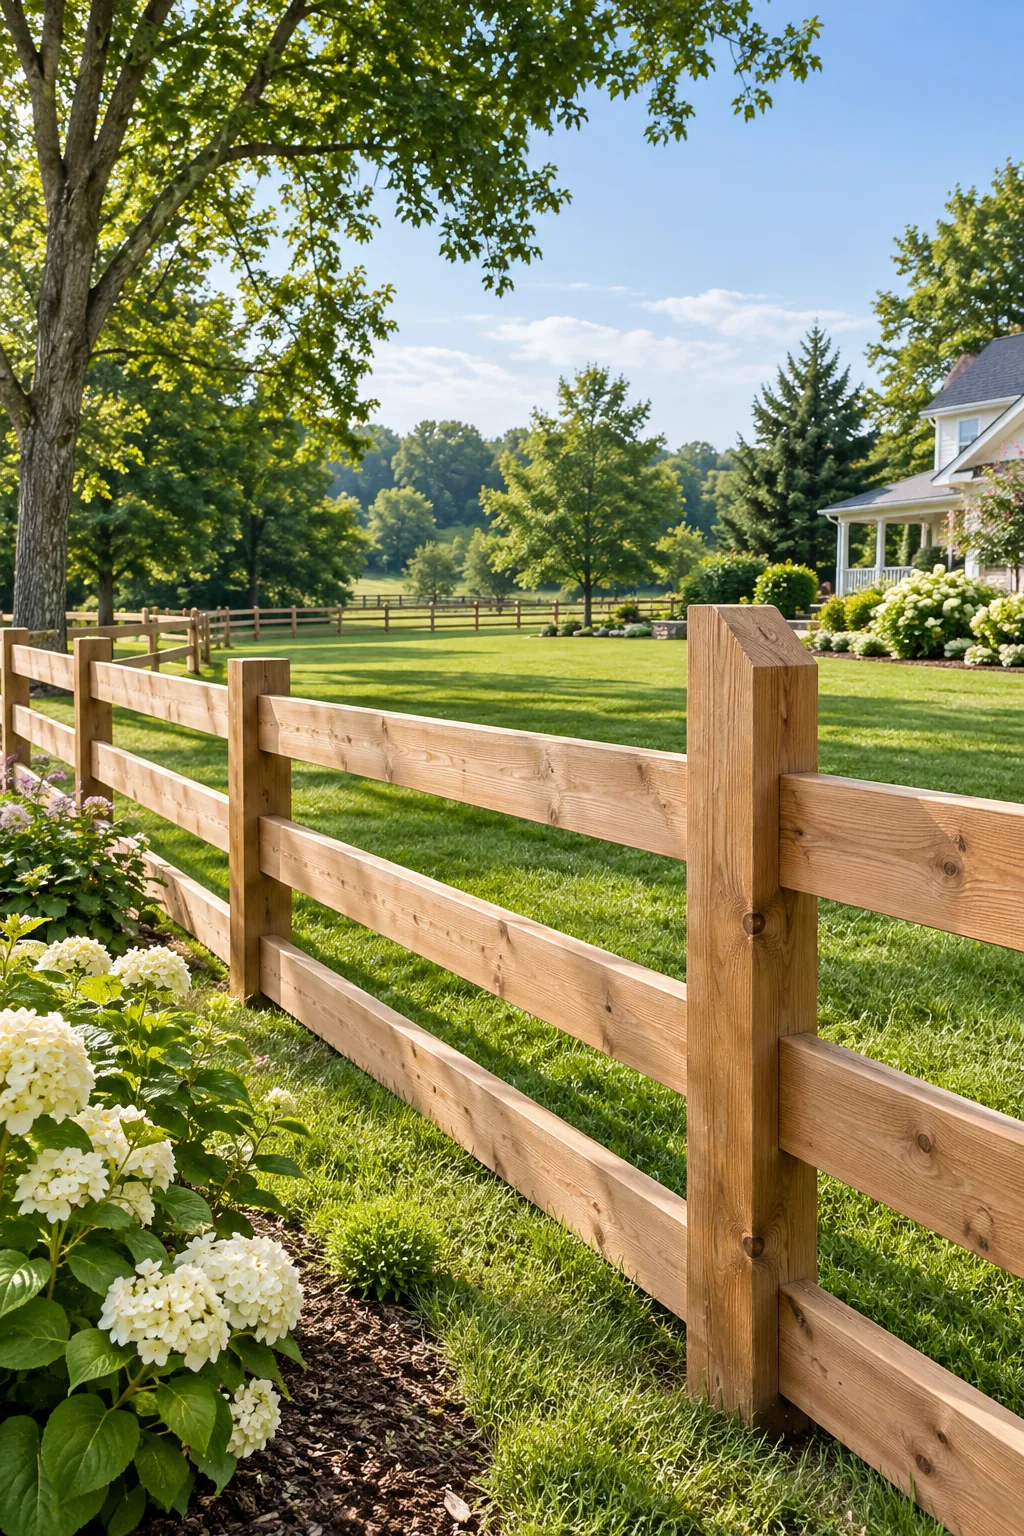
Leaving the post tops perfectly flat allows rain to pool on the surface, which accelerates end-grain rot and ruins your structural supports years before their time.
Establishing the Bottom Gap
When I built my first Austin yard boundary, mapping out a strict 6-inch soil clearance saved my lowest boards from rotting in the damp spring grass.
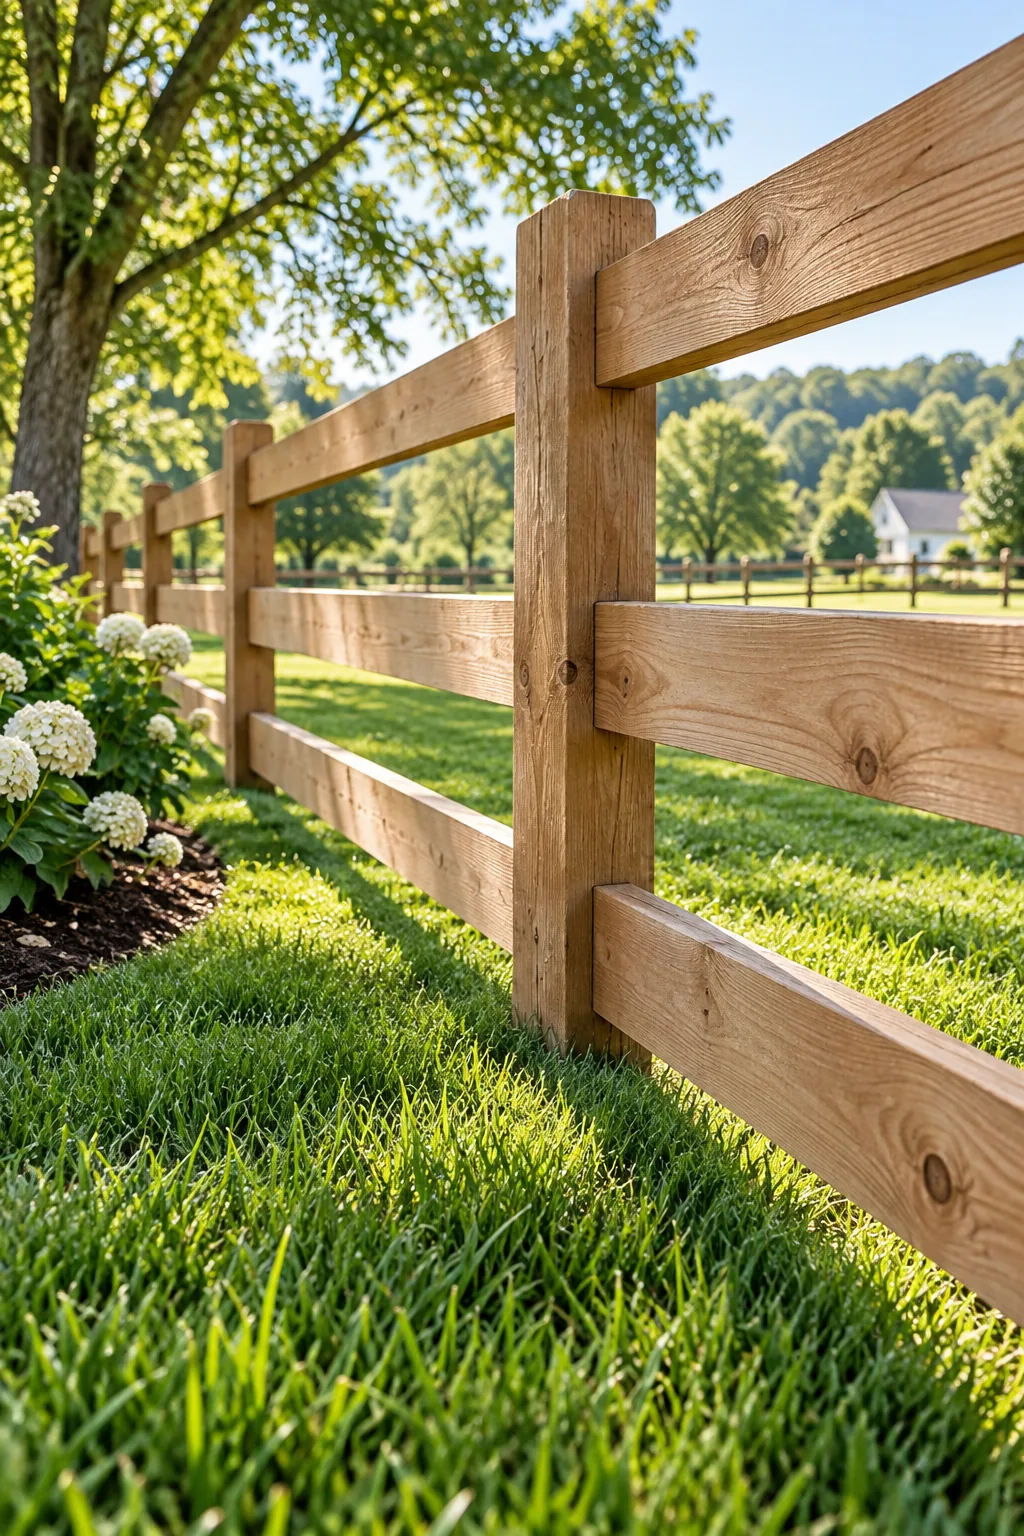
This precise elevation keeps the wood safely away from ground moisture while leaving just enough room for a string trimmer to pass freely underneath.
Orienting the Horizontal Rails
Because natural lumber inevitably bows, you must sight down the narrow edge of every 2×6 rail to locate the slightly convex side before you lift it into position.
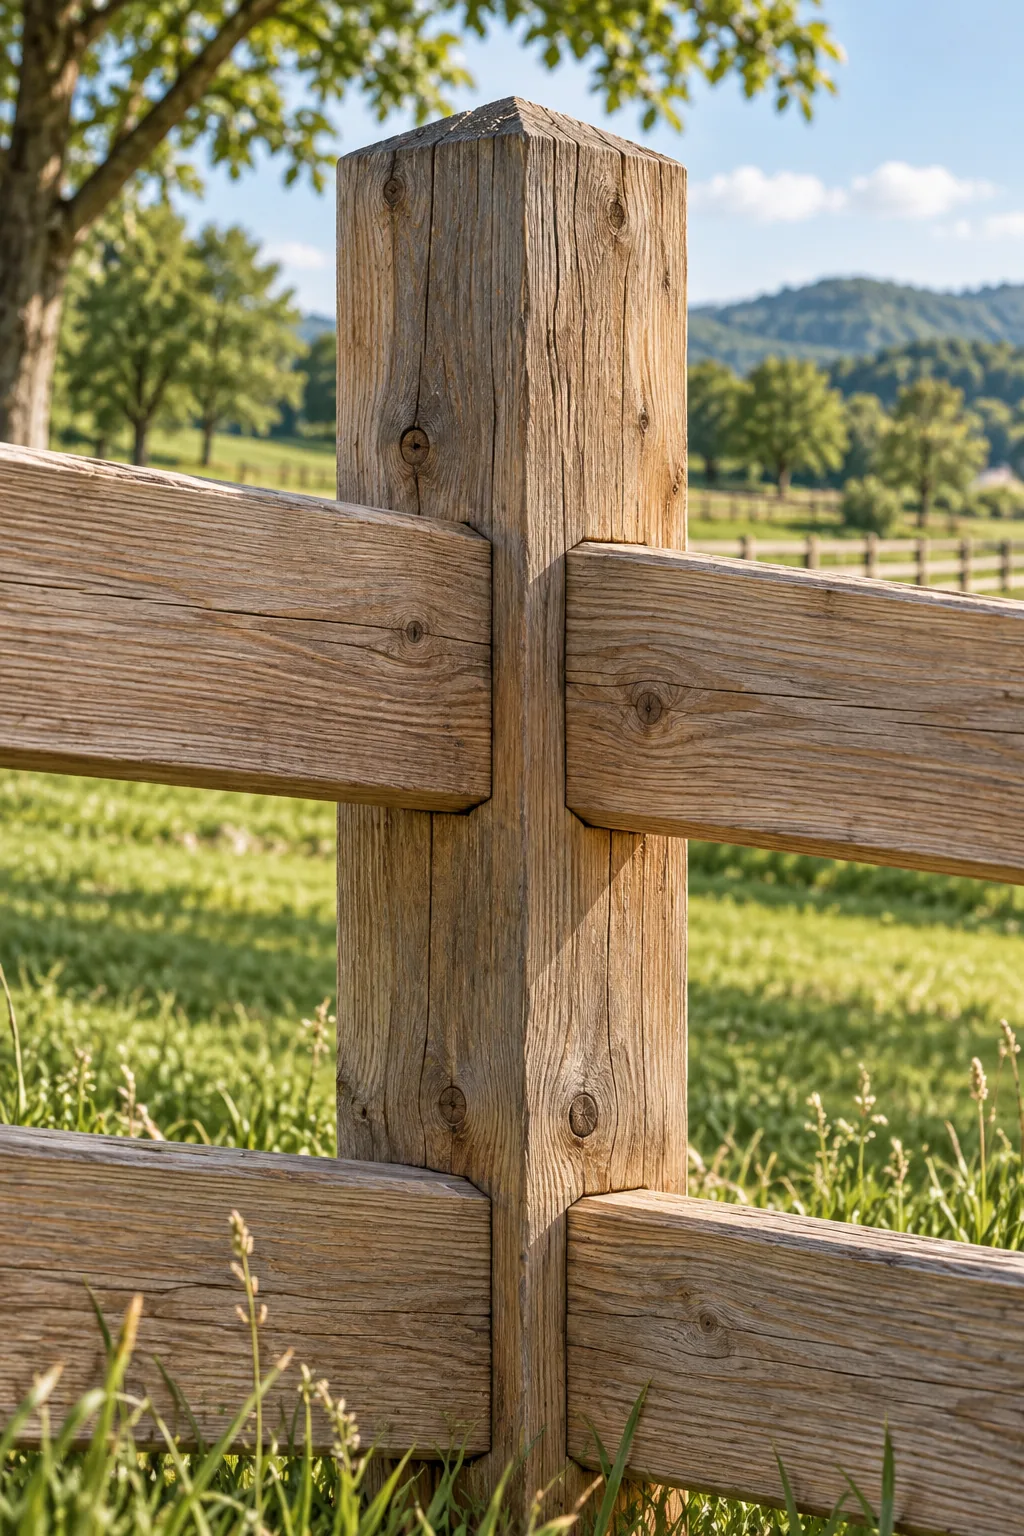
Always install these boards with the crown facing up so that gravity naturally pulls the wood straight over time rather than accelerating an unsightly mid-span sag.
Splicing Rails for Strength
Instead of simply butting boards end-to-end, cut a 45-degree scarf joint where your rails meet precisely on the center mark of your vertical post.
Driving large fasteners near the delicate tapered edge of a scarf joint easily splits the wood if you skip the prep work.
Adding Invisible Pet Protection
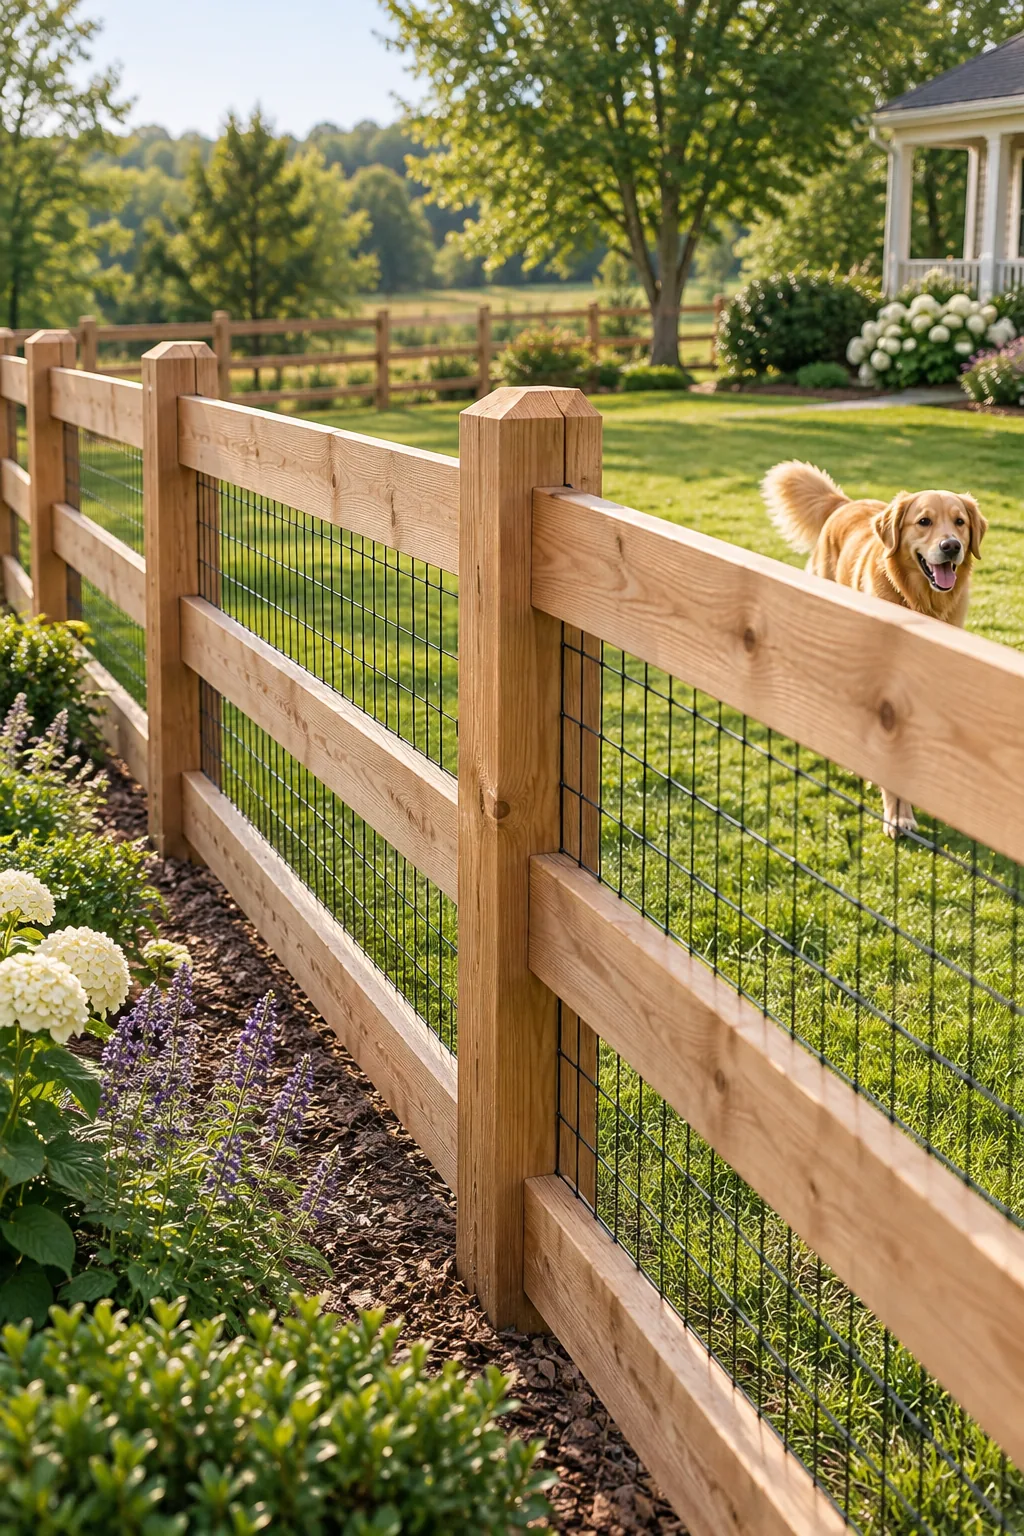
To keep your dogs safely contained without ruining the rustic aesthetic, staple 14-gauge black welded wire mesh directly to the inside face of the horizontal rails.
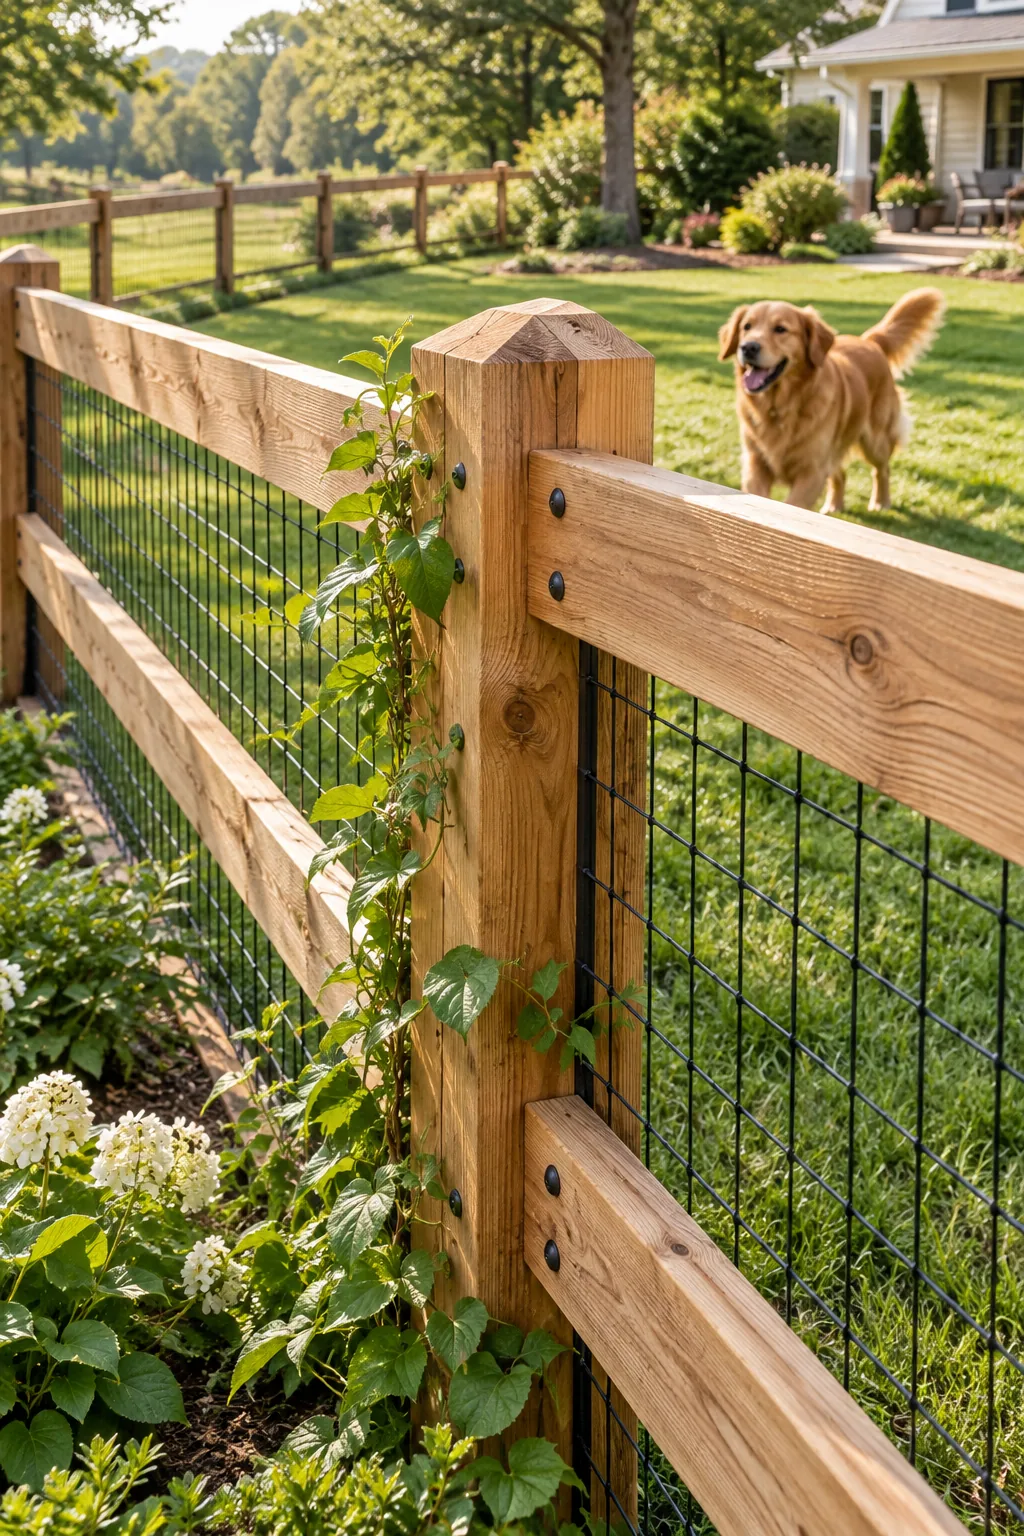
The dark vinyl coating effectively absorbs ambient sunlight rather than reflecting it, allowing the tough metal barrier to virtually vanish into the shadowed background foliage.
Selecting the Right Fasteners
Traditional galvanized nails inevitably back out as the cedar swells and shrinks through the changing seasons, eventually leaving you with loose, rattling boards.
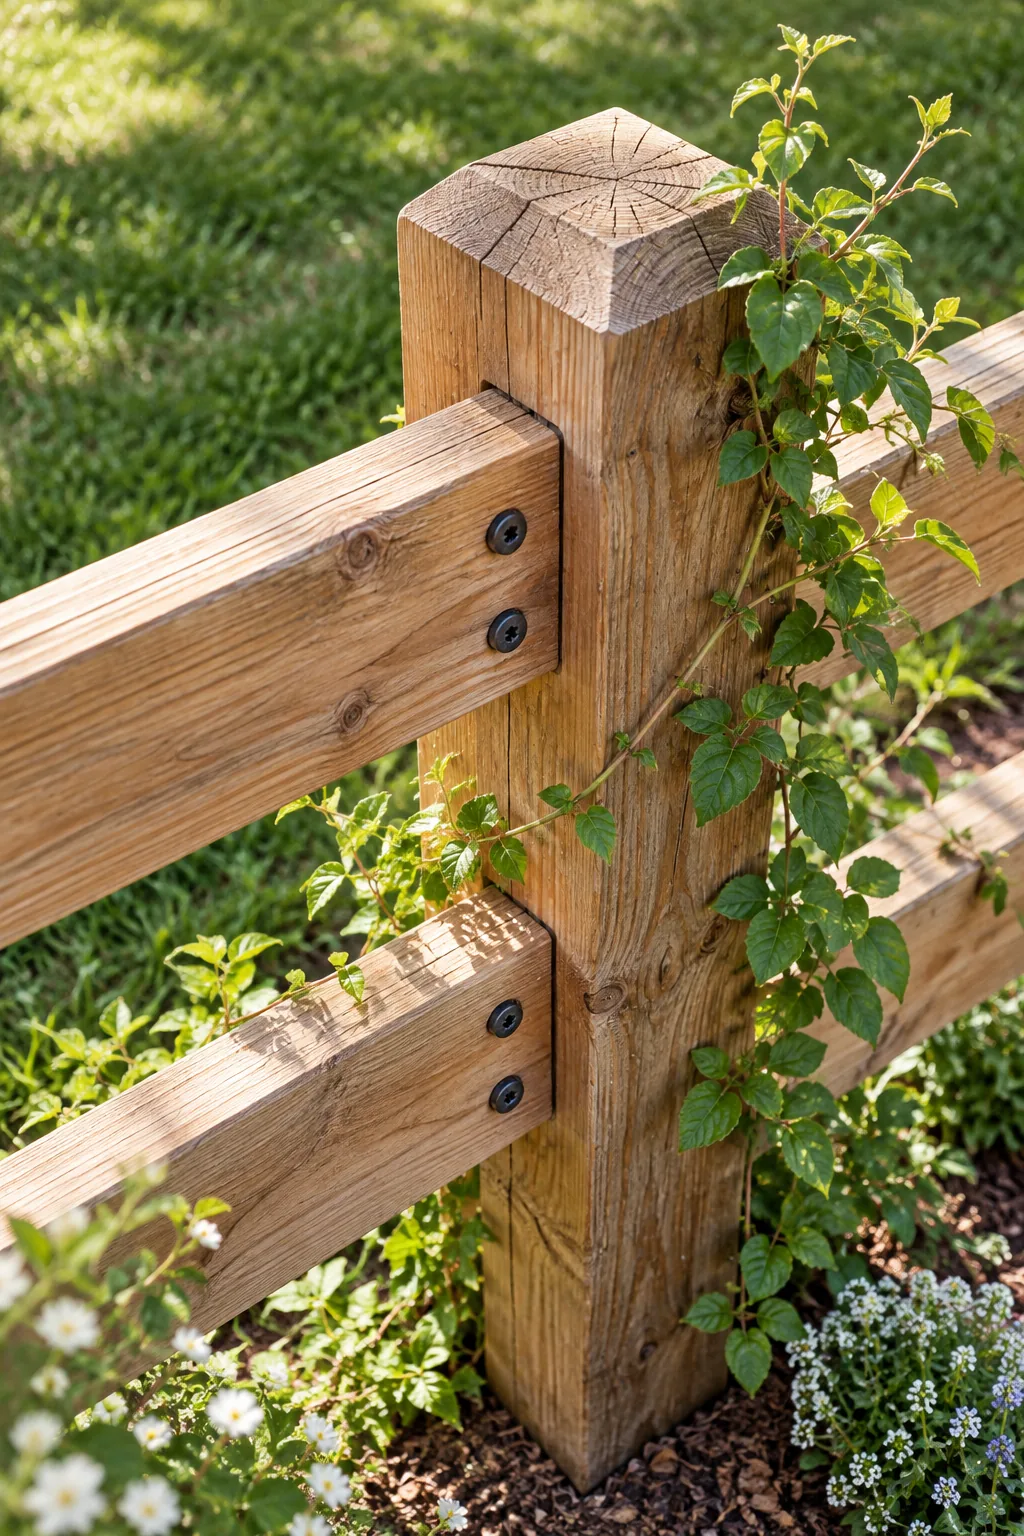
Lock every joint together using 3-inch exterior structural screws to guarantee your rails stay tightly clamped against the posts through decades of harsh weather.
Hanging the Farm Gate
A heavy wooden gate exerts massive leverage on its hinge post, requiring specific structural reinforcement and heavy-duty strap hinges to stay perfectly level over time.
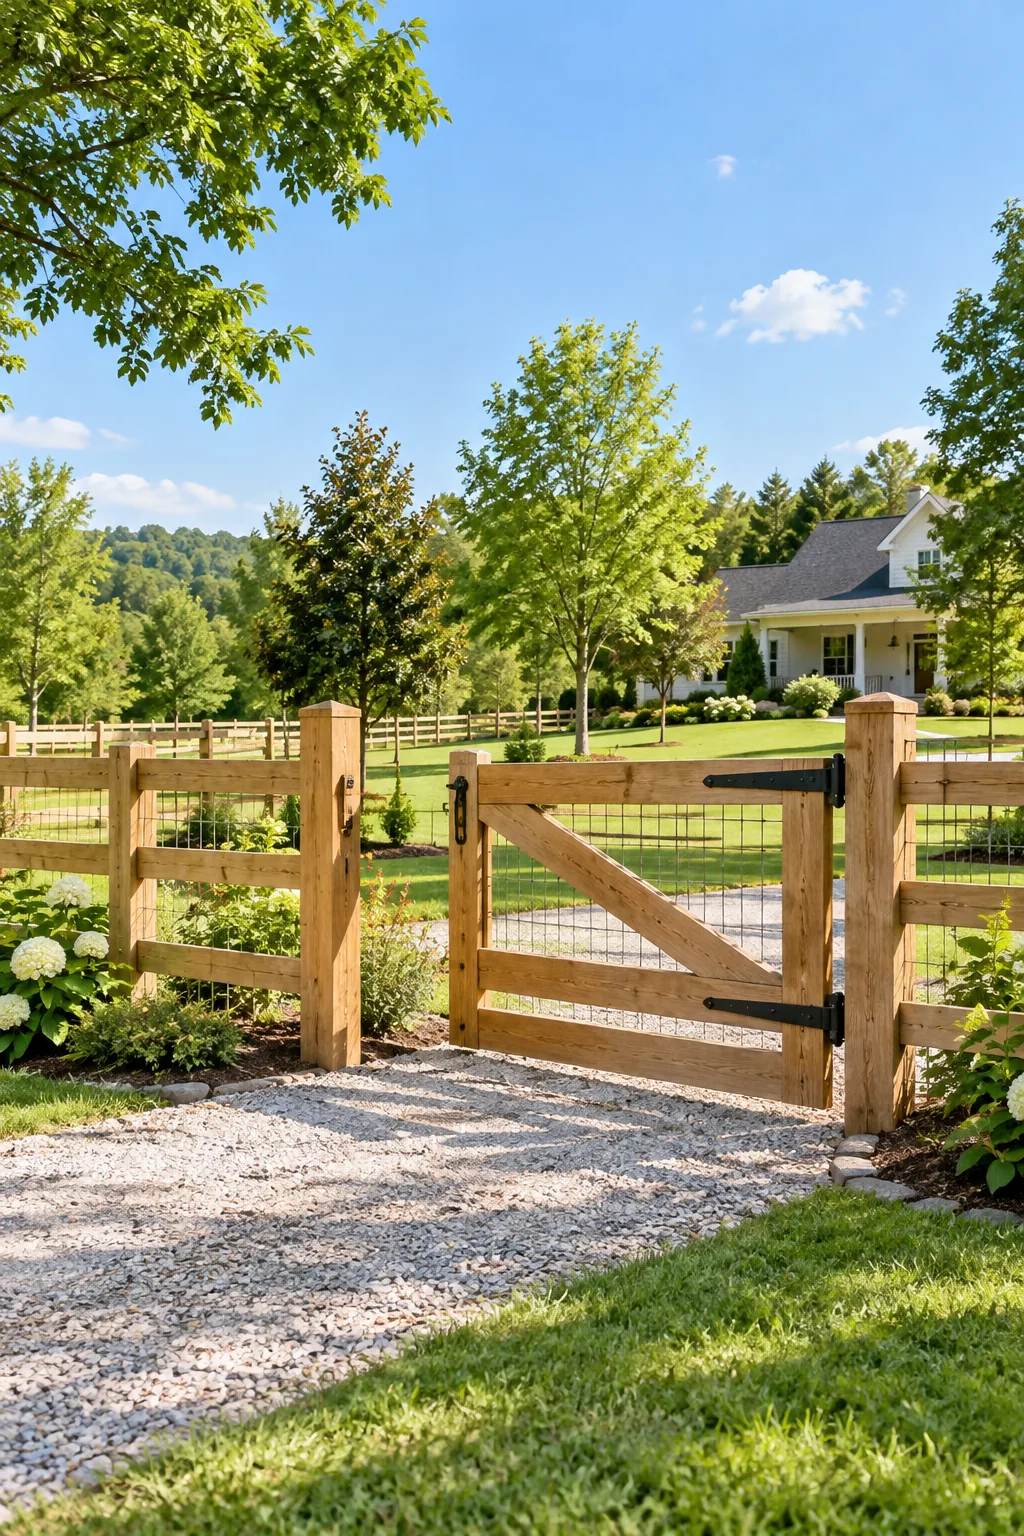
Before you fully tighten the hardware, verify that the gate’s diagonal cross-brace points downward toward the bottom hinge to properly transfer the swinging weight.
Three Ways to Style a Farm Fence
Choose a finish and material palette that perfectly complements your home's architecture.
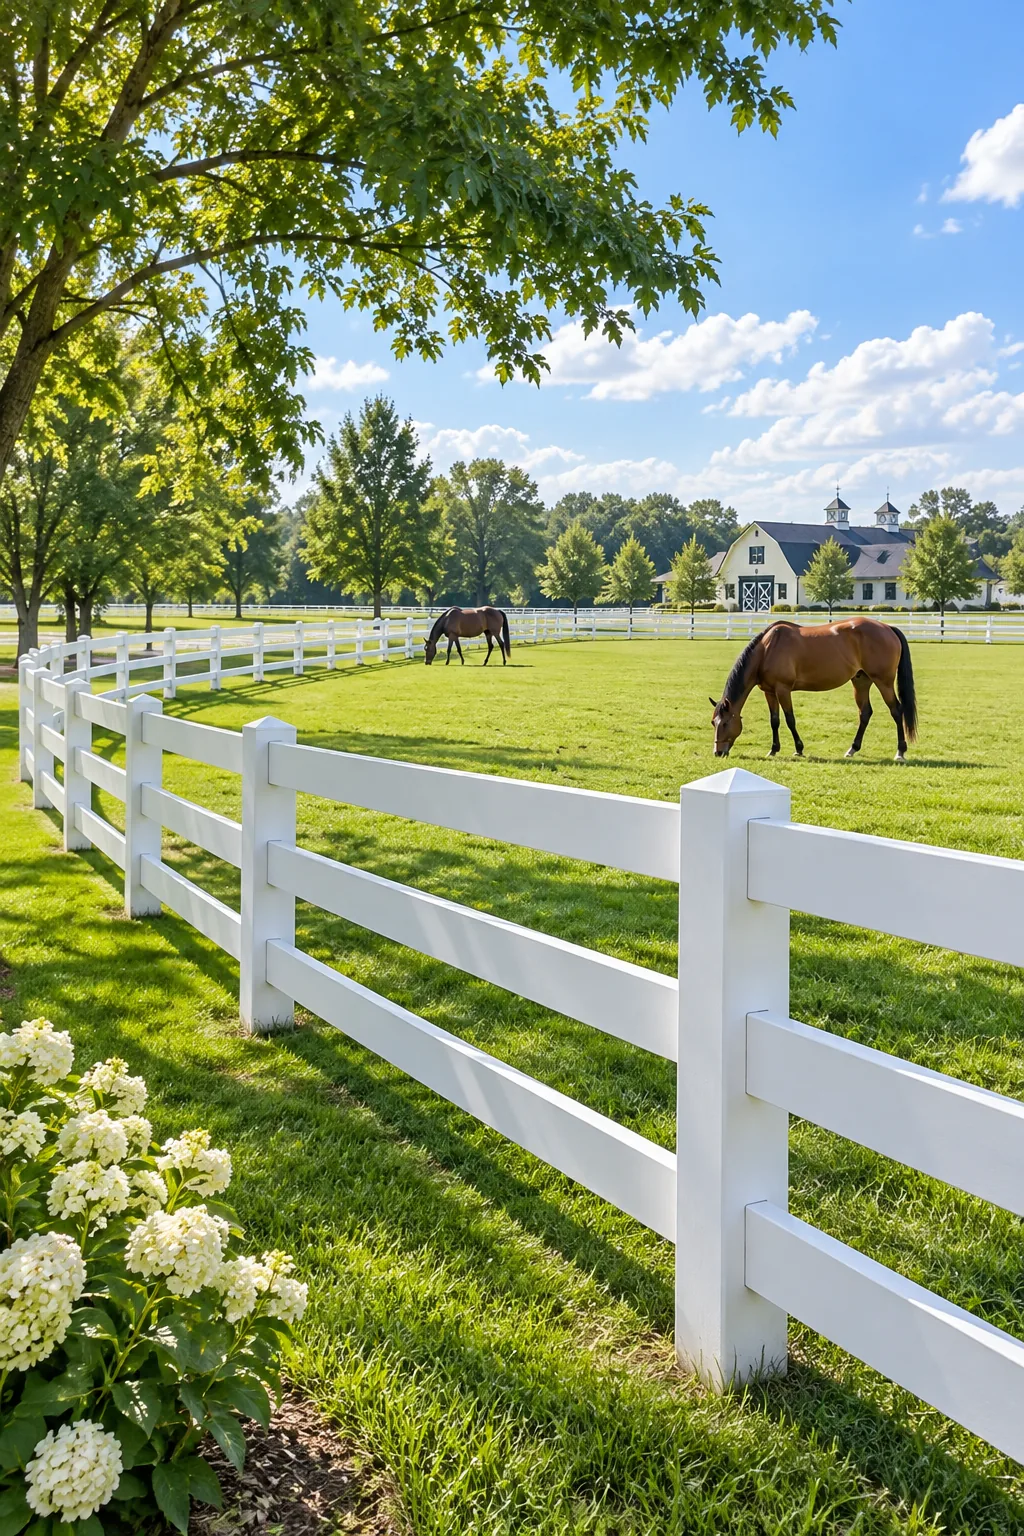
Classic White Equestrian Estate: Crisp white paint instantly elevates a simple post-and-board design into an elegant, traditional estate boundary.
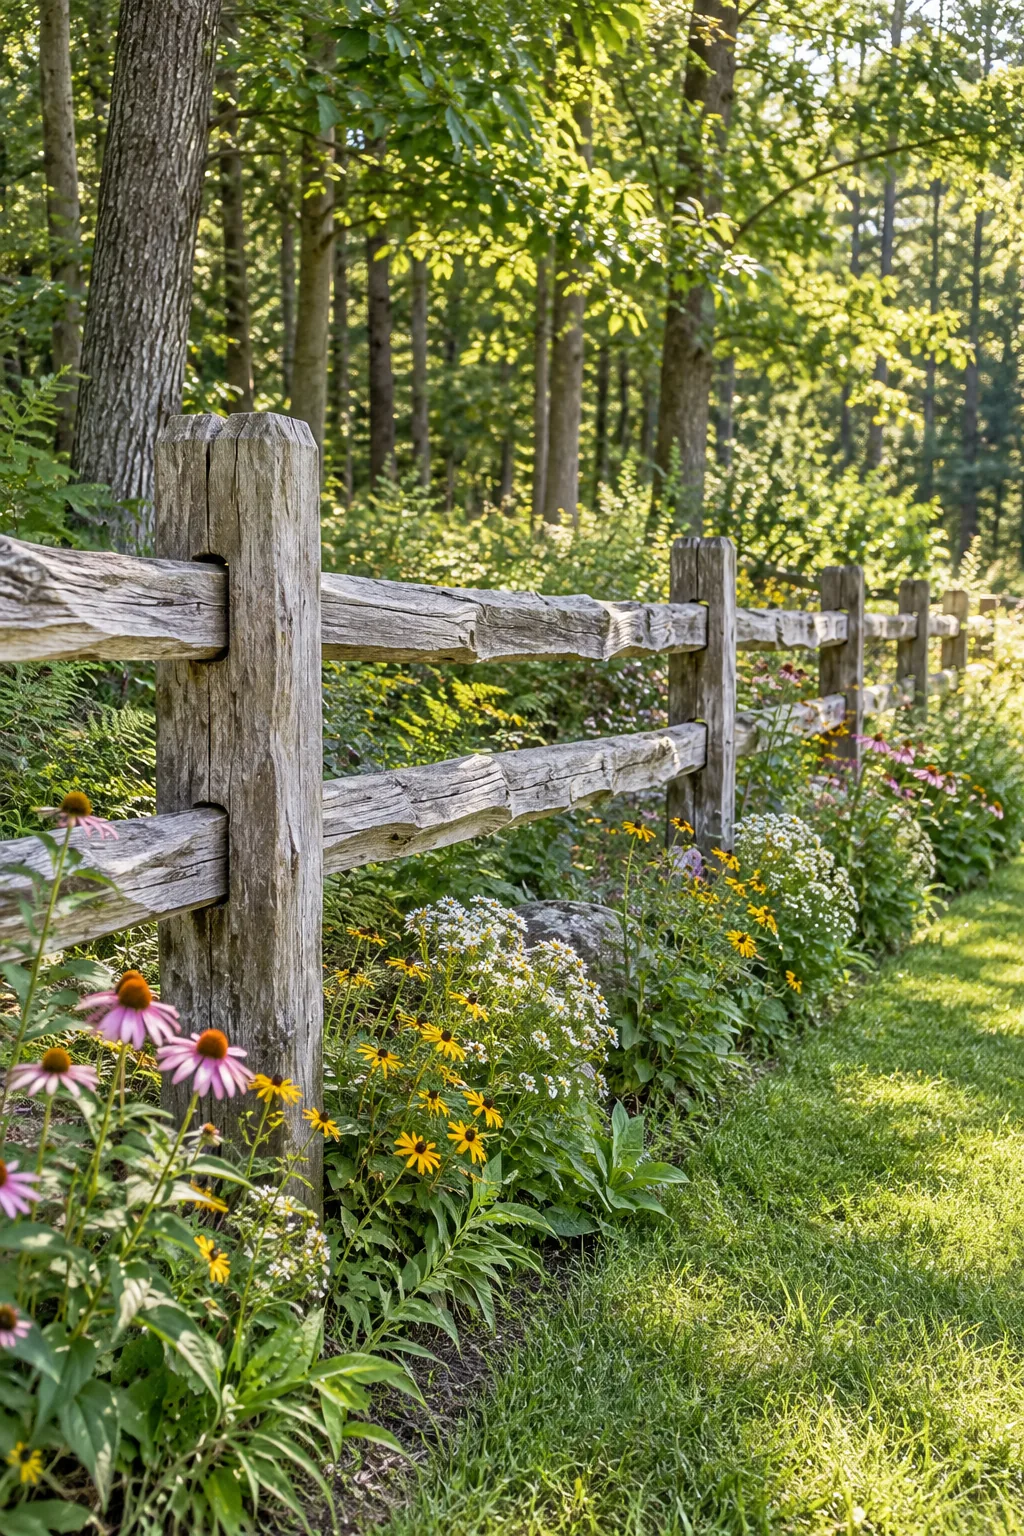
Rustic Weathered Split Rail: Allowing rough-sawn cedar to weather naturally to a silvery gray creates a low-maintenance boundary that blends perfectly into woodland settings.
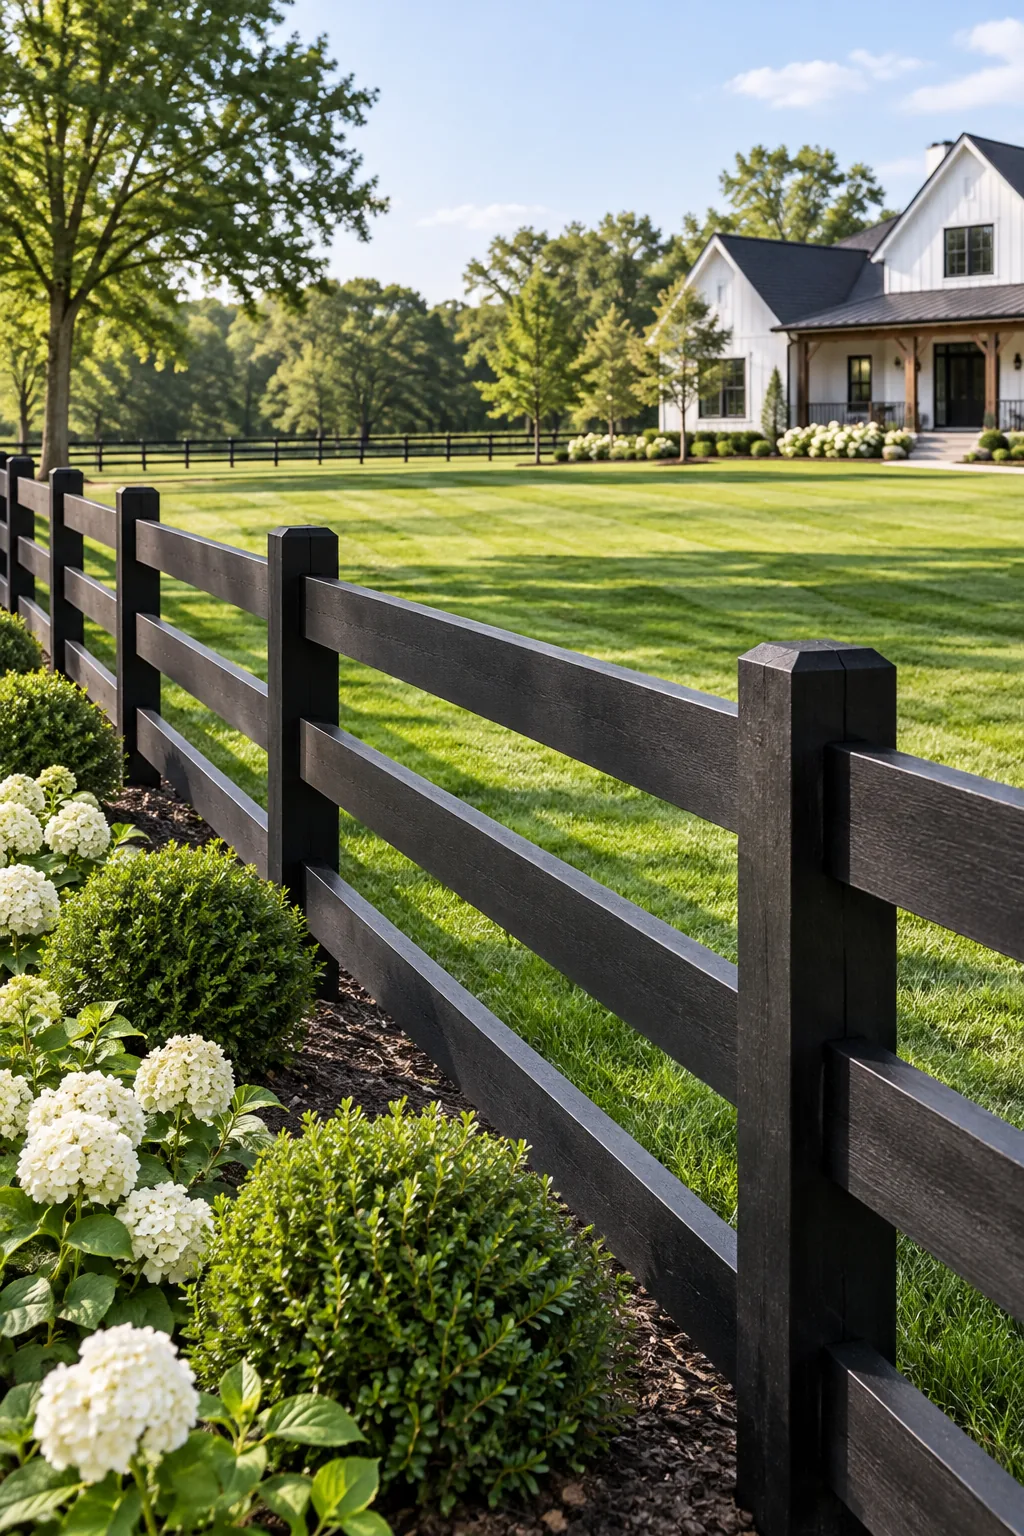
Modern Matte Black Farmhouse: A solid matte black stain modernizes the traditional agricultural silhouette, turning the fence into a striking architectural frame for your yard.
The Lumber and Spacing Cheat Sheet
Grabbing the correct lumber quantities is half the battle; I still rely on this exact measurement breakdown whenever I map out a new pasture boundary for my own property.
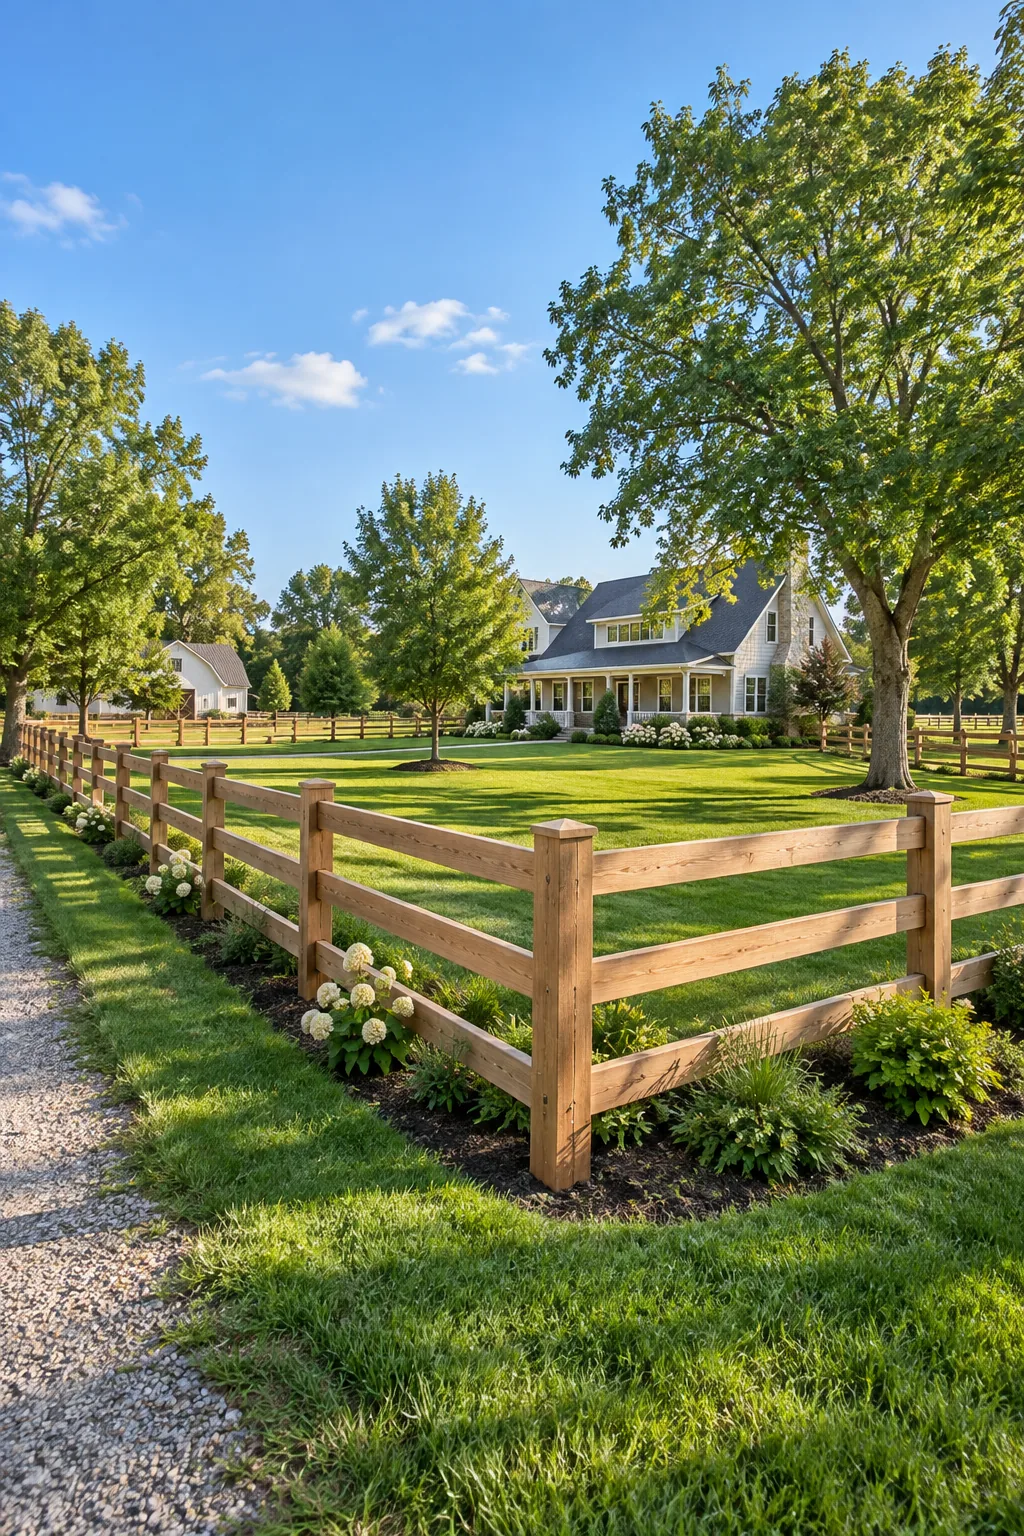
Follow these precise dimensions to ensure your new classic 3-rail design stays perfectly proportioned and structurally sound from end to end.
| Component | Material Specs | Spacing & Gap Rules |
|---|---|---|
| Main Posts | 6×6 treated lumber | Set exactly 8 feet on center |
| Horizontal Rails | 2×6 cedar boards | Leave a 10-inch vertical gap |
| Bottom Clearance | Empty space | Maintain 6 inches above soil |
| Wire Mesh | 14-gauge black coated | Attach to inside rail faces |