
Green Kitchen Cabinets: The Complete Step-by-Step Paint Order
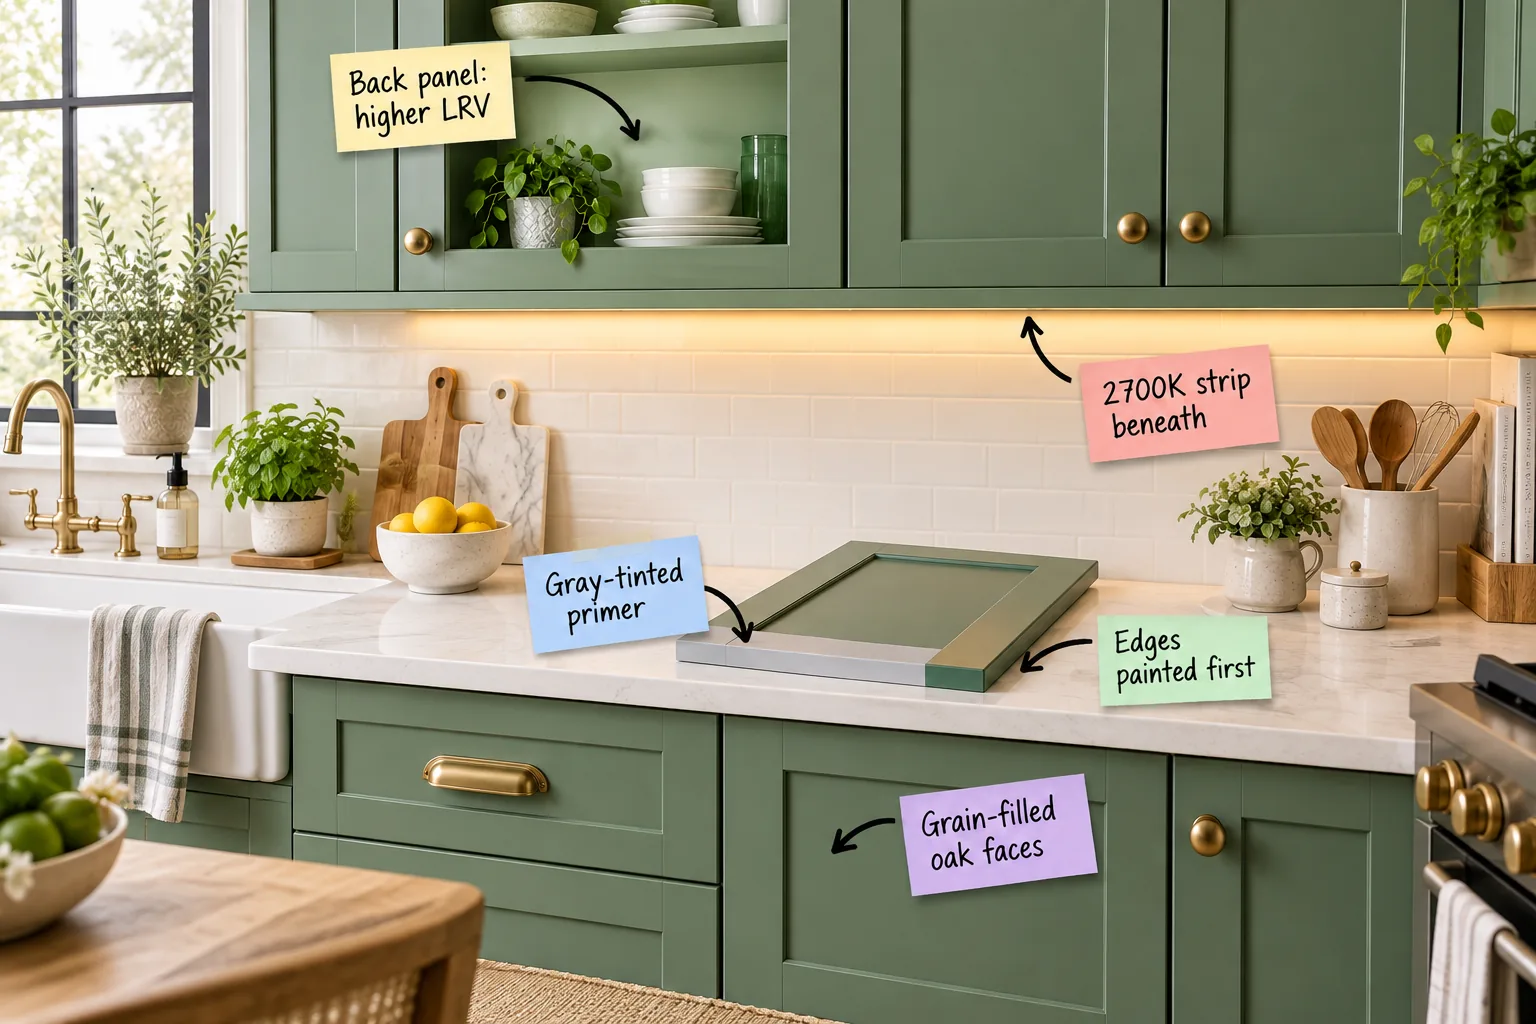
Transforming your kitchen with perfectly painted green cabinets is entirely doable when you follow the right roadmap to secure a flawless finish. Get our printable step-by-step paint order below, covering primer tint rules, coat counts, and the exact sequence for success.
Preparing Your Workspace for Painting
Before opening any paint cans, you must completely dismantle the cabinet system to ensure crisp edges and protect your kitchen. Working on flat surfaces prevents inevitable drips, allowing the water-based enamel to level out perfectly for that coveted glass-like appearance.
Hiding the Oak Grain First
Before any color touches the bare wood, you must address the deep, open texture of oak that will show right through your final green paint. Apply a dedicated wood grain filler with a plastic squeegee, pressing it firmly into the pores.
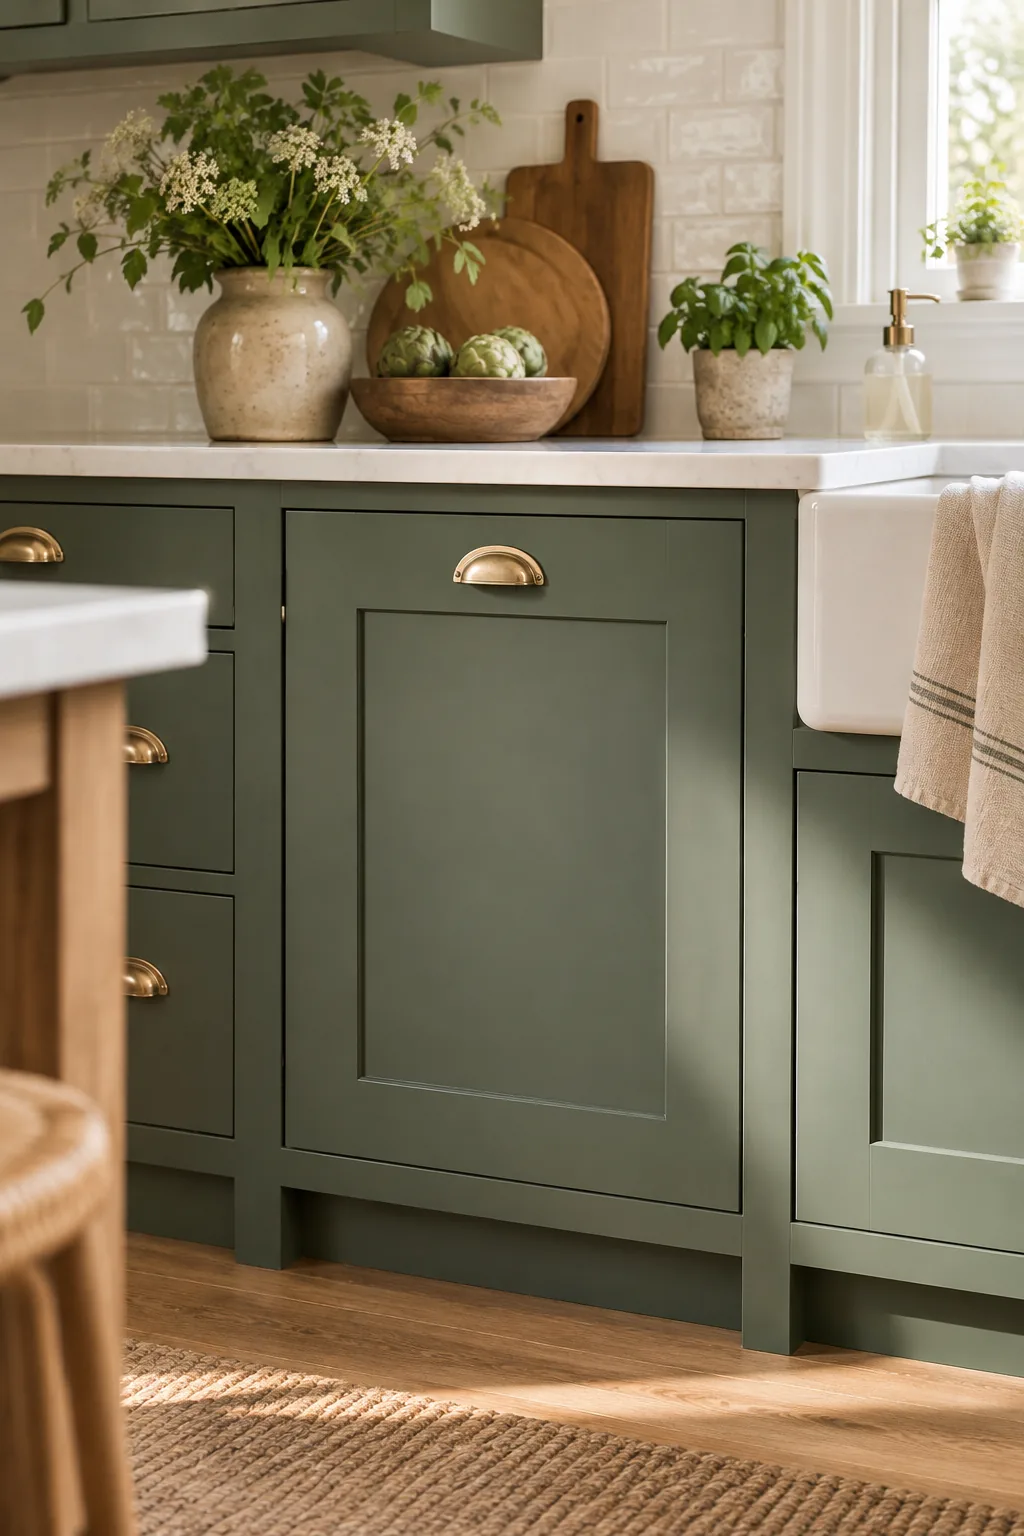
Once the grain filler dries completely hard, you need to level the surface to prevent any bumpy textures from ruining the final sheen. Sand the cabinet faces diligently with 220-grit aluminum oxide paper until the surface feels like absolute glass.
Sanding Techniques for a Flawless Base
Proper sanding is the secret to a professional cabinet finish, as it creates the necessary mechanical bond for your primer. Always sand strictly in the direction of the wood grain to avoid leaving cross-hatch scratches that dark green paint magnifies.
- Use a sanding block to keep flat panels perfectly level.
- Fold loose sandpaper to reach into tight shaker corners.
- Vacuum all dust immediately with a soft brush attachment.
- Wipe the surface clean with a slightly damp microfiber cloth.
Taking the time to remove every speck of residual dust ensures your primer adheres directly to the wood rather than floating on a layer of debris. This crucial step prevents the paint from easily chipping when accidentally bumped with heavy pots.
Managing Dust During the Process
Airborne dust is the ultimate enemy of a perfectly smooth cabinet finish, as particles easily settle into wet enamel before it dries. Keep your workspace meticulously clean by vacuuming the floor daily and running a standalone air purifier to capture floating debris.
Why Green Needs a Gray Primer
Standard white primer makes dark and mid-tone greens look exceptionally chalky, forcing you to apply unnecessary extra topcoats to achieve full opacity. When I tackled my first cabinet project, switching to a medium gray (often P-4) primer completely transformed the final depth.
Selecting the Right Brushes and Rollers
When I started painting furniture, I quickly realized that cheap applicator tools leave deep grooves that ruin expensive cabinet enamel. Investing in a high-quality angled nylon brush and high-density foam rollers guarantees the smoothest possible application for modern water-based paints.
The Edge-to-Face Painting Sequence
The physical order in which you apply the paint dictates how smooth the final door looks when the kitchen light hits it. Always use your angled brush to paint the recessed inner profiles and outer edges of the shaker frame first.
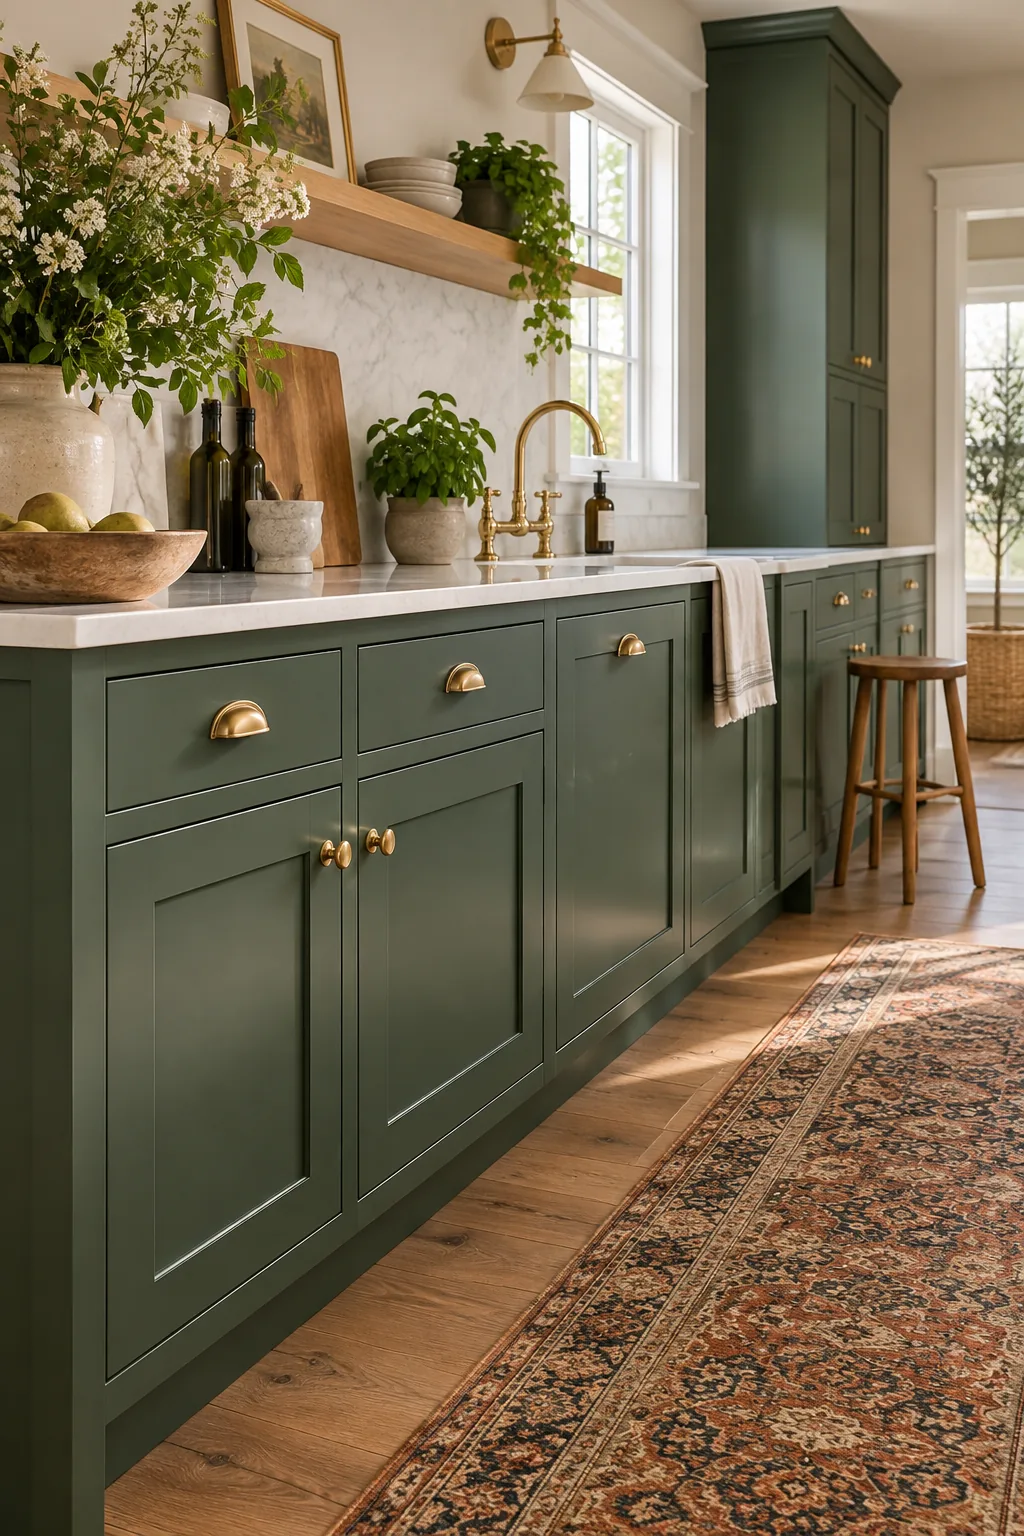
Follow immediately by rolling the flat center panel and the front-facing stiles with your high-density foam roller. This crucial sequence smooths out any overlapping brush marks while the paint remains wet, creating a seamless transition across the entire cabinet face.
Preventing Drips on Cabinet Edges
Excess paint naturally pools along the sharp outer edges of cabinet doors, creating unsightly hardened drips that are difficult to fix later. Always offload your roller slightly before approaching the edge, maintaining a light touch to keep the paint layer beautifully thin.
Choosing the Interior Cabinet Shade
Painting the inside of glass-front cabinets the same dark green as the exterior often turns your beautiful display space into a dark, shadowy cavern. Instead, you need a coordinating green with a higher Light Reflectance Value (LRV) to keep things bright.
- Locate your main cabinet color on the manufacturer’s paint strip.
- Move two or three shades lighter on that exact same card.
- Verify the new shade has an LRV of at least 45.
- Paint the back panel and interior shelves in this lighter tone.
This lighter interior shade creates a subtle, sophisticated contrast that highlights your favorite dinnerware rather than hiding it in the shadows. The tonal shift feels intentional and custom, elevating the entire kitchen design without introducing a clashing third color.
Coat Counts for Lasting Coverage
A truly durable cabinet finish relies on multiple thin layers rather than one thick, sloppy application that will inevitably drip and sag. Plan for exactly one coat of high-adhesion bonding primer followed by two thin, even coats of cabinet enamel.
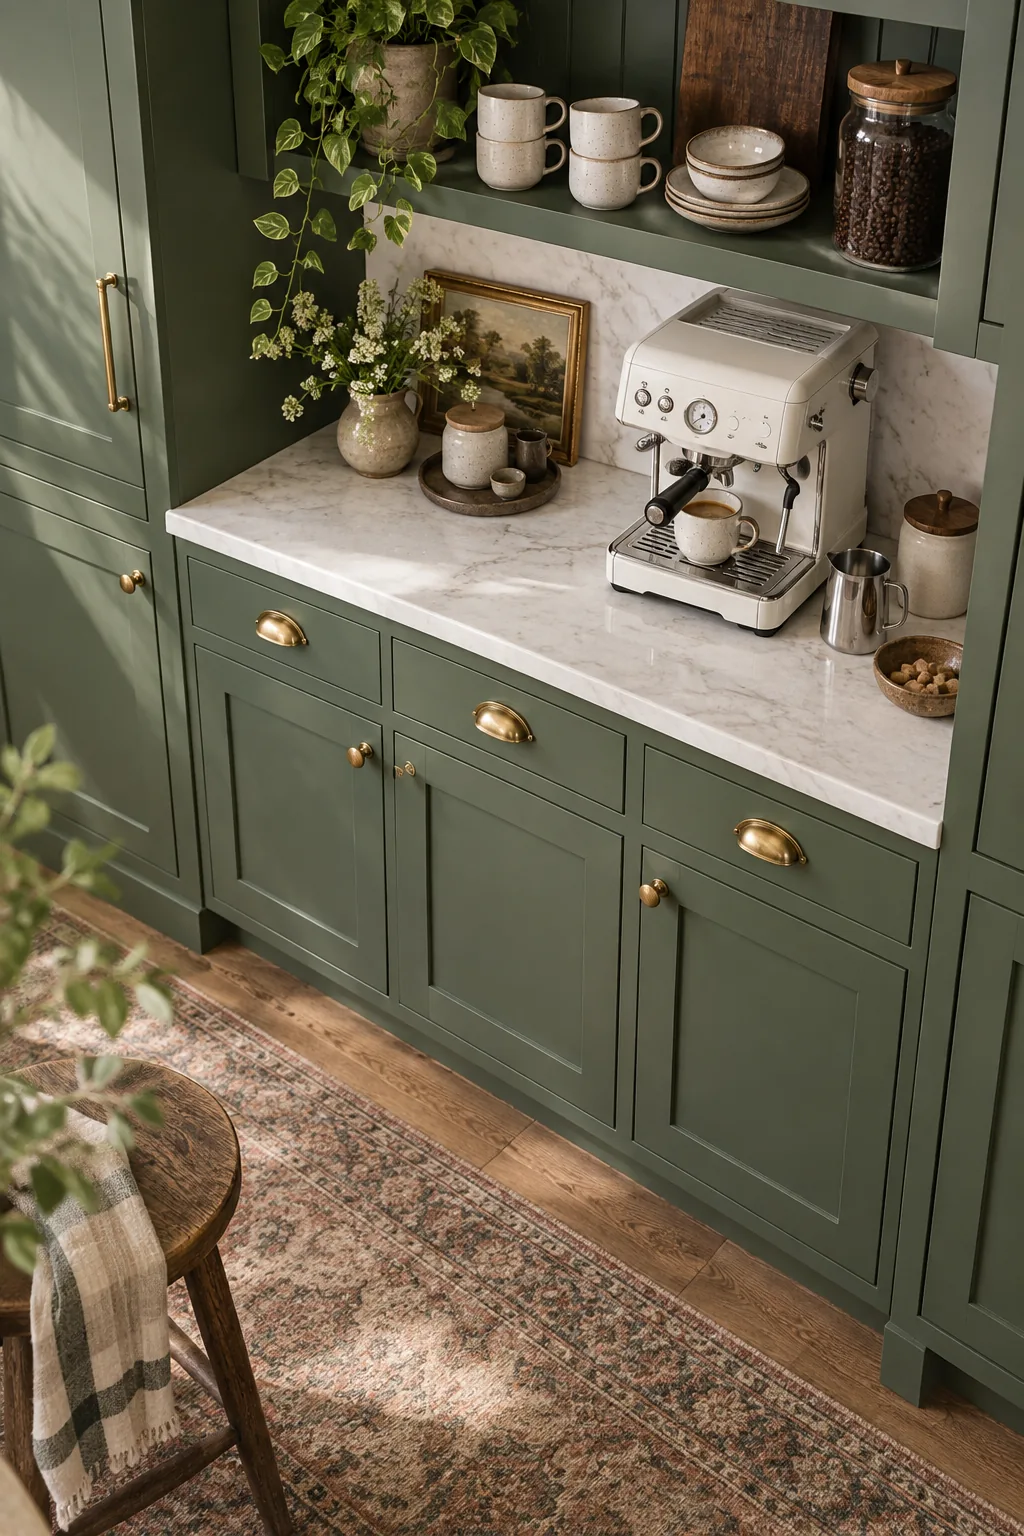
Between every single layer, you must lightly scuff-sand the surfaces with a 320-grit sanding sponge to knock down any raised grain. This vital step removes tiny dust bumps before applying the next coat, guaranteeing a buttery smooth final texture.
Dry Time Versus Cure Time
Understanding the complete sequence from prep to final cure ensures a durable, factory-like finish that resists daily kitchen wear and tear. Water-based cabinet enamels might feel dry to the touch in just two hours, but they remain extremely soft and vulnerable.
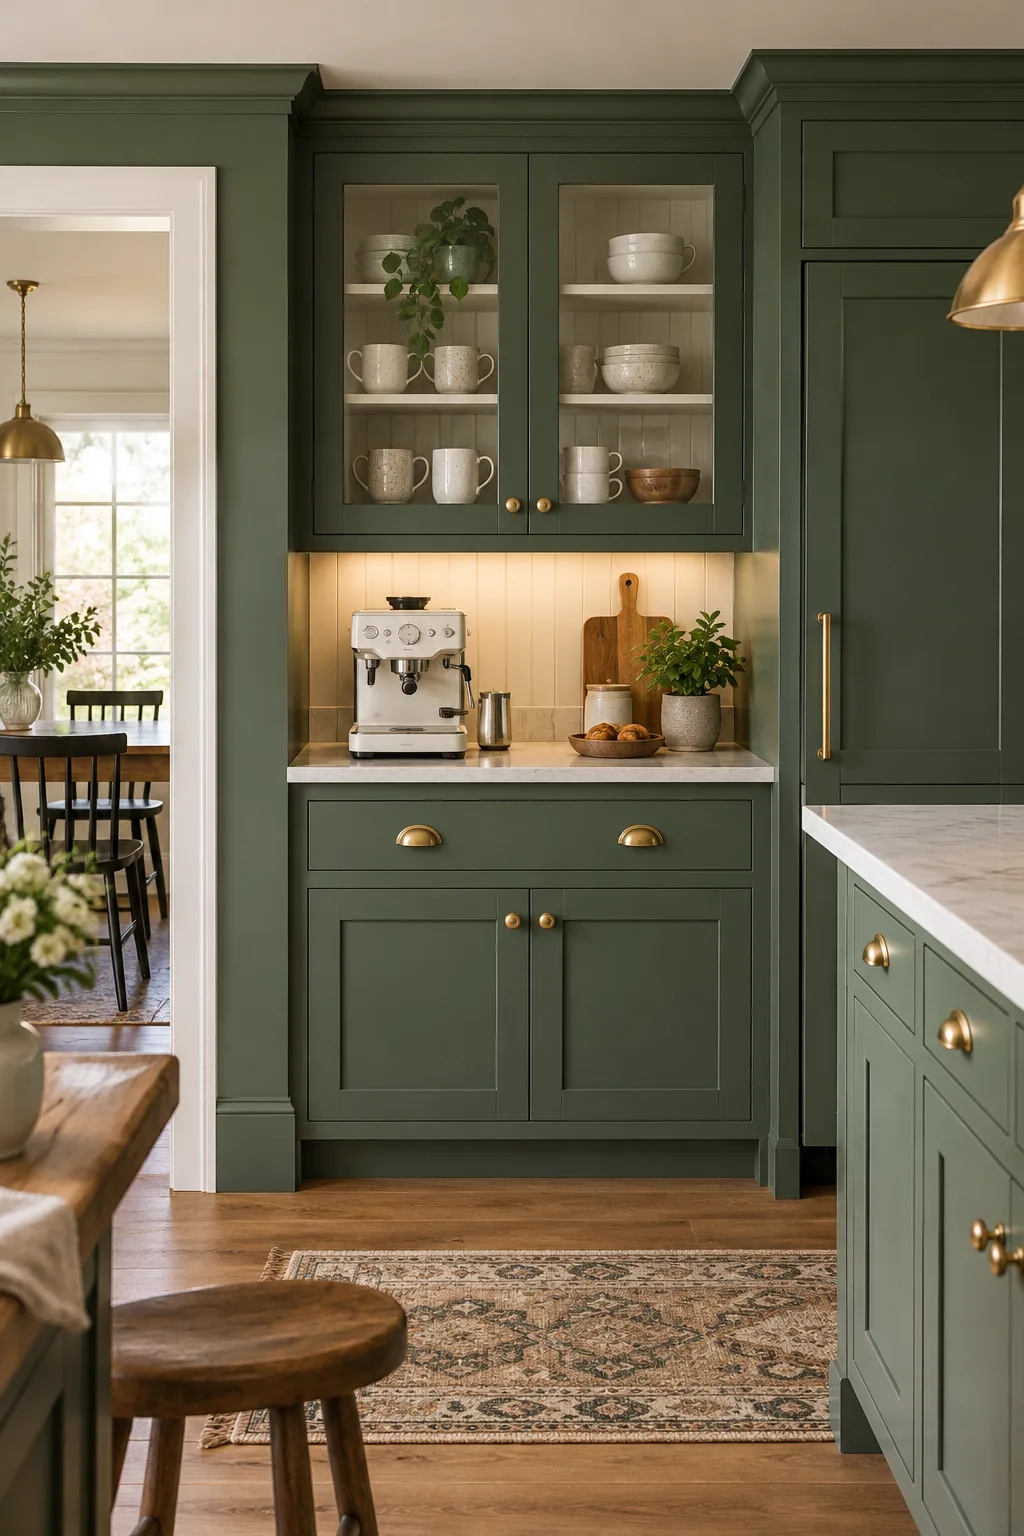
You must wait a minimum of 5 to 7 days of full curing time before rehanging the doors or attaching hardware. Rushing this waiting period guarantees the fresh paint will stick to the cabinet frames and peel off the edges.
The Printable Cabinet Paint Order
Keeping track of grain filling, primer tints, edge sequences, and cure days is so much easier with a physical checklist in hand. When I painted my own Austin kitchen, having this exact sequence taped to the wall kept me from rushing the crucial curing steps.
| Phase | Action Required | Product or Tool | Wait Time |
|---|---|---|---|
| Prep | Degrease and fill grain | Wood filler & 220-grit | 24 hours |
| Prime | Apply gray-tinted primer | Foam roller & angled brush | 4 hours |
| Sand | Light scuff sand thoroughly | 320-grit sanding sponge | None |
| Coat 1 | Paint edges, then roll faces | Water-based cabinet enamel | 4 to 6 hours |
| Coat 2 | Apply final thin topcoat | Water-based cabinet enamel | 5 to 7 days |
Warming the Green with 2700K Lighting
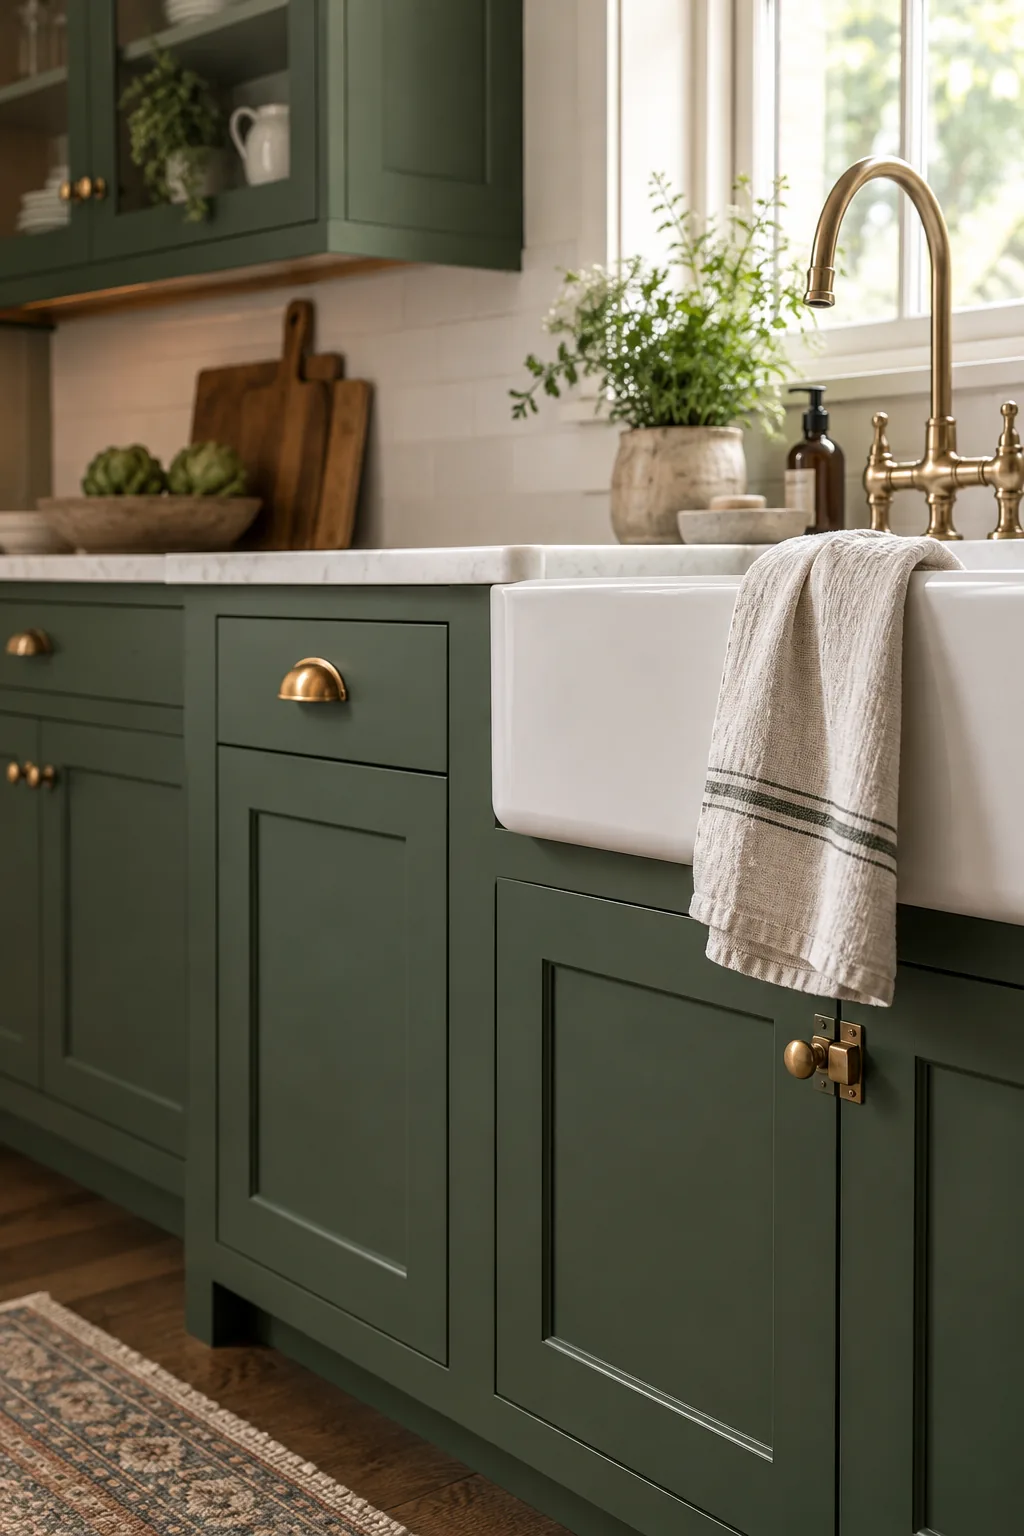
Lighting temperature drastically alters how your freshly painted green cabinets read in a kitchen environment. Cool daylight bulbs at 4000K or higher will instantly turn a beautiful, earthy sage green into a stark, sterile, and highly uninviting color tone.
Hardware Placement on Shaker Doors
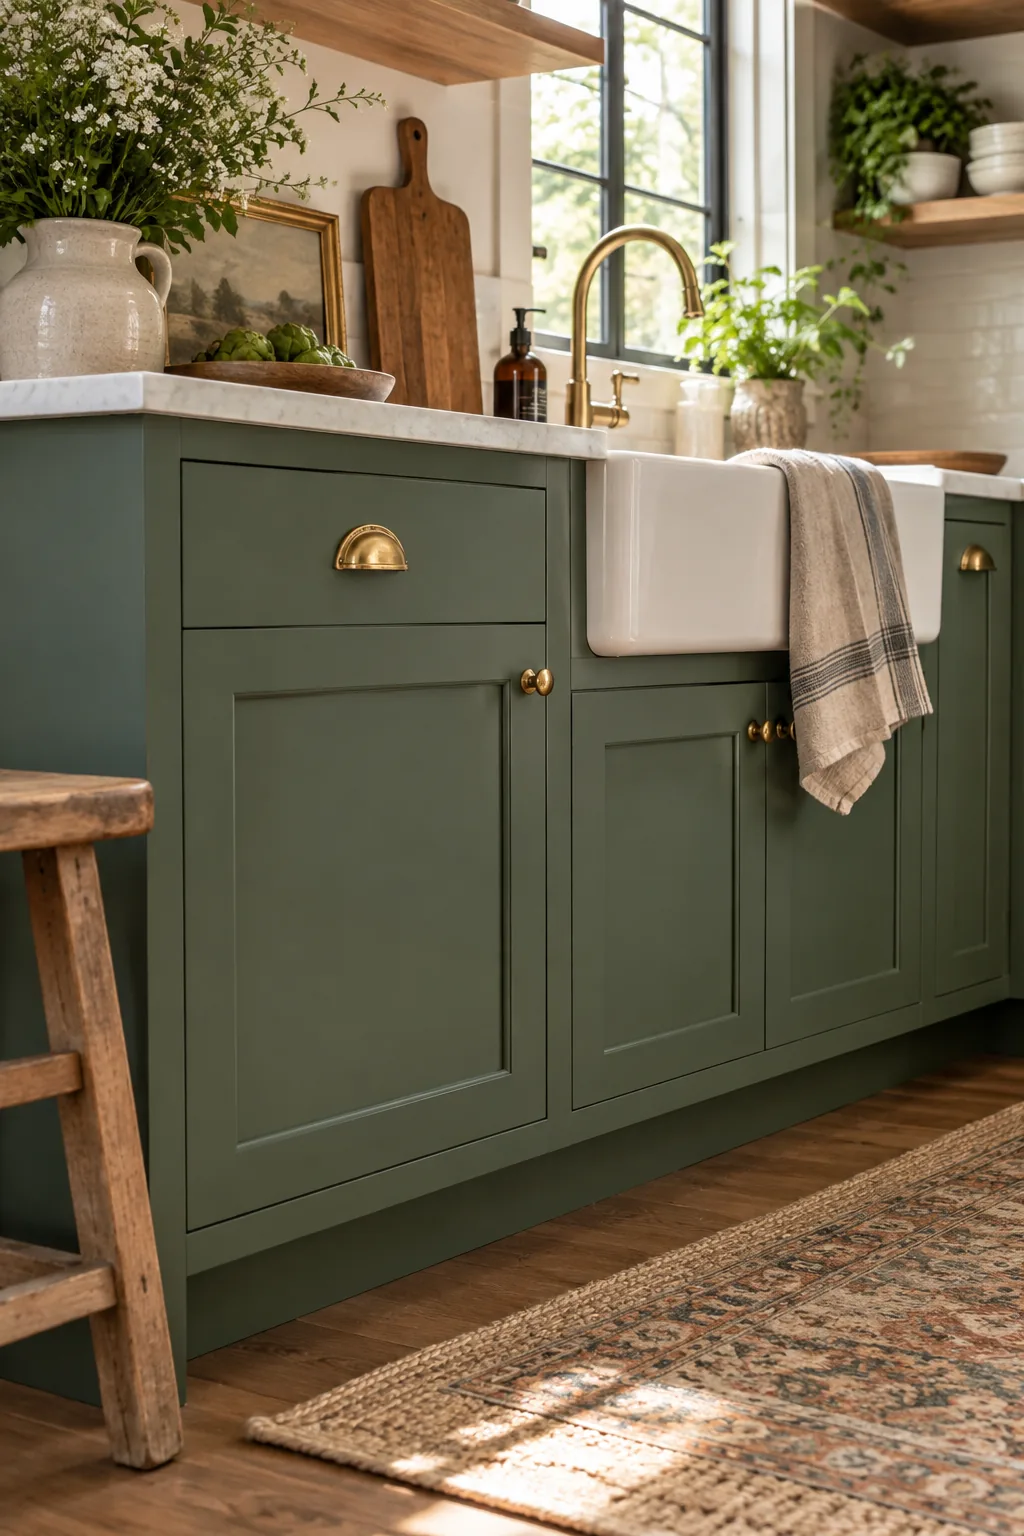
Once the paint is fully cured and your warm lighting is in place, installing the hardware serves as the final crowning touch. For shaker-style cabinets, always center your pulls or knobs exactly on the vertical stiles for a balanced, traditional look.
Avoid crowding the hardware into the extreme top or bottom corners of the frame, which can make the doors look disproportionate. Centered hardware feels much more natural to grab and highlights the clean, geometric lines of the newly painted shaker profiles.
Adjusting Cabinet Hinges After Painting
Rehanging the doors requires patience, as the added thickness of the primer and enamel layers slightly alters how the doors sit in the frames. Use the adjustment screws on your hidden hinges to realign the gaps, ensuring every door hangs perfectly straight.
Adding Protective Cabinet Bumpers
Protecting your freshly painted surfaces from daily impact is just as important as the painting process itself. Always apply clear silicone or soft felt bumpers to the inside corners of every door and drawer front before you start using the kitchen again.
Reassembling the Kitchen Safely
When reinstalling the drawers and final trim pieces, move slowly to avoid scratching the newly cured surfaces with your tools. Having a helper hold the heavier doors steady while you secure the hinges prevents accidental drops that could instantly dent the fresh paint.
Green Cabinet Color Palettes
Explore how different shades of green can completely transform the mood of your kitchen.
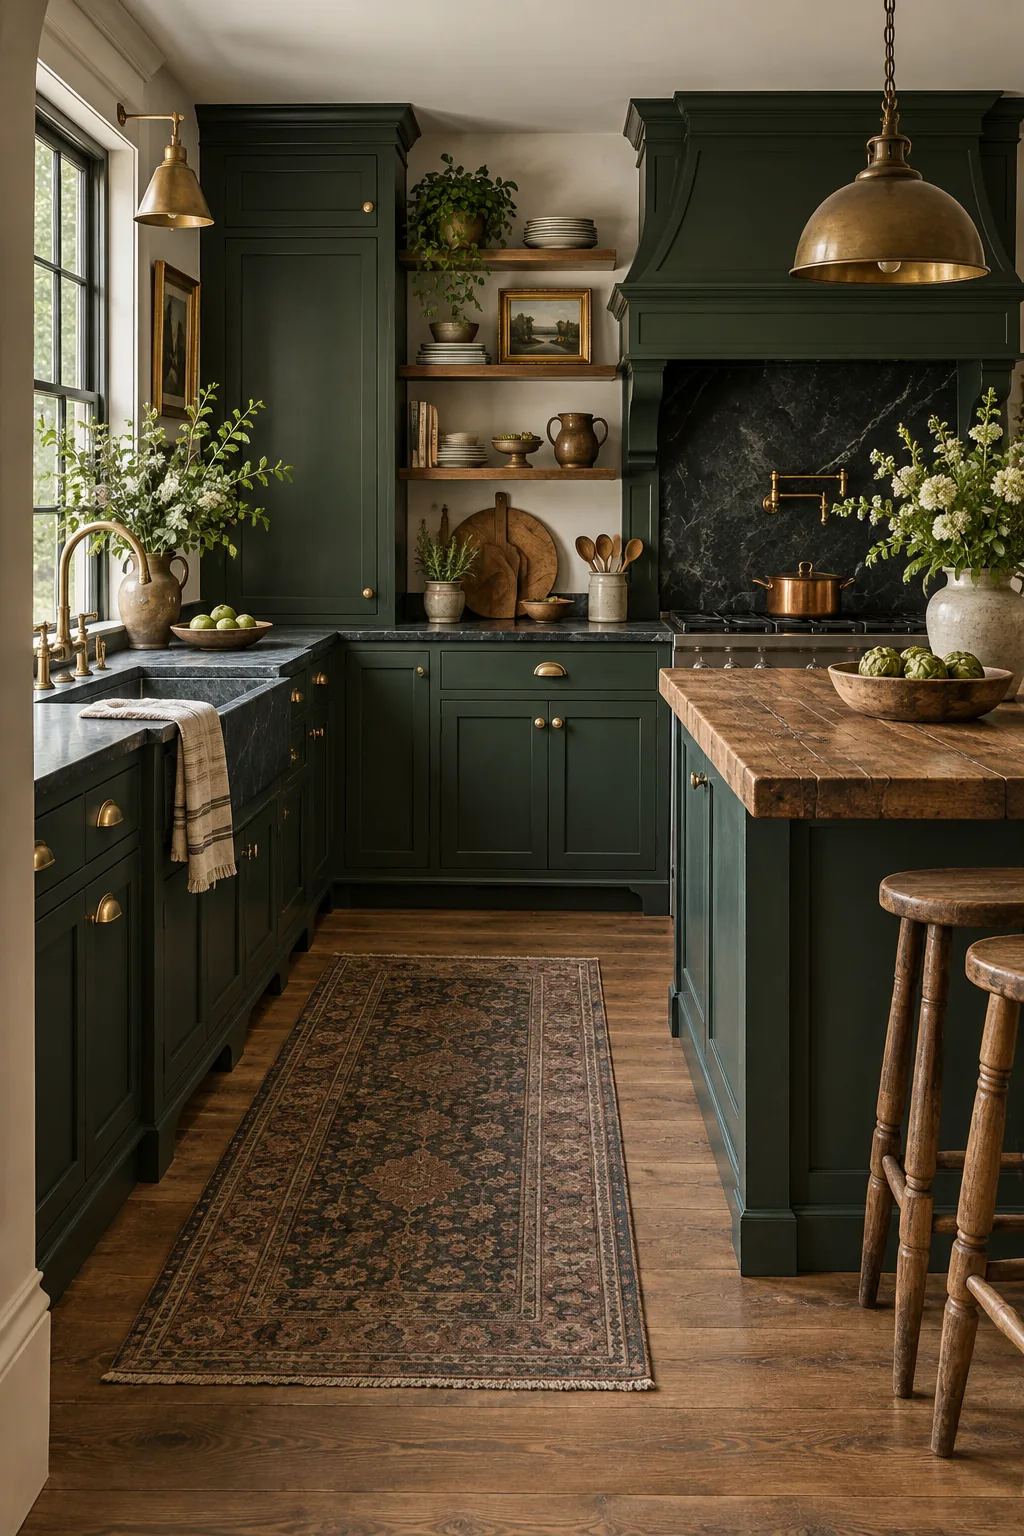
Moody Forest Green: Deep forest green paired with unlacquered brass and dark soapstone creates a grounded, historic atmosphere.
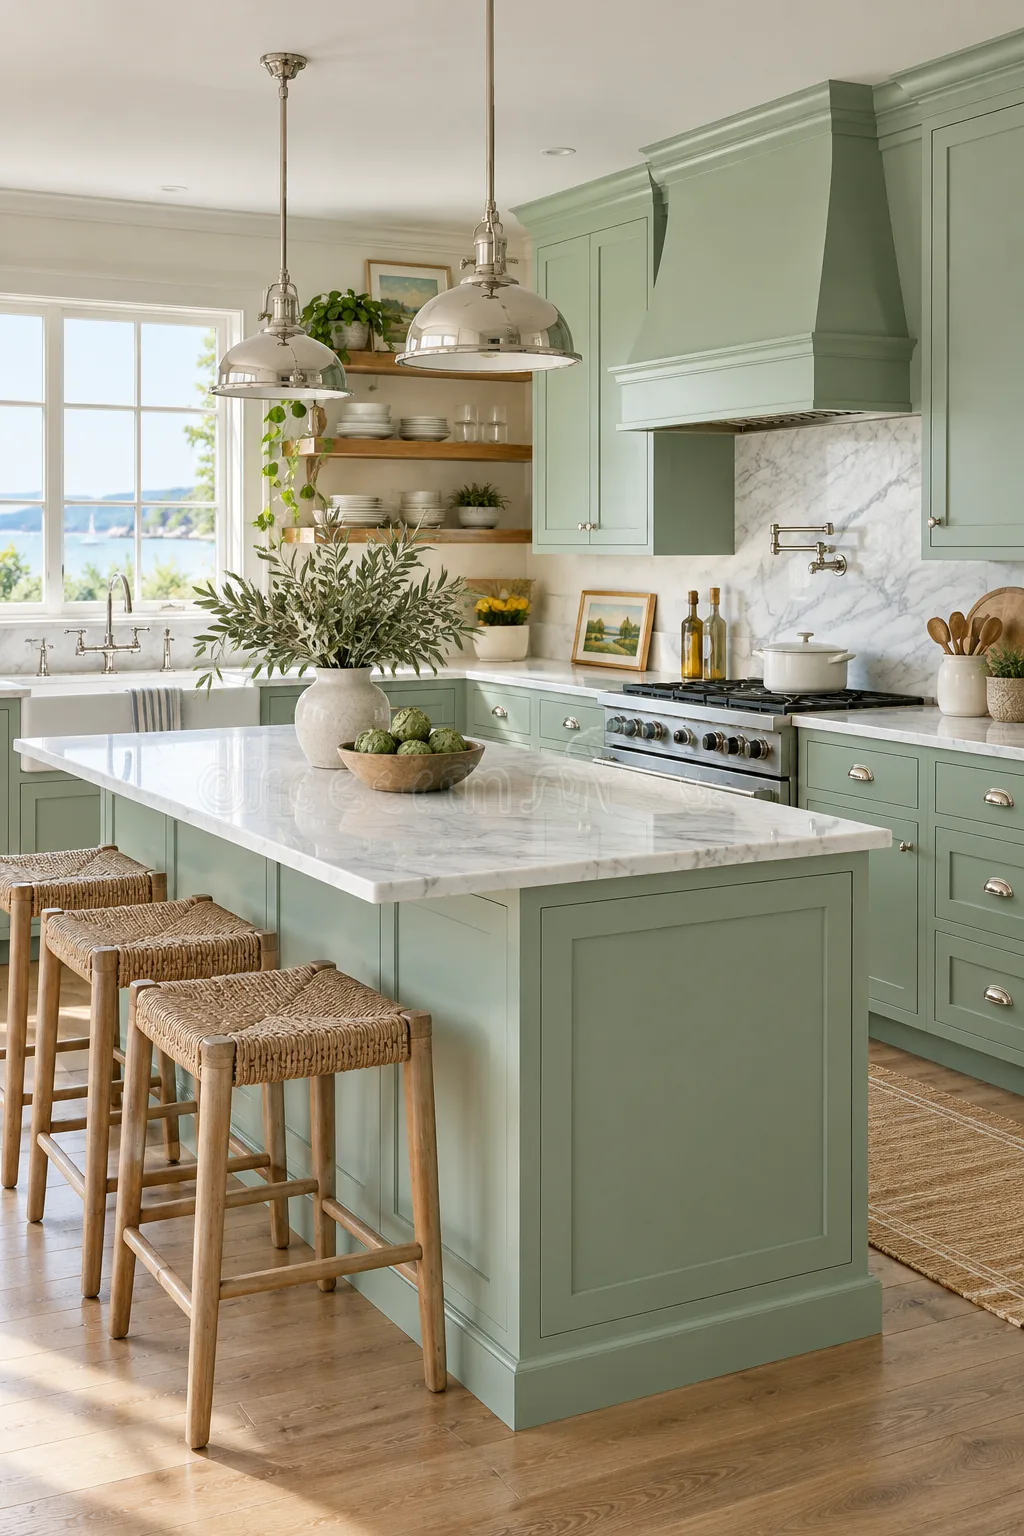
Soft Mint & Marble: A pale mint green reflects abundant natural light and pairs beautifully with white marble for a coastal feel.
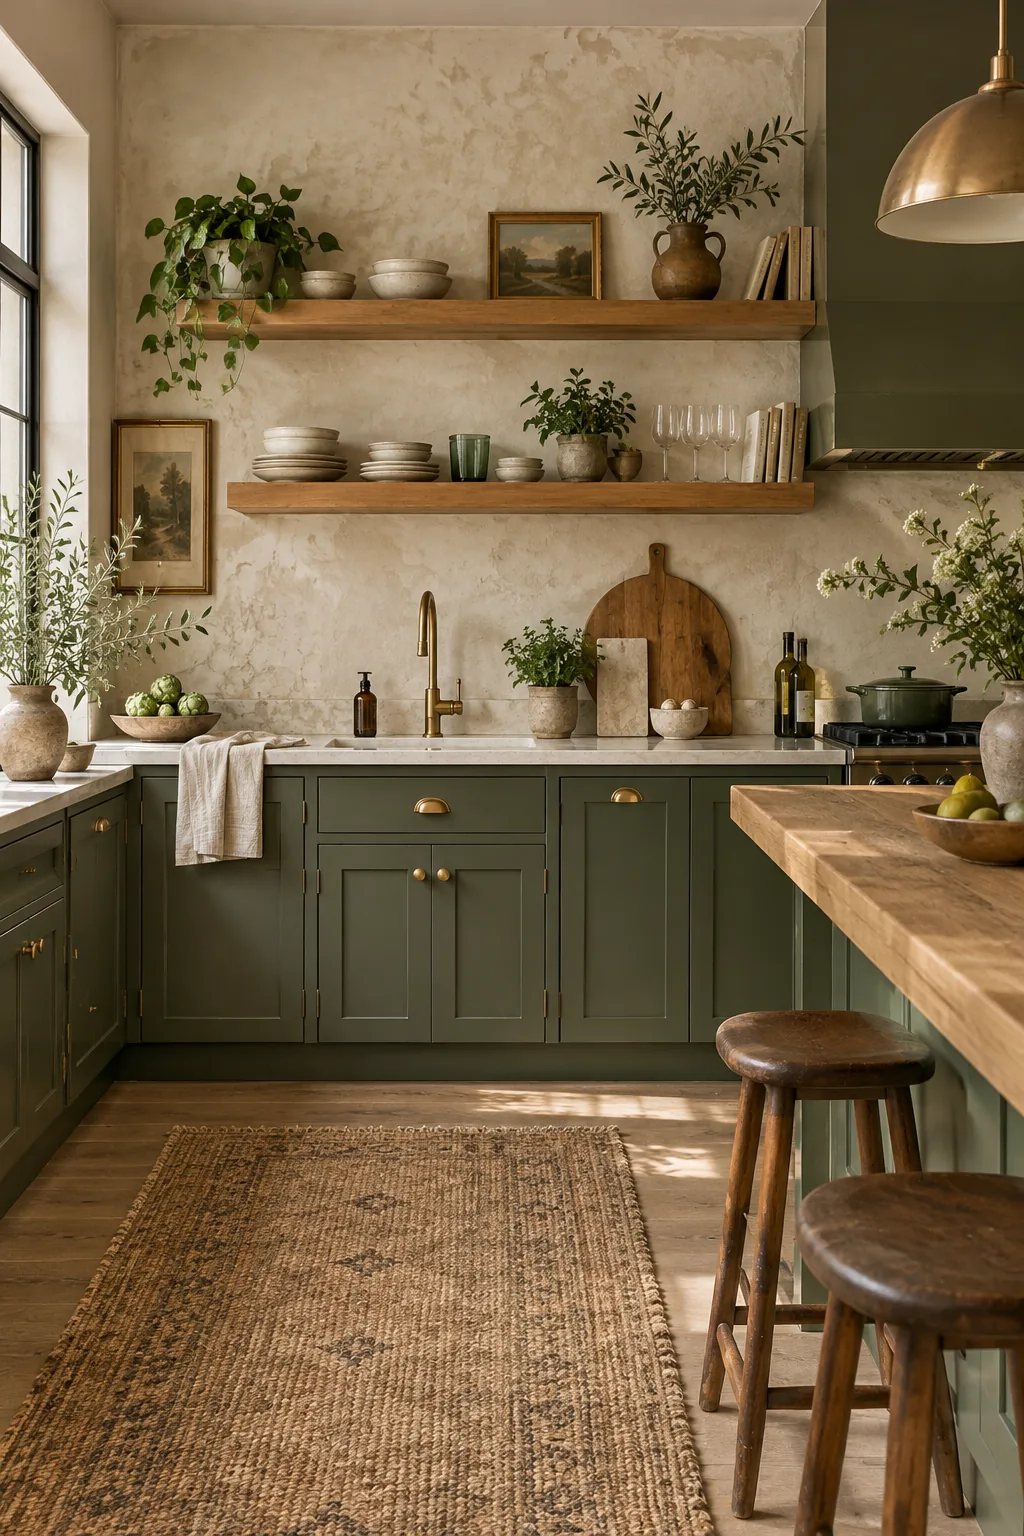
Olive & Natural Wood: Warm olive green lowers anchor the room while raw oak open shelving adds organic, rustic texture.
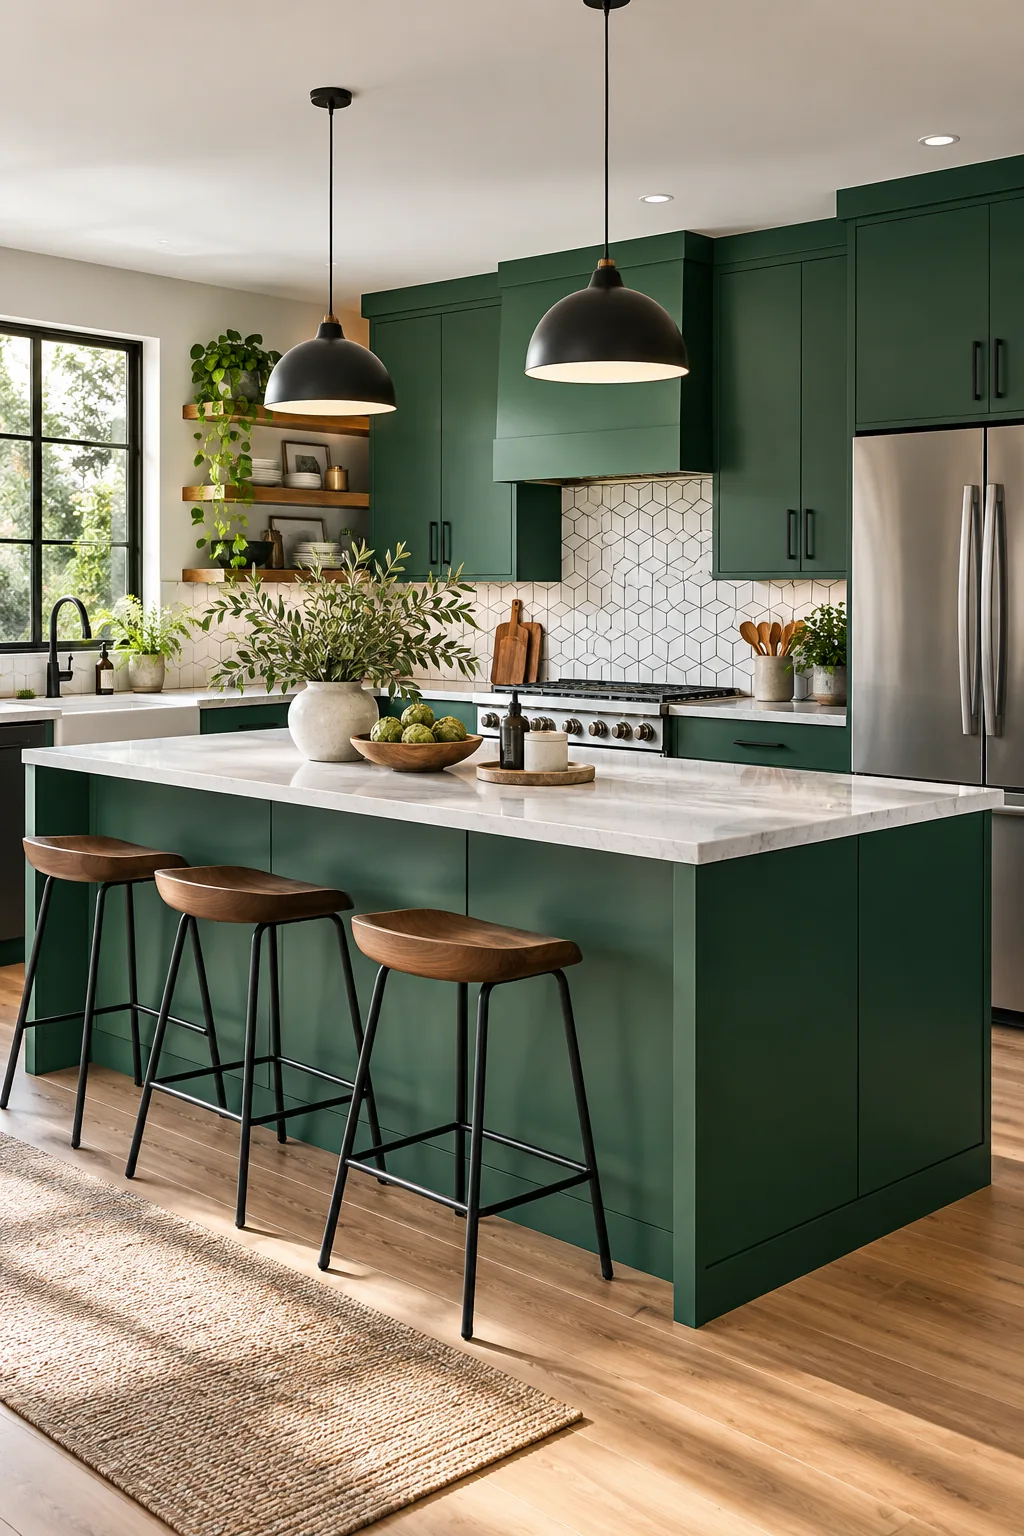
Emerald & Matte Black: Vibrant emerald green on flat-panel doors feels instantly modern when contrasted with sleek matte black hardware.
Maintaining Your Painted Finish
Freshly painted cabinets require gentle, consistent care to maintain their factory-smooth sheen over the years. I learned the hard way that harsh chemical sprays will quickly strip the finish, so I now strictly follow safe cleaning rules to protect the water-based enamel.
Never use abrasive scrubbers, bleach, or heavy degreasers on cured enamel, as they will dull the beautiful surface over time. Simply wipe up spills immediately with a soft microfiber cloth dampened with warm water and a few drops of mild dish soap.