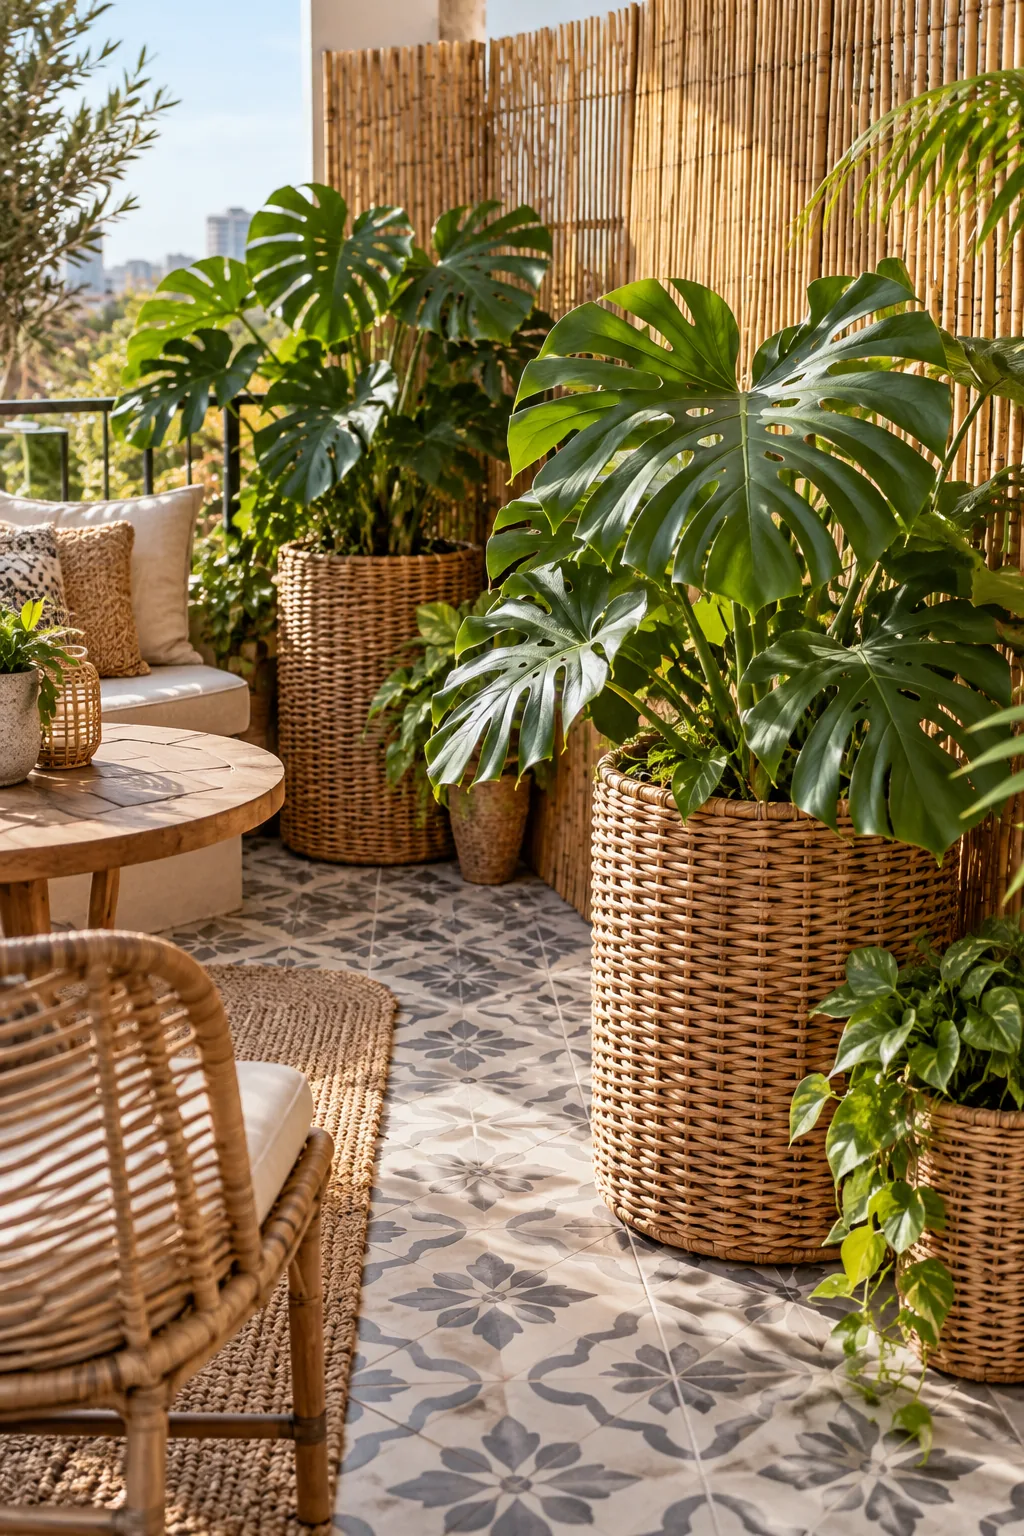
Small Patio Design Pictures: The Tall Planter Cheat Sheet
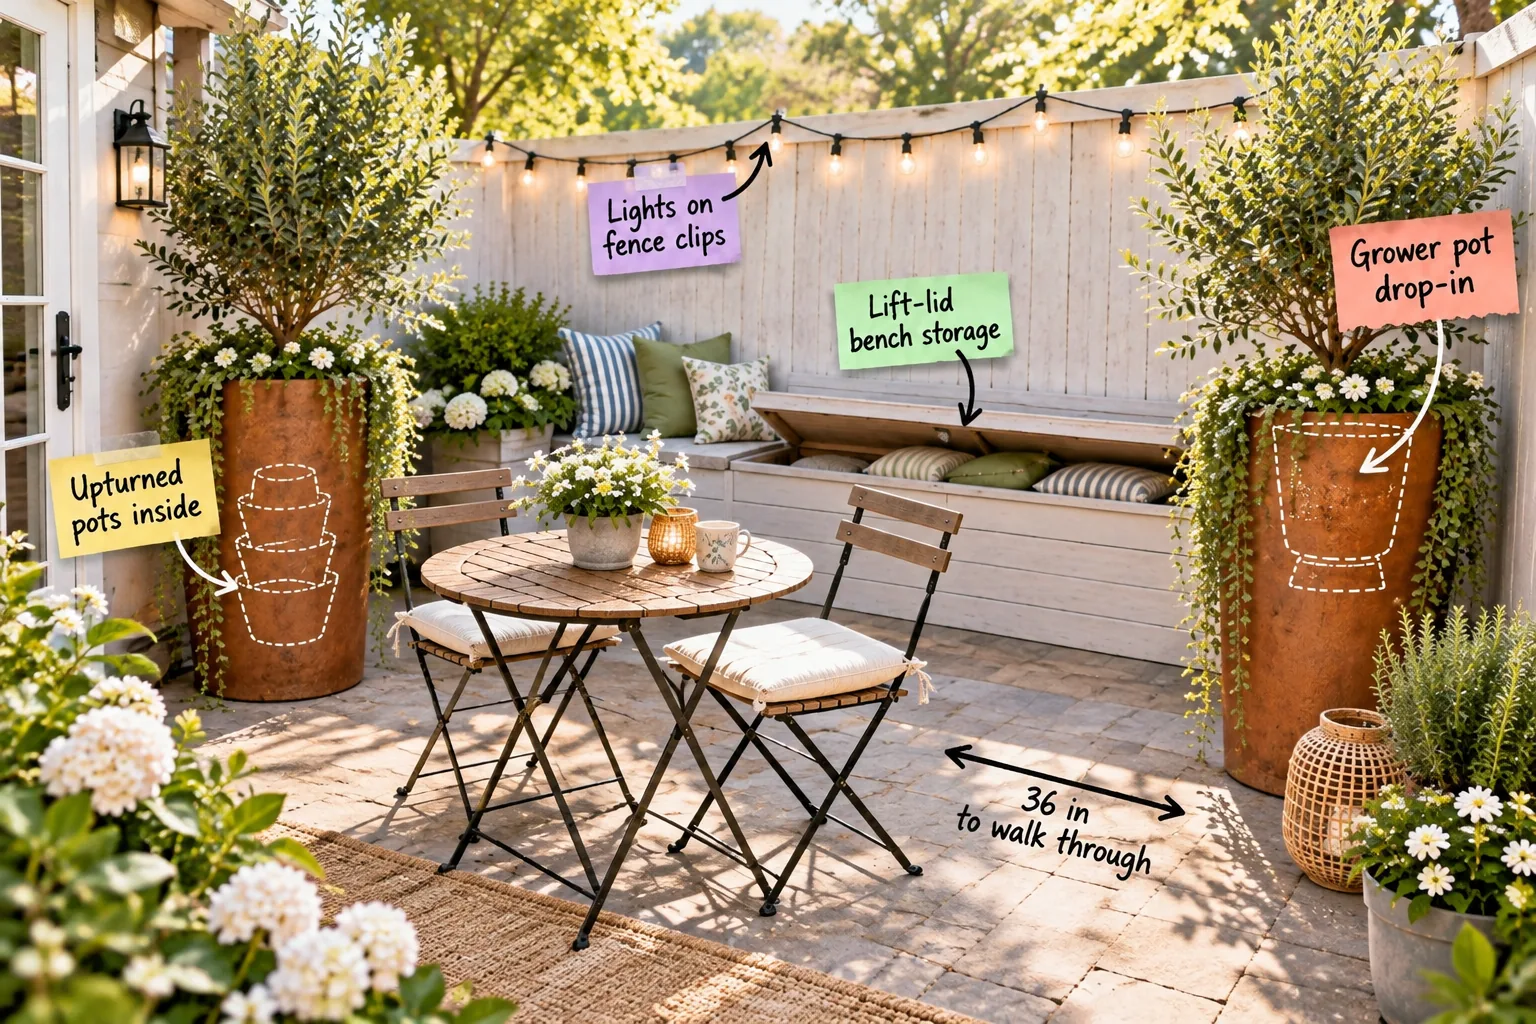
You can easily arrange a tight patio layout, build hidden storage, and properly fill oversized planters using our printable tall-planter fill and swap sheet. Grab this complete guide to get a lush courtyard look without wasting bags of expensive potting soil.
Maintaining a 36-Inch Walkway
In a compact 10-by-12-foot townhouse footprint, daily traffic flow dictates the entire layout, so leaving exactly 36 inches of clearance ensures comfortable passage. This generous spacing allows bistro chairs to push back fully without hitting the woodwork behind them.
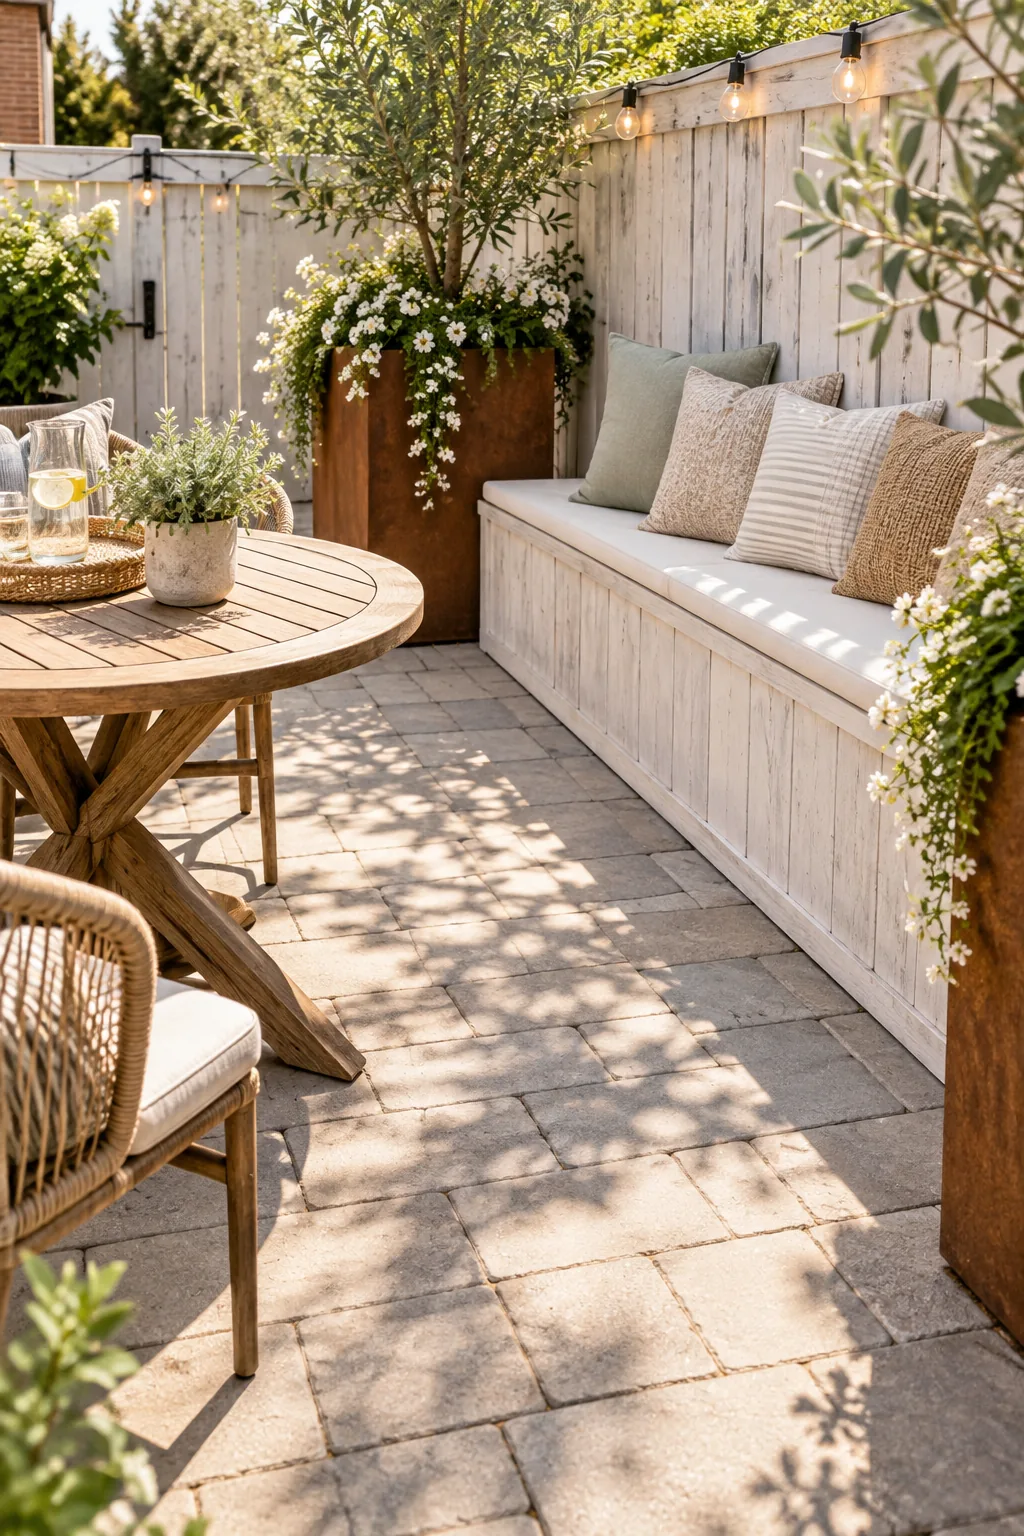
With the floor plan established, we can focus on maximizing the perimeter features without eating into that essential open path. Keeping the central artery completely clear makes the entire outdoor living space feel intentionally designed rather than cramped.
Choosing Armless Bistro Seating
Selecting the right furniture profile is just as critical as measuring the physical footprint. Armless metal bistro chairs tuck completely under the table rim, instantly reclaiming another 12 inches of functional walkway when you are not actively entertaining guests.
Hiding Clutter in a Lift-Lid Bench
A built-in bench along the fence saves valuable square footage compared to deep lounge chairs. The hinged lift-lid mechanism provides essential dry storage, keeping bulky outdoor cushions and throws tucked away but immediately accessible for sudden temperature drops.
Waterproofing Your Bench Interior
Because wooden fence lines naturally shift and allow moisture penetration, you must protect your stored textiles from morning dew. Lining the bench cavity with heavy-duty marine vinyl and sealing every internal corner joint prevents unexpected mold growth during humid summer weeks.
Stringing Lights on Fence Clips
The true advantage of integrating storage directly into the boundary wall is how much floor space you save for entertaining. Moving functional pieces to the perimeter opens up the vertical plane for dramatic overhead styling.
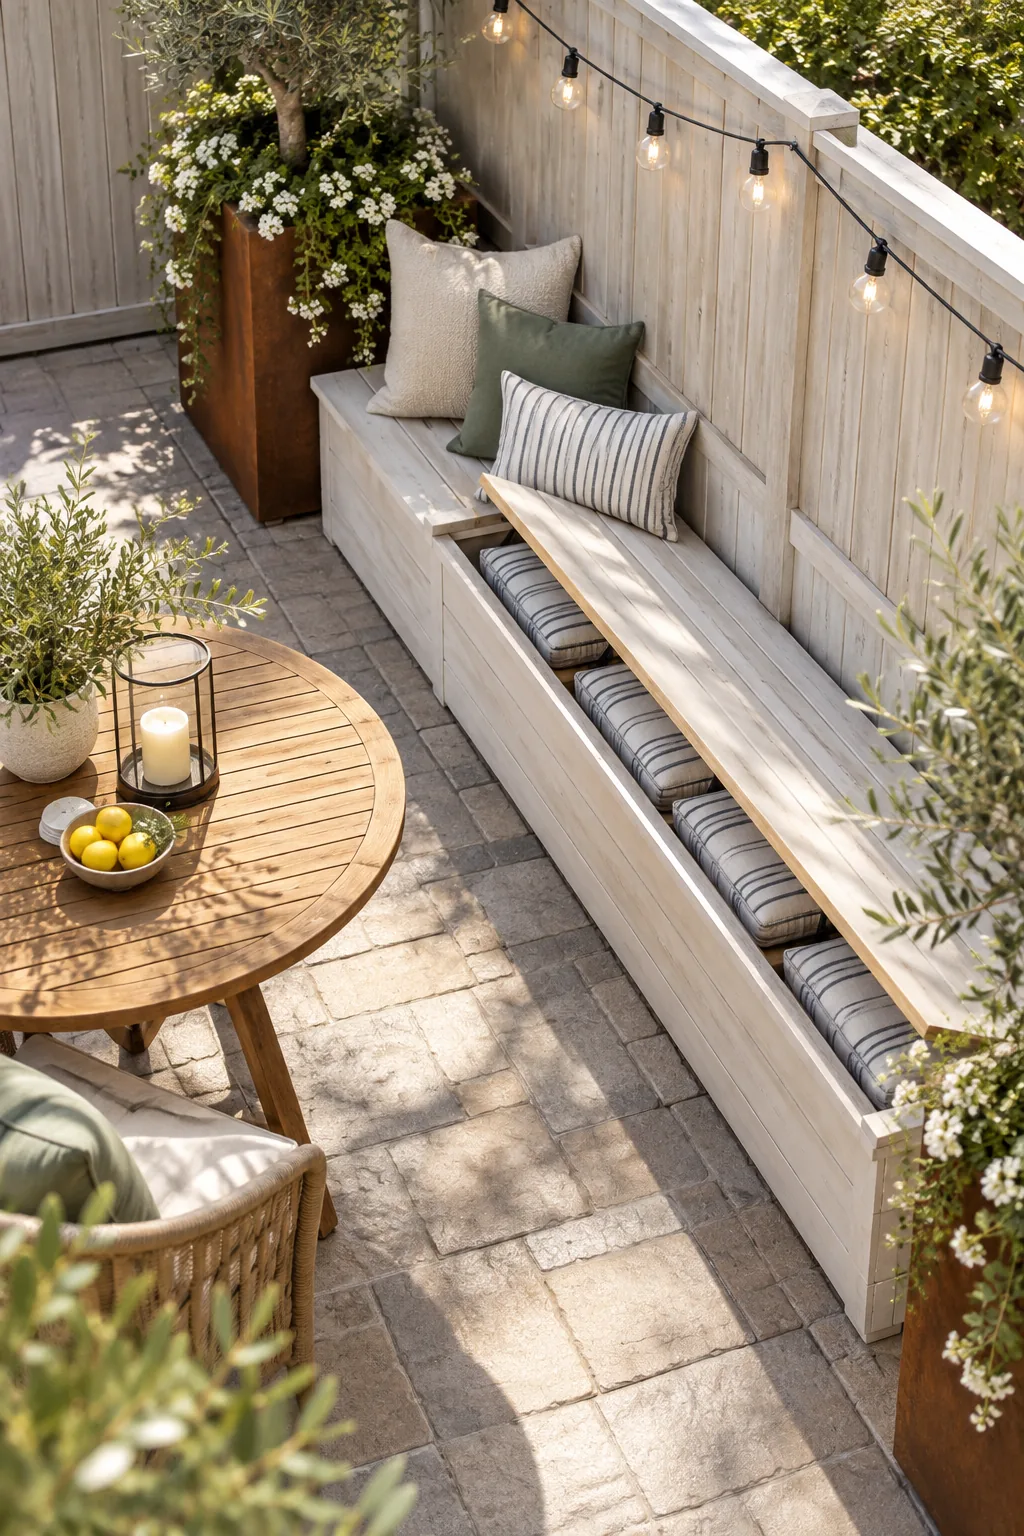
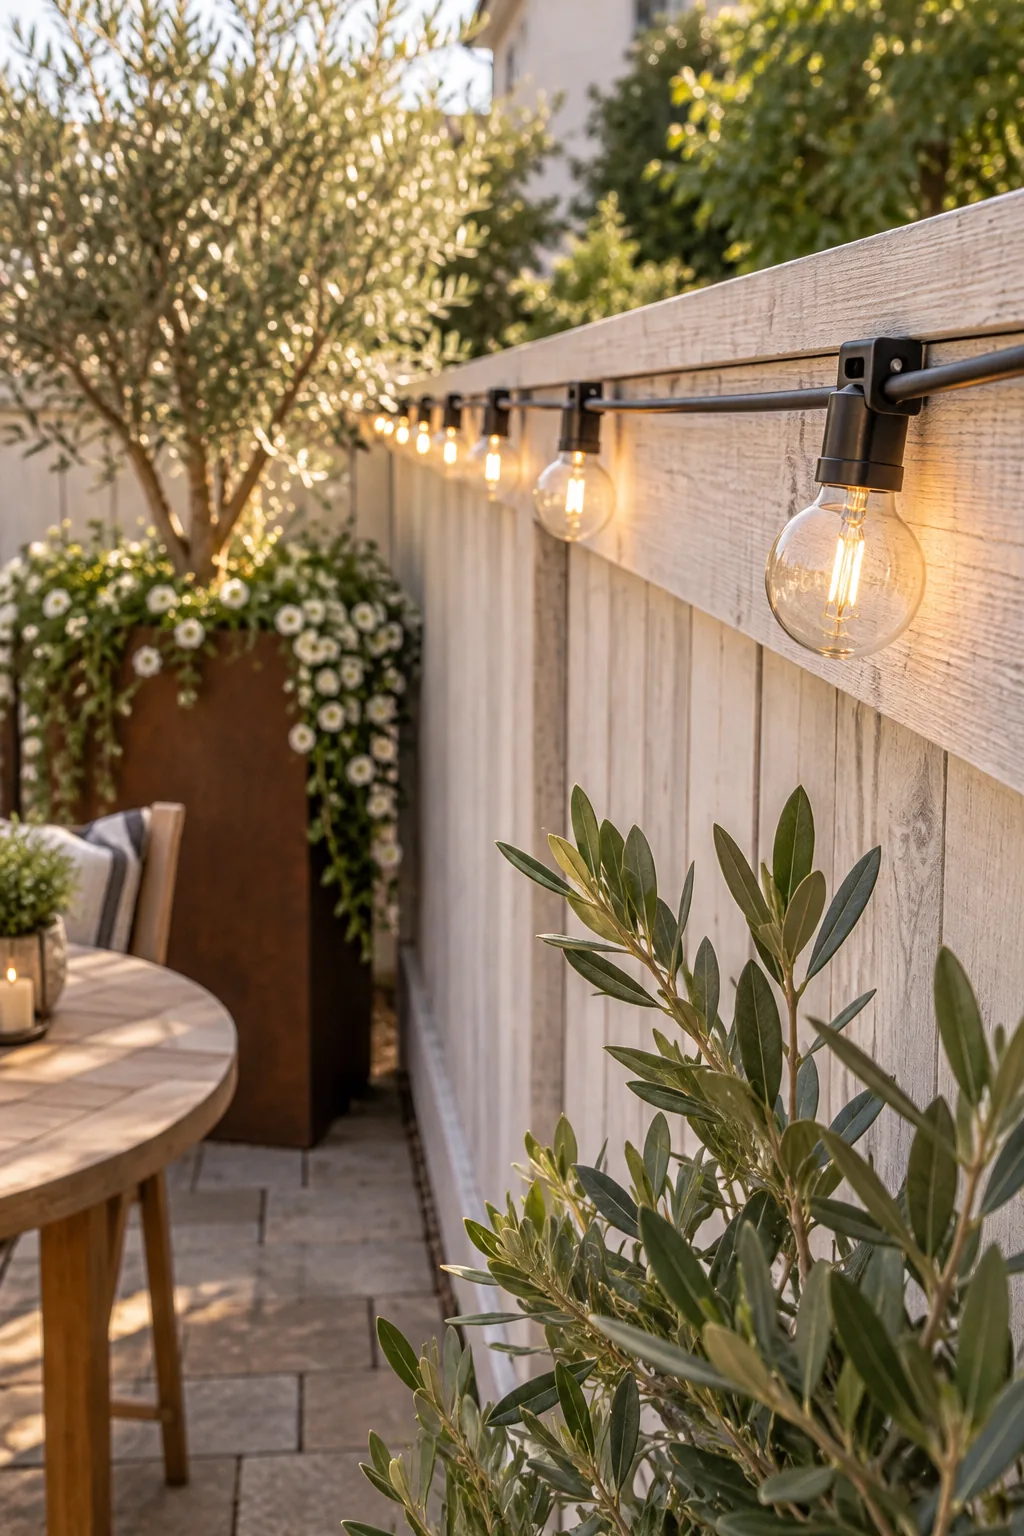
Overhead lighting draws the eye up, making these tight boundaries feel taller. Securing the string-light cord with small outdoor light clips along the top rail of the whitewashed fence keeps the bulbs perfectly spaced and prevents sagging in the wind.
Selecting Shatterproof Outdoor Bulbs
When hanging lights directly over a seating area, safety must dictate your hardware choices. Opt for shatterproof LED polycarbonate bulbs rather than traditional glass, ensuring that an unexpected wind gust never sends dangerous shards down onto your patio pavers.
Adding a Gravel Base for Stability
Tall planters act like sails in windy spots and require a low center of gravity to remain upright. Before adding any lightweight filler, pour a heavy gravel base layer at the very bottom to anchor the vessel and improve deep drainage.
Drilling Adequate Drainage Holes
Most decorative metal containers lack sufficient water escape routes straight from the factory. Use a 1-inch masonry or metal drill bit to add at least four new drainage holes through the bottom pan before pouring in your stabilizing gravel.
Essential Tools for Planter Assembly
Building a stable, lightweight core inside a massive vessel requires a few specific materials to ensure the internal column never collapses. Gather these supplies before you begin stacking so your final plant drop-in goes perfectly smoothly.
- Heavy-duty exterior duct tape for binding the plastic bases together.
- A roll of permeable woven landscape fabric to catch loose dirt.
- Sturdy bricks or pressure-treated wood blocks for custom riser heights.
- Sharp utility scissors for trimming the fabric flush with the rim.
Having your materials prepped keeps the assembly process moving quickly, especially when you are wrestling with oversized containers. I highly recommend wearing thick gardening gloves to protect your hands from the sharp interior edges of rusted metal planters.
Stacking Upturned Pots Inside
Rigid clips outperform staples for maintaining long-term wire tension across your fence line, just as proper internal structure stabilizes your heavy greenery. Building a reliable foundation is the only way to support mature trees.
Filling a massive planter entirely with potting soil is expensive and creates immovable weight. I used to break my back dragging solid-soil pots across my Austin patio until I discovered stacking empty plastic nursery pots upside down to fill the void.
Adding a Permeable Landscape Fabric
Once your plastic core is securely taped, you must separate the empty void from the organic layers above. Draping a single sheet of permeable landscape fabric over the top nursery pot prevents your expensive potting mix from washing down into the empty base.
Calculating Your Soil Volume Needs
Understanding exactly how much dirt you actually need prevents multiple frustrating trips to the garden center. Use this baseline reference to calculate the required cubic feet of potting mix based on your specific top-layer planting goals.
| Plant Type | Required Depth | Planter Width | Estimated Soil Bag Size |
|---|---|---|---|
| Trailing Annuals | 6 to 8 inches | 18 inches | 0.5 cubic feet |
| Perennial Herbs | 8 to 10 inches | 20 inches | 1.0 cubic feet |
| Small Shrubs | 10 to 12 inches | 24 inches | 1.5 cubic feet |
| Olive Trees | 12 to 14 inches | 30 inches | 2.0 cubic feet |
Always purchase one extra bag of high-quality organic potting mix just in case your internal stack settles after the first deep watering. Having reserve dirt on hand makes immediate touch-ups incredibly easy during the first week of establishment.
Matching Soil Depth to the Plant
The visual impact of oversized vessels completely transforms a space, especially without the structural weight of solid soil holding you back. You get all the architectural drama without any of the heavy lifting.
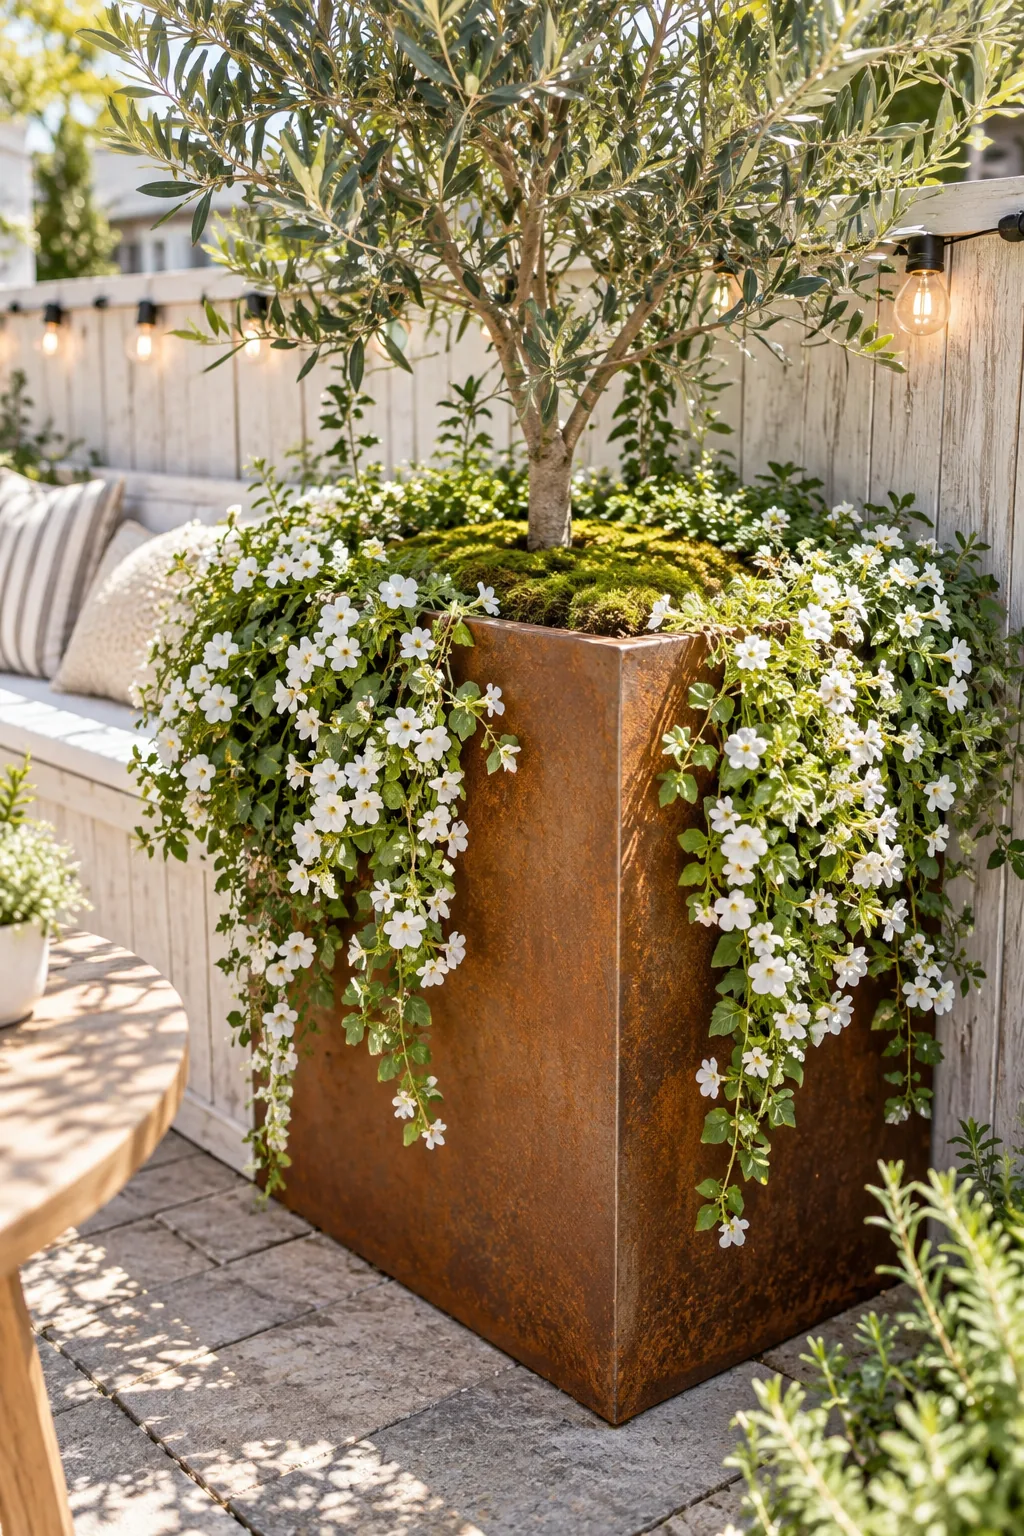
Trailing annuals need 6 to 8 inches of soil depth, while small trees require 12 to 14 inches for healthy root expansion. I always measure my root balls twice before building the internal stack just to be safe.
Setting the Grower Pot Drop-In
Place a sturdy riser on top of the filler pots so the grower pot drop-in sits perfectly level with the rim. I love swapping my delicate olive trees for hardy evergreens when the Texas winter freezes roll in.
Top-Dressing with Spanish Moss
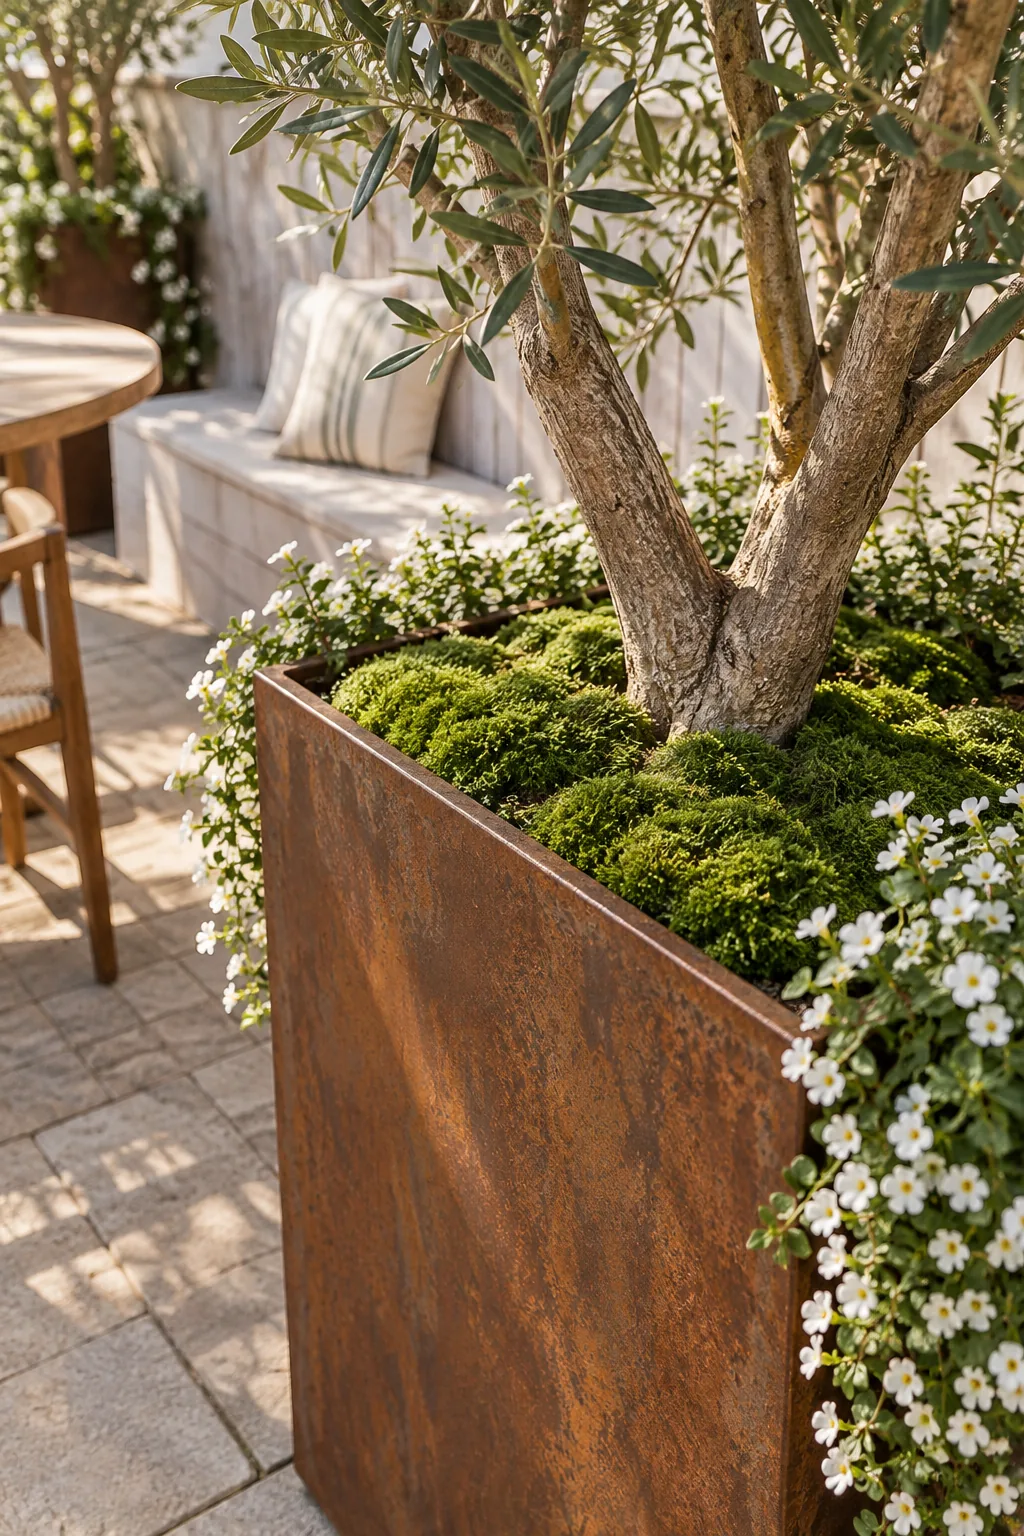
The final aesthetic step is completely hiding the utilitarian plastic edges from your guests. Tucking a thick layer of preserved Spanish moss or decorative river rock around the trunk instantly elevates the presentation and helps the root ball retain essential moisture.
Planning for Seasonal Plant Swaps
Because the tree remains in its original container, updating your patio for autumn requires zero digging. You simply lift the entire summer tree out by the plastic rim and drop a fresh seasonal arrangement directly onto the waiting internal riser.
The Tall-Planter Fill and Swap Sheet
A flush rim height creates a seamless, permanently planted illusion that elevates the whole patio. Proper planning ensures your hidden structural layers remain entirely invisible to anyone relaxing at the bistro table.
Take the guesswork out of these massive containers with our printable two-page guide, featuring soil depth charts, riser formulas, and a shopping list. I keep a copy in my glovebox so I never buy the wrong size nursery pots.
More Small Patio Styles to Copy
Once you master the planter cheat, you can adapt this layout to fit any aesthetic.
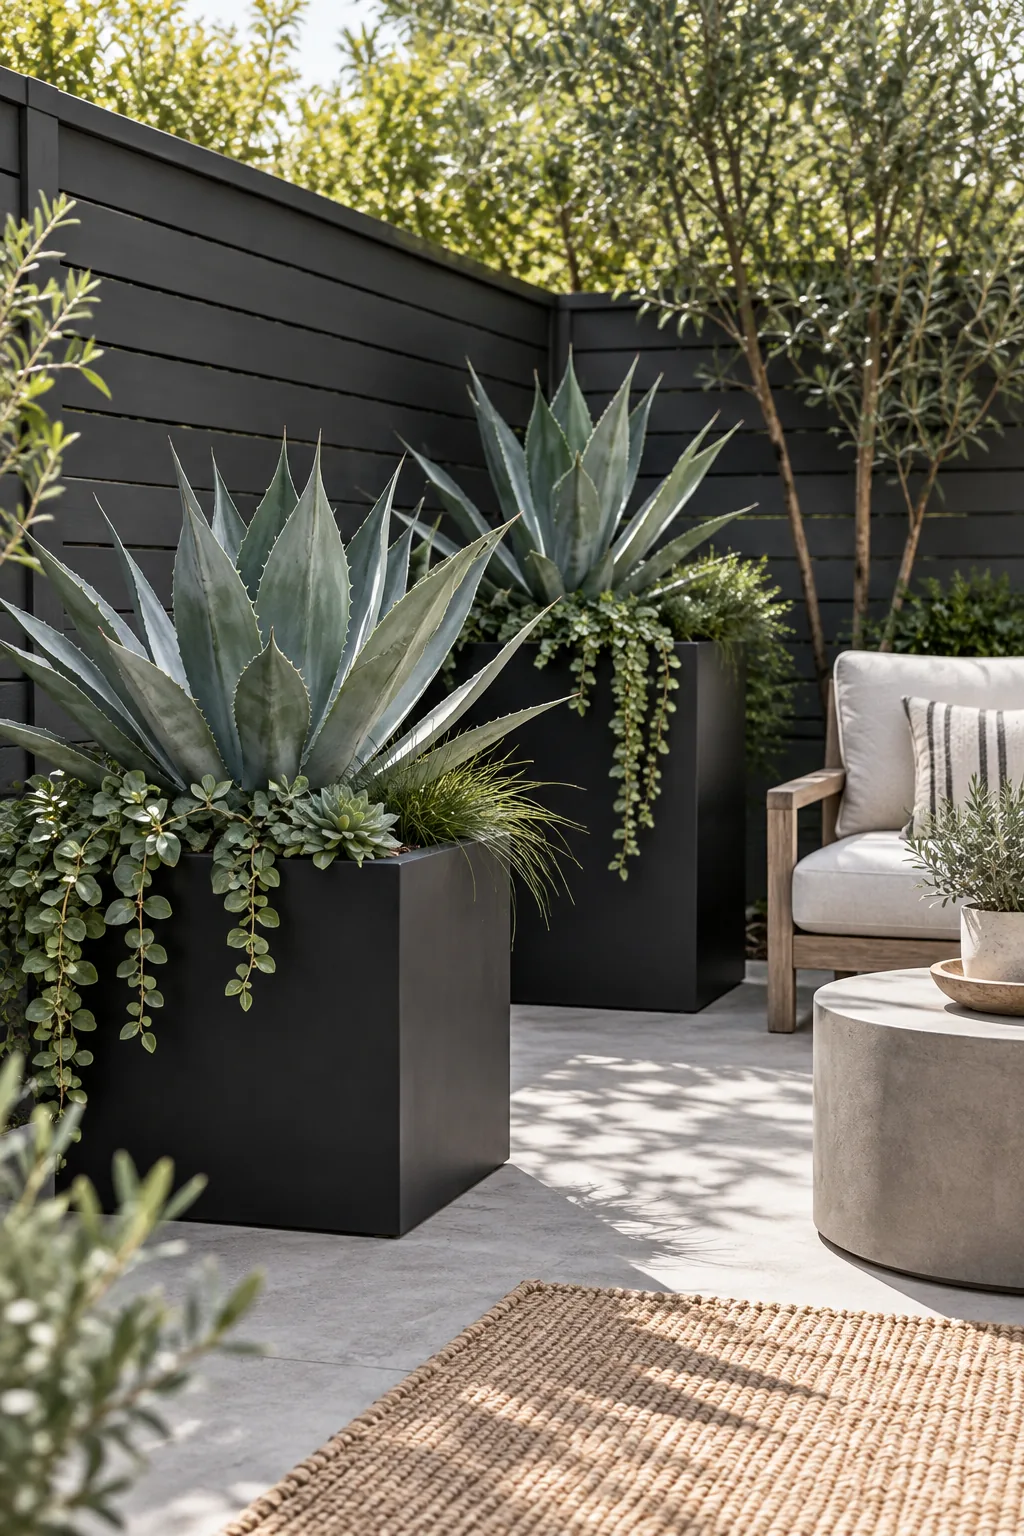
Modern Minimalist: Swap rust for matte black vessels against a charcoal slat wall to create a moody, architectural space. Stick to sculptural agave for zero-maintenance greenery.
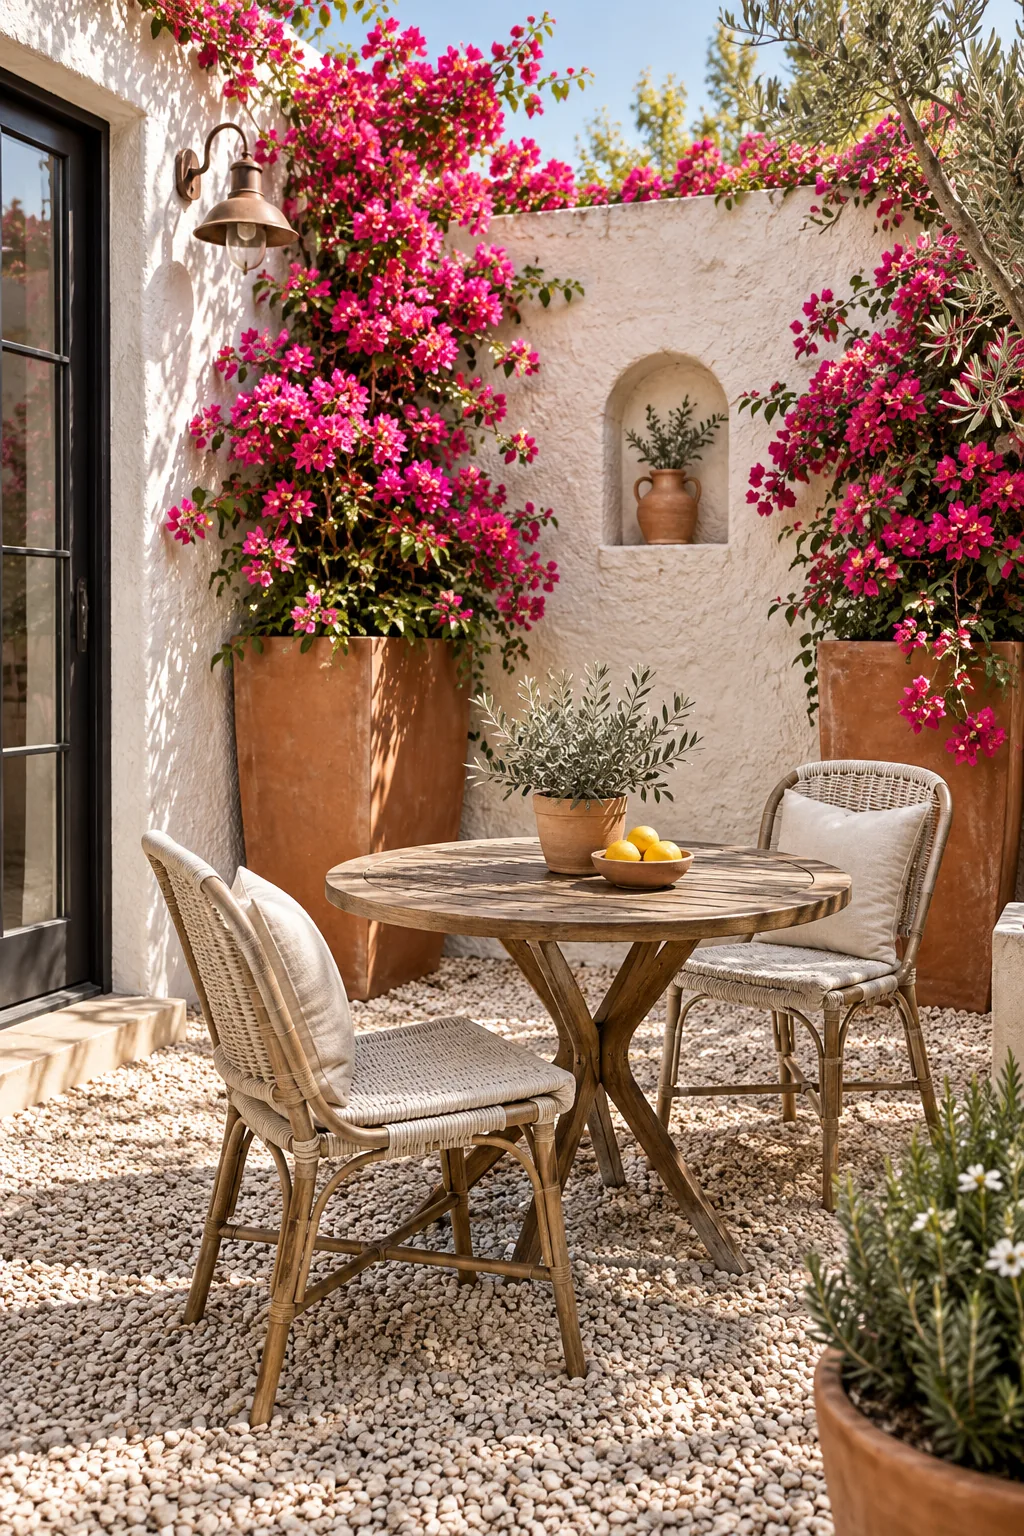
Mediterranean Courtyard: Embrace a Mediterranean feel with warm terracotta vessels and a textured stucco boundary. Vibrant pink bougainvillea adds a massive punch of color against the neutral background.
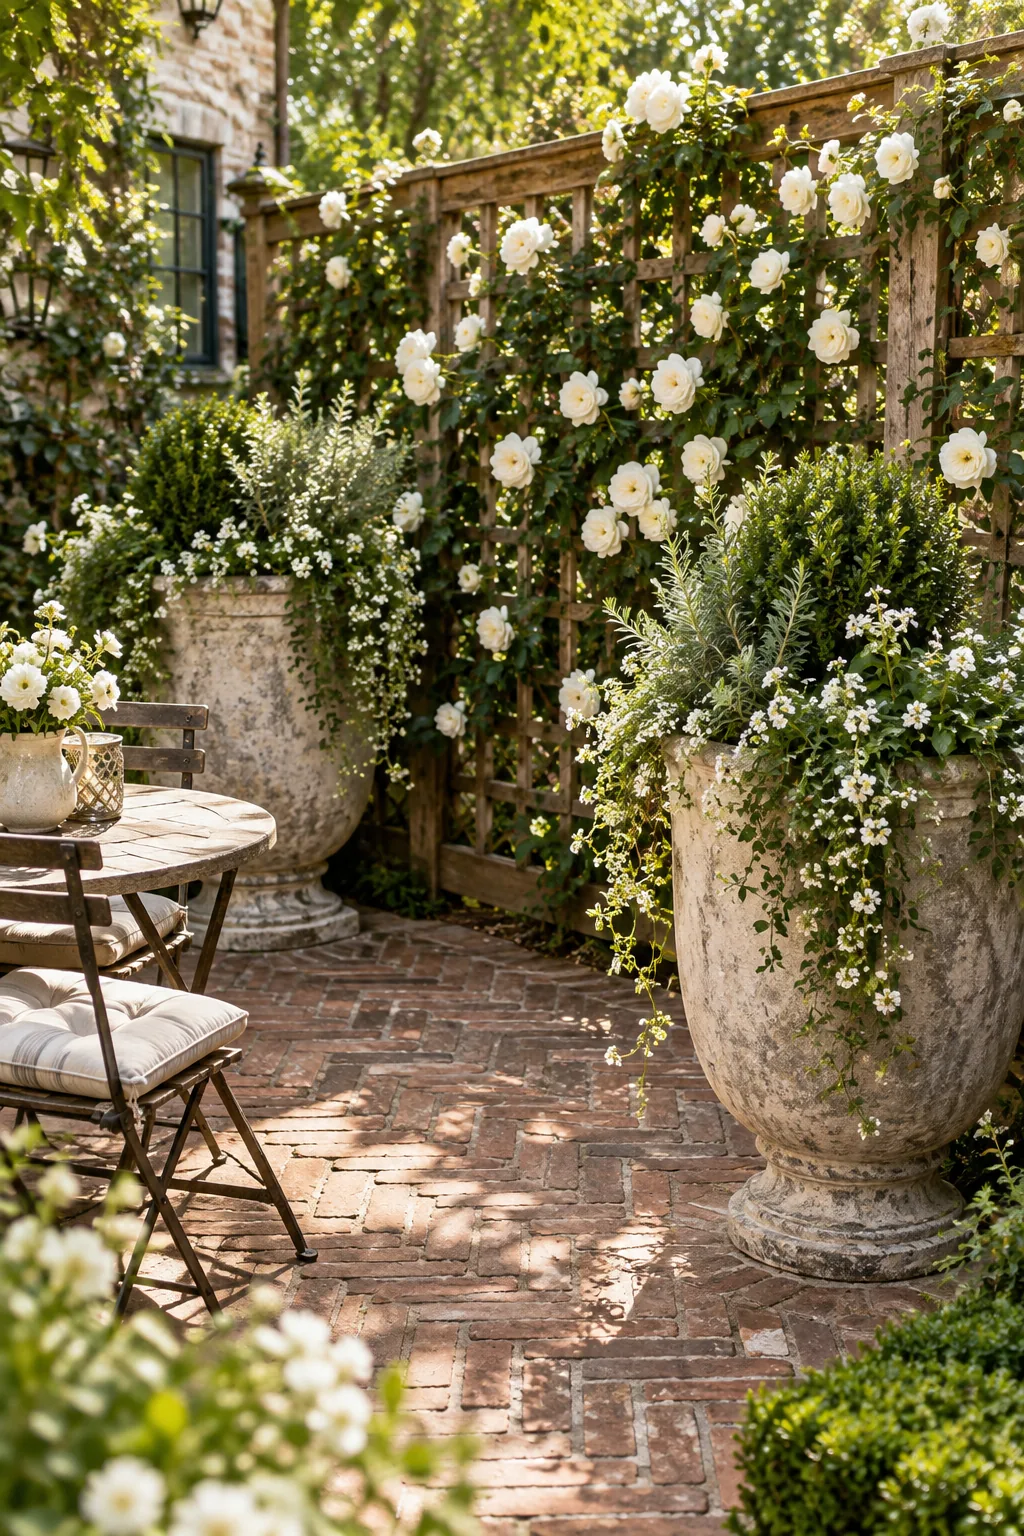
English Cottage: Channel an English garden using weathered cast-stone planters on a classic herringbone brick surface. Soften the rigid edges with climbing white roses and trailing ivy.
Boho Balcony: Build a relaxed bohemian atmosphere with weatherproof woven rattan planters on patterned cement tiles. Tropical monstera leaves provide bold, leafy texture that thrives in shaded corners.