
DIY PVC Photo Backdrop: Complete Cut List & Material Guide
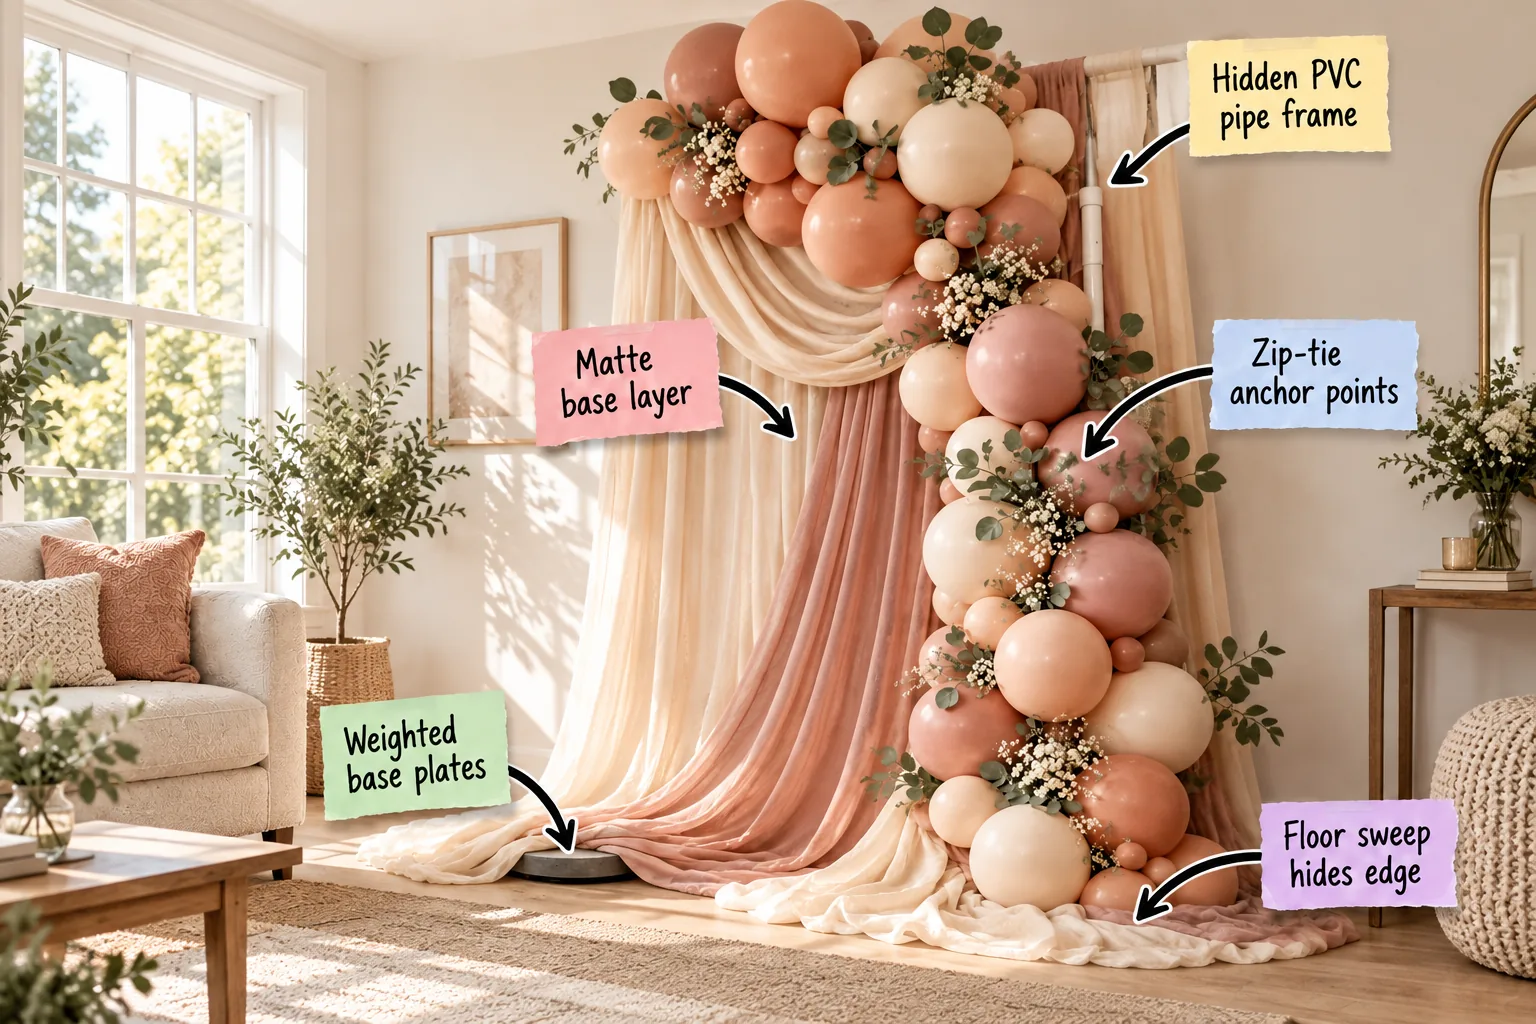
Building a stunning DIY PVC photo backdrop transforms any blank wall into a professional party zone. I will show you exactly how to cut the right pipes, assemble a sturdy freestanding frame, and get the complete material shopping guide.
Building the Hidden PVC Frame
The secret to a sturdy backdrop is using 1-inch Schedule 40 PVC for rigidity without bulk. A standard 6.5-foot height by 5-foot width creates an ideal photo zone without sagging in the middle.
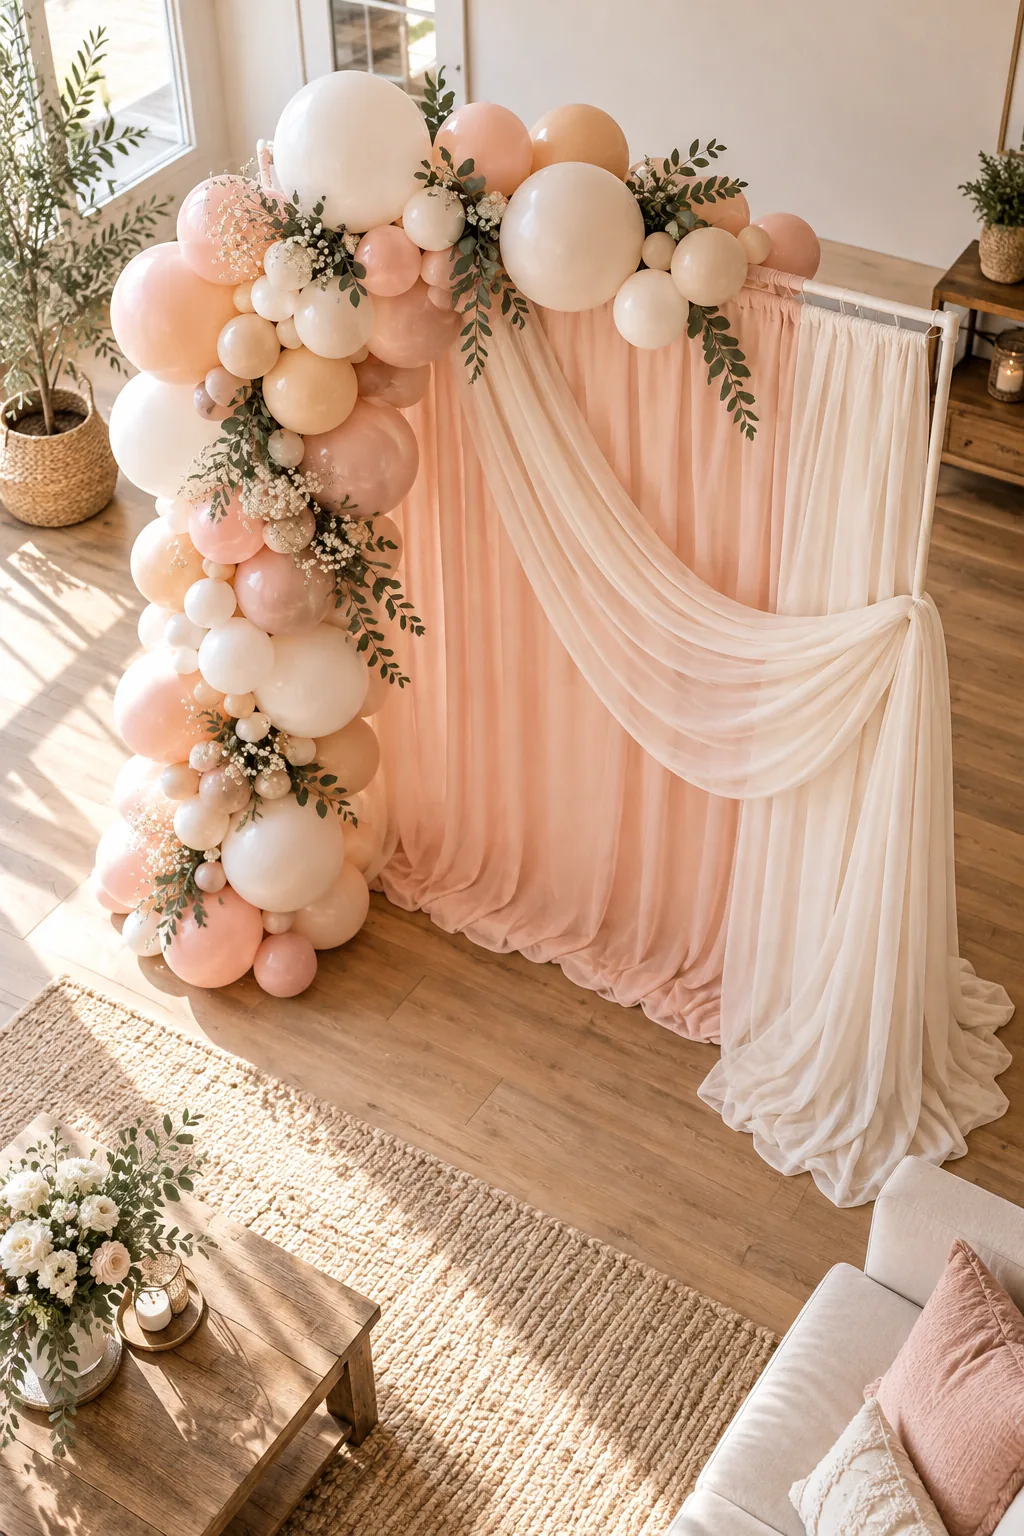
A common downfall of DIY backdrops is a flimsy structure that leans forward or bends during the party. Taking the time to select the correct pipe thickness ensures your backdrop remains perfectly vertical.
Stabilizing with Weighted Base Plates
Freestanding frames tip easily once heavy balloons are attached, so you need invisible stability at the foundation. Slip flat 10-pound cast iron barbell weights directly over the vertical base pipes before adding the horizontal bars.
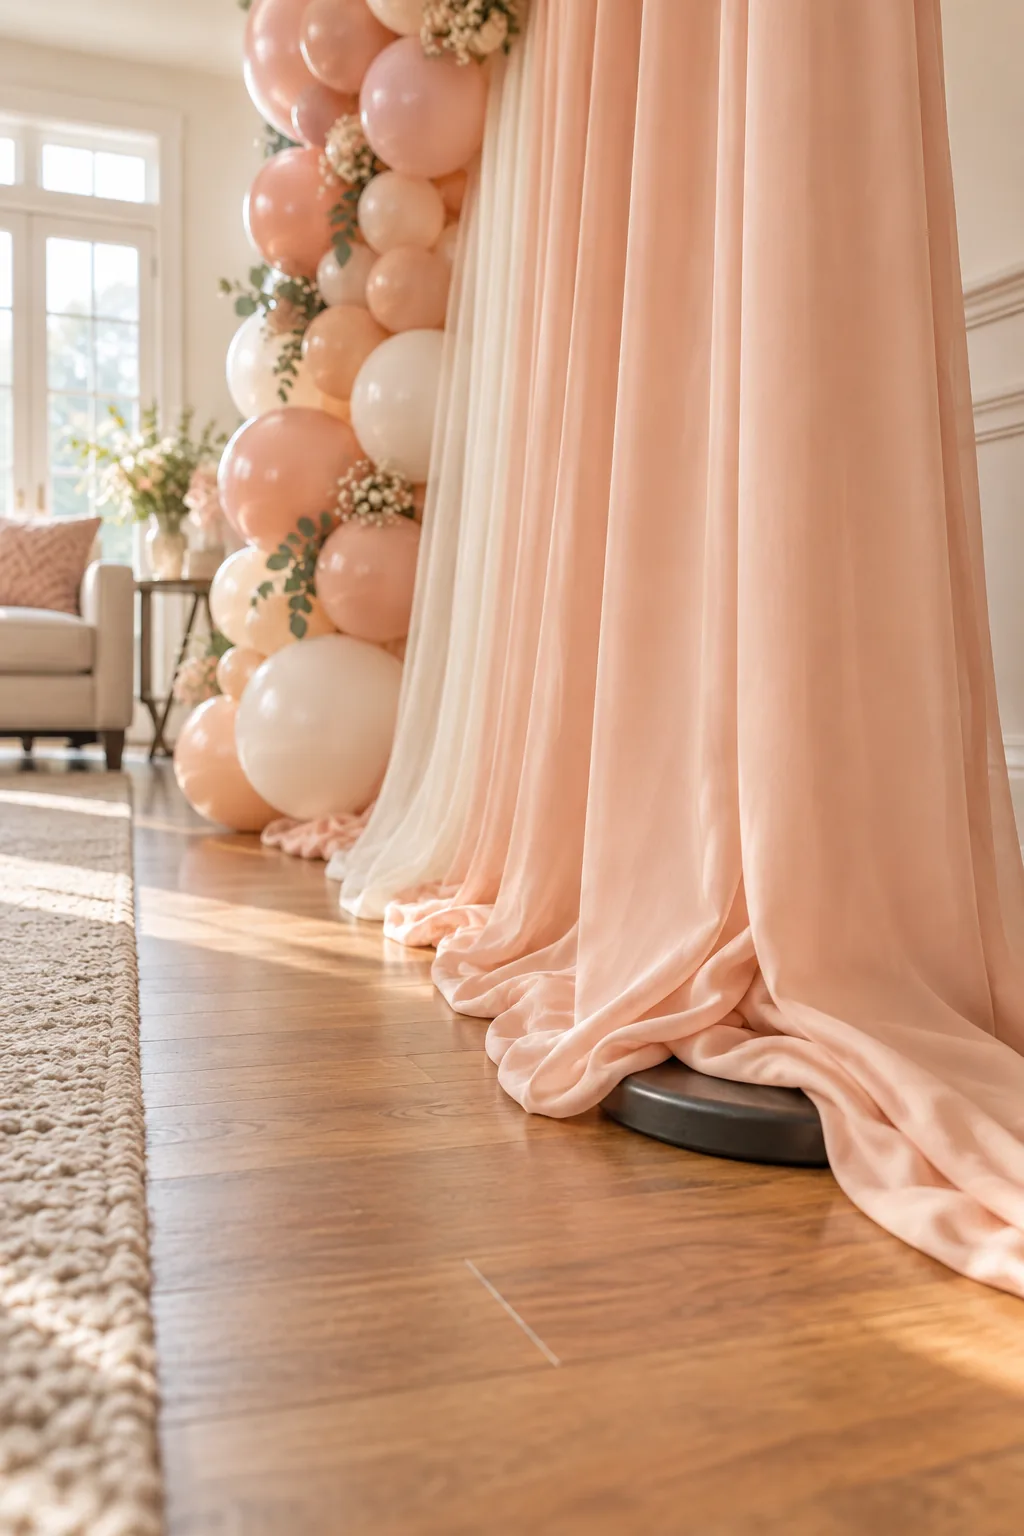
I once had a gust of wind nearly topple a graduation setup, so now I never skip the base weights. Centering the weight directly over the T-joint provides maximum downward force right where the frame is most vulnerable.
Hanging the Matte Base Layer
Always use a non-reflective polyester or cotton drape to block light from shining through from behind. Measure your fabric width using a 1.5x fullness ratio to guarantee rich, opaque coverage across the entire frame.
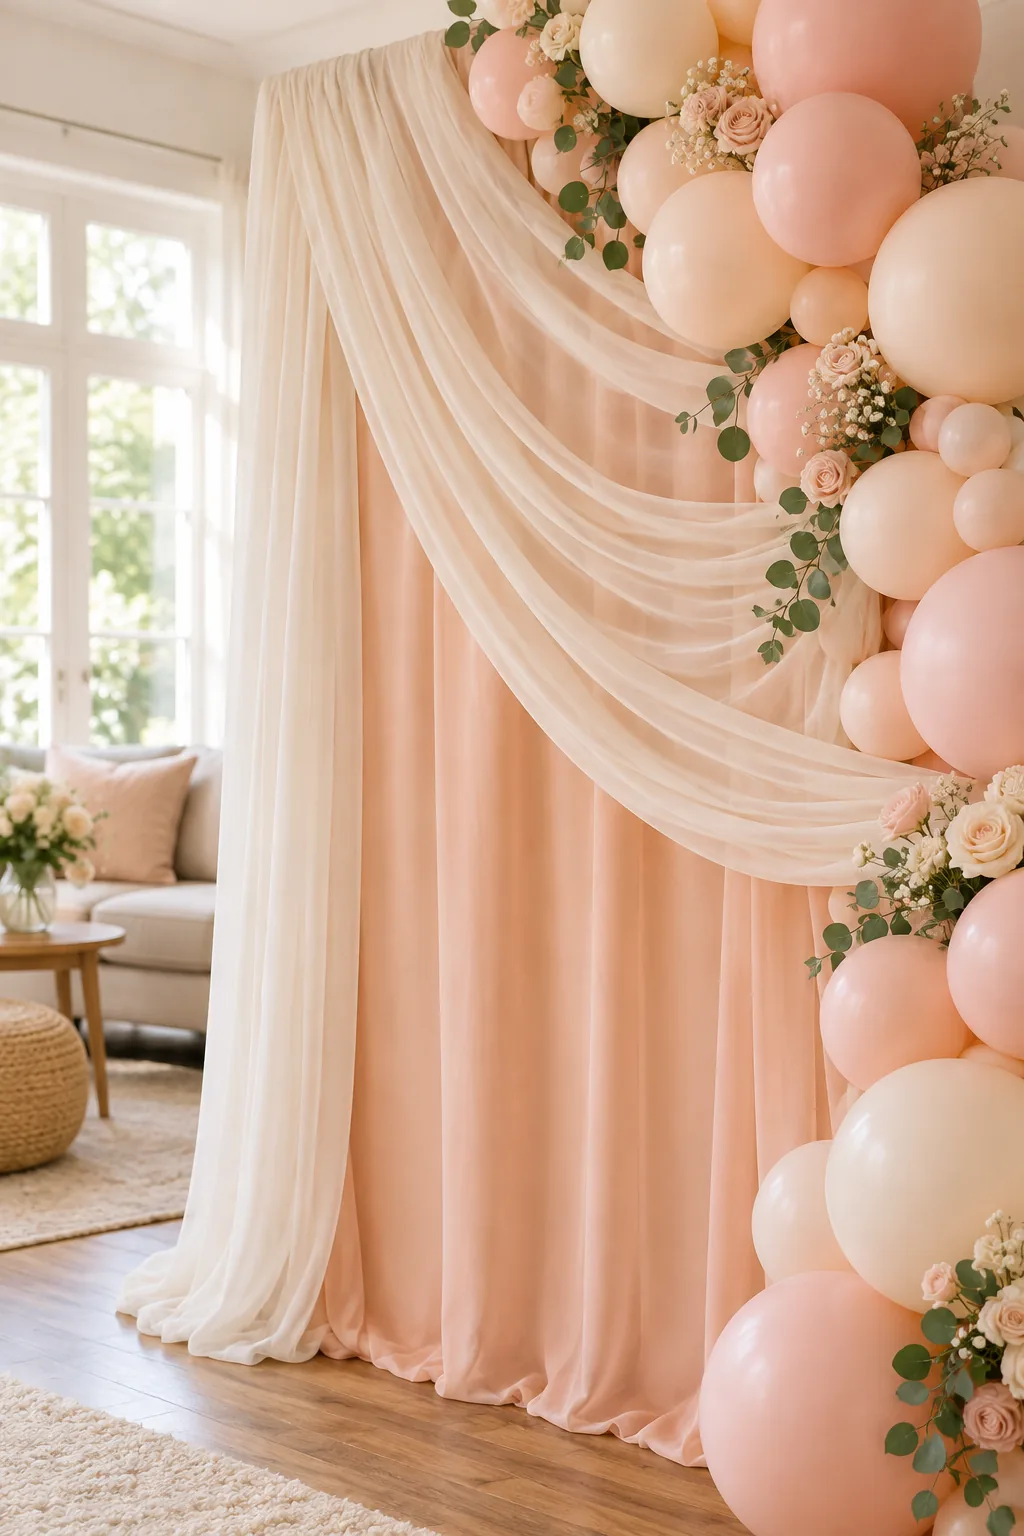
When I styled my sister’s baby shower, doubling the fabric thickness completely hid the harsh window glare behind it. If you skip the fullness ratio, the fabric pulls taut and exposes the white PVC uprights.
Creating Depth with Accent Draping
Layering a contrasting sheer fabric over the matte base adds professional dimension to your setup. Swag it asymmetrically across the top corner to create natural movement that draws the eye toward your focal point.
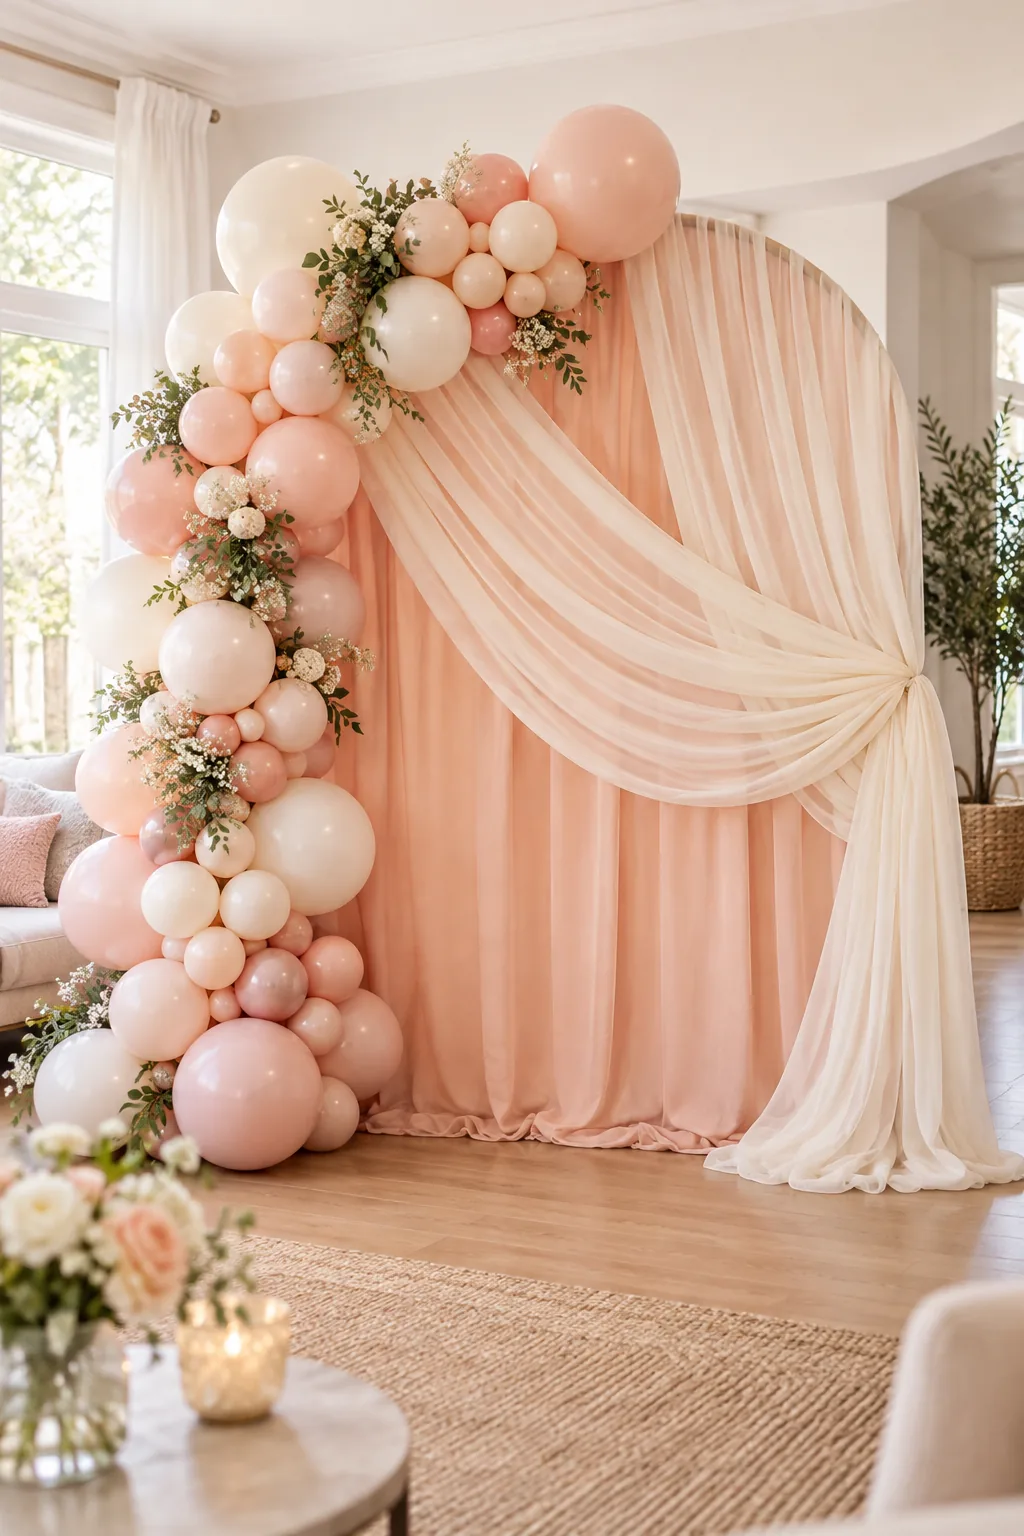
Secure the sheer layer loosely with a safety pin behind the main pipe so it drapes effortlessly. Pinching the fabric at strategic intervals creates elegant folds that catch the light beautifully in photographs.
Securing the Zip-Tie Anchor Points
Always attach your balloon garland directly to the PVC frame rather than pinning it to the delicate fabric. Use 8-inch clear zip ties at three main structural joints to bear the weight securely.
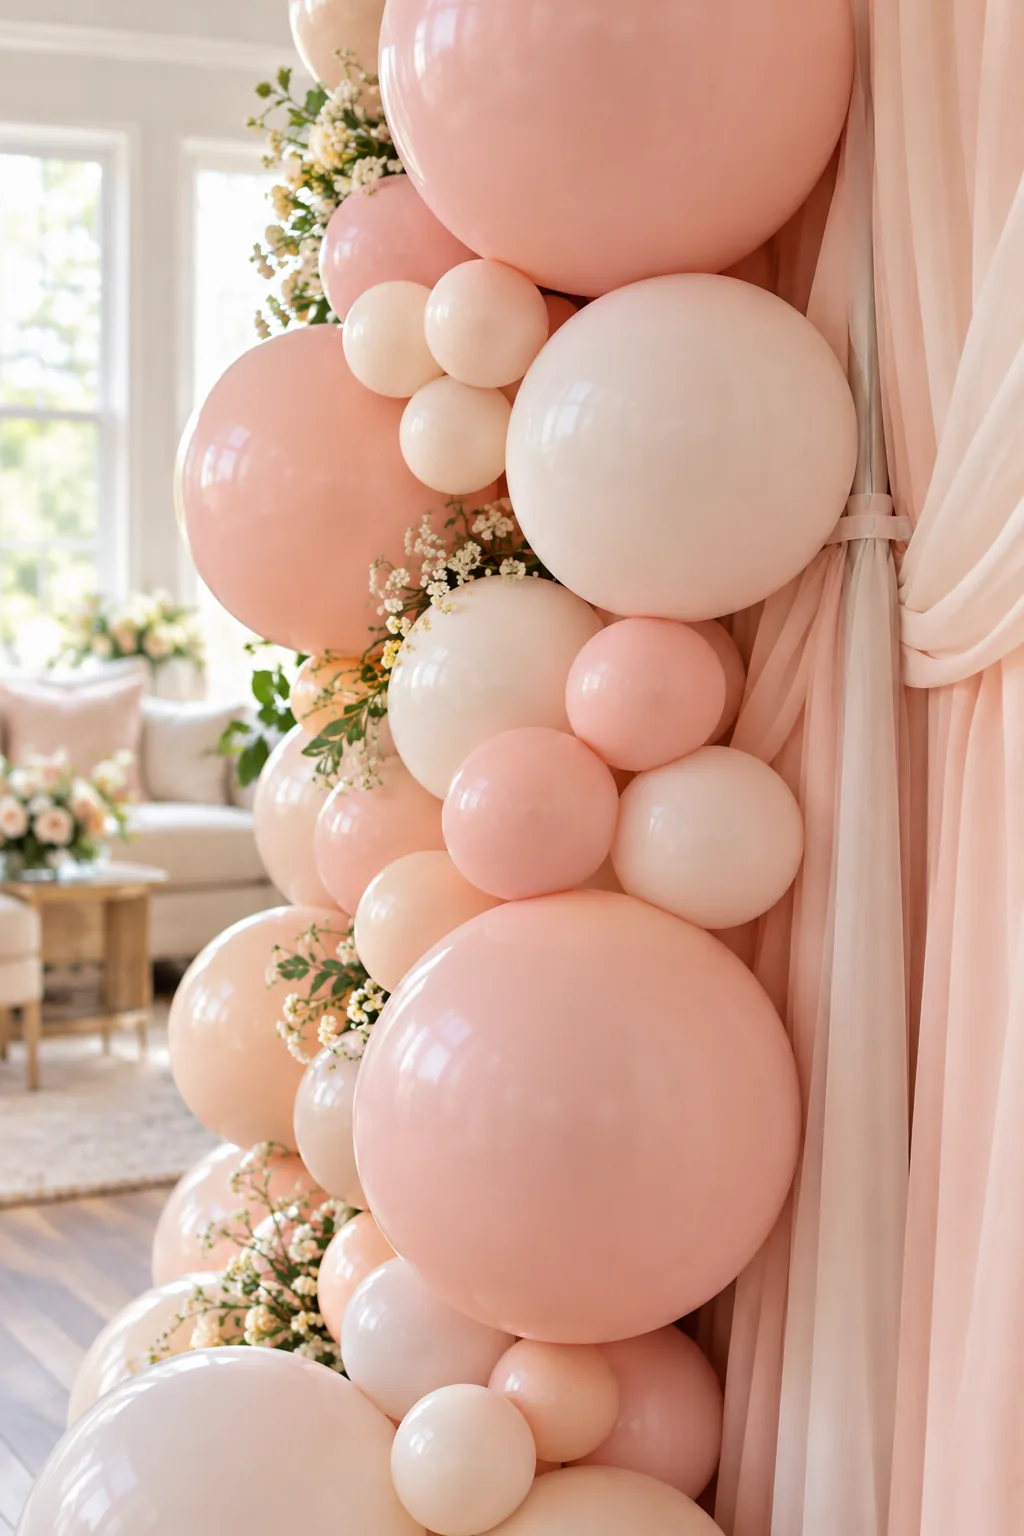
Getting ties around a pipe that is already tightly wrapped in fabric can be frustrating. Threading them early saves you from blindly poking holes through your beautiful draping while balancing on a step stool.
Shaping the Organic Balloon Garland
Build your garland with a dynamic mix of 5-inch, 11-inch, and 18-inch balloons. Keep the largest sizes clustered near the structural anchor points to ground the design visually.
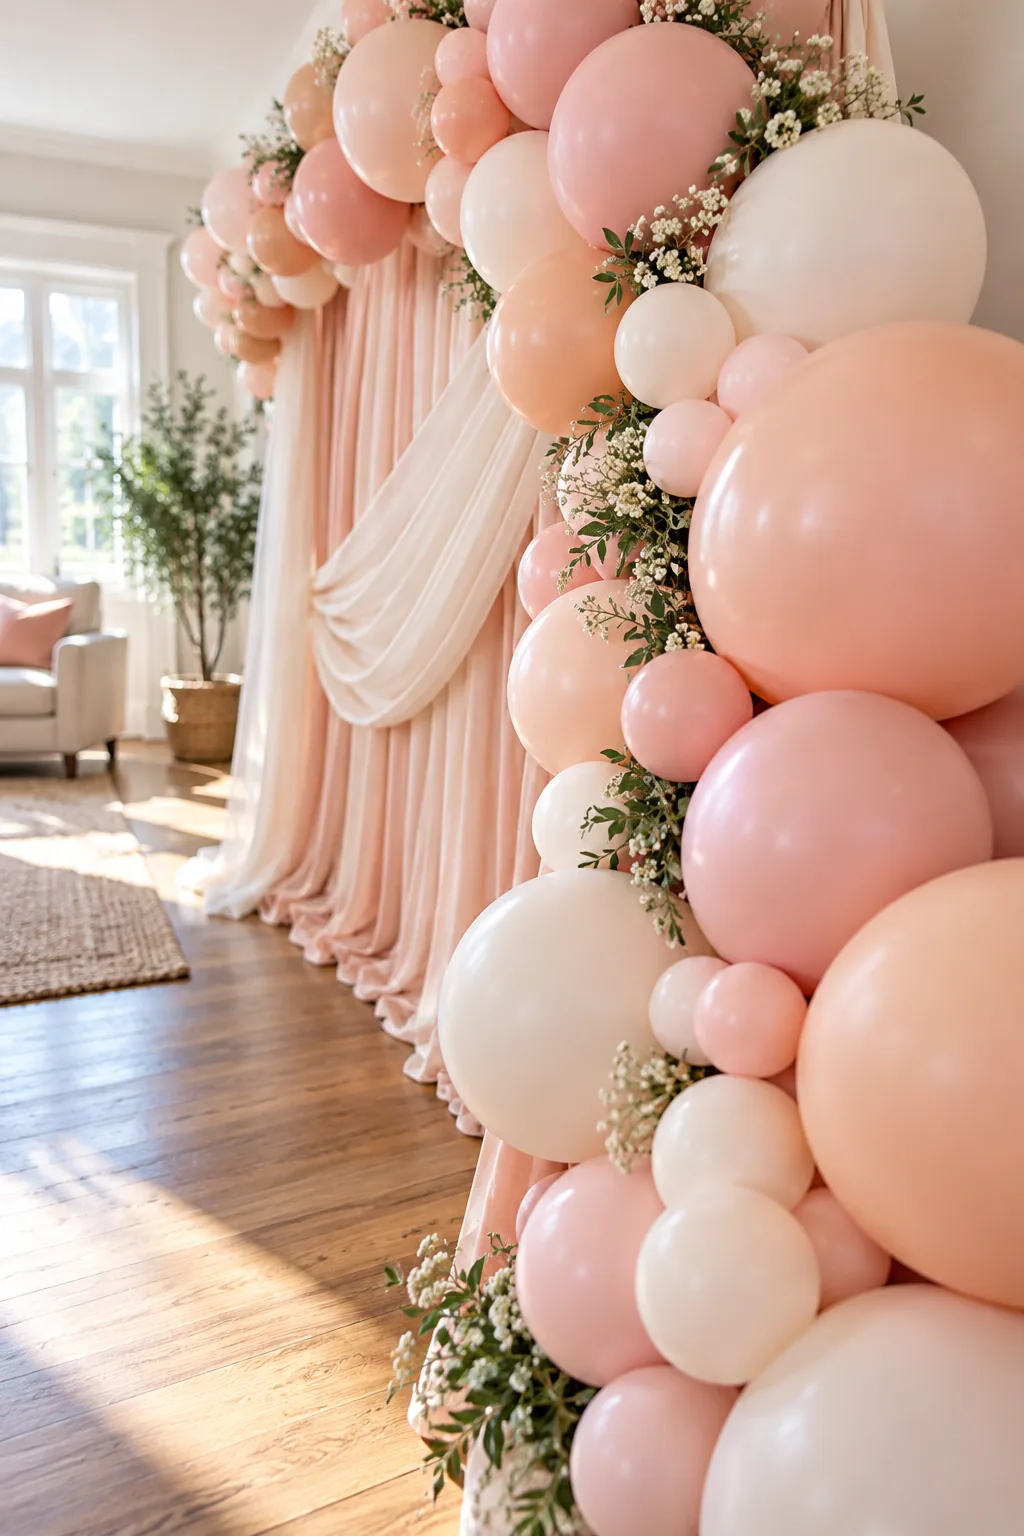
I love adding tiny 5-inch balloons at the very end to fill any awkward gaps and make the cluster look perfectly full. Attaching these smaller accents with low-temperature glue dots creates that lush, organic texture.
Styling the Floor Sweep
Allow at least 12 inches of extra fabric length to pool elegantly on the floor. This simple technique hides the bottom horizontal pipe and base plates completely while adding a luxurious feel.
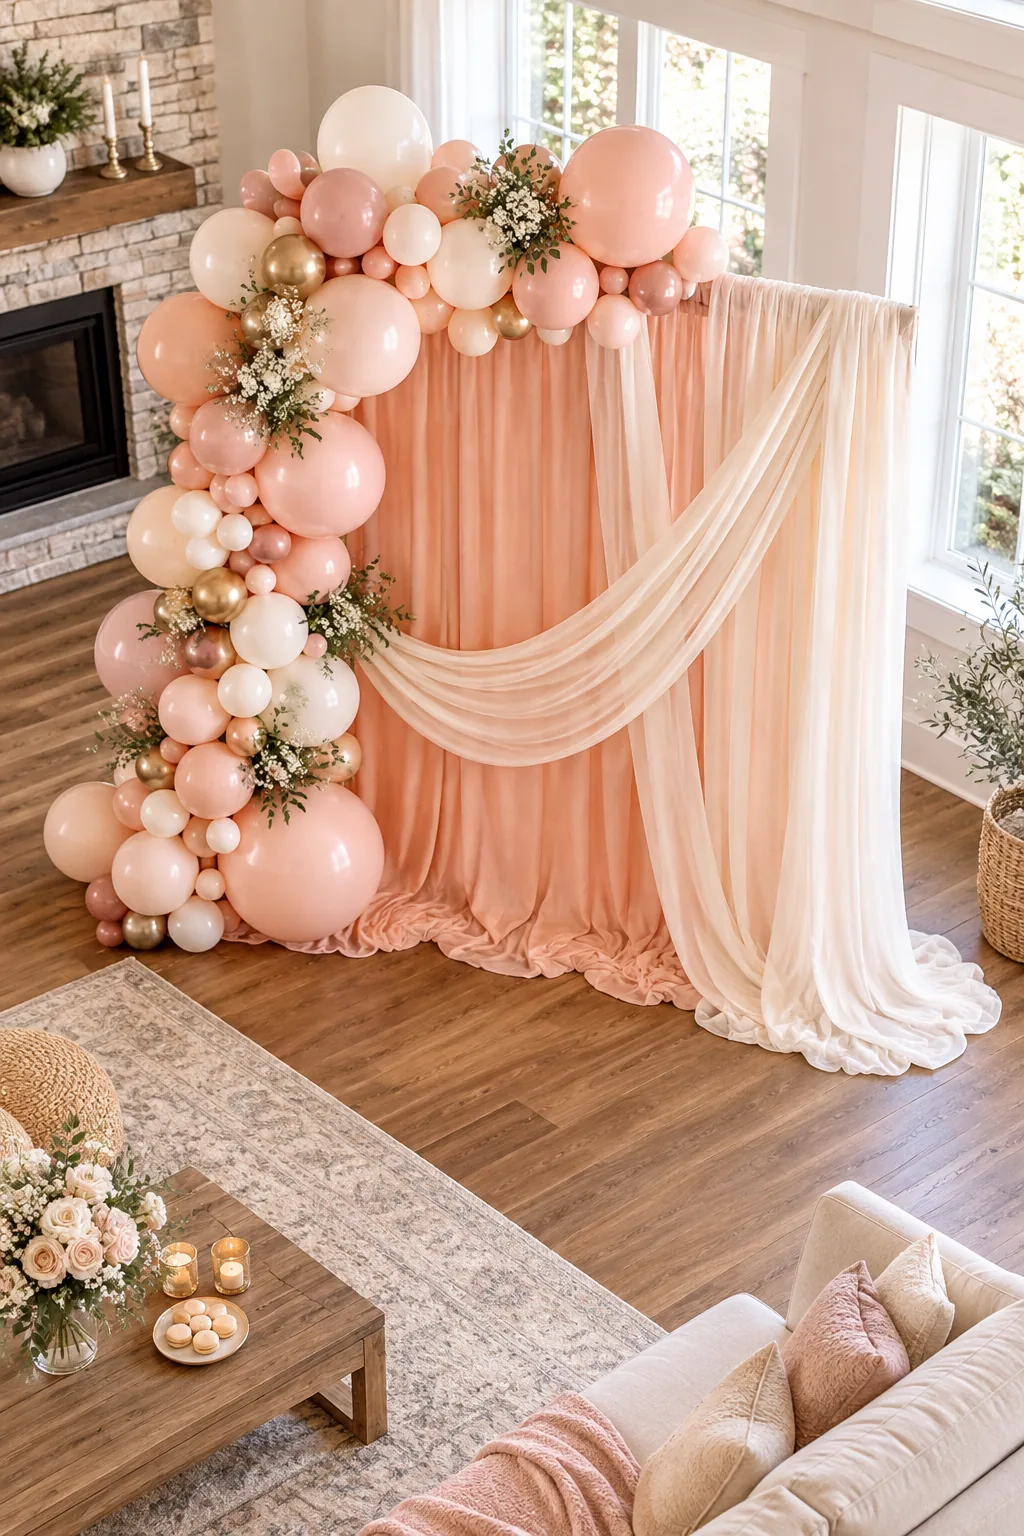
Tuck the raw edges underneath the puddle so the finish looks incredibly clean. Steaming the fabric once it is fully styled removes any harsh packaging creases and helps the sweep lay naturally against the floorboards.
3 Ways to Style a Freestanding Photo Backdrop
Once you build the base frame, you can easily adapt the colors and fabrics to match any event theme.
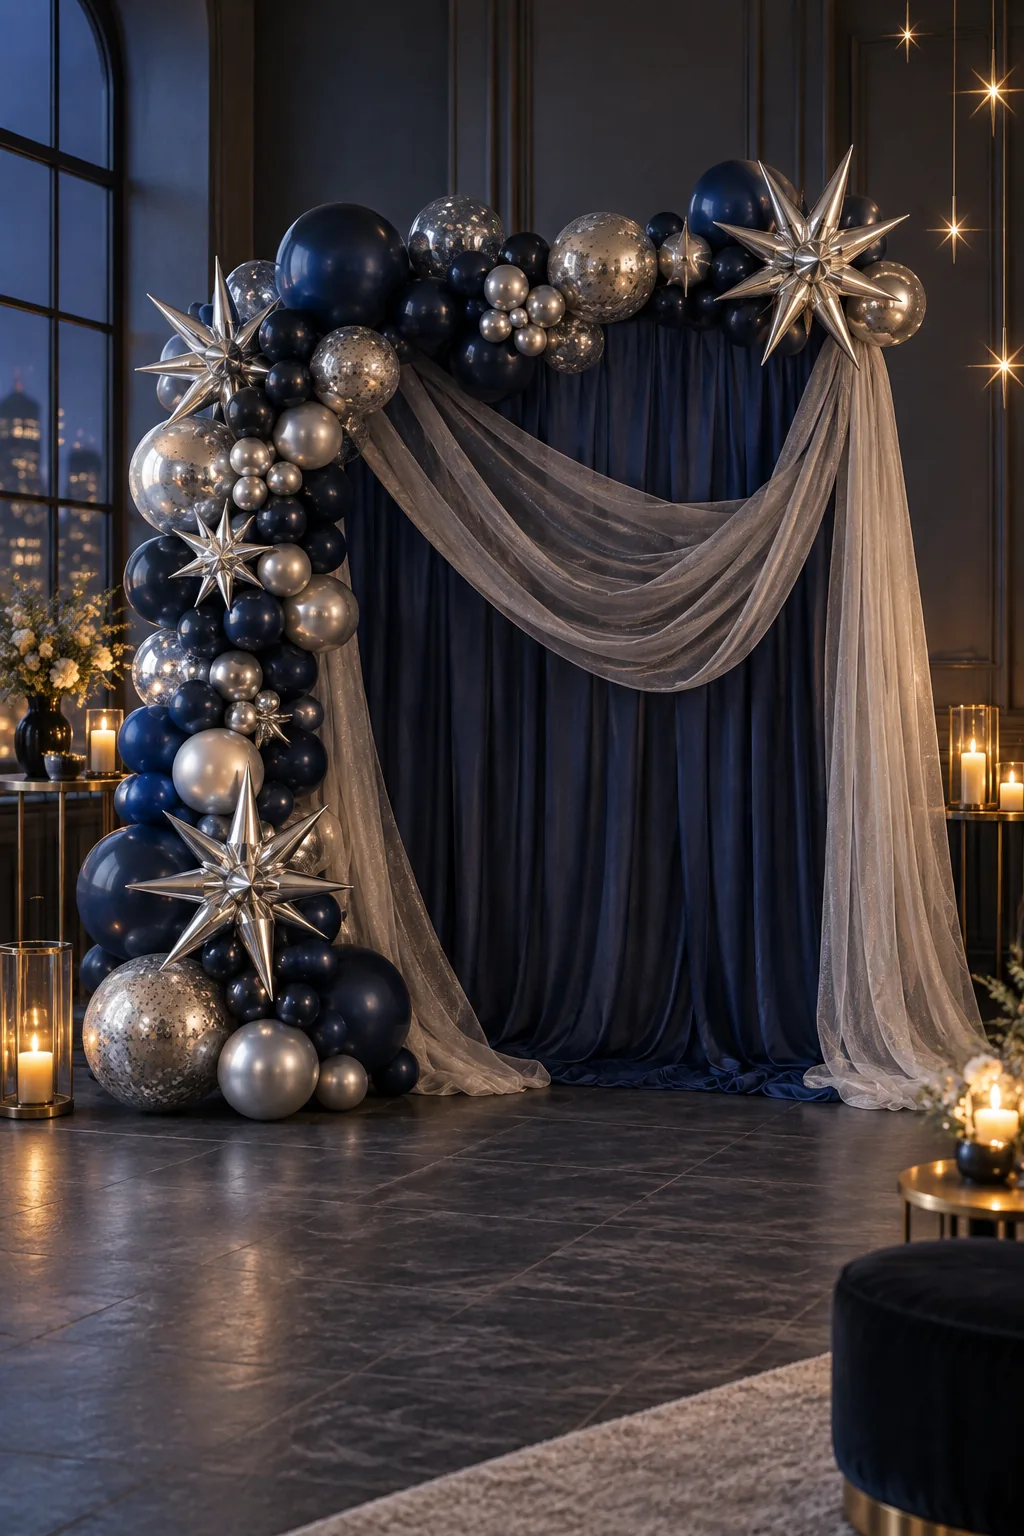
Moody Celestial: Swap pastels for a navy base and silver starburst balloons to create an elegant, moody celestial photo zone perfect for evening events.
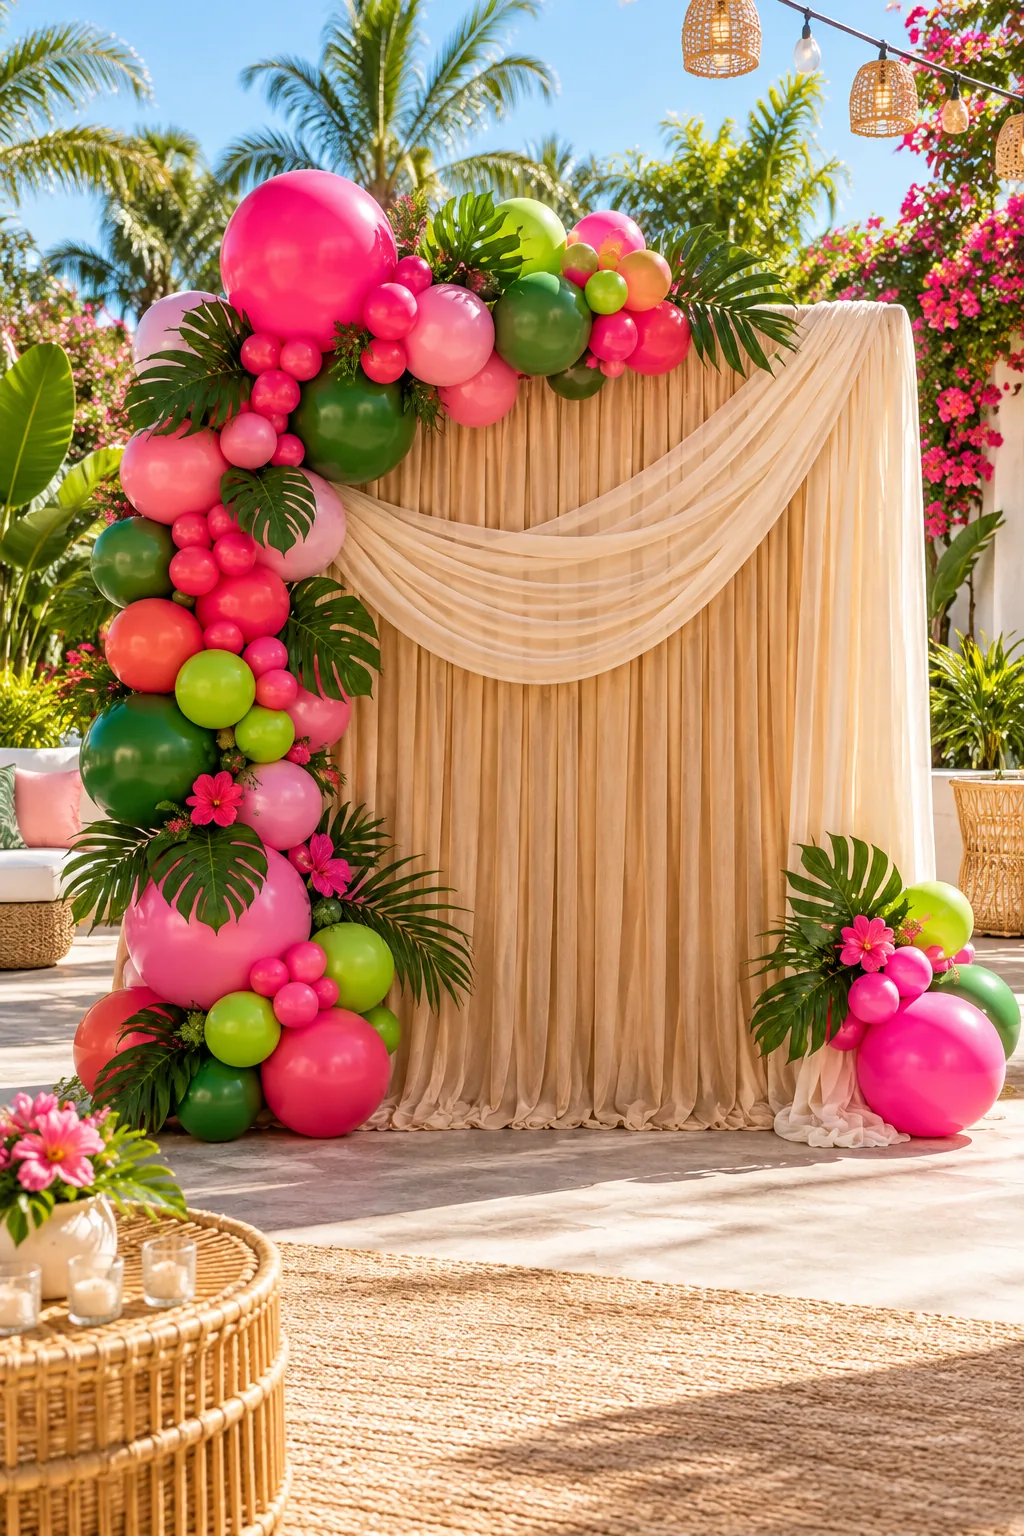
Tropical Brights: Use hot pink and vibrant green balloons over a bamboo-toned drape to bring a lively tropical energy to a sunny outdoor patio.
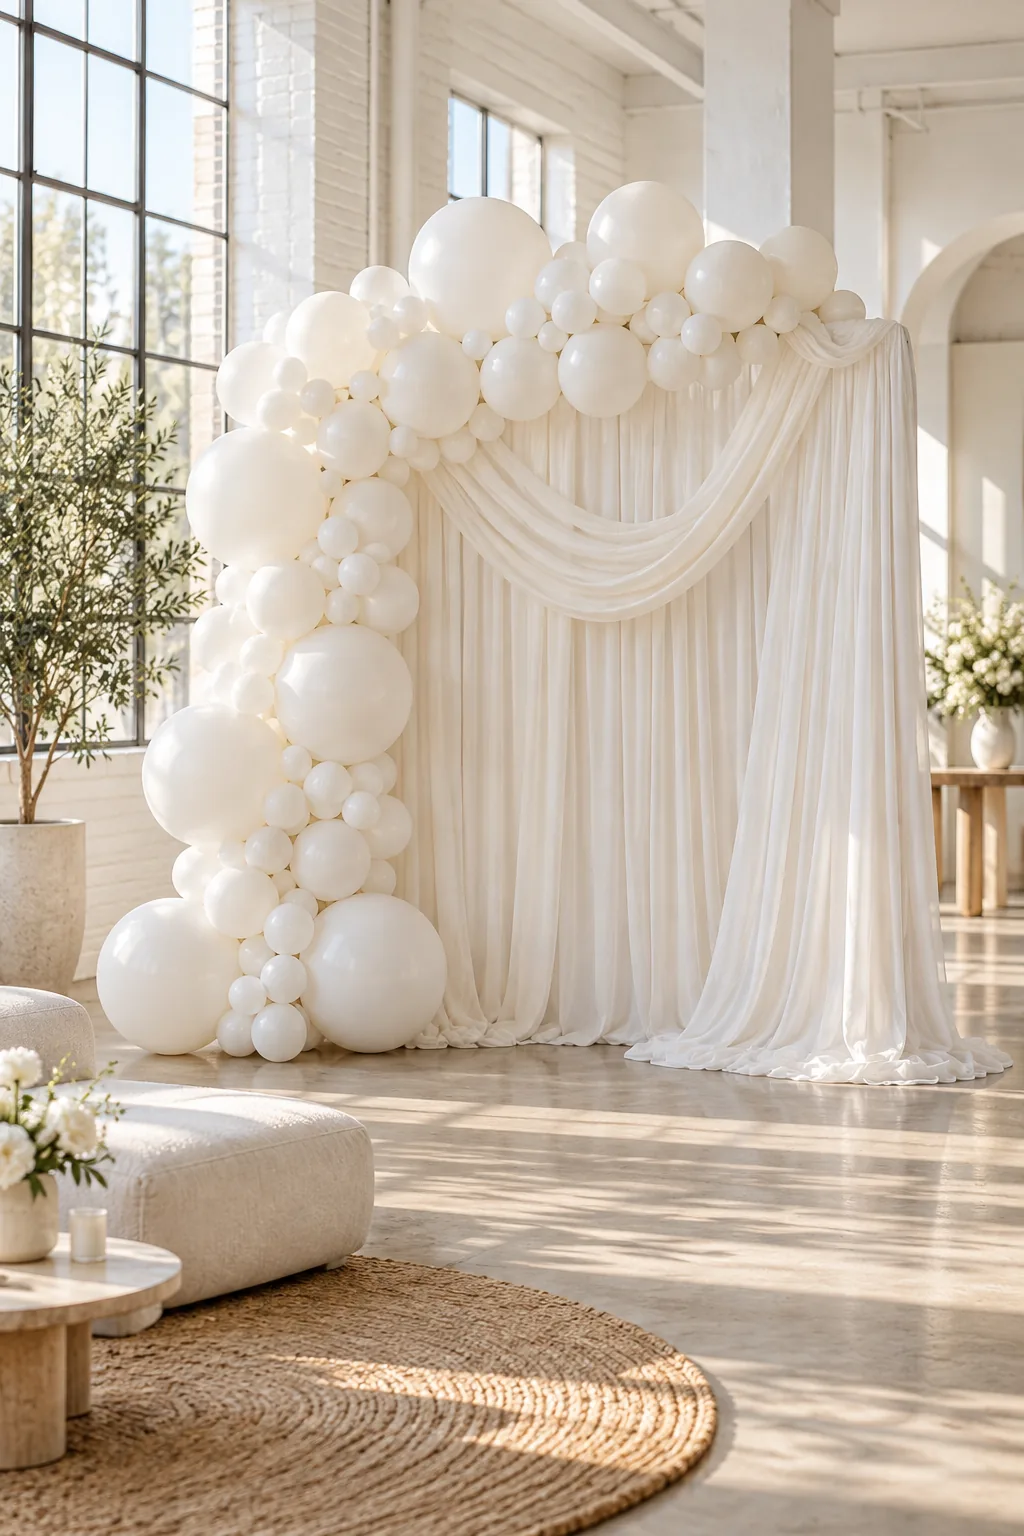
Minimalist Neutral: Keep it sophisticated with an all-white balloon arrangement and crisp linen draping in a bright, modern loft space for a minimalist aesthetic.
The Complete PVC Cut List and Shopping Guide
To build a standard 6.5×5 foot frame, you need exact cuts that fit together quickly on the day of your event. Most hardware stores will cut the pipes for you, making transportation much easier.
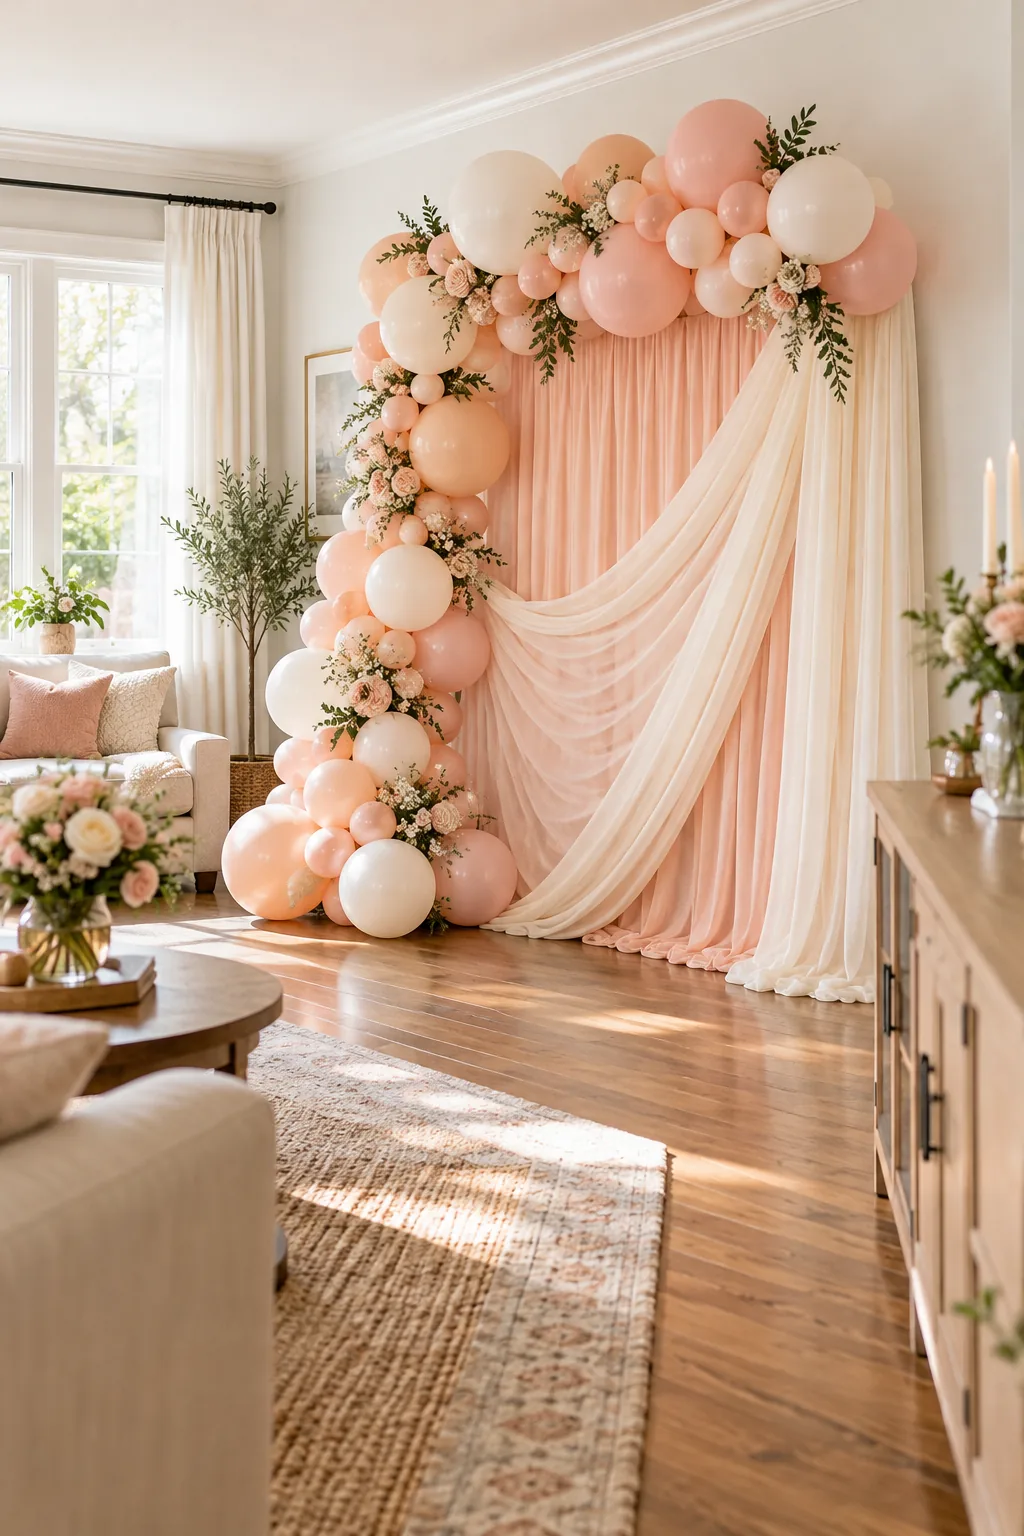
Head to the hardware store with this specific cut list to grab the right pipes and fittings for a flawless build. Using uniform 1-inch diameter pieces ensures every joint slides together with just enough friction.
| PVC Part | Quantity | Dimensions |
|---|---|---|
| Vertical sides | 2 | 6.5 feet |
| Horizontal bars | 2 | 5 feet |
| Base legs | 4 | 1.5 feet |
| T-joints | 2 | 1-inch diameter |
| 90-degree elbows | 2 | 1-inch diameter |