
Interactive Reading Bulletin Board Ideas + Printable Setup Sheet
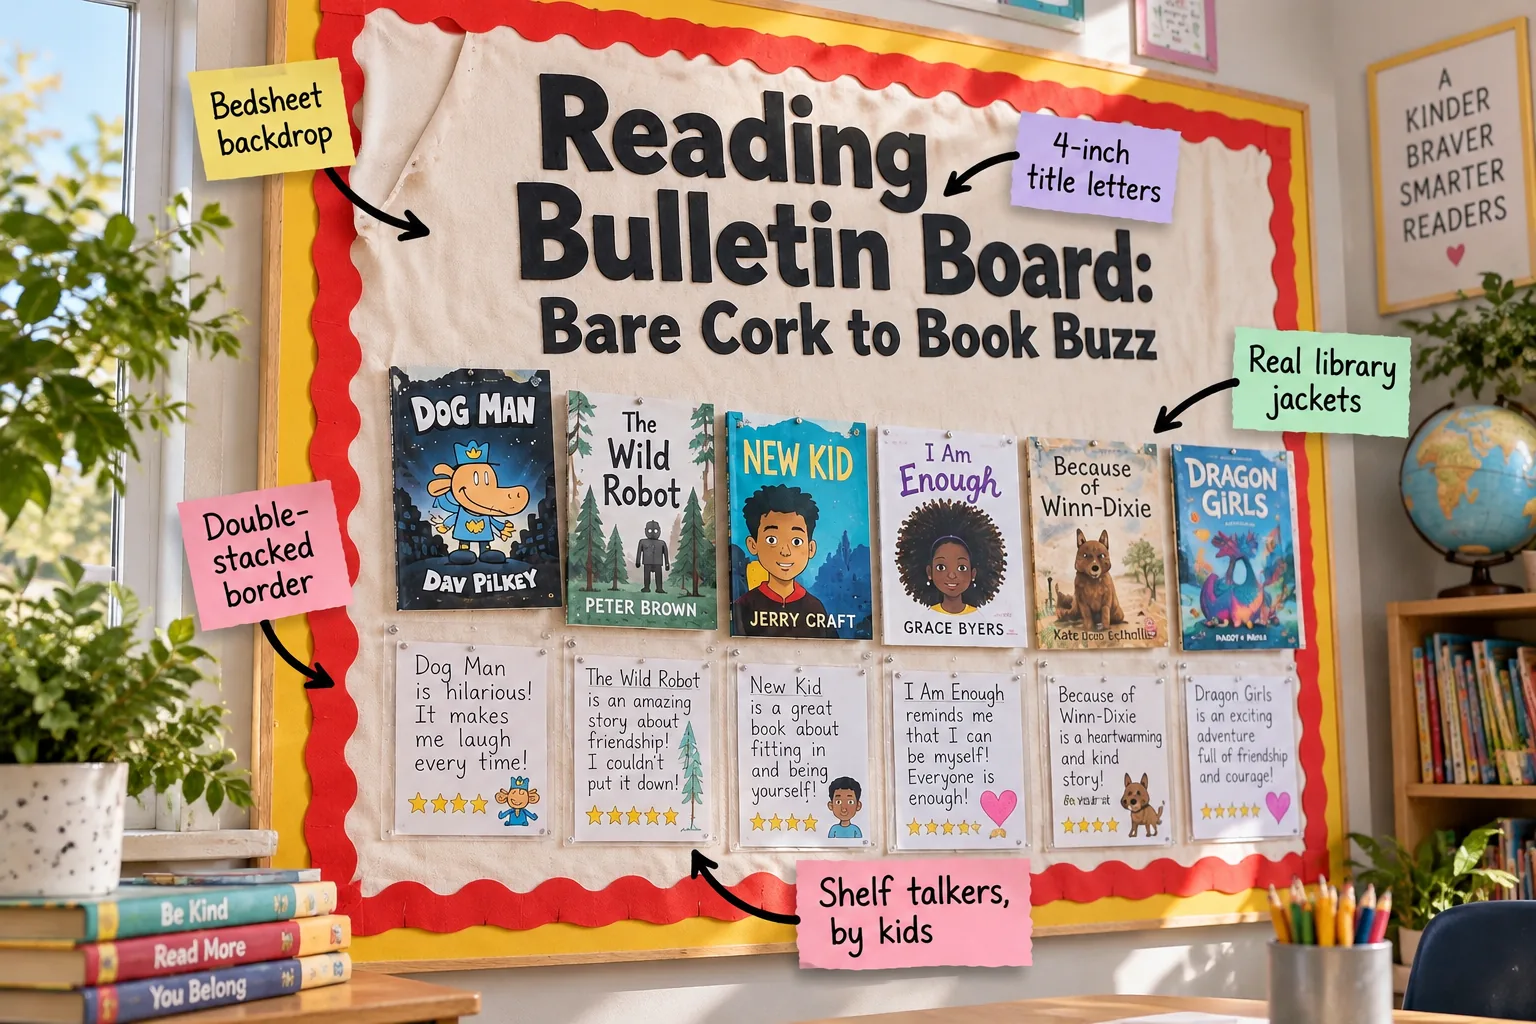
Build an interactive classroom reading bulletin board that gets kids genuinely excited about books. You will be able to construct a beautiful four-by-six-foot display using our exact supply list and step-by-step setup sequence provided in the free two-page printable Reading Bulletin Board Build Sheet.
Measure the Available Corkboard Space
Grab your tape measure and confirm the exact dimensions of your classroom board before buying materials. Older schools often feature irregular custom sizes that require extra fabric yardage to cover completely, so checking the width and height saves you from coming up short.
Remove Old Staples and Debris
Clear the foundation entirely before laying down fresh materials. Use a flathead screwdriver or a dedicated staple remover to pull out every bent piece of metal left behind from last year, giving you a perfectly flat surface that prevents your new background from snagging.
Gather Your Basic Installation Tools
Set up a small staging area on a nearby desk with your heavy-duty staple gun, sharp sewing shears, and a metal measuring tape. Having all your tools within arm’s reach prevents you from constantly stepping down from your step stool during the setup process.
Anchor the Display with a Bedsheet Backdrop
Start by covering the entire bare corkboard with a standard cream flat bedsheet, pulling it taut across the surface. This durable woven material provides a seamless, wrinkle-free foundation that easily survives the entire school year without tearing or showing unsightly staple holes.
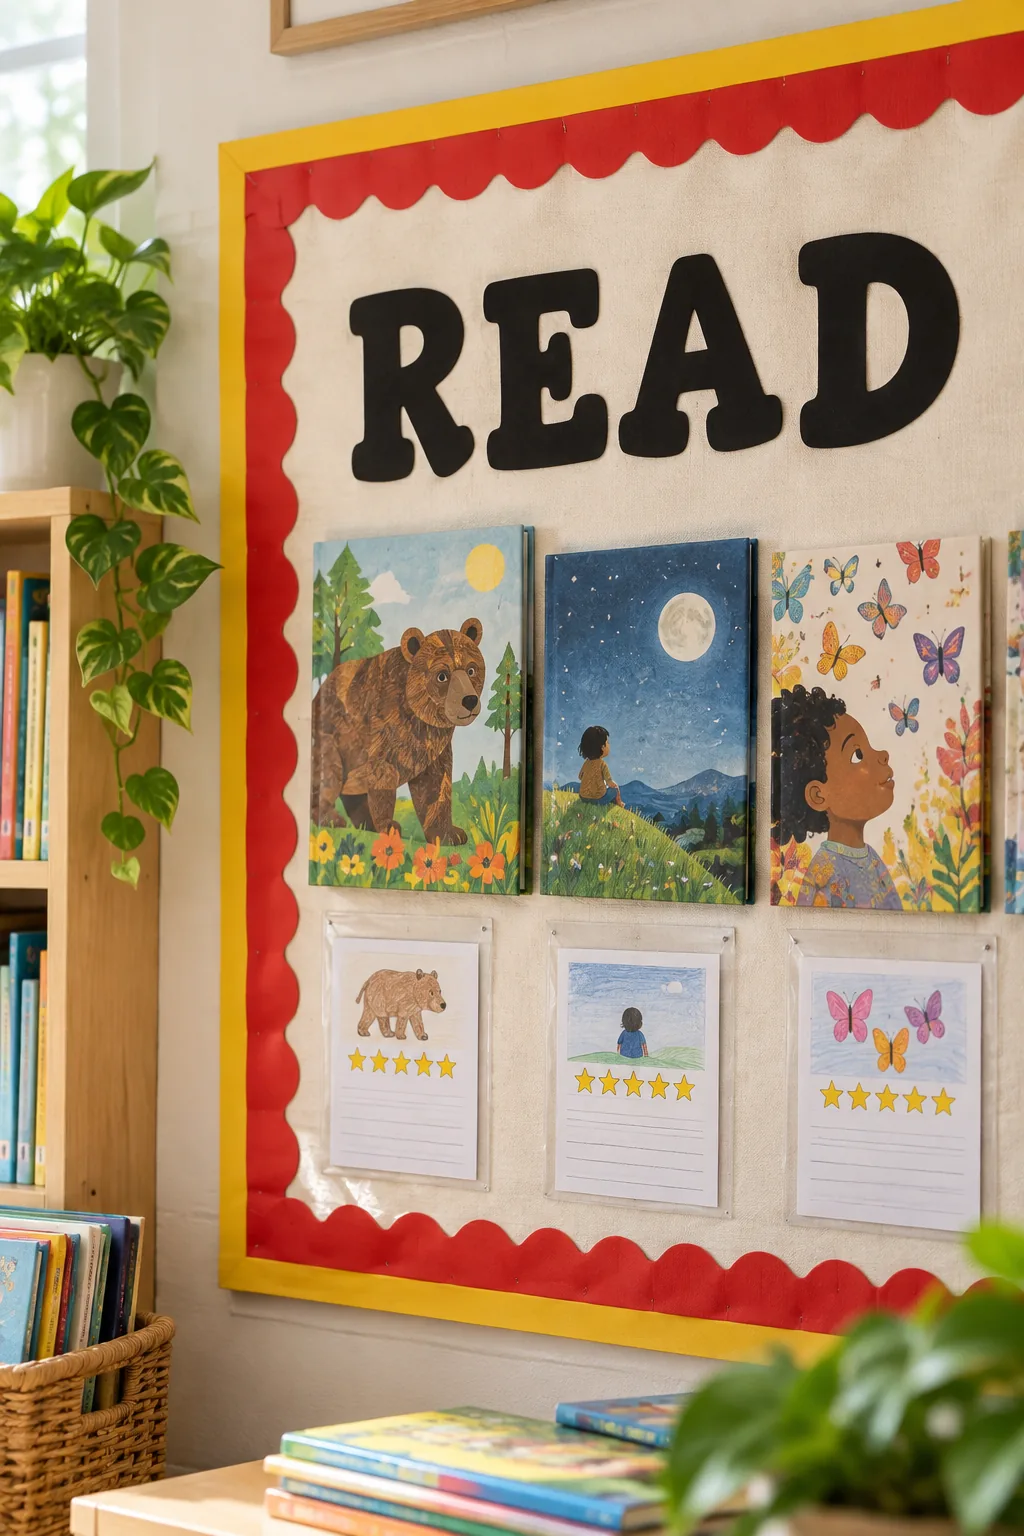
Using a Bedsheet backdrop instantly elevates the entire display. The smooth woven texture absorbs classroom glare better than glossy paper, creating a calm, natural canvas that makes the bright book jackets and student handwriting truly pop from across the room.
Secure the Fabric for a Wrinkle-Free Finish
Attaching the fabric requires a systematic approach to avoid unsightly bagging. Follow a specific stapling sequence to keep the tension perfectly even across all twenty-four square feet of your classroom display area.
- Shoot your first staple into the top center of the aluminum frame.
- Pull the fabric tightly straight down and secure the bottom center.
- Work outward toward the corners, alternating sides to maintain even tension.
Once the perimeter is fully tacked down, trim any excess fabric hanging past the aluminum frame using sharp sewing shears. Leaving a clean edge ensures your decorative borders will sit perfectly flat without bulky material pushing them away from the cork.
Frame the Space Using a Double-Stacked Border
Create visual depth by layering two contrasting borders around the perimeter to cleanly frame the space. The Double-stacked border technique draws the eye inward and provides a professional, finished look that mimics custom matting in an expensive picture frame.
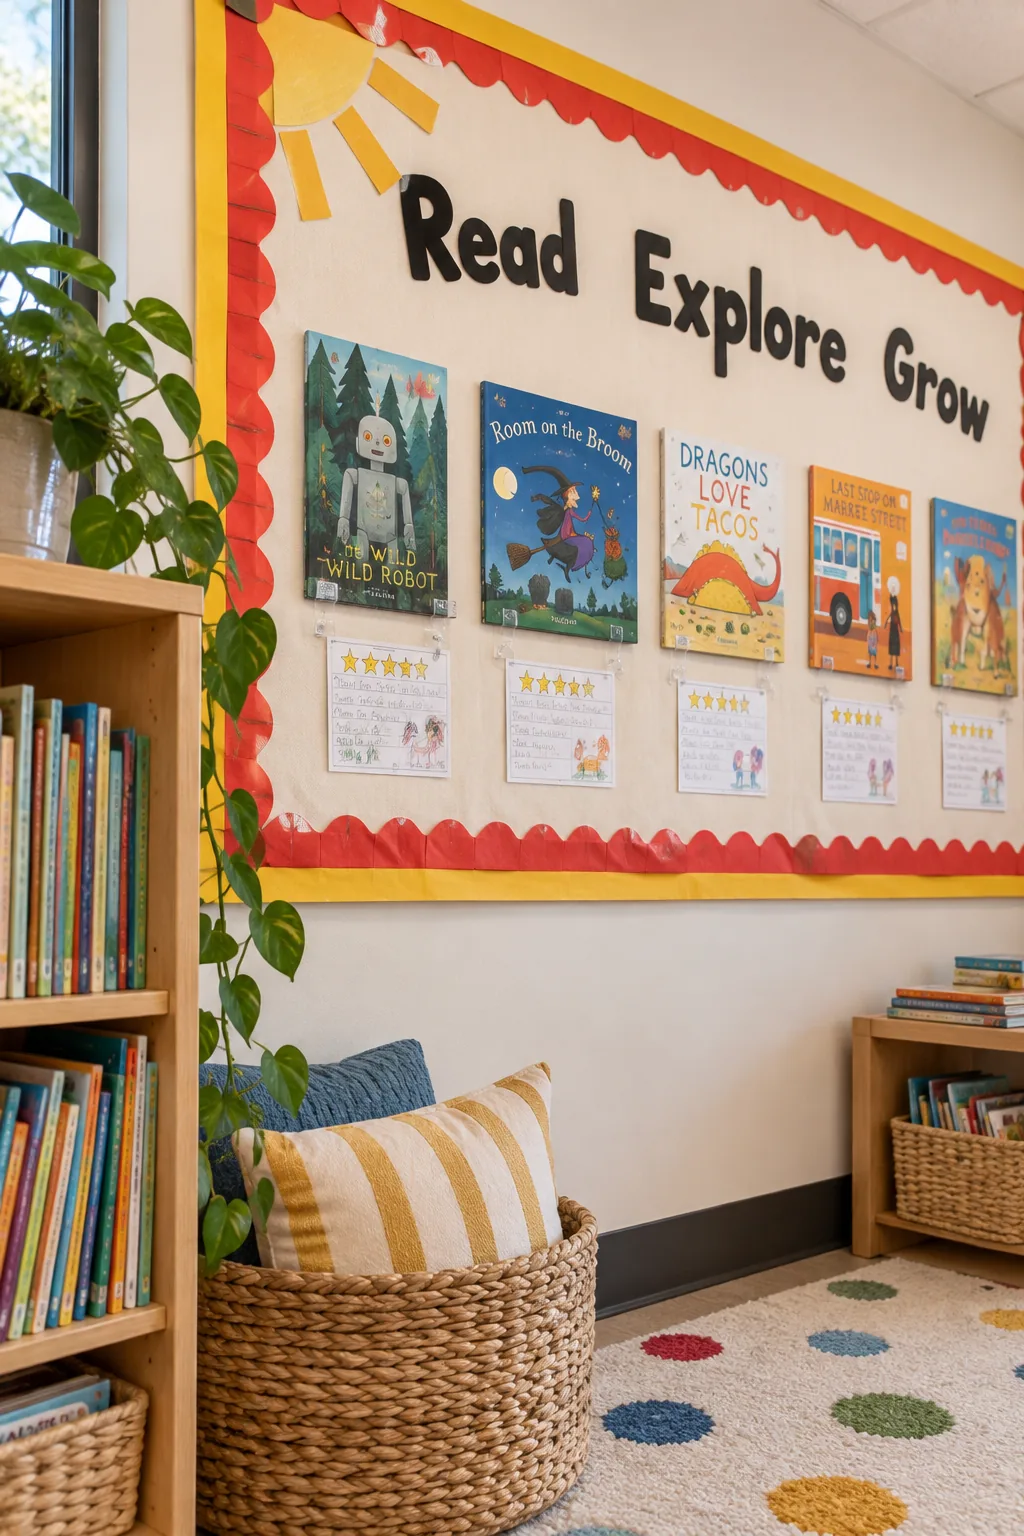
Pairing a wide mustard-yellow straight border with a tomato-red scalloped border hides the raw fabric edges completely. This layered approach adds a vibrant pop of color that instantly makes the reading zone feel welcoming and purposely designed for students.
Overlap the Corners for a Clean Finish
Handling the corners correctly prevents the layered paper from buckling. Measure the overlaps precisely so the scallops align symmetrically at all four corners, creating a continuous wave pattern that looks intentional and expertly crafted.
| Border Layer | Width | Corner Overlap |
|---|---|---|
| Mustard straight | 3 inches | Flush cut |
| Red scalloped | 2.25 inches | 1 inch |
Tuck the final overlapping corner piece underneath the starting strip to create a seamless loop. Hiding the final seam at the bottom right corner ensures any slight misalignment remains practically invisible to students and visiting parents.
Size the Header with 4-Inch Title Letters
Pin black paper letters across the top of the board to spell out your reading theme. When I tried two-inch letters in my own workshop space, they vanished from across the room, so I always stick to larger sizes now.
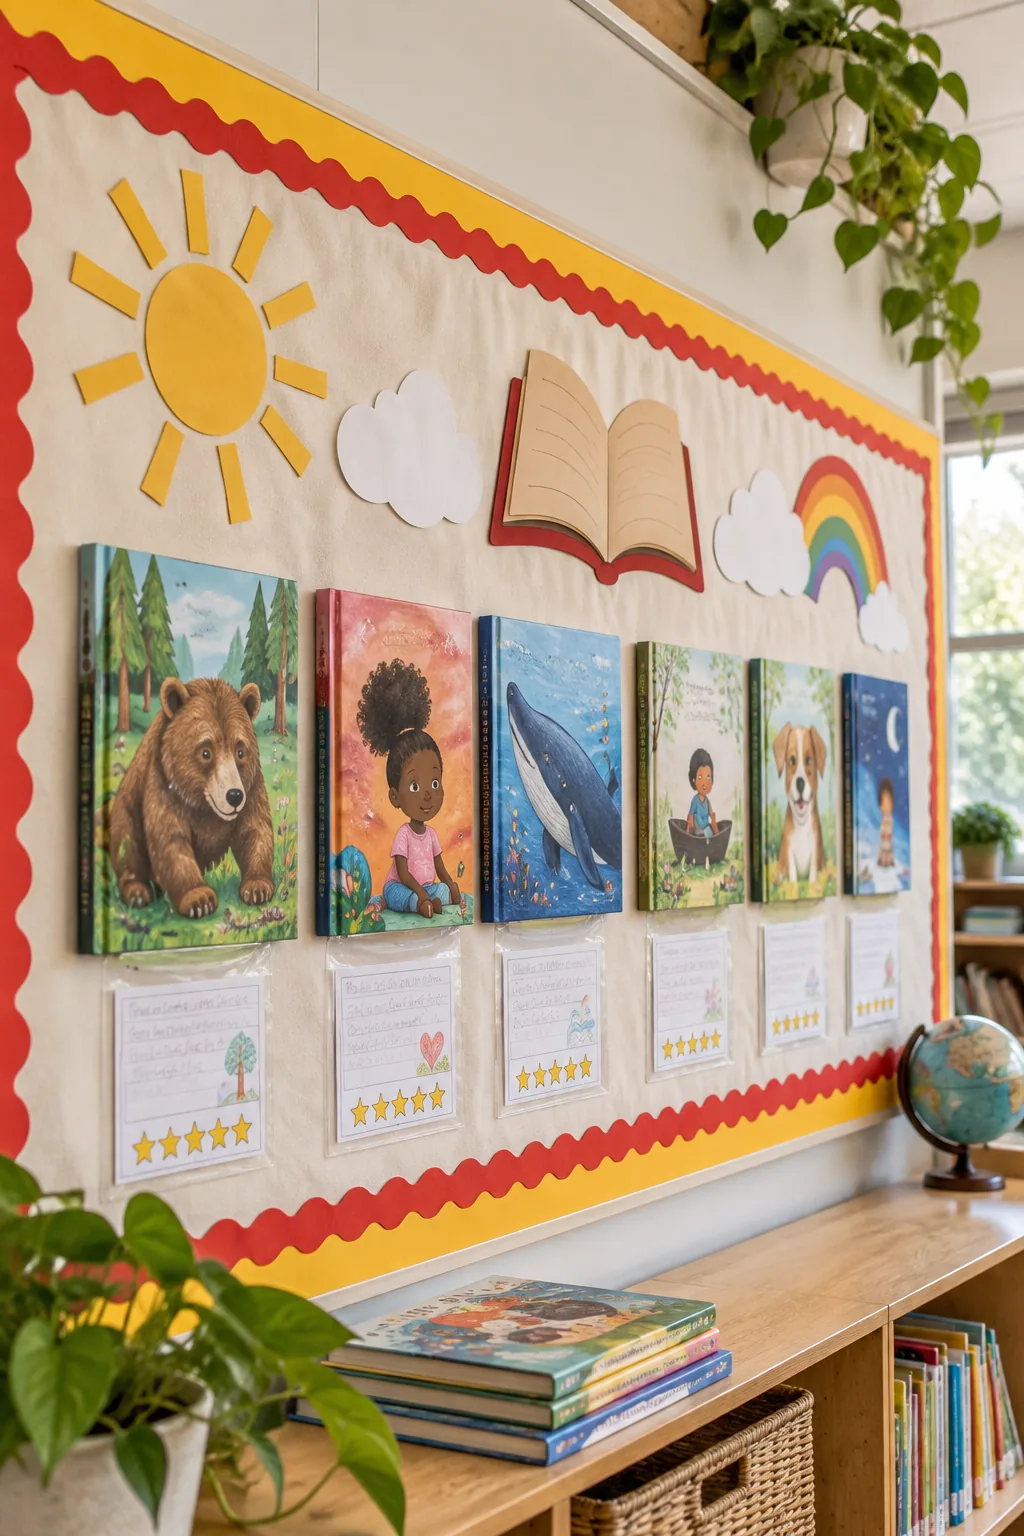
Relying on 4-inch title letters ensures the header remains easily readable from the back row of desks without crowding the book display below. Bold black typography provides maximum contrast against the soft cream fabric backdrop.
Space the Typography for Maximum Impact
Start pinning your letters from the exact middle of the board and work outward toward the borders to ensure perfectly symmetrical spacing. Leaving exactly one inch between each character keeps the title legible and prevents the words from visually running together.
Showcase Titles with Real Library Jackets
Fan out a row of genuine dust jackets from picture books across the upper middle of the board. Pinning just the outer covers provides high-quality, colorful artwork without tying up actual reading materials that kids might want to check out.
Displaying Real library jackets immediately captures student interest with authentic publisher artwork. Sourcing discarded covers allows you to build a massive rotating inventory of beautiful displays for absolutely zero cost while protecting the actual books.
Install Clear Sleeves for Easy Updates
While the clear pockets are simple to install, a few minor placement errors can make the board frustrating for students to use. Taking a moment to check your alignment prevents torn materials and guarantees the interactive elements function smoothly.
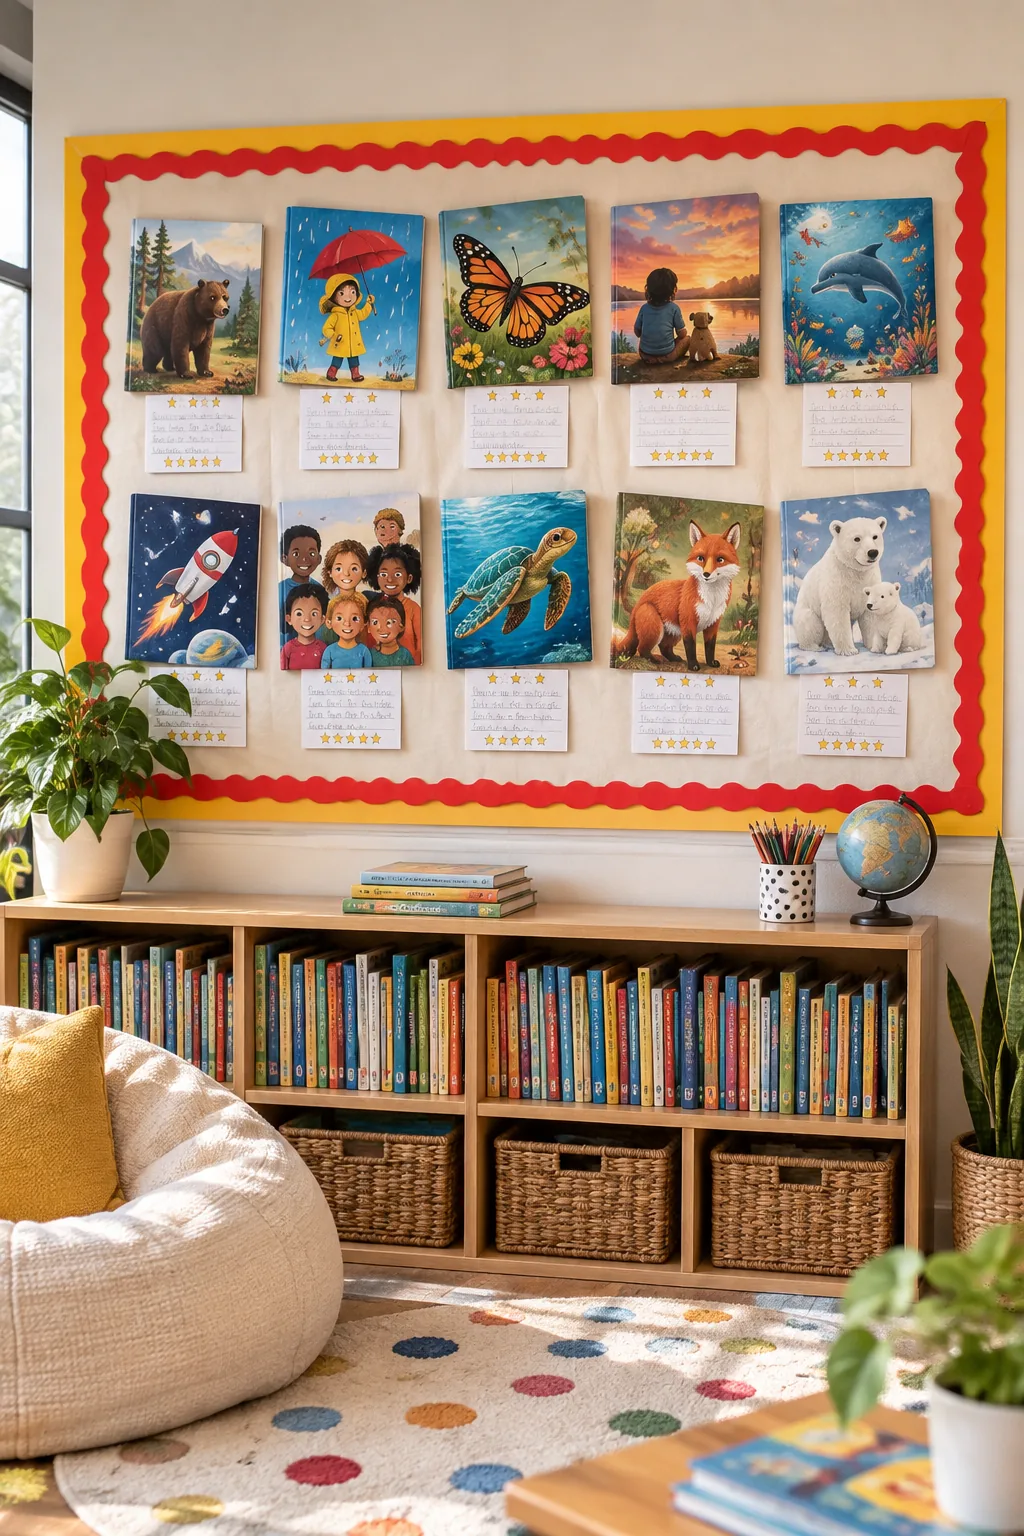
Staple a row of clear plastic sheet protectors open-side-up along the lower half of the board, directly beneath the book jackets. These transparent sleeves protect the handwritten reviews while allowing kids to slide new recommendations in and out effortlessly.
Position the Pockets for Accessibility
Mount the top edge of the clear sleeves exactly thirty-six inches from the classroom floor. This precise height guarantees that even your shortest readers can comfortably reach inside the pockets without needing a step stool or asking a teacher for help.
Empower Students with Handwritten Shelf Talkers
Bring the board to life by having kids fill out bookstore-style review cards. I absolutely love seeing my niece proudly point out her colored star ratings whenever I visit her classroom for morning reading hour.
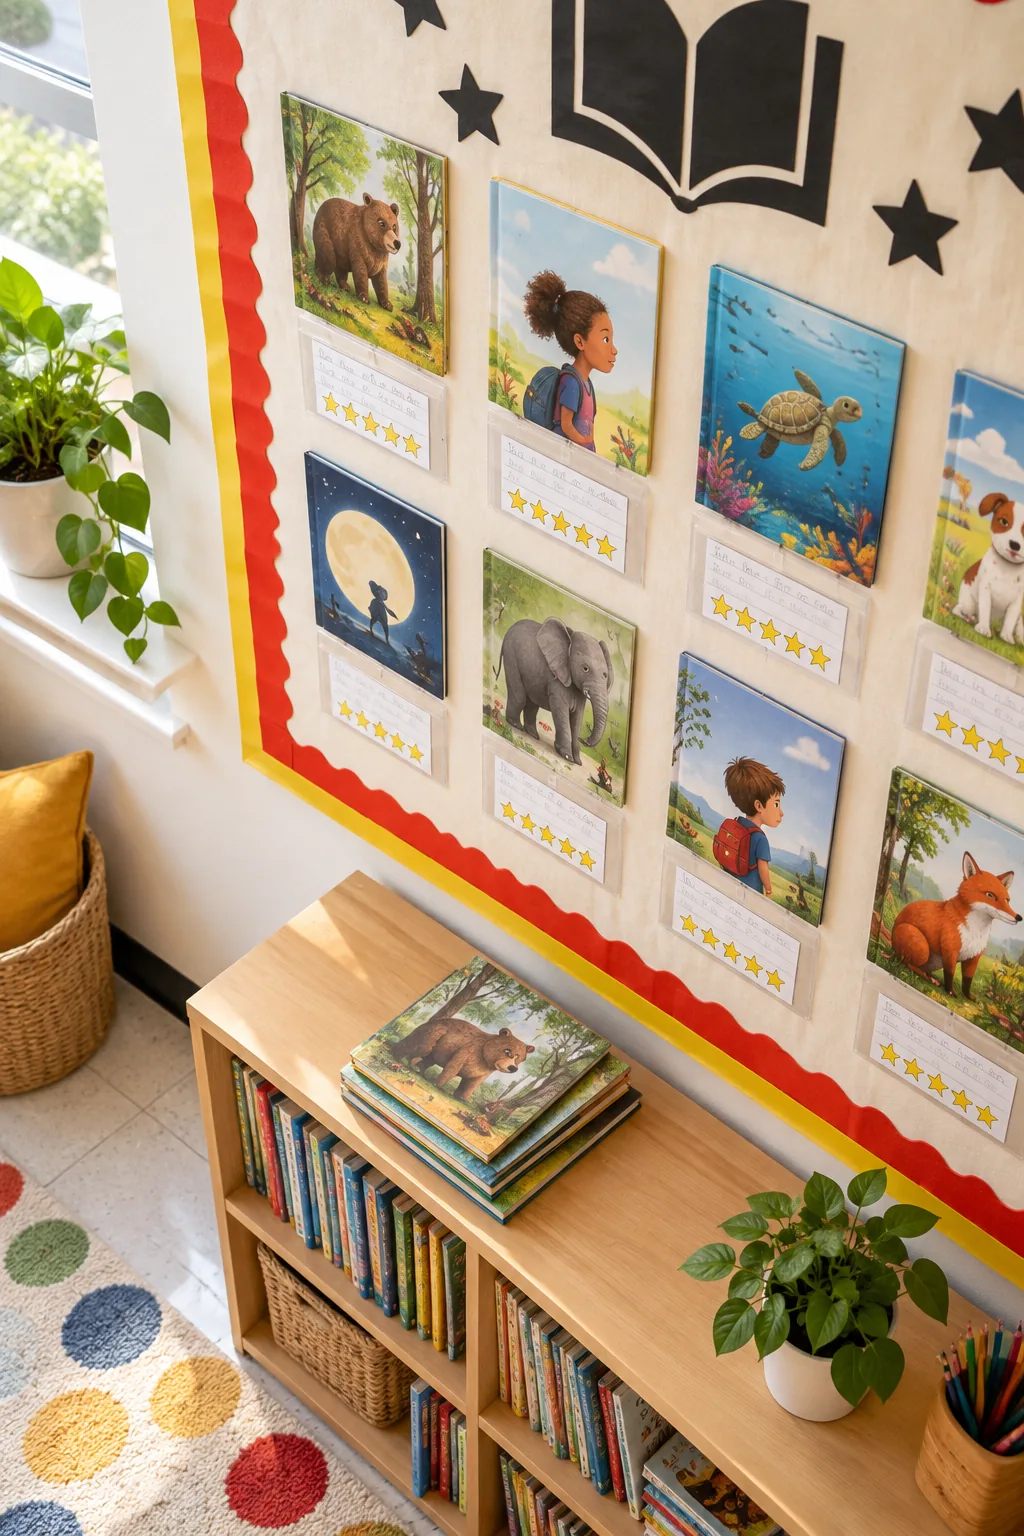
These Shelf talkers, by kids transform a static wall into a living conversation. When students write a short review and slip their handwritten recommendation into the clear sleeve, they take genuine ownership of the classroom reading culture.
Encourage Diverse Reading Choices
Prompt your class to review a wide variety of genres, from graphic novels to historical biographies. Featuring a diverse mix of reading levels and topics ensures every single student can find at least one recommendation that matches their personal interests.
Establish a Monthly Review Rotation
Keep the book buzz active by swapping out the featured jackets and student shelf talkers on the first of every month. This reliable routine ensures the display stays fresh and gives every child an opportunity to see their review featured.
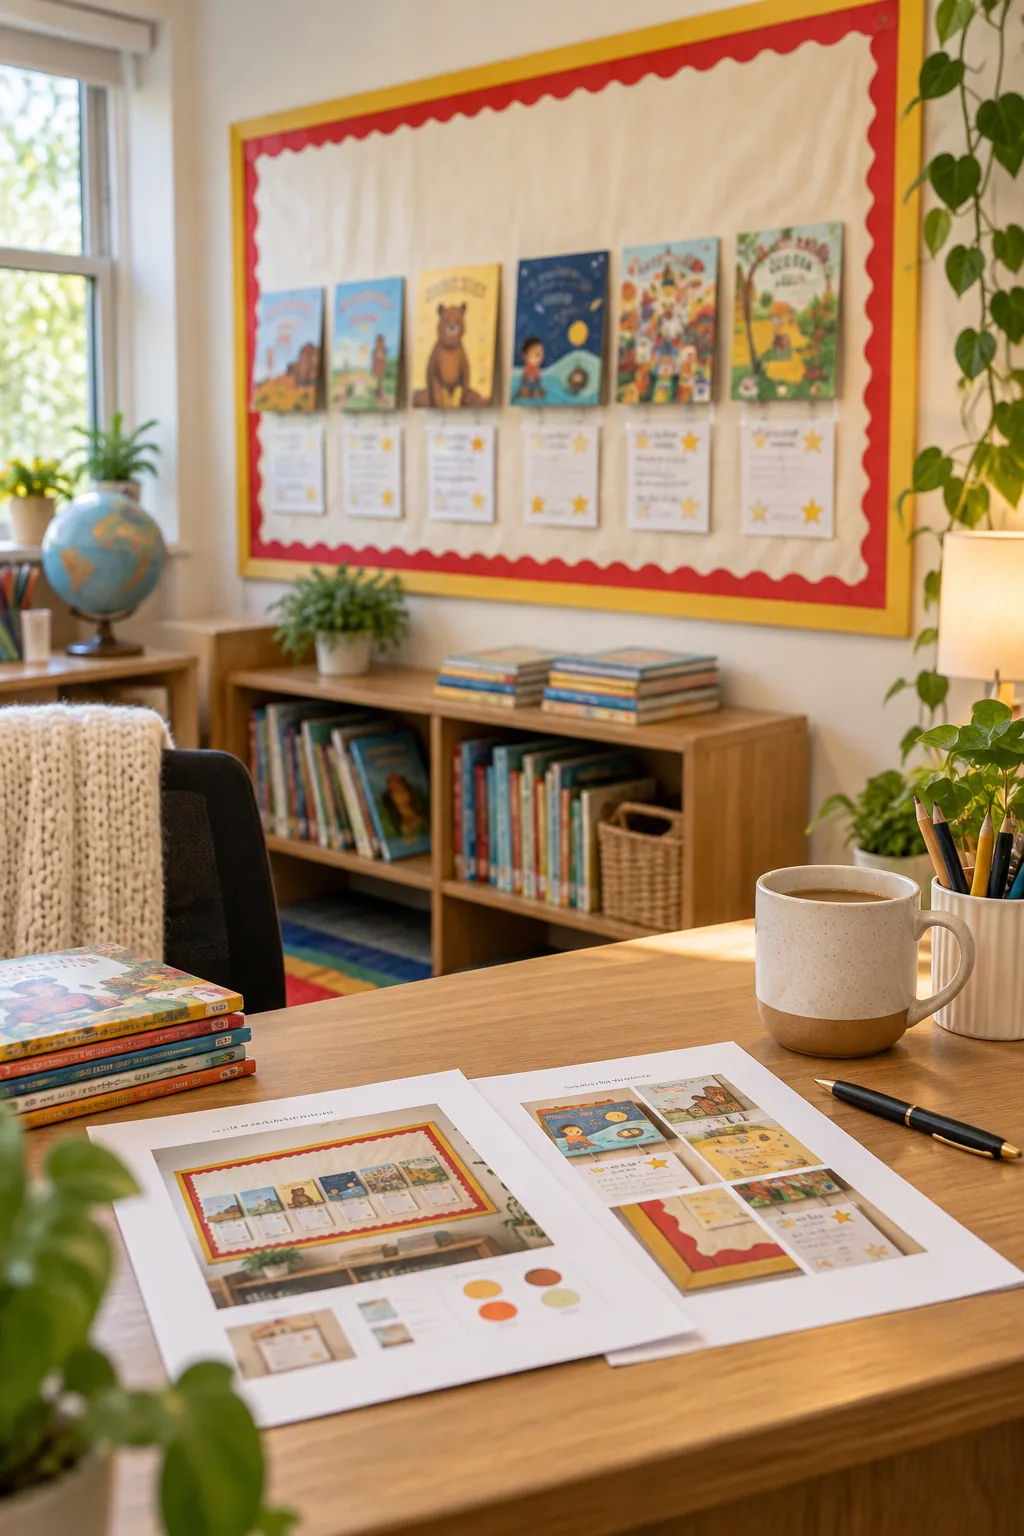
A strict monthly rotation prevents the display from fading into the background scenery. Regularly introducing new titles gives reluctant readers a fresh reason to check the board and discover a story they might have otherwise ignored.
Curate the Next Batch of Featured Books
Select the upcoming month’s featured titles a week in advance, matching the selections to holidays, science units, or seasonal themes. Tying the board to your current curriculum reinforces classroom lessons while keeping the visual display highly relevant.
Maintain a Stash of Blank Review Cards
Keep a small wire basket filled with blank review templates on a shelf directly below the bulletin board. Making the cards constantly accessible encourages spontaneous writing whenever a student finishes a particularly thrilling chapter book during free time.
Store Extra Materials for Quick Swaps
Keep a dedicated expanding file folder nearby to organize your unused book covers by month or seasonal theme. Storing your spare jackets flat prevents unsightly creases and ensures you always have pristine artwork ready for the next rotation.
More Reading Board Styles
Adapt this interactive layout to fit your exact classroom theme or library mood.
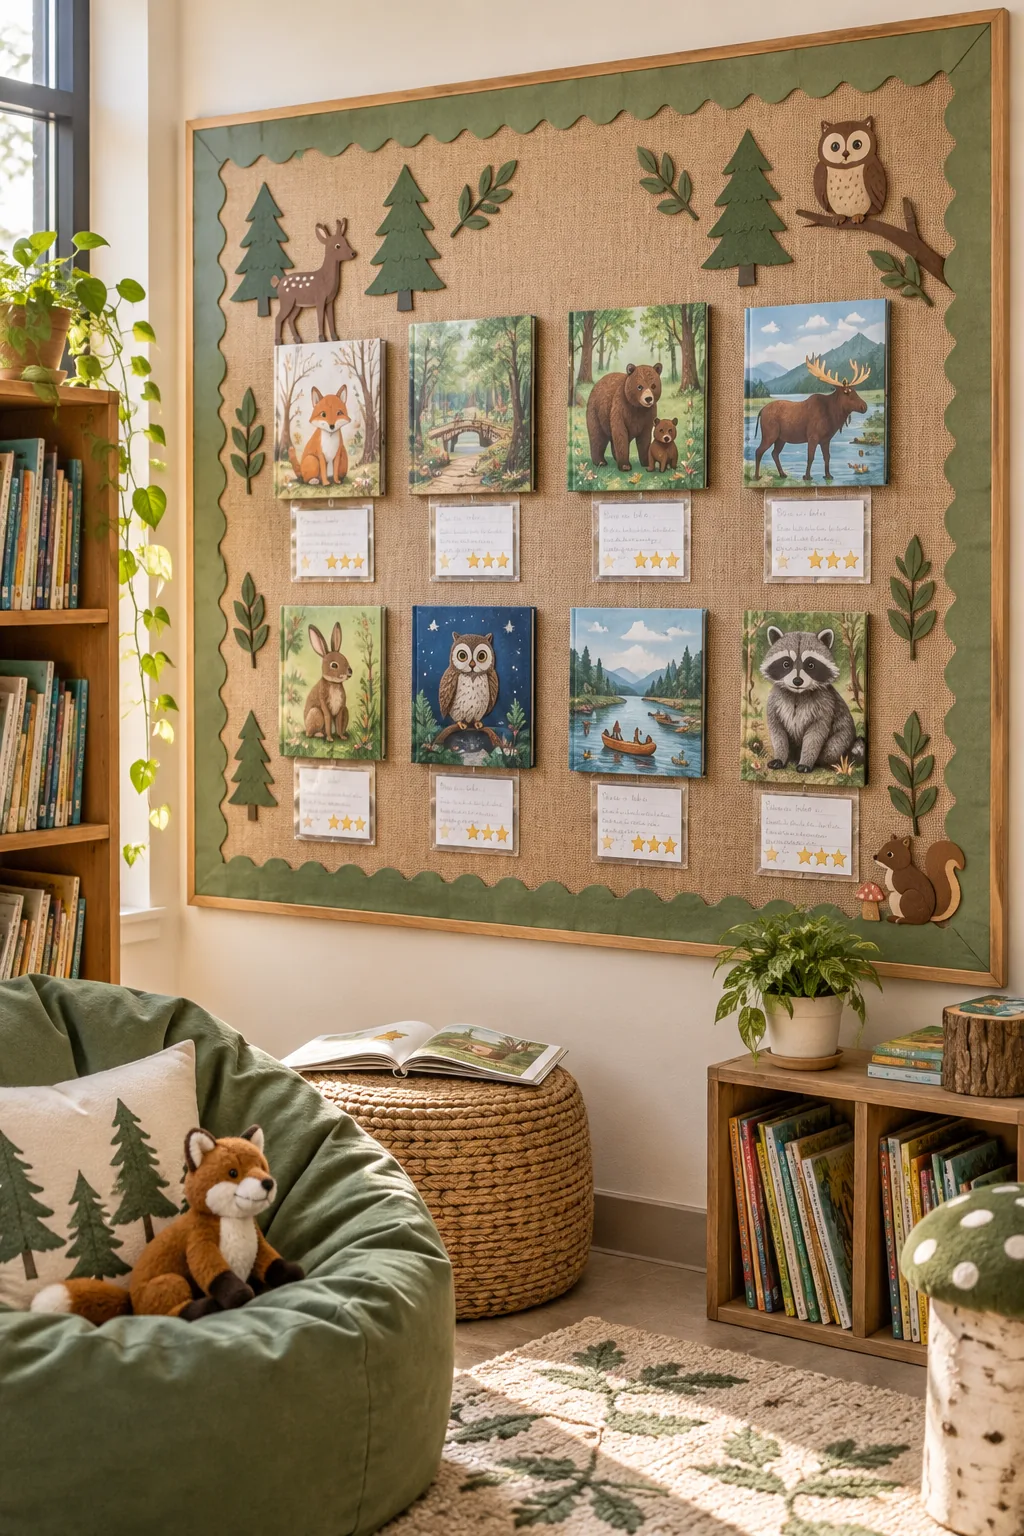
Nature-Inspired Neutral Classroom: Natural burlap and sage green borders create a calming woodland atmosphere perfect for nature stories.
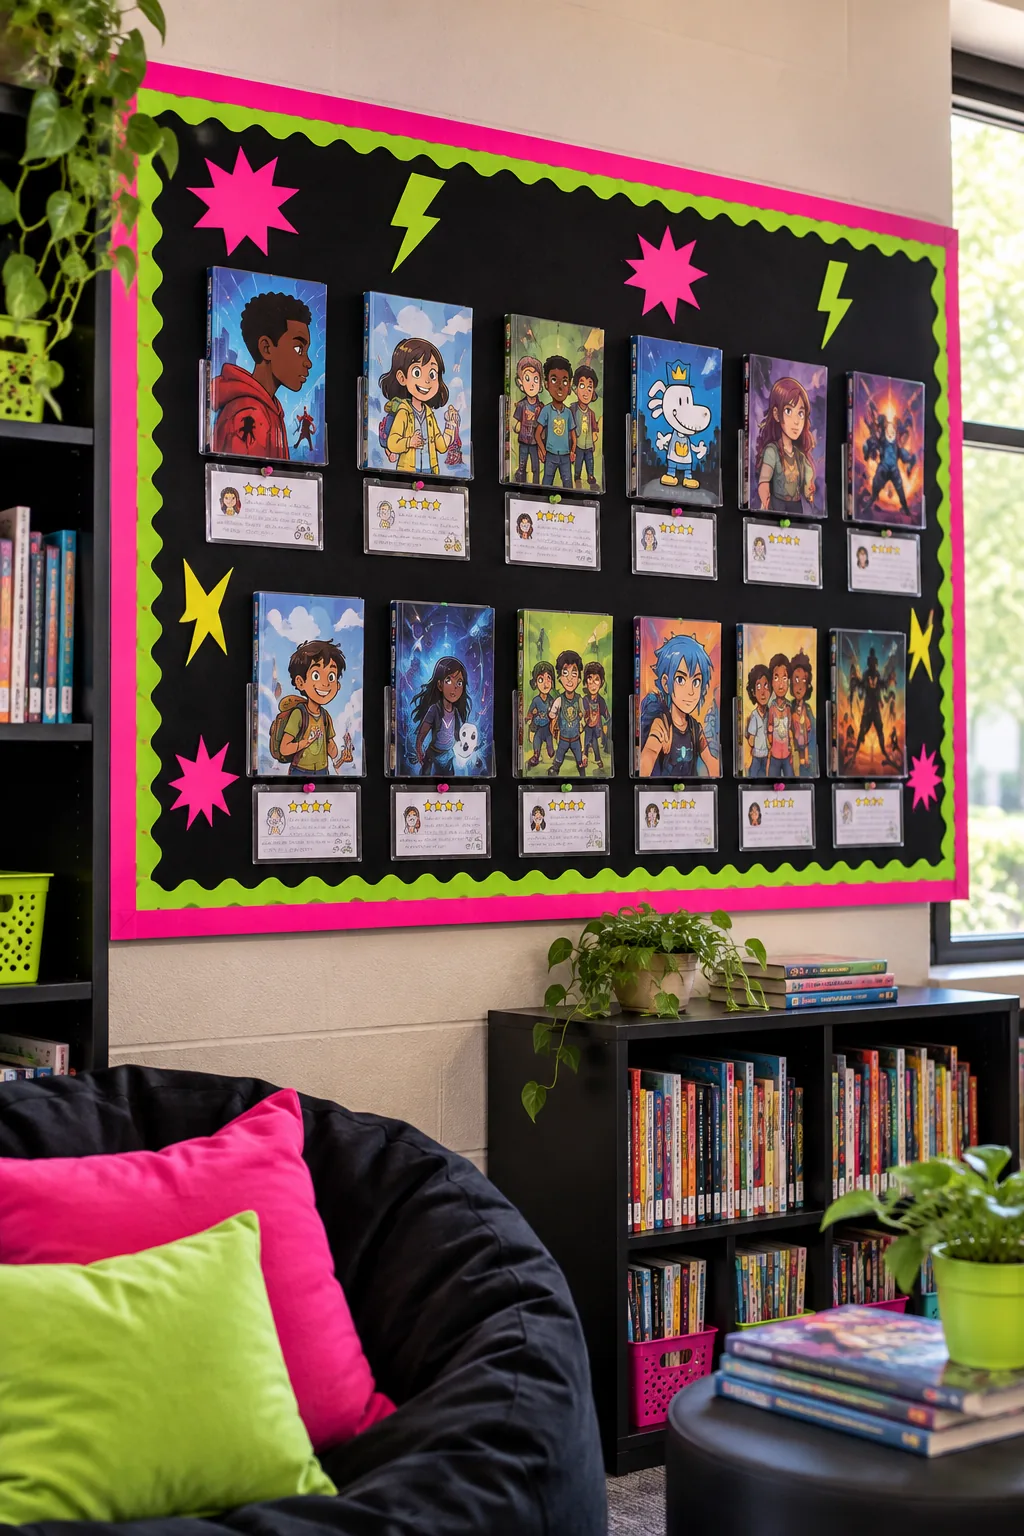
Neon Pop Art Library: High-contrast black backgrounds make neon borders and graphic novel covers pop across the room.
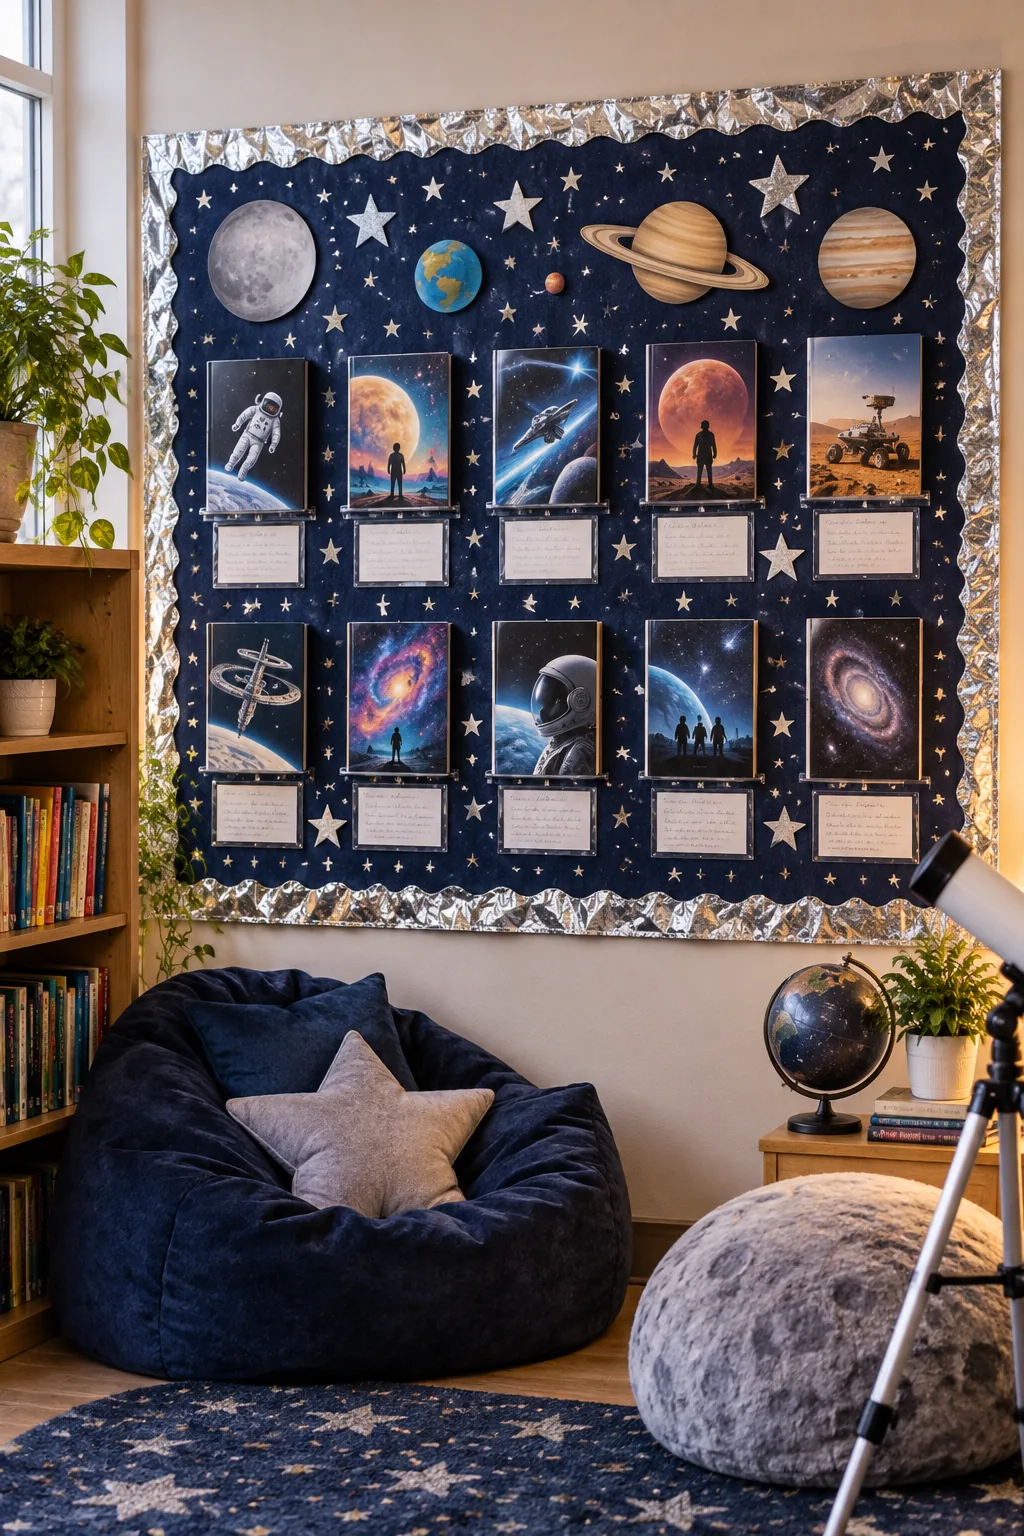
Galactic Space Theme Nook: Silver foil borders over a starry navy backdrop set the perfect stage for science fiction.
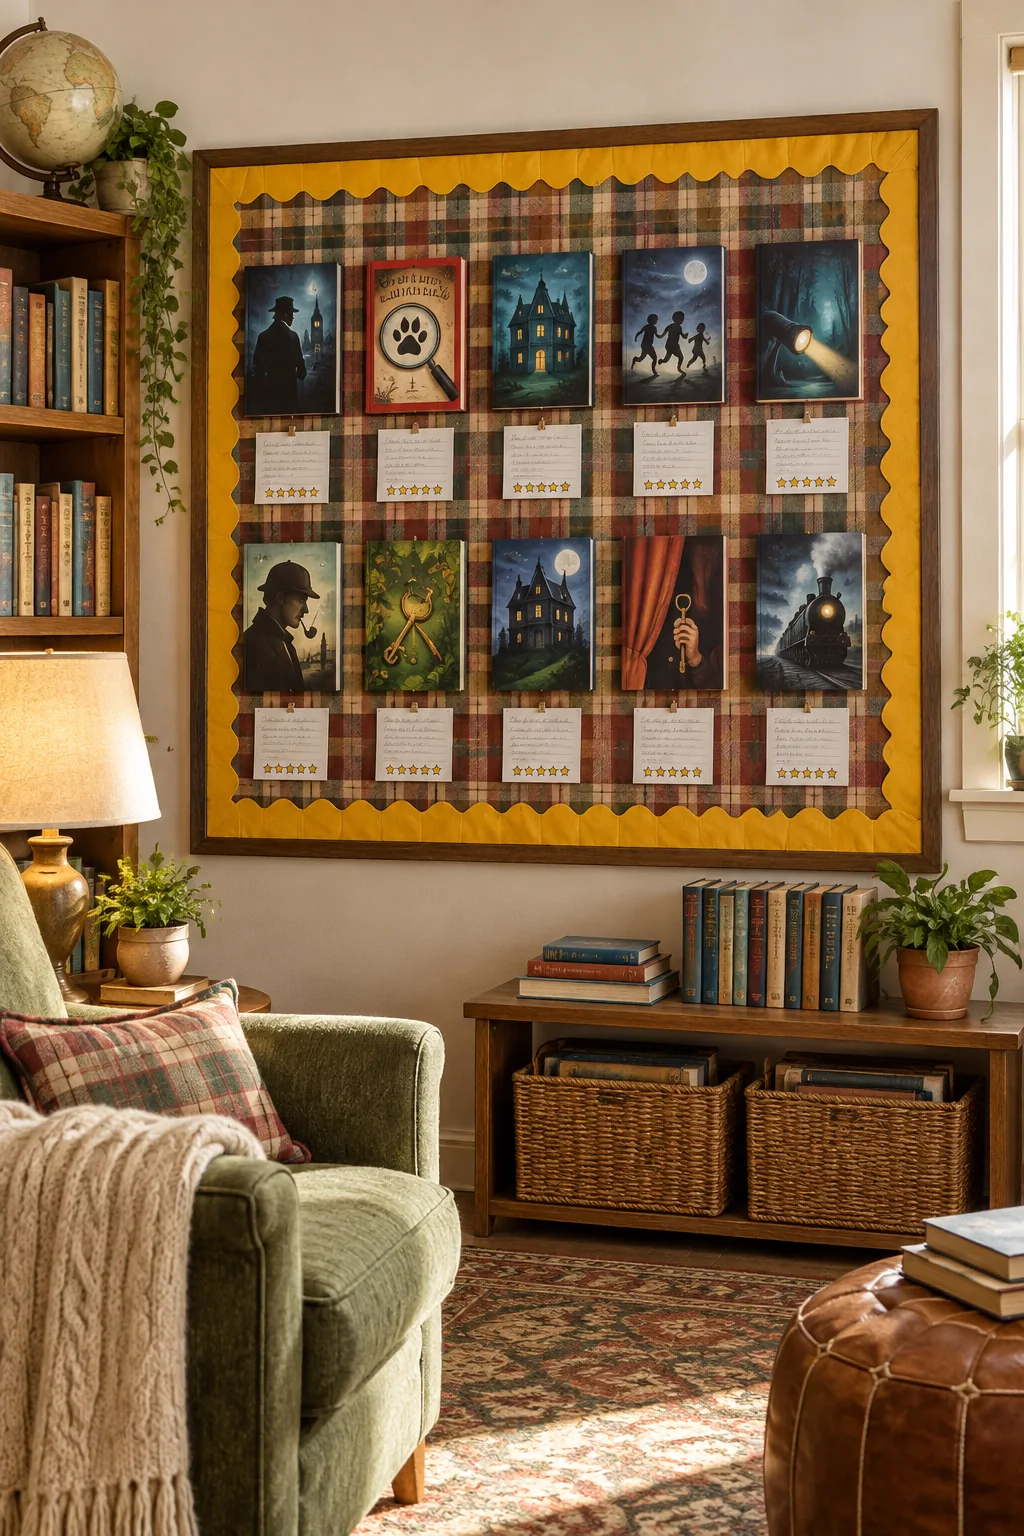
Cozy Homeschool Reading Room: Warm plaid fabric and mustard accents bring a cozy, living-room feel to a homeschool space.
Download Your Printable Supply and Setup Sheet
Having a printed list saves me from making three separate trips to the craft store, which happens entirely too often. Grab our complete two-page Reading Bulletin Board Build Sheet to take all the guesswork out of your prep.
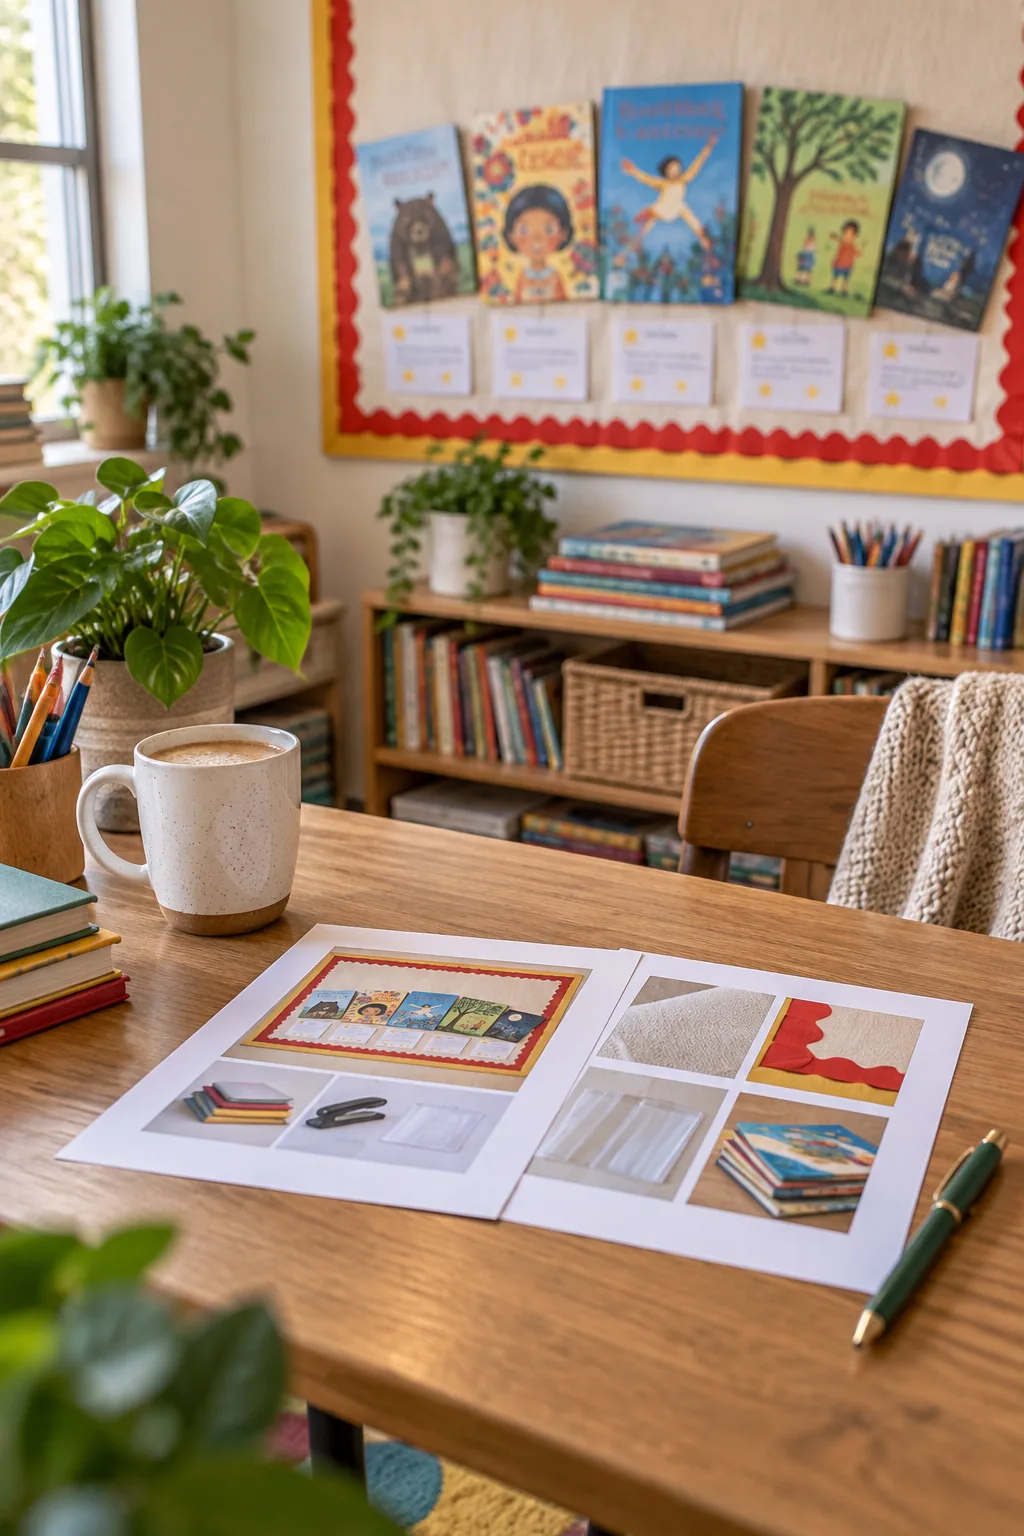
Page one features a comprehensive supply shopping list, while page two walks you through a numbered one-hour setup sequence. Before you download the guide and head to the teacher supply store, take a quick inventory of what you already have on hand.