The Ultimate Corner Kitchen Cabinet Clearance and Sizing Guide
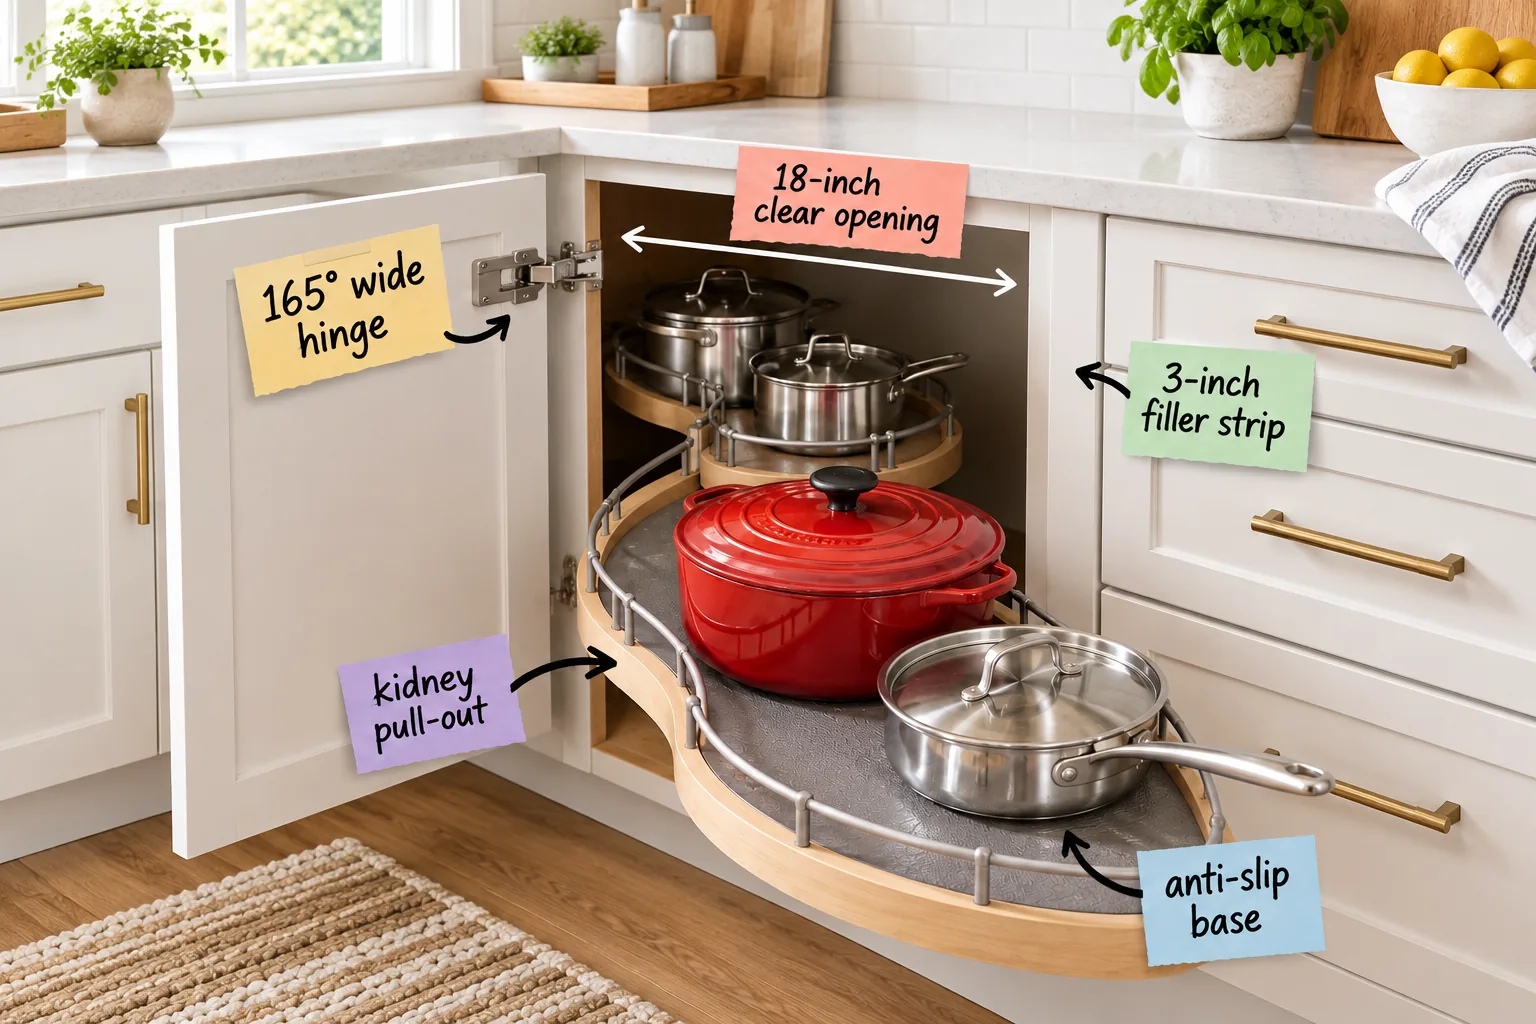
Stop losing cookware in the dark with this complete checklist for measuring and installing a blind corner pull-out system. By the end of this guide, you will be able to measure your existing frame and select the exact corner cabinet hardware sizing and clearance checklist needed for a flawless fit.
Frame Requirements for an 18-Inch Clear Opening
We always start our exterior measurements at the cabinet face frame because it dictates the geometric limits of your entire internal system. You must have an 18-inch clear opening to allow the curved kidney shelf to exit the cabinet without scraping the wooden sides.
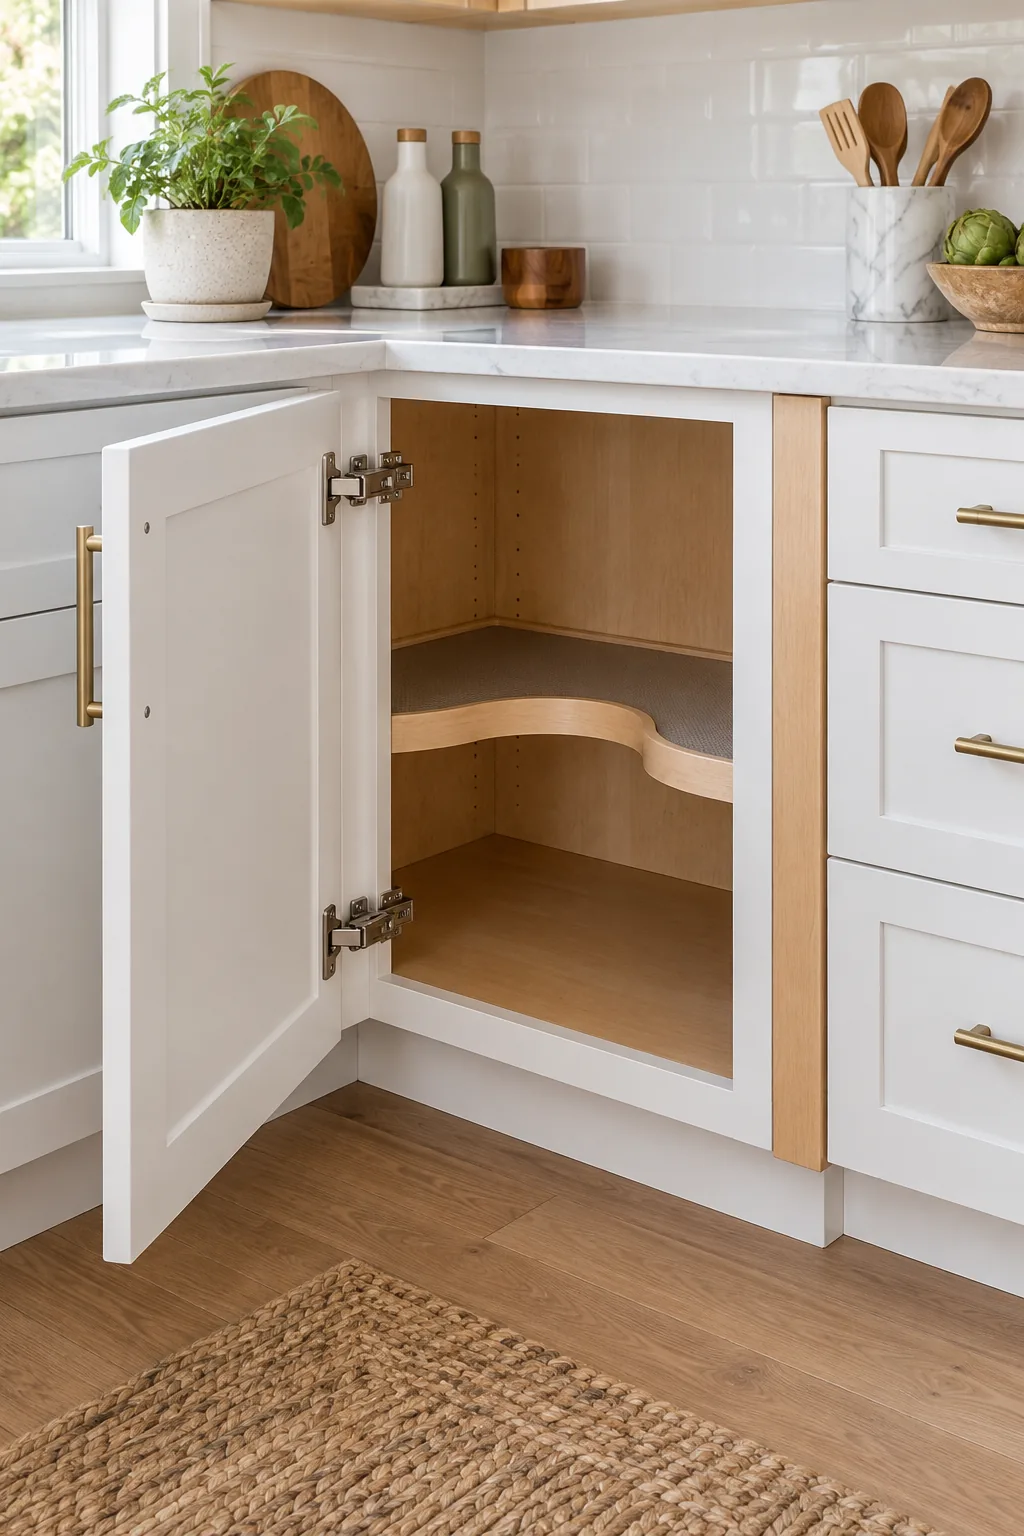
If your physical opening is even a quarter-inch too narrow, the metal hardware simply will not deploy properly. Grab your tape measure and check the strict horizontal distance between the inner edges of the face frame before ordering any internal components.
Preventing Handle Collisions with a 3-Inch Filler Strip
Blind corners often sit directly adjacent to a bank of heavy drawers, creating a high risk for frustrating hardware collisions. Installing a blank wood 3-inch filler strip between the corner door and those neighboring drawers gives your door the necessary breathing room to swing wide.
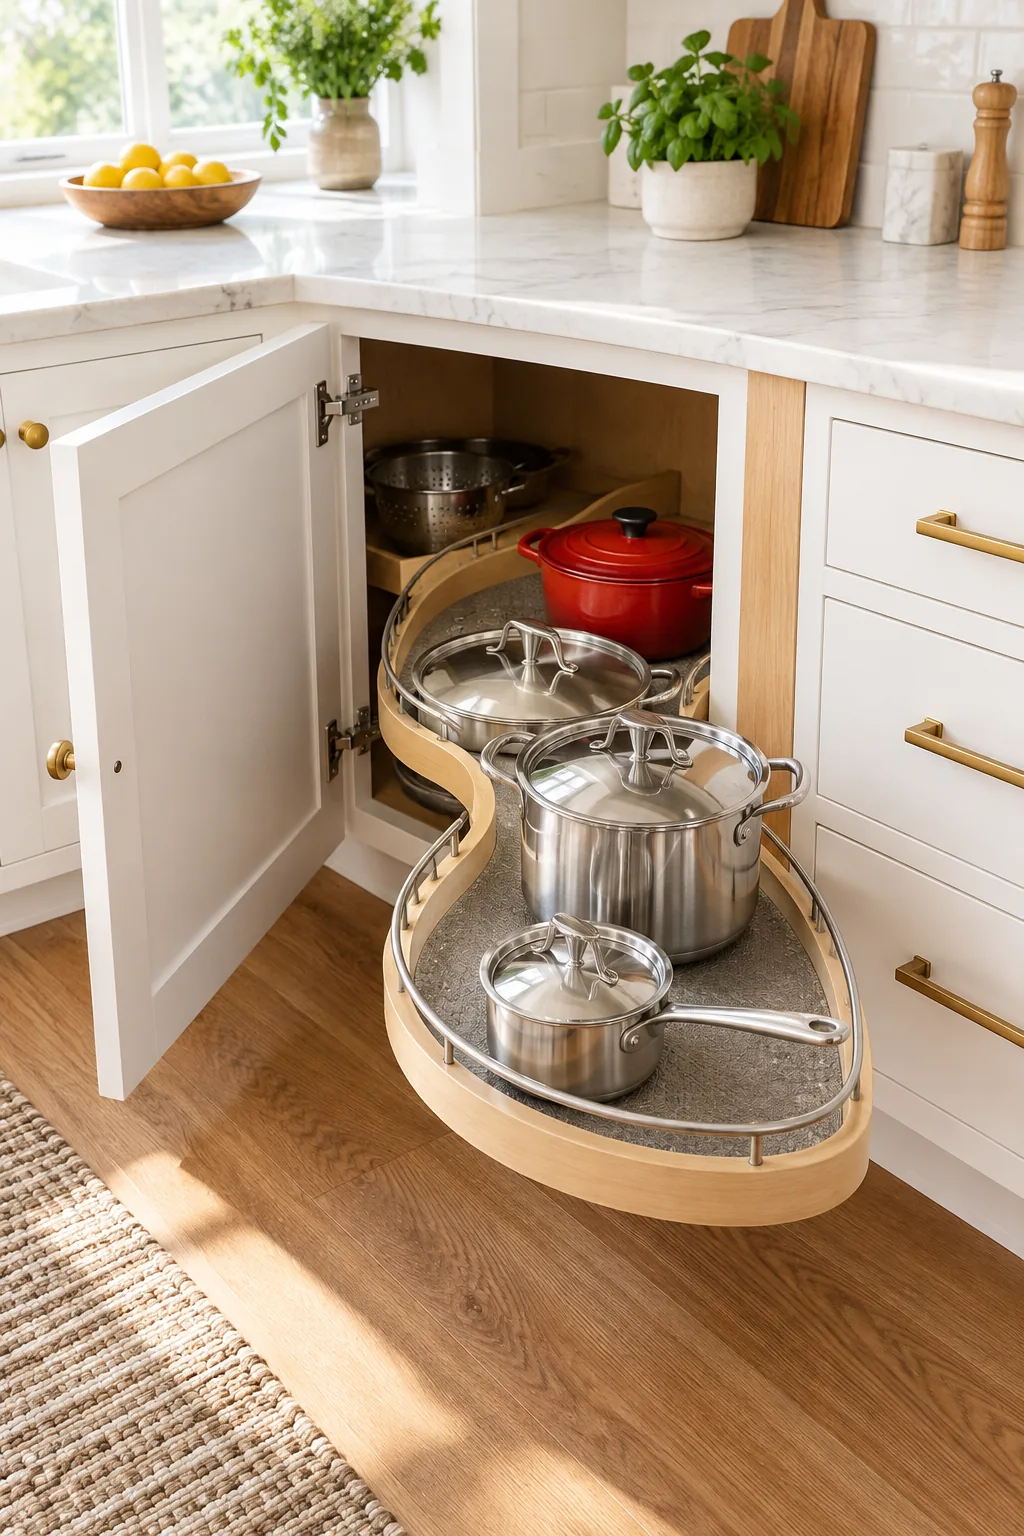
Without this crucial spacer block, your corner door handle will smash into the adjacent drawer pulls the moment you open it. This simple piece of matching cabinet trim preserves your hardware finish and guarantees the door pushes completely out of the exit path.
Measuring Internal Cabinet Depth for the Pivot Post
Once the exterior frame is verified, we move inside to confirm the housing depth for the central mounting column. Your cabinet box needs a minimum internal depth of 22 inches so the heavy-duty pivot post can anchor securely to the floor and ceiling.
| System Size Profile | Minimum Clear Opening | Minimum Internal Depth | Minimum Internal Width |
|---|---|---|---|
| Standard Kidney Pull-Out | 18 inches | 22 inches | 34 inches |
| Compact Kidney Pull-Out | 15 inches | 20 inches | 32 inches |
| Oversized Kidney Pull-Out | 21 inches | 24 inches | 38 inches |
| Half-Moon Pivot Shelf | 18 inches | 22.5 inches | 36 inches |
| Magic Corner Square | 16.5 inches | 21 inches | 35 inches |
Measuring the interior width is equally critical because the curved shelf needs ample room to rest fully inside the blind cavity. Always measure from the back wall to the inside edge of the face frame to ensure the entire mechanism clears your internal plumbing lines.
Maximizing Access with a 165-Degree Wide Hinge
Standard cabinet hinges only open to 90 degrees, leaving the door sitting directly in the trajectory of your extending shelf. Upgrading to a 165° wide hinge forces the door to fold back against the adjacent cabinets, clearing the runway completely.
In my own Denver kitchen, swapping out these restrictive hinges was the single functional change that finally made my corner storage usable. Taking the time to align these specialized plates perfectly ensures your door will never catch the edge of a fully loaded shelf.
How the Kidney Pull-Out Navigates Blind Corners
The organic, asymmetrical geometry of a kidney pull-out is engineered specifically to pivot around its center post and glide out of inaccessible spaces. I love specifying this shape for clients because it mimics the natural sweeping motion of your arm reaching into the dark corner.
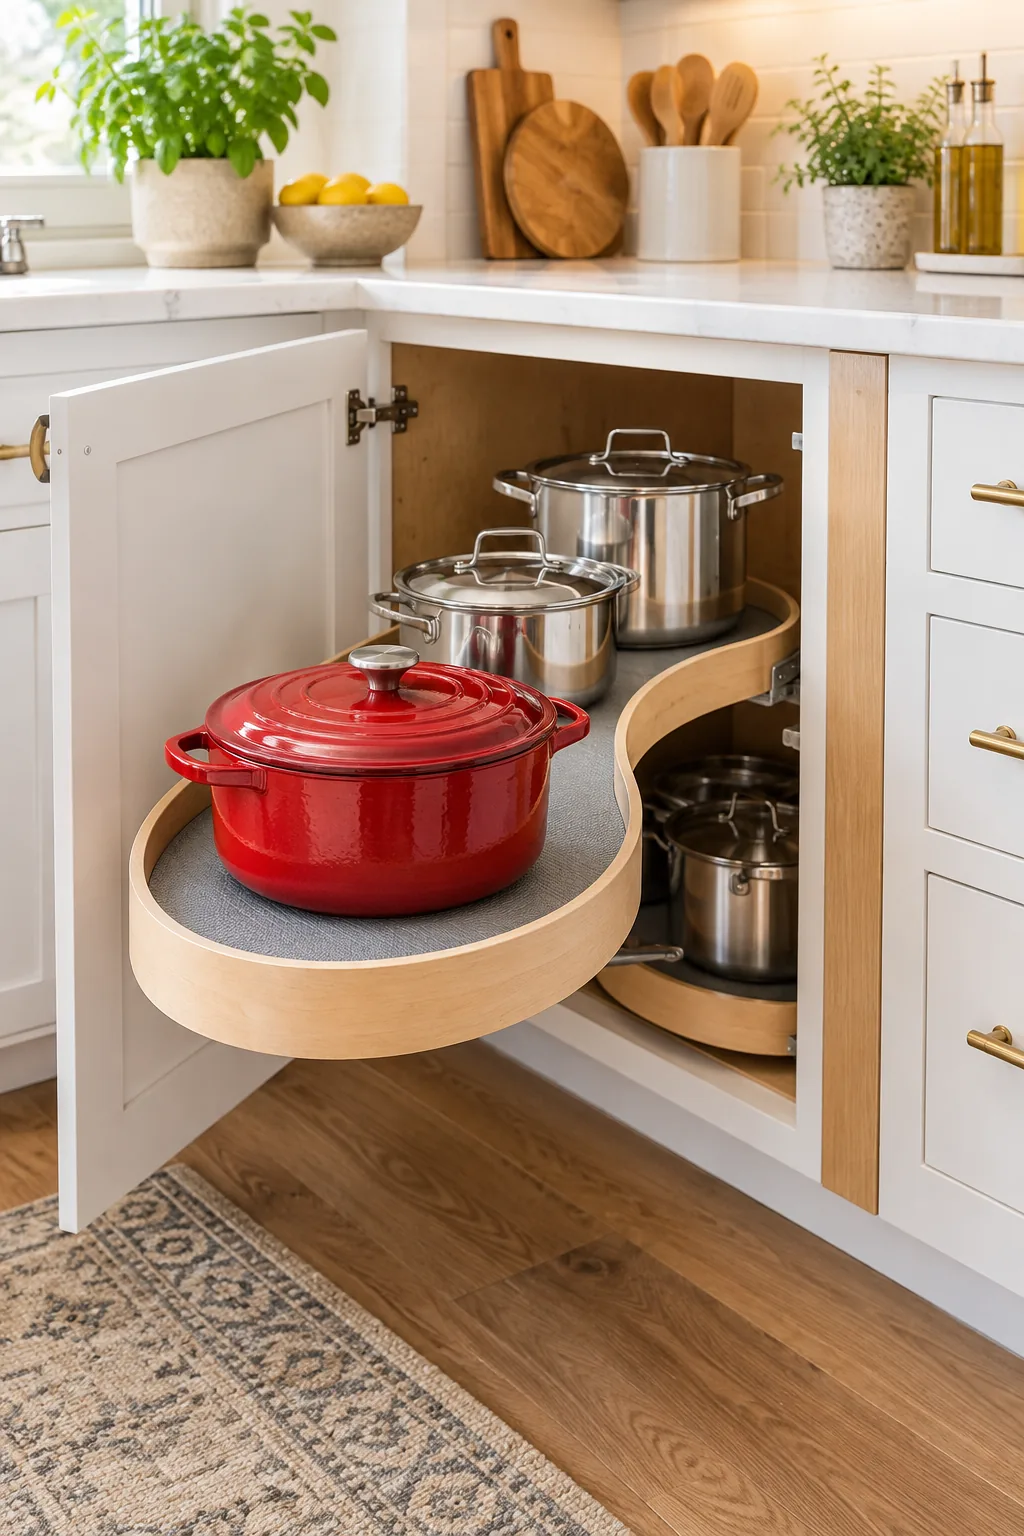
Notice how the deep indentation on the inner curve allows the shelf to wrap tightly around the mounting column while maximizing surface area. This clever contouring turns a frustrating dark cavern into a highly functional staging zone for your daily cooking essentials.
Securing Heavy Cookware with an Anti-Slip Base
When you pull a loaded shelf out of a dark cabinet, the sudden momentum can cause heavy pans to slide dangerously toward the edge. A textured anti-slip base grips the bottom of your enameled cast iron and stainless steel, keeping everything exactly where you placed it.
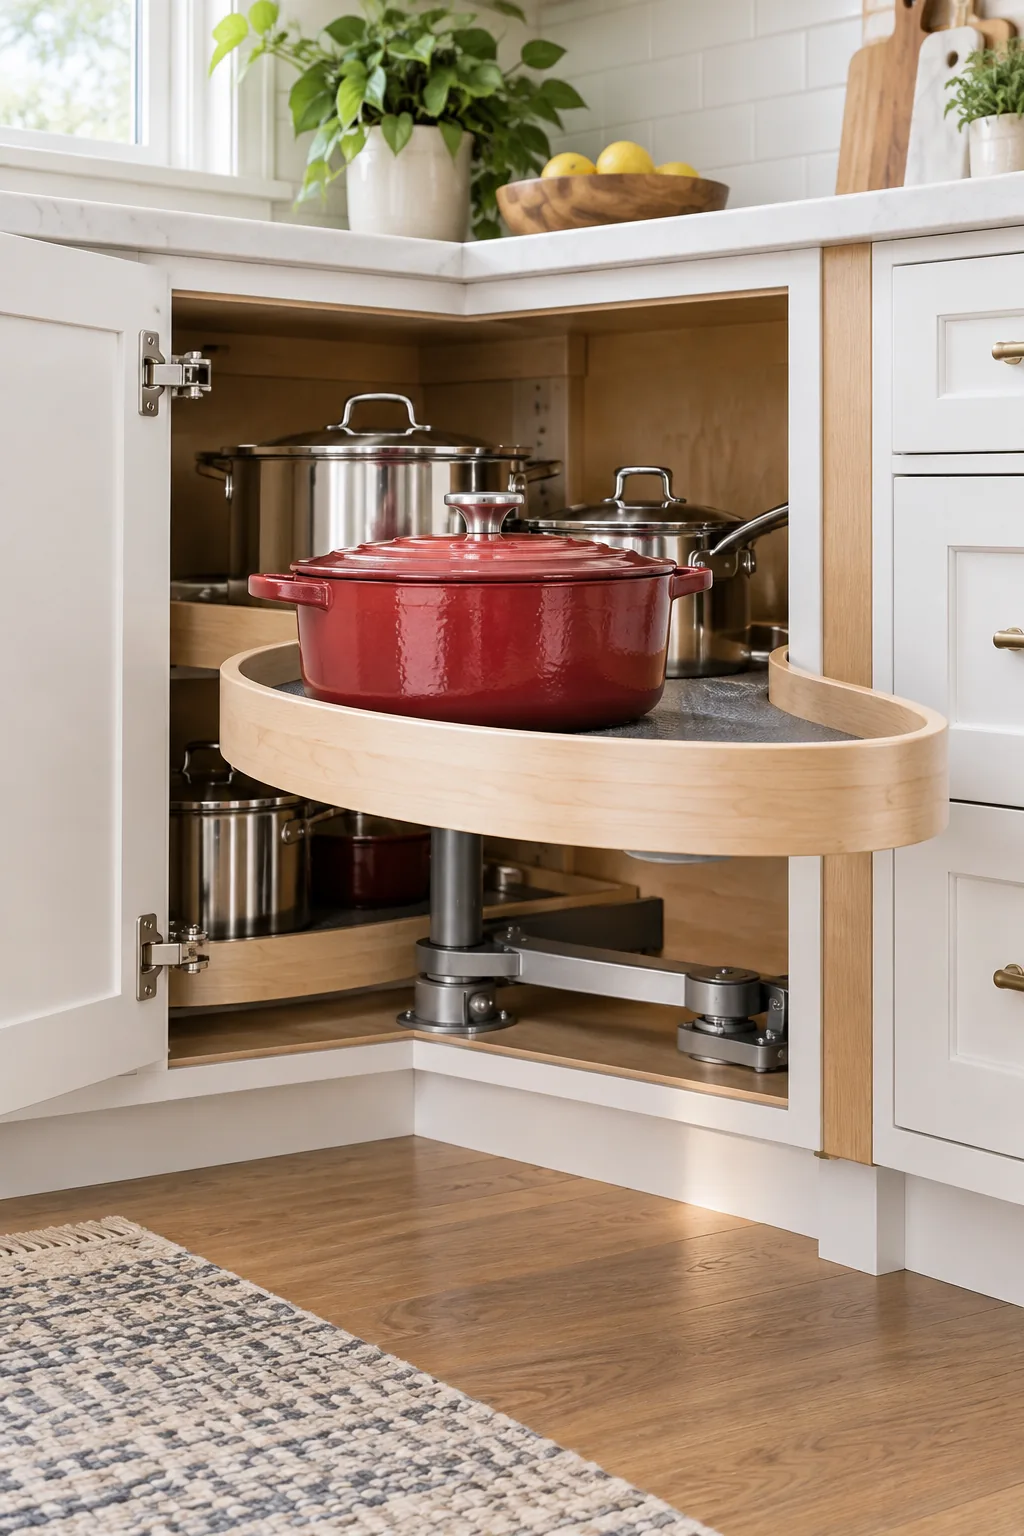
This rubberized matting also protects the underlying wood finish from aggressive scratches when you quickly shove a heavy dutch oven back into place. Upgrading to a premium textured surface preserves both your expensive cookware and the lifespan of your custom wooden shelves.
Adjusting Shelf Heights for Tall Stockpots
Before locking the shelves onto the central column, you must determine the vertical clearance required for your tallest items. Measure your largest stockpot with its lid attached, then add two inches of buffer space so you can lift it out without scraping the tier above.
Taking a few minutes to customize these vertical gaps transforms a generic cabinet into a tailored storage solution. Most premium central columns feature mounting holes spaced every inch, giving you complete control over the final configuration for your unique cookware collection.
Managing Weight Capacity Across Extending Tiers
A fully loaded blind corner system carries an immense amount of physical stress on its cantilevered arms. You must distribute the weight strategically to prevent the mounting brackets from warping over years of daily use and to keep the glide action completely silent.
- Check the manufacturer’s dynamic weight limit, which typically ranges from 35 to 45 pounds per shelf.
- Place your heaviest cast iron skillets and dutch ovens exclusively on the bottom tier to lower the center of gravity.
- Reserve the upper shelf for lighter stainless steel saucepans, mixing bowls, and colanders.
Overloading the top tier will cause the entire column to lean slightly forward, creating a frustrating scraping sound when the mechanism operates. Sticking to a disciplined weight hierarchy ensures your pull-out system remains effortless and perfectly balanced for decades.
Maintaining Clearance Around Internal Plumbing
Many blind corner cabinets share wall space with the main kitchen sink, meaning you must navigate around water supply lines and drain pipes. You need at least four inches of clearance between the back of the kidney shelf and any exposed plumbing fixtures to prevent disastrous snags.
Calibrating the Soft-Close Dampers
Modern pull-out systems feature integrated soft-close mechanisms that catch the shelf and pull it gently back into the cabinet cavity. Adjust the tension dial on the damper base until the shelf closes smoothly without slamming against the interior frame, ensuring your cookware stays perfectly stable.
The Correct Sequence for Bracket Installation
The physical order of assembly determines whether your system glides smoothly or binds up halfway through the turn. You must mount the heavy-duty rear pivot bracket directly to the cabinet floor before attempting to attach the top shelf or the central column.
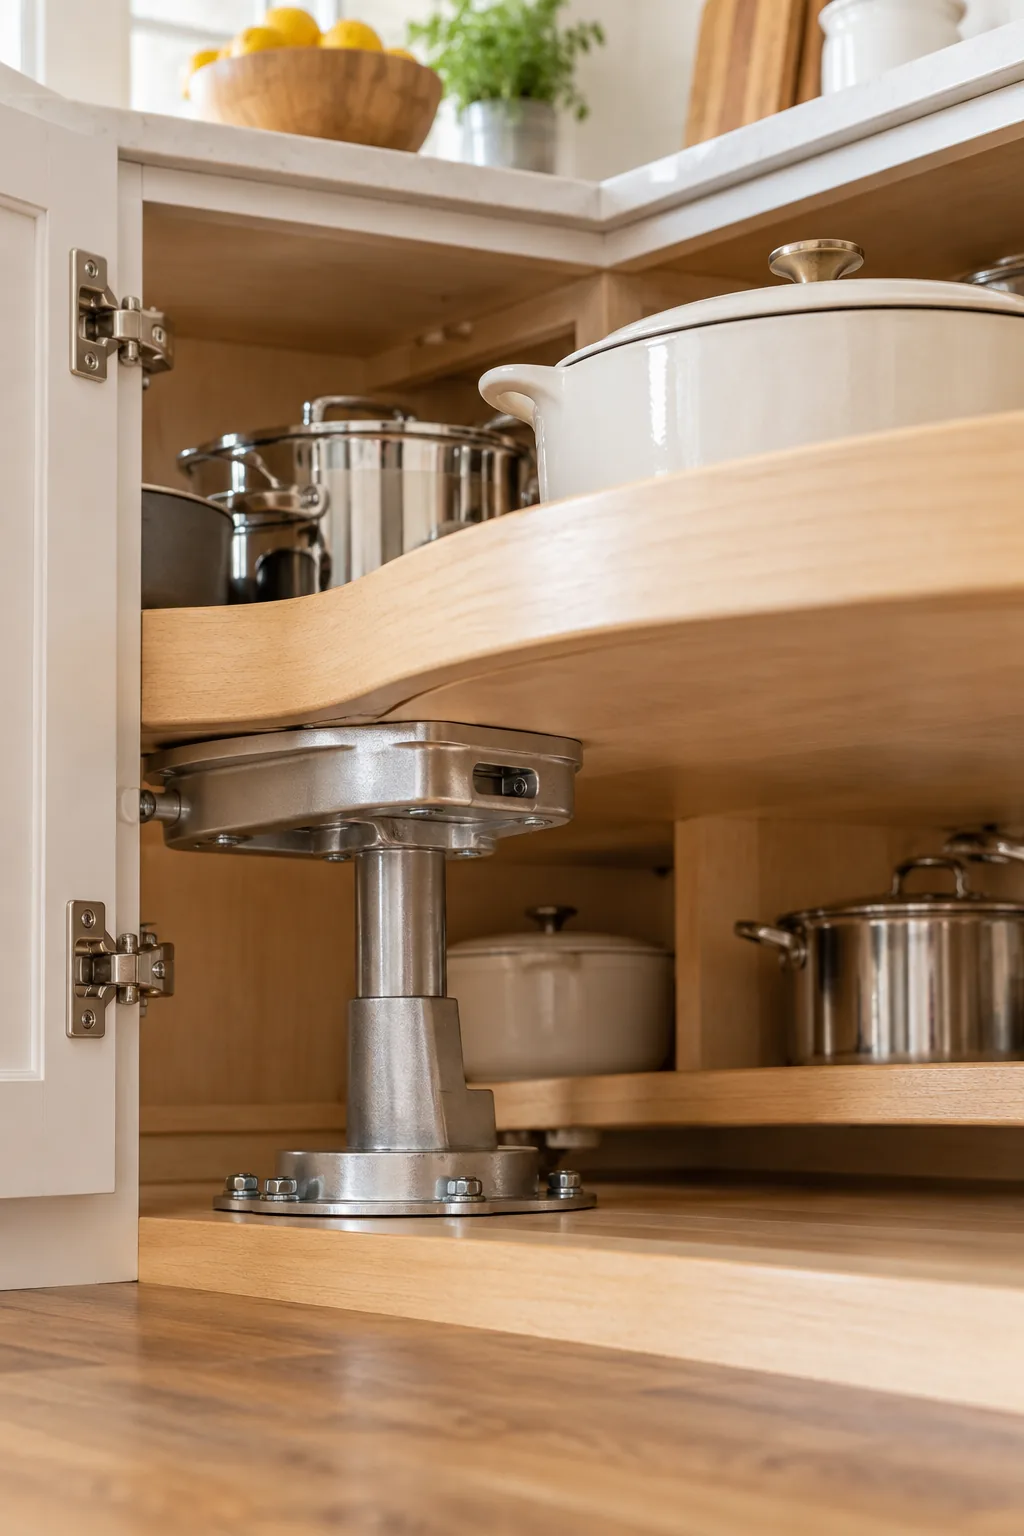
Once that foundational floor bracket is perfectly level and secured into the subfloor, the rest of the mechanism simply drops into precise alignment. Rushing this step or installing the brackets out of order usually results in a crooked post that jams the entire pull-out.
Your Corner Cabinet Sizing and Clearance Checklist
We have covered the exterior frame rules, the hinge upgrades, and the internal mounting requirements needed for a flawless setup. Before ordering any internal hardware, run through these final measurements to guarantee a perfect fit for your specific kitchen layout.
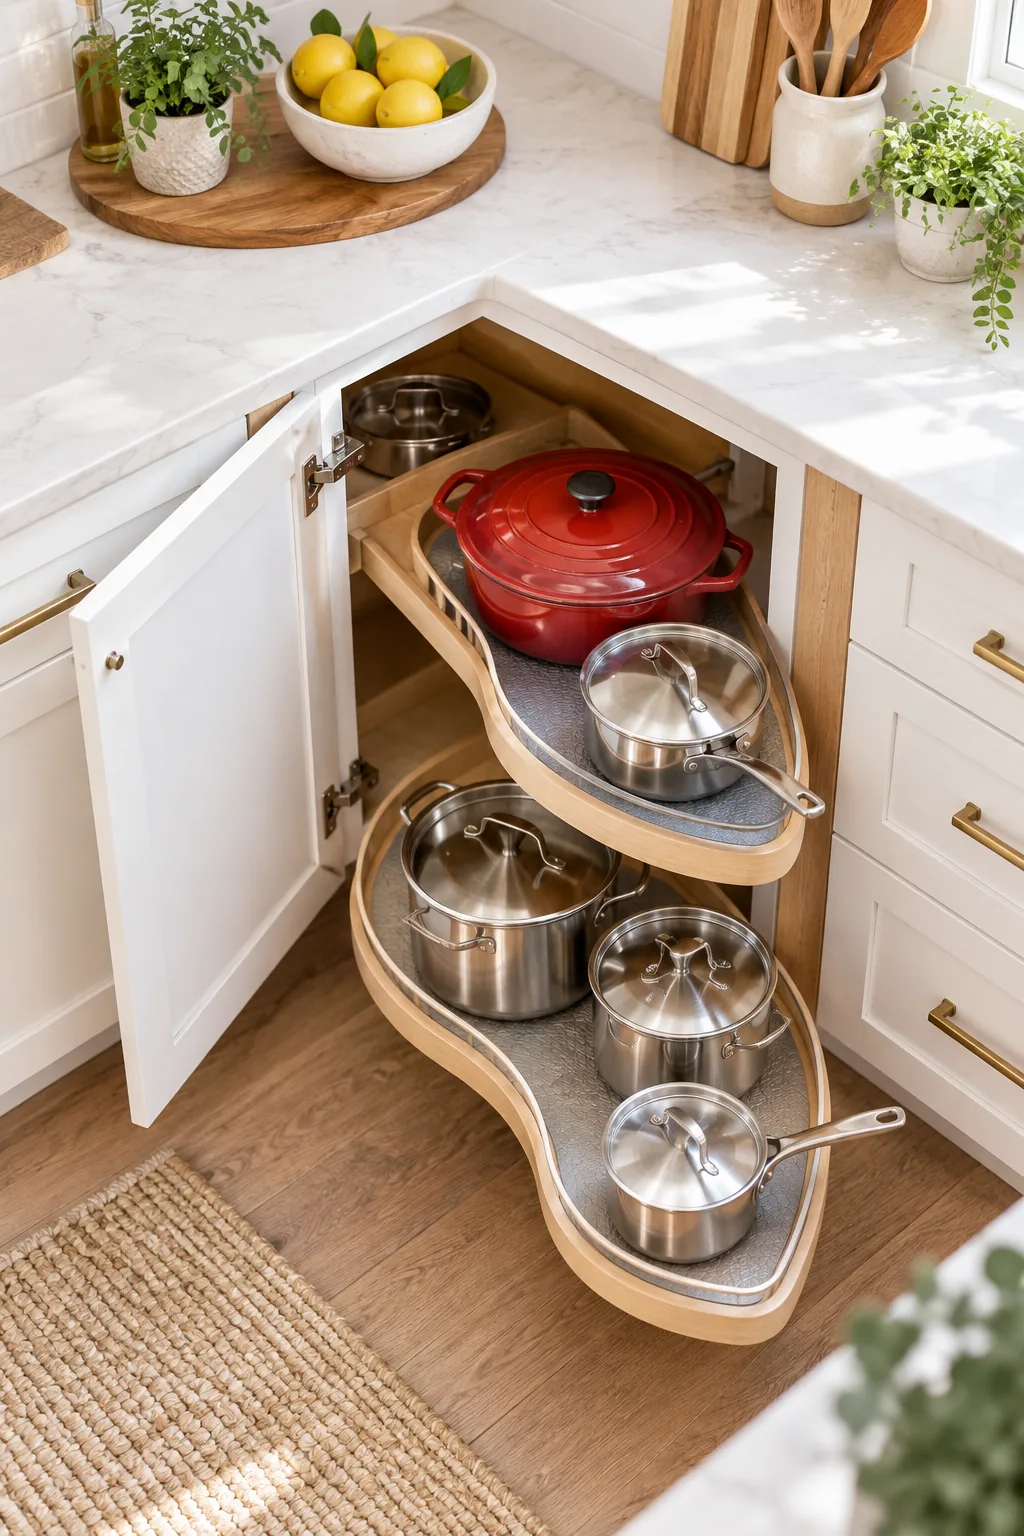
This quick review prevents the frustration of discovering a clearance issue halfway through your Saturday installation project. Keep this summary handy as you finalize your hardware selections and prepare your tools for a smooth, stress-free cabinet upgrade.
Inspiring Corner Cabinet Pull-Out Looks
Explore how these functional kidney pull-outs blend seamlessly into different kitchen styles.
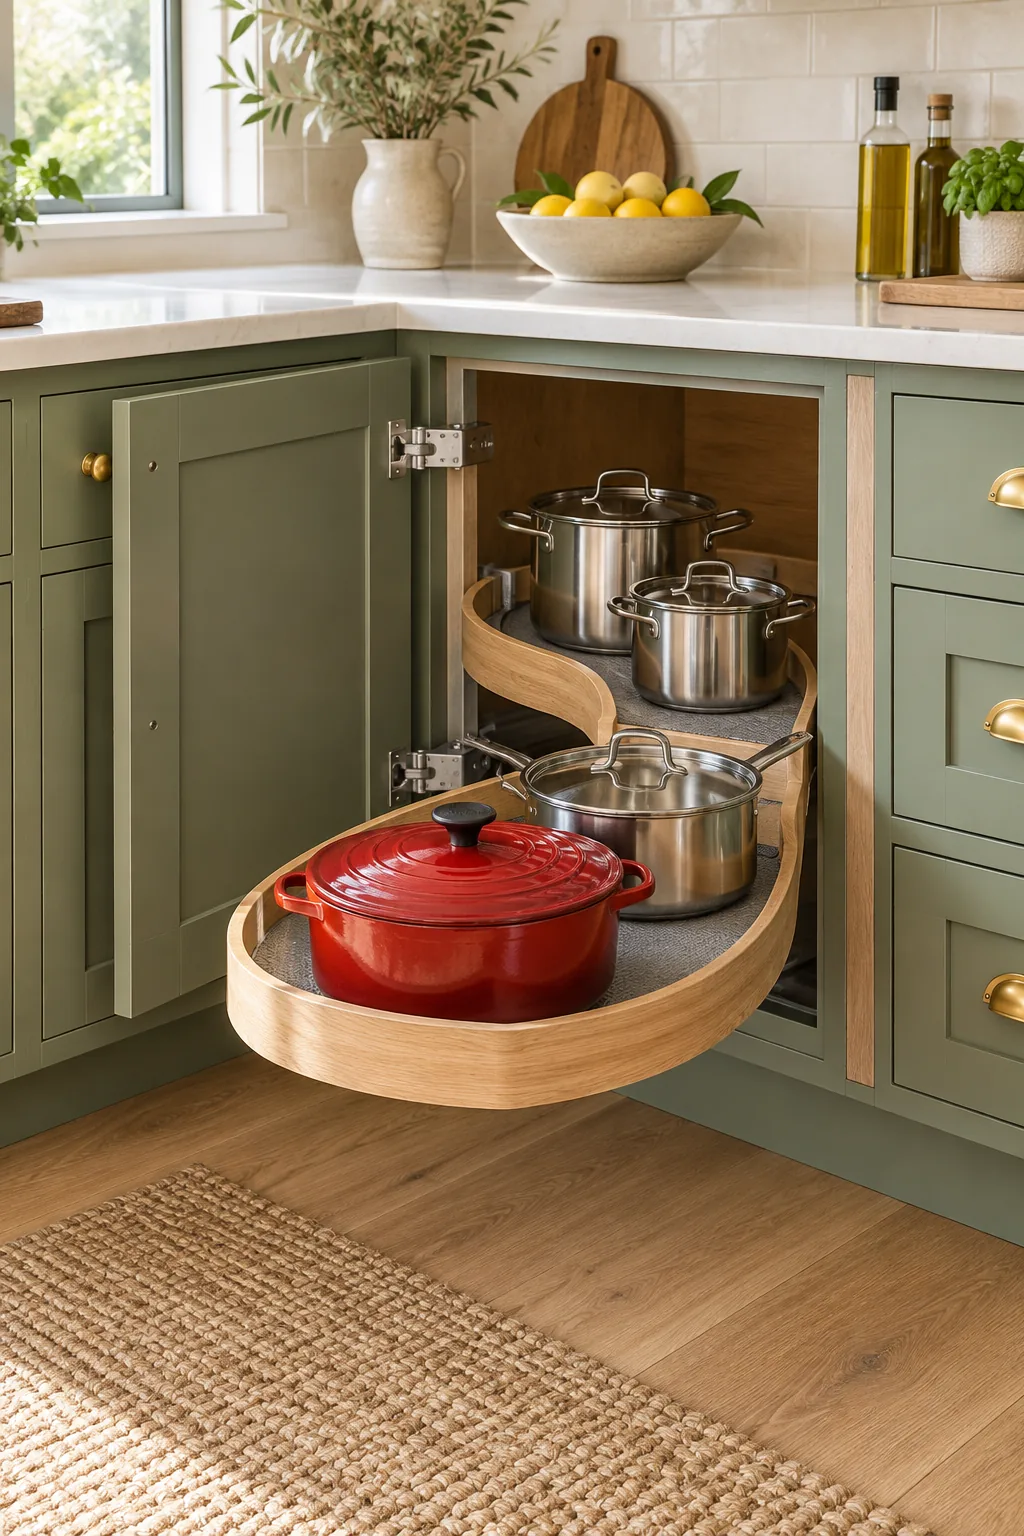
Sage green modern farmhouse: Soft sage cabinetry pairs beautifully with warm brass hardware and a natural oak pull-out shelf.
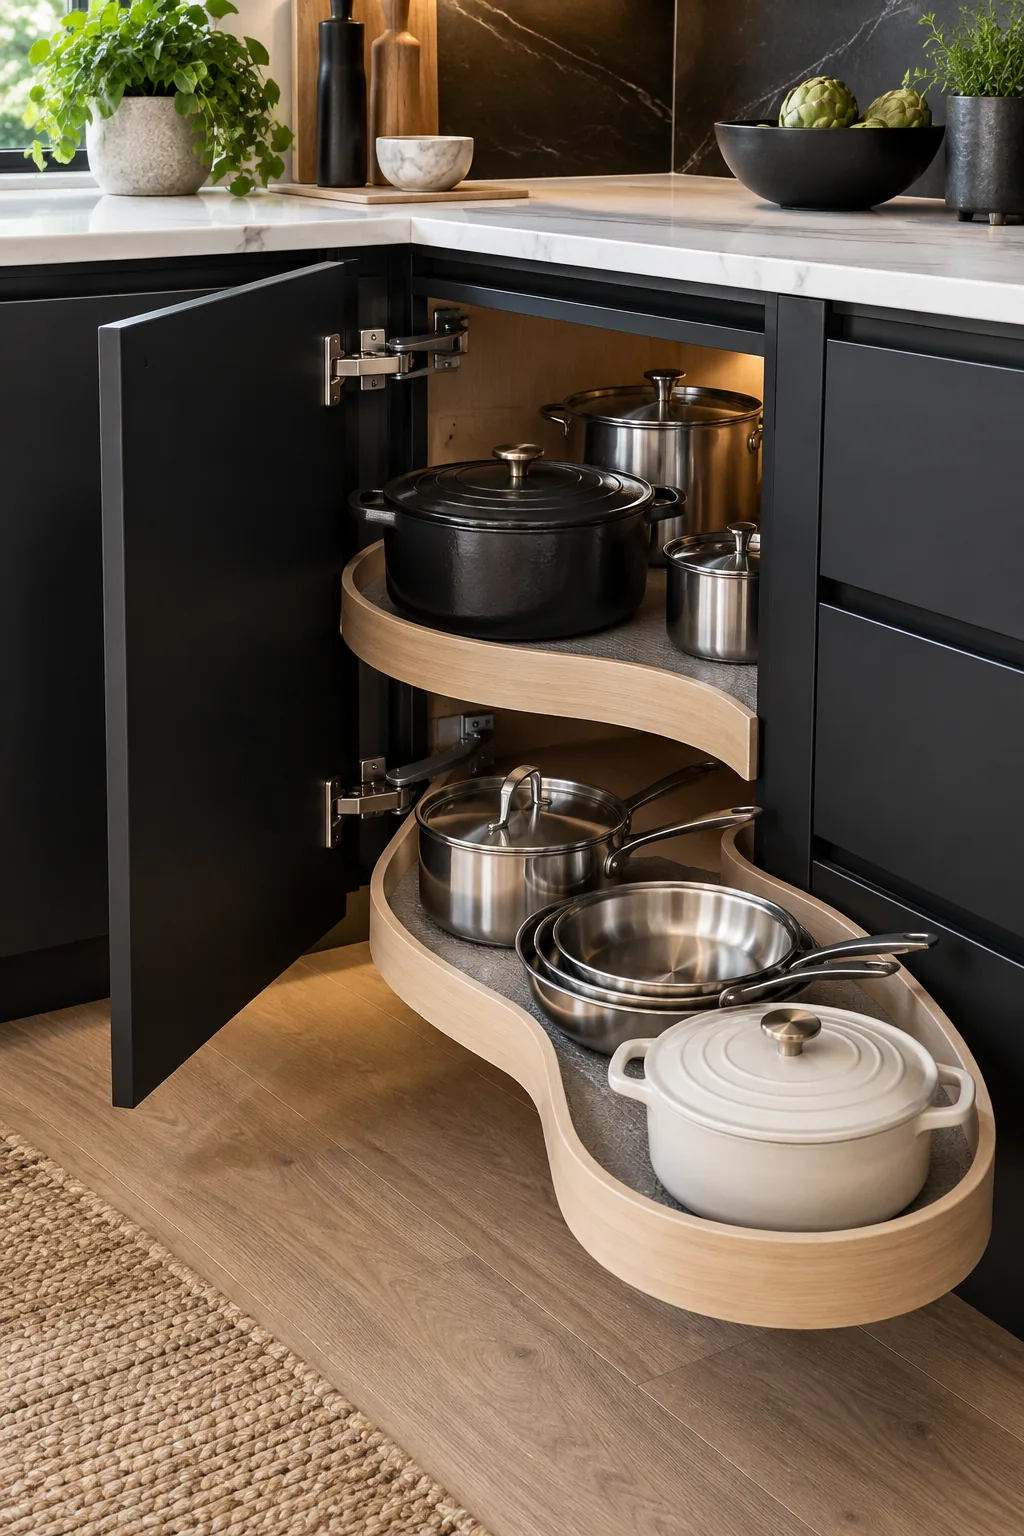
Matte black and white oak: Matte black flat-panel doors create a striking contrast against the pale white oak interior shelving.
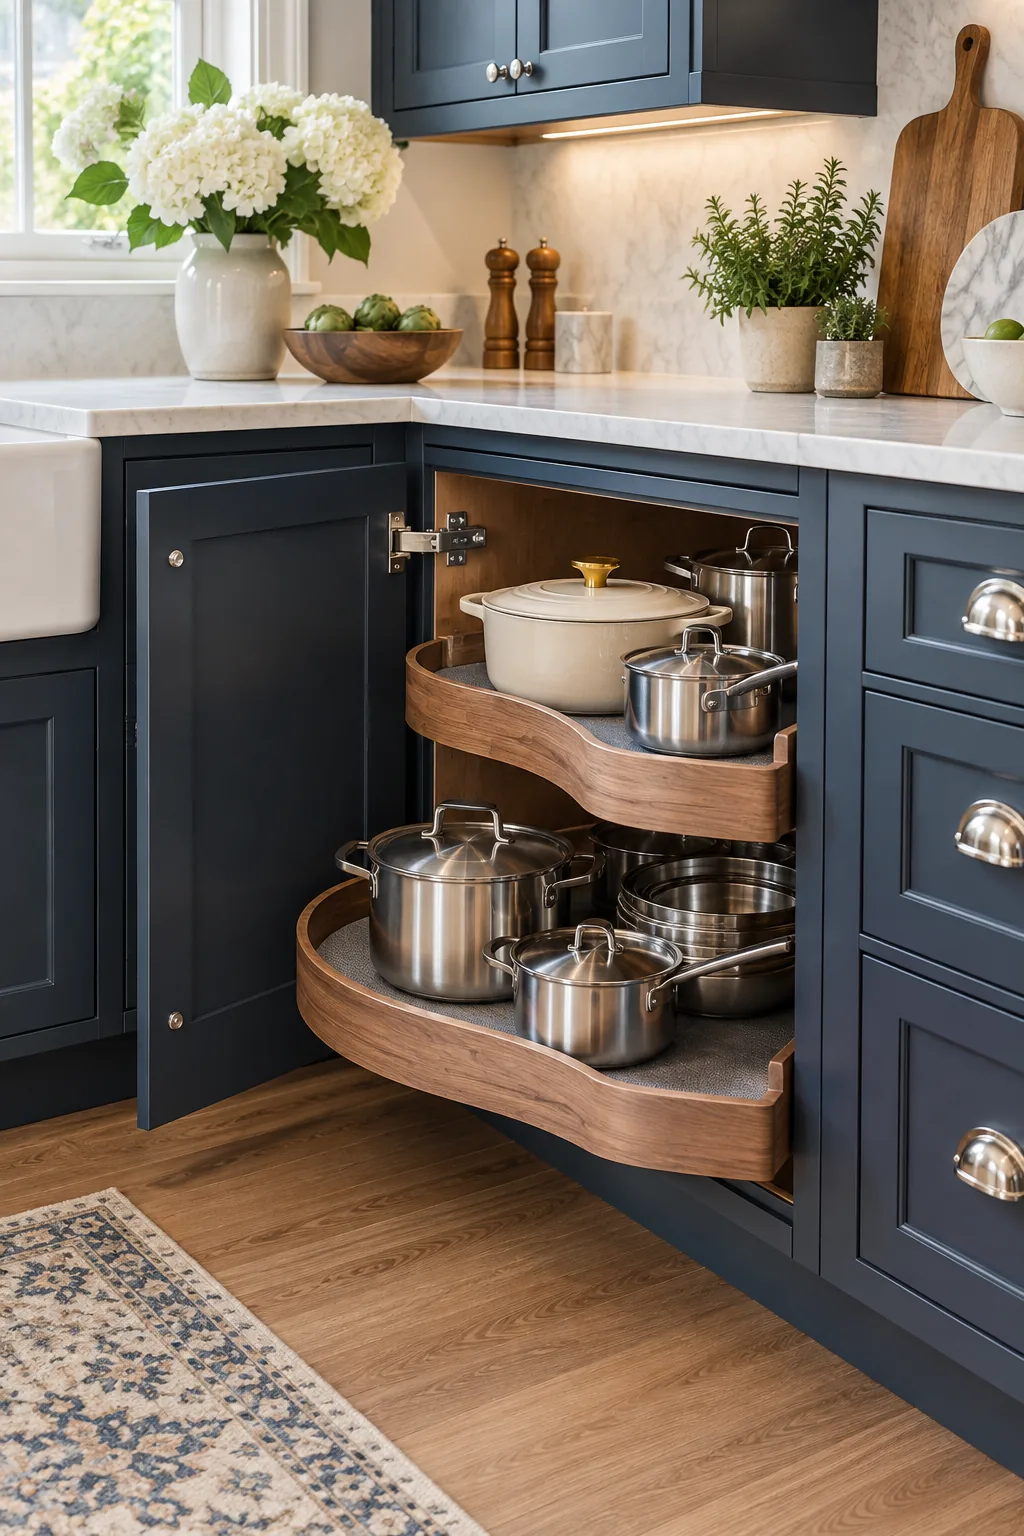
Navy blue transitional style: Deep navy blue shaker doors and polished nickel fixtures frame a rich walnut pull-out mechanism.
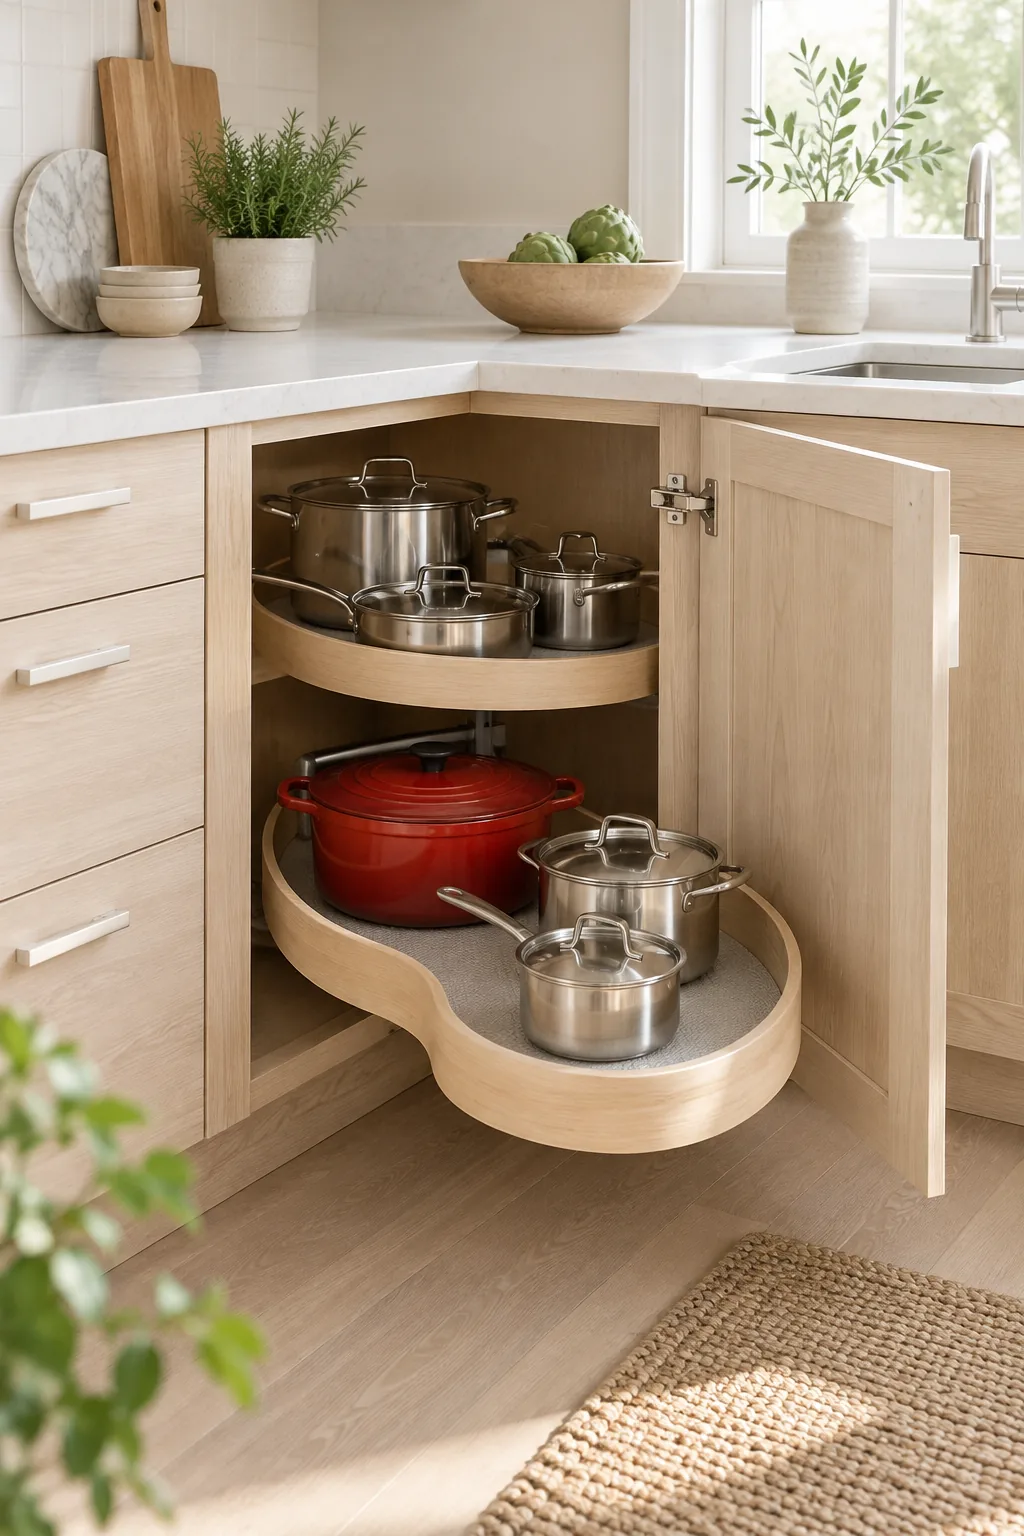
Scandinavian pale ash wood: Continuous pale ash wood from the exterior doors to the internal shelves creates a seamless, airy feel.
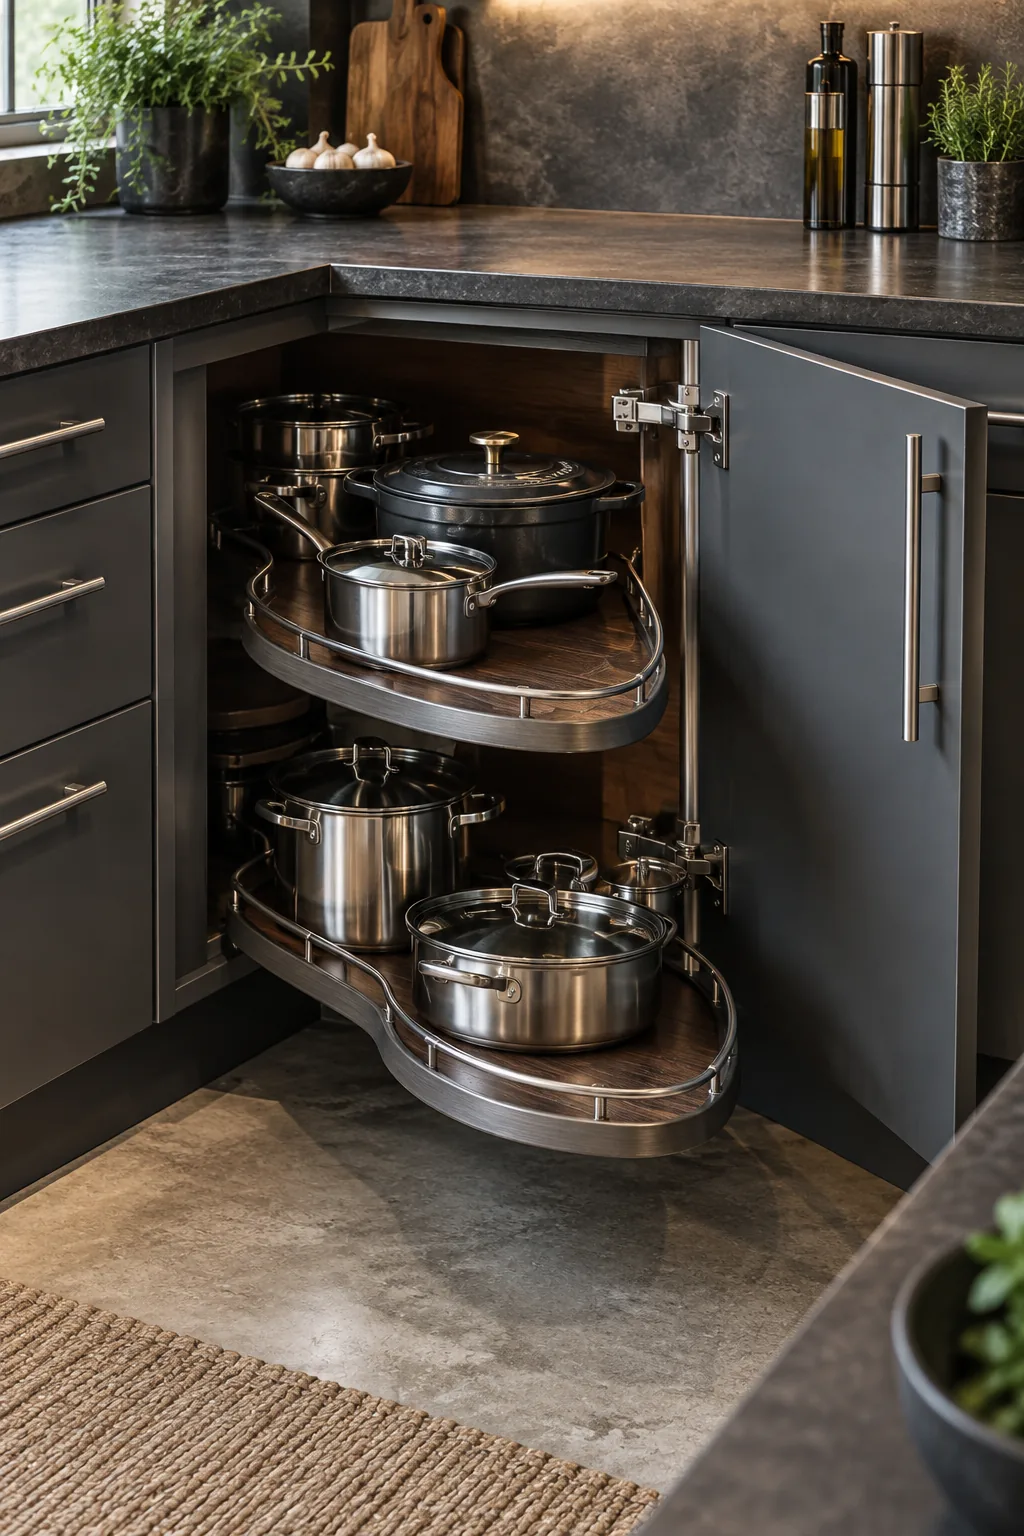
Industrial charcoal and steel: Charcoal grey finishes and heavy-duty stainless steel hardware give this corner storage a robust industrial edge.