Farmhouse Living Room: Box Beam & Plank Wall Cut List
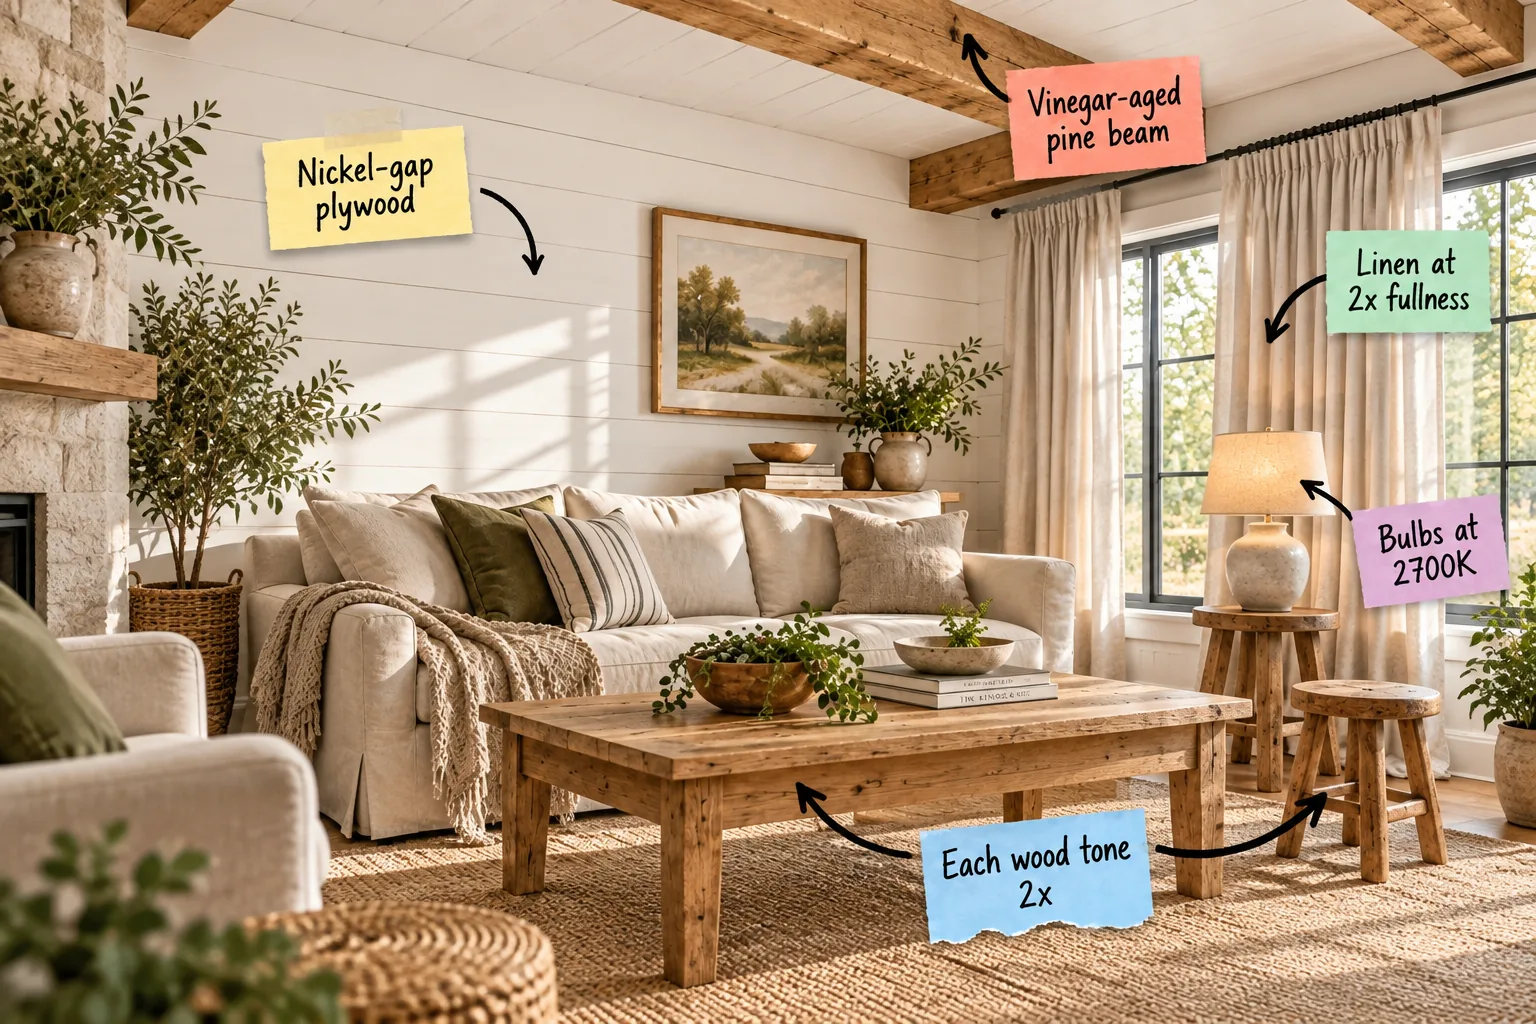
Transforming your space on a budget is completely doable when you grab our printable reference sheet for this exact look. You will be able to shop the lumber aisle with confidence and cut every single board needed for these custom walls and beams this weekend.
Faking Structural History With Box Beams
Build lightweight hollow beams using three 1×6 pine boards joined with wood glue and brad nails, ensuring the mitered joints on the assembly create the illusion of a solid timber. When I built these for my own living room, the seamless edges completely fooled my contractor.
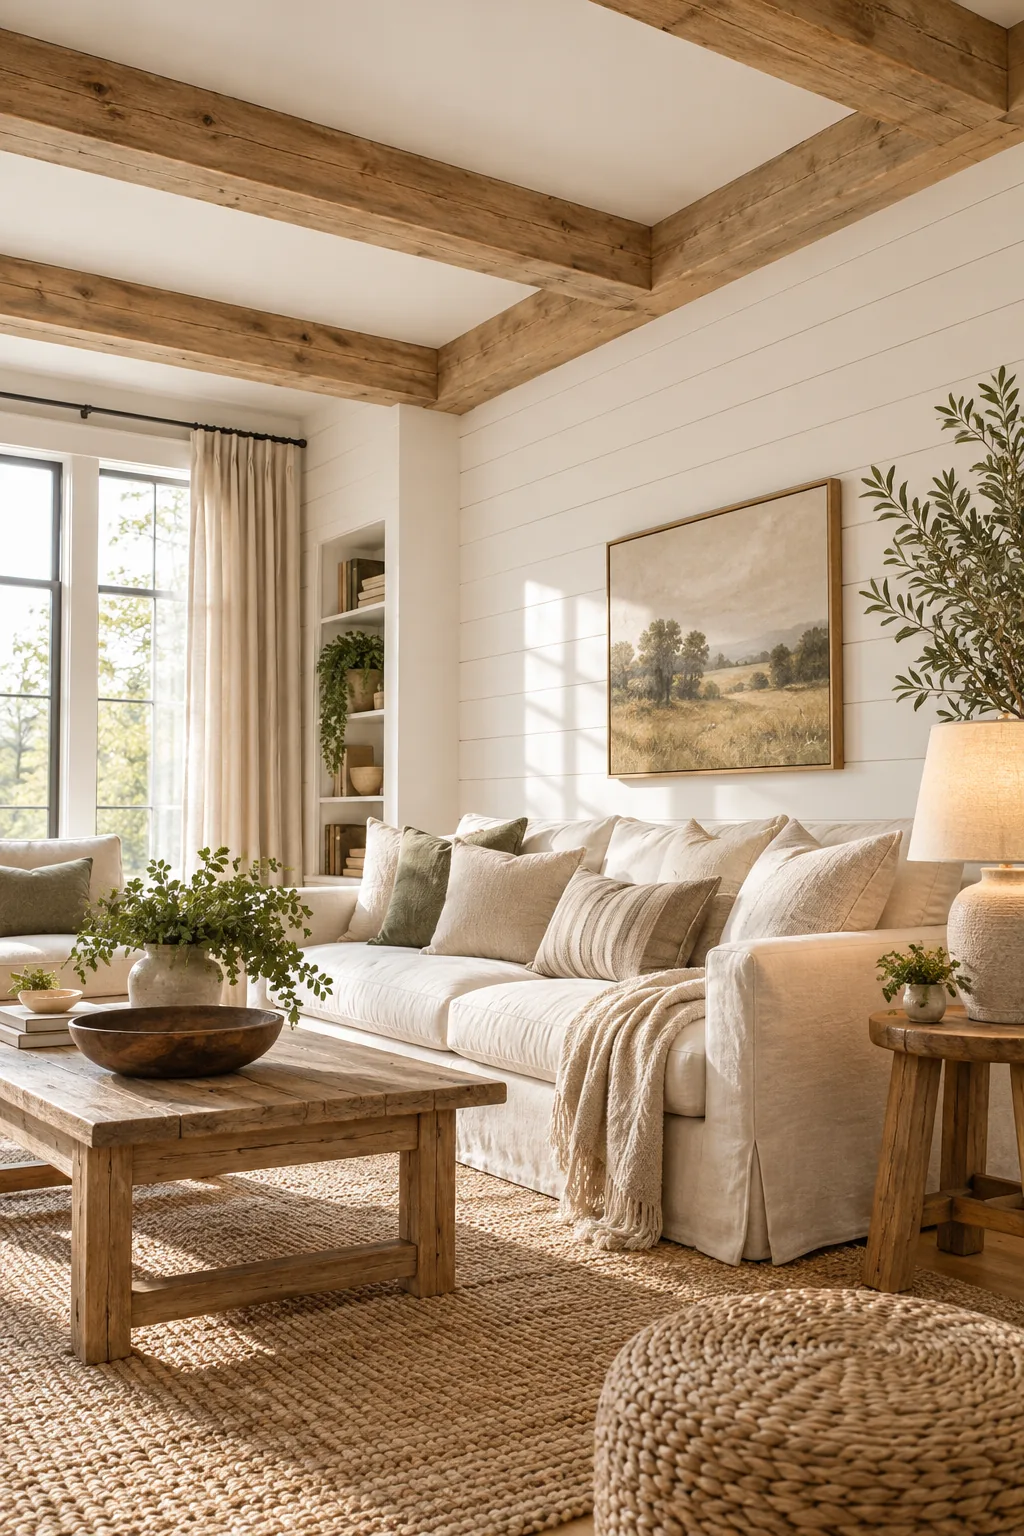
Achieving that perfect vinegar-aged pine beam look requires patience, and rushing the chemical reaction will leave your new lumber looking artificially orange. Let the solution sit undisturbed for a full day before applying it.
Pre-Drilling Your Beam Assemblies
Always pre-drill your pine boards before driving in your finishing nails to prevent the dry wood from splitting at the seams. Taking this extra ten seconds per hole guarantees your faux timbers remain structurally sound and visually flawless overhead.
Securing the Ceiling Cleats
Your hollow beams need a solid foundation, which means attaching simple wooden cleats directly into your ceiling joists before wrapping them. Finding the exact center of your joists ensures your heavy new architectural features never pull away from the drywall.
- Scan the ceiling with a magnetic stud finder to locate the joist screws.
- Snap a chalk line across the ceiling to mark the exact installation path.
- Drive three-inch wood screws through your cleats directly into the structural framing.
Selecting the Best Plywood Grade
Not all sheet goods belong on your living room walls, so bypass the rough exterior grades and head straight for the sanded birch or maple. These premium veneers cost slightly more upfront but save you hours of exhausting sanding before primer goes on.
The Plywood Plank Wall Hack
Create architectural interest on a budget by ripping standard 4×8 plywood sheets into horizontal strips, using exactly 1/8-inch tile spacers to ensure perfectly parallel gaps. Maintaining this consistent spacing across the entire surface gives the installation a professional, high-end millwork appearance.
Pre-Painting the Drywall Black
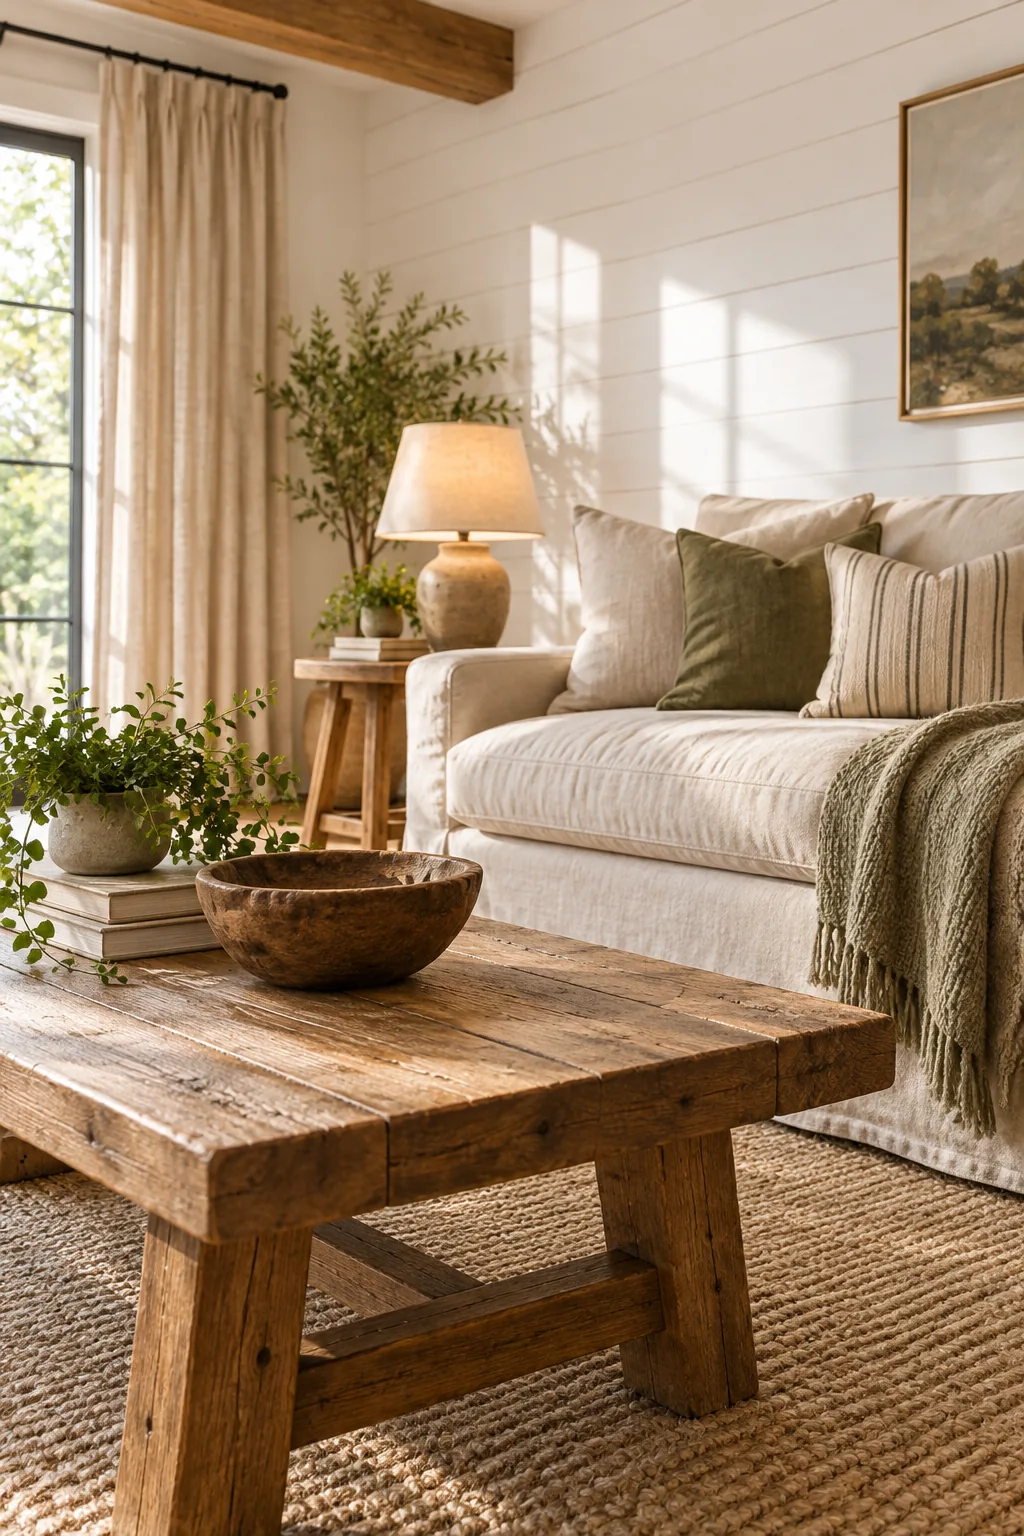
Painting the drywall black before installation ensures the gaps look deep and intentional, completely hiding the bright white surface behind your new boards. This simple trick prevents the wall from looking like a cheap craft project when the sunlight hits it.
| Spacer Size | Drywall Color | Visual Effect |
|---|---|---|
| 1/16-inch | White | Looks like a mistake |
| 1/8-inch | Black | Deep architectural shadow |
| 1/4-inch | Black | Too rustic and wide |
Filling Nail Holes Seamlessly
Once your strips are firmly attached to the studs, press a lightweight spackling compound into every single brad nail hole using your fingertip. Overfilling the holes slightly allows you to sand them perfectly flush with the wood grain once the compound dries completely.
Sanding Your Ripped Plywood
Run a medium-grit sanding sponge along the freshly cut edges of every plywood strip before bringing them inside the house. Knocking down those sharp splinters prevents your paint roller from catching and leaving ugly textured clumps inside your beautiful nickel-gap lines.
Your Printable Lumber and Cut List
Take the guesswork out of the hardware store with our two-page printable reference sheet, which includes the exact plywood strip widths and the three-board beam cut dimensions. Print this out and check off the materials as you load your cart this weekend.
Loading Plywood at the Hardware Store
Moving full sheets of plywood by yourself is a recipe for a pulled back or a scratched car interior. Ask the lumber desk to rip the sheets down the middle if you do not have a truck, making them infinitely easier to handle.
- Bring heavy-duty leather gloves to protect your hands from sharp veneer splinters.
- Slide a scrap piece of cardboard under the sheets to protect your vehicle.
- Tie everything down with ratcheting straps rather than relying on bungee cords.
The Rule of Two for Wood Tones
Prevent wooden ceiling beams from feeling top-heavy by anchoring the room with matching tones near the floor, relying on the rule of two. Repeating the ceiling’s honey-pine tone on the coffee table and stool creates a beautiful visual balance that feels completely intentional.
Distributing Weight Across the Floor
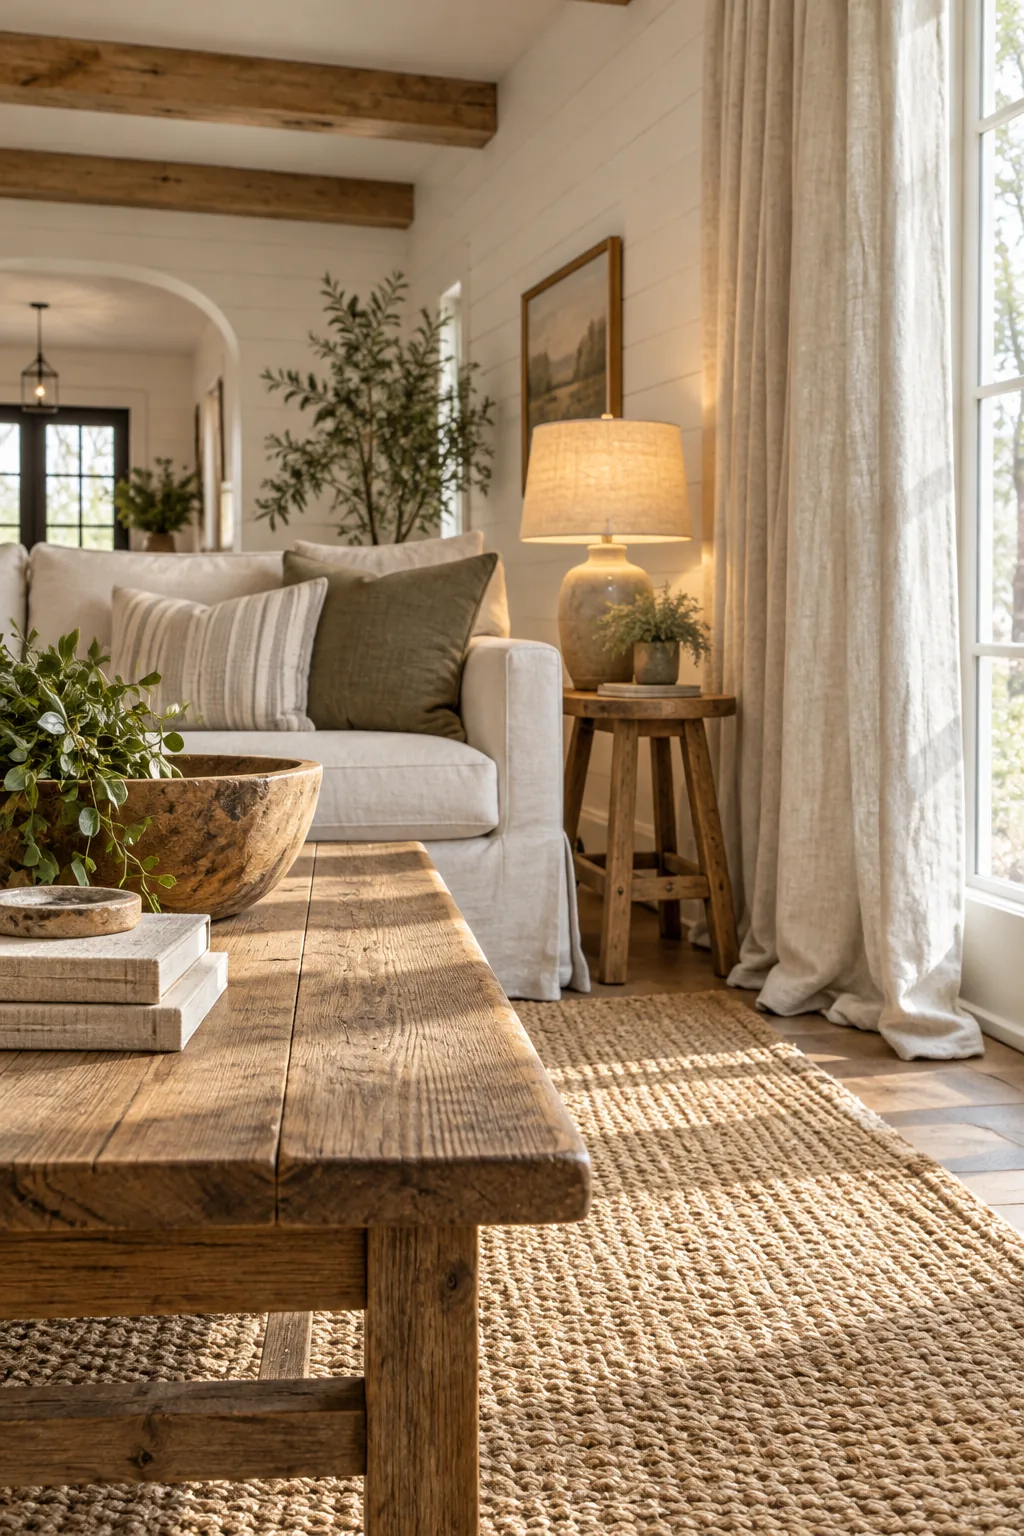
Clustering all your heavy wooden furniture on one side of the rug makes the entire living room feel lopsided and chaotic. Spread your warm oak and pine pieces in a loose triangle formation so the eye naturally travels around the cozy space.
Selecting the Oak Coffee Table
Finding a vintage coffee table that perfectly matches your newly aged ceiling beams usually requires scouring local flea markets for weeks. Look for solid oak pieces with a matte, unvarnished finish that echo the raw, historical texture of your overhead lumber.
Scaling Curtains for Visual Weight
Farmhouse style relies on generous textiles, so measure your window frame and double that width for your panels to achieve a luxurious 2x fullness. I learned this the hard way when my first set of single-width curtains looked like sad, stiff little string beans.
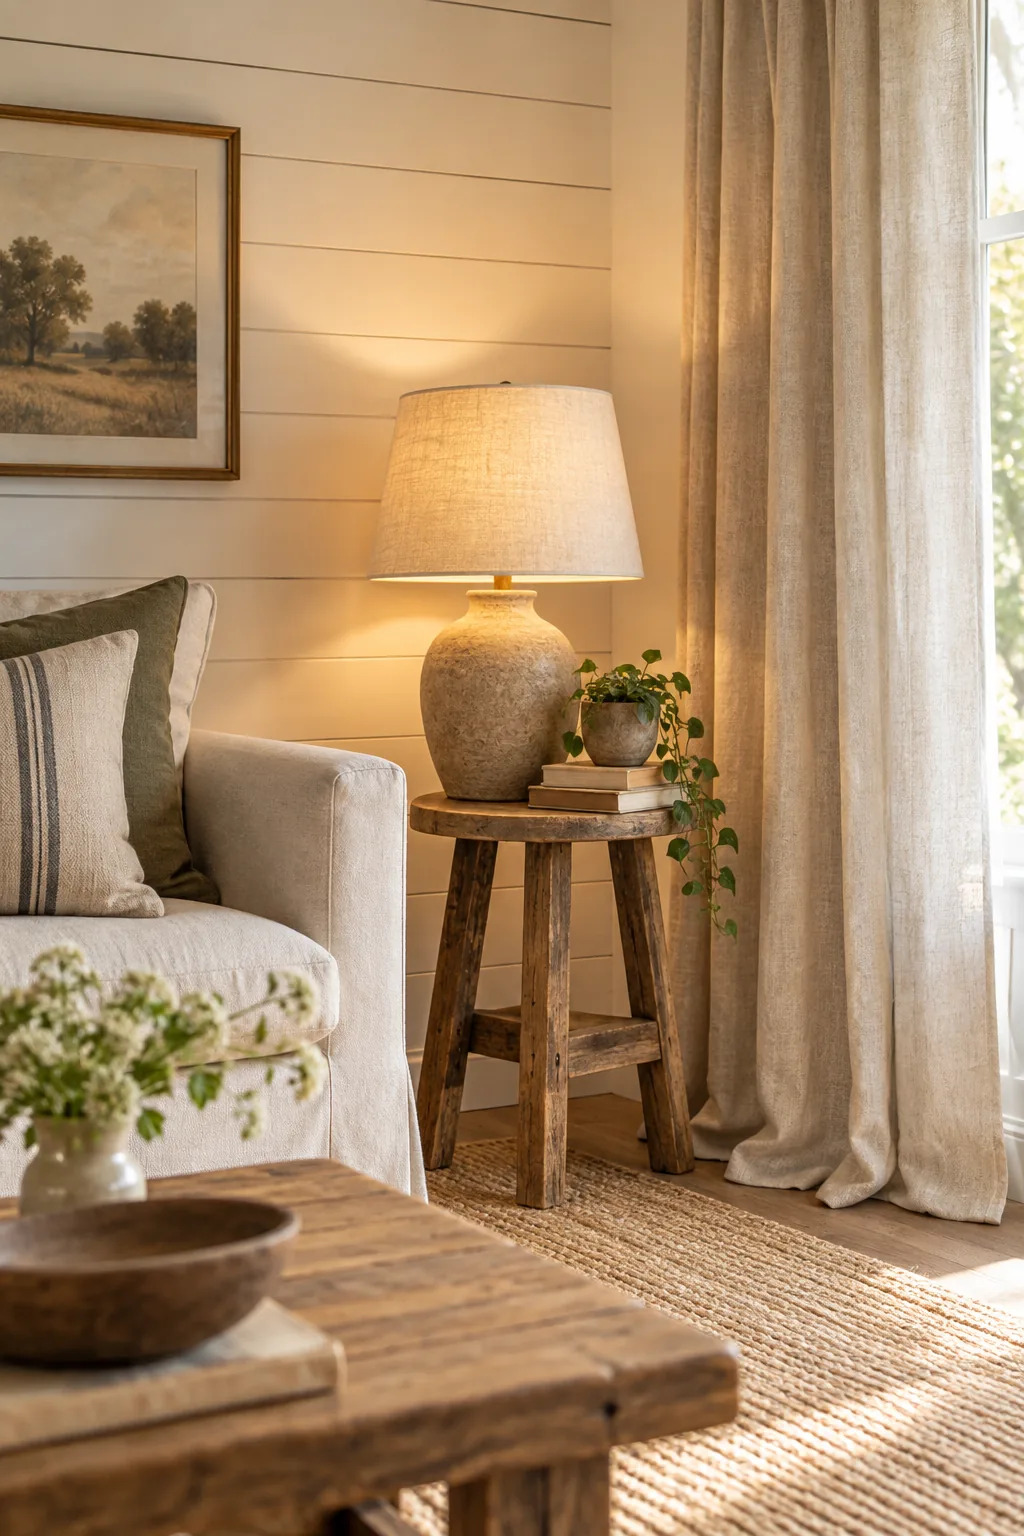
Hemming Linen for the Perfect Break
Your beautiful new oatmeal panels should never hover awkwardly above the baseboards like high-water pants. Wash and dry the fabric first to get the shrinking out of the way, then hem them so they kiss the floor with a soft, relaxed break.
Choosing Iron Drapery Hardware
Using matte black iron curtain rods provides a necessary punch of dark contrast against the endless sea of white walls and soft beige fabrics. Installing the rod at least six inches above the window trim draws the eye upward and makes the ceilings feel massive.
Spacing Your Window Hardware
Extend your drapery rod ten inches past the window casing on both sides so the heavy linen panels do not block the natural sunlight. This clever hardware placement tricks the brain into thinking your standard builder-grade windows are actually custom oversized units.
Layering Warmth With 2700K Light
Lighting temperature dramatically impacts how white paint reads, so equip your lamps with 2700K LED bulbs to cast a warm glow. This specific color temperature highlights the honey tones in the wood and prevents your beautiful new millwork from feeling like a clinical hospital.
Positioning Your Table Lamps
Relying solely on overhead recessed lighting washes out the cozy textures you just spent all weekend building. Place a lamp on your wooden side stool to bring the illumination down to eye level, creating an intimate atmosphere perfect for evening reading.
Choosing the Right Slipcover Fabric
A linen slipcovered sofa provides the perfect soft counterpoint to the rigid horizontal lines of the plank wall, especially when lit warmly. Seeing how those 2700K bulbs interact with the oatmeal linen shade softens the bright white walls and completes the lived-in aesthetic.
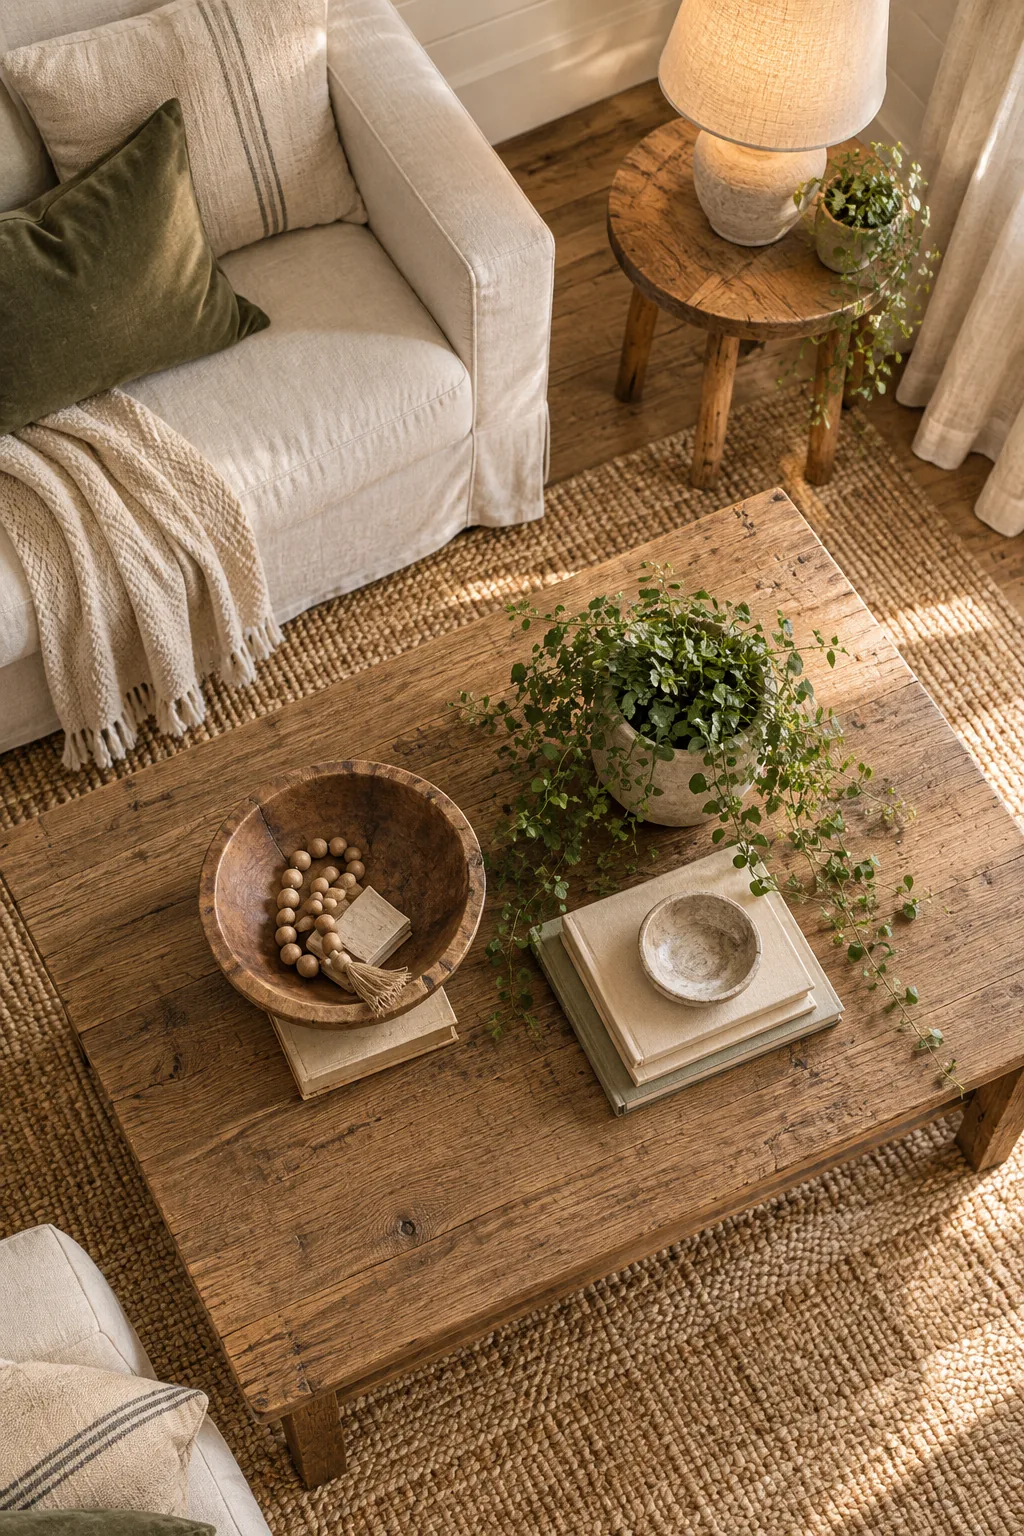
Washing and Maintaining Linen Blends
Pure linen looks incredible but wrinkles the second you look at it, making it a tough choice for a busy household with pets. Opting for a high-quality linen-polyester blend gives you that gorgeous organic texture while allowing you to actually wash the slipcover safely.
Adding Woven Textures for Depth
Toss a chunky knit blanket or a woven seagrass basket near the sofa to break up the large expanses of smooth linen and painted wood. These heavily textured organic materials catch the ambient light beautifully and make the entire seating area feel incredibly welcoming.
Styling the Farmhouse Coffee Table
Finish the space by styling the oak coffee table with purposeful accessories that do not obstruct conversation across the room. Arranging low-profile natural textures on the surface without blocking the room’s sightlines ties the entire farmhouse aesthetic together beautifully.
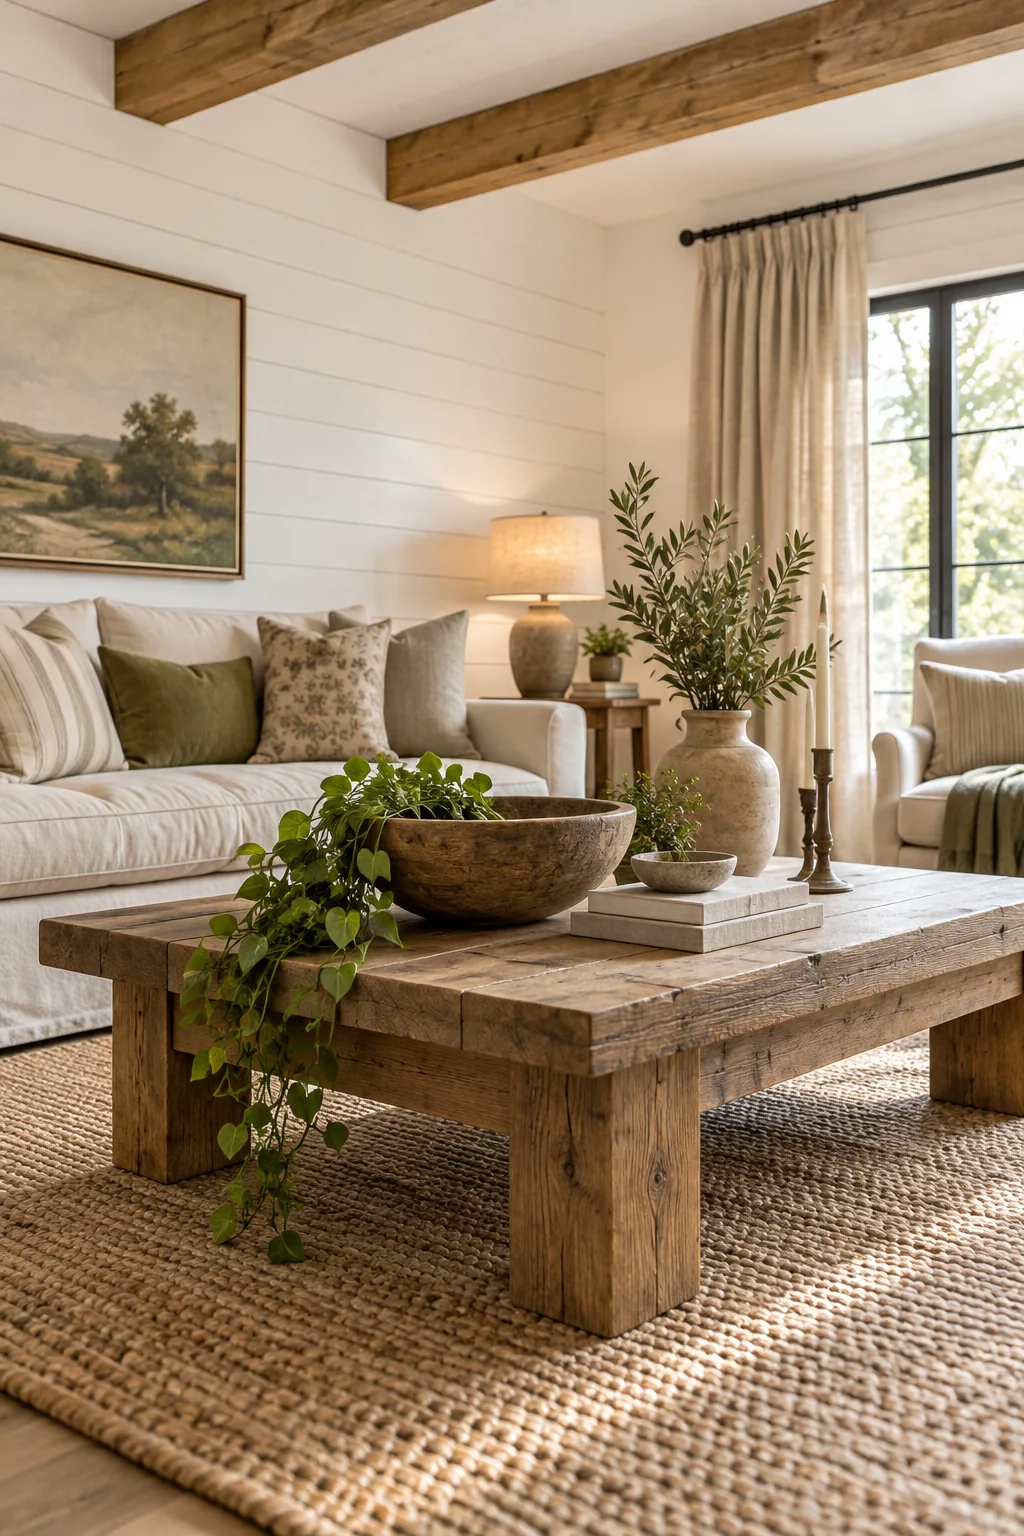
Keep your daily styling simple by grouping items in odd numbers and varying their heights slightly to maintain visual interest. Swapping out the fresh greenery as the seasons change breathes new life into the room without requiring a massive design overhaul.
4 Ways to Customize Your Farmhouse Living Room
Swap out the wall treatments and beam stains to take this foundational room layout in an entirely new direction.
Modern Moody Farmhouse: Swap the white planks for charcoal paint and use rich walnut beams to create a moody, sophisticated space. A warm leather sofa grounds the darker architectural elements.

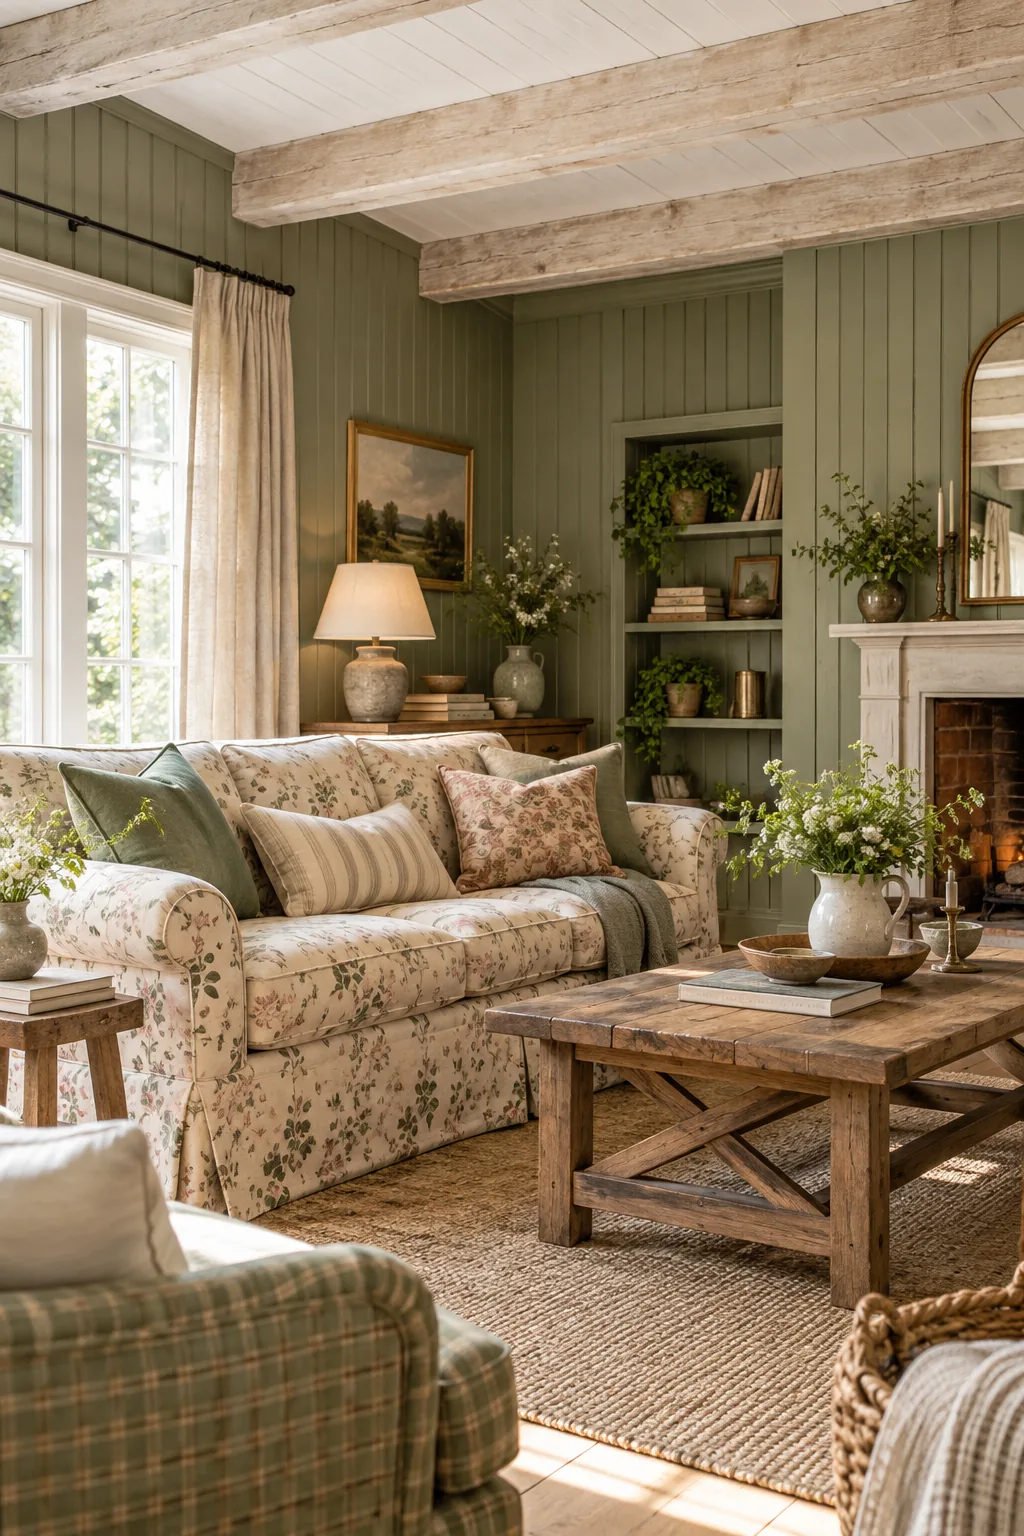
Soft Cottage Farmhouse: Embrace a softer cottage aesthetic with sage green beadboard walls and whitewashed ceiling beams. A floral linen sofa and vintage floral pillows add delicate, inviting patterns.
Breezy Coastal Farmhouse: Bring the beach indoors with crisp white shiplap and pale driftwood-gray beams. A navy blue slipcovered sofa and woven rattan accents complete this breezy coastal look.

Minimalist Plaster Farmhouse: Strip the room down to its essentials with smooth plaster walls and raw, untreated pale oak beams. A textured white boucle sofa keeps the minimalist atmosphere warm.