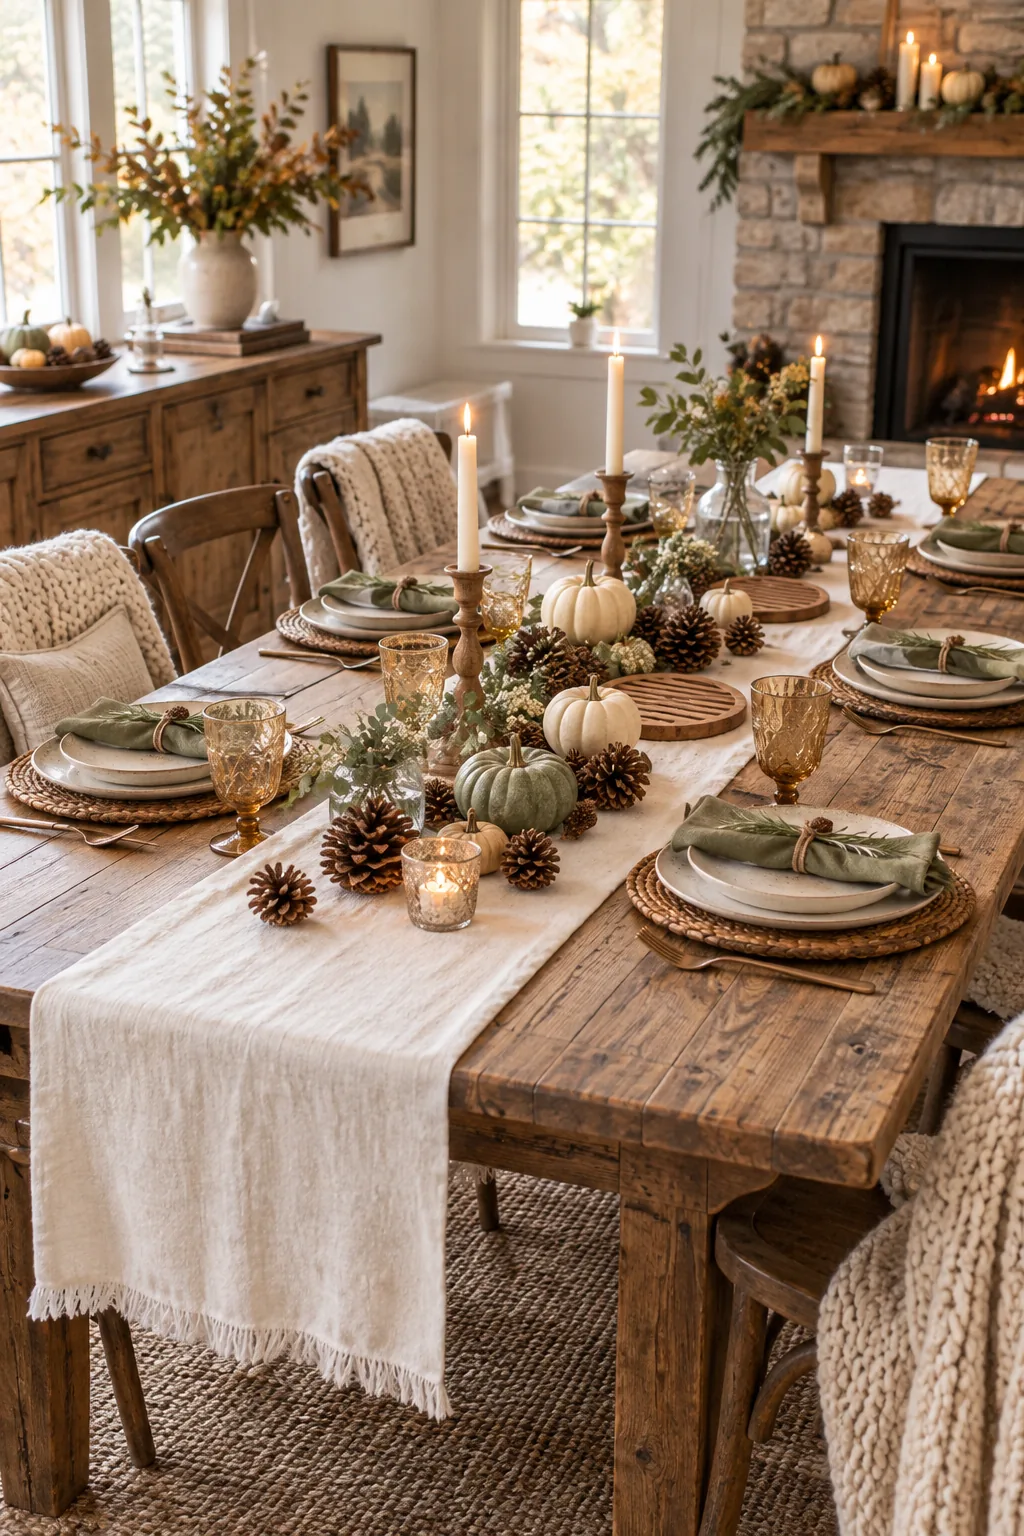
Thanksgiving Table Decor That Fits the Feast (with Spacing Map)
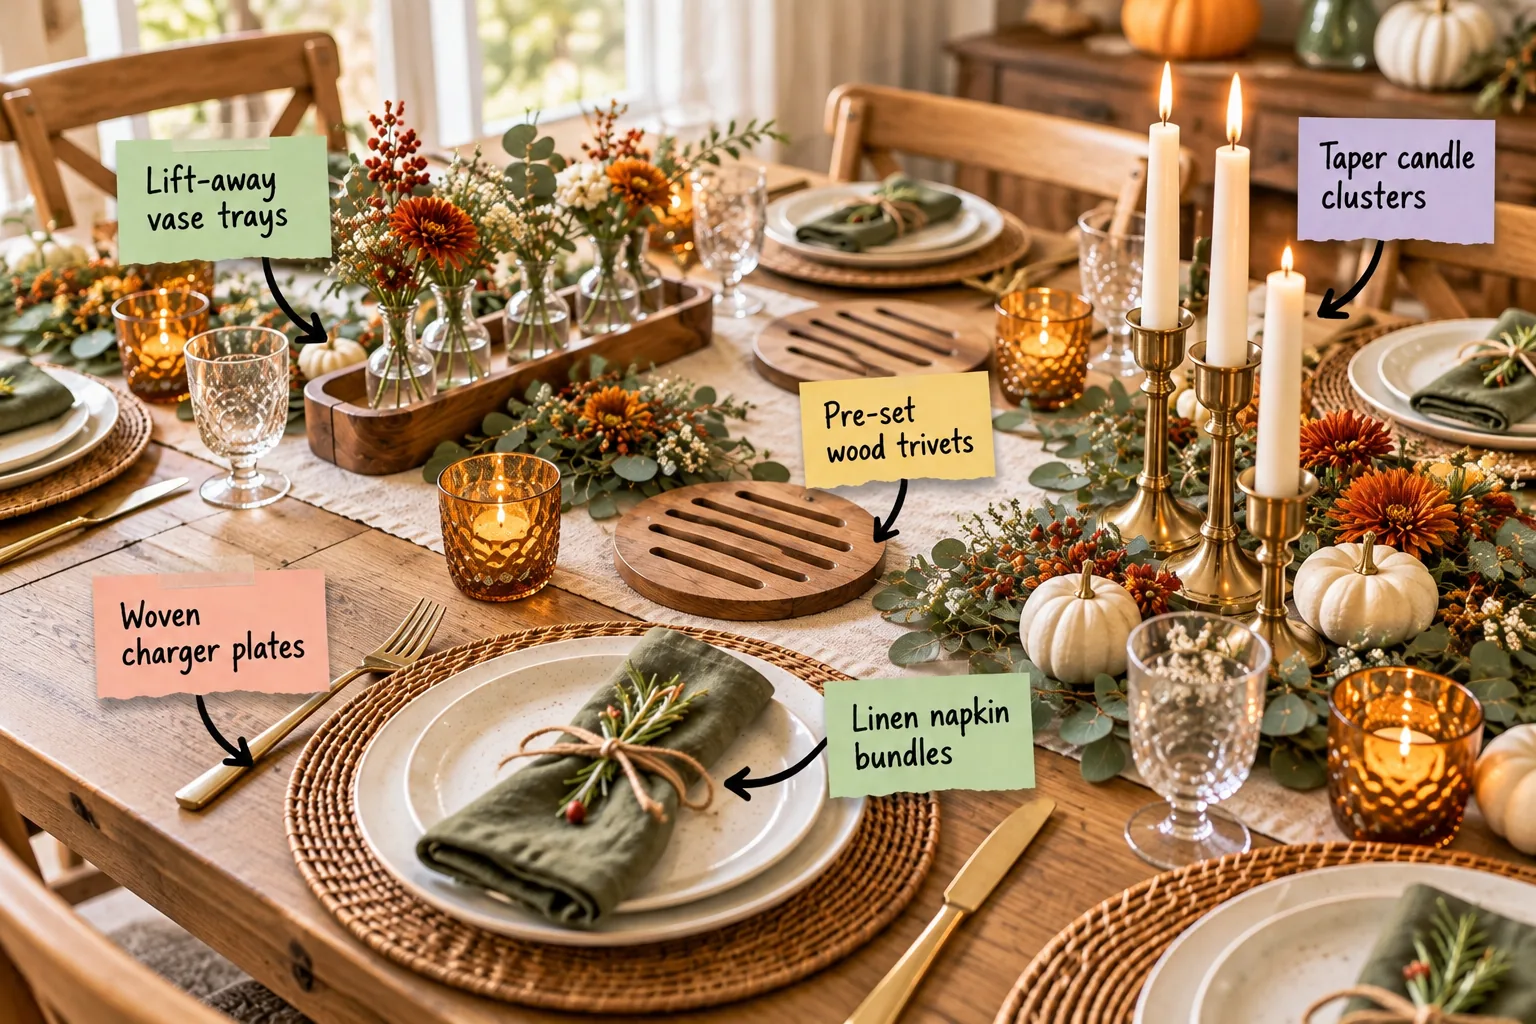
Download our printable Thanksgiving table spacing map to balance lush autumn aesthetics with strategic empty space for your serving platters. You will be able to arrange a layered holiday table that guarantees exact space for every hot dish before the food leaves the kitchen.
Mapping the Feast with Our Spacing Guide
In my narrow Boston brownstone dining room, I learned that a comfortable table requires a 24-inch width per place setting and a 14-inch deep center channel. Start by downloading the Thanksgiving table spacing map to visualize this essential layout.
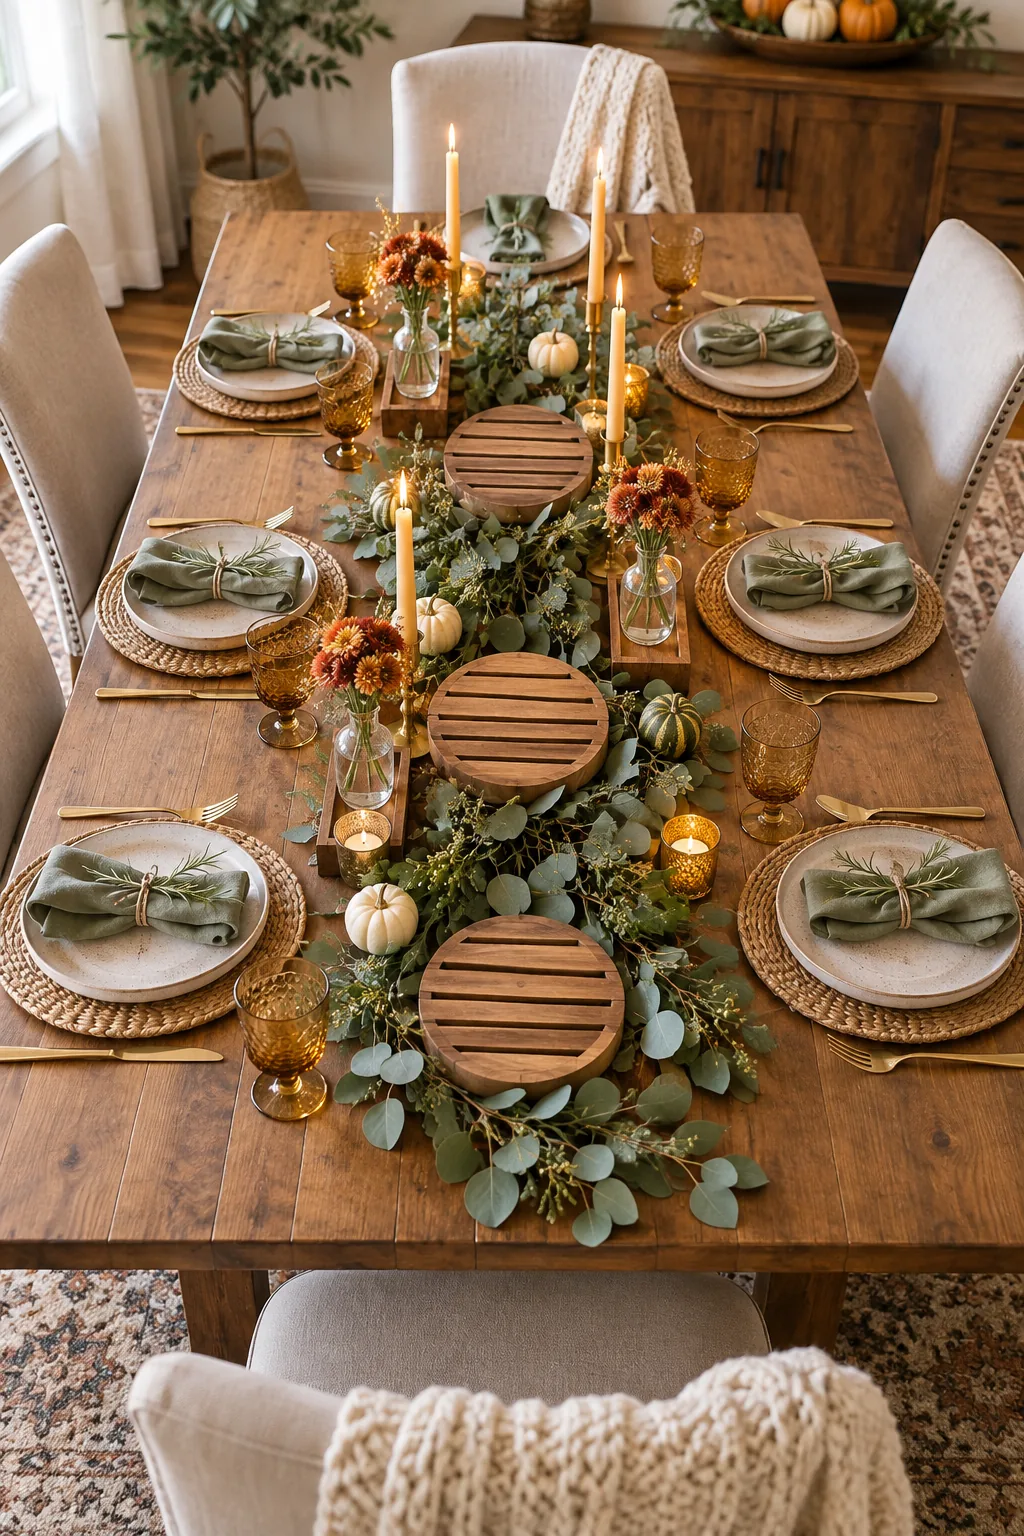
Before bringing out a single serving bowl or floral arrangement, verify these spacing minimums to ensure your guests have comfortable room to eat and pass dishes.
Evaluating Your Dining Chairs
Measure the width of your dining chairs before finalizing the 24-inch setting rule. If your armchairs exceed 22 inches in width, you must expand the spacing allowance to 28 inches per guest to prevent awkward elbow bumping during the meal.
Establishing the Serving Zones
I always measure my largest platters, particularly the turkey tray, before decorating the dining room. Assign these heavy items fixed coordinates on your map so they anchor the layout rather than disrupting your delicate decor later.
Sizing Your Primary Platters
Understanding exactly how much real estate your main dishes require prevents crowding and accidental spills. Use standard platter dimensions to block out your 14-inch center channel effectively before placing any fragile items.
| Platter Type | Average Length | Average Width | Zone Placement |
|---|---|---|---|
| Main Turkey Tray | 18 inches | 13 inches | Absolute Center |
| Root Vegetable Bowl | 12 inches | 10 inches | Left Flank |
| Stuffing Casserole | 13 inches | 9 inches | Right Flank |
| Gravy Boat Stand | 8 inches | 5 inches | Table Ends |
Reserving these exact footprints mathematically guarantees the turkey and bulky sides fit perfectly without overlapping your carefully arranged place settings.
Layering the Base Linens
Skip the bulky tablecloth and opt for a bare wood surface paired with discrete linen napkins to keep the profile low. Exposing the wood grain provides a warm, organic backdrop that makes your ceramic dishes and brass accents stand out beautifully.
Grounding with Woven Charger Plates
Define individual dining zones using 13-inch woven charger plates at every seat. The natural rattan grounds the ceramic dinner plate, adding essential texture while protecting your table surface from warm dishes.
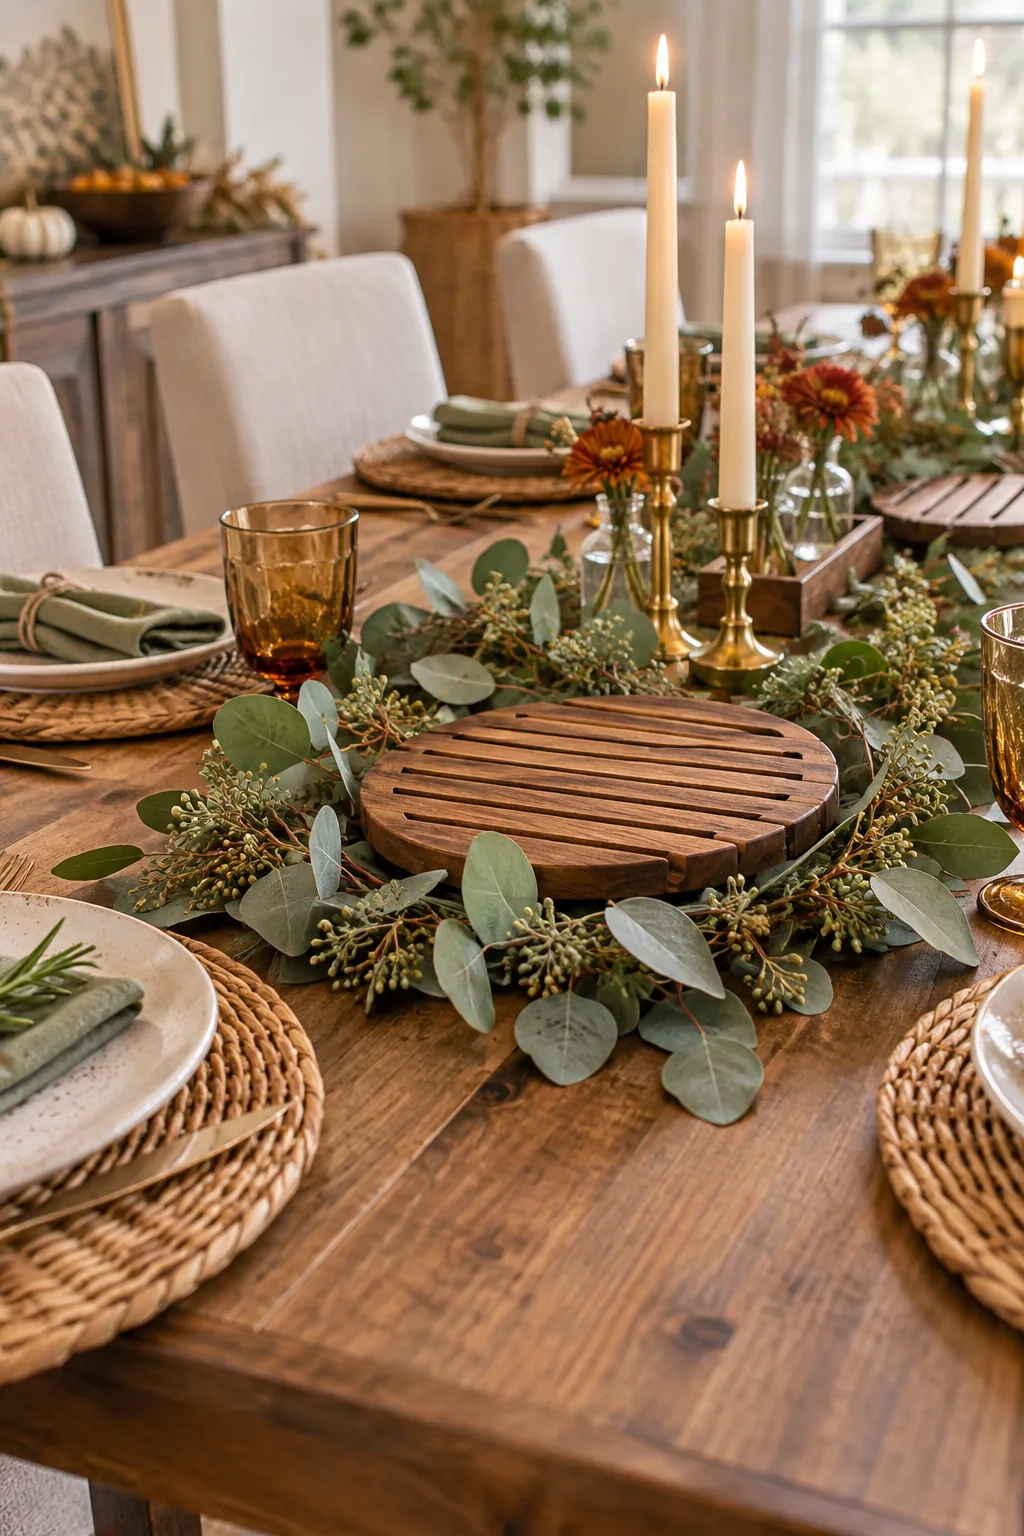
These woven charger plates create a distinct visual boundary that keeps each guest’s glassware, silverware, and napkin neatly contained within their allotted 24-inch width.
Protecting the Dining Surface
Beyond beautiful aesthetics, a thick rattan layer provides crucial insulation against heat transfer from hot plates. This natural barrier prevents stubborn condensation rings from forming on your polished wood table during a long, leisurely meal.
Selecting the Right Dinnerware Scale
Keep your main dinner plates to a standard 10.5-inch diameter so they sit perfectly flat inside the woven chargers. Once the plates are scaled correctly, you gain the practical benefit of reserving hot-dish zones with wooden trivets before adding any greenery.
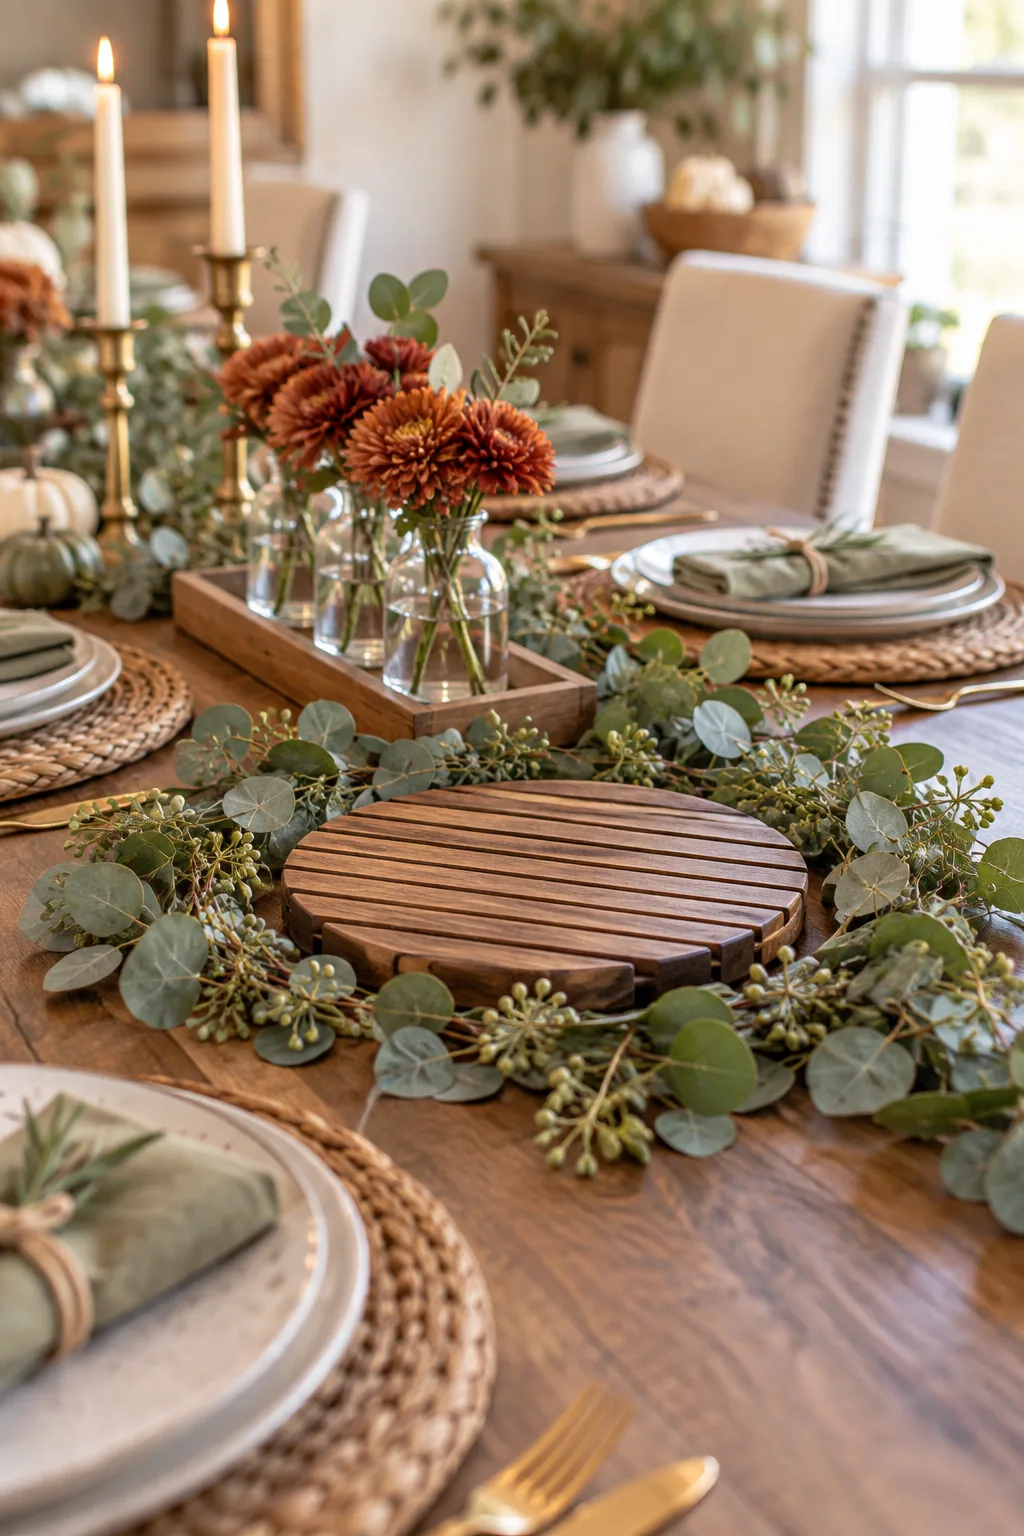
Establishing this firm boundary between personal dining space and shared serving areas keeps the center channel completely clear for your heaviest platters.
Coordinating Plate Colors
Opt for subtly speckled or matte ceramic plates rather than high-gloss white porcelain. A muted, earthy glaze harmonizes beautifully with the rattan chargers and prevents the place setting from feeling overly formal or stark.
Pre-Setting the Wood Trivets
Place 8-inch flat wooden trivets directly on the table before adding any greenery. In my own home, pre-set wood trivets reserve the exact footprint for hot dishes, preventing that chaotic last-minute scramble when the turkey is ready.
Prioritizing Trivet Placement
Position your largest trivet directly in the center for the main protein, then work outward symmetrically. Distribute the remaining trivets evenly so side dishes remain within easy reach of every guest without stretching.
- Place the central 12-inch turkey trivet first to anchor the table.
- Position 8-inch side dish trivets exactly 10 inches apart.
- Leave the narrow table ends open for gravy and butter dishes.
Following this strict sequence ensures visual balance and structural stability for your heaviest ceramic serving bowls.
Designing Lift-Away Vase Trays
Arrange small bud vases inside slim wooden trays measuring roughly 4 by 12 inches. These lift-away vase trays can be removed instantly when the gravy boat or extra side dishes need that real estate.
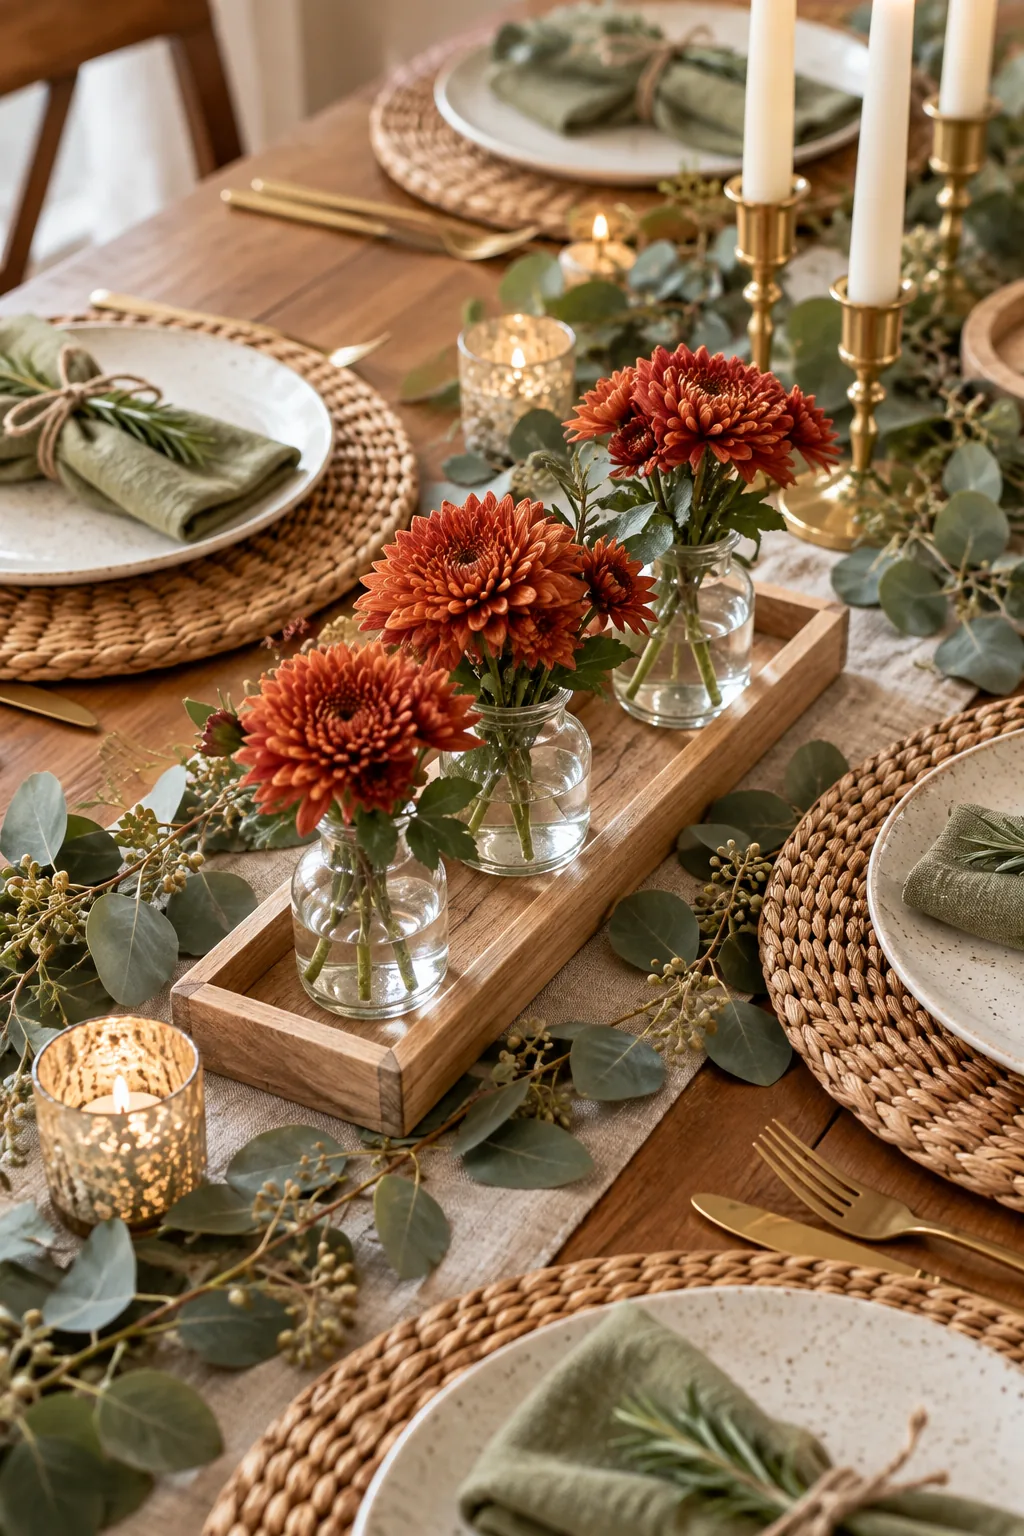
Because these floral elements are specifically designed to move, a quick adjustment to your prep prevents accidental water damage to your linens.
Selecting Sturdy Tray Materials
Choose solid acacia or oak trays with a raised half-inch lip to securely contain the glass bud vases. A rigid wooden base prevents flexing when you need to lift the entire arrangement with one hand during service.
Testing the Centerpiece Mobility
Practice lifting each wooden tray fully loaded with water and flowers before your guests arrive. Confirming that the trays remain perfectly balanced ensures a smooth, stress-free transition when it is time to make room for the food.
Sourcing Fresh Seeded Eucalyptus
Purchase three standard bunches of seeded eucalyptus from your local florist two days before the feast. Hydrating the branches in a cool, dark room keeps the leaves supple and prevents them from curling under the warm dining room lights.
Managing the Table Greenery
Weave seeded eucalyptus branches loosely around the pre-set trivets rather than using a dense, continuous runner. Positioning varied-height brass candlesticks at the table ends provides unobstructed views while integrating perfectly with these sparse botanical touches.
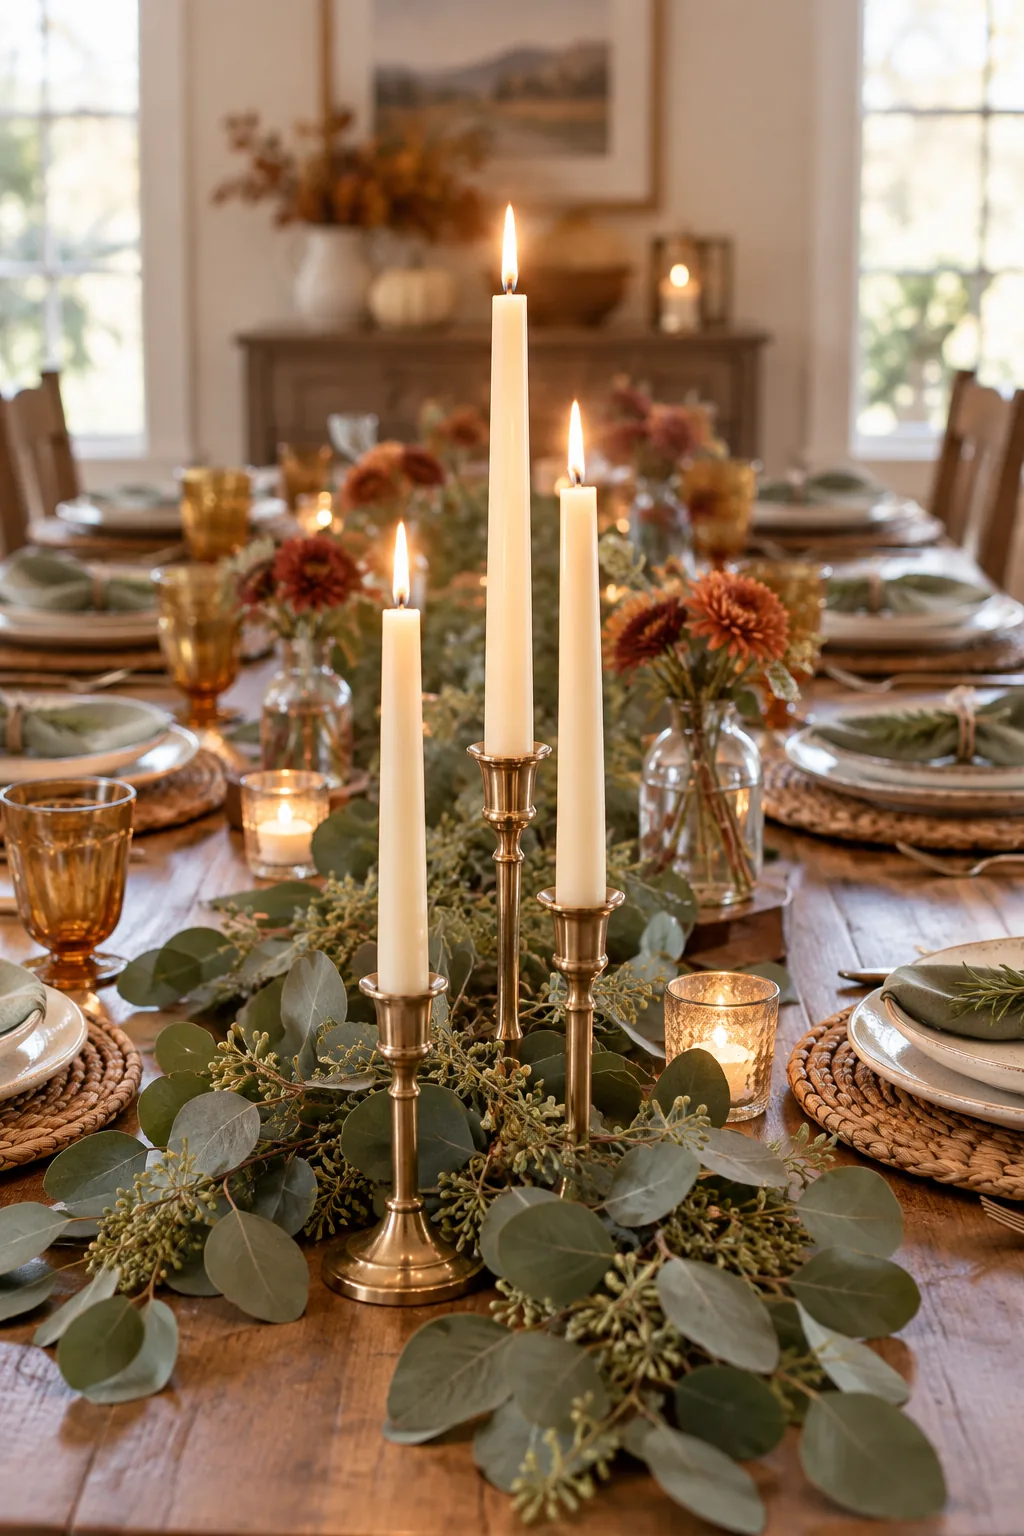
Keeping the greenery low around these candlestick clusters ensures your lighting has a stable, safe foundation away from passing arms and heavy platters.
Trimming the Eucalyptus Branches
Cut your greenery into manageable 6-inch segments rather than wrestling with long, unruly stems. Shorter pieces allow you to tuck leaves precisely around the trivets without overlapping the hot zones.
Clustering the Taper Candles
Group brass candlesticks of varying heights at the ends of the table. These taper candle clusters provide warm, ambient lighting without blocking cross-table conversation or getting in the way of passing food.
Choosing Dripless Wax Columns
Invest in high-quality, dripless taper candles to protect your linens and rattan chargers from stubborn wax stains. A standard 7/8-inch base ensures the candles sit perfectly straight in traditional brass holders.
Balancing Ambient Lighting
Dim your overhead dining room chandelier to fifty percent capacity once the tapers are lit. This exact ratio allows guests to see their food clearly while maintaining the cozy, intimate glow of the brass candlesticks.
Preparing the Twine and Herbs
Cut 12-inch lengths of natural jute twine for every place setting before you begin folding. Pre-cutting the twine and snipping the rosemary sprigs in advance streamlines the final assembly of your place settings.
Tying the Linen Napkin Bundles
Finish each setting with a sage green linen napkin tied neatly with twine. These linen napkin bundles add a tactile, welcoming detail directly to the plate before guests sit down.
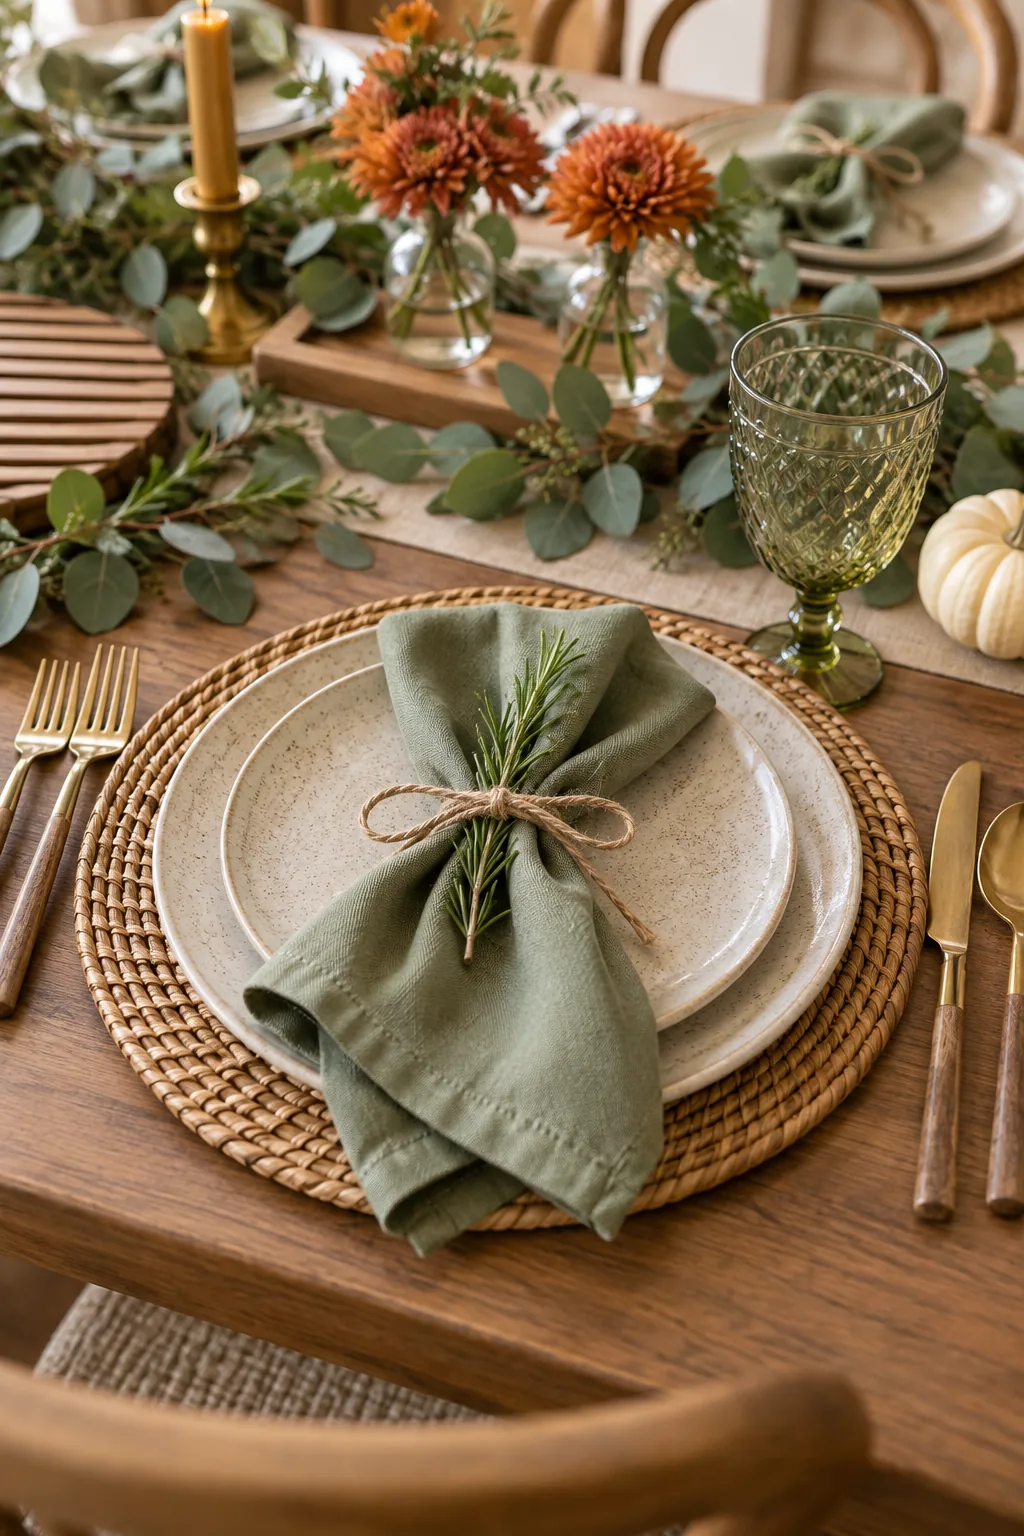
Tucking a 3-inch sprig of fresh rosemary into the twine introduces a subtle, earthy fragrance that perfectly complements the holiday meal.
More Thanksgiving Table Styles
Adapt this spacing method to fit your personal holiday aesthetic with these distinct looks.
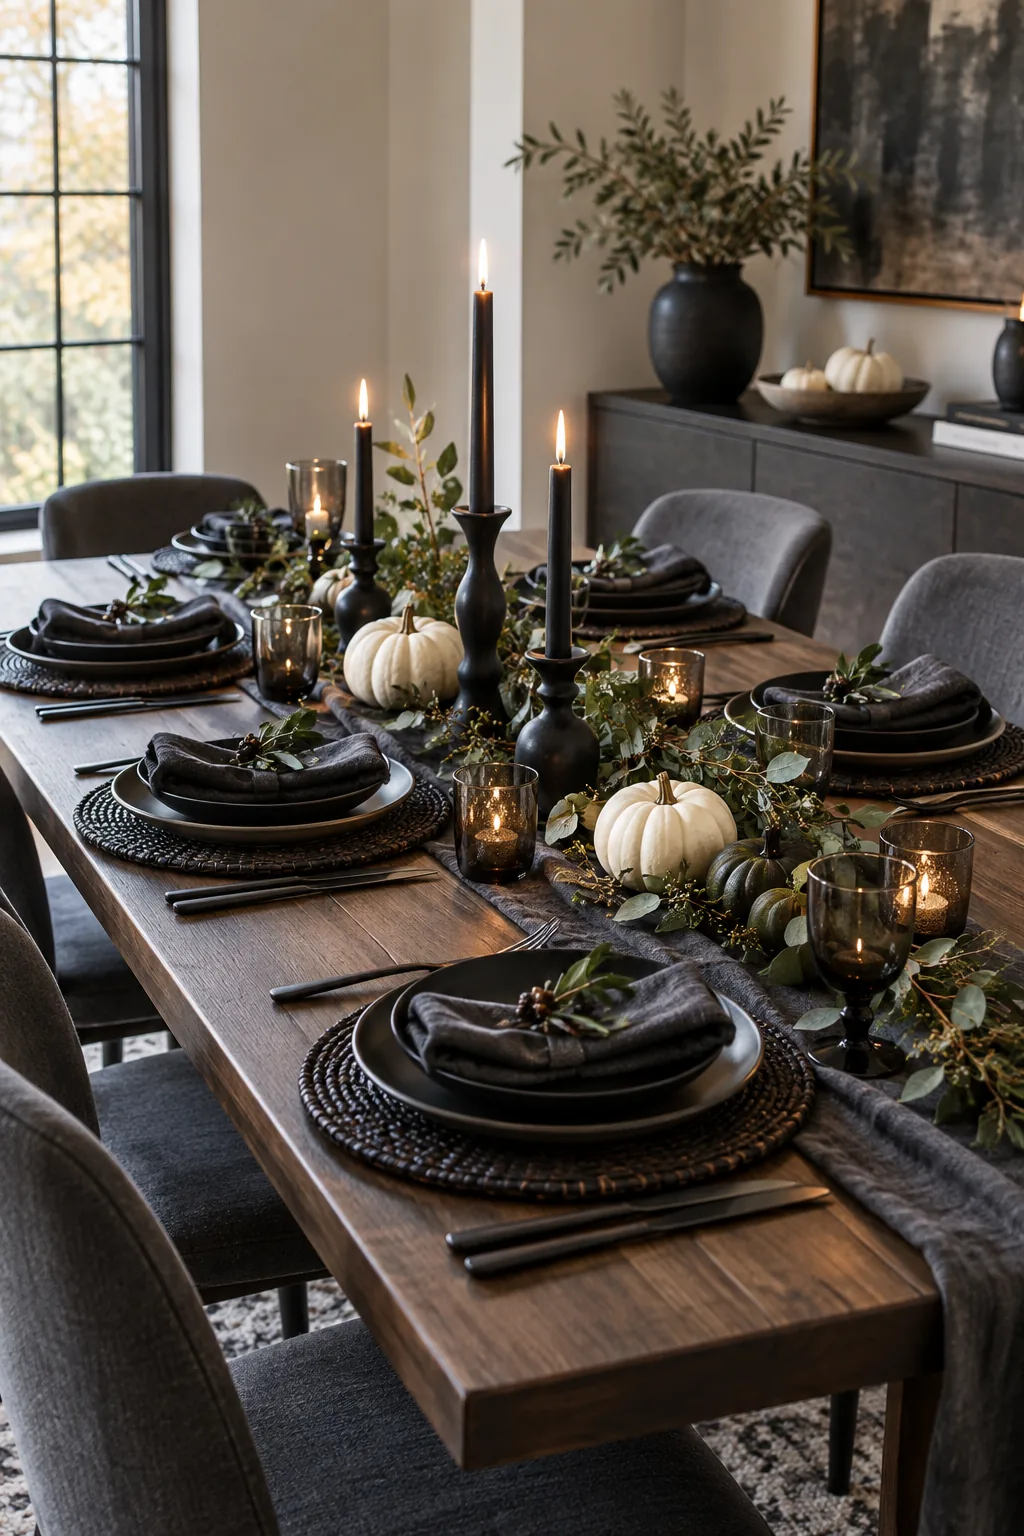
Modern Minimalist Mood: Matte black ceramics and crisp white pumpkins create a striking, contemporary contrast.
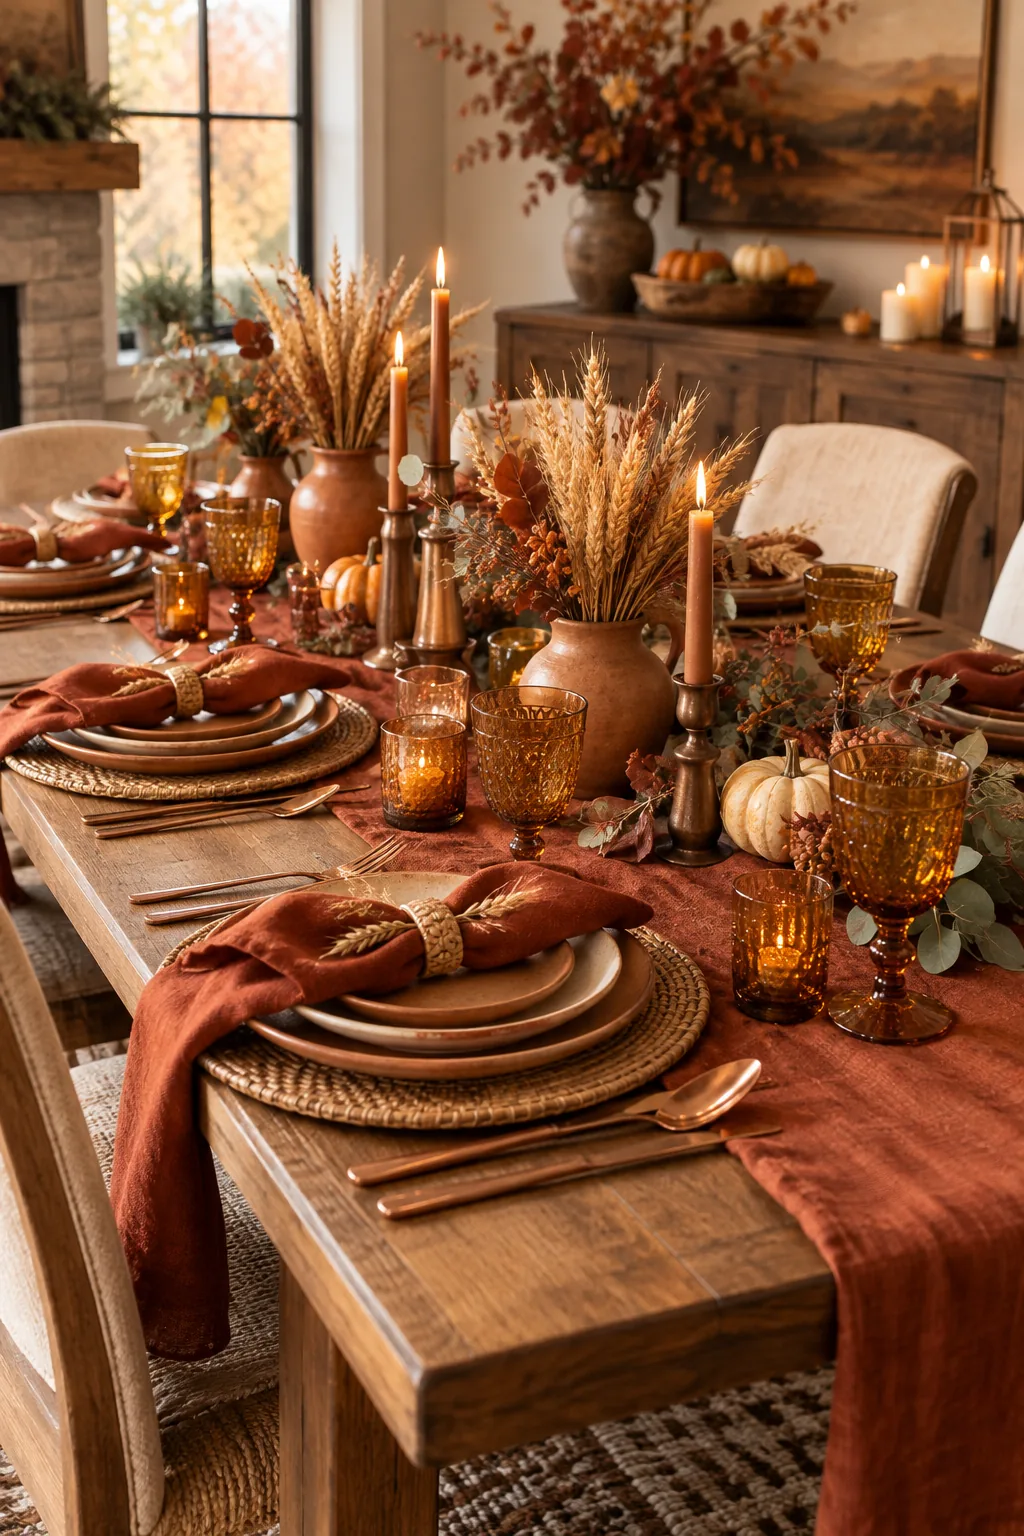
Warm Amber Glow: Amber glassware and dried wheat bundles amplify the rich, cozy tones of autumn.
Rustic Farmhouse Feast: An exposed reclaimed wood table paired with scattered pinecones embraces natural imperfections.