
Small Master Bathroom Design Tricks & Clearance Cheat Sheet
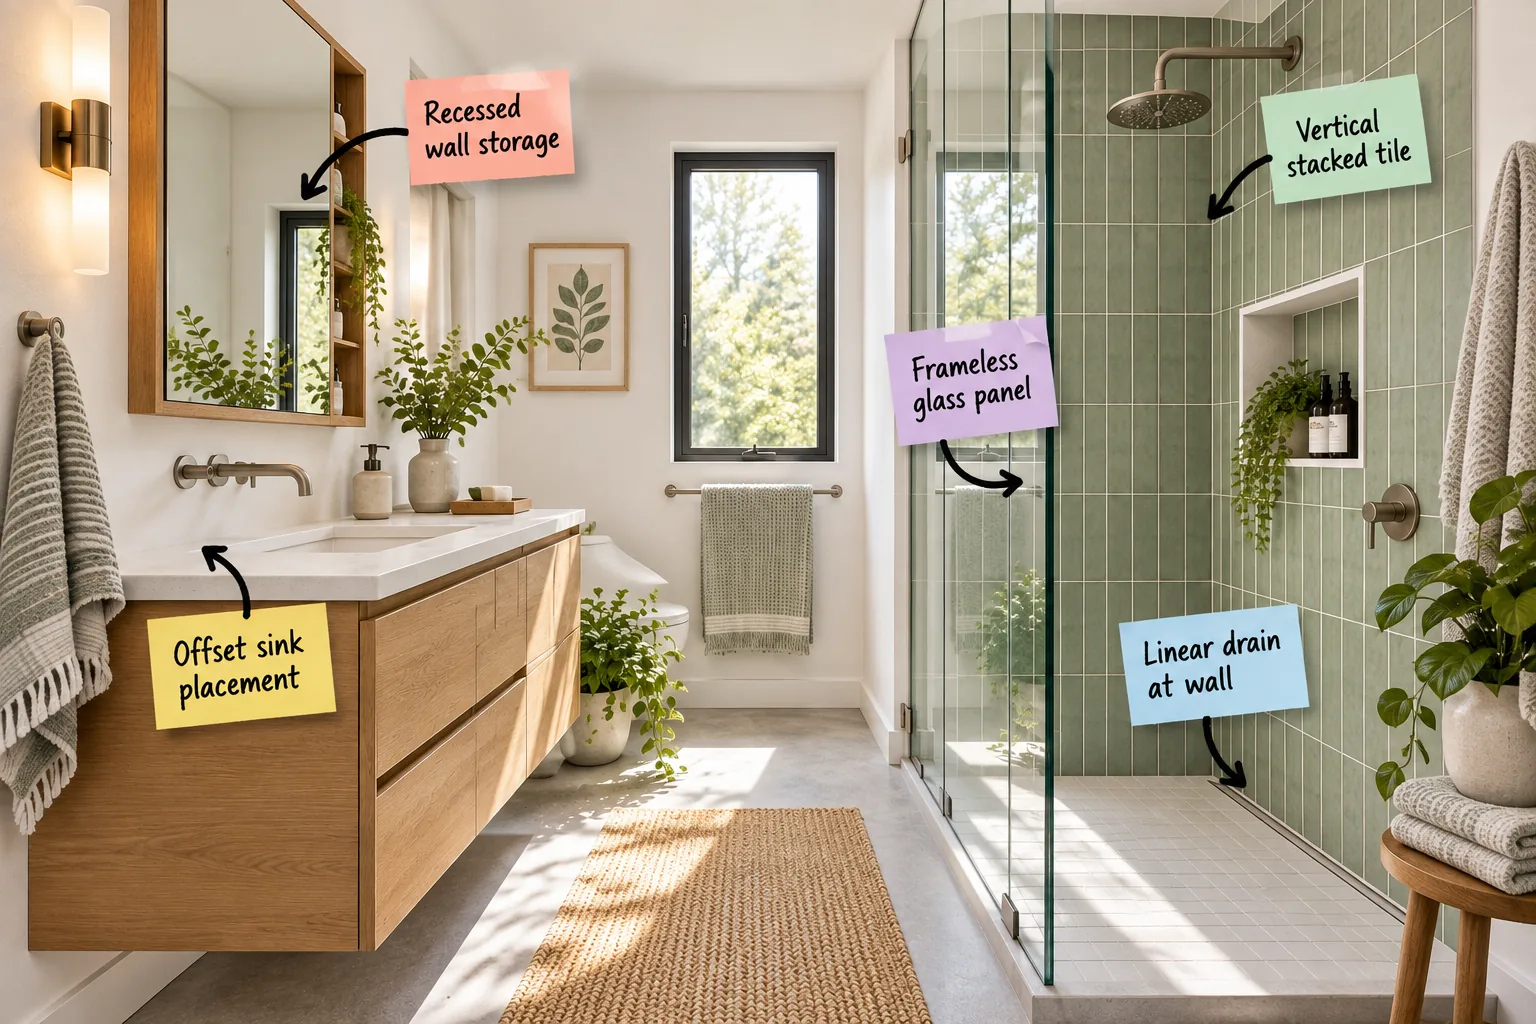
Maximize your narrow layout with these spatial design tricks, and use our complete small bath clearance cheat sheet to confidently arrange your upcoming remodel. You will finally understand how to position every fixture perfectly while making your tight footprint feel incredibly spacious.
The Floating Vanity Advantage
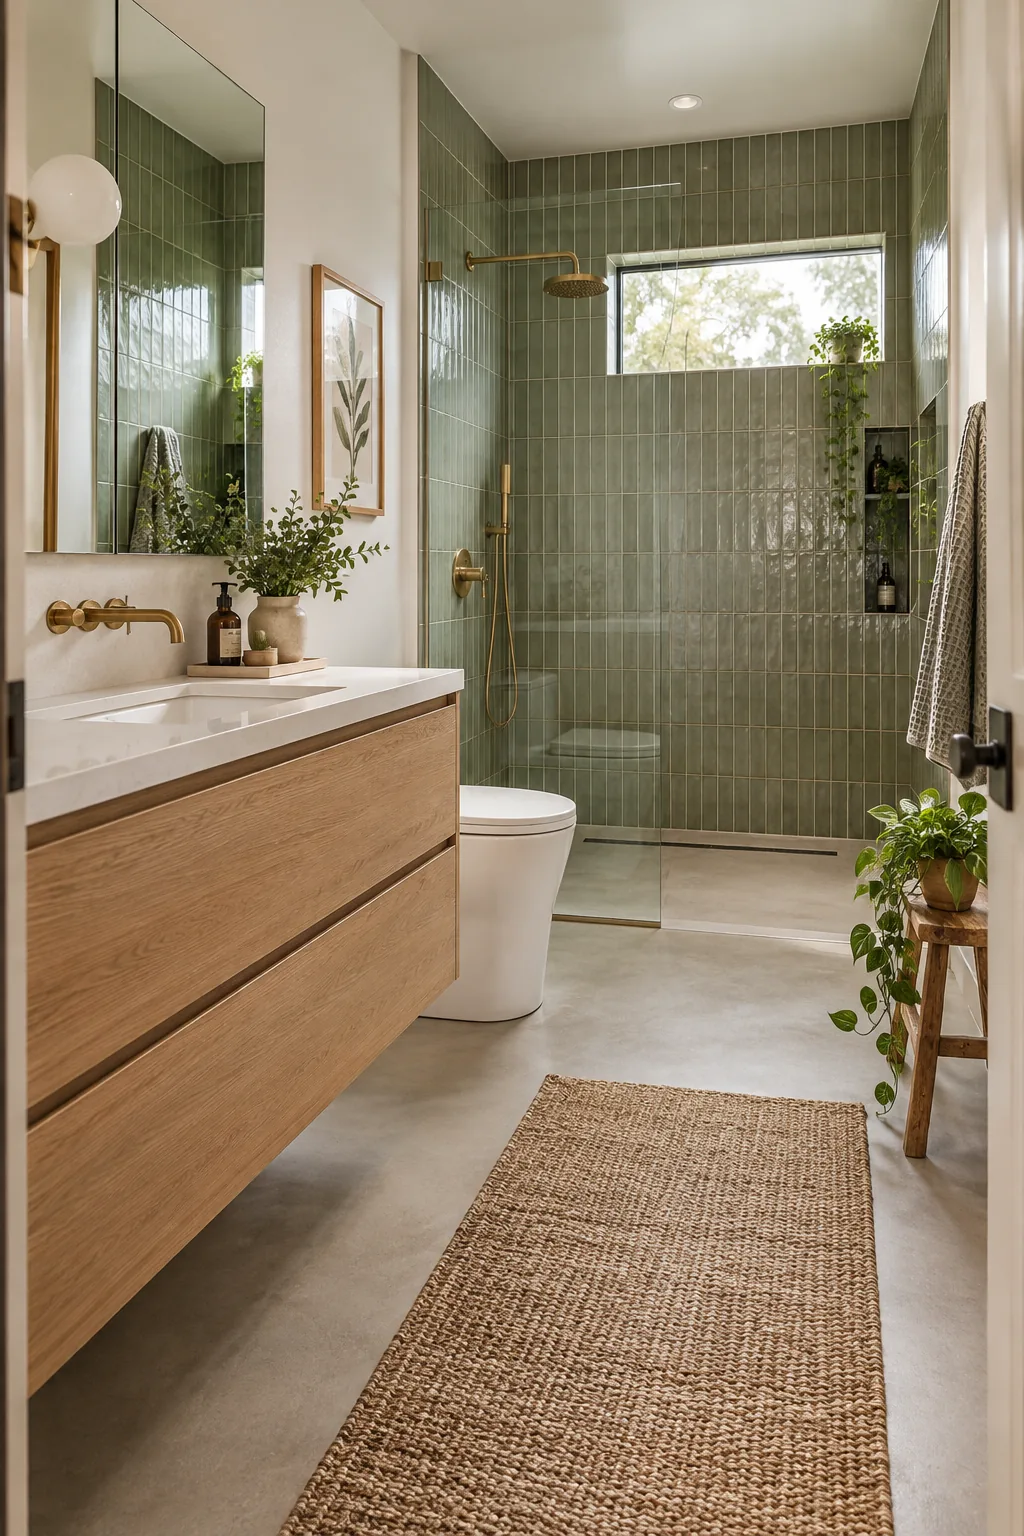
Exposing the floor under your cabinetry tricks the eye into perceiving significantly more square footage. I swapped a bulky traditional cabinet for a floating vanity in my own Denver bungalow, and the tight room instantly felt twice as wide.
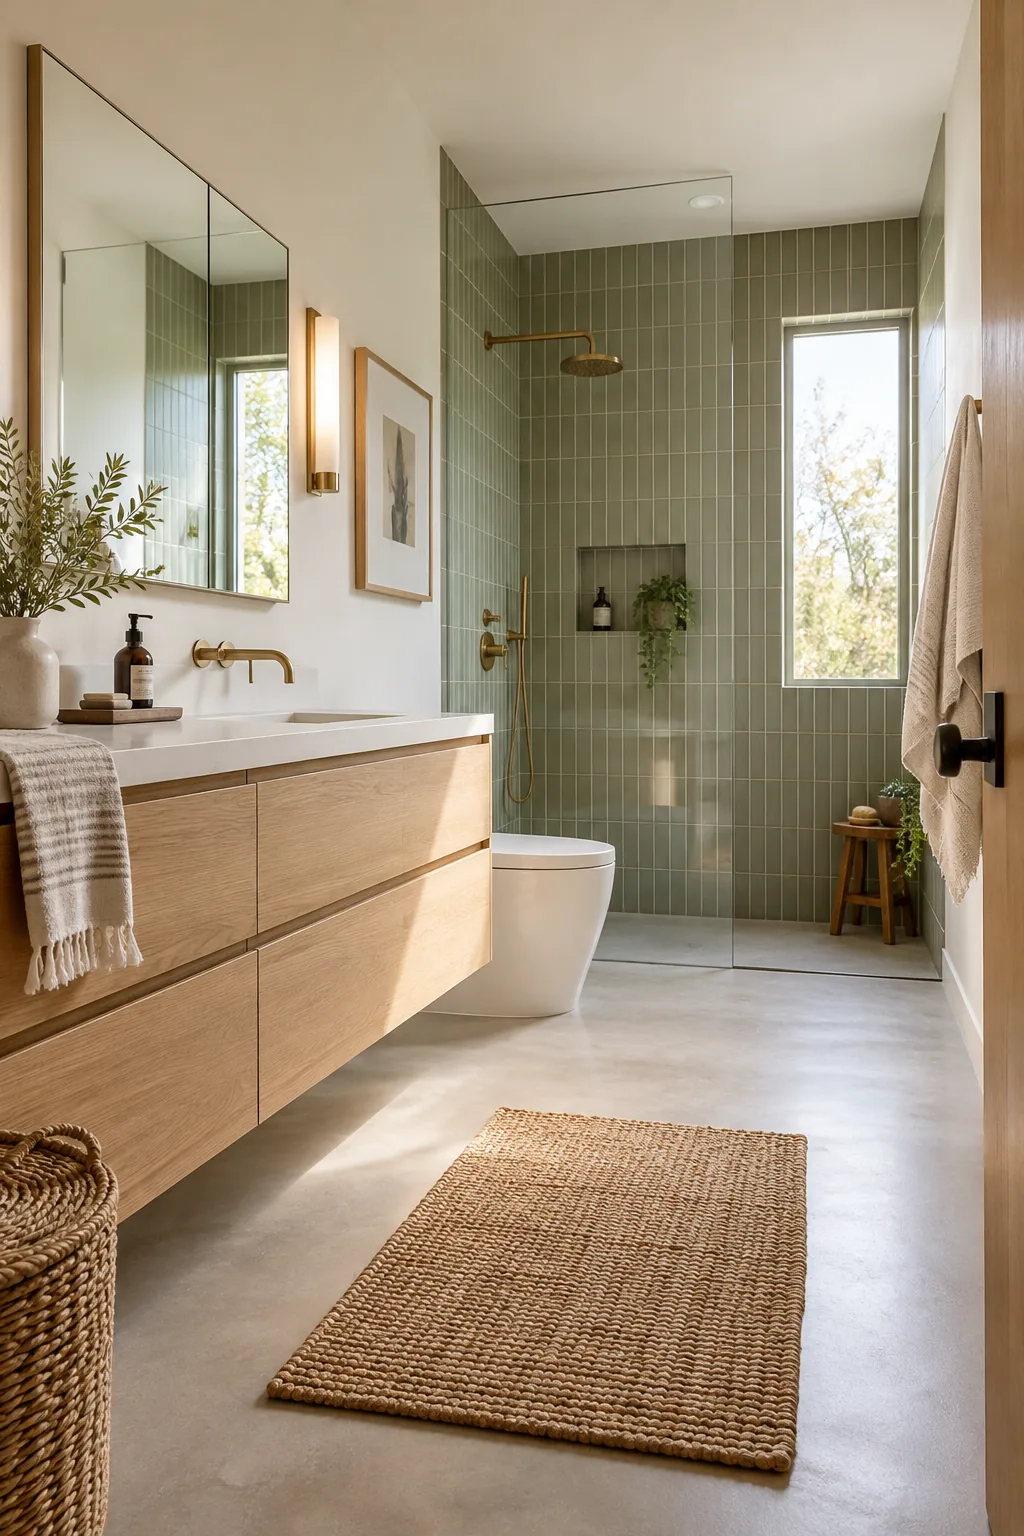
Mounting your vanity base at a standard 34 to 36 inches off the floor leaves ample room underneath for natural light to pass through. This unbroken sightline across the baseboards instantly expands the visual boundaries of your entire bathroom.
Plumbing Considerations for Floating Vanities
Achieving this levitating effect requires planning your pipe routing carefully during the rough-in phase. You must relocate the P-trap and supply lines higher inside the wall cavity so they remain completely hidden behind the sleek wooden drawers.
Selecting the Right Wood Tones
Warming up cool modern tiles with a light oak vanity base introduces essential natural texture without darkening your overall room palette. This crucial balance of organic warmth and crisp masonry prevents a compact layout from feeling sterile or clinical.
Offset Sink Placement
Positioning your sink to one side creates a contiguous block of highly usable counter space for getting ready. In my guest bath, shifting the basin left gave me an actual makeup station instead of two useless slivers of stone.
- Shift the basin to the far left or right during the initial planning phase.
- Reserve the resulting wider side strictly for daily prep and hot styling tools.
- Install a single-hole faucet to maximize the remaining flat surface area.
This brilliant offset sink placement easily accommodates your morning routine and organizers without ever making the vanity feel cramped or cluttered.
Styling the Asymmetrical Vanity
Shifting the basin fundamentally changes how you must approach the lighting and wall decor directly above it.
Establishing this deliberate visual symmetry over the plumbing zone prevents the room from feeling lopsided or poorly planned.
Hardware Finishes for Small Baths
Keeping your plumbing fixtures, cabinet pulls, and sconce details in a single cohesive finish prevents a chaotic appearance. A unified metallic tone acts as a quiet anchor, allowing the broader architectural moves to shine in a highly condensed zone.
The Power of Reflective Surfaces
Integrating polished chrome hardware alongside your large mirrors bounces ambient light aggressively around the room. These highly reflective surfaces dissolve hard architectural boundaries, making the walls feel distant and wonderfully soft.
Recessed Wall Storage
Sinking your medicine cabinet flush into the wall framing physically reclaims precious airspace directly at eye level. This clever recessed wall storage keeps your sightlines beautifully clean and unobstructed as you first enter the room.
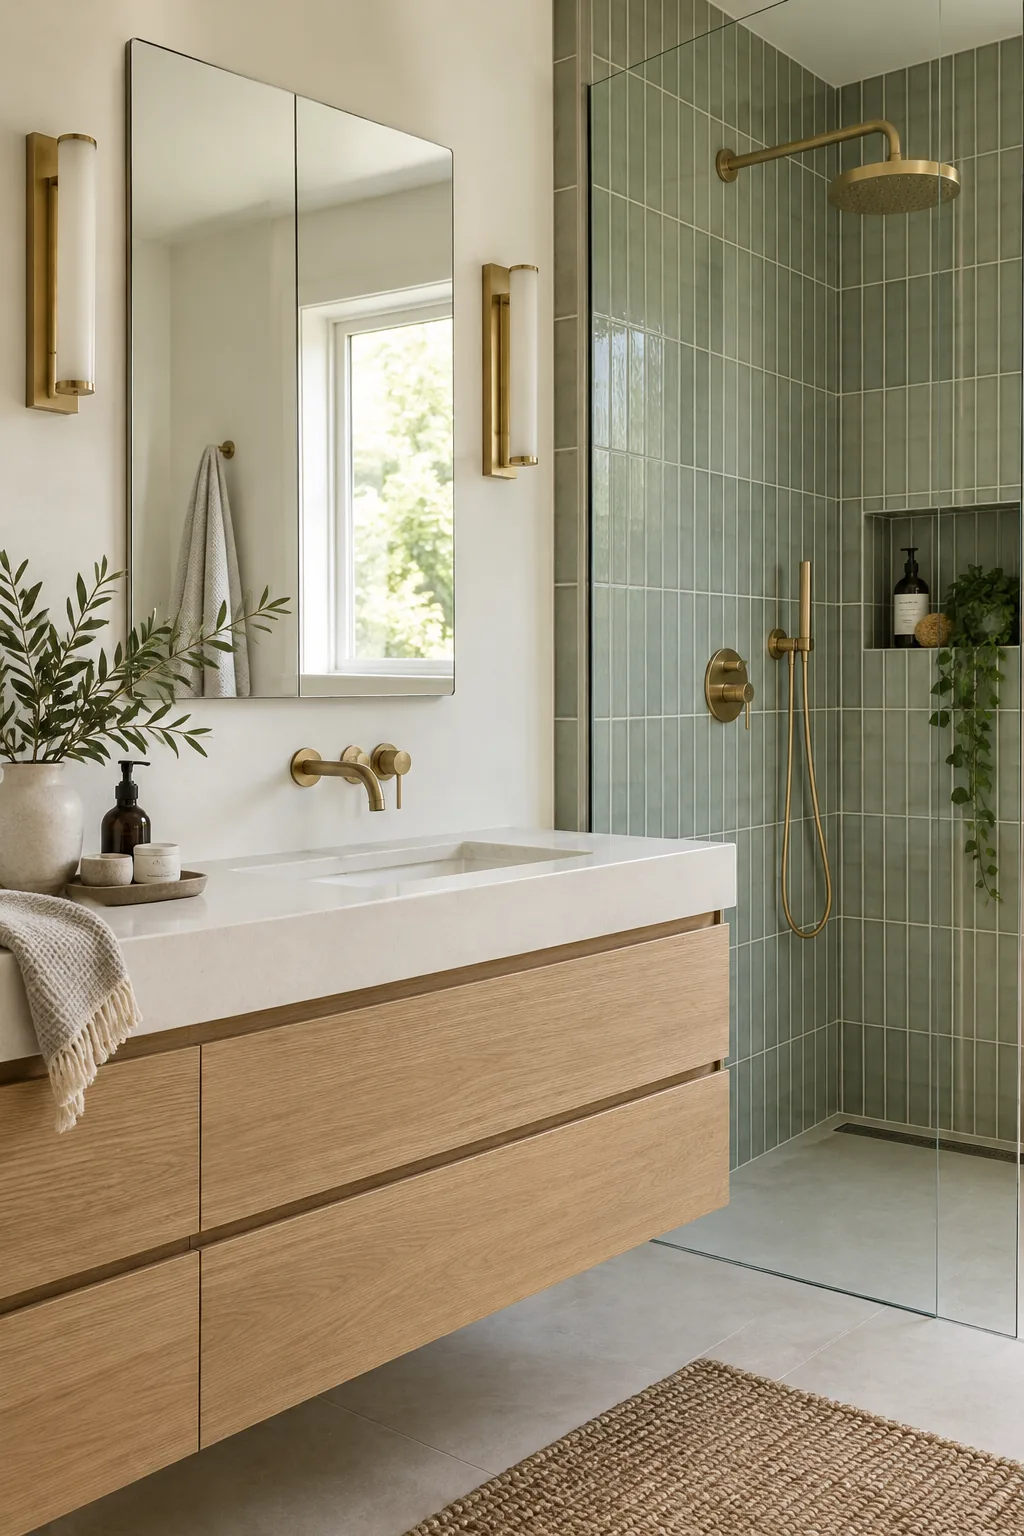
Pushing the mirror back into the drywall prevents the vanity area from feeling top-heavy while you lean over the basin. You gain all the organizational benefits of a deep cabinet without sacrificing an inch of your breathing room.
Maximizing Stud Bay Depth
Standard interior wall framing provides a perfect structural pocket for housing these modern flush-mount cabinets. Utilizing that hidden 4 to 6 inches of depth between the studs is a non-negotiable strategy for optimizing any narrow floorplan.
Mirror Sizing Guidelines
Running a large mirror continuously upward toward the ceiling doubles the perceived depth of your small bathroom. This expansive reflective surface captures and amplifies every available light source, making the walls recede dramatically.
Frameless Glass Panel
Eliminating heavy metal frames and sliding tracks completely removes the most jarring visual barriers in your layout. A clear frameless glass panel allows natural light to reach the back shower wall entirely uninterrupted.
Managing Splash Zones
Installing a single fixed panel, typically sized between 24 to 30 inches wide, stops errant splashes highly effectively. This minimalist approach provides full functional water containment without enclosing the shower into a dark, claustrophobic box.
Towel Bar Placement
Mounting towel bars directly onto the frameless glass panel itself saves precious wall space. This strategic hardware placement keeps warm towels within arm’s reach without cluttering your narrow walkways.
Shower Curb Elimination
Dropping the shower floor perfectly flush with the main room removes a major tripping hazard and visual hurdle. This seamless transition makes the entire bathroom read as one expansive, continuous footprint rather than two chopped segments.
Vertical Stacked Tile
Running your subway or kitkat tiles in a straight vertical stack immediately draws the eye upward. This geometric vertical stacked tile arrangement emphasizes your ceiling height, making a low room feel incredibly lofty and grand.
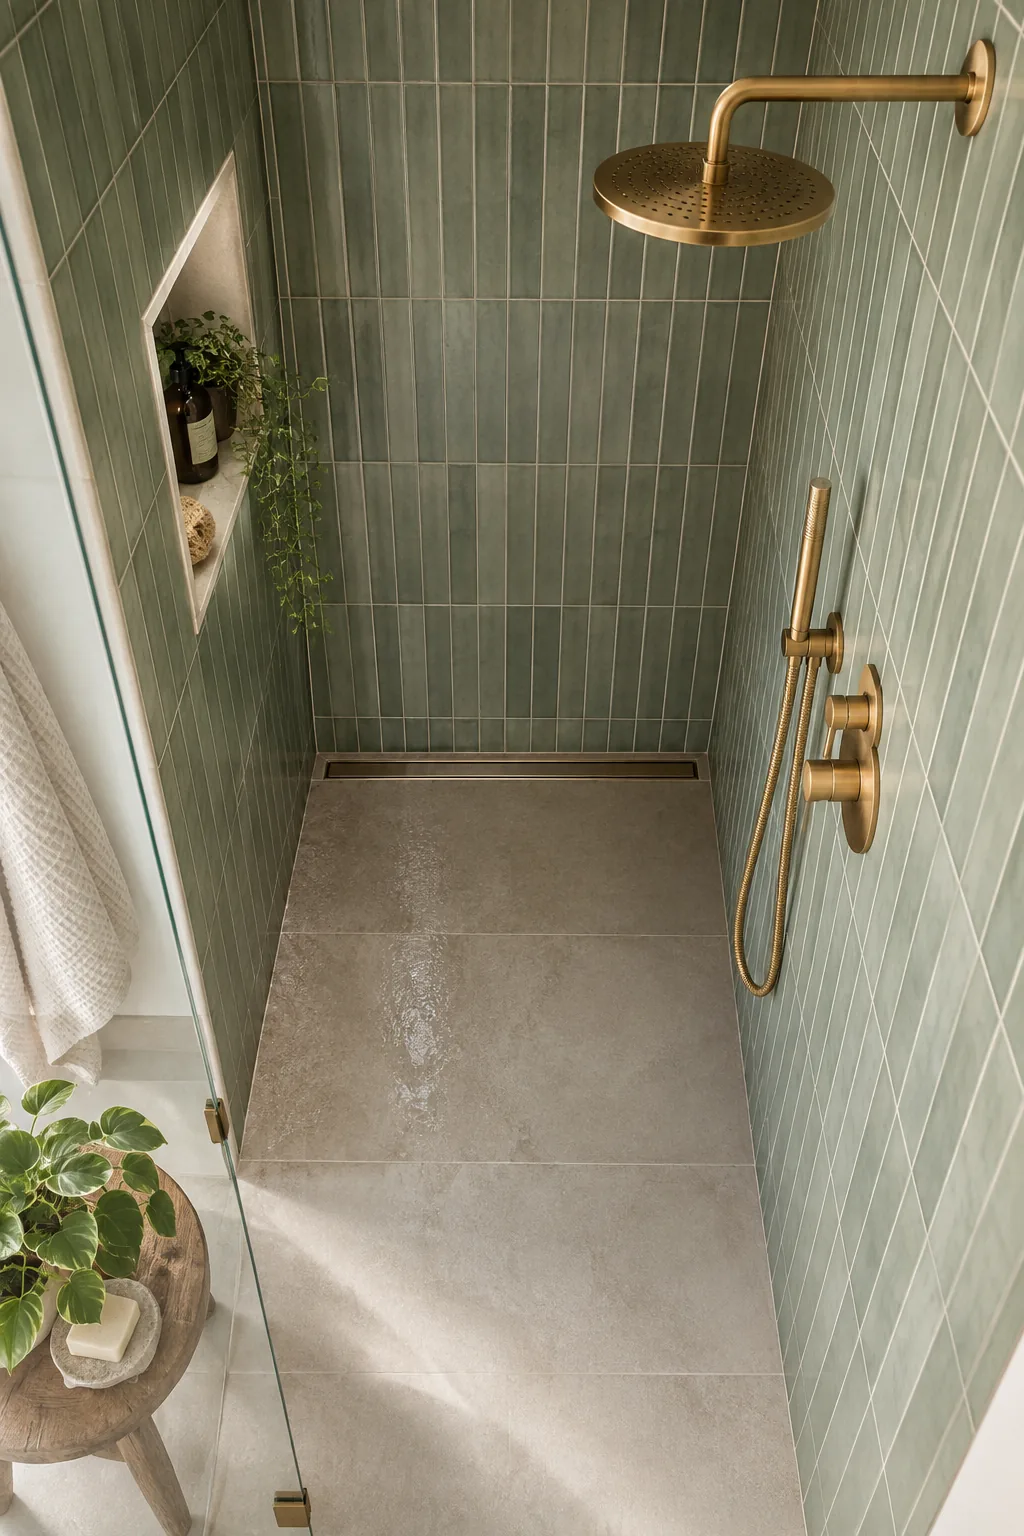
Maintaining unbroken vertical seams creates a striking optical illusion of height that traditional staggered brick patterns simply cannot match. This precise grid layout brings a calm, structured rhythm to your daily bathing rituals.
Grout Selection for Vertical Layouts
Using a closely matched grout color is essential for keeping this modern grid looking seamless and sophisticated. High-contrast grout lines would visually chop the wall into tiny fragments, completely defeating the elongating spatial trick.
The Impact of Monochromatic Palettes
Wrapping the wet zone in a soothing sage green creates a tranquil, spa-like atmosphere that feels deeply restorative. A unified color story prevents visual fragmentation, which is the fastest way to make a tight space feel chaotic.
Linear Drain at Wall
Placing a sleek linear drain at the wall allows your shower floor to slope gently in only one direction. This strategic plumbing location completely eliminates the need for a traditional center drain and its required bowl-like pitch.
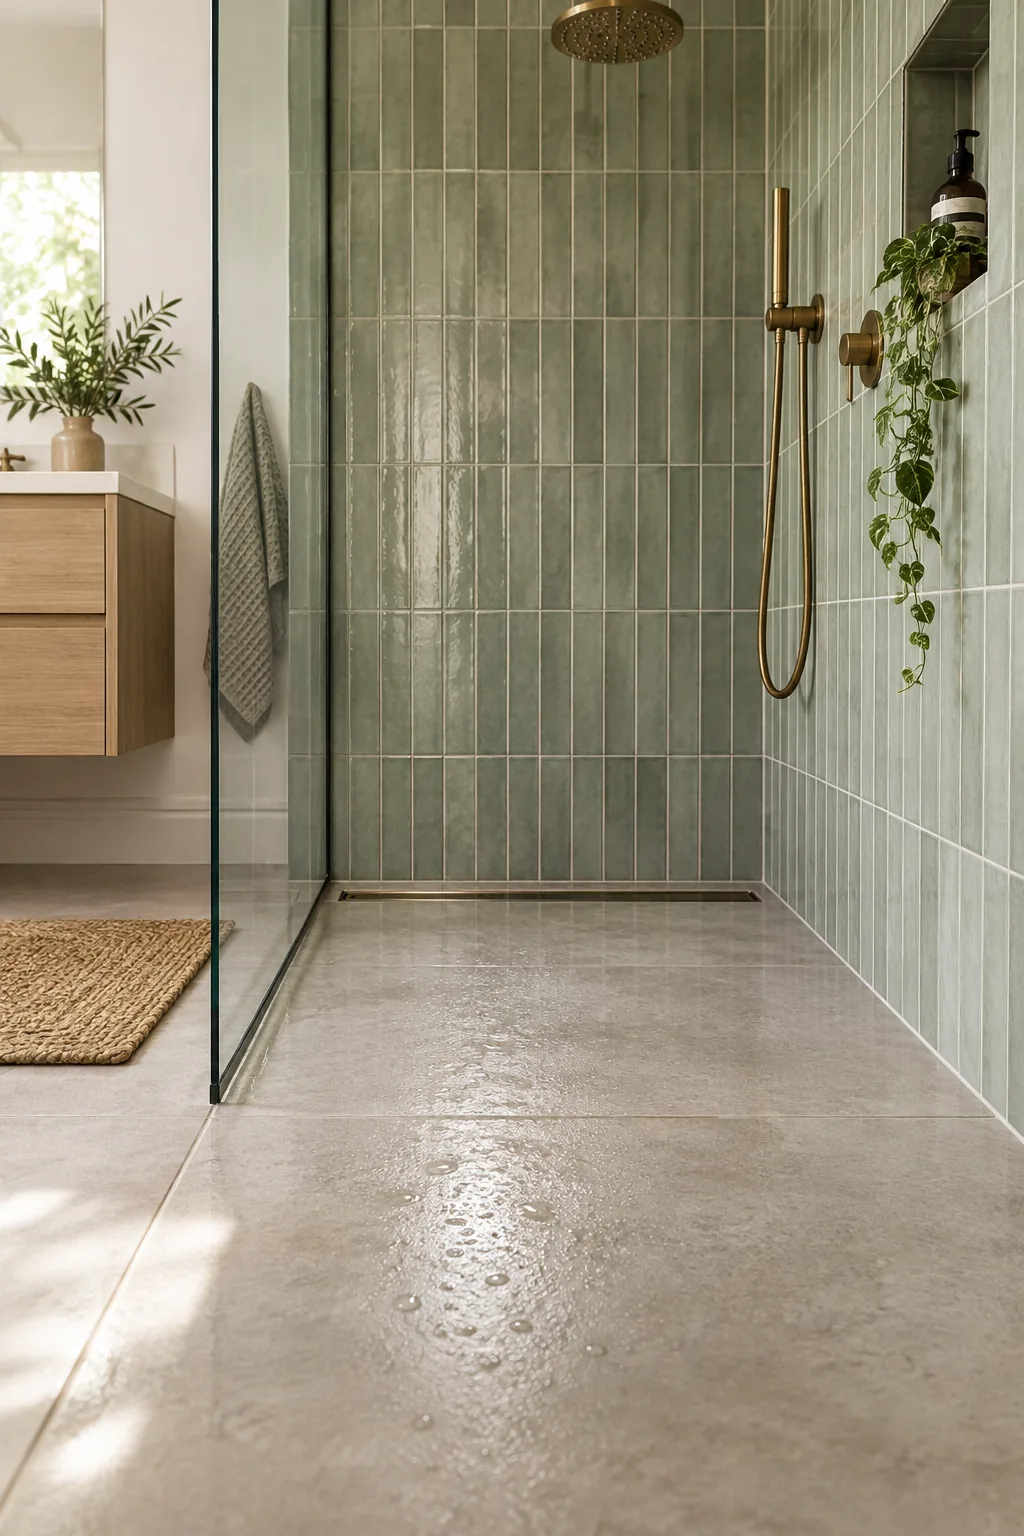
Removing that center pitch permits your beautiful large-format tiles to flow seamlessly from the main bathroom directly into the shower. You never have to chop your elegant stone into busy, distracting small mosaics.
Continuous Flooring Illusions
Running the exact same flooring material unbroken from the doorway all the way to the back shower wall maximizes spatial flow. Your brain reads the continuous ground plane as one massive room, ignoring the glass partition entirely.
Venting a Compact Layout
Upgrading to a high-CFM exhaust fan is critical when enclosing a small footprint with a frameless glass panel. Rapidly clearing steam prevents mold growth and keeps your beautiful mirrors perfectly fog-free.
Lighting for Narrow Layouts
Layering multiple specialized light sources prevents gloomy shadows from pooling in the dark corners of a small footprint. A well-lit perimeter pushes the walls outward visually, making the room feel brilliantly airy and inviting.
Positioning Sconces Correctly
Place your flanking vanity sconces exactly at face height, typically around 60 to 65 inches from the finished floor. This precise elevation bounces flattering illumination beautifully off the glass and mirrors, eliminating harsh overhead shadows.
Incorporating Natural Light
Expanding a tiny exterior window or adding a tubular skylight floods the tight room with genuine sunshine. Natural daylight washes over the sage green tiles, highlighting their beautiful organic texture.
Utilizing Vertical Airspace
Installing floating shelves high above the toilet captures normally wasted vertical volume. This elevated storage zone perfectly houses spare linens and bulk supplies completely out of your daily sightlines.
Pocket Door Installation
Retrofitting a standard doorway to accept a hidden pocket door frame requires opening the adjacent drywall. This brief construction mess pays off instantly by eliminating the incredibly restrictive inward door swing.
Door Swing Clearances
Inward-swinging doors frequently clip the vanity corner or trap you against the toilet in a compact layout. Upgrading to a smooth pocket door instantly reclaims up to ten square feet of highly usable interior maneuvering space.
Standard Fixture Distances
Refer to these baseline clearance measurements when evaluating your available square footage and plotting your final layout.
| Fixture | Code Minimum | Recommended |
|---|---|---|
| Toilet front clearance | 21 inches | 30 inches |
| Vanity front clearance | 21 inches | 30 inches |
| Toilet side clearance (center) | 15 inches | 18 inches |
| Shower interior footprint | 30 x 30 in. | 36 x 36 in. |
Maintaining a strict minimum of 21 inches of clear space in front of the toilet and vanity is mandatory, though 30 inches is highly recommended. Never compromise on the code minimum shower size of 30 by 30 inches to ensure comfortable daily use.
More Small Bathroom Styles to Inspire You
Explore how these exact spatial tricks adapt beautifully to different design aesthetics.
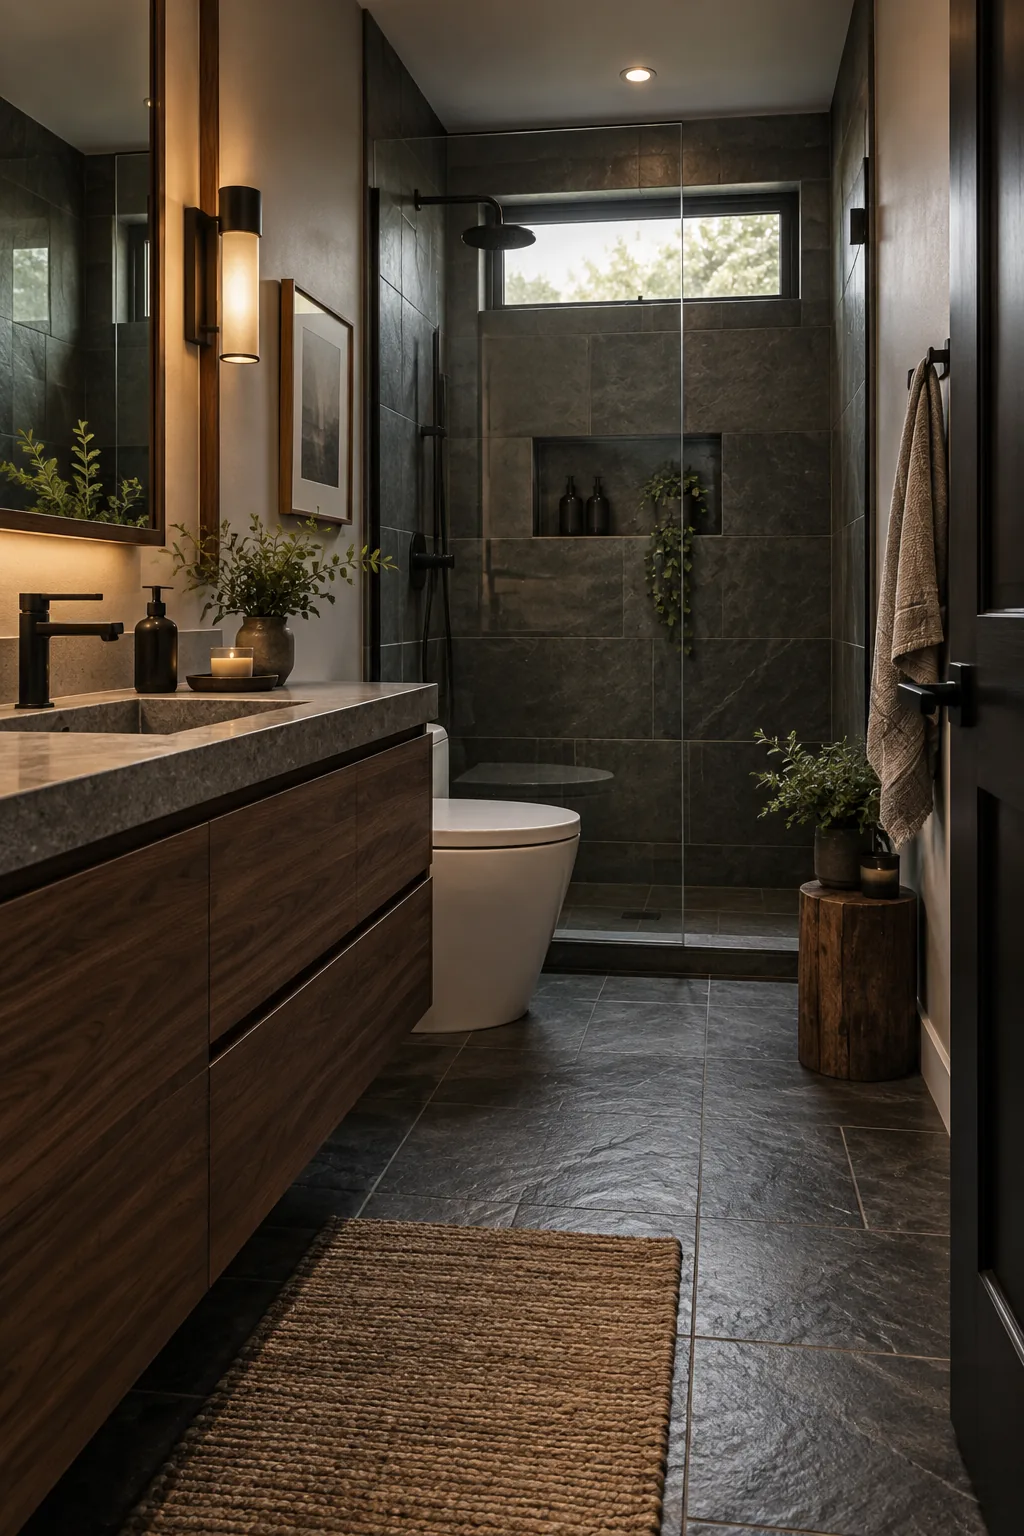
Moody Slate and Walnut: Darker tones can blur the edges of a small room, while a rich walnut vanity adds necessary warmth.
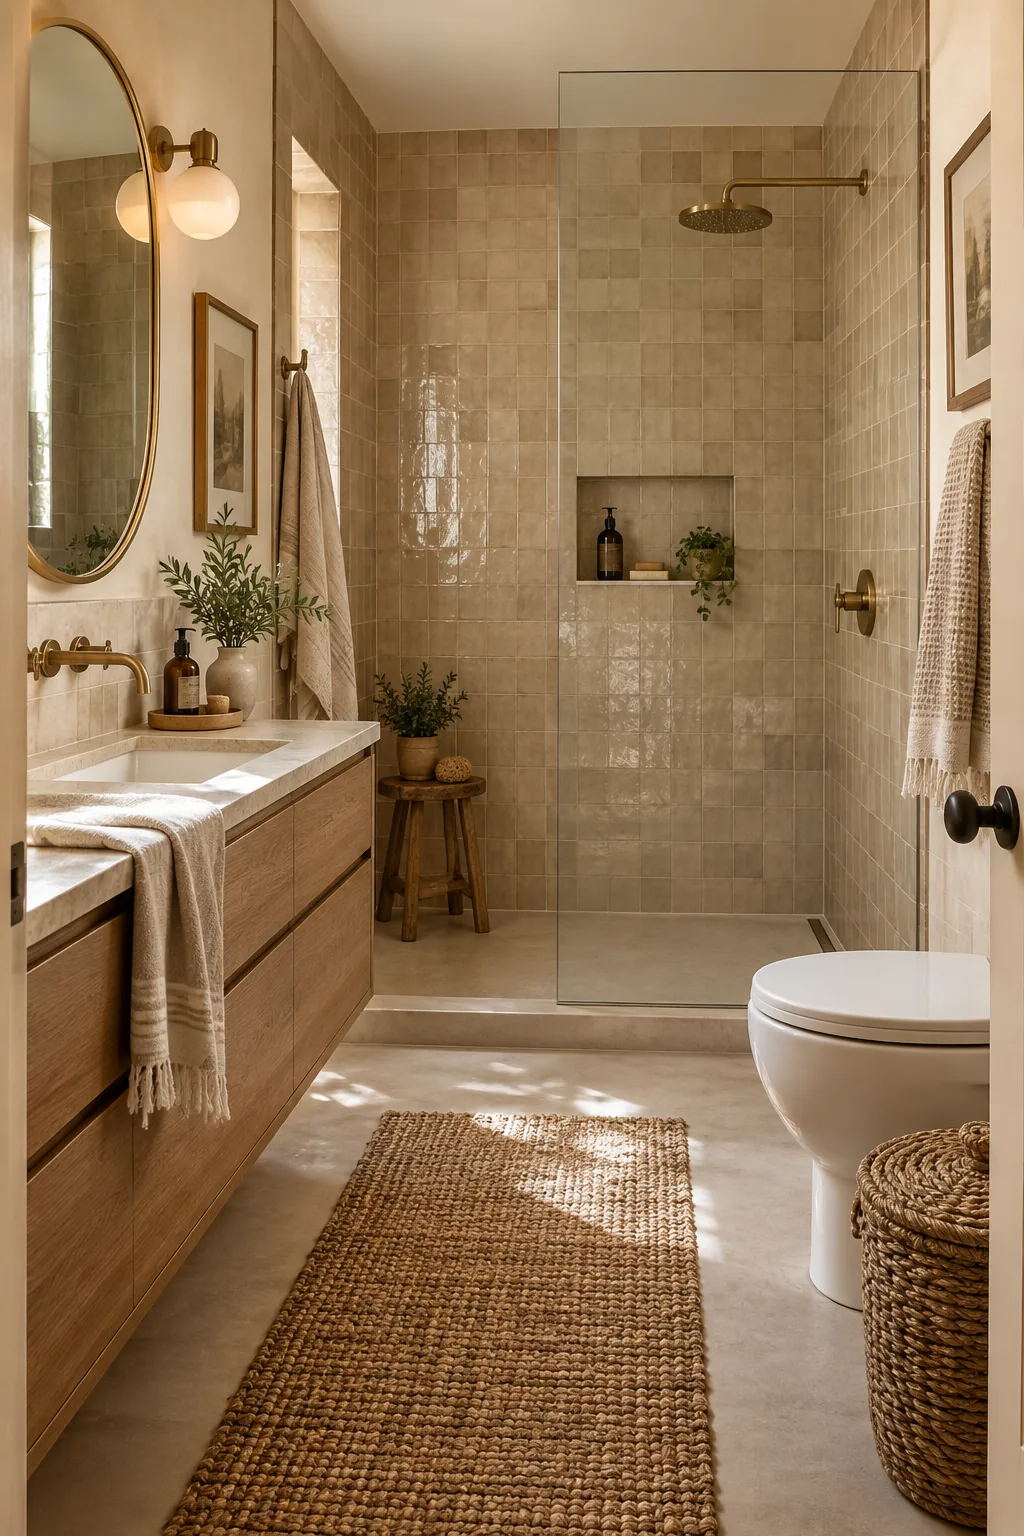
Warm Sand and Brass: Highly textured zellige tiles bounce light around the narrow space, making the warm brass fixtures glow.
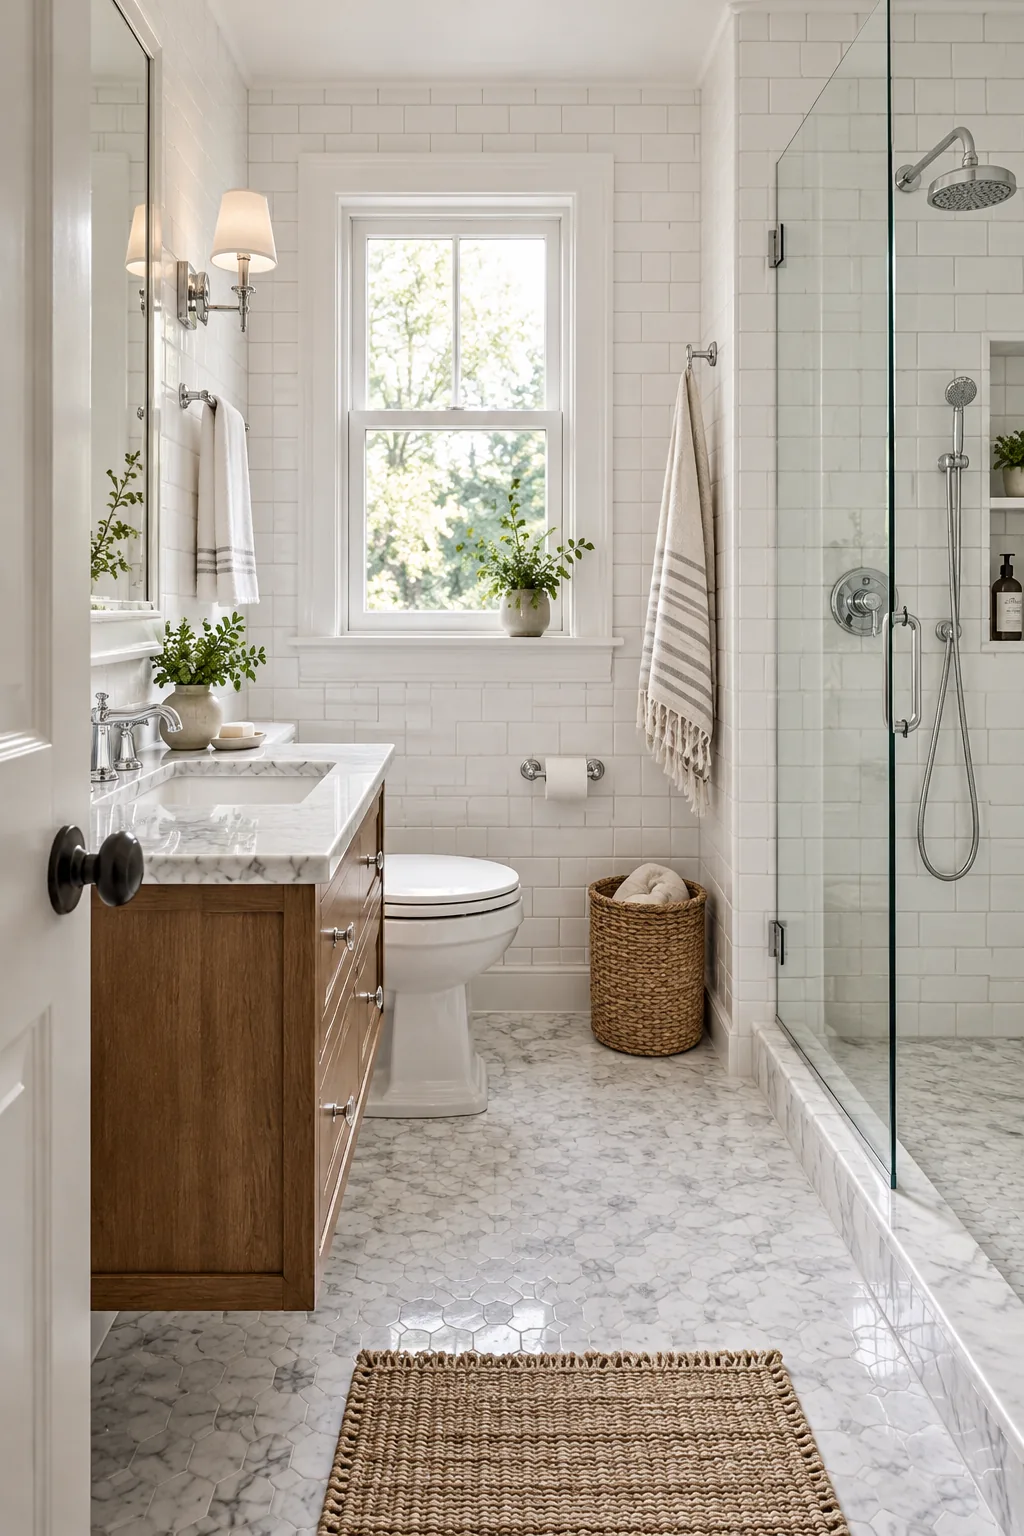
Crisp White and Marble: A classic all-white palette maximizes natural light reflection, ensuring the tight footprint feels as airy as possible.
Small Bath Clearance Cheat Sheet
Understanding the exact empty floor space required between your fixtures ensures the finished room actually functions comfortably. You must secure these strict minimum clearances before finalizing any plumbing rough-ins or purchasing your beautiful finishes.
Before buying any fixtures, verify these non-negotiable dimensions in your actual space.
Drafting your floorplan around these proven mathematical rules guarantees a layout that feels generous, safe, and effortlessly functional.