
15-Minute Kitchen Counter Decor: Print the Restyle Steps
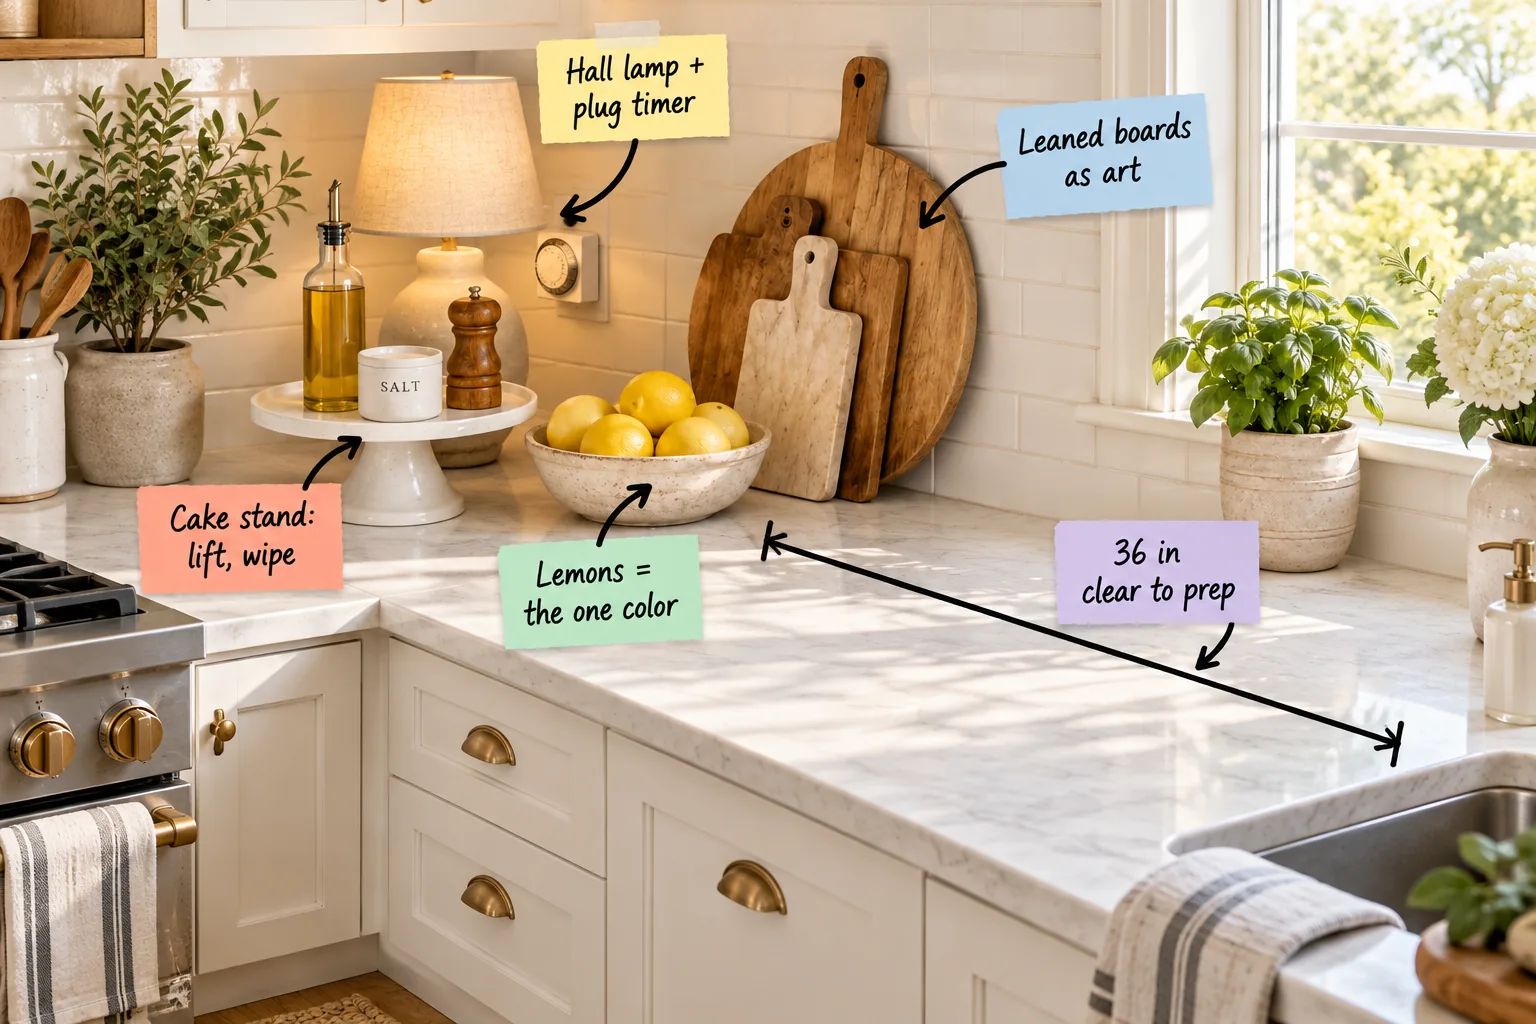
Grab our printable one-page restyle sequence to transform your kitchen corner using items you already own, clearing the clutter and arranging a beautifully functional prep space. You will be able to select the right everyday pieces and finish styling in just fifteen minutes.
The 15-Minute Restyle Sequence
When I first moved into my Boston brownstone, the kitchen felt chaotic until I developed this four-phase system. You can print the 15-minute restyle sequence to guide you through clearing the deck, gathering owned items, building a vertical anchor, and placing the front layers.
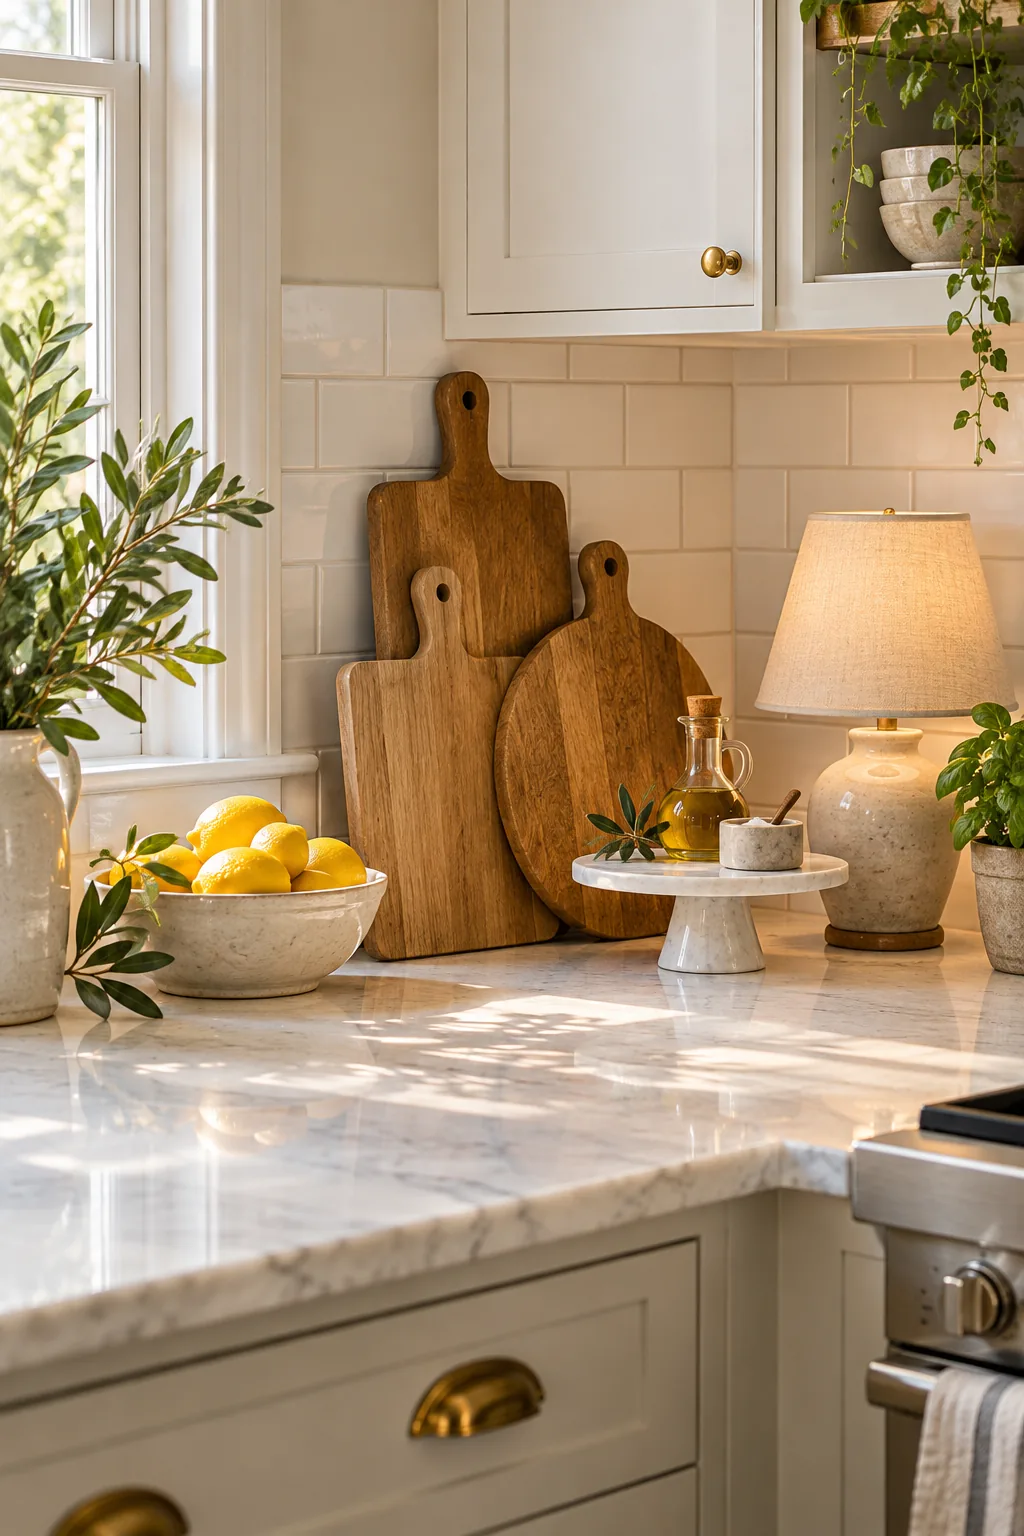
Before starting the timer, set yourself up for success by creating a completely blank canvas. Removing every single stray item allows you to visualize the final beautiful arrangement without any distracting clutter influencing your upcoming design decisions.
Clearing the Deck First
Removing everything from your surface is non-negotiable because it forces you to evaluate each item’s true utility. Starting with a completely empty stone surface breaks the visual habit of seeing everyday clutter as permanent, unchangeable fixtures in your daily cooking zone.
- Remove all small appliances and stash them temporarily out of sight.
- Wipe the backsplash grout lines thoroughly to remove hidden grease.
- Dry the stone surface completely to prevent any lingering water spots.
Gathering Your Owned Items
Shop your own home to find pieces that belong in this elevated vignette rather than buying new decor. Pulling objects from the living room or dining area ensures your kitchen styling feels cohesive with the rest of your home’s carefully curated aesthetic.
| Item Type | Ideal Material | Where to Find It |
|---|---|---|
| Ambient Lighting | Ceramic or brass base | Guest bedroom nightstand |
| Elevated Pedestal | White glazed porcelain | Dining room buffet |
| Vertical Backdrop | Warm natural walnut | Pantry storage shelves |
| Color Accent | Fresh bright citrus | Refrigerator crisper drawer |
Add Warmth With a Hall Lamp
I always steal a small ceramic table lamp with a linen shade from another room to bring soft, living-room warmth into the kitchen. Tucking this hall lamp + plug timer deep into the inside corner instantly transforms the harsh, utilitarian overhead lighting.
- Choose a compact lamp base measuring under six inches wide.
- Ensure the linen shade sits comfortably below your eye level.
- Keep the black power cord neatly zip-tied behind the ceramic base.
Setting the Automatic Timer
You never want to reach over bubbling pots to switch on a corner light in the evening. Using a basic 24-hour plug-in timer set to turn on at dusk ensures your ambient kitchen glow happens completely automatically every single night without fail.
Concealing the Lamp Cord
Visible wires instantly ruin the illusion of a high-end, professionally styled space. Pushing the timer block flat against the wall outlet allows you to hide the remaining cord completely behind the largest cutting board, maintaining a pristine, distraction-free visual presentation.
Layer Leaned Boards as Art
Using leaned boards as art provides a beautiful, textured backdrop while cleverly hiding unsightly backsplash outlets. You need exactly three wood cutting boards of varying tones leaning directly against the tile to add substantial vertical height to the notoriously dark, deep corner.
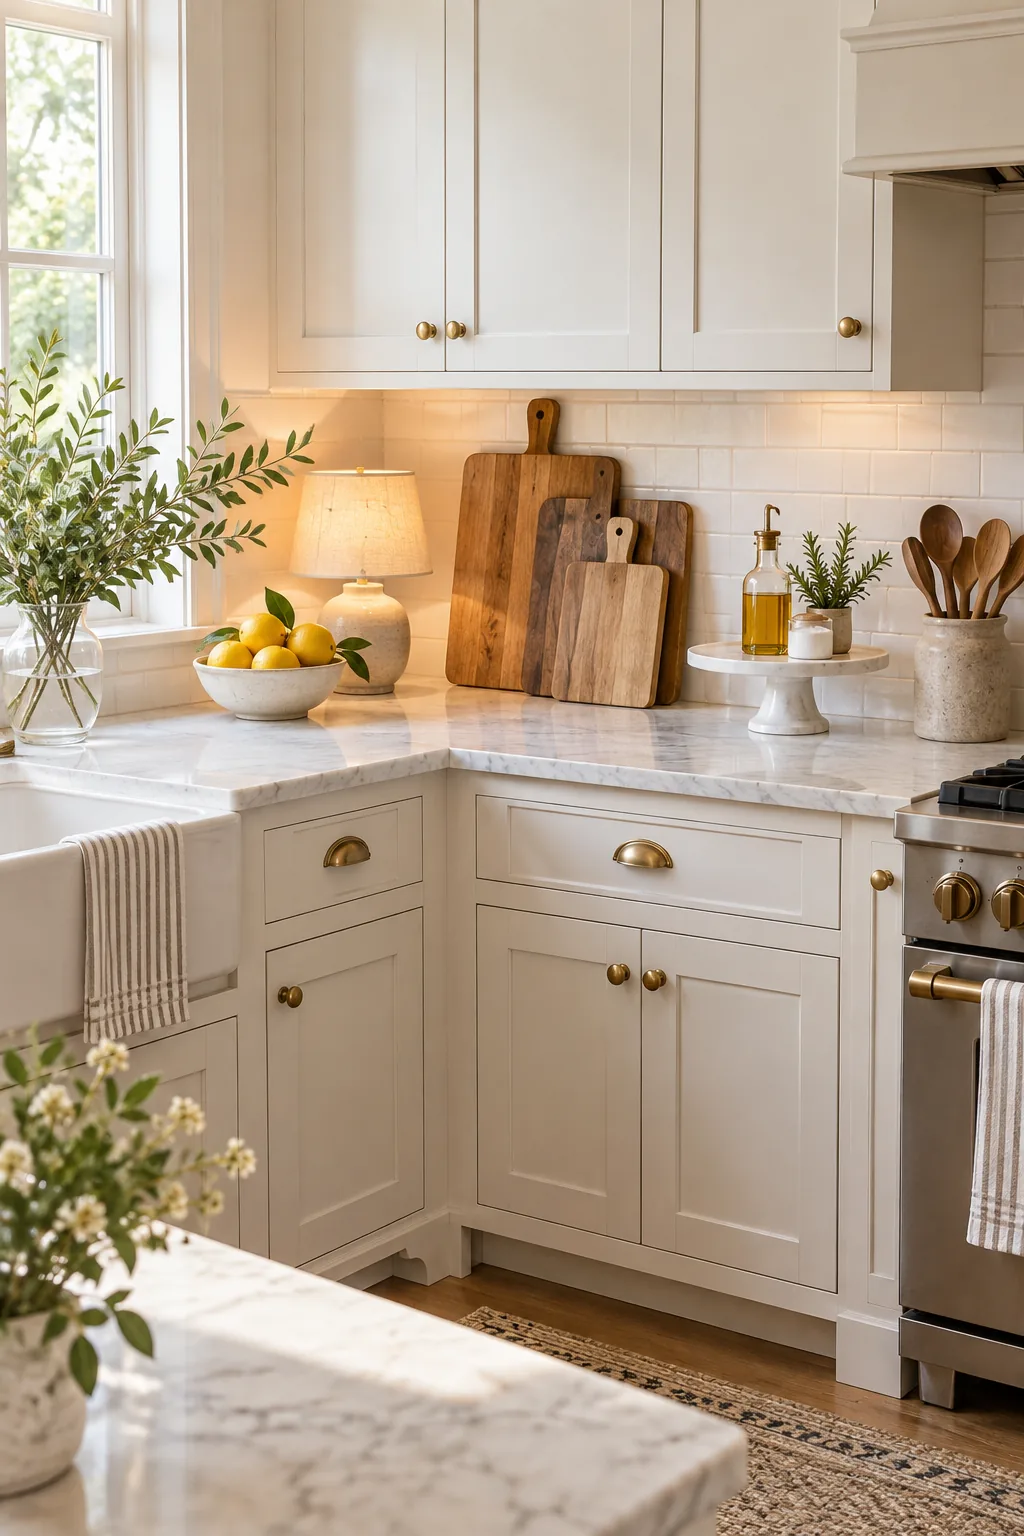
Always place the largest, tallest board at the back, then stagger the two smaller ones forward to build gorgeous, multidimensional depth. This layered approach warms up the cold tile and makes the functional cutting surfaces look like a deliberate art installation.
Choosing the Right Board Heights
Proportion is critical when building this wooden backdrop so it does not overwhelm your upper cabinets. The tallest board should reach exactly two-thirds of the way to the upper cabinet trim, while the front board should barely clear your standard electrical outlets.
Staggering the Wood Tones
Matching all three boards looks flat and uninspired in a bright kitchen. Mixing a dark walnut, a medium oak, and a light maple creates a rich, collected feel that prevents the heavy wooden arrangement from feeling like a single, massive, immovable block.
Elevate Daily Oils on a Cake Stand
Grouping your oil bottle, salt cellar, and pepper mill on a footed white cake stand makes them look incredibly intentional. This cake stand: lift, wipe trick creates a single organized unit that prevents your essential daily seasonings from feeling like scattered, messy clutter.
Selecting the Perfect Pedestal
The pedestal needs to be completely flat rather than having a deep lip that makes grabbing the salt difficult. A ten-inch diameter surface perfectly accommodates three standard cooking vessels without leaving awkward empty space that inevitably invites random keys, mail, or bag clips.
Organizing the Salt Cellar
Ditching the cardboard packaging elevates your cooking experience immediately. Decanting your kosher salt into a heavy ceramic or marble cellar with a smooth wooden lid protects the flakes from humidity while adding another beautiful, tactile material to your curated cooking station.
Avoiding Transparent Containers
Leaving your olive oil in its original plastic bottle or a clear glass dispenser exposes the delicate oil to sunlight, causing it to spoil faster. Transferring it into a solid ceramic cruet protects the flavor profile while adding an elegant, opaque texture to your pedestal arrangement.
Anchor With a Single Color Pop
Restricting your decorative color to just one element keeps a neutral kitchen looking highly sophisticated and calm. Using lemons = the one color inside a shallow ceramic bowl draws the eye immediately and makes the whole arrangement feel incredibly fresh and vibrant.
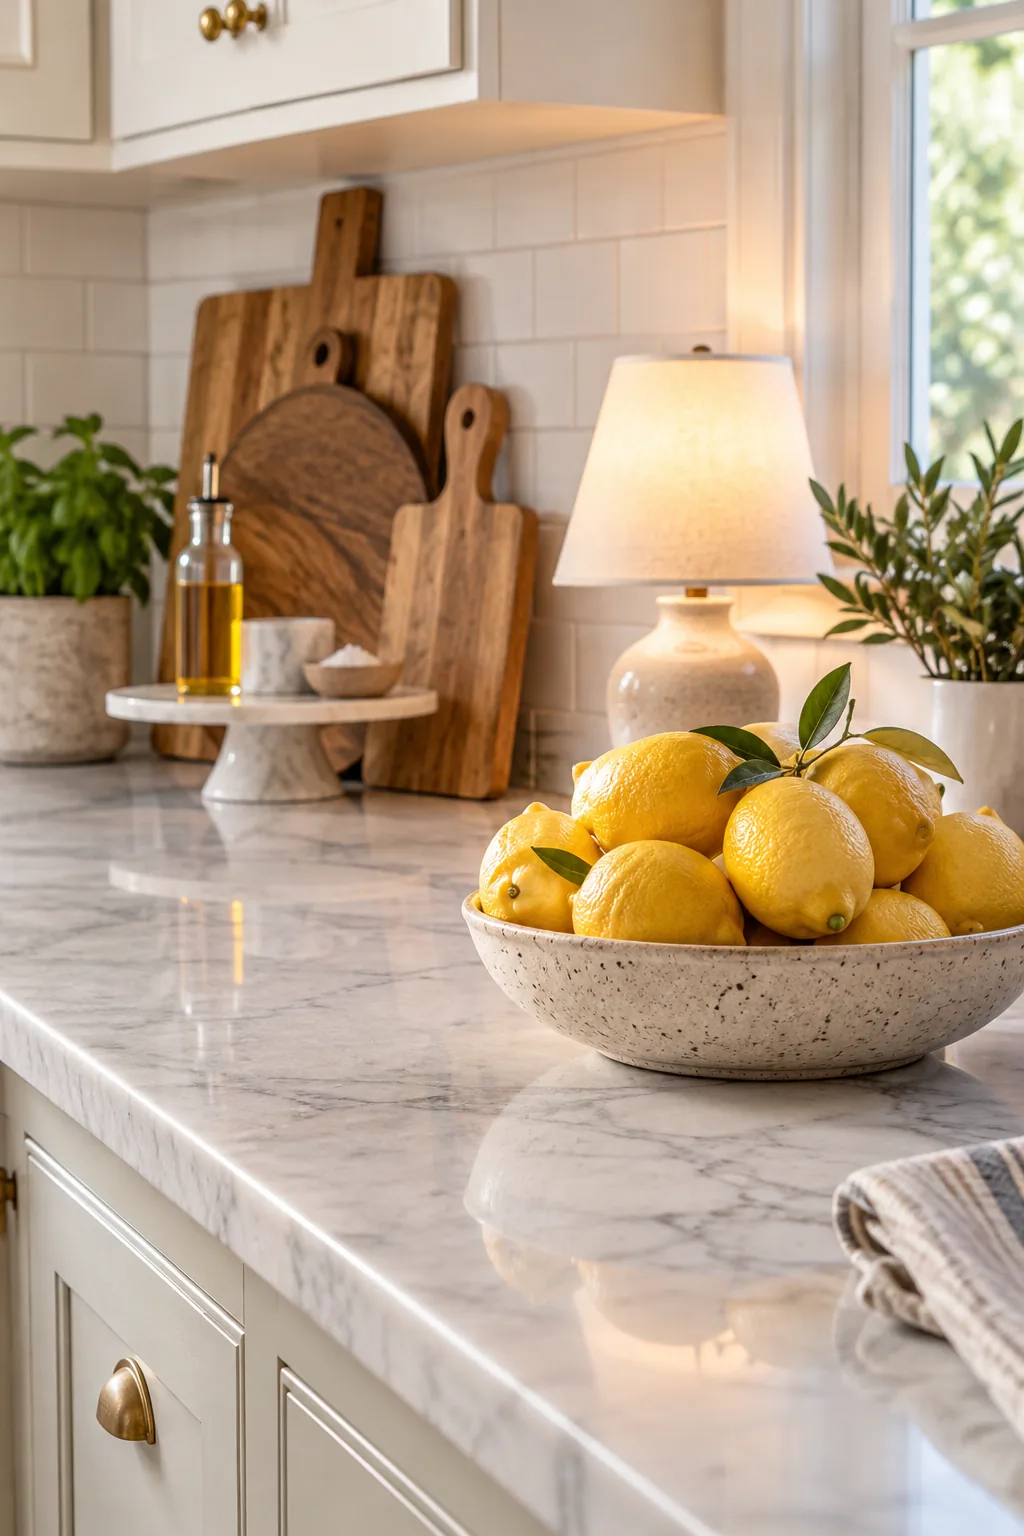
Keeping the bowl low ensures the vibrant yellow fruit does not compete with the towering height of your wood boards. This deliberate restraint prevents the styled corner from looking overwhelming, allowing the single bright accent to truly shine against the muted backsplash.
Rotating Seasonal Citrus
While yellow lemons offer the brightest contrast against white marble, you can easily shift the entire mood of the room. Swapping in navel oranges or vibrant limes gives you a completely new seasonal palette without spending a dime on permanent, single-use decorative objects.
Keep 36 Inches Clear to Prep
You must clearly define the boundary between your styled decorative zone and the actual working kitchen. Maintaining exactly 36 in clear to prep to the right of the corner guarantees you have comfortable, unhindered space for chopping vegetables and plating daily meals.
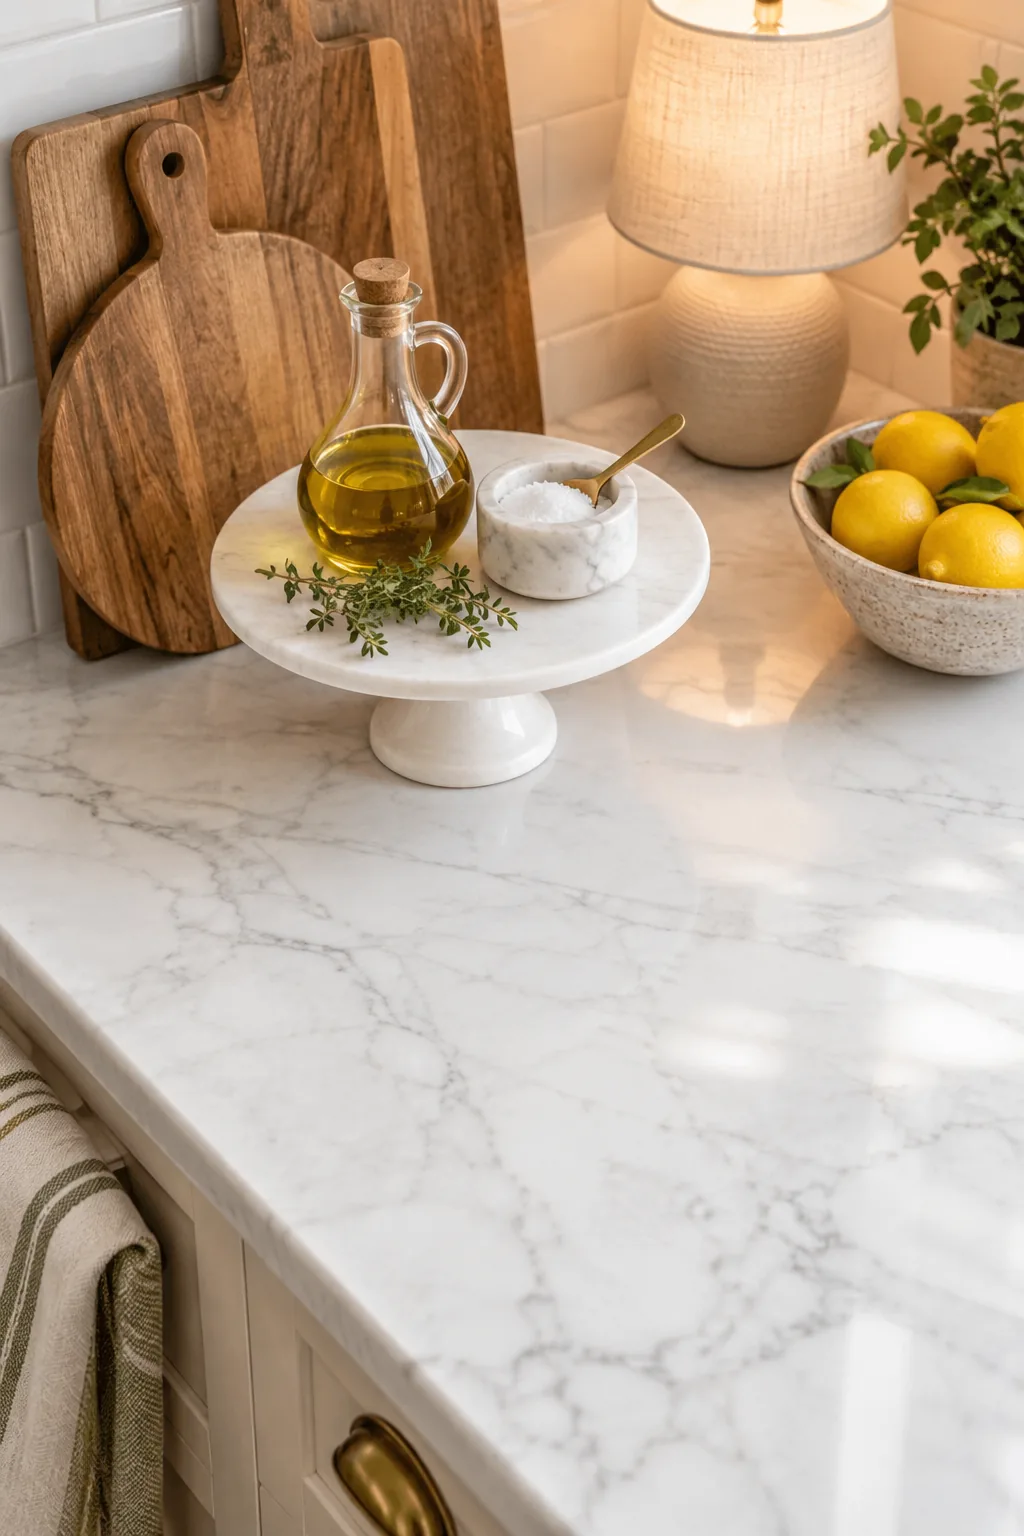
Protecting this empty expanse is what keeps your styled corner looking like a deliberate design choice. Without this dedicated visual breathing room, the beautiful decor simply blends into the working mess, making the entire kitchen feel chaotic and poorly planned.
Measuring Your Work Zone
If you cannot find a tape measure, use a standard baking sheet to verify your available room. Two eighteen-inch half-sheet pans placed side by side equal the exact thirty-six inches of continuous bare stone required for a highly functional, stress-free cooking station.
Clearing the Surrounding Clutter
Even the most beautifully styled corner loses its impact if the adjacent surfaces remain covered in mail and random chargers. Committing to a strict clean-counter policy for the rest of the kitchen ensures your deliberate decor vignette remains the true focal point of the room.
Which Items Earn Counter Space
In my own kitchen, I ruthlessly edit what stays out because visual noise creates mental stress while cooking. You must evaluate every single gadget, canister, and tool to decide if it truly earns permanent counter space in your newly styled, minimalist prep zone.
The Three-Times-A-Week Rule
Keep only the specific items you physically reach for at least three times a week to ensure absolute functionality. If you only use that heavy stand mixer for weekend baking, it belongs tucked away in a pantry cabinet rather than taking up prime real estate.
More Kitchen Counter Styling Ideas
Find the perfect material palette and layout to match your own kitchen's style.
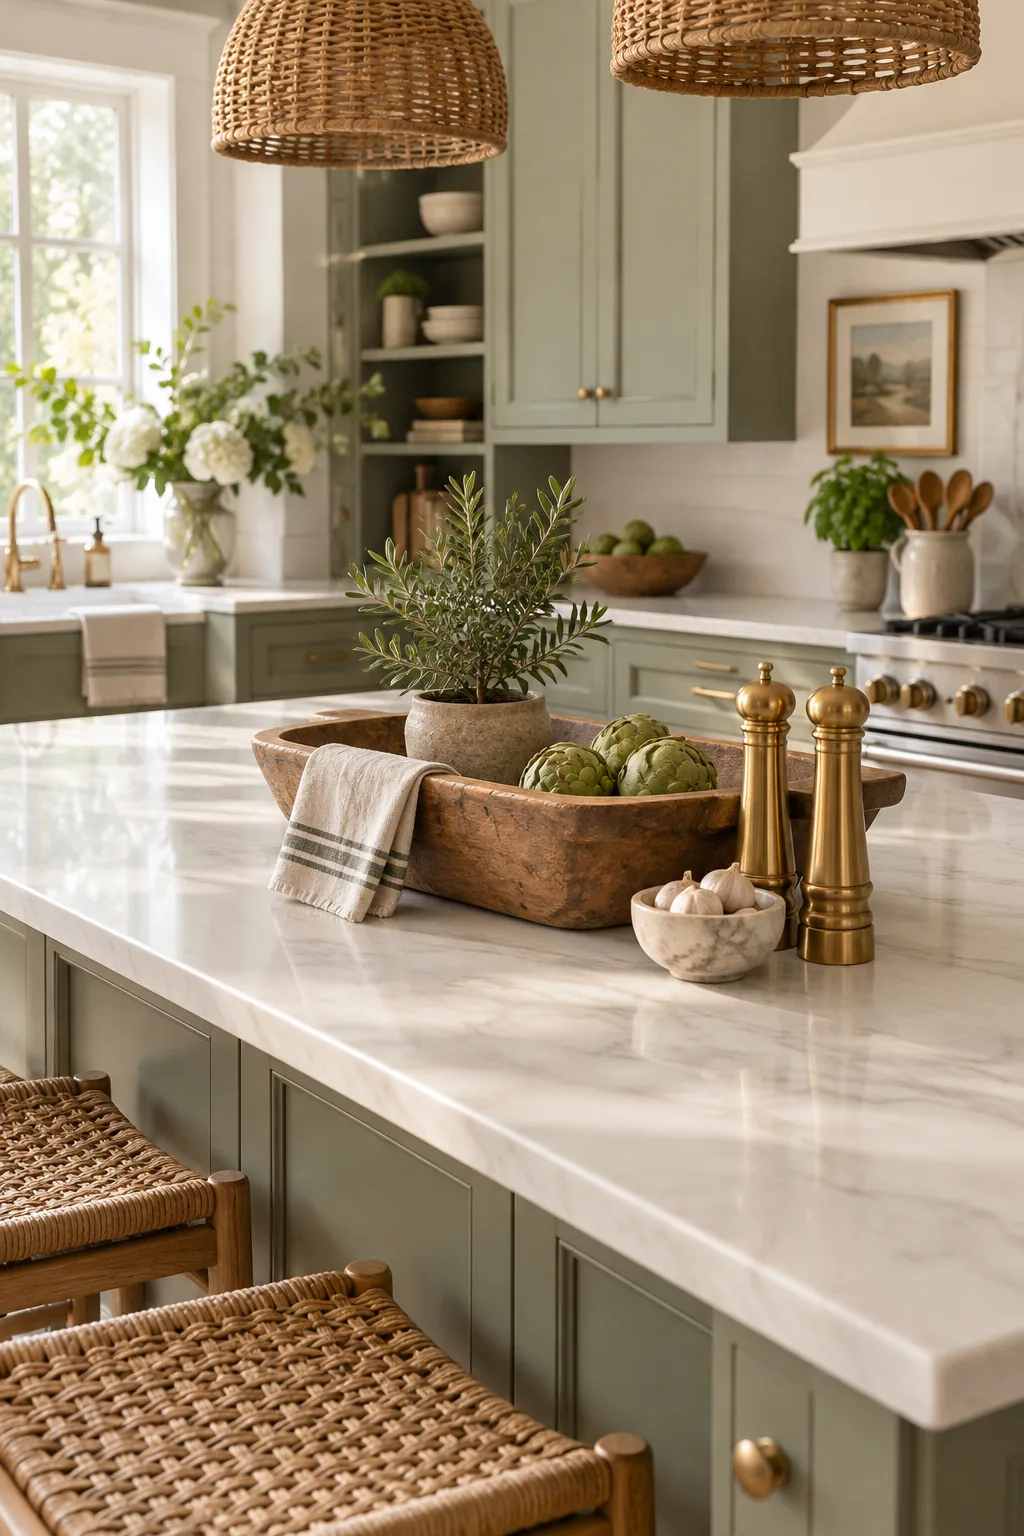
Modern Farmhouse Island Styling: A vintage dough bowl anchors this sage and cream island, offering a beautiful way to corral fresh produce.
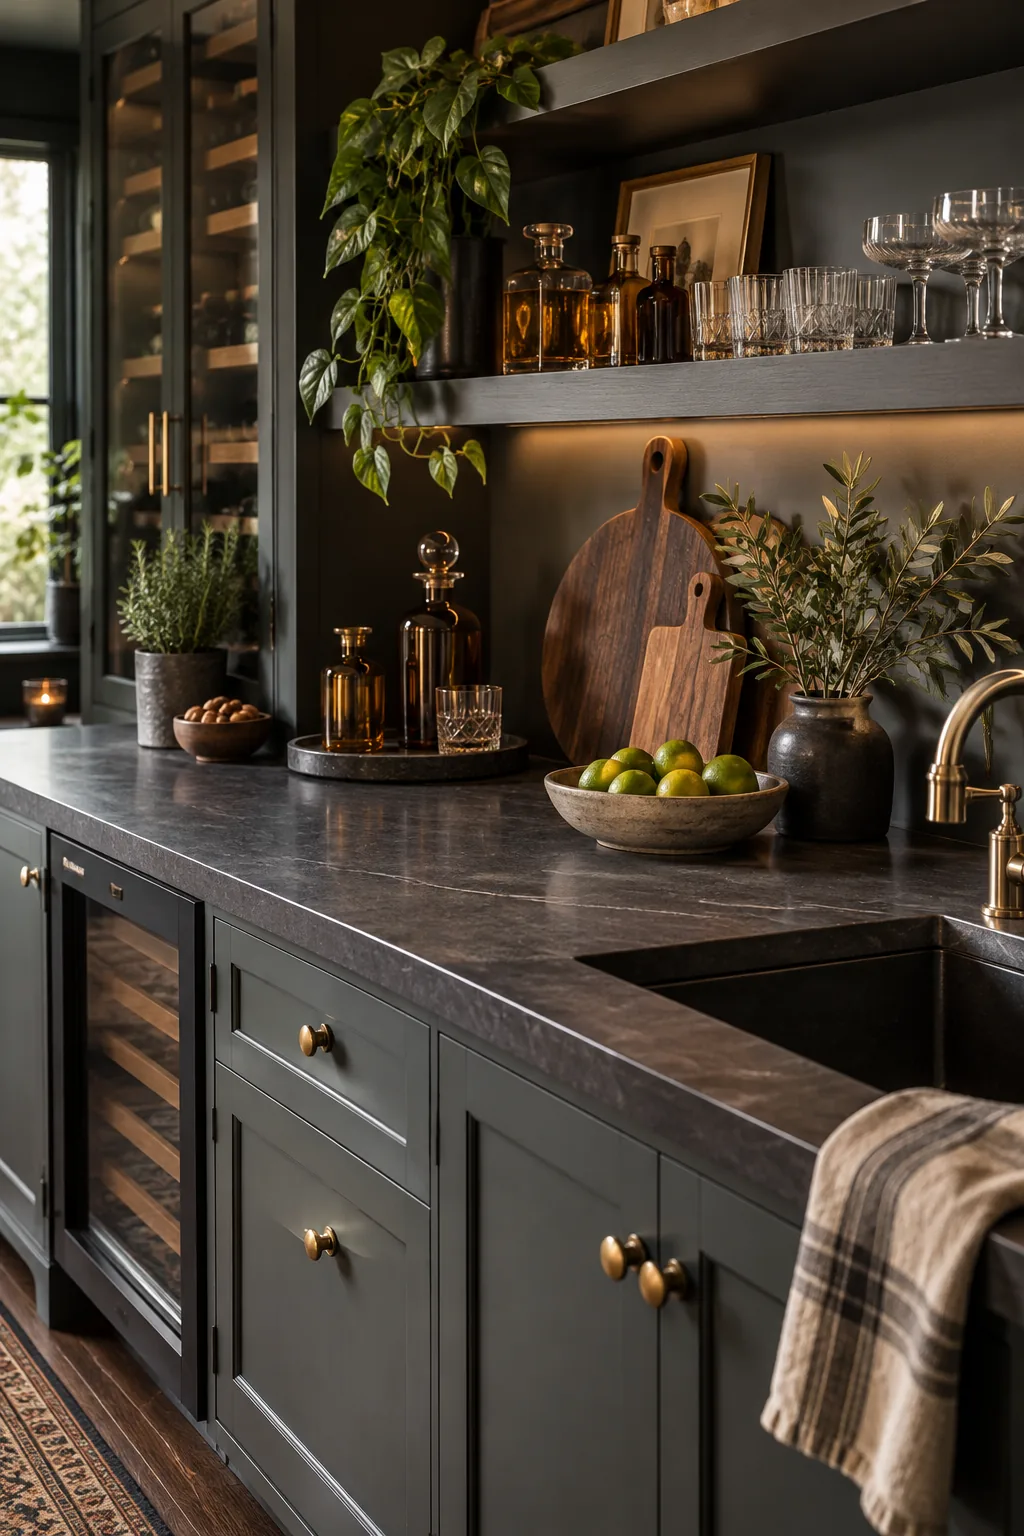
Moody Organic Bar Area: Dark walnut boards and amber glass create a rich, sophisticated mood against slate-painted cabinetry.
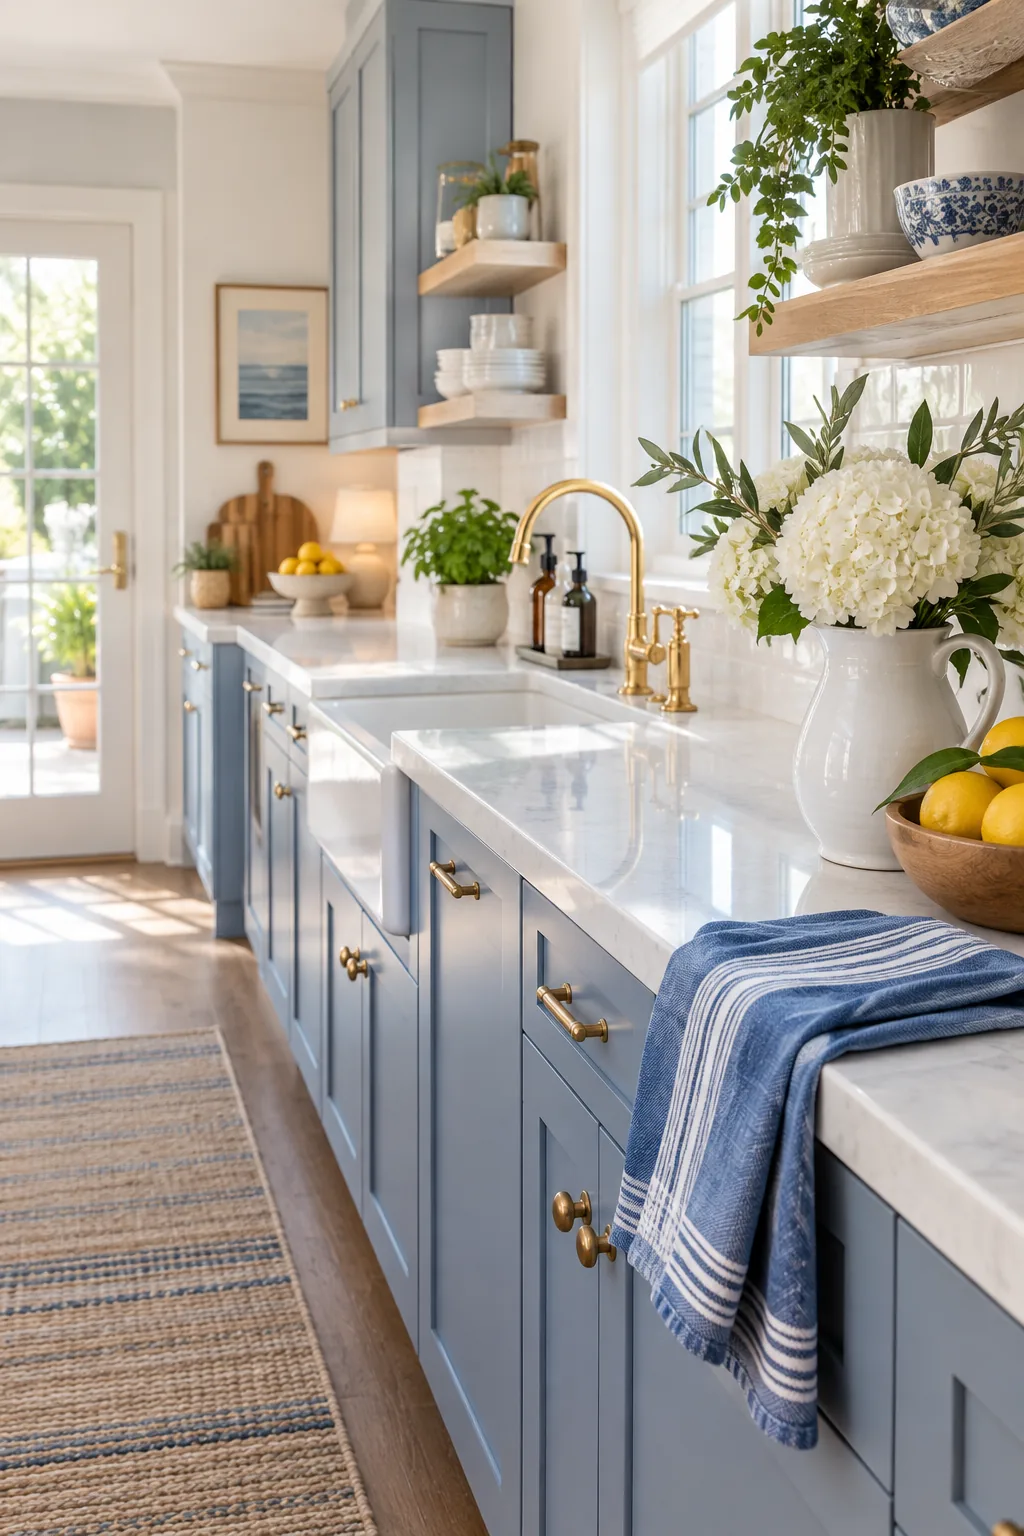
Coastal Bright Galley Kitchen: Crisp white ceramics and soft blue linens bring a breezy, effortless coastal feel to a narrow prep space.
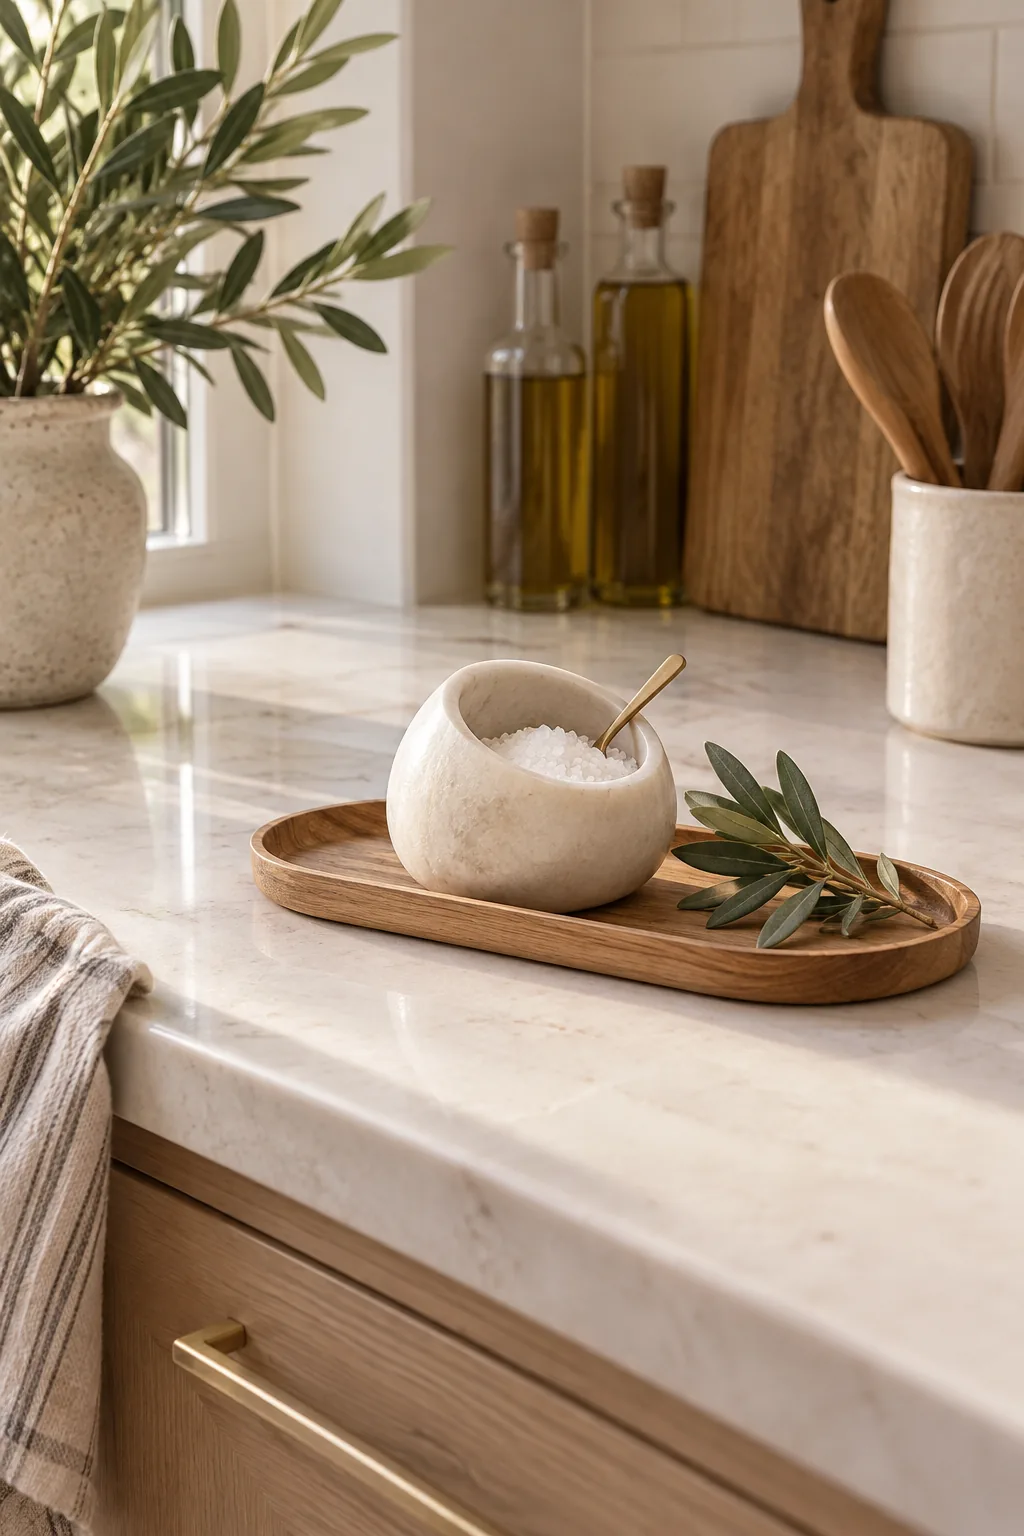
Minimalist Warm Apartment Counter: A single ash wood tray keeps essentials contained without overwhelming a compact apartment kitchen footprint.
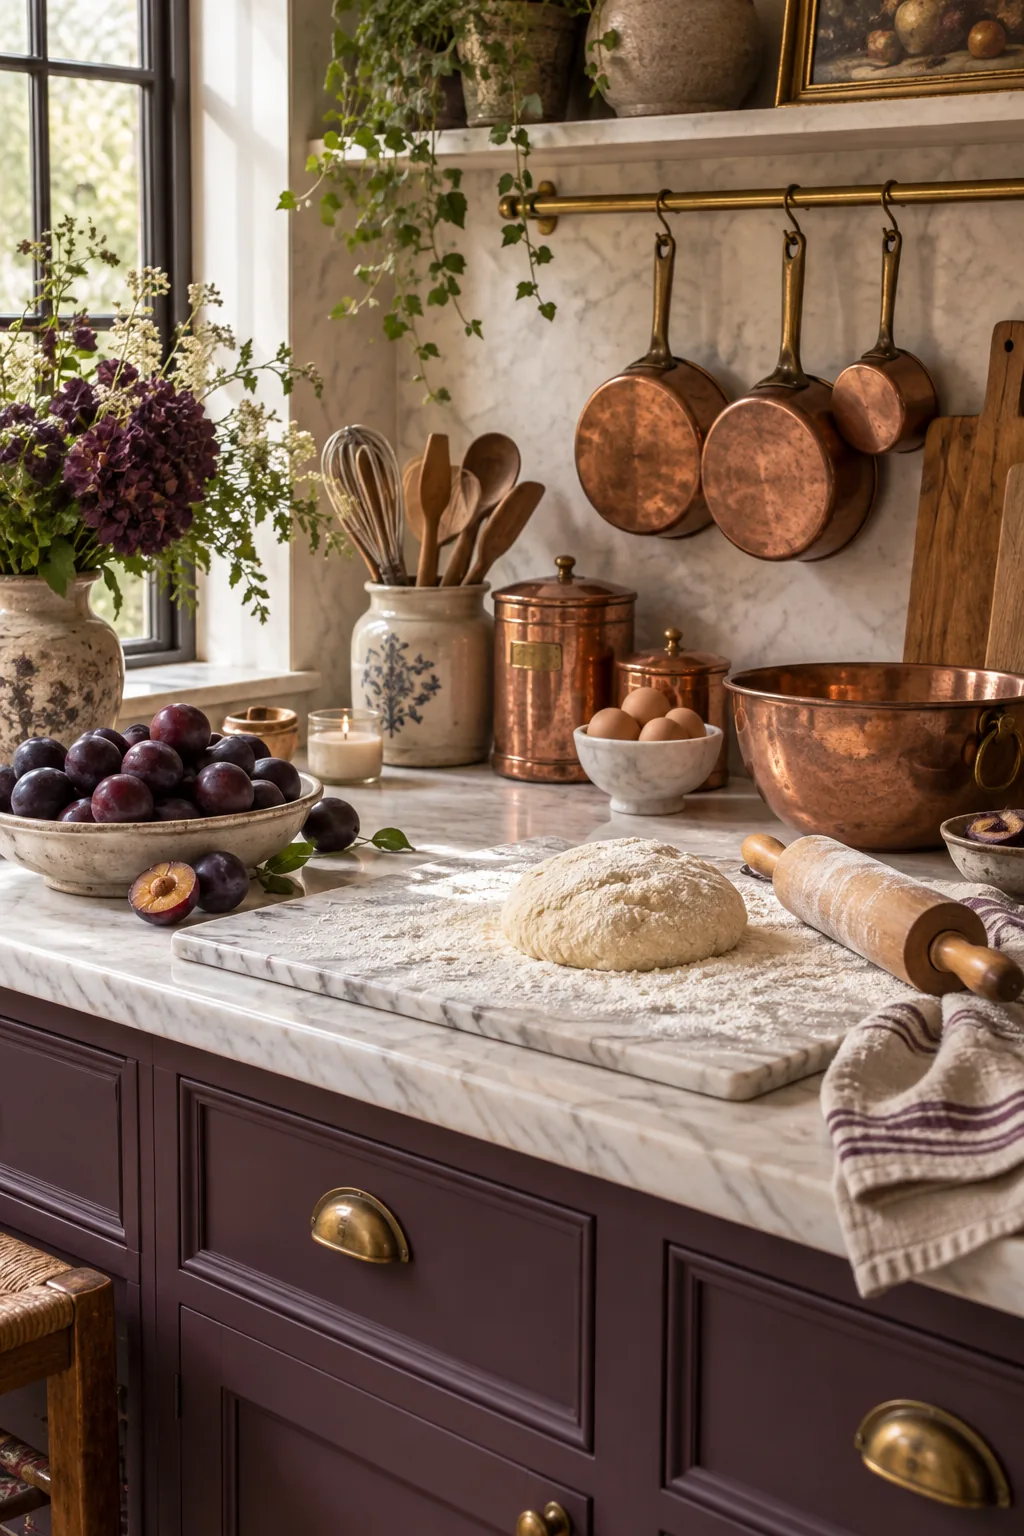
French Country Baking Station: Glowing copper accents and a bowl of dark plums create an inviting, rustic atmosphere for a dedicated baking zone.
The Daily Wipe-Down Routine
The true test of any kitchen styling is whether it survives the inevitable grease and splatters of weeknight cooking. A quick 30-second maintenance routine proves that this layered, elevated look does not complicate or slow down your essential post-dinner cleanup process.
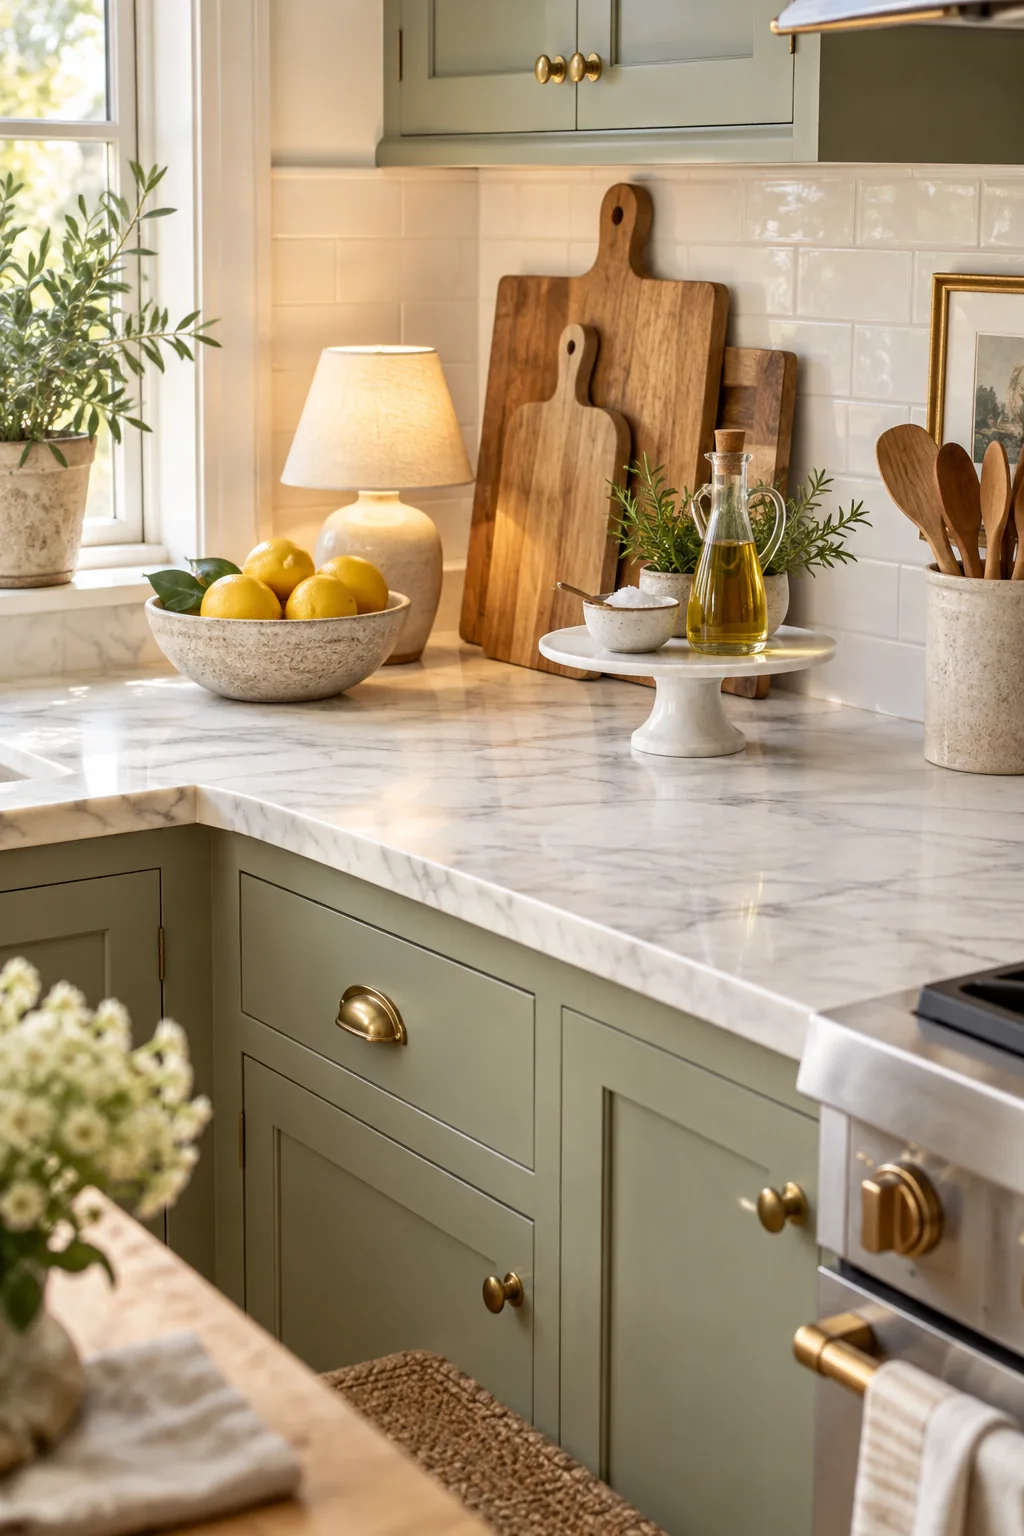
Simply slide the elevated cake stand and the fruit bowl forward to swiftly wipe the polished stone underneath. Because everything sits on a pedestal or leans neatly against the wall, you never have to lift individual bottles to achieve a perfectly clean surface.