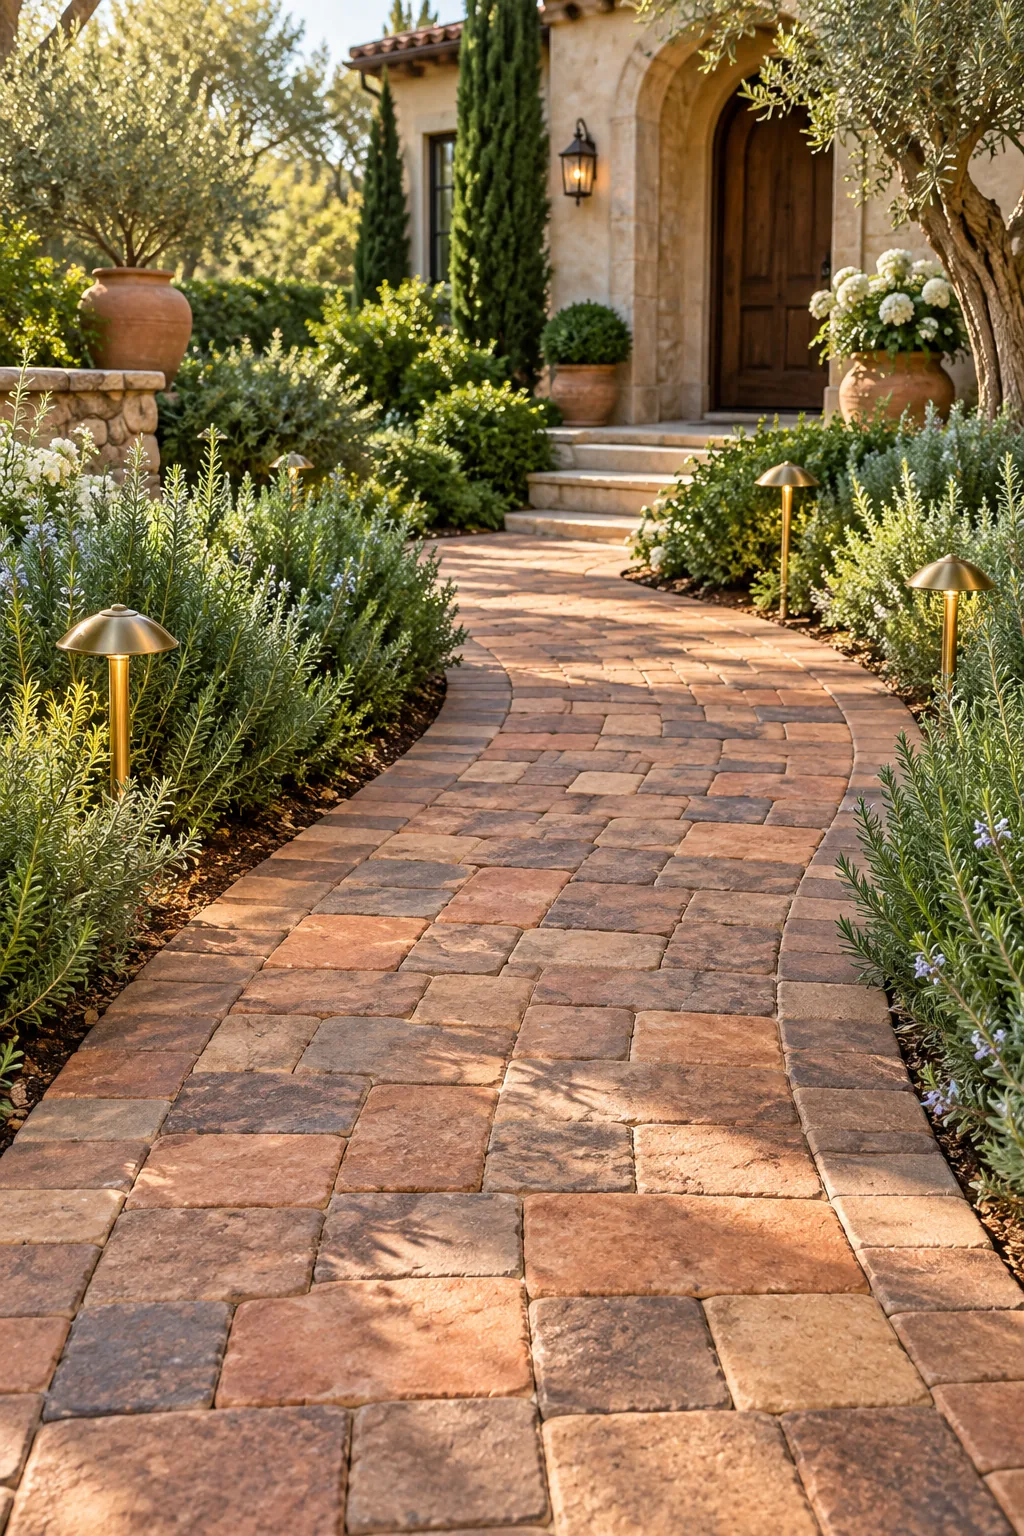
DIY Paver Walkway on a Budget: Base Layer & Material Checklist
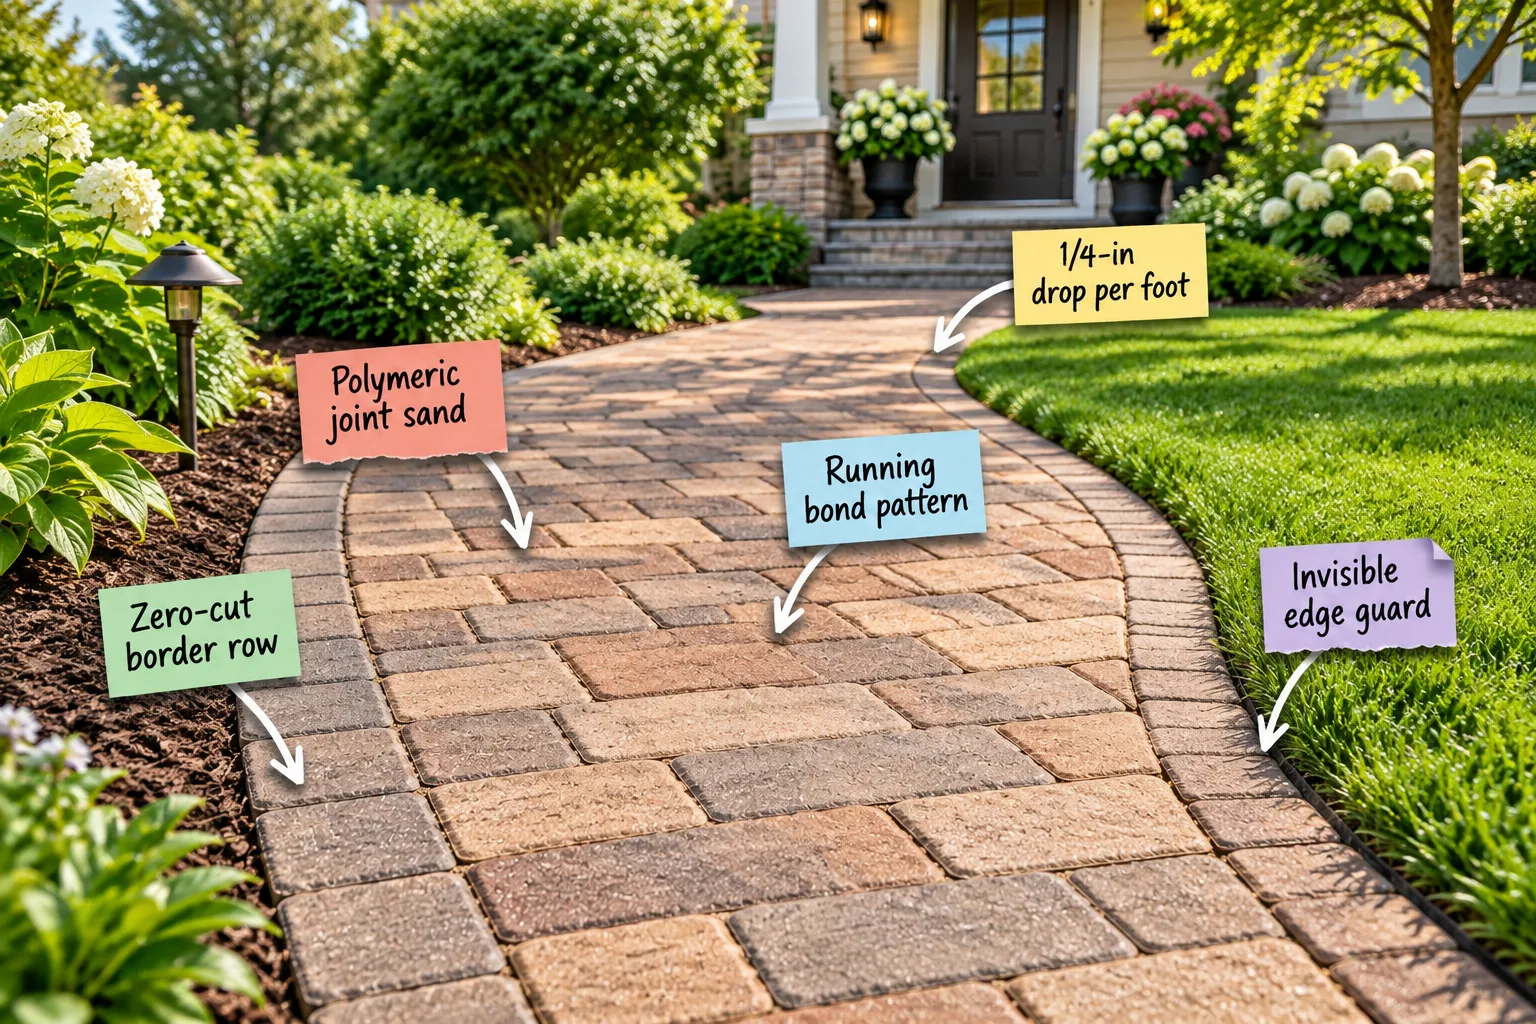
If you are planning a DIY paver walkway, this complete material checklist and base layer guide will help you build a professional-grade curved path on a weekend budget. You will be able to calculate your exact material needs, prep the ground, and lay a lasting stone path over a single weekend.
The Complete Base Layer and Material Checklist
A lasting path relies on 4 to 6 inches of compacted crushed gravel for the sub-base and exactly 1 inch of concrete sand for the leveling layer. When I built my first Austin garden path, underestimating this base rock meant two frustrating extra trips to the quarry.
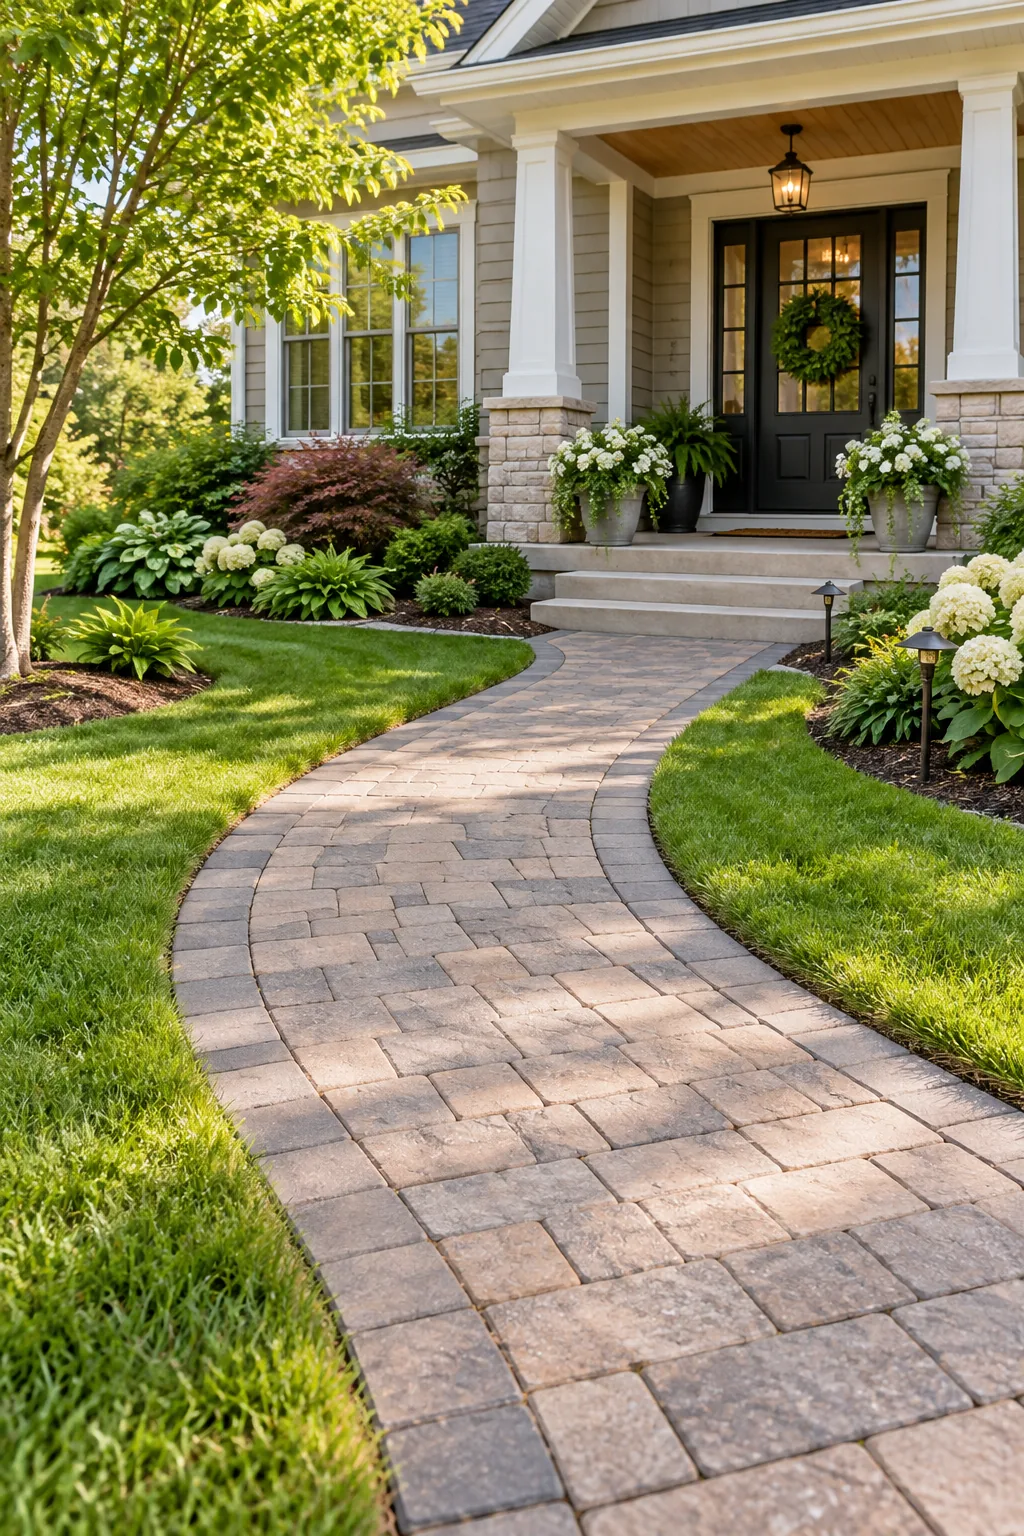
Use this exact material checklist to calculate your quantities before heading to the landscape supply yard, ensuring you have every layer required for a stable foundation.
Pitching for Drainage: The 1/4-Inch Drop
To prevent water from pooling, you need a 1/4-in drop per foot of walkway width to create a slight lateral tilt away from your house. I once sloped a patio the wrong way and ended up with a muddy wading pool near my back door after every Texas thunderstorm.
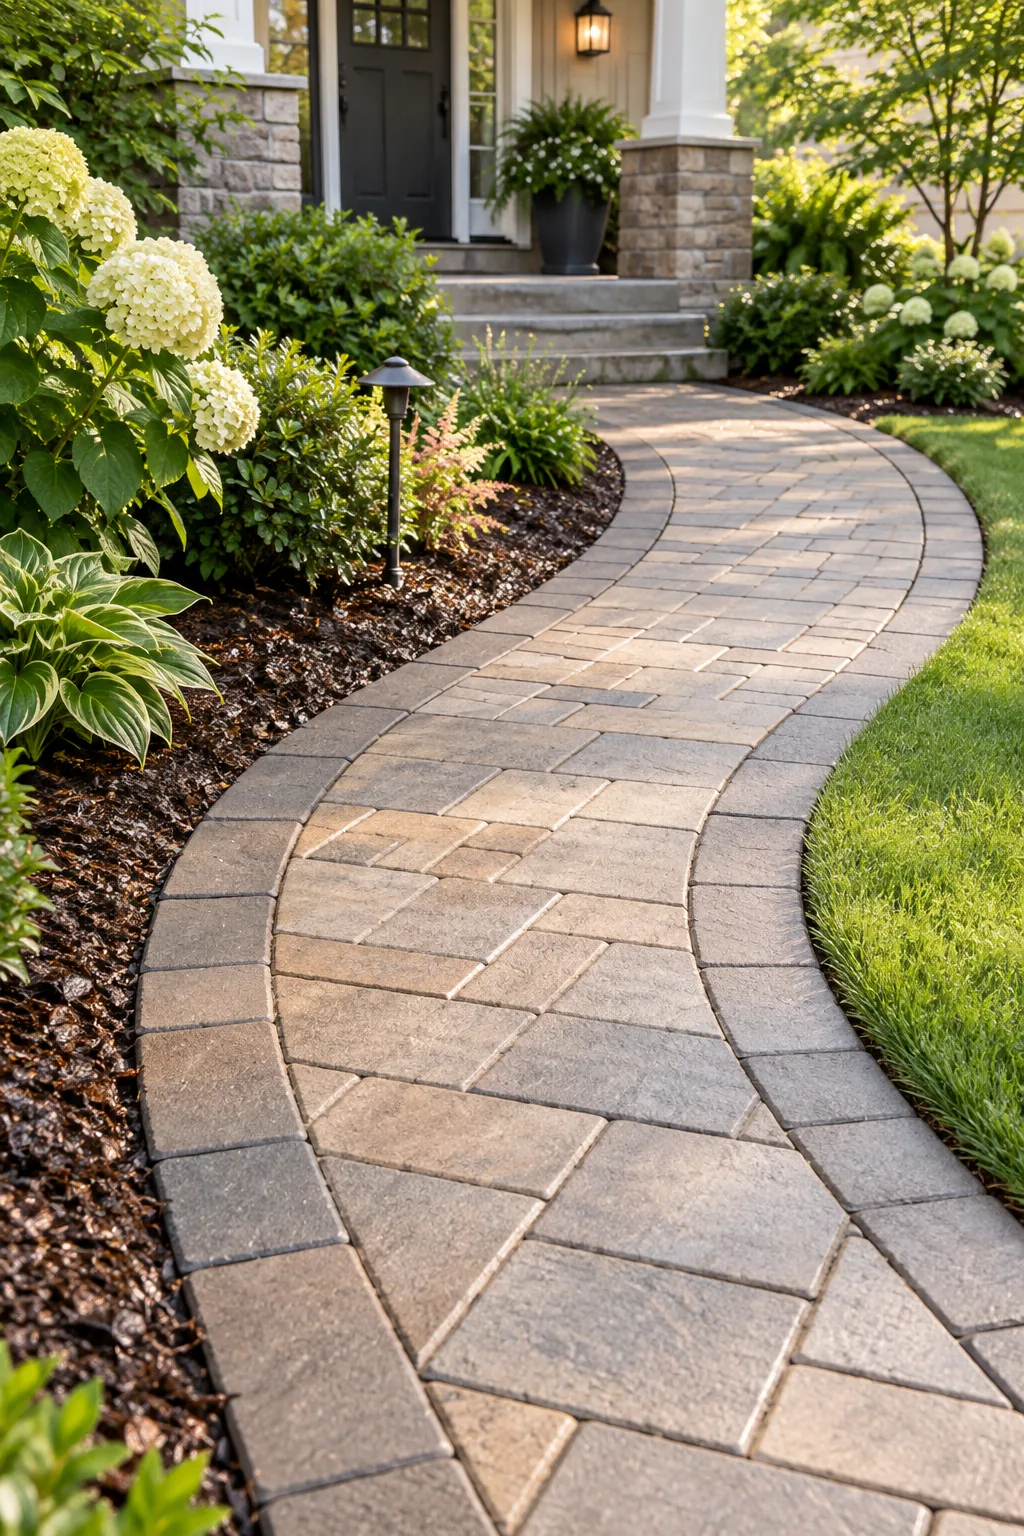
Getting the slope wrong is a fast track to water pooling, but these common drainage errors are easy to avoid when you measure carefully.
Framing With a Zero-Cut Border Row
Laying a zero-cut border row end-to-end along your outer curve creates a visually robust frame without the headache of custom slicing. This method saves hours of labor and completely eliminates the need to rent a wet saw for tiny, fragile slivers along the edges.
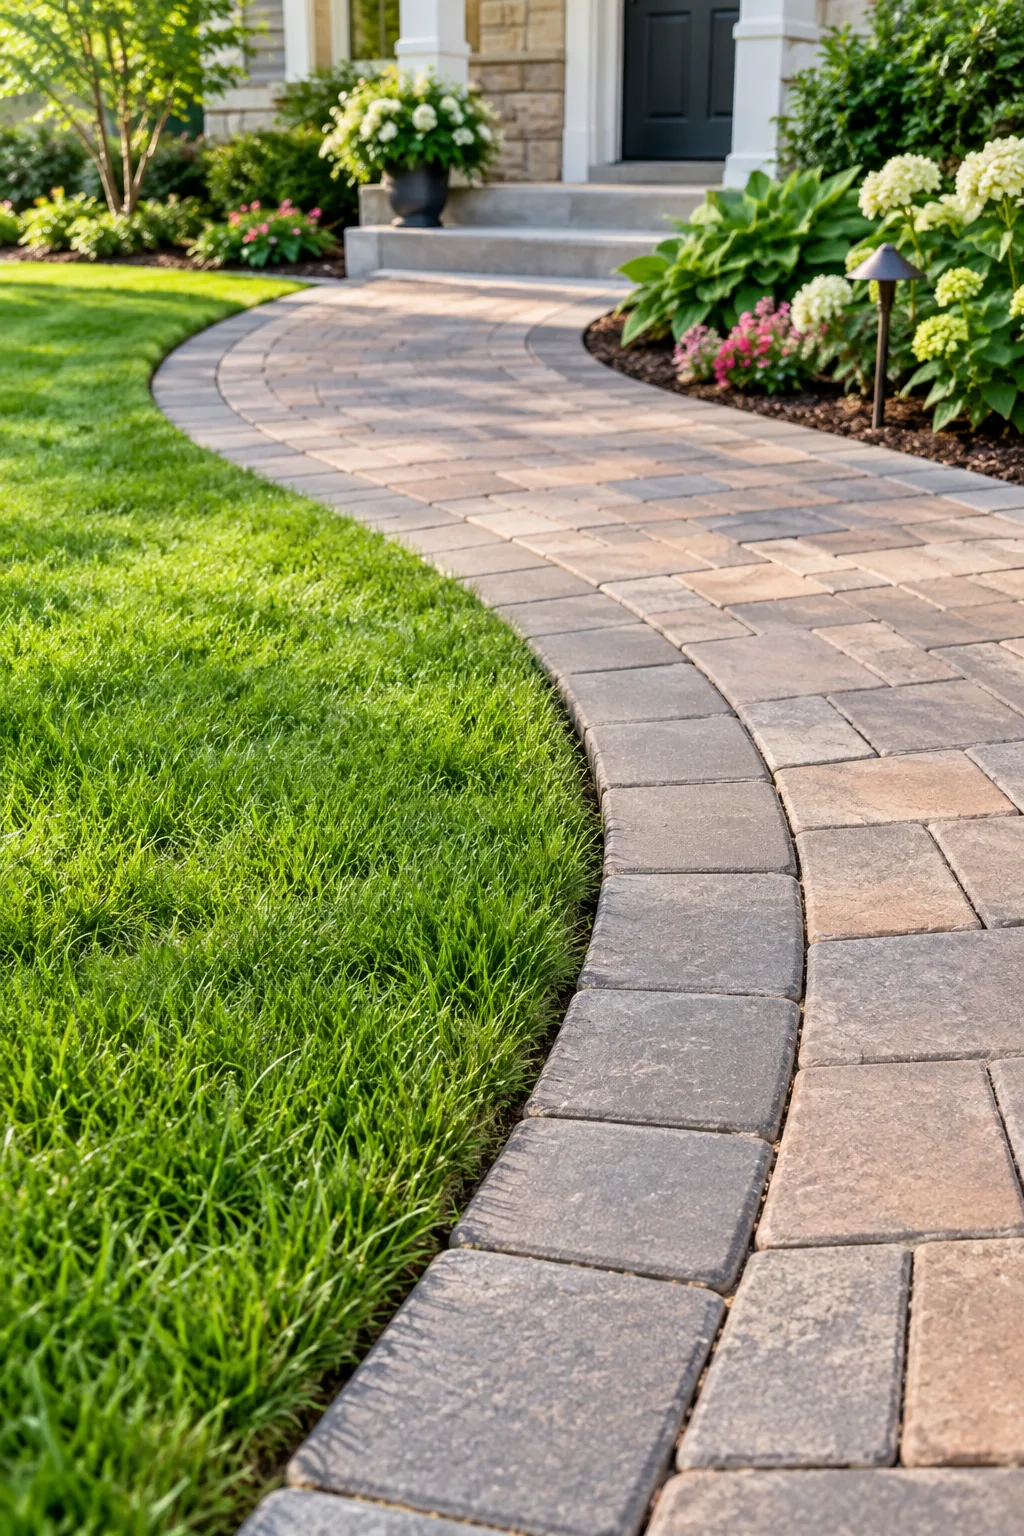
By outlining the path first, you establish a solid outer boundary that keeps the inner pattern tightly contained as you work, preventing the field pavers from drifting outward.
Laying the Running Bond Pattern
The running bond pattern relies on a staggered layout of the inner pavers that naturally handles heavy daily foot traffic without shifting. This classic design is highly forgiving for DIYers because it requires minimal complex cuts compared to a fussy herringbone layout.
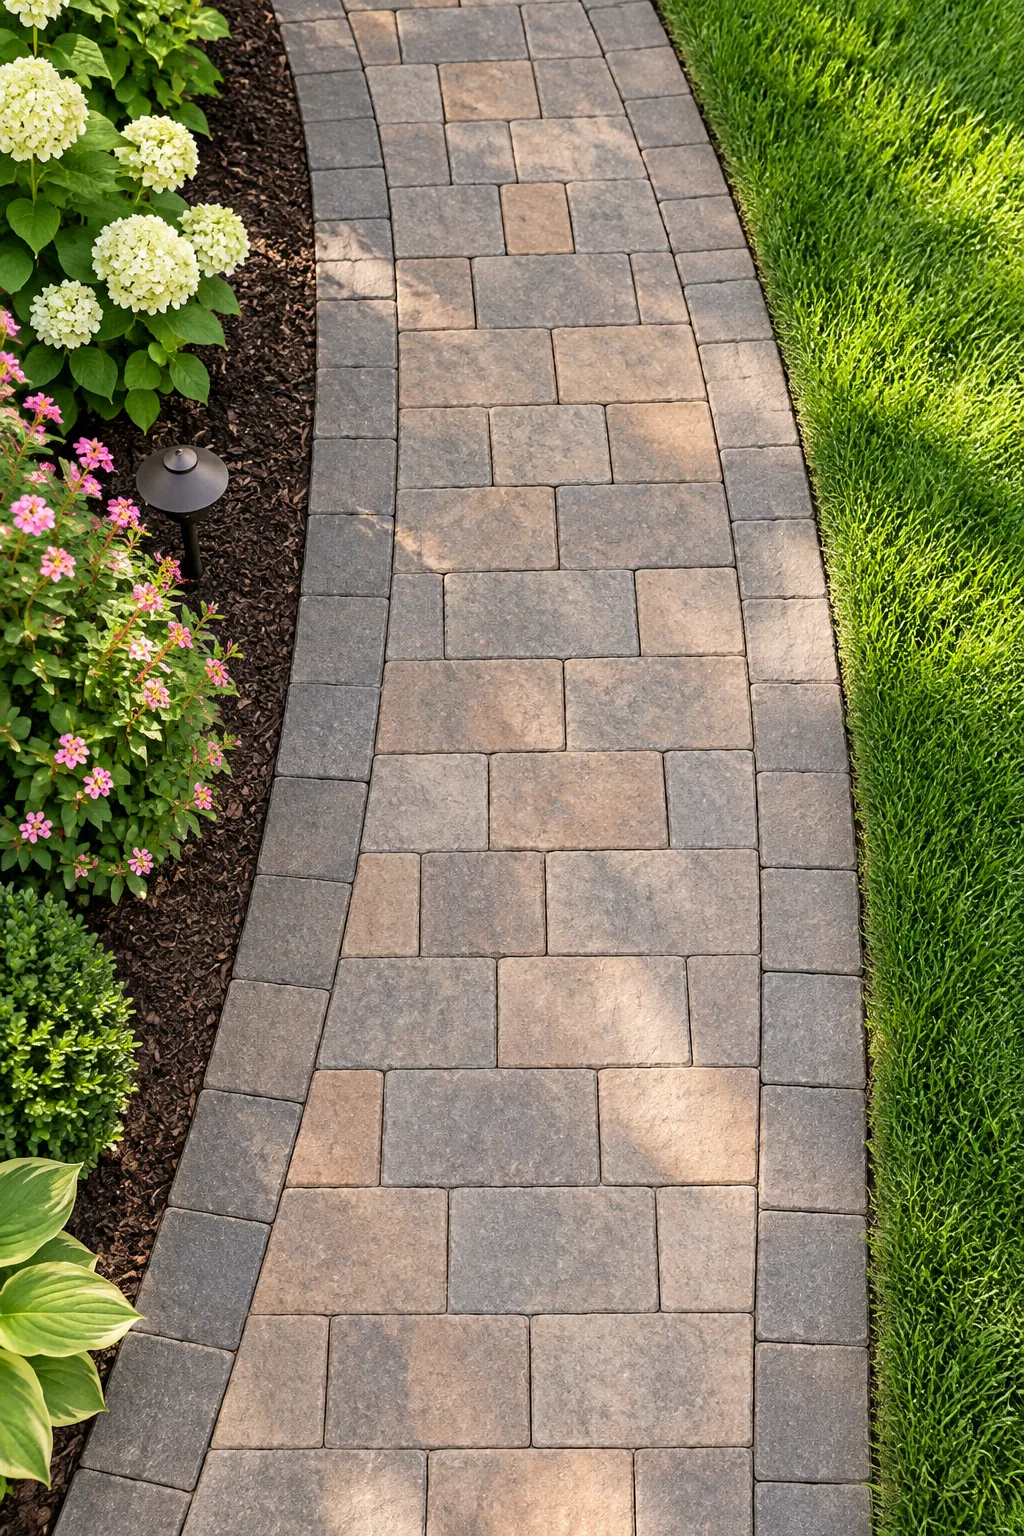
To keep your lines perfectly straight, snap a chalk line over your screeded sand base and stagger the joints exactly halfway past the stone below.
| Pattern Type | DIY Difficulty | Waste Factor | Structural Lock |
|---|---|---|---|
| Running Bond | Low | Under 5% | Excellent |
| Herringbone | High | 15% to 20% | Maximum |
| Basketweave | Medium | Under 5% | Moderate |
| Stacked Bond | Low | Minimal | Poor |
Hiding the Invisible Edge Guard
An invisible edge guard defines the exact boundary where the paver meets the grass, holding the entire walkway tightly in place. Upgrading to these hidden restraints on my own pathways finally stopped my mower blades from catching on ugly, exposed plastic lips.
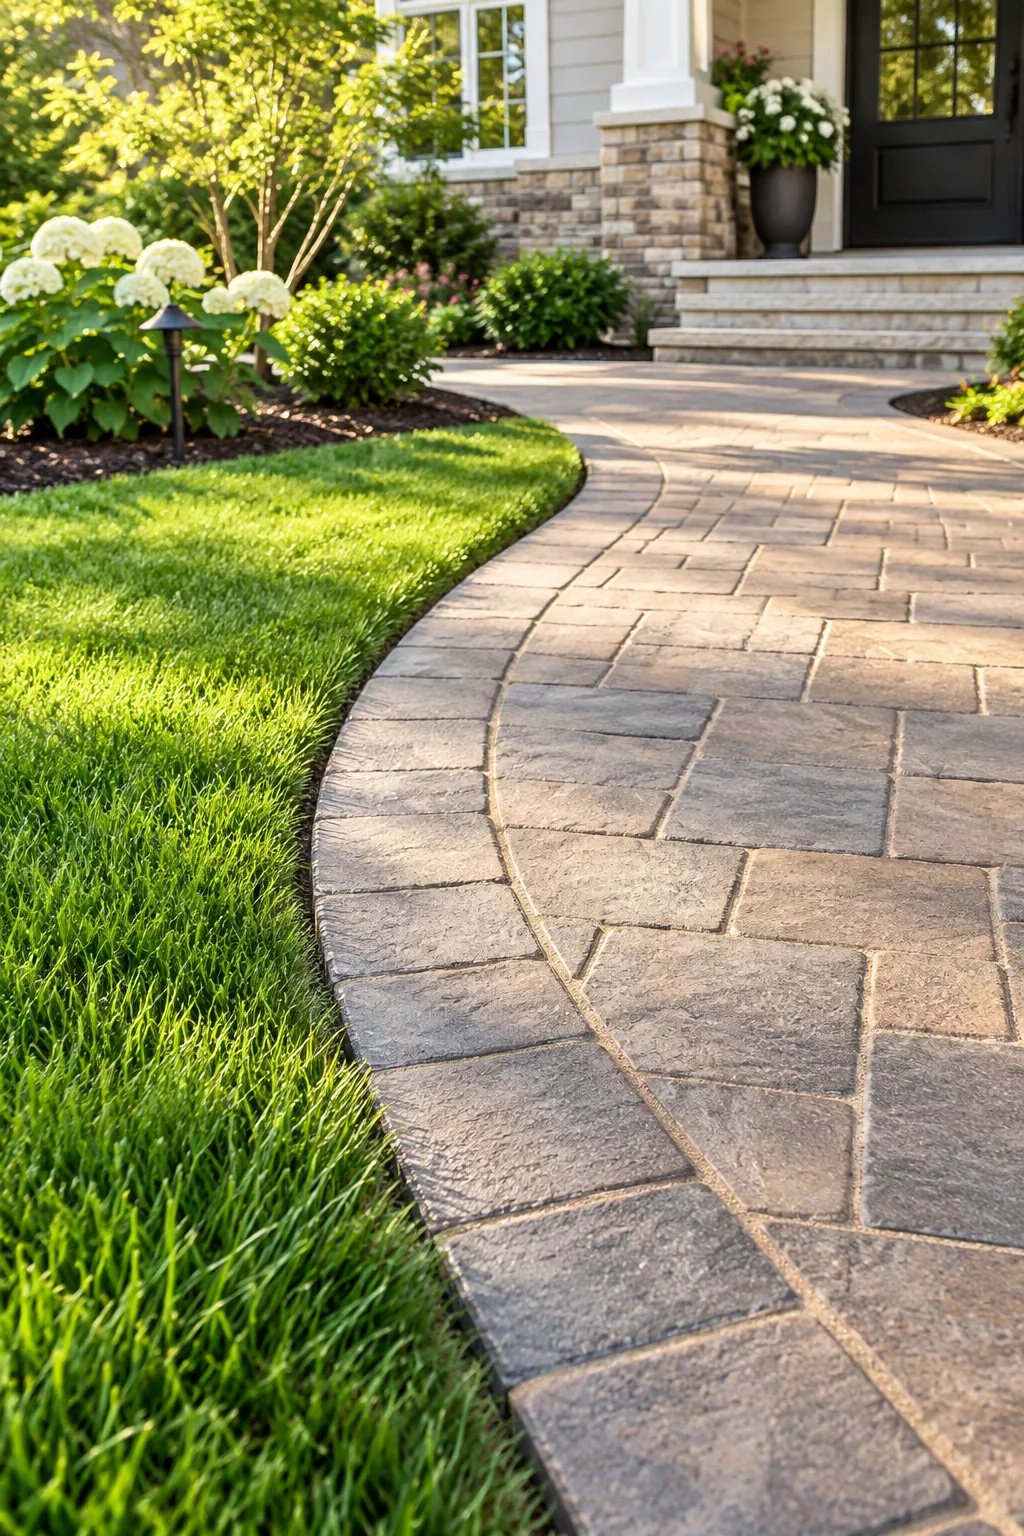
Secure this low-profile plastic or metal track with 10-inch steel spikes driven every two feet, allowing the lawn roots to eventually grow completely over the hardware.
Locking the Joints With Polymeric Sand
Filling the crisp gaps between the stones with polymeric joint sand is the final functional step to lock your hardscape together permanently. Once misted with water, the binding agents activate to create an impenetrable seal that blocks out stray seeds and lawn pests.
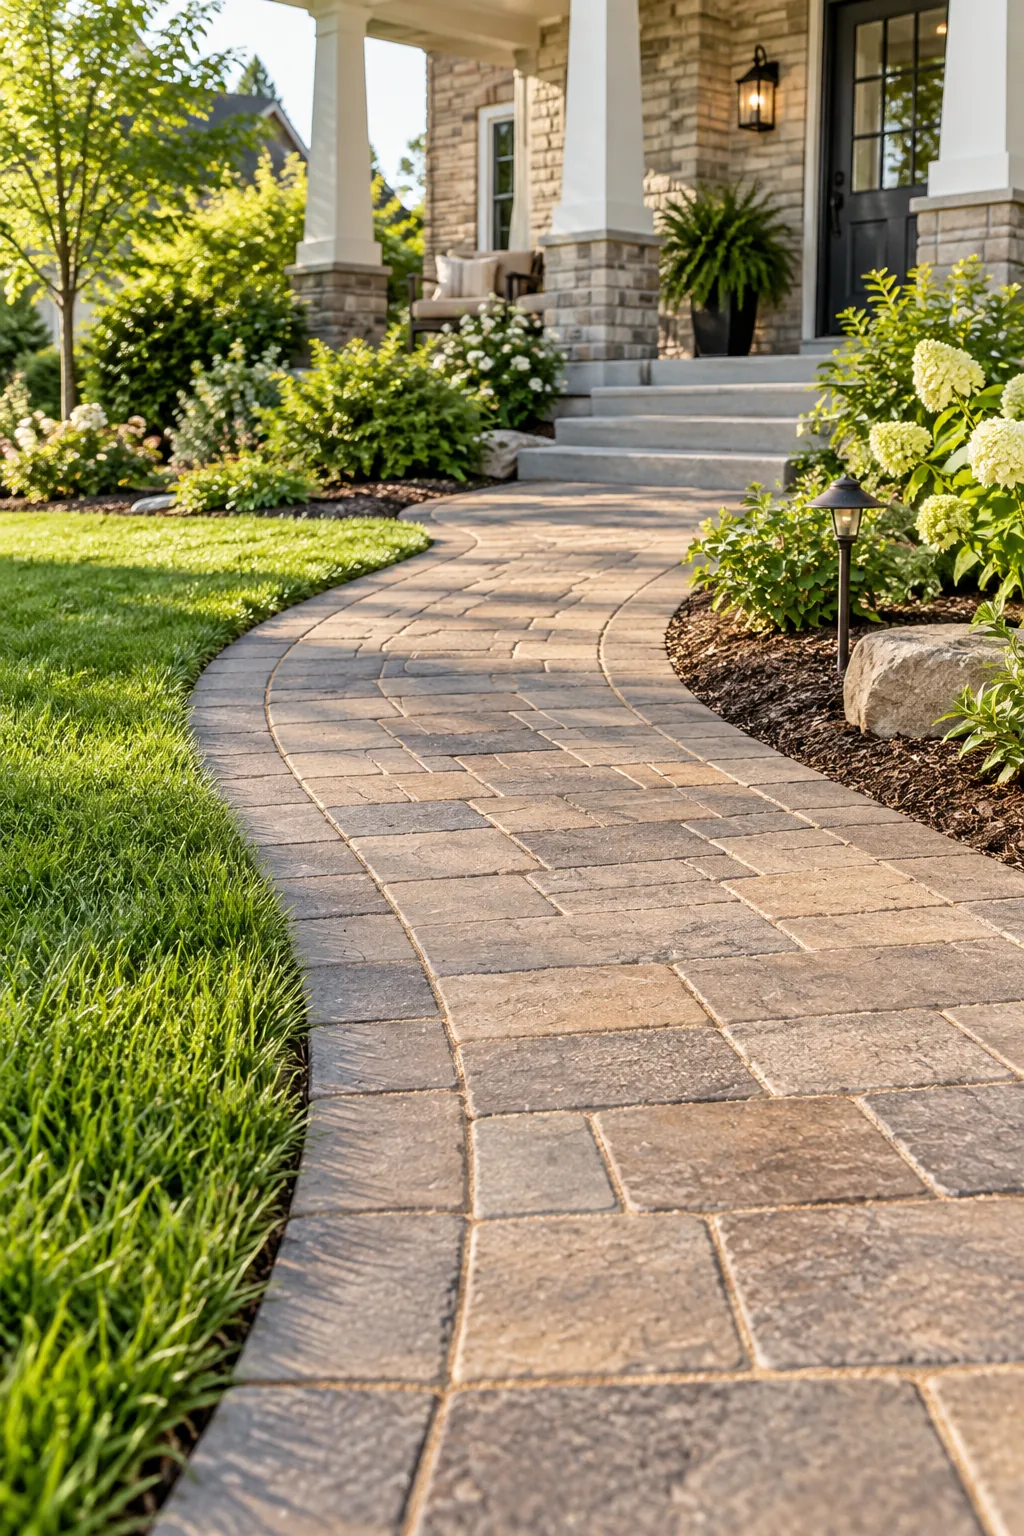
Applying the locking sand correctly ensures a solid bond without leaving a permanent haze on your beautiful new stones.
Planning Your Weekend Budget Build
Sequencing your work properly allows you to complete this entire hardscaping project within a standard weekend timeline without burning out. Dedicate your Saturday entirely to the heavy lifting of excavation, laying the gravel sub-base, and running the heavy plate compactor.
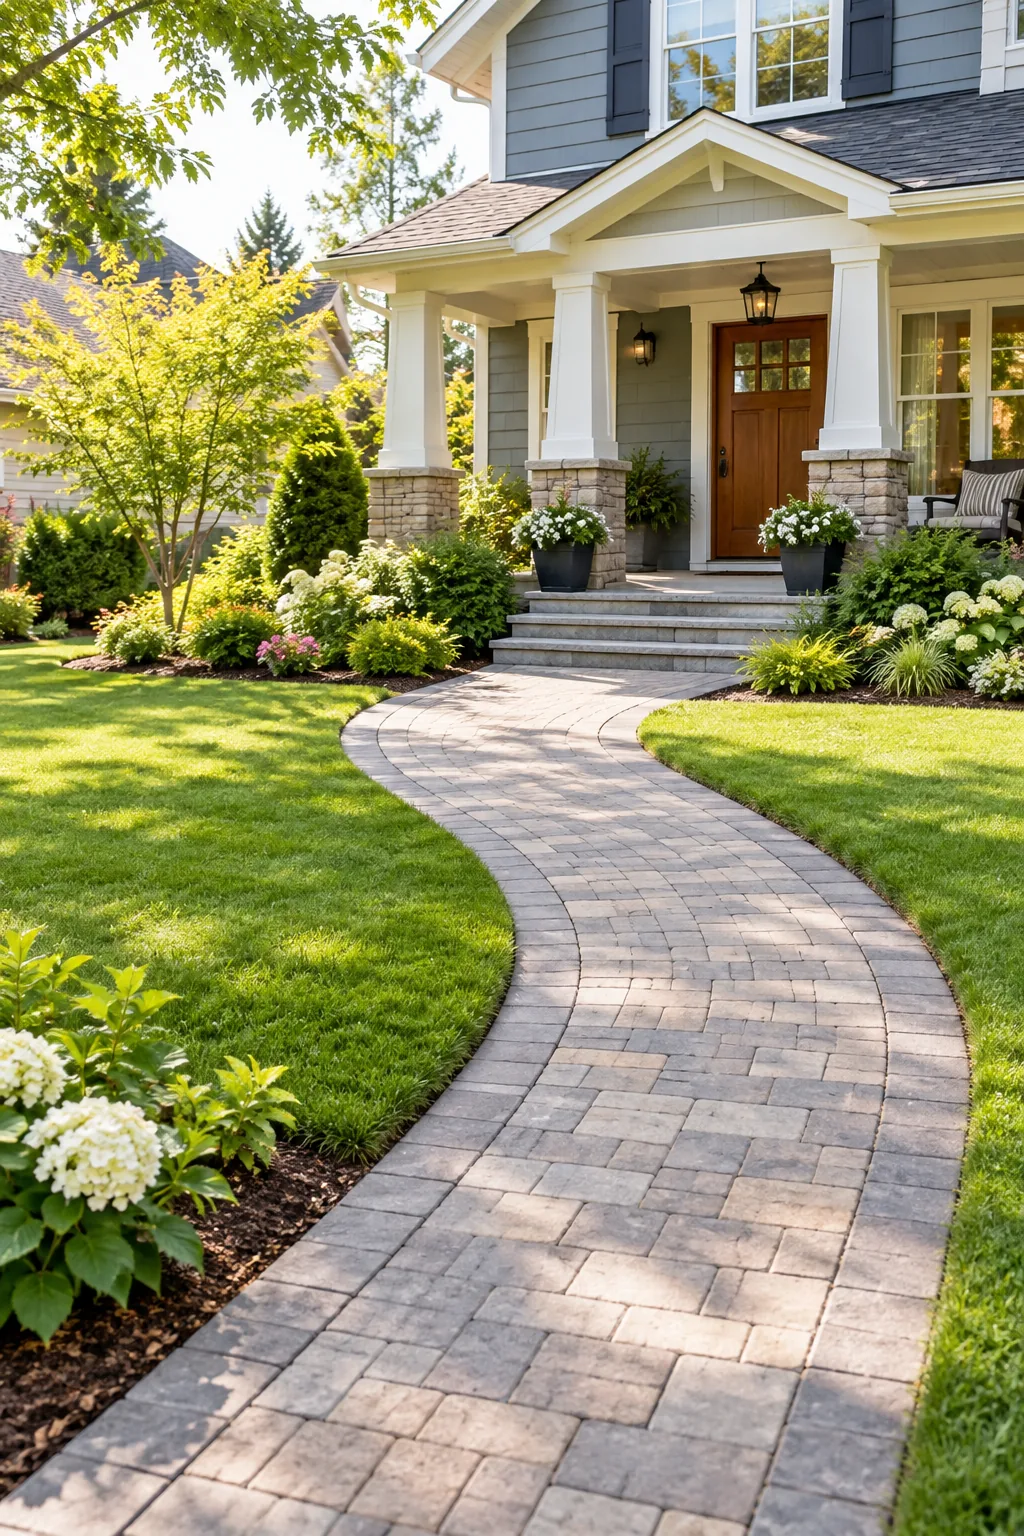
Leave Sunday for the rewarding, detailed work of laying the pattern, and follow this exact sequence to finish your path strong.
- Screed the one-inch concrete sand layer perfectly smooth across the base.
- Set the border row and lay the inner running bond stones.
- Spike down the edge restraints to lock the perimeter tight.
- Sweep in the joint sand and mist to activate the binders.
Walkway Styles to Inspire Your Build
Before you order materials, explore how different paver shapes and colors can completely change the mood of your front entry.
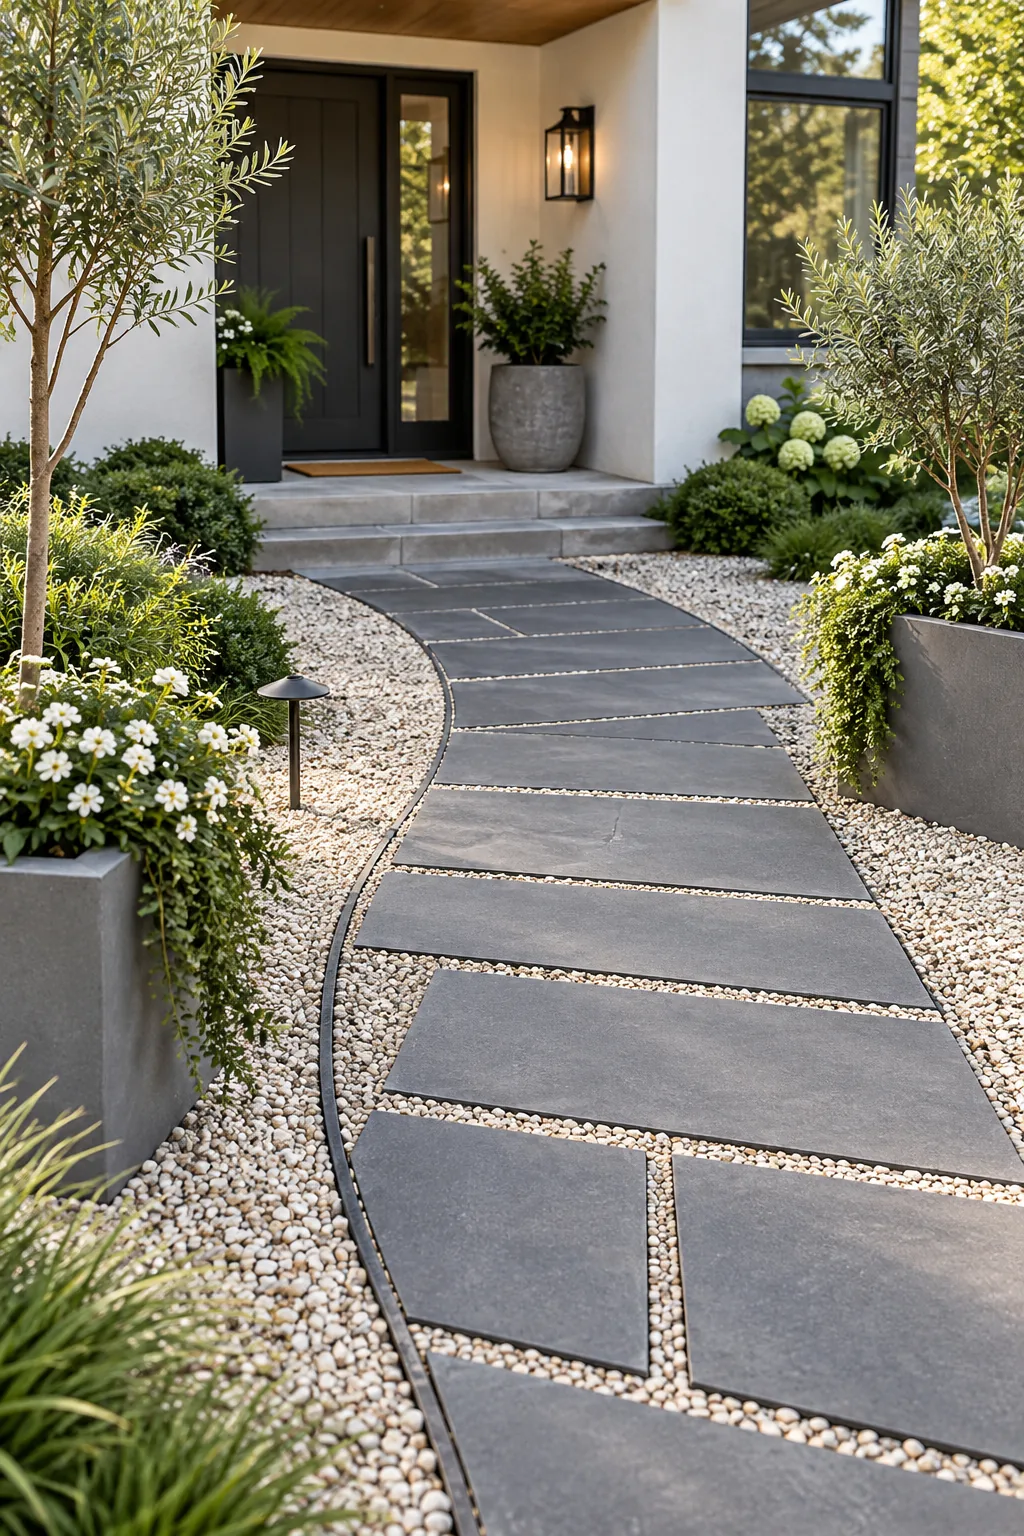
Modern Slate and Gravel: Large slate pavers set in contrasting light gravel create a striking modern path. Copy this look by using oversized geometric stones and minimalist edge restraints.
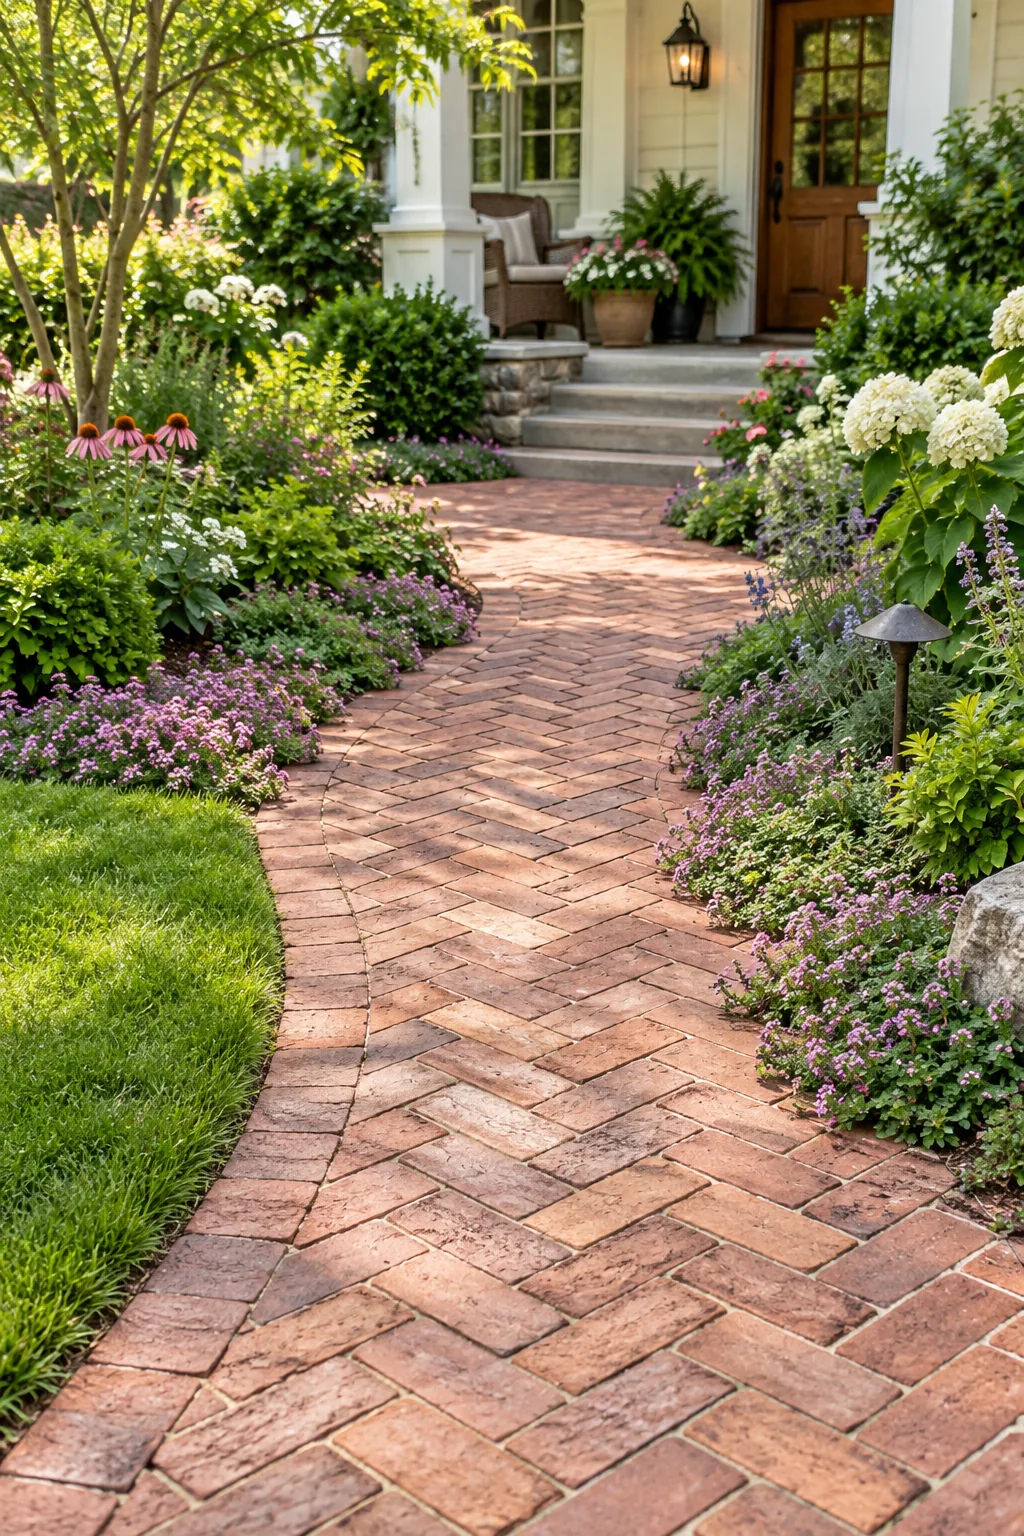
Classic Tumbled Red Brick: Tumbled red clay bricks laid in a classic herringbone bring instant cottage charm. Recreate this warmth by letting creeping thyme spill gently over the edges.
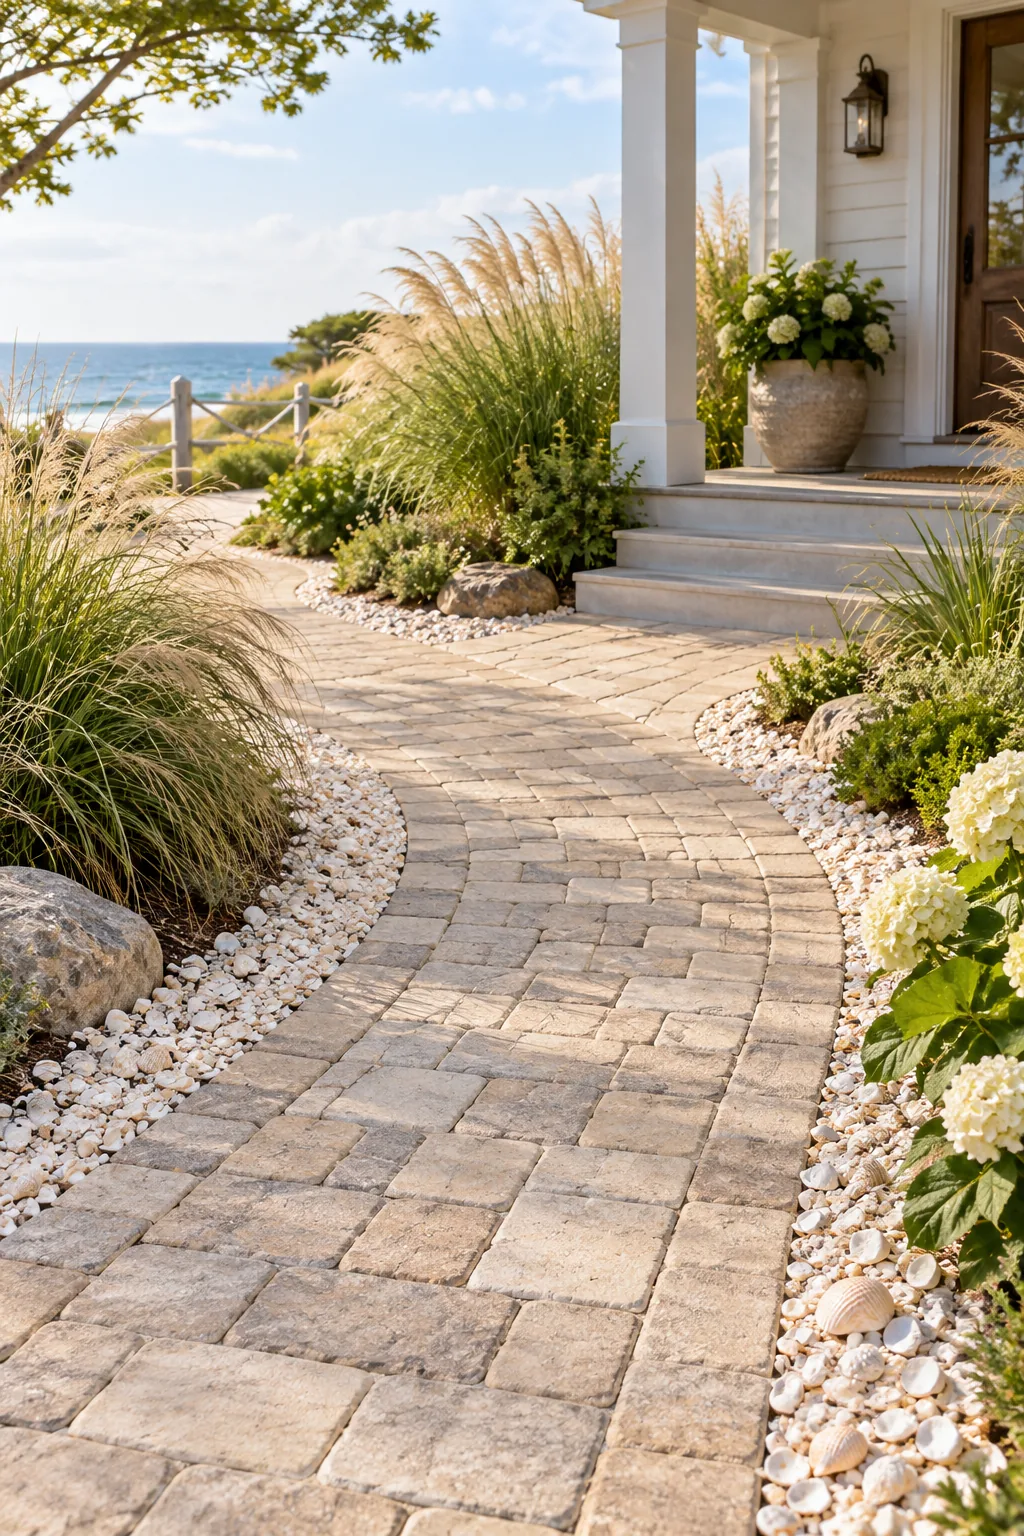
Coastal Tan Cobblestone: Light tan cobblestones paired with crushed shell borders evoke a breezy coastal feel. Achieve this relaxed aesthetic by mixing soft sandy hues with ornamental grasses.
Warm Tuscan Terracotta: Mixed terracotta and brown pavers offer a rich, sun-baked Tuscan atmosphere. Capture this inviting style by incorporating warm landscape lighting and fragrant rosemary bushes.