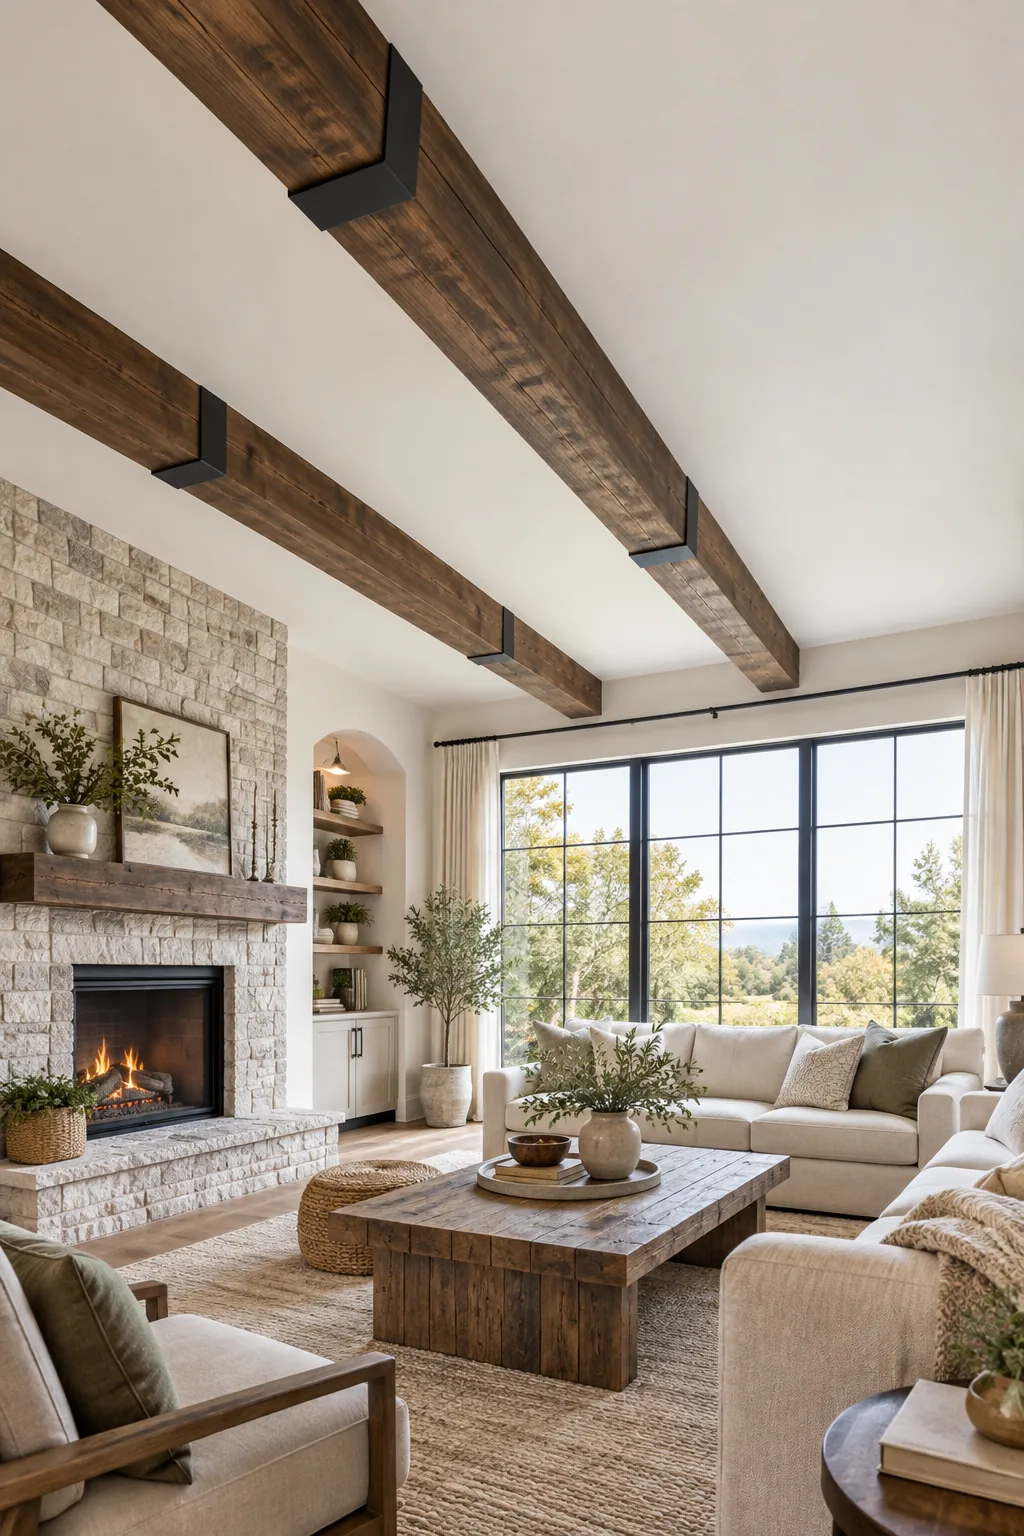
How to Build Faux Wood Ceiling Beams (Free Layout Worksheet)
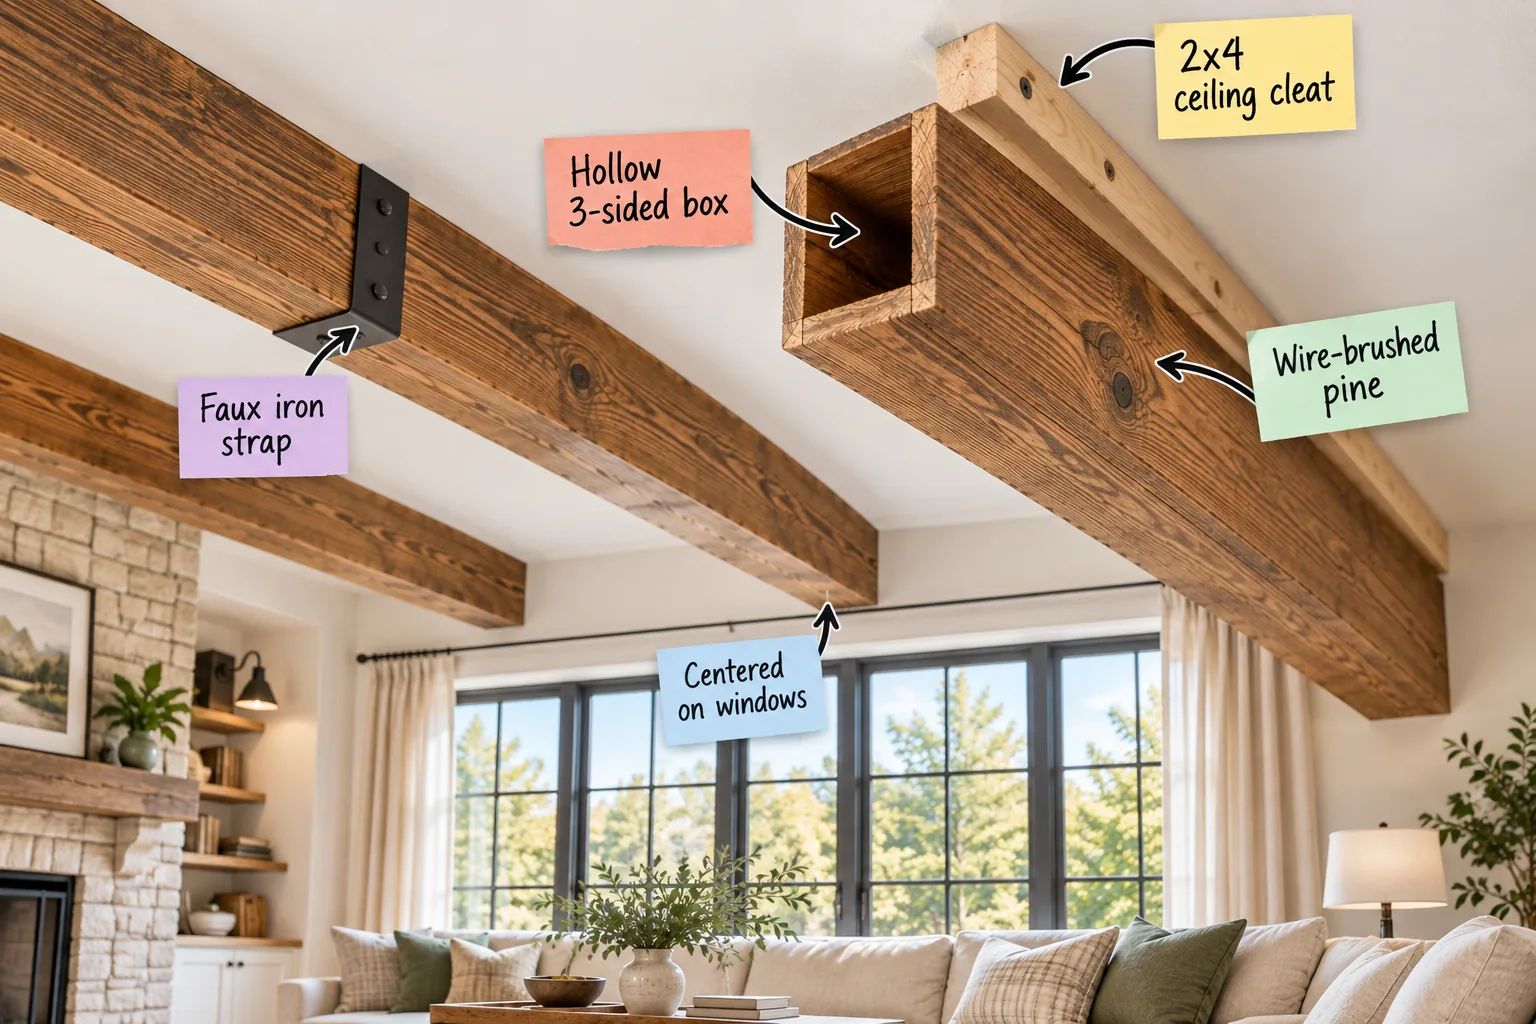
You will be able to calculate your beam spacing, mount the structural cleats, and install lightweight hollow wood beams that look completely solid using our free beam layout and spacing calculation worksheet.
Planning Your Beam Spacing
To divide your ceiling evenly, grab the beam layout and spacing calculation worksheet to determine the exact gaps based on your room and beam widths. In my own living room, aiming for the standard 36 to 60 inches apart made the space feel incredibly balanced.
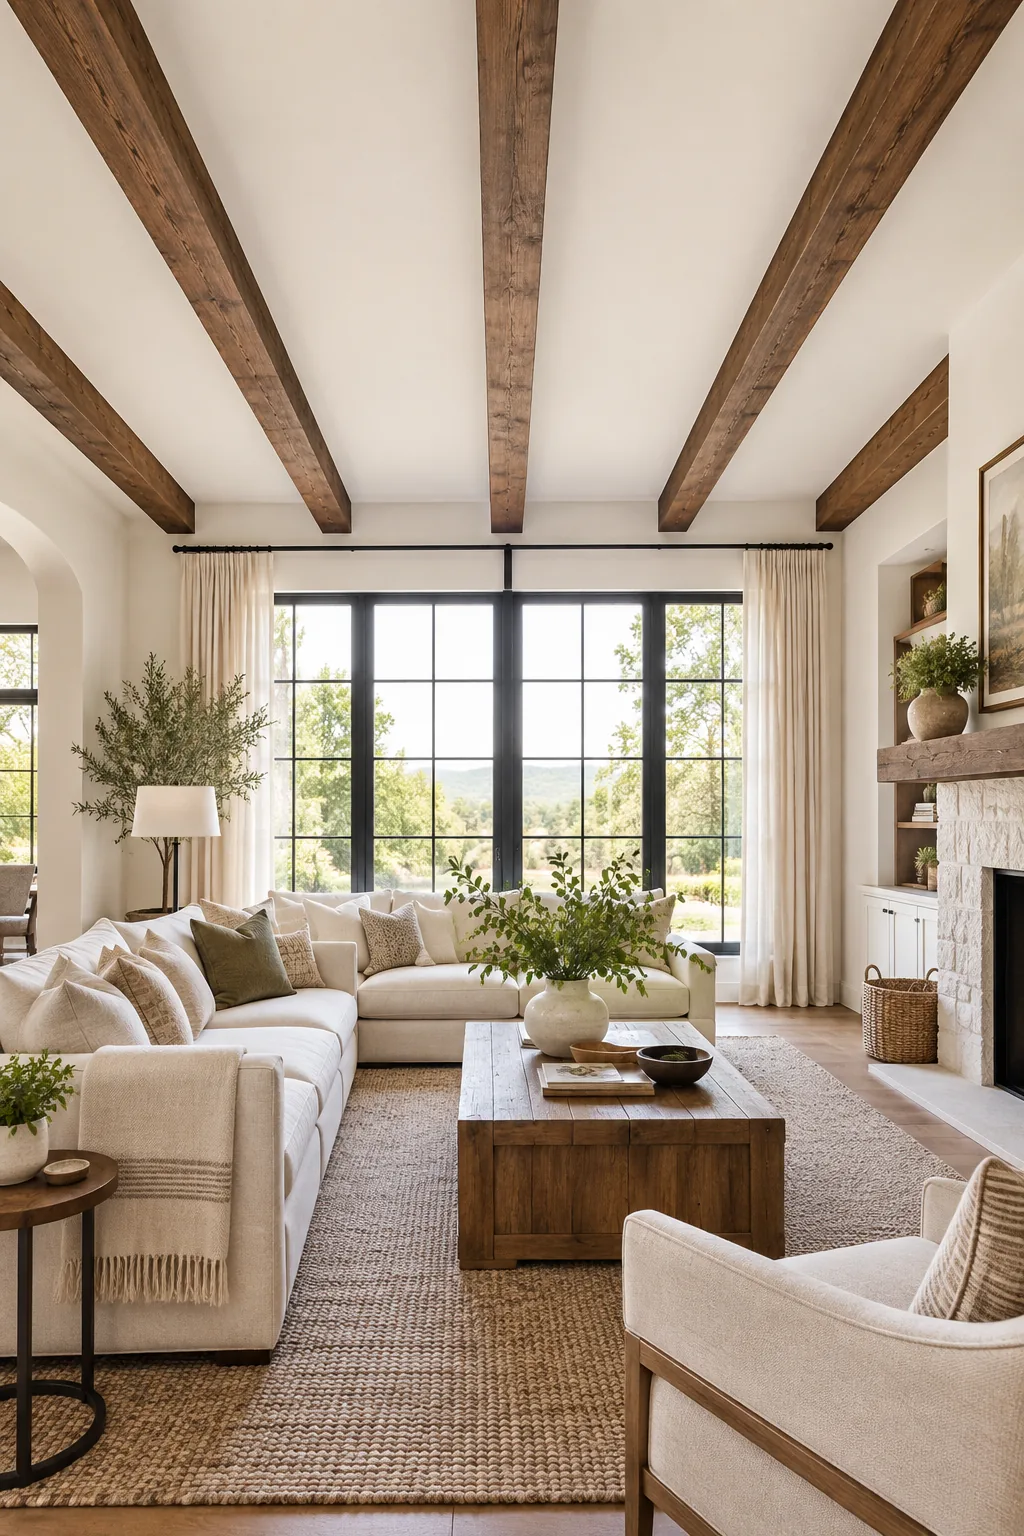
Before you finalize your spacing numbers on the worksheet, verify these structural details to ensure a safe and symmetrical installation.
Aligning with Room Architecture
Your calculated grid must relate to the room’s existing features by keeping beams centered on windows, fireplaces, or French doors. When I aligned my center beam with our large picture window, it instantly anchored the entire design and created perfect visual harmony.
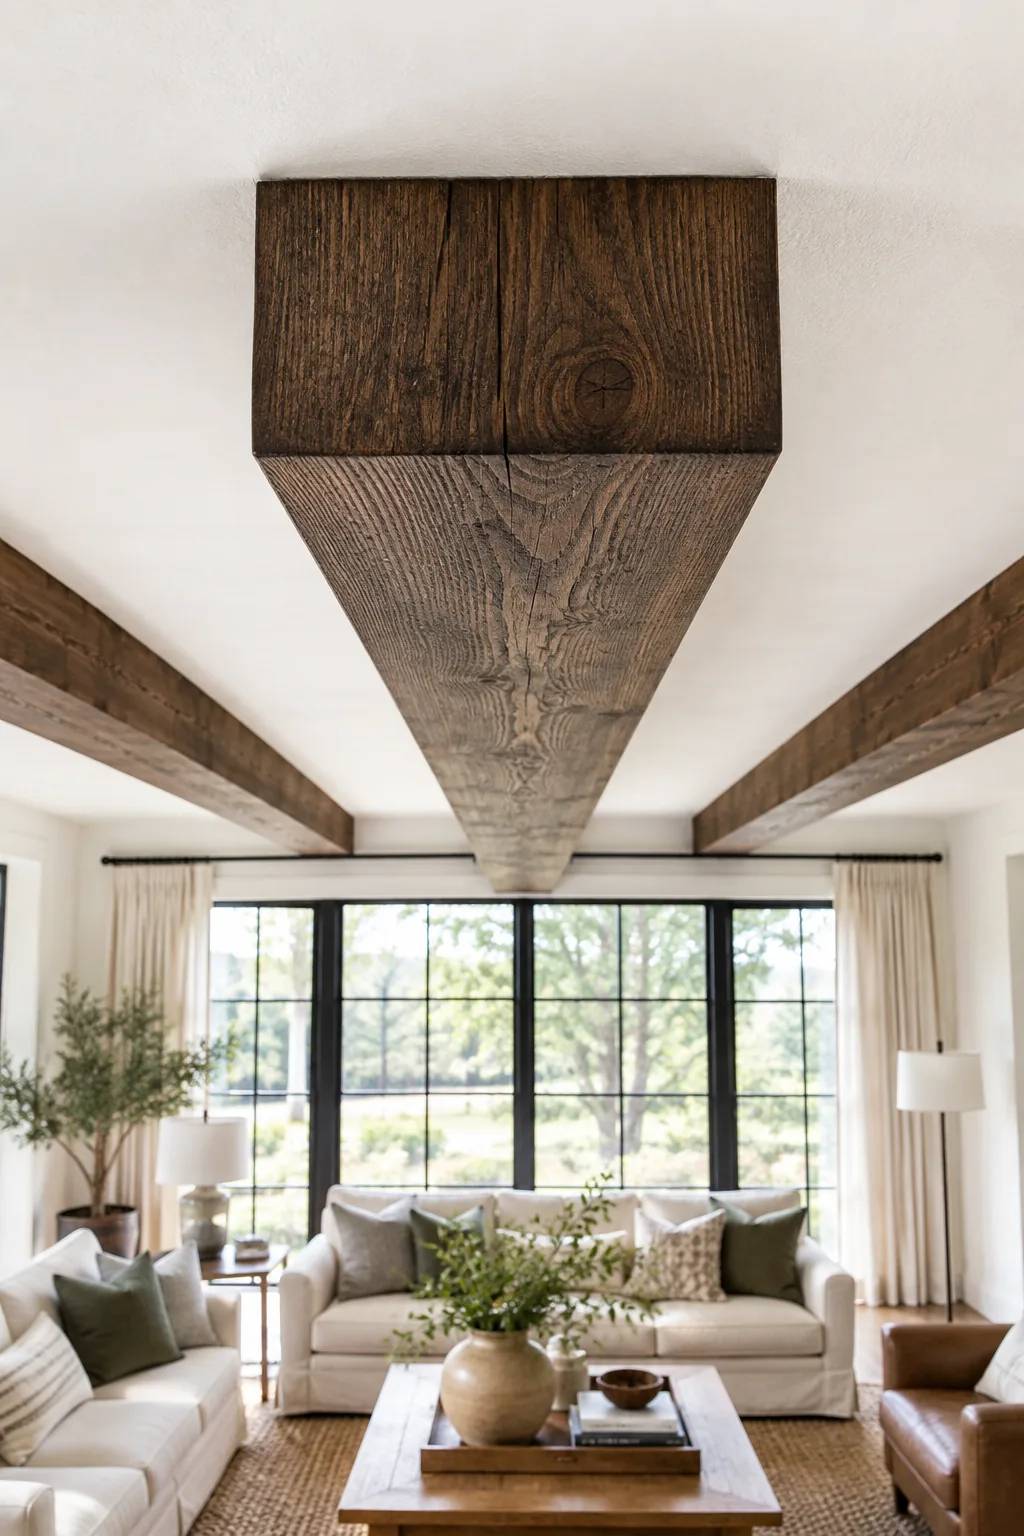
Sizing Your Materials
Scaling your hollow boxes correctly ensures they do not overwhelm your ceiling height. Match your lumber choices to the room’s proportions for the most natural, structural appearance.
| Ceiling Height | Recommended Board Size | Visual Impact |
|---|---|---|
| 8 feet | 1×4 boards | Subtle and low-profile |
| 9 to 10 feet | 1×6 boards | Classic structural scale |
| 11+ feet or vaulted | 1×8 boards | Bold and architectural |
Installing the Mounting Cleats
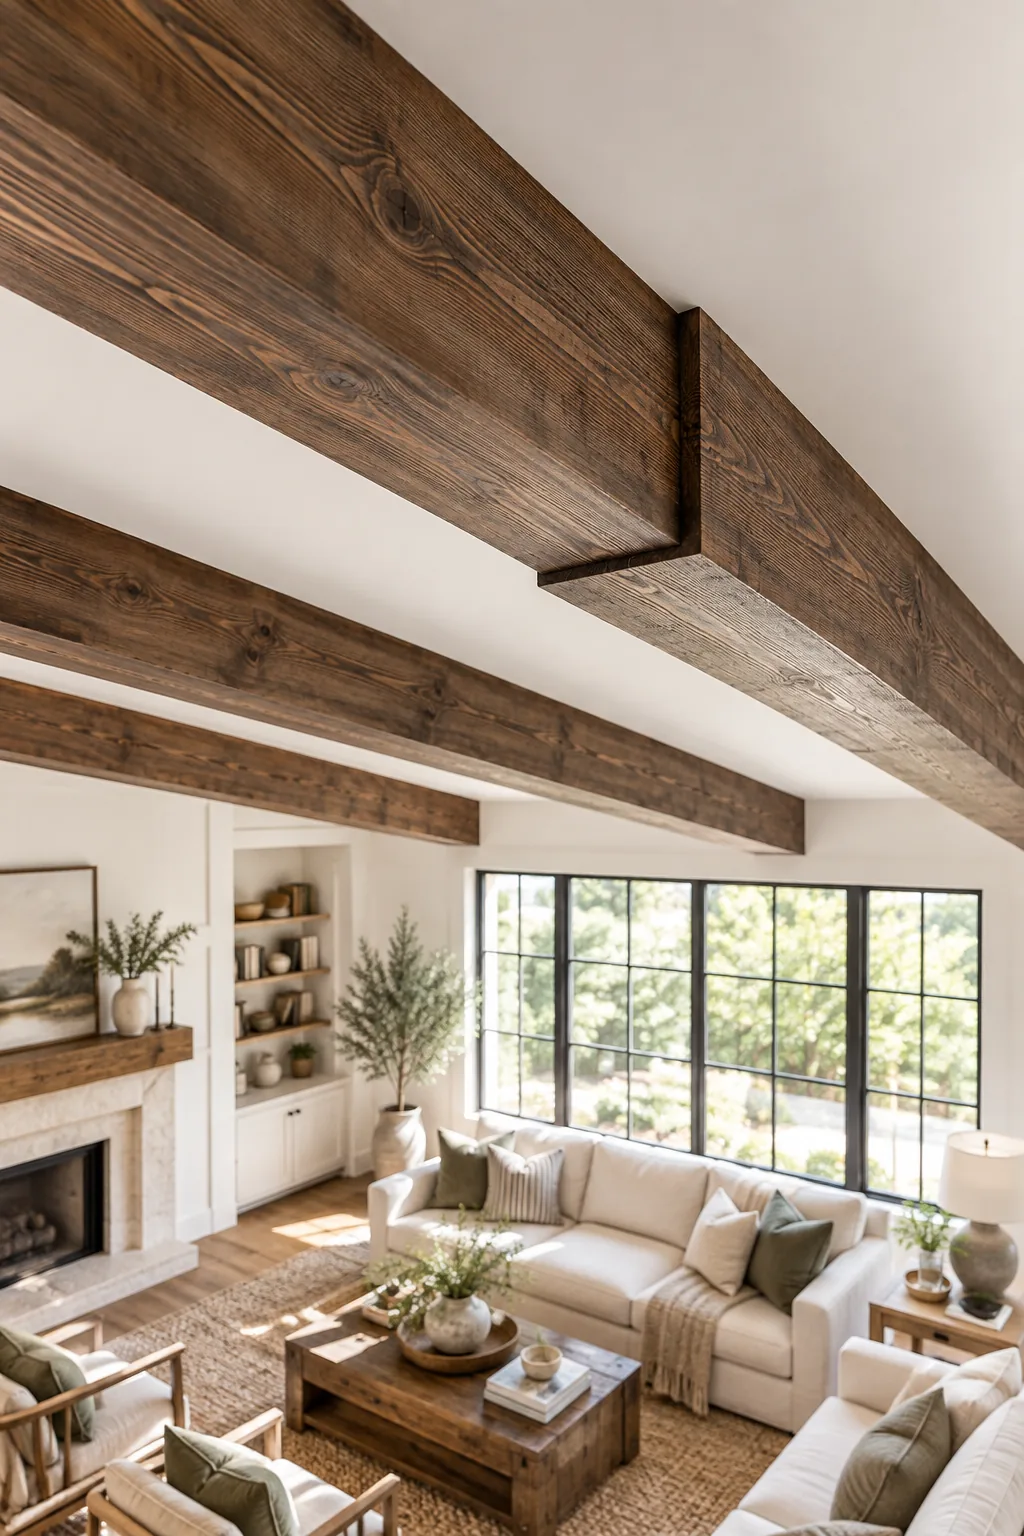
The secret to this hidden support system is a 2×4 ceiling cleat screwed directly into the ceiling joists with 3-inch wood screws. The outer width of this raw wood block must perfectly match the inner width of your hollow beam for a snug friction fit.
Building the U-Shaped Shell
Constructing a hollow 3-sided box from three lightweight 1×6 boards reduces weight dramatically compared to solid timber. Joining them with wood glue and 18-gauge brad nails into a U-shape makes overhead installation safe and manageable.
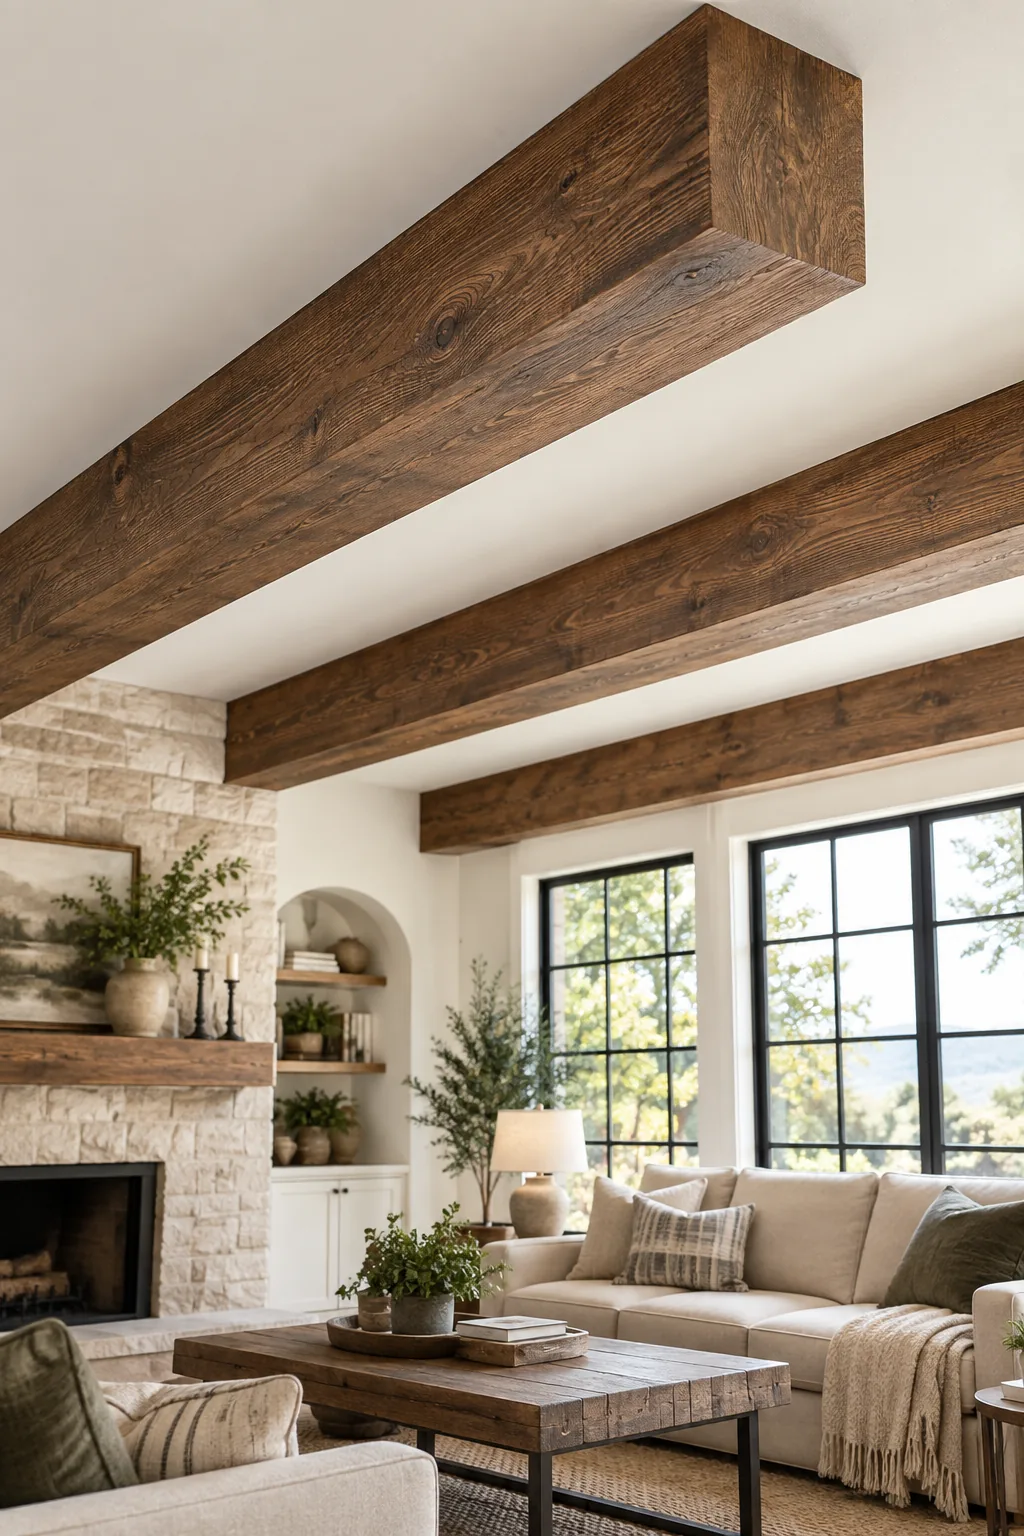
Constructing the hollow shell requires precision; avoid these common assembly errors to keep the structure lightweight and seamless.
Choosing the Right Wood Texture
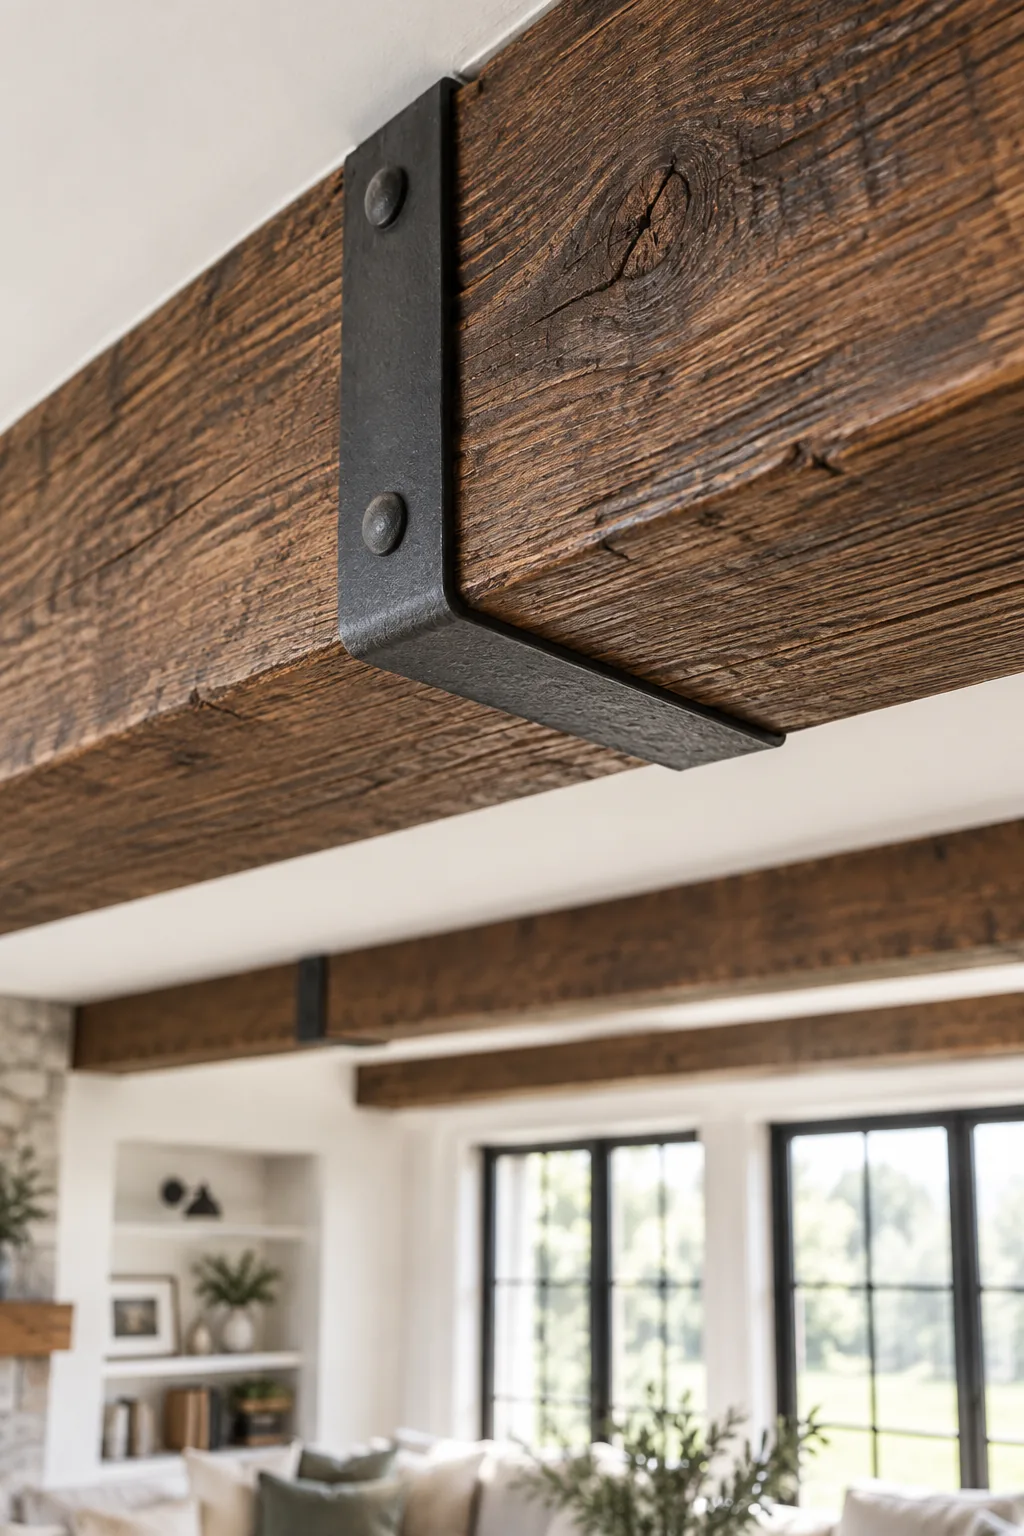
For a material finish that mimics aged, reclaimed timber, wire-brushed pine is the absolute best choice. I used a wire brush attachment on my drill to remove the soft wood, leaving a raised, tactile grain that looks incredible with a dark walnut stain.
Ceiling Beam Styles for Every Room
Explore how different wood tones, sizes, and room settings can completely change the impact of faux beams.
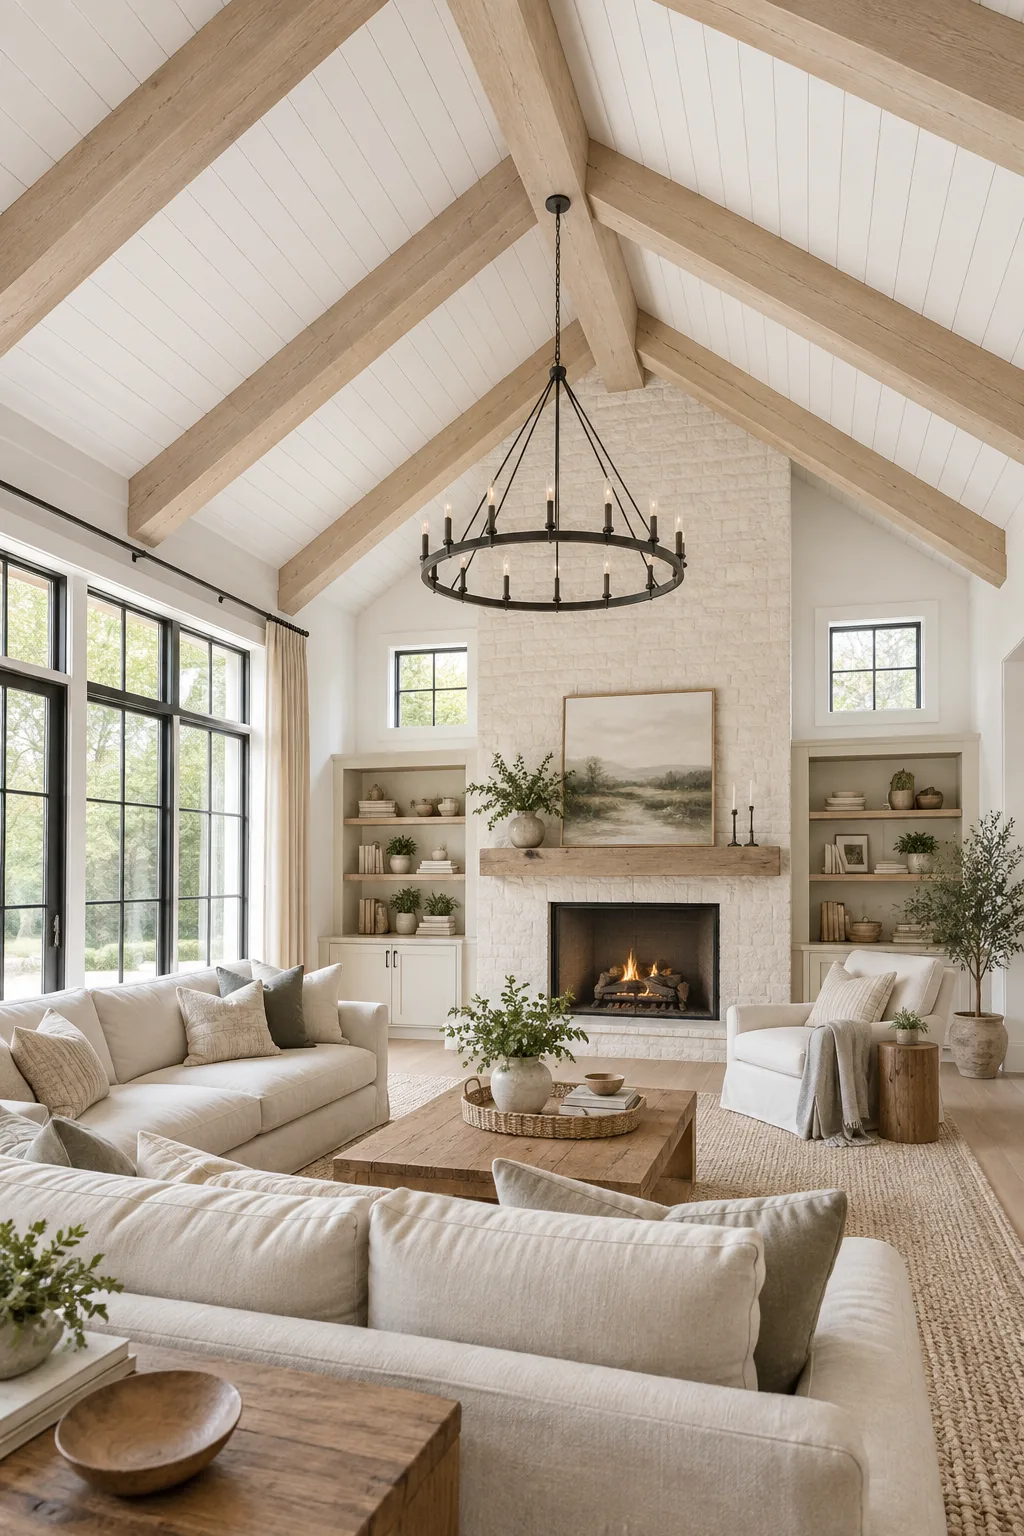
Modern Farmhouse White Oak: Pale oak tones keep a vaulted ceiling feeling light and airy while adding necessary warmth to an all-white room.
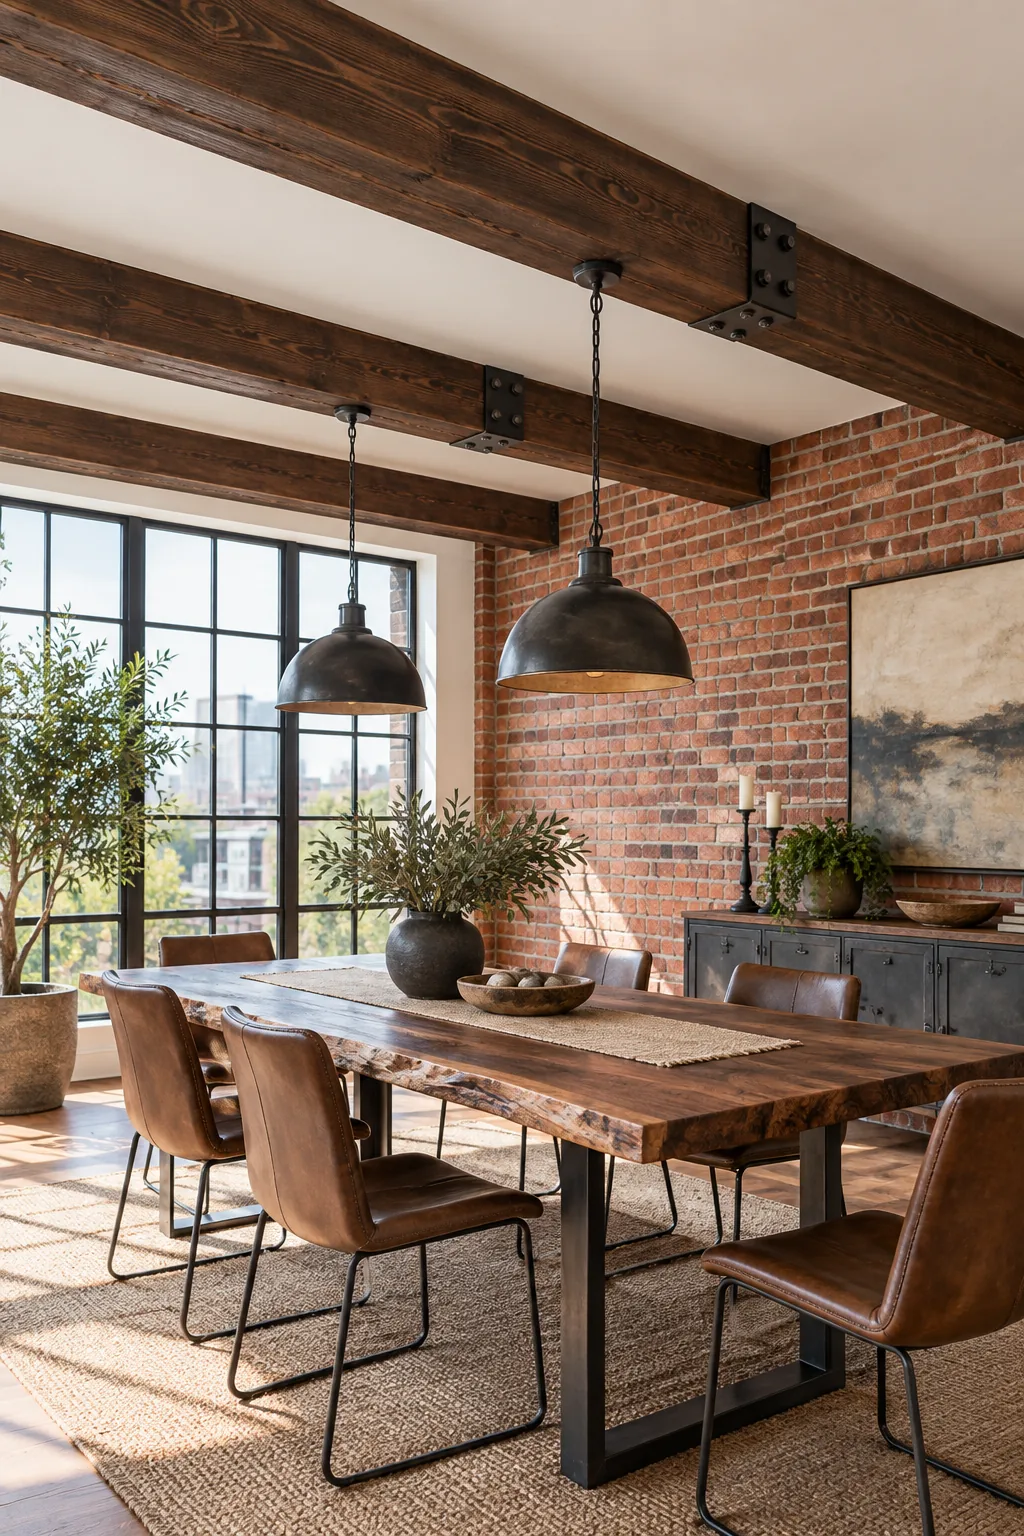
Industrial Loft Walnut: Adding faux lag bolts to dark stained beams creates an authentic warehouse aesthetic that pairs perfectly with exposed brick.
Coastal Cottage Driftwood: A heavily diluted whitewash over wire-brushed pine mimics the look of sun-bleached driftwood for a relaxed coastal vibe.

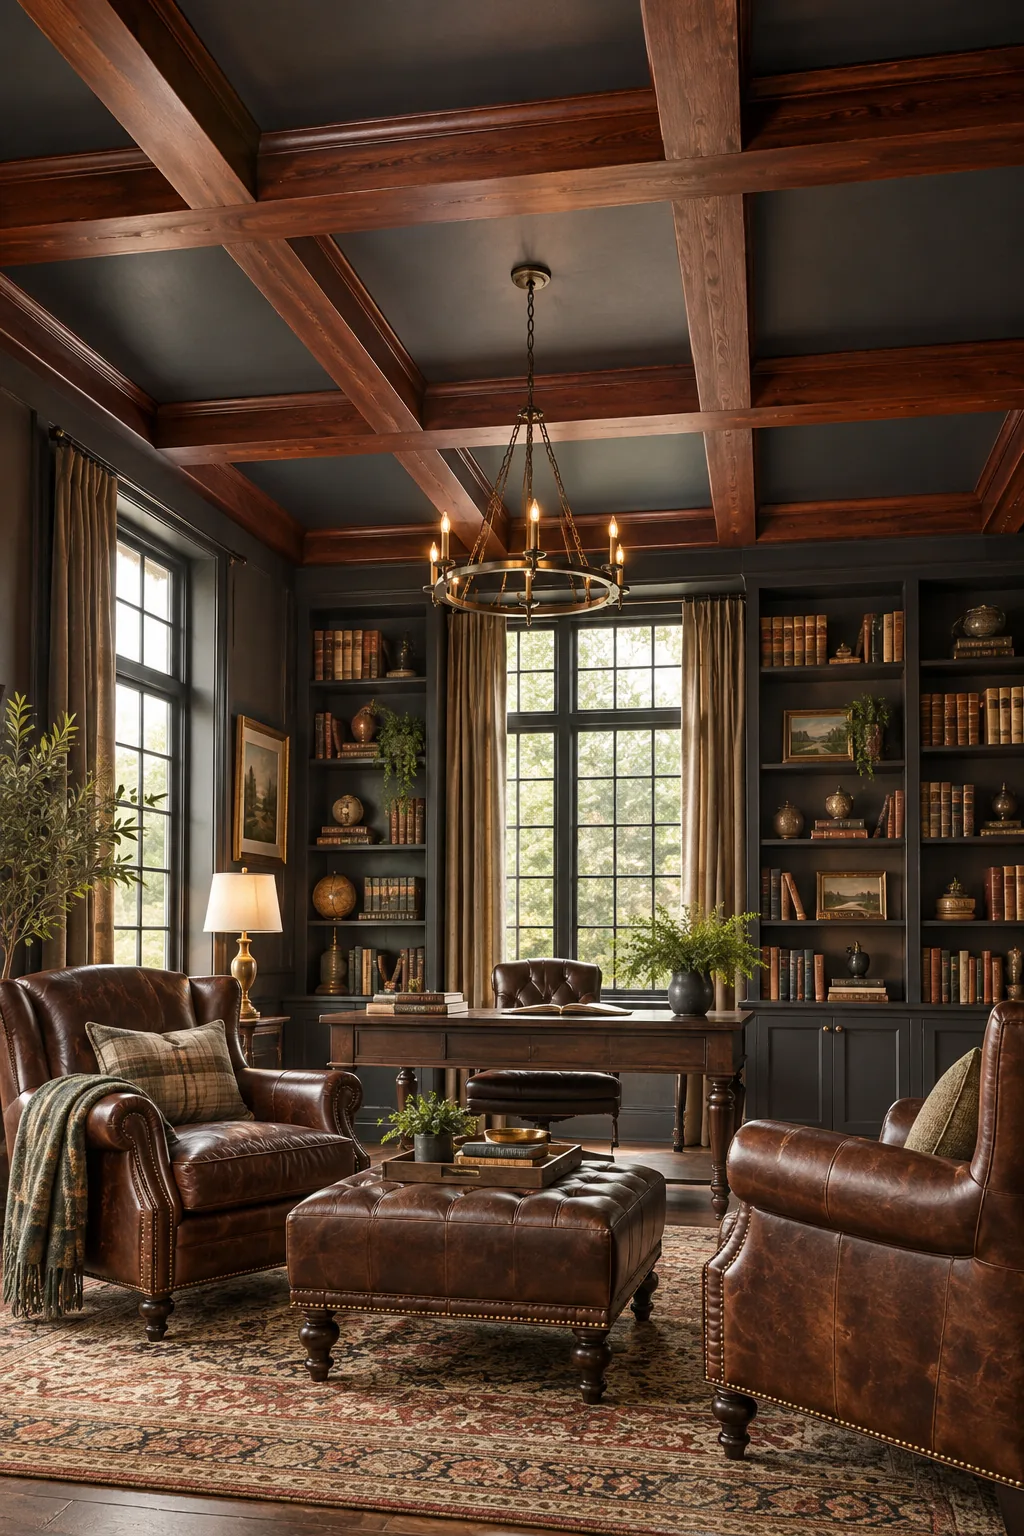
Traditional Tudor Mahogany: Intersecting hollow boxes can be used to build a classic coffered ceiling grid that adds formal elegance to a study.
Minimalist Scandi Ash: Skipping the wire-brushing step and using smooth boards creates clean, modern lines suitable for minimalist Scandinavian interiors.

Concealing Joints with Hardware
In long rooms where standard boards cannot span the entire ceiling, wrap a faux iron strap around the finished beam to hide the butt seam perfectly. This simple black metal band eliminates the need for wood filler while adding authentic rustic character.