
Small Deck Seating: The 10×10 Bench Layout & Size Sheet
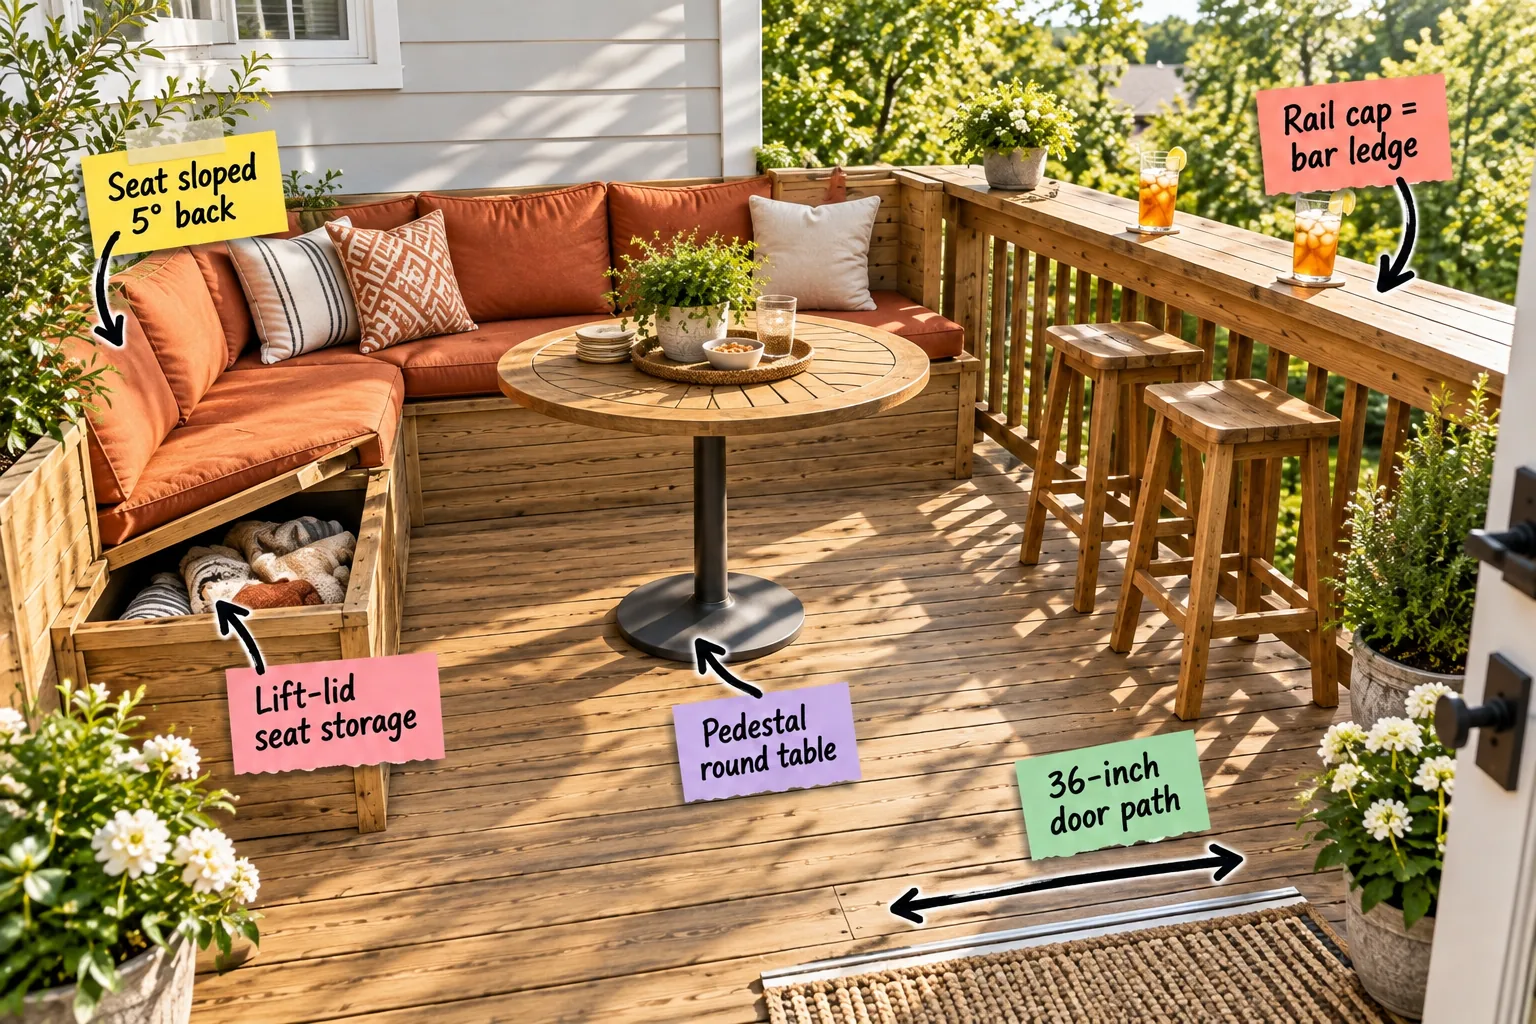
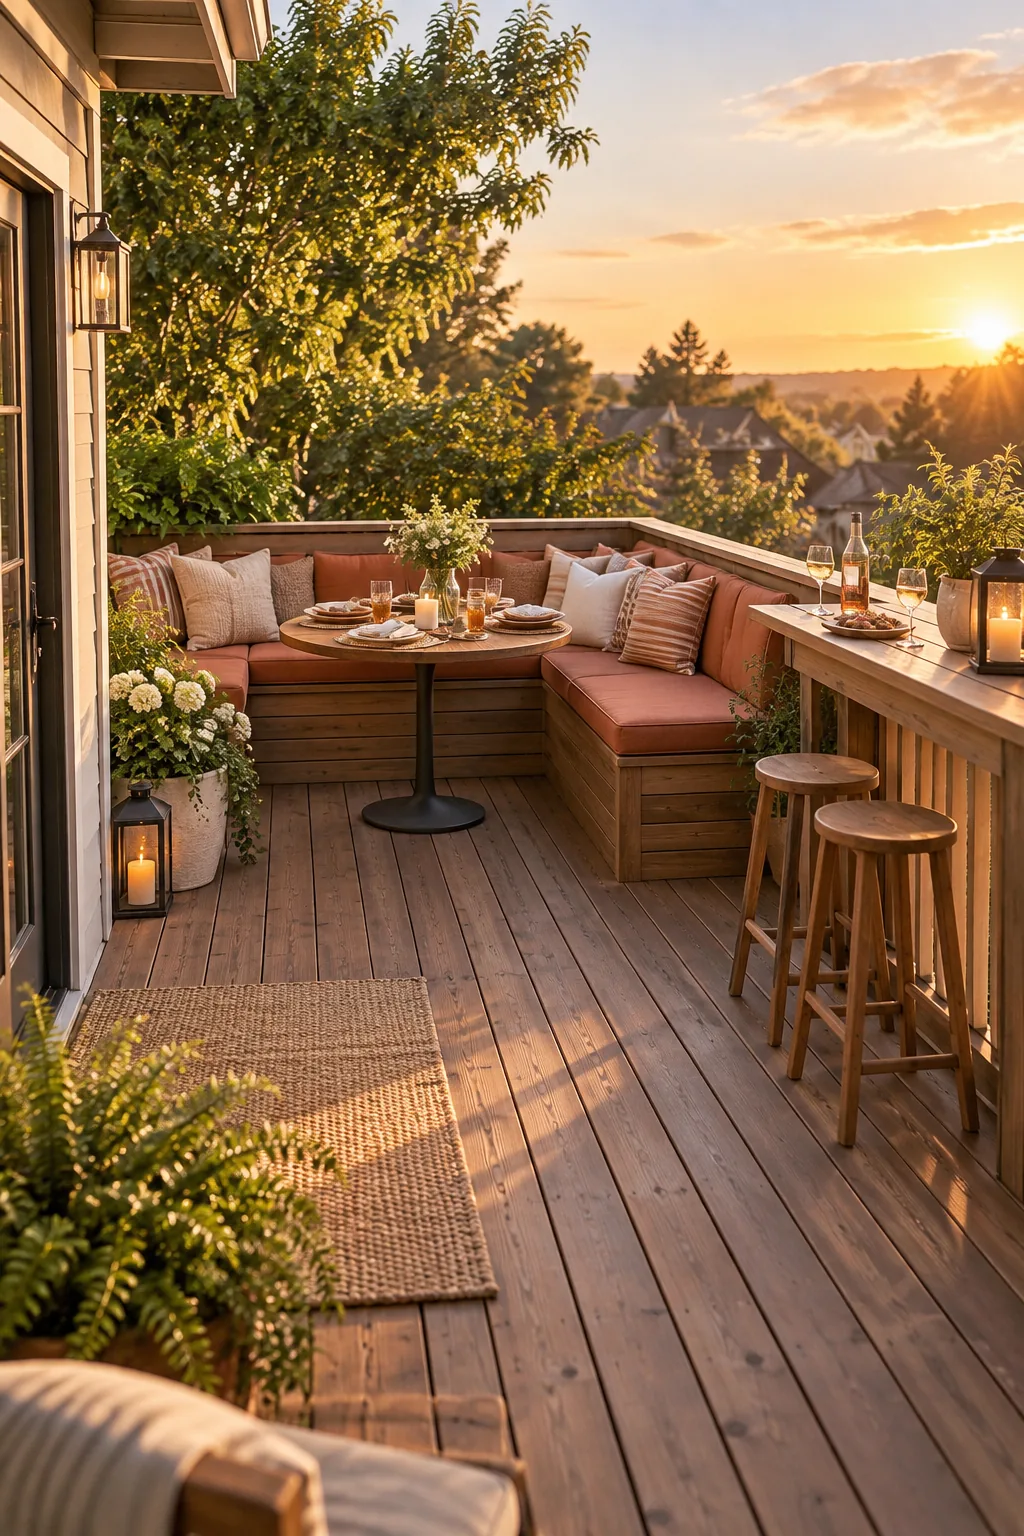
You can absolutely host a crowd in a tiny outdoor space without feeling cramped, and you will be able to map out your exact deck measurements and download my complete printable size sheet to build a corner bench and railing bar that comfortably fits six guests.
Keep the Door Path Clear
The very first rule of small-space layout is maintaining a strict 36-inch door path from your back door threshold to the nearest edge of the table. This specific measurement ensures unimpeded traffic flow when carrying heavy trays of food or drinks outside.
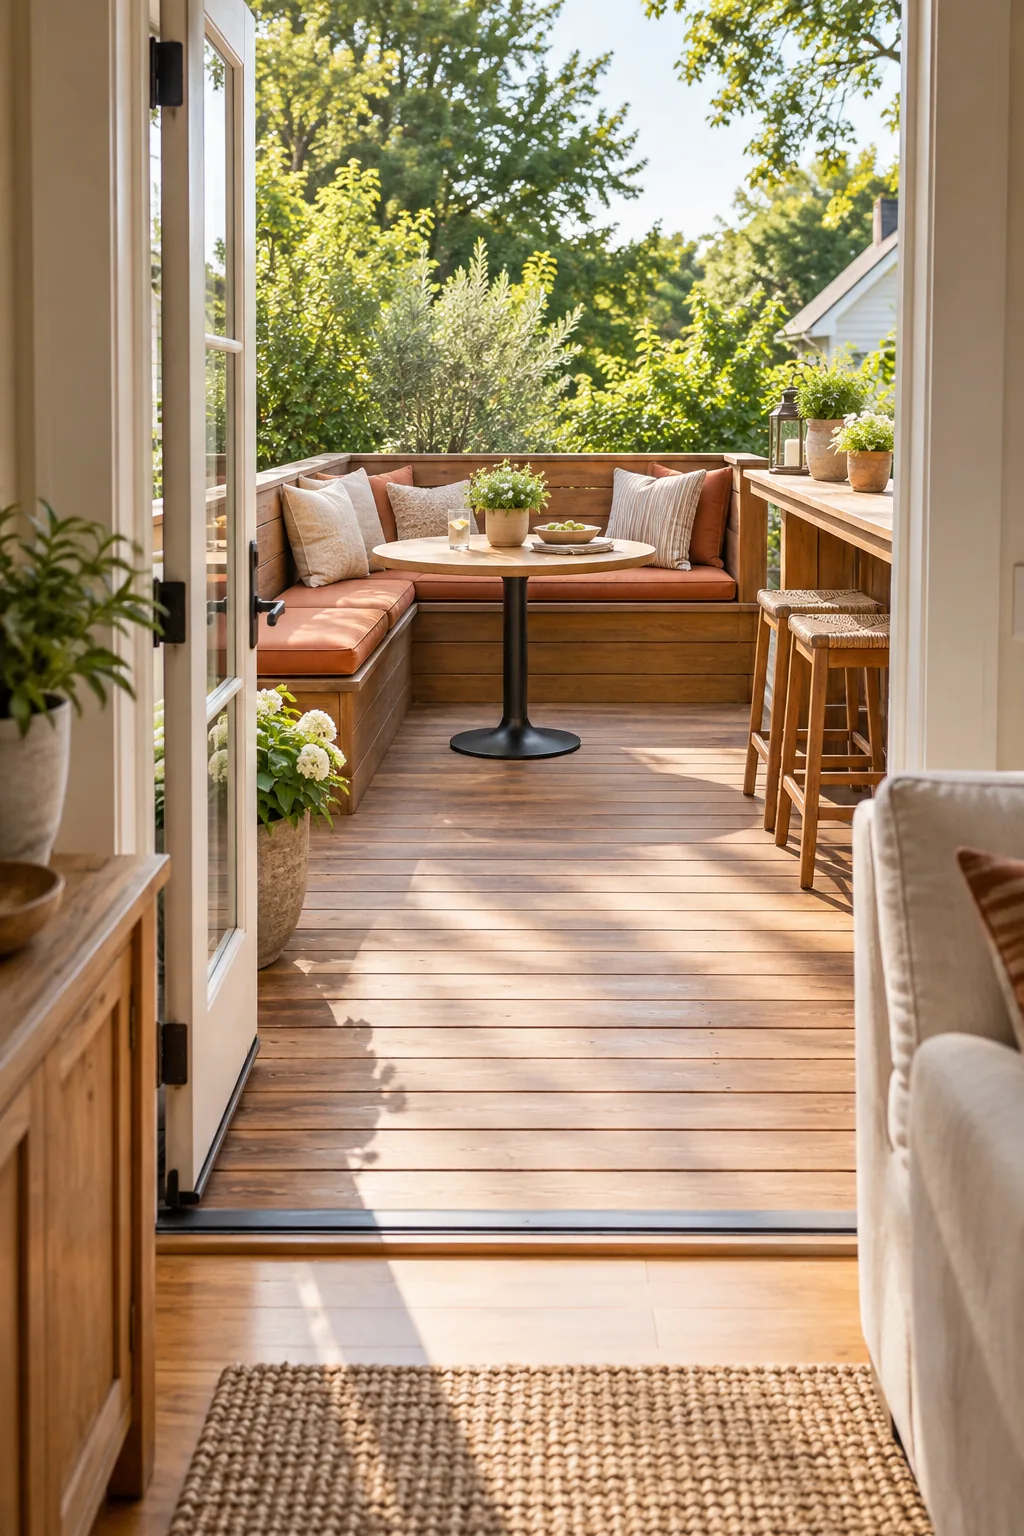
Leaving this channel completely empty prevents a frustrating bottleneck right where your indoor and outdoor living areas connect. You want your guests to step outside and immediately feel a sense of open, welcoming space, rather than dodging awkward chair legs.
Account for the Door Swing Radius
Before locking in your permanent dining footprint, you must verify exactly how your back door operates to protect that crucial pathway.
- Open your door fully and measure from the hinge to the outer edge to find the exact swing radius.
- Mark this arc directly on your deck boards with chalk so you can clearly visualize the required clearance zone.
- Add an extra six-inch buffer zone beyond the chalk line before placing your first piece of furniture.
Anchor the Space with a Pedestal Table
A single center base is absolutely crucial for bench seating because a pedestal round table eliminates the four corner legs that cause constant knee-bumping. This simple swap makes it significantly easier for your guests to slide into those deep corner spots.
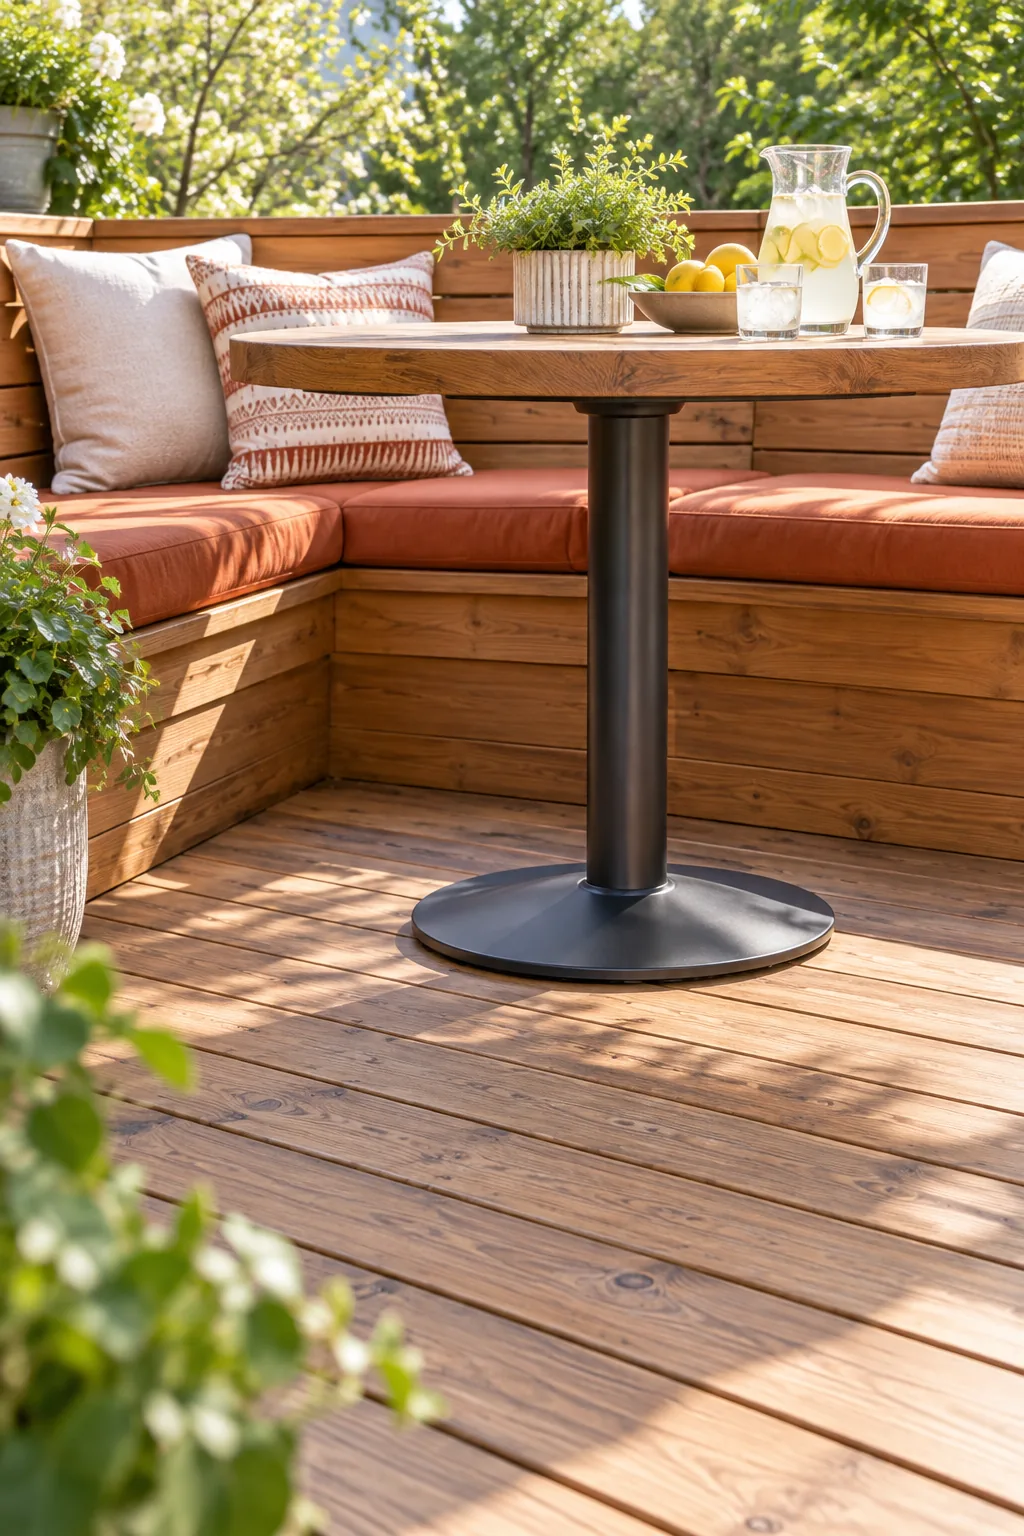
Without bulky outer legs blocking the way, you can pack more people around the perimeter while maintaining a clean, uncluttered visual line across your deck floor. It instantly makes a tight dining zone feel intentionally designed rather than overcrowded.
Select the Right Table Diameter
Choosing the correct table size prevents your dining setup from overpowering the built-in seating while still leaving enough surface area for dinner plates and centerpieces. Do not exceed a 42-inch maximum diameter on a tiny deck.
| Diameter | Best For | Clearance Needed |
|---|---|---|
| 36 inches | Drinks and appetizers | Minimal |
| 40 inches | Casual dinner plates | Moderate |
| 42 inches | Full family-style meals | Maximum |
Maximize Corners with an L-Shaped Bench
Pushing your primary seating to the perimeter instantly opens up the center of a small deck for much better circulation. An L-shaped built-in bench utilizes the blind corner to seat three to four people continuously without the visual clutter of individual chairs.
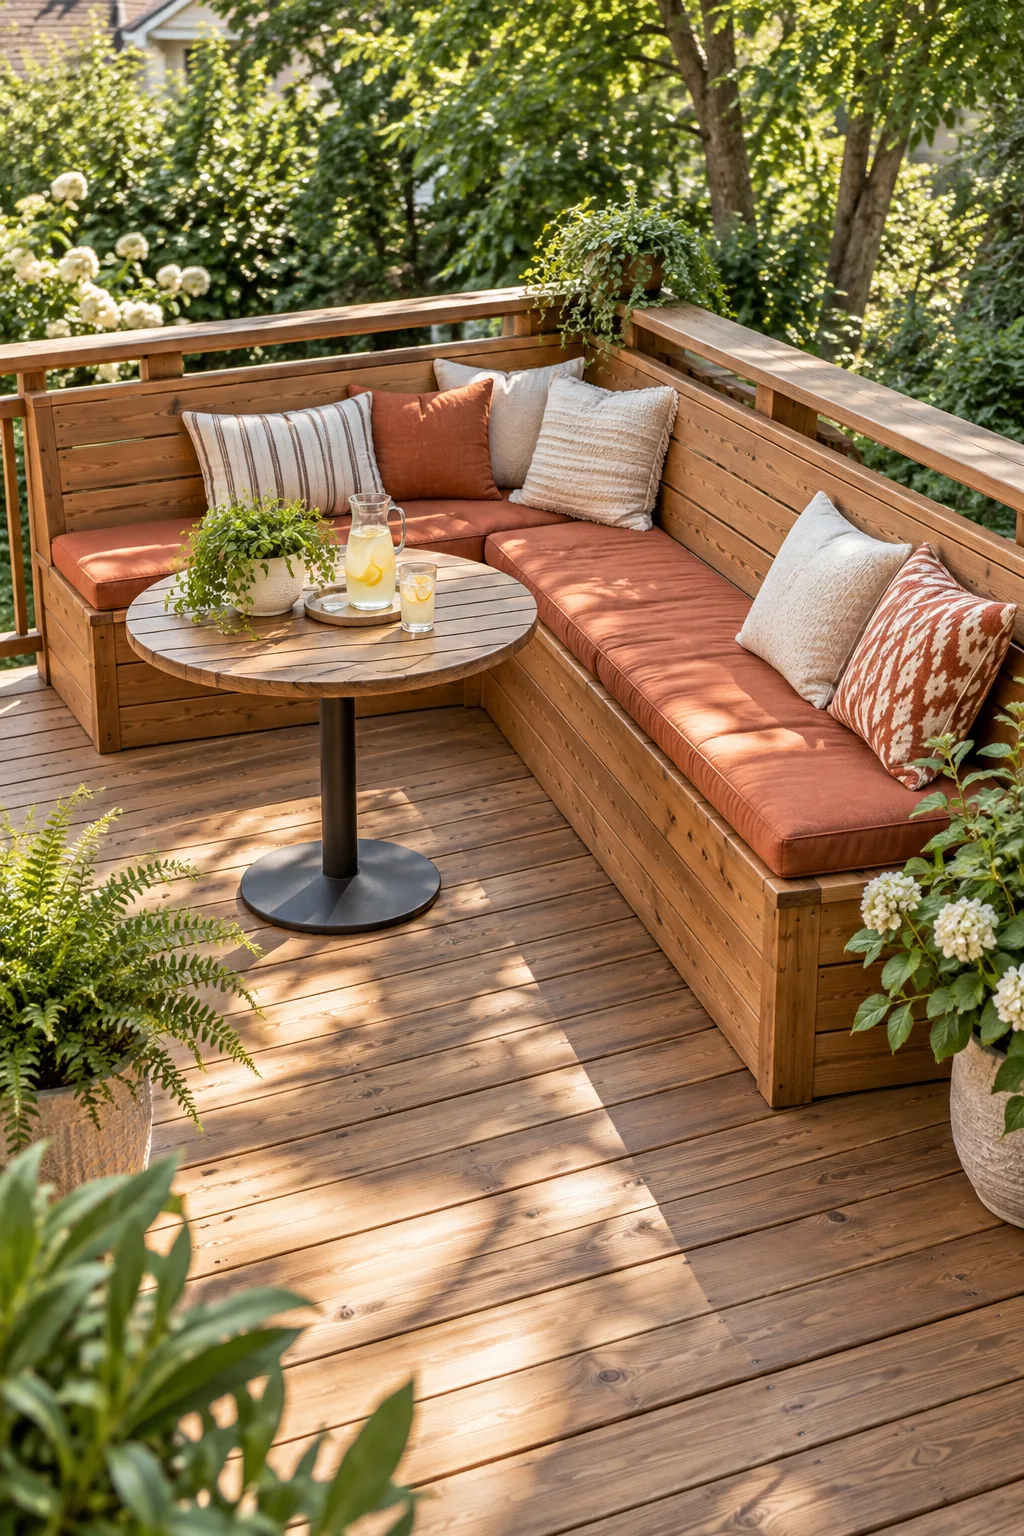
When I built the perimeter seating layout for my own tiny Austin patio, tucking the benches tightly into the corner completely changed how we use the space. It feels incredibly cozy while leaving plenty of room to walk past the dining zone.
Build a Sturdy Base Frame
Construct your bench skeleton using heavy framing lumber, spacing your vertical supports every 16 inches on center. This reliable framing standard guarantees the seat boards will never sag under the weight of multiple guests lingering for hours after a heavy dinner.
Select Weather-Resistant Lumber
Always construct your outdoor seating using cedar, redwood, or pressure-treated pine to prevent premature rotting. These durable wood species naturally resist moisture and insect damage, ensuring your beautiful new corner bench survives years of harsh summer sun and heavy spring rainstorms.
Select the Right Fasteners
Always use polymer-coated deck screws or stainless steel hardware rather than traditional nails when assembling your bench frame. Screws provide significantly more holding power and will not back out over time as the wood naturally swells and shrinks with seasonal humidity changes.
Pitch the Seat for Lounge Comfort
A rigid 90-degree bench feels stiff and unwelcoming, so you need to angle the profile with the seat sloped 5° back. Gently reclining the backrest creates a natural, comfortable lounging angle that keeps your friends happily lingering throughout the evening.
I learned this the hard way after my first DIY bench left everyone with stiff backs. A perfectly square bench frame might be slightly easier to build, but it will quickly drive your uncomfortable guests back inside the house.
Calculate the Perfect Seat Depth
Aim for a 20-inch functional seat depth to allow enough room for thick, supportive back cushions while still comfortably supporting your thighs. Measure this depth from the front edge of the bench straight back to the face of the final installed cushion.
Choose Quick-Dry Cushion Foam
When sourcing the upholstery for your deep corner seats, insist on open-cell reticulated foam inserts. This specialized marine-grade material allows water to flow straight through the cushion rather than acting like a giant sponge after an unexpected afternoon downpour.
Add Lift-Lid Bench Storage
Make your new seating work twice as hard by attaching heavy-duty exterior hinges to the top boards for lift-lid seat storage. This brilliant upgrade creates dry, hidden compartments right where they are needed most for a seamless outdoor hosting experience.
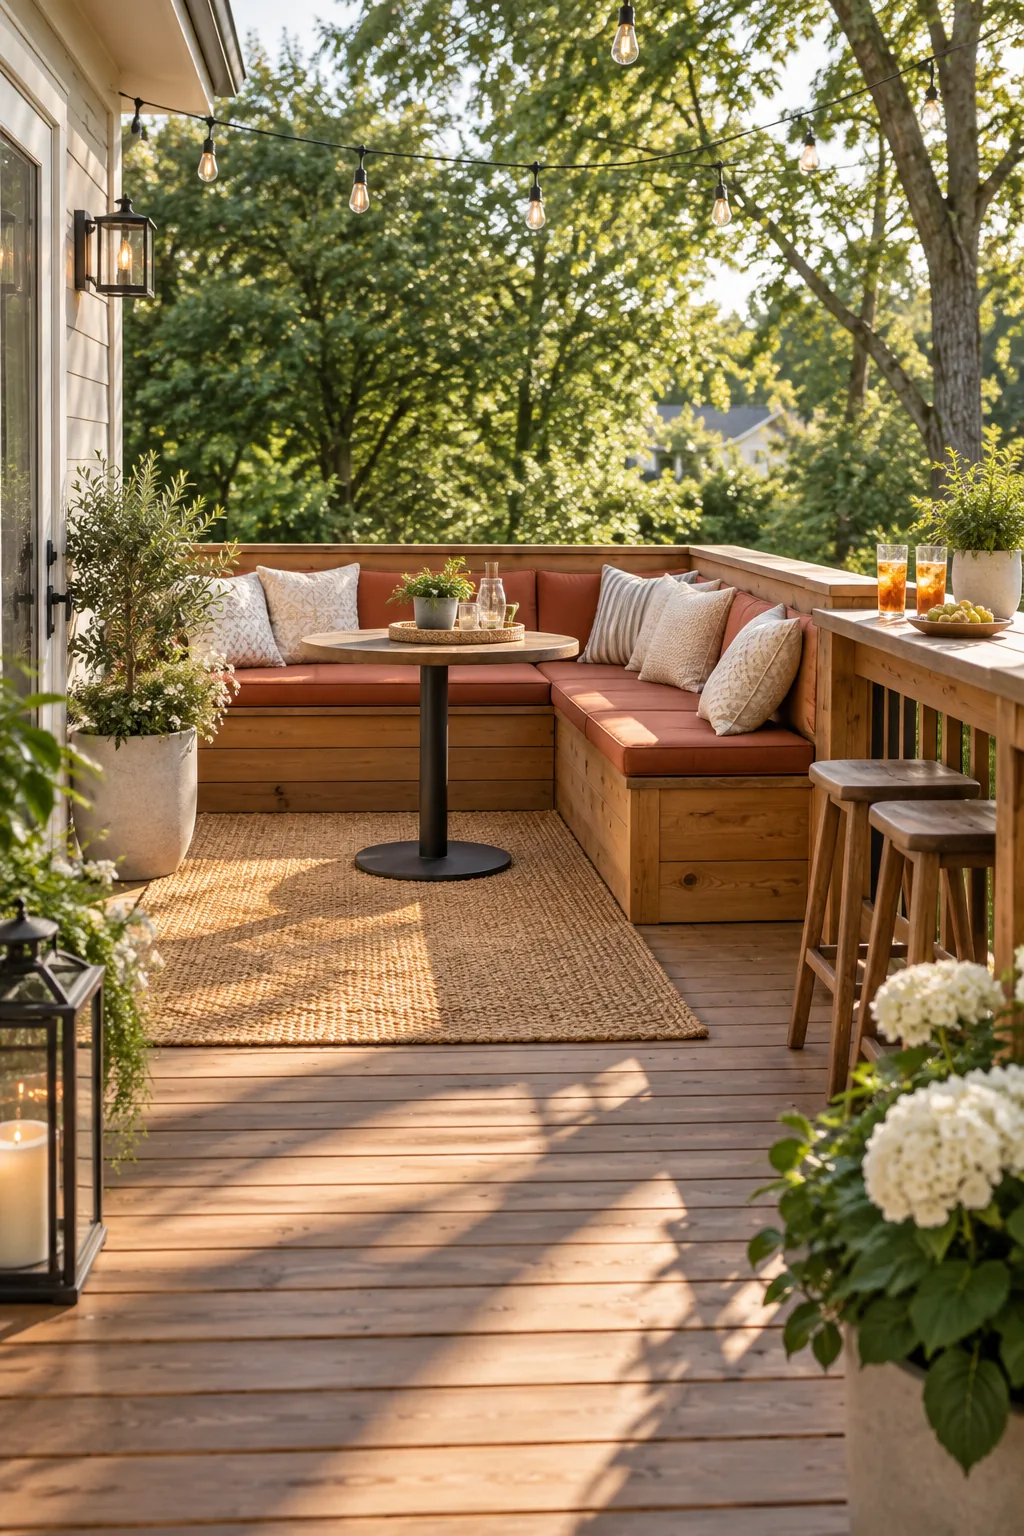
Instead of hauling everything inside every single night, you can stash your bulky outdoor cushions, seasonal blankets, and extra serving trays safely out of the weather. It turns wasted framing space into a highly functional outdoor closet.
Waterproof the Storage Cavity
Line the interior framing with heavy plastic sheeting and staple a protective barrier directly under the wooden lid. This simple addition keeps sudden rainstorms from soaking your stored textiles, ensuring your blankets are always dry and ready for chilly evenings.
Protect the Hinge Gaps
Staple a continuous strip of marine-grade vinyl over the back hinge gap where the lid meets the backrest. This flexible waterproof flap acts like a gutter, directing rainwater away from the vulnerable seam so your storage compartment stays completely dry.
Turn the Railing into a Bar Ledge
Replacing the standard top rail cap with a wider piece of lumber creates an instant serving surface where the rail cap = bar ledge. This clever modification provides a resting spot for drinks and appetizer plates without taking up any actual floor space.
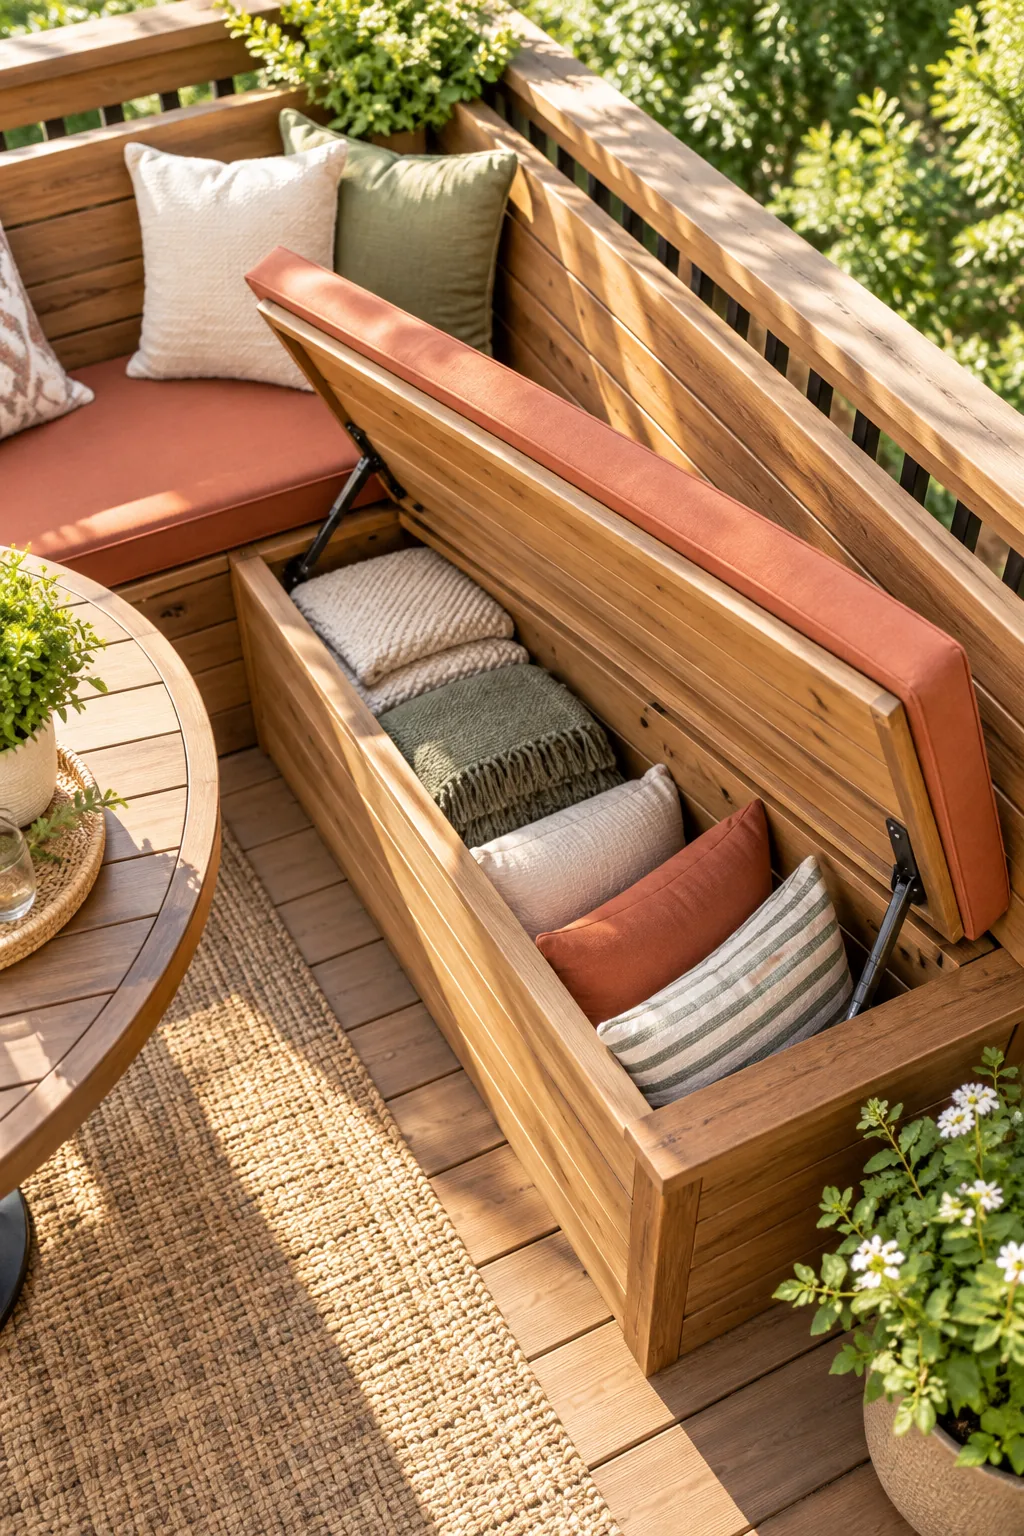
By utilizing the existing vertical structure of your deck railing, you effectively add a second distinct dining zone. This bar area feels completely separate from the main table, giving guests a casual place to stand and chat during large parties.
Secure the Overhanging Ledge
Install heavy-duty steel L-brackets every 24 inches beneath the overhang to prevent the wide bar board from warping over time. This vital reinforcement is essential because guests will naturally lean their elbows heavily on the ledge while chatting and eating.
Seal the Wood for Longevity
Protect your newly widened serving surface by applying three coats of exterior-grade polyurethane to the top board. A rock-hard finish prevents condensation from icy cocktail glasses from leaving permanent white water rings on your beautiful new bar ledge.
Choose Backless Stools for Traffic Flow
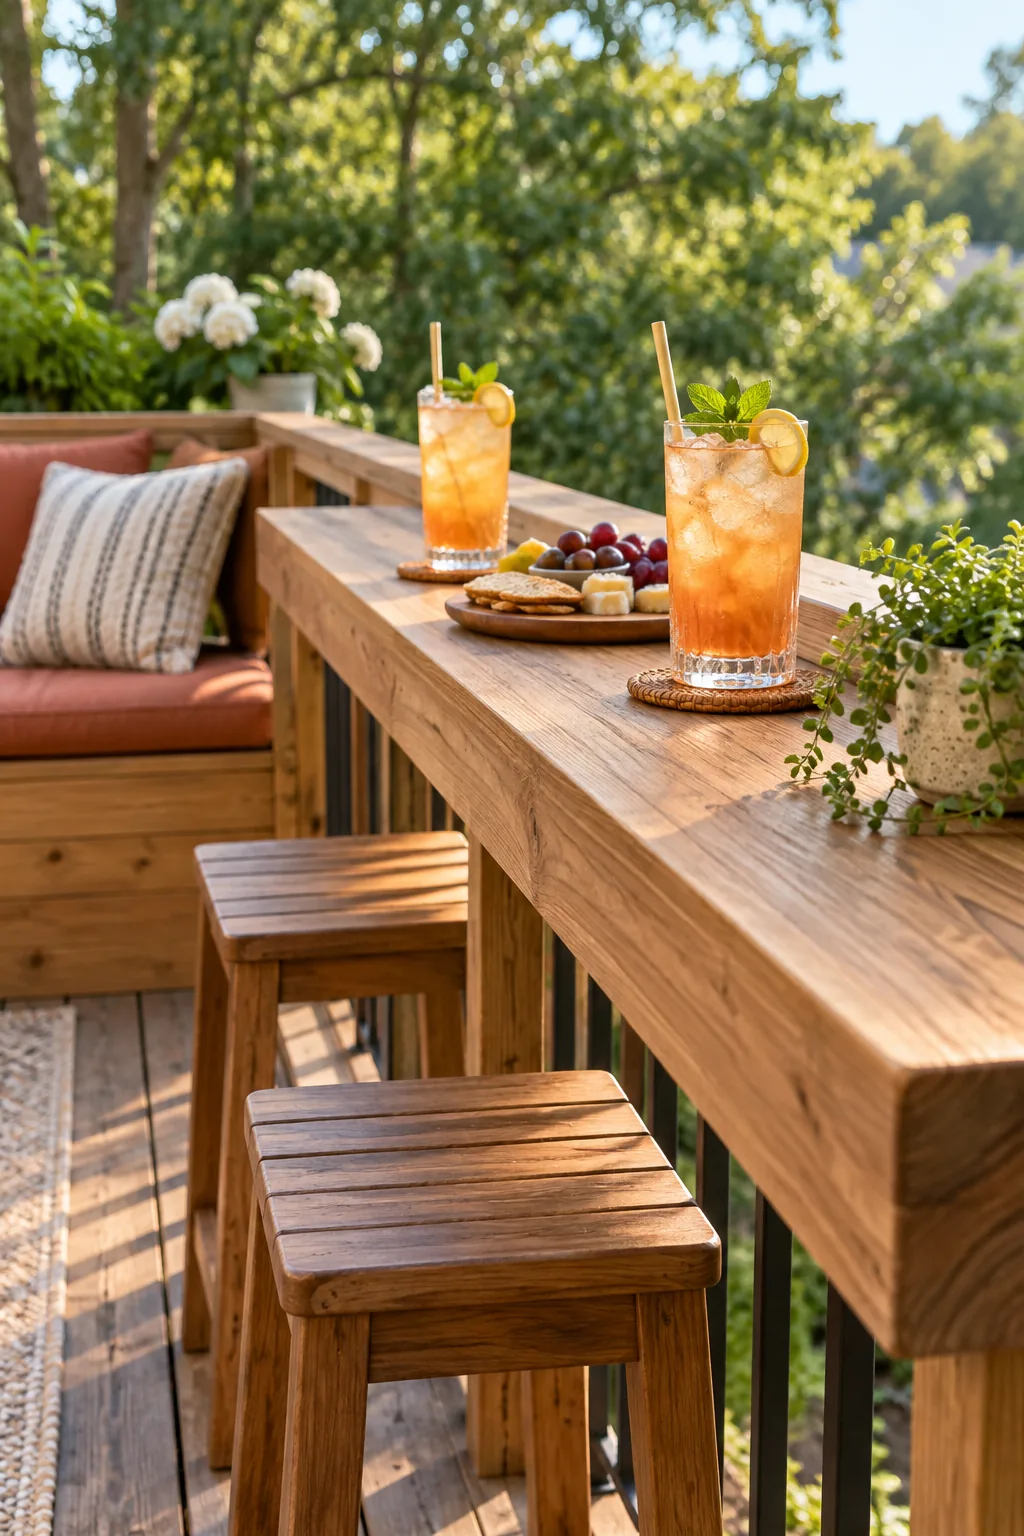
Pairing the bar ledge with backless wooden stools completes your six-guest capacity while keeping the deck completely clear. Because they have no backs, they slide entirely under the railing when not in use, beautifully preserving your open floor plan.
Space the Stools for Elbow Room
Leave a 24-inch minimum gap between the center of each stool so your friends can eat and raise their drinks without bumping elbows. This generous spacing mirrors standard restaurant bar dimensions and prevents the railing area from feeling uncomfortably cramped.
Add Adjustable Feet to Stools
Attach threaded leveling glides to the bottom of each wooden stool leg to compensate for the natural slope of your deck floor. This inexpensive hardware prevents the stools from wobbling annoyingly when your guests shift their weight while eating at the bar.
Install Soft Ambient Lighting
Run a hidden strip of waterproof LED tape lighting just under the outer lip of the bar ledge to beautifully illuminate the deck floor. This subtle glow makes it much safer for guests to navigate around the backless stools after dark.
5 More Small Deck Seating Styles
If natural cedar isn't your style, try one of these distinct looks for your built-in bench and bar ledge.
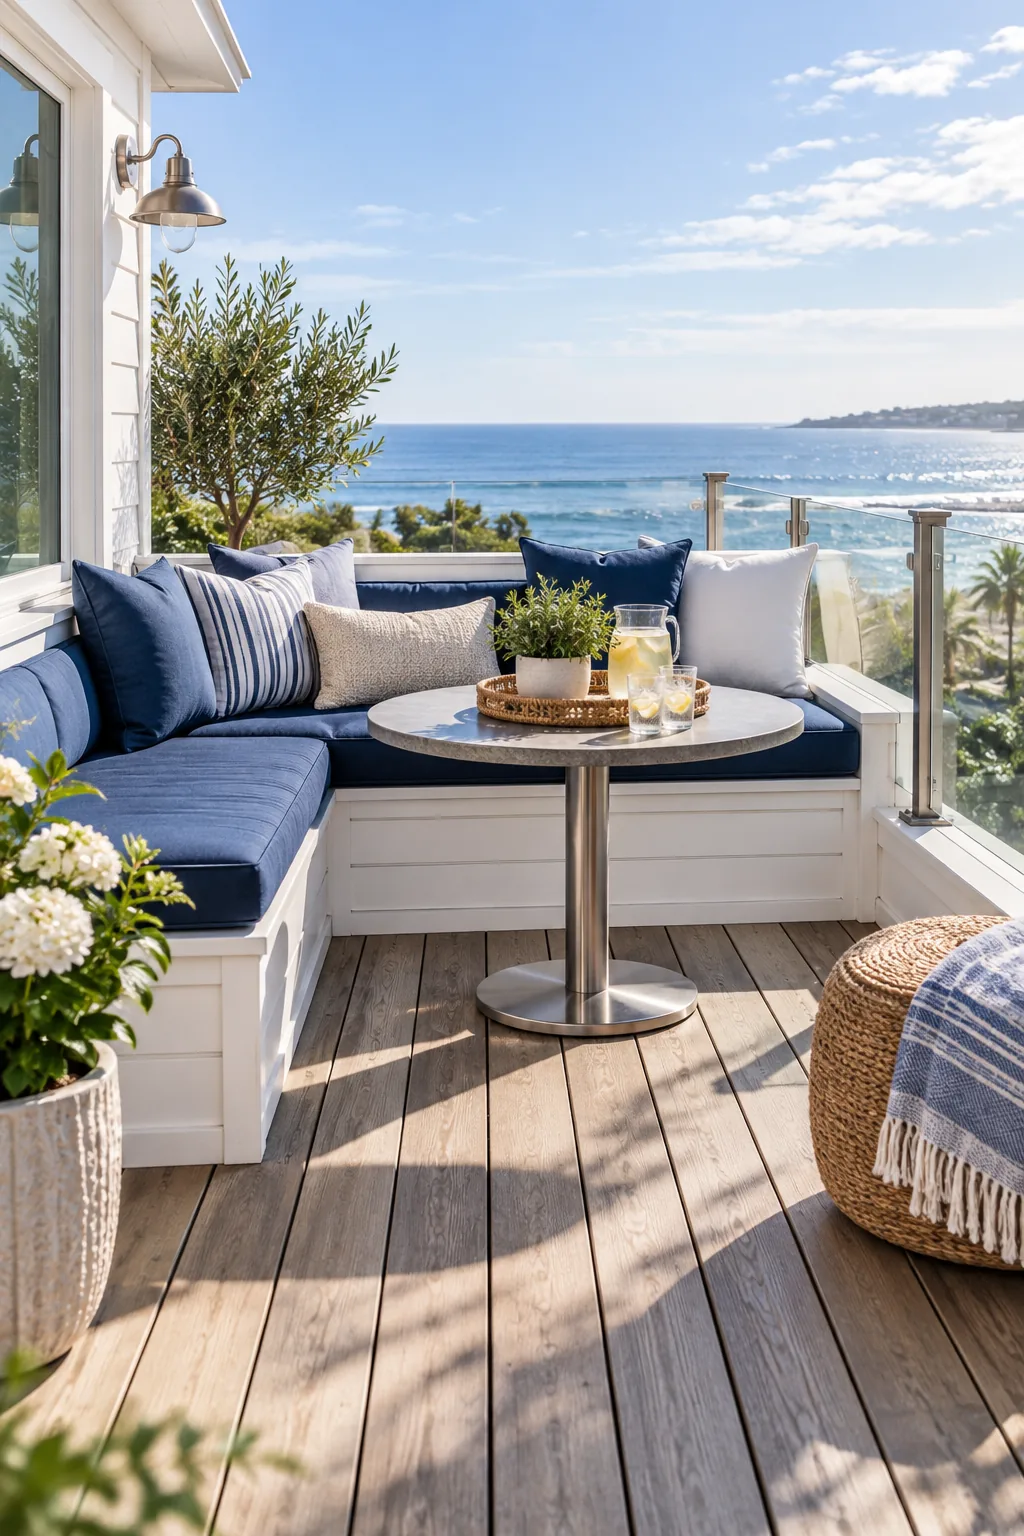
Crisp Modern Coastal: White painted wood and deep navy cushions give this built-in bench a clean, nautical feel.
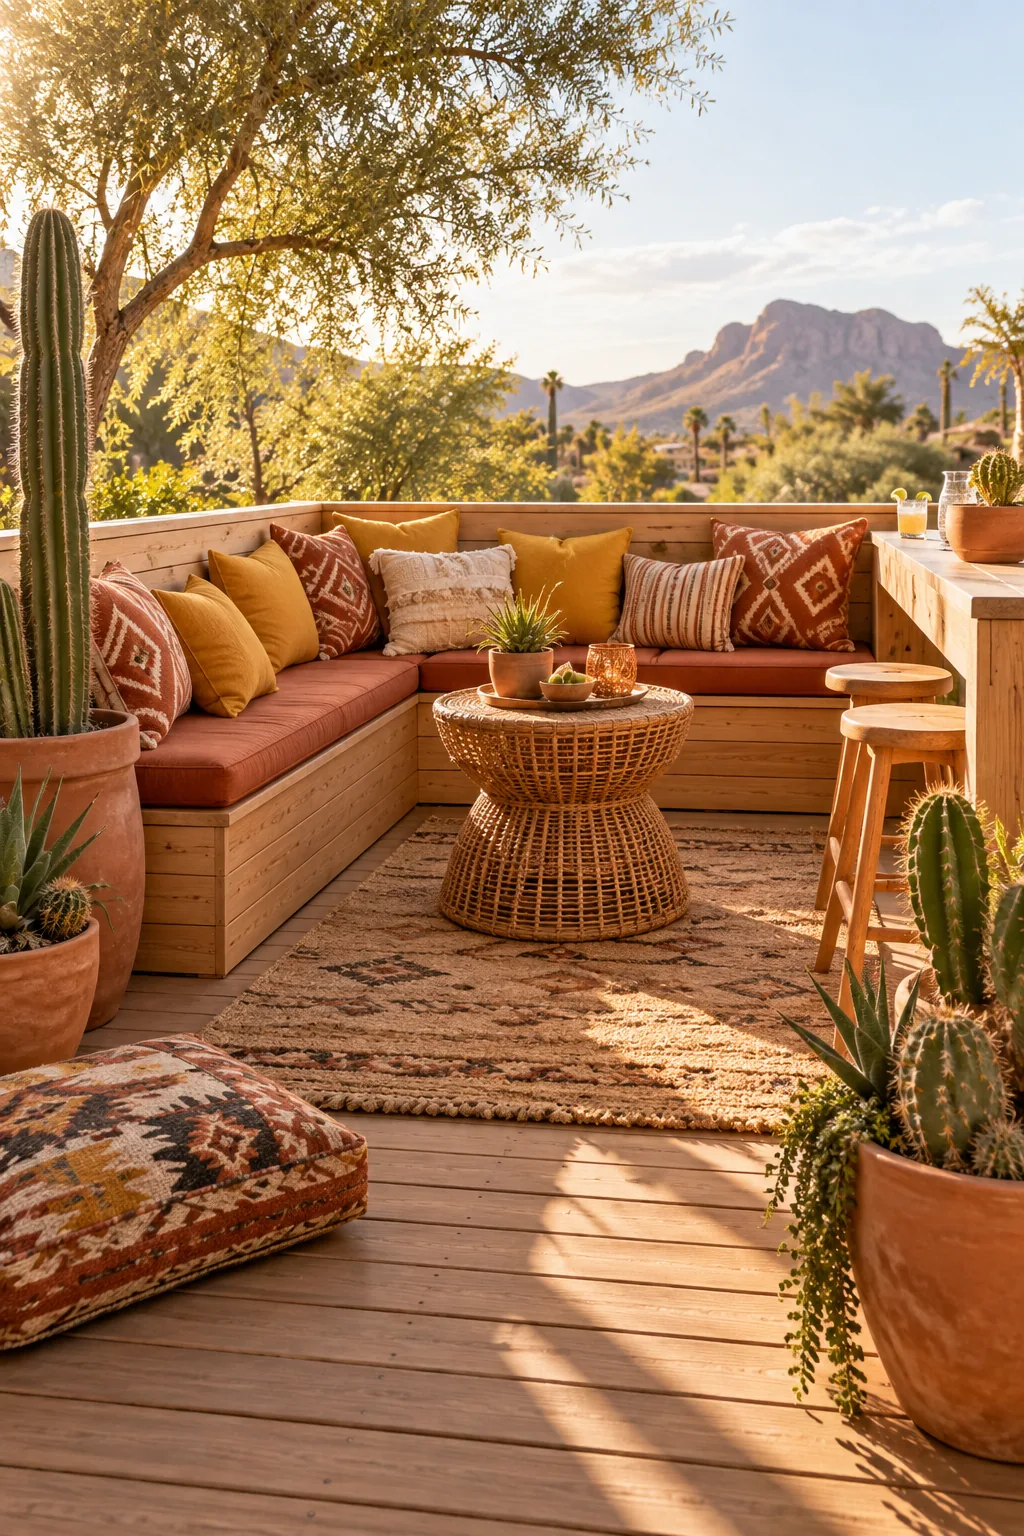
Warm Desert Boho: Pair raw cedar boards with mustard yellow textiles and potted cacti for a relaxed, sun-baked atmosphere.
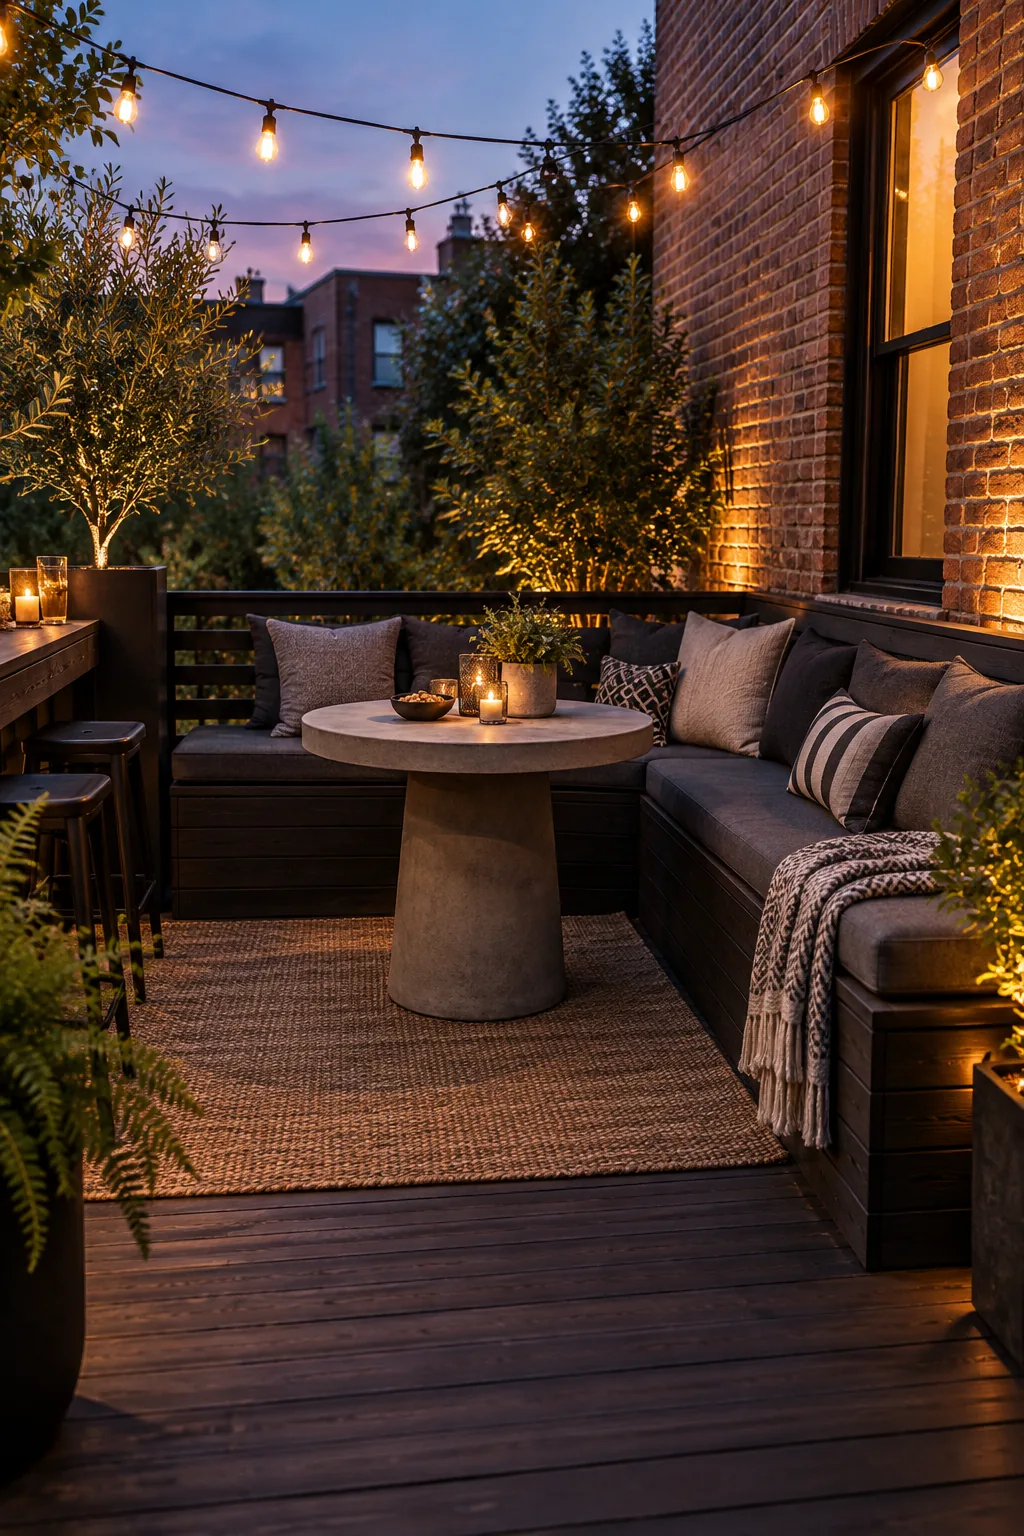
Moody Urban Industrial: Black stained wood and a concrete table turn a tiny city balcony into a sophisticated evening lounge.
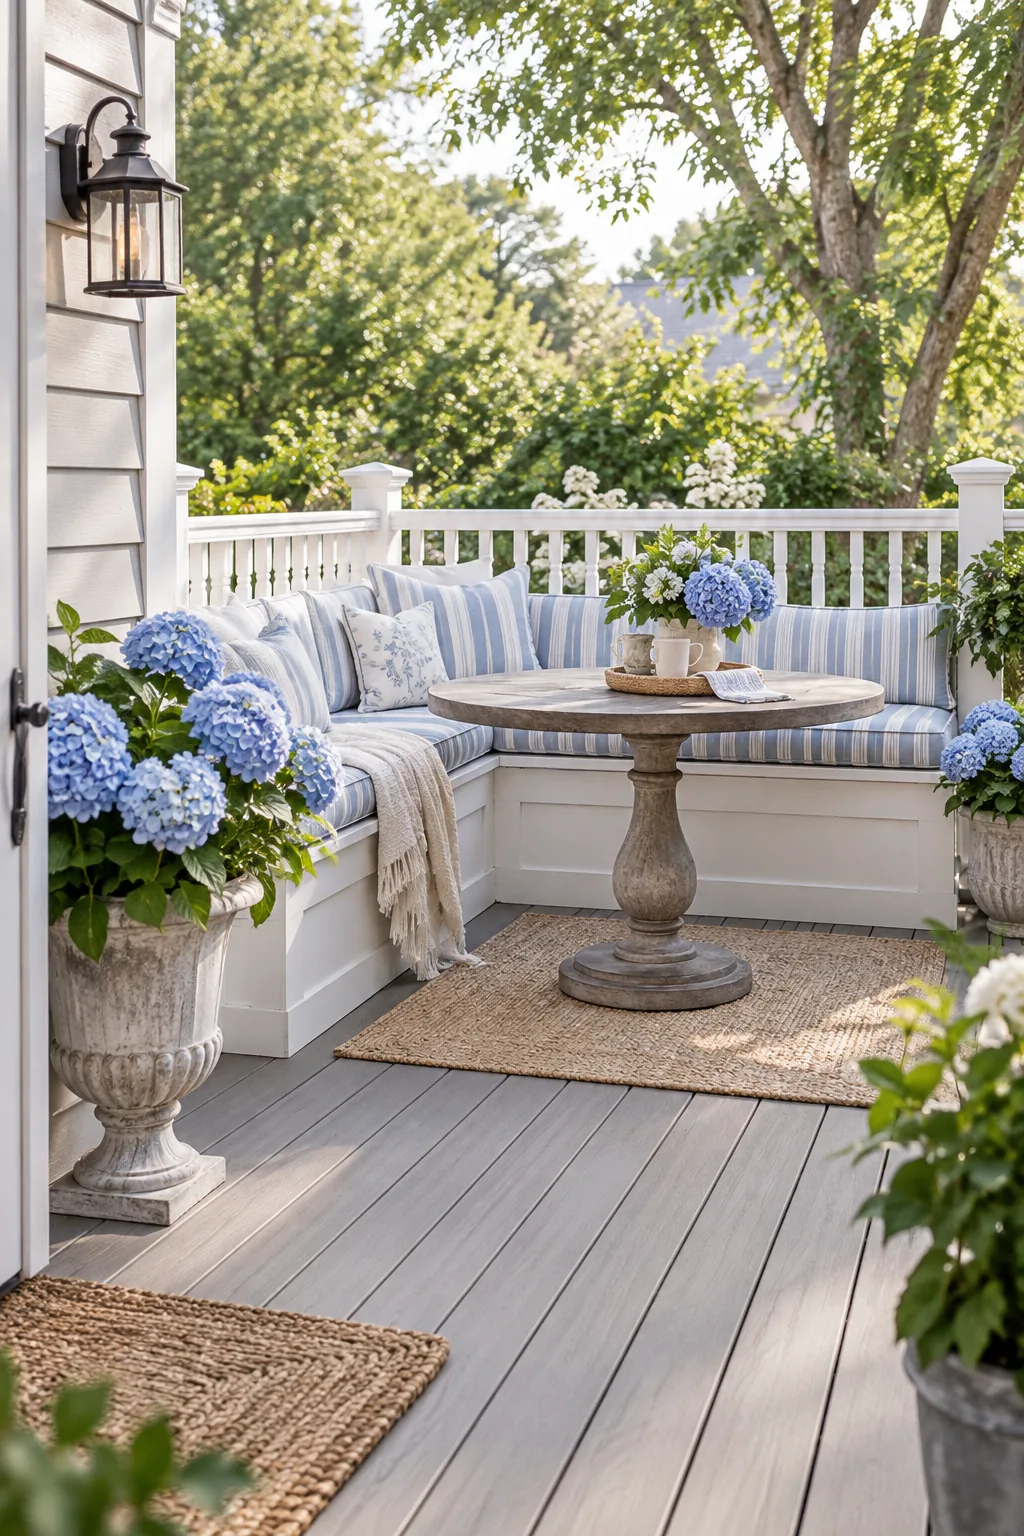
Classic Cottage Charm: Soft gray decking and ticking stripe cushions create a timeless, inviting spot for morning coffee.
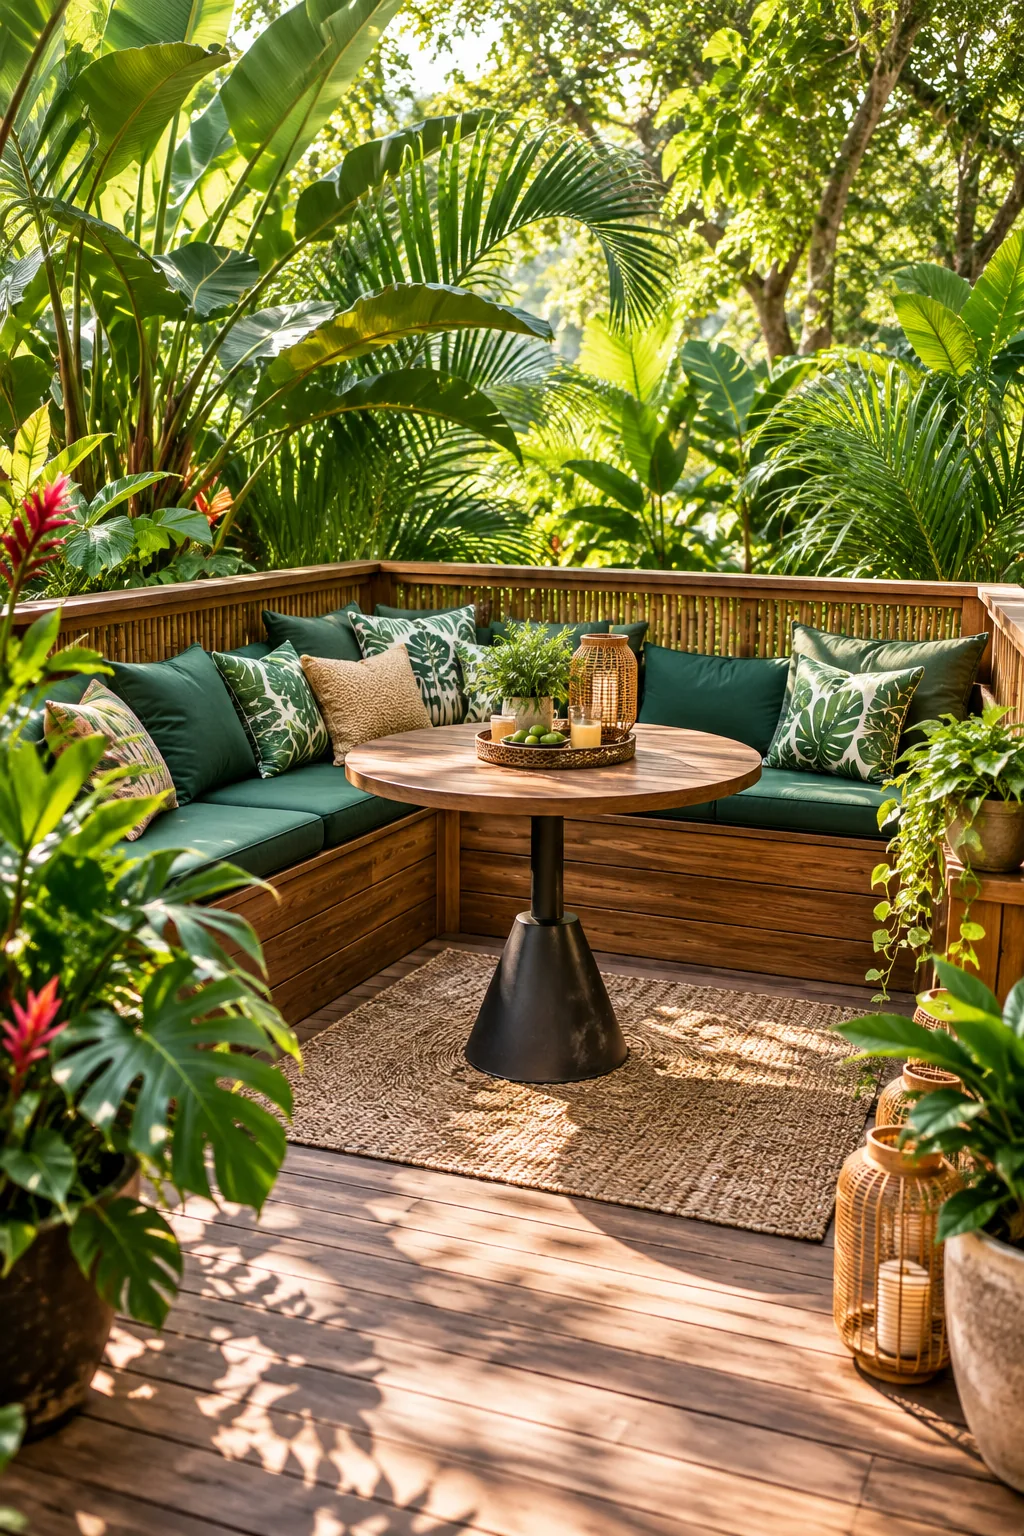
Lush Tropical Oasis: Rich oiled teak and vibrant green fabrics blend seamlessly into a backdrop of oversized tropical plants.
Get the Complete Deck Size Sheet
Coordinating all these specific heights and clearances is exactly what makes a tight outdoor space feel remarkably generous. Once you map out the bench seat depth, the slope measurements, and the exact door path, your entire layout will come together perfectly.
Having all these exact numbers mapped out made my own weekend build so much smoother. Grab the printable one-page Small-Deck Seating Size Sheet to get all the verified dimensions you need to build this exact layout for a 10×10 foot deck.