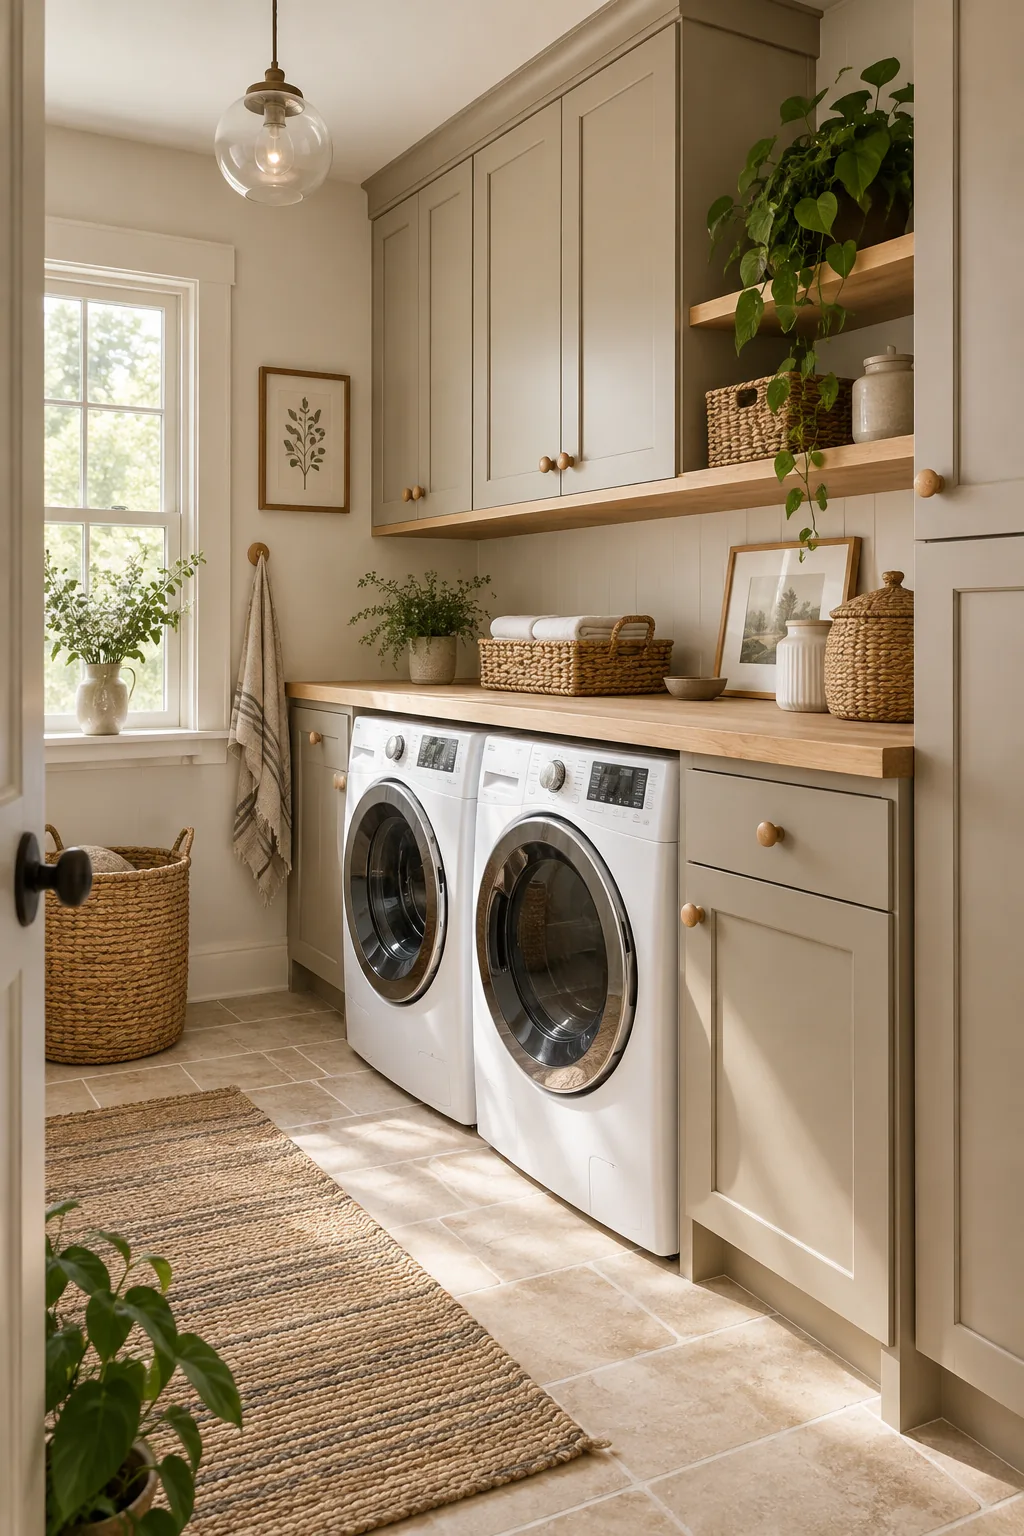
DIY Laundry Room Cabinets: Grab the Washer-Wall Sizing Sheet
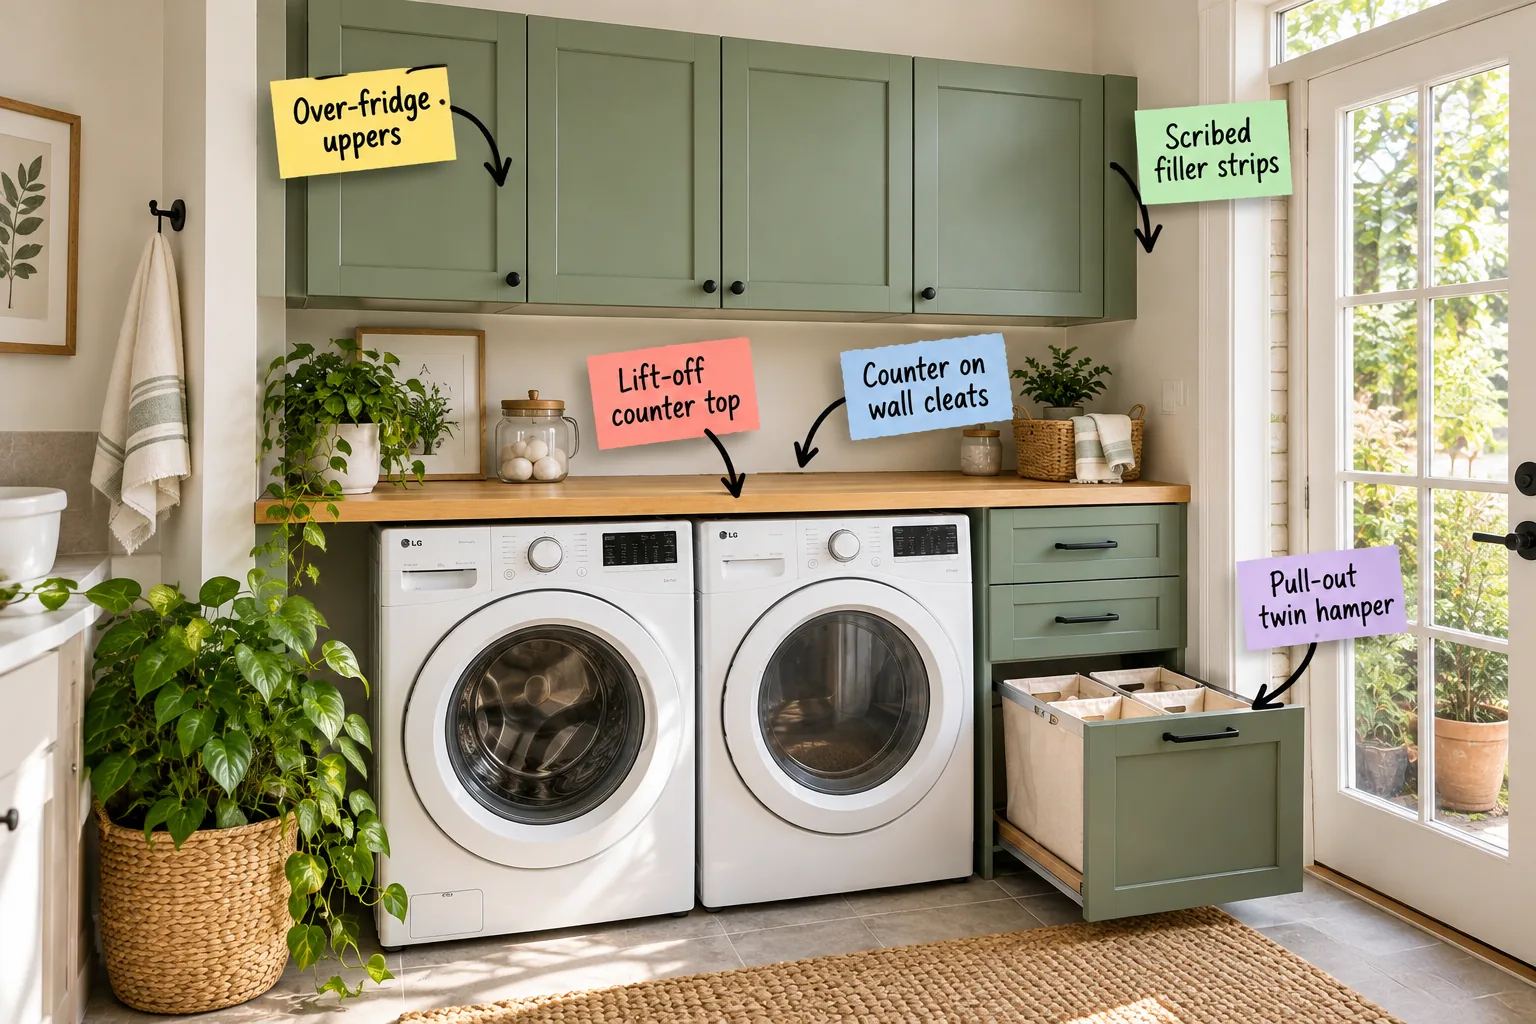
Retire those flimsy wire shelves and use our printable Washer-Wall Cabinet Sizing Sheet to plan perfectly sized stock cabinets and a folding counter over your side-by-side machines. You will be able to measure your laundry room accurately, order the exact materials needed, and build a highly functional built-in workspace.
Sizing Your Washer-Wall Layout
Grab your tape measure and our sizing sheet to map out the total room width and the exact machine height before you even think about ordering your new stock cabinets.
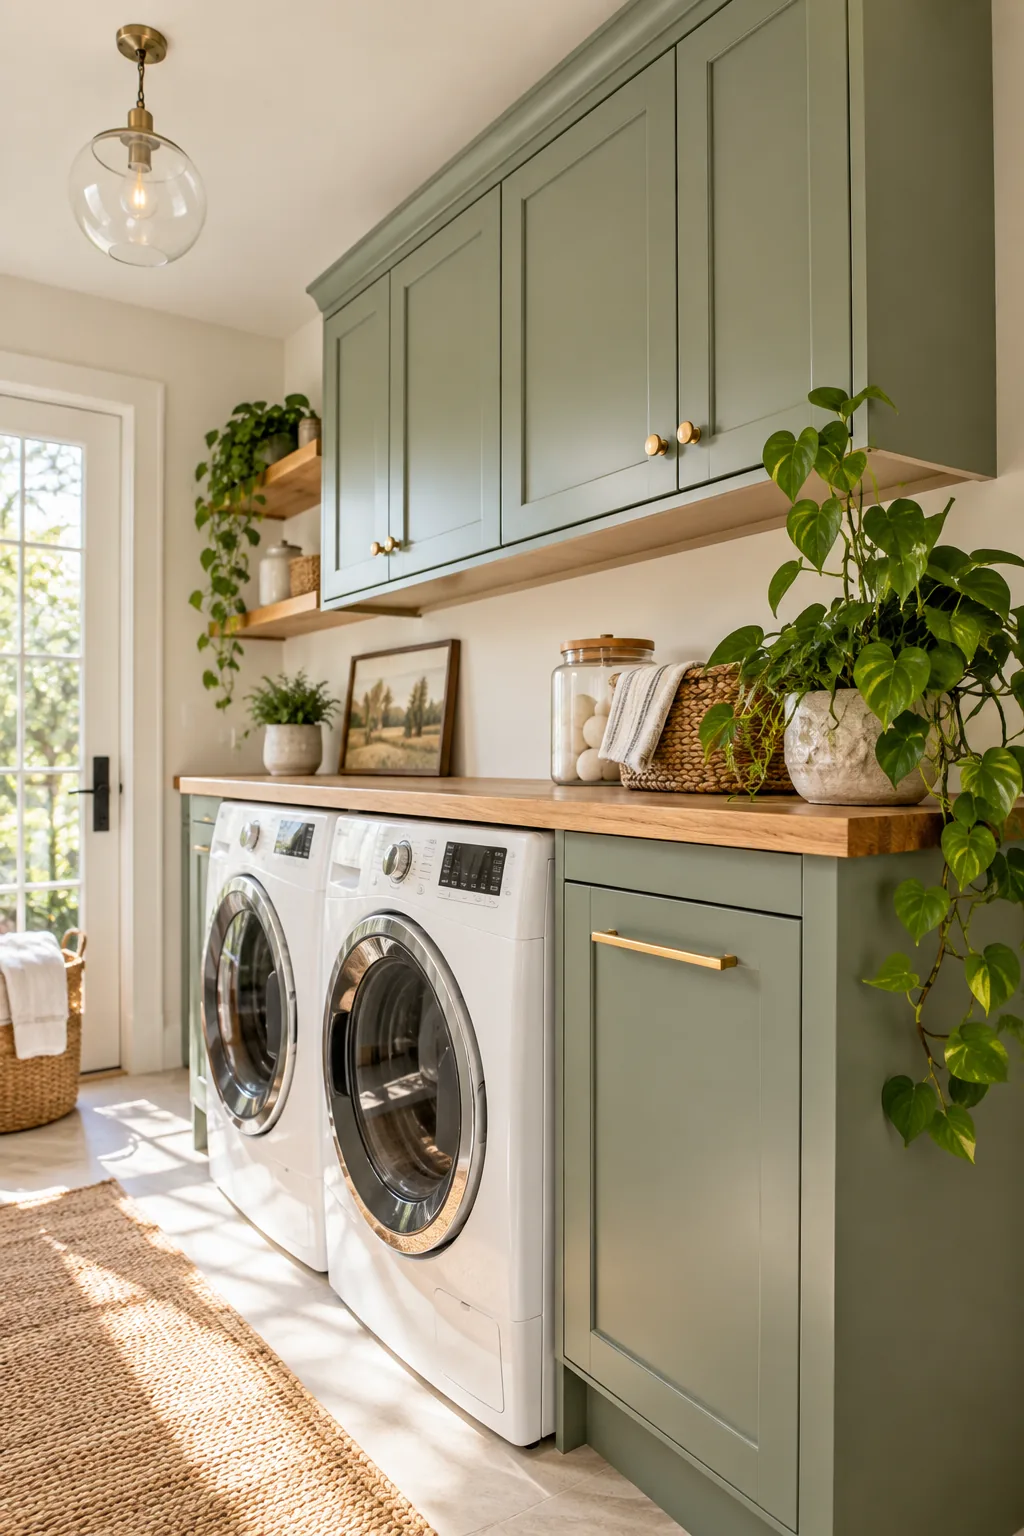
Once you note the overall span, factor in a mandatory 1-inch gap between machines so they can vibrate freely during heavy spin cycles without banging together.
- Measure the side-to-side width along the baseboard to determine the maximum cabinet span.
- Record the vertical distance from the finished floor to the top edge of your machines.
- Note the total depth from the back drywall to the front of the appliance doors.
Mapping the Utility Connections
Before committing to a specific cabinet depth, locate your existing water supply valves, the 240-volt electrical outlet, and the rigid exhaust vent to ensure they remain easily accessible.
Using Over-Fridge Uppers for Headroom
Standard 30-inch upper cabinets are simply too tall when hung directly over a workspace, leaving you constantly bumping your head while trying to sort clean clothes.
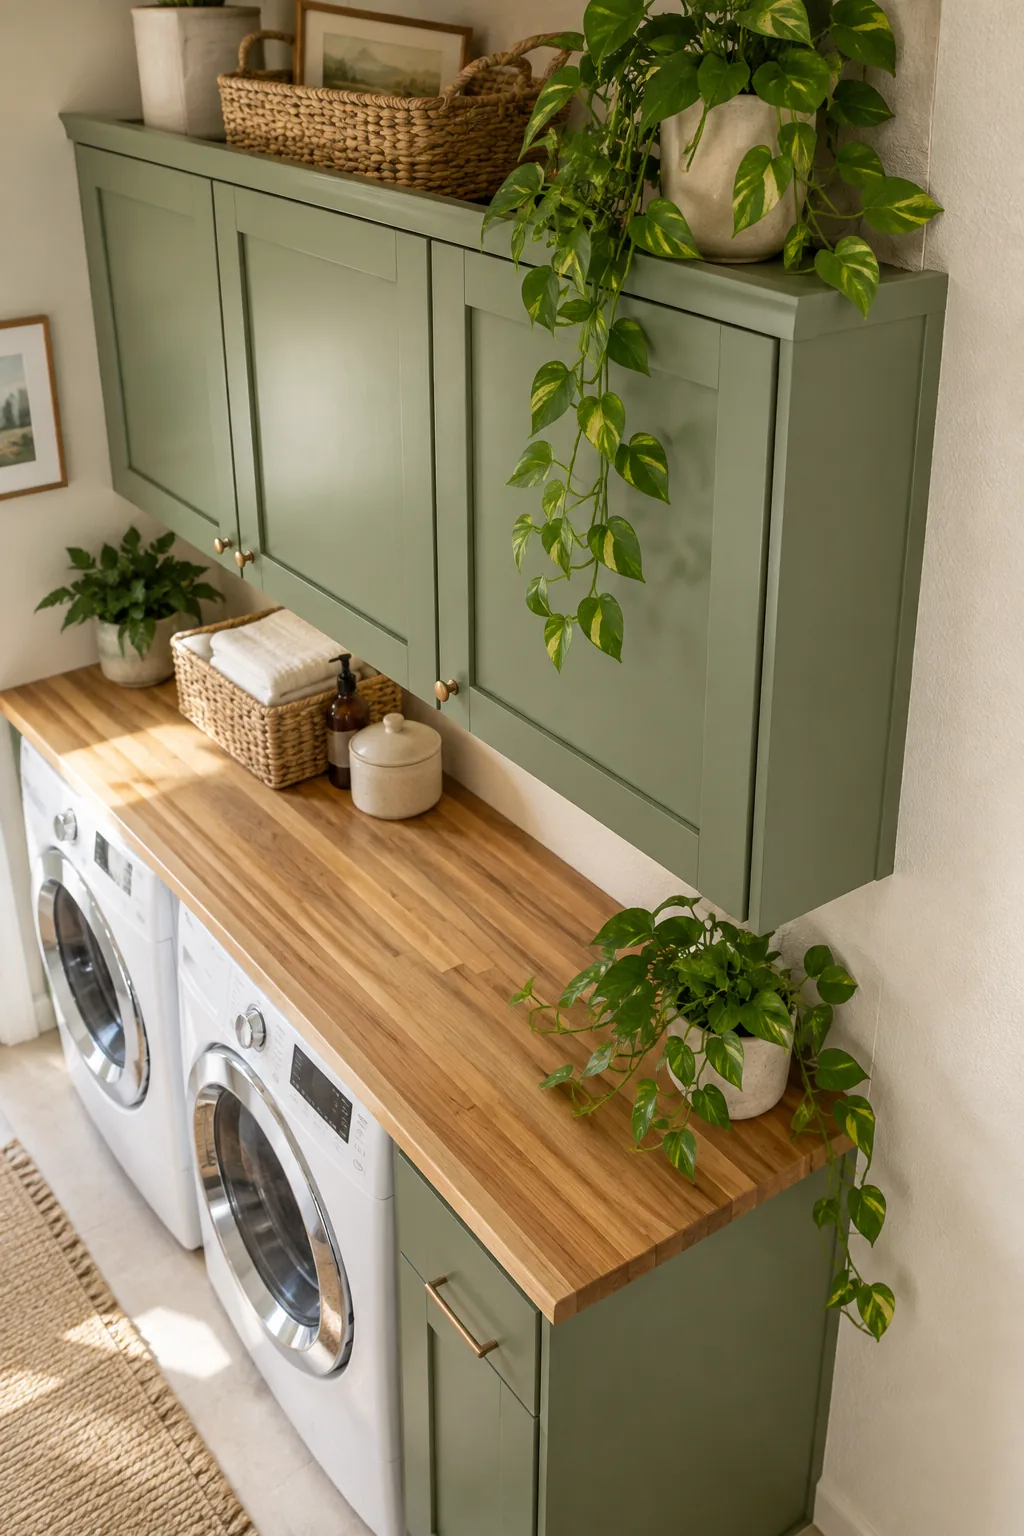
Instead, order 15-inch or 18-inch tall over-fridge cabinets to guarantee at least 18 inches of comfortable vertical clearance above your new butcher block folding counter.
Securing the Cabinet Suspension Rail
To keep those heavy upper cabinets perfectly aligned, fasten a temporary wooden ledger board straight into the wall studs to support their weight while you drive the mounting screws.
Closing the Edges with Scribed Filler Strips
To bridge the awkward gap between your stock cabinets and the side walls, you must install 3-inch painted filler strips on both the left and right ends.
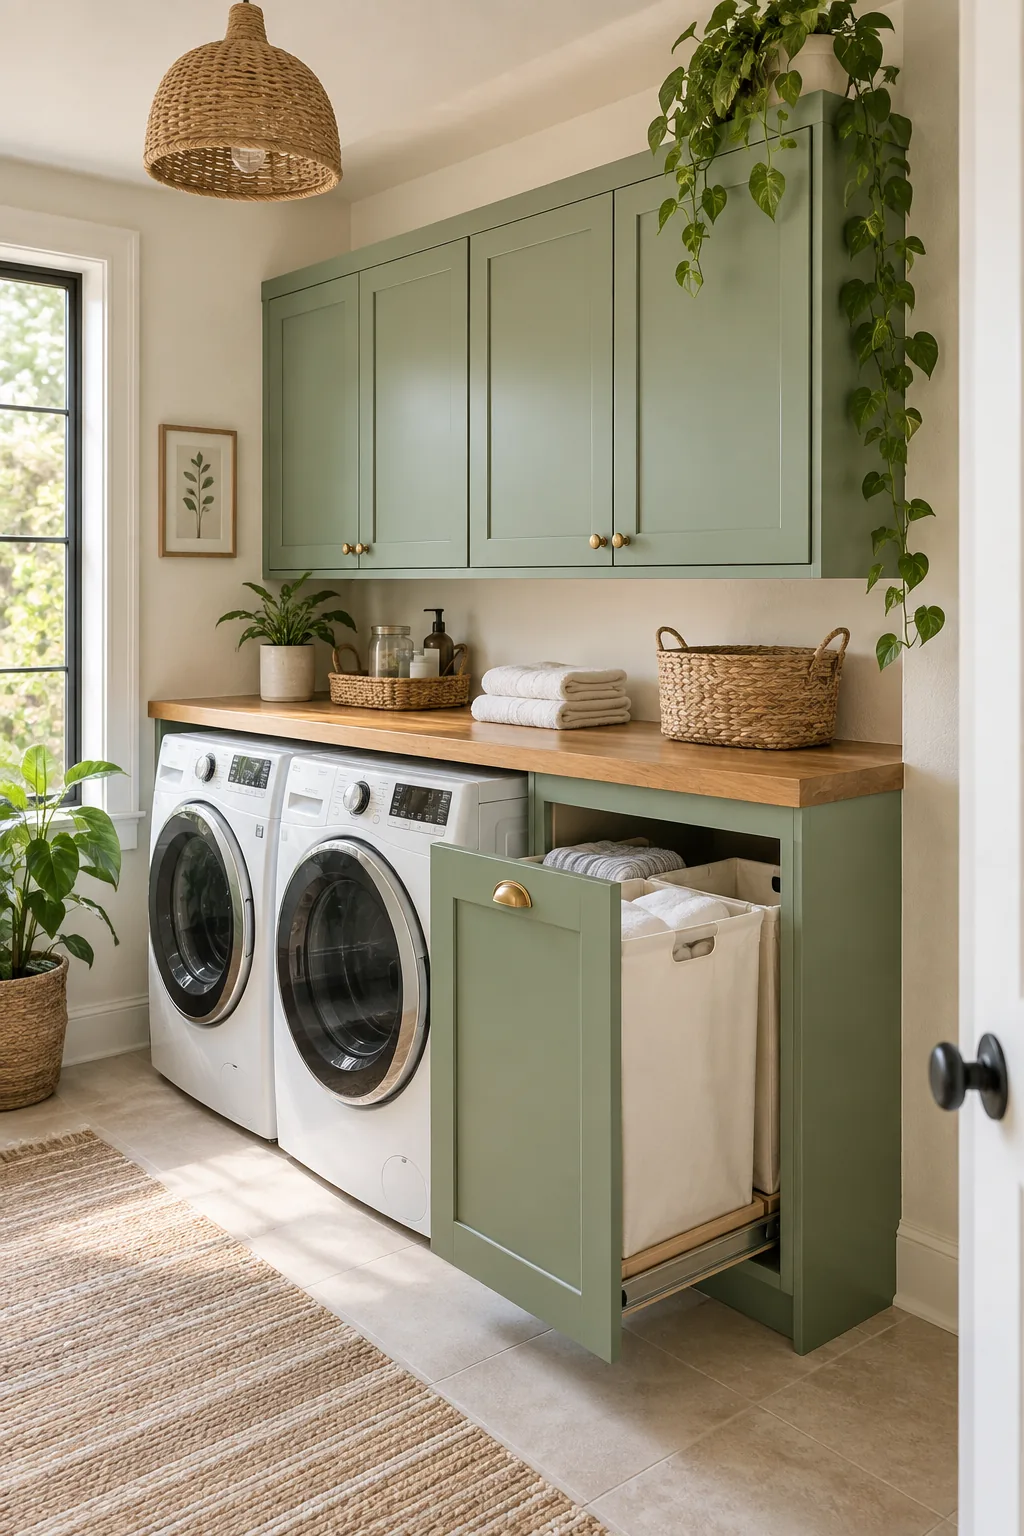
When I tackled my own laundry room, my walls were so wavy that a straight cut looked terrible, so transferring the exact drywall shape was absolutely necessary for a flush fit.
Selecting the Right Cabinet Hardware
Finish the upper cabinets by installing low-profile brass pulls that will not catch on your laundry baskets when you lift heavy loads onto the folding counter.
Adding a Pull-Out Twin Hamper Base
If your floor plan allows the extra width, installing an 18-inch or 24-inch base cabinet next to the machines provides a sturdy anchor for the future countertop.
You can easily retrofit this standard unit by mounting a heavy-duty slide-out drawer mechanism and hanging two large canvas hamper bags for effortless daily laundry sorting.
Managing Hose and Vent Clearances
I once pushed my dryer too far back and completely crushed the exhaust duct, so now I always leave a strict 4 to 6 inches of clearance behind the machines before finalizing any cabinet depths.
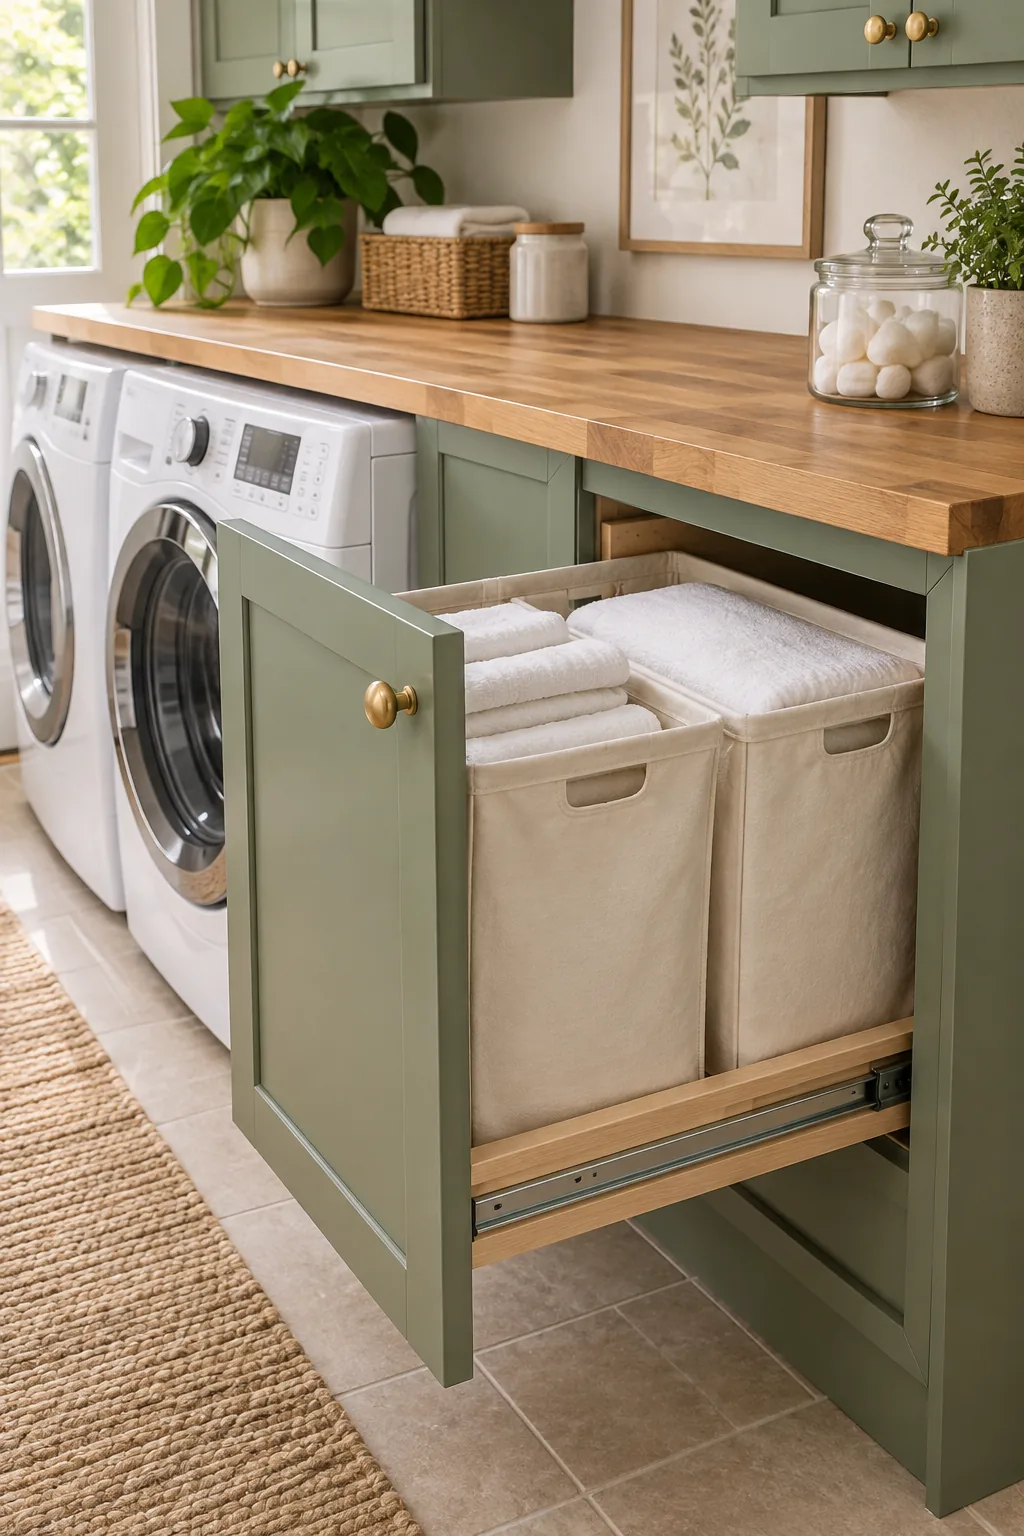
Accounting for these hidden mechanicals ensures the entire room functions safely without creating a severe fire hazard or a hidden plumbing leak behind your beautiful new cabinetry.
Upgrading the Electrical Receptacles
Consider swapping out your standard wall outlets for recessed electrical boxes, which allow the thick appliance plugs to sit completely flush and buy you an extra inch of depth.
Mounting the Wall Cleats for the Counter
To support the heavy butcher block independently from the appliances, you need to install 1×2 or 2×2 wood cleats directly into the wall studs along the back perimeter.
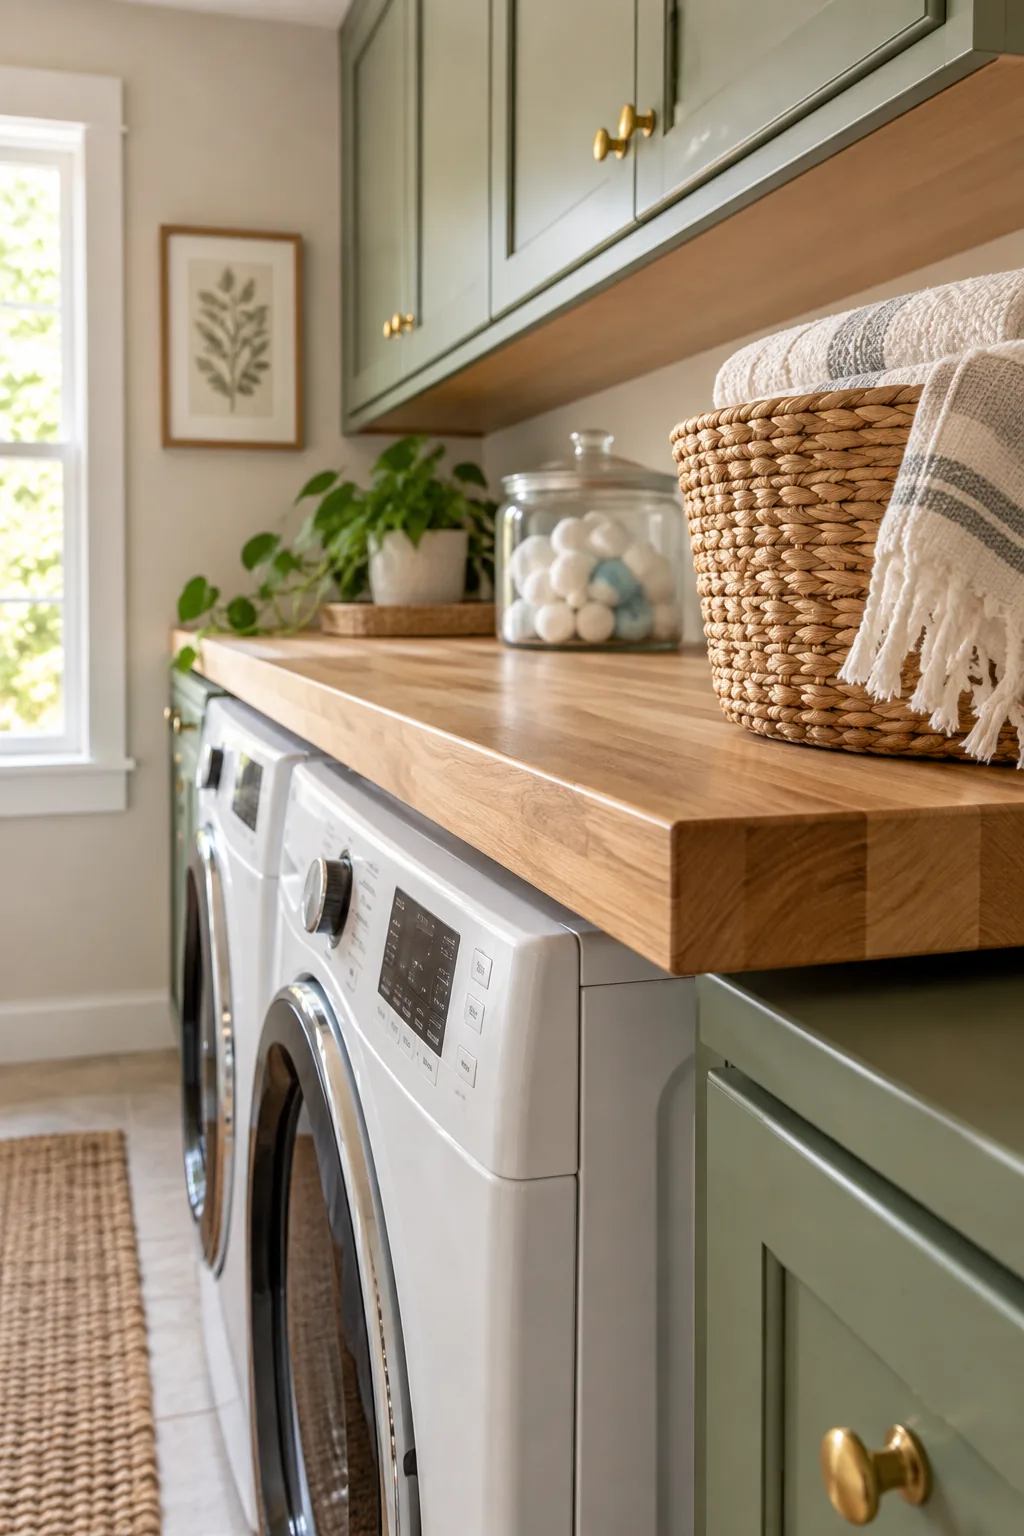
Position these wooden ledger boards perfectly level with the top edge of your hamper base cabinet so the massive wooden surface sits flat and remains completely stable.
Choosing the Butcher Block Material
Selecting the right wood for your folding station involves balancing the visual warmth of the grain against the overall lifting weight you will need to manage during appliance maintenance.
| Countertop Material | Weight per Sq Ft | Lifting Method |
|---|---|---|
| Solid Hardwood Butcher Block | 5 to 7 lbs | Two-person lift required for safety |
| Edge-Glued Solid Pine Panel | 3 to 4 lbs | Manageable single-person lift |
| Plywood with Laminate Veneer | 2 to 3 lbs | Easy single-person lift |
Solid hardwood offers unmatched durability and beauty, but an edge-glued pine panel provides a very similar aesthetic at a fraction of the weight and overall material cost.
Installing the Lift-Off Counter Top
With the wall supports firmly in place, you can carefully slide the customized butcher block directly over the machines and onto the waiting wood cleats.
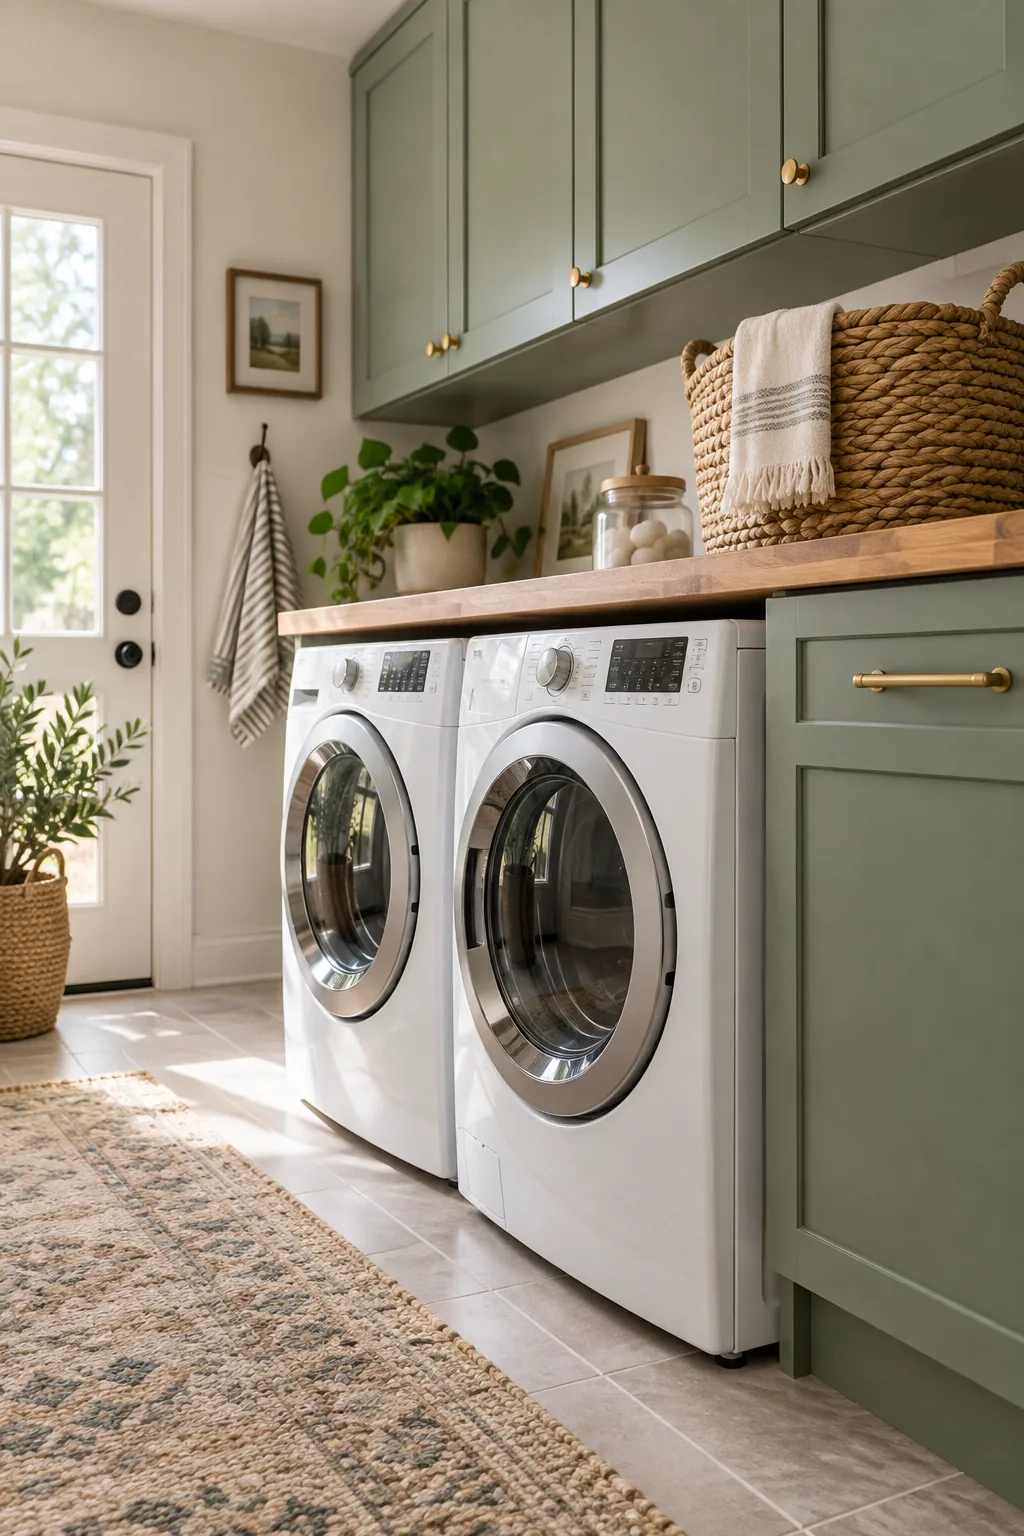
The secret to this entire built-in look is that the counter is never screwed into the cleats or the base cabinet, allowing it to simply rest securely on top.
Sealing the Wood Against Moisture
Because laundry rooms are inherently damp environments prone to detergent spills, you must protect the raw wood grain with at least three coats of a high-quality water-based polyurethane to ensure the final folding station remains incredibly smooth.
Allowing for Proper Ventilation
In addition to mechanical clearances, leaving a slight ambient air gap around the washer prevents mold growth and allows the appliance motors to cool efficiently during heavy weekend laundry marathons.
Organizing the Base Cabinet Storage
Maximize the utility of your new hamper base by adding shallow top trays for stain removers and dryer sheets, keeping these daily essentials within immediate reach while you work.
Maintaining the Finished Washer Wall
Wipe down the sealed butcher block monthly with a gentle wood cleaner and inspect the unfastened counter edges to ensure the heavy vibrations haven’t slowly shifted the floating surface out of alignment.
Anchoring the Setup Against Spin Vibrations
Because the heavy wooden countertop simply floats above the appliances, you must secure the base cabinet firmly to the wall studs to prevent the spin cycle from shifting the unfastened counter.
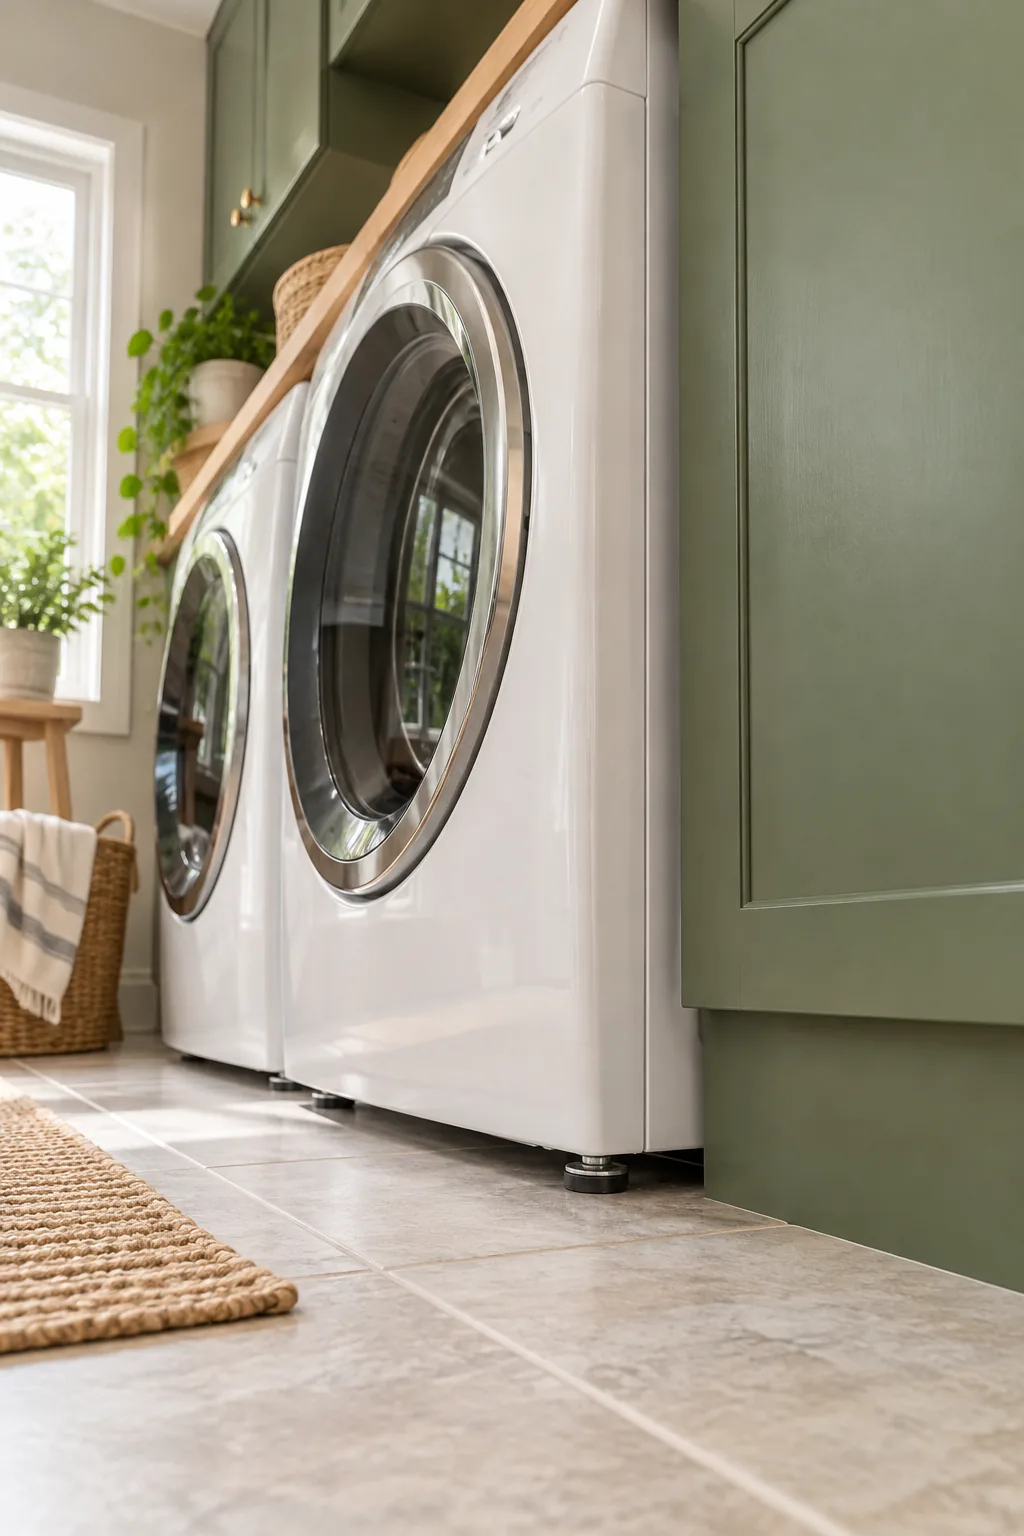
Taking the time to meticulously balance the machine feet ensures the vigorous vibrations will never rattle the wood, giving you immediate access for maintenance without sacrificing the high-end custom aesthetic.
3 Ways to Style Your Built-In Washer Wall
Discover how different cabinet colors and counter materials can completely change the mood of your laundry space.
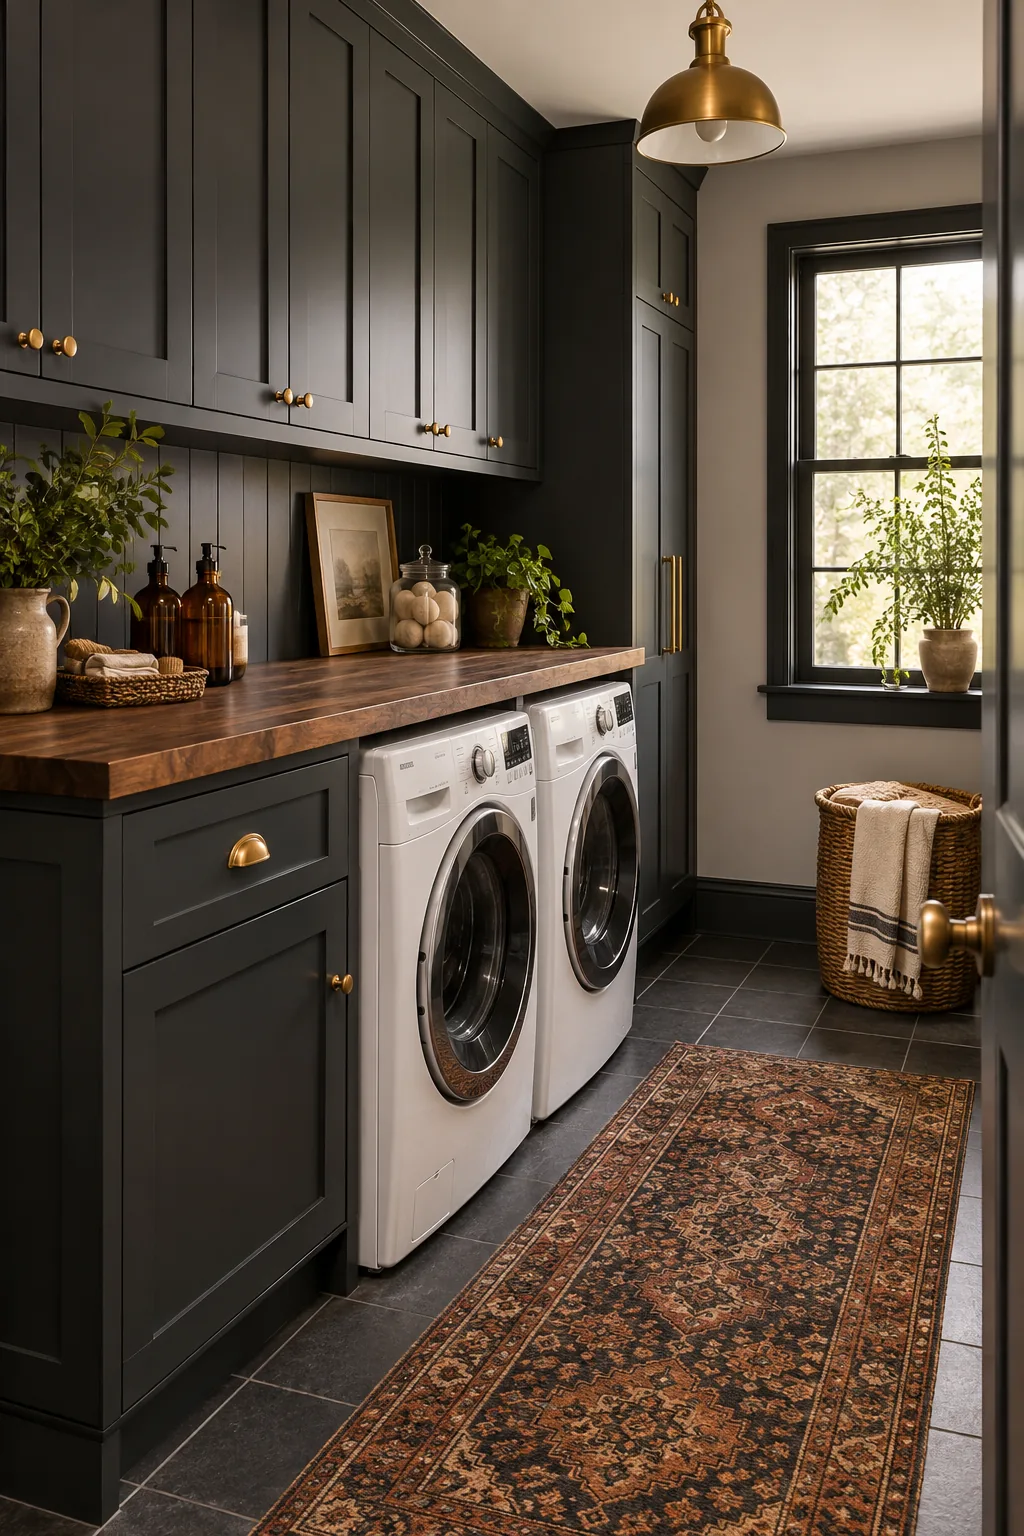
Moody Slate and Walnut: Deep charcoal cabinets paired with a rich walnut top create a moody workspace. Swap standard pulls for unlacquered brass hardware to add instant warmth.
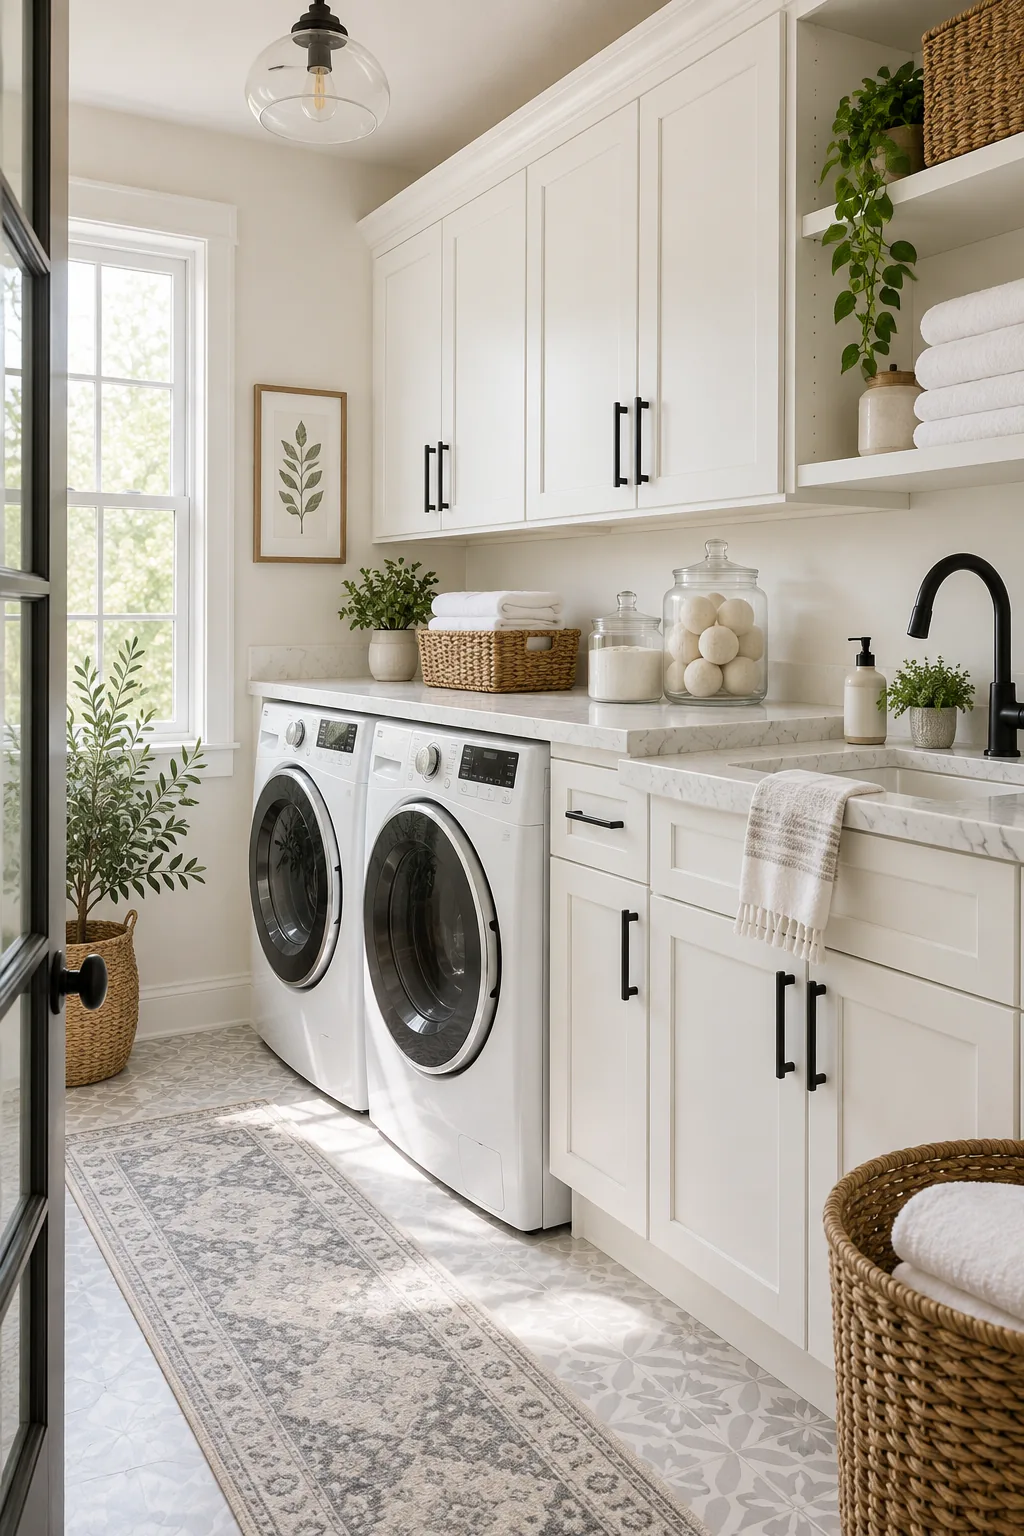
Crisp White and Marble: Bright white shaker fronts and a faux-marble quartz counter offer a clean, classic aesthetic. Use sleek black iron hardware to ground the airy space.
Coastal Sand and Oak: Warm beige cabinetry and a light white-oak counter bring a relaxed, coastal feel. Layer in woven seagrass baskets and textured ceramic jars to complete the look.