
Concrete Planter Thrift Flip with a Black Mosaic Tile Band
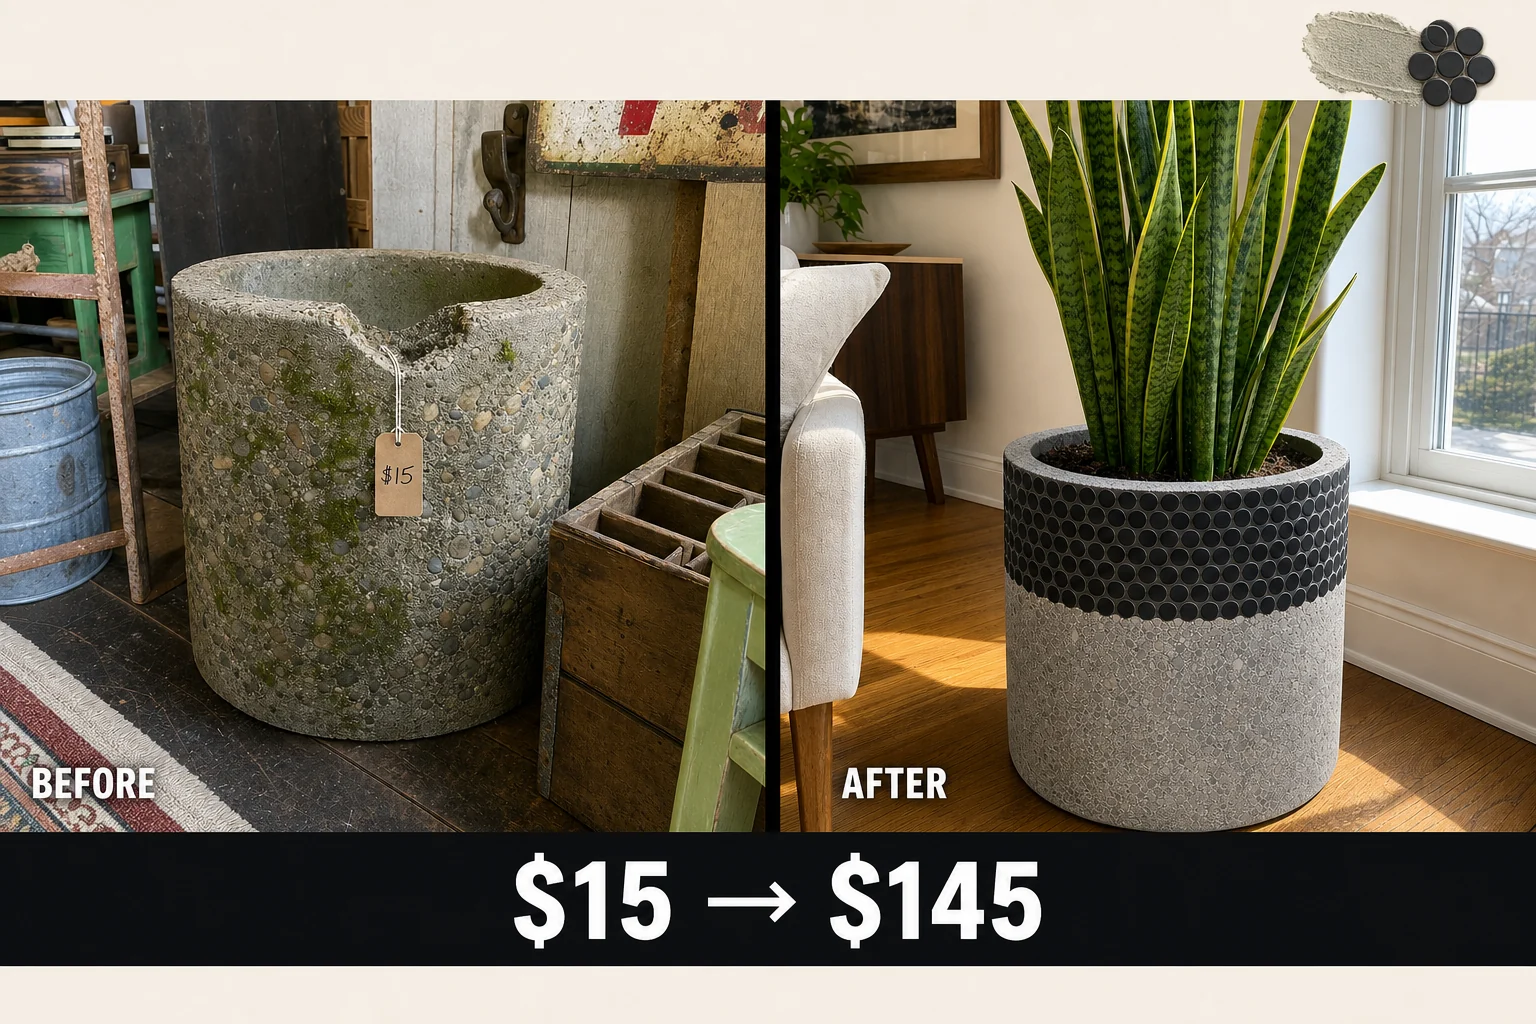
Tucked behind rusted metal signs at an antique market, this heavy 1970s aggregate planter was discounted due to damage. We transformed it by adding a sleek matte black penny tile band to conceal the chipped rim and create a modern two-tone texture.
Step 1: Assess and Scrub the Vintage Planter
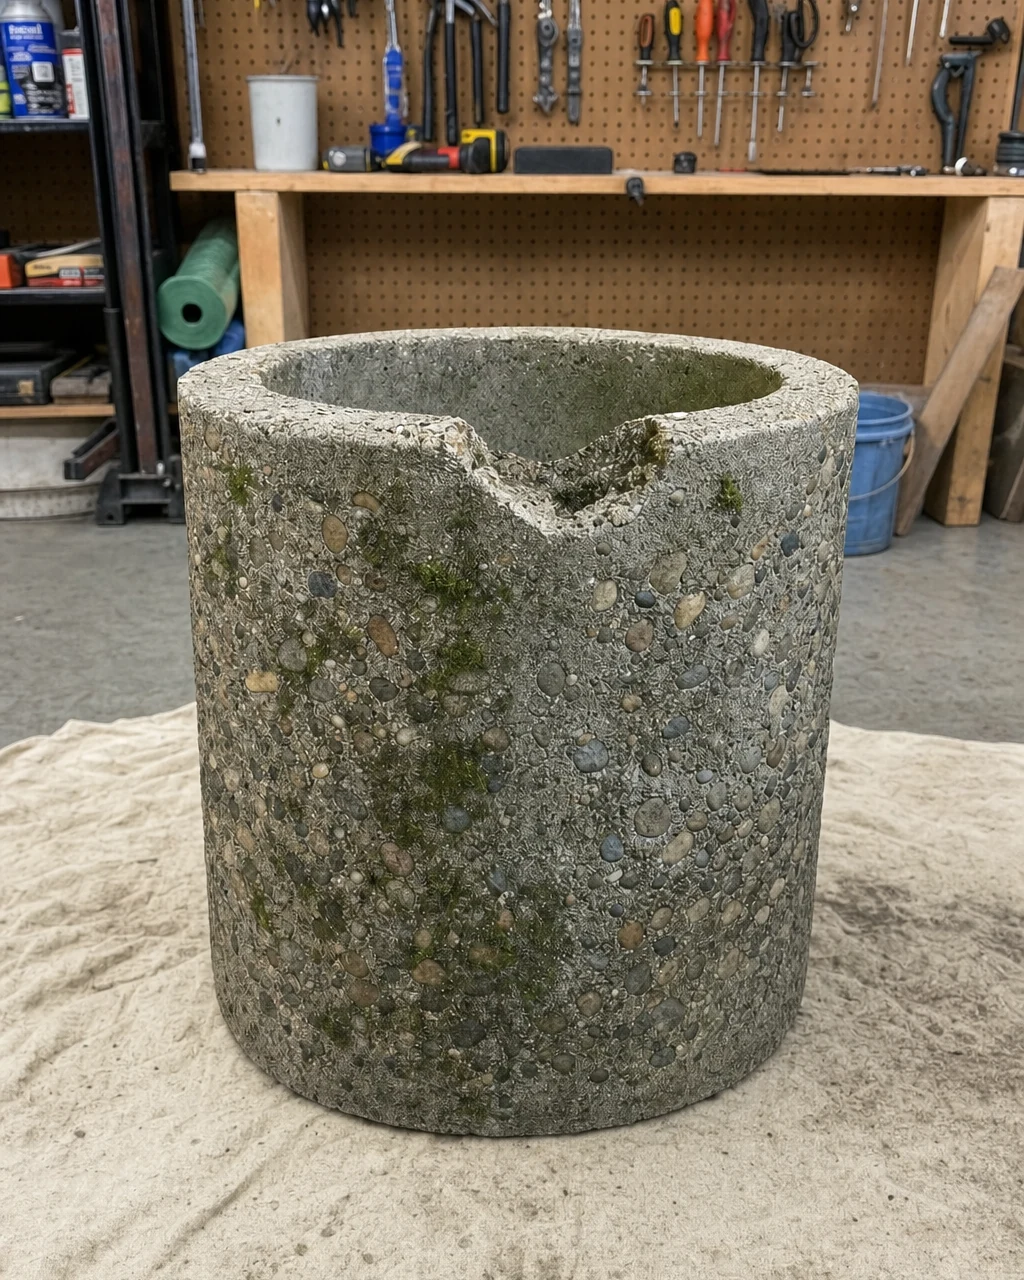
Taking stock of the bulky cylinder on a heavy canvas drop cloth reveals a jagged three-inch divot on the top edge exposing porous interior concrete. Deep green and black moss staining is heavily embedded in the exposed river stone crevices, which makes the piece look neglected and prevents any new adhesives from bonding properly.
Materials checklist
To prepare the rough stone, aggressively scrub the moss-stained aggregate with a wire brush and heavy-duty degreaser to ensure a clean bonding surface. Always wear chemical-resistant gloves and safety glasses when scrubbing with these strong foaming agents to protect your skin and eyes from harsh chemical splatter.
Step 2: Rebuild the Chipped Concrete Rim
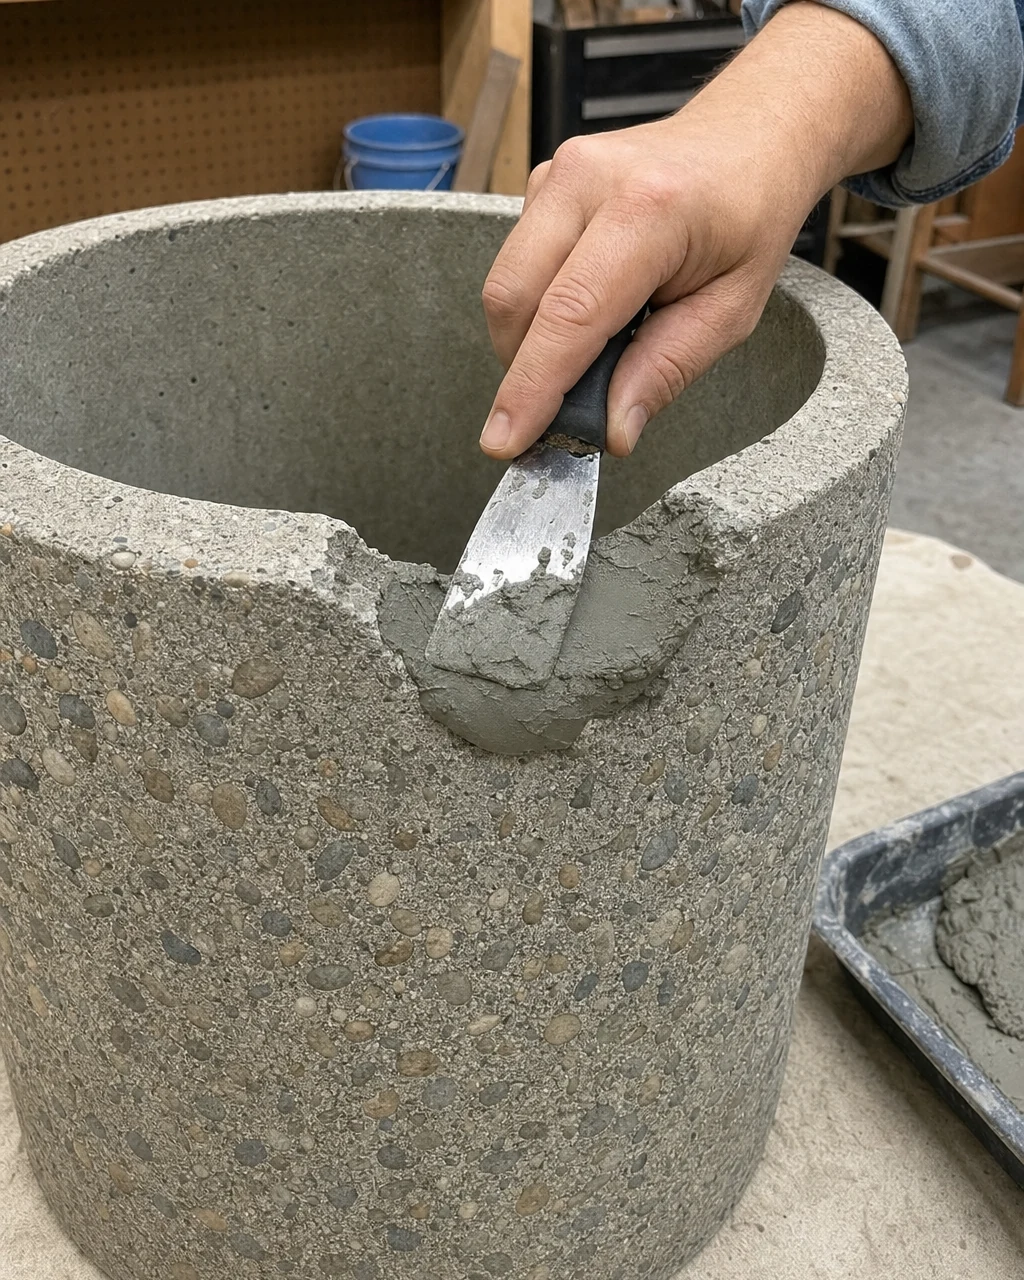
Filling the large rim divot is essential for restoring the clean circular silhouette before applying any mosaic elements. Press a thick two-part epoxy concrete patch directly into the broken void, ensuring the material pushes deeply into the porous interior concrete for maximum adhesion.
| Item | Cost |
|---|---|
| Vintage concrete planter purchase | $15 |
| Heavy-duty degreaser | $8 |
| Epoxy concrete patch | $12 |
| Pre-mixed thinset | $15 |
| Matte black penny tiles | $25 |
| Charcoal sanded grout | $14 |
| Total Investment | $89 |
| Estimated Resale Value | $145 |
| Value Gain | $56 |
Shape the dense patch to match the original curve with a metal putty knife, blending the edges smoothly into the surrounding vintage stone. Mix this epoxy in a well-ventilated area, avoid skin contact, and let the repair cure for four hours until it becomes completely solid.
Step 3: Trowel the Thinset Mortar Base
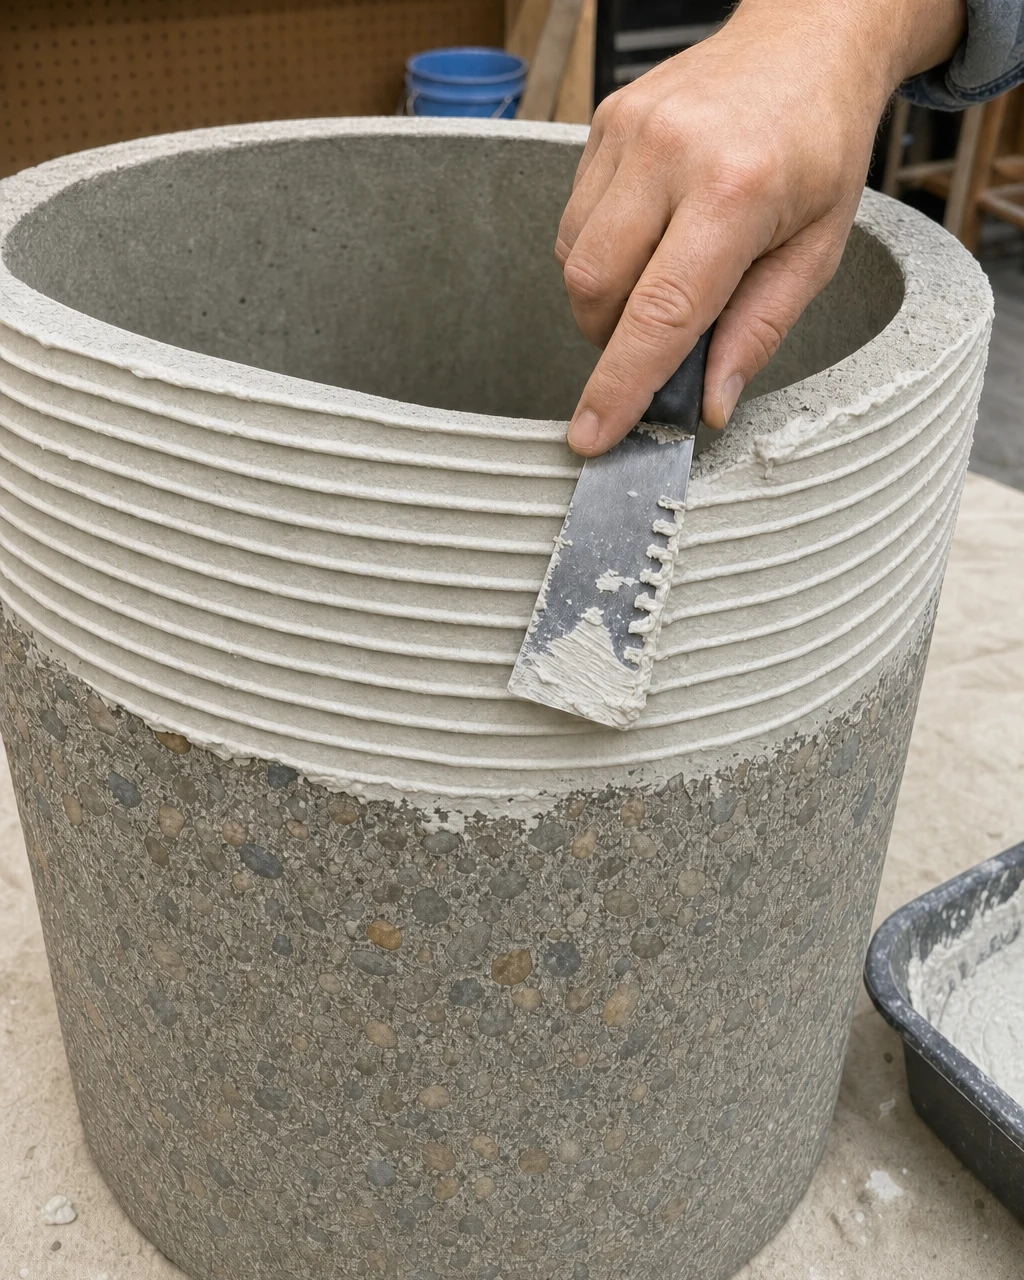
Once the rim is fully repaired and the concrete is bare, applying a smooth foundation is necessary to level the rough surface. Spread a generous, even layer of pre-mixed thinset mortar around the upper half of the heavy cylinder to create a reliable, flat base over the highly uneven vintage aggregate.
Use a small notched trowel to create a grooved, uniform texture in the wet white mortar, which helps the upcoming mosaic sheets grip securely. Work carefully over a canvas drop cloth to catch heavy mortar drips, ensuring the lower half of the exposed river stone remains completely clean and raw.
Step 4: Set the Matte Black Penny Tiles
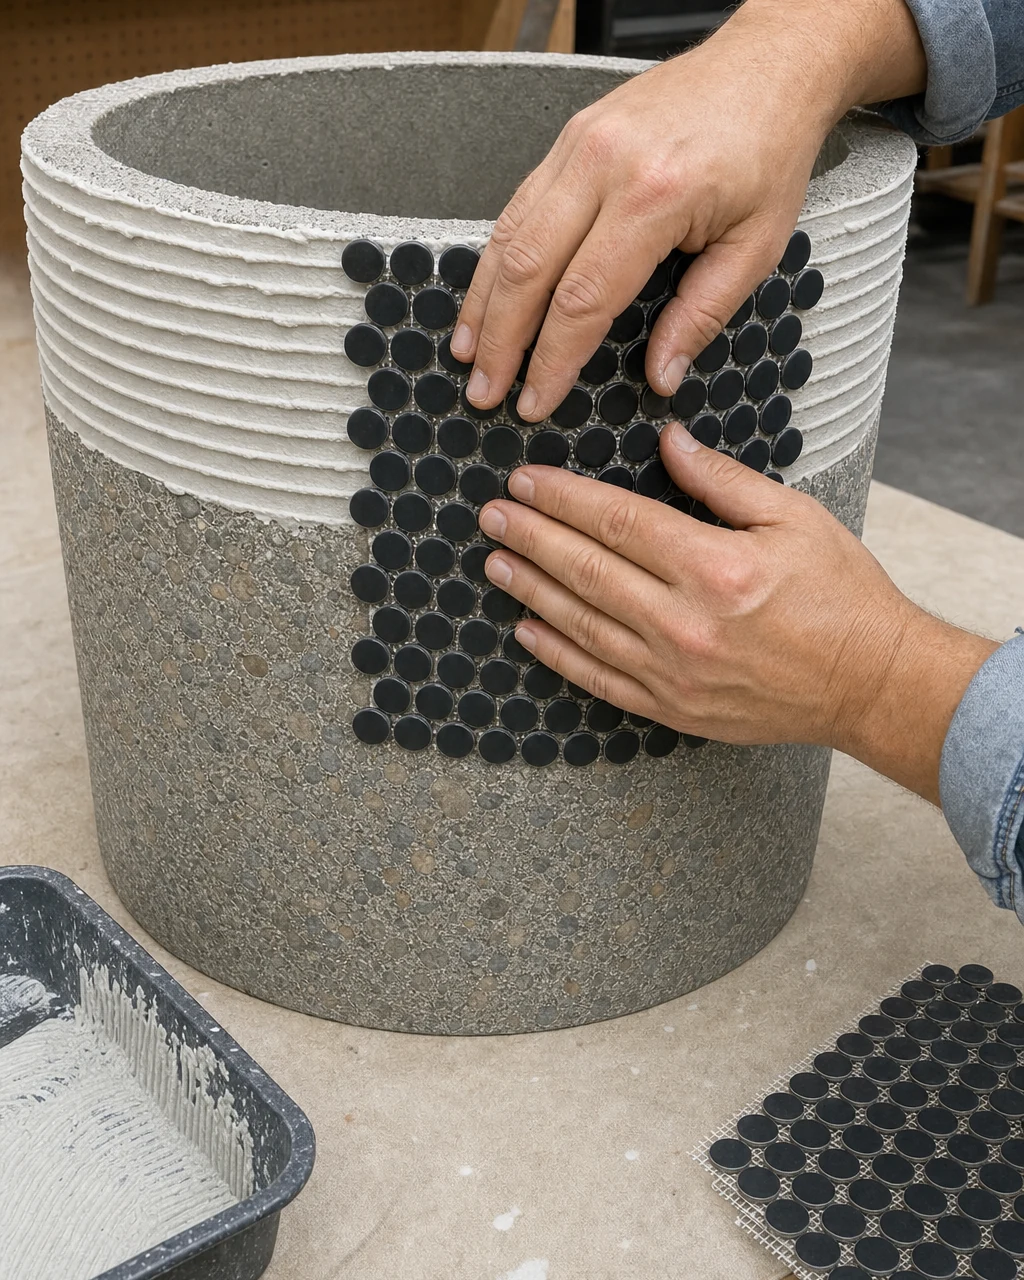
With the upper half coated in wet, notched white mortar, it is time to wrap the mosaic band around the cylinder. Press flexible mesh sheets of matte black penny tiles directly into the adhesive, applying firm and even pressure so the mesh backing embeds fully into the grooves.
- Align the top edge of the tile sheet flush with the newly repaired concrete rim.
- Press the center of the mesh first, smoothing outward to prevent air pockets.
- Slice the mesh backing with a utility knife to fit the final gap seamlessly.
Ensure even spacing between the individual sheets and adjust any crooked tiles while the mortar is still pliable. Verify that the heavy planter is completely stable so pressing the tiles does not tip it over, then leave the pre-mixed thinset adhesive to cure undisturbed overnight.
Step 5: Apply the Charcoal Sanded Grout
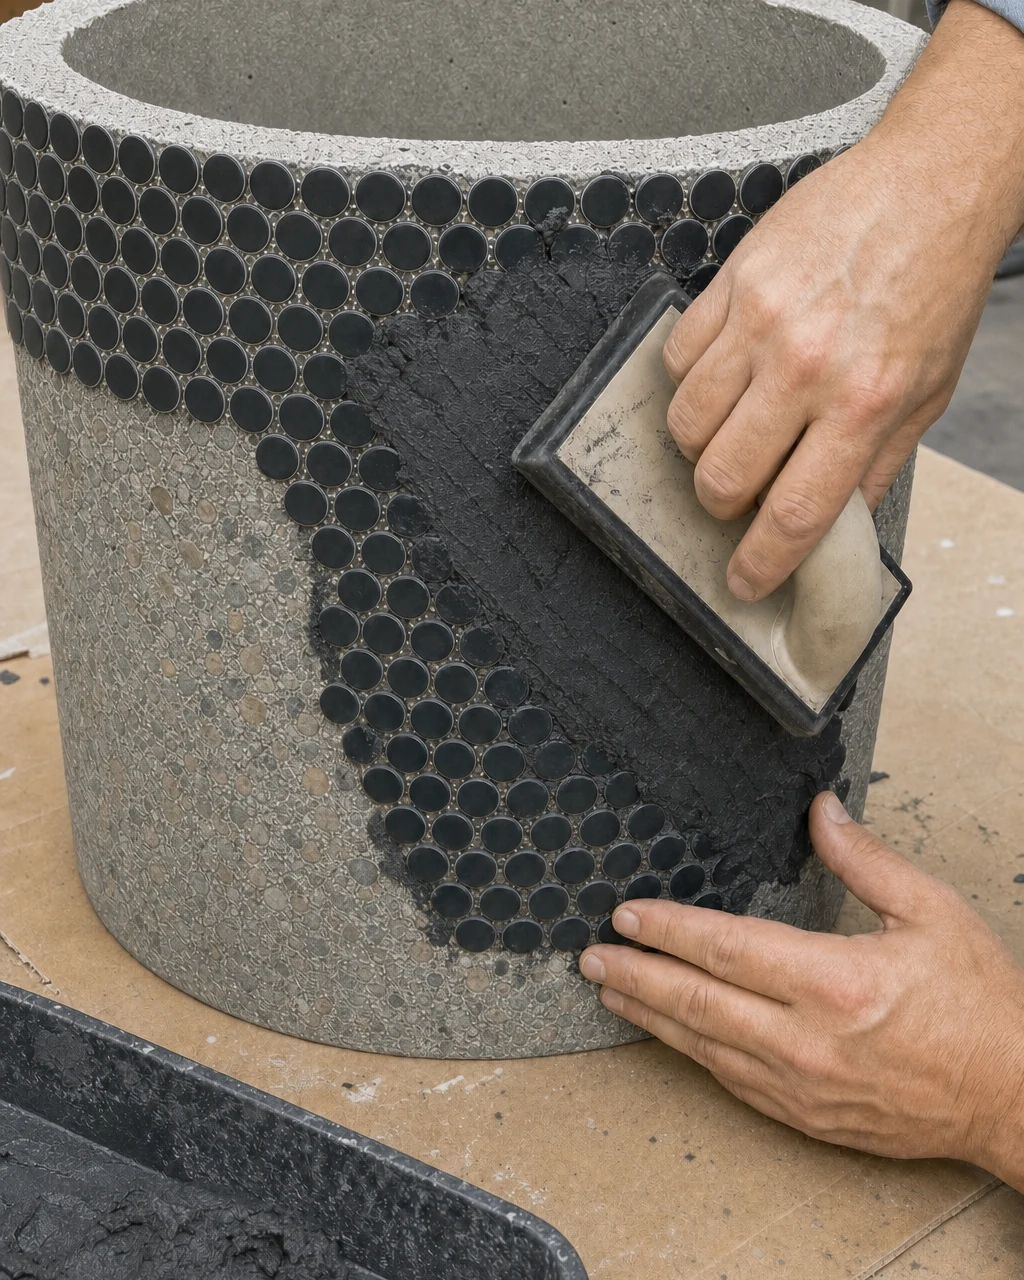
After the tiles are firmly set with empty gaps between them, locking the modern mosaic in place requires a highly durable filler. Force dark charcoal sanded grout diagonally into the tile joints using a flexible rubber grout float, ensuring every single space is packed tightly to prevent future moisture intrusion outdoors.
Scrape the edge of the rubber float across the tiles to remove excess dark grout, leaving the joints flush and fully filled. Always wear a protective dust mask if mixing dry grout powder, and wait approximately thirty minutes for a dull, dry haze to form across the matte black tile surface.
Step 6: Buff the Finished Mosaic Band
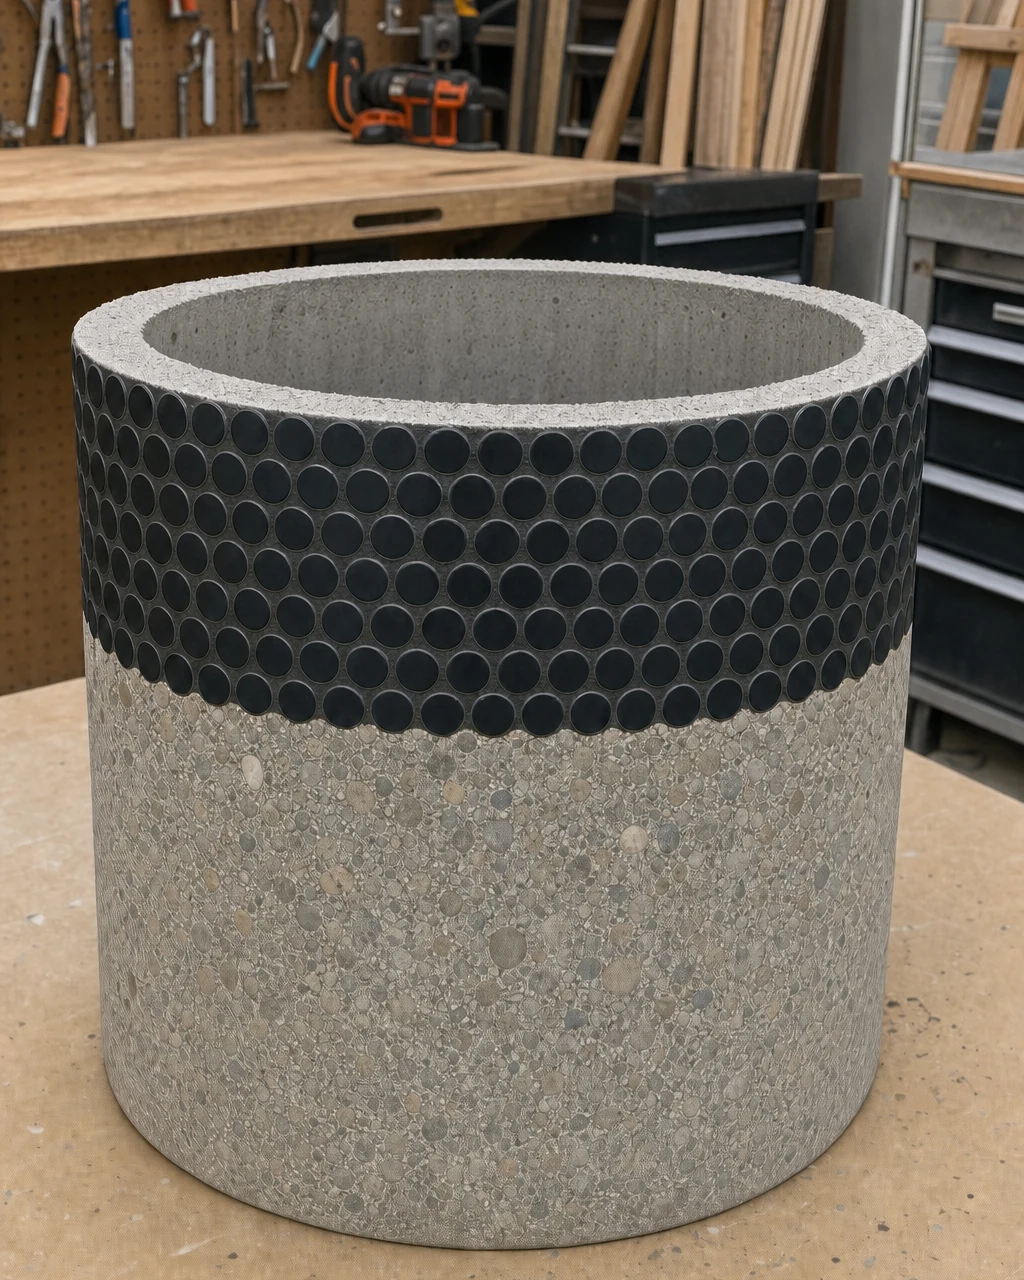
Once the tiled band is covered in a dusty grey grout haze, wipe away the dried residue with a damp sponge. Rinse the sponge frequently in a bucket—never in a household sink—to prevent plumbing clogs, then buff the tiles with a microfiber cloth to reveal the clean, contrasting matte finish.
Valuation and Resale Potential
Large, heavy concrete planters are notoriously expensive to buy new, making this structural thrift flip highly profitable. Adding a custom architectural mosaic band elevates this from a basic garden center cast-off to a boutique mid-century modern statement piece. This drives the piece to a premium price point, though the $145 figure remains an editorial estimate rather than a completed sale.
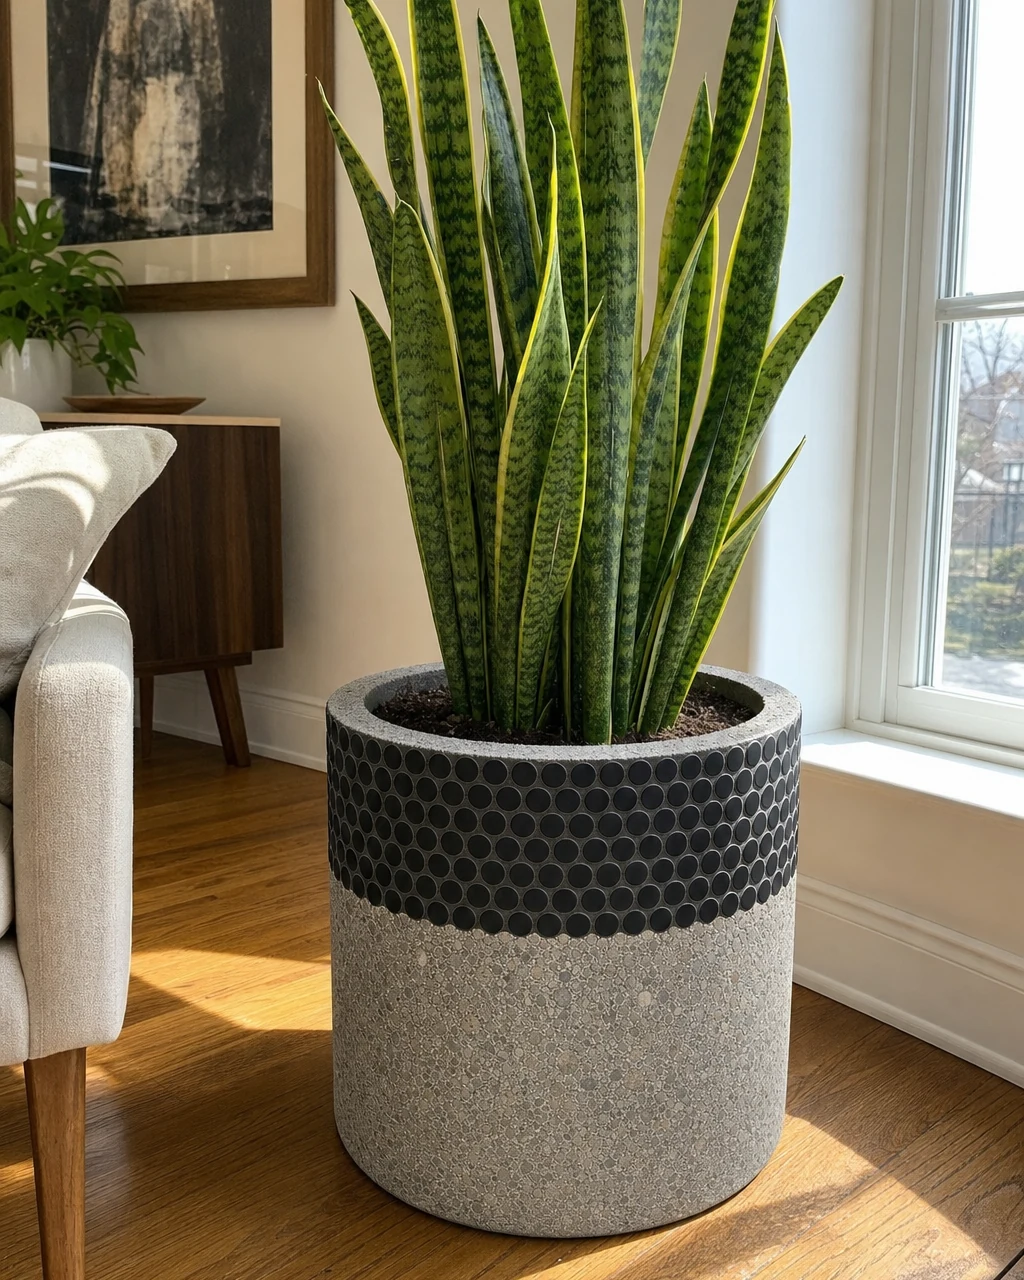
Step 7: Plant and Style the Finished Piece
The finished two-tone planter now sits empty in the workshop, ready to be brought indoors and styled. Fill the restored concrete cylinder with fresh potting soil and plant a tall, vibrant green snake plant. Place the heavy piece on a sunny hardwood floor to showcase the striking geometric textures, always remembering to lift from the knees to avoid back strain.