
Candle Lantern Before and After: Faux Iron and Amber Glass
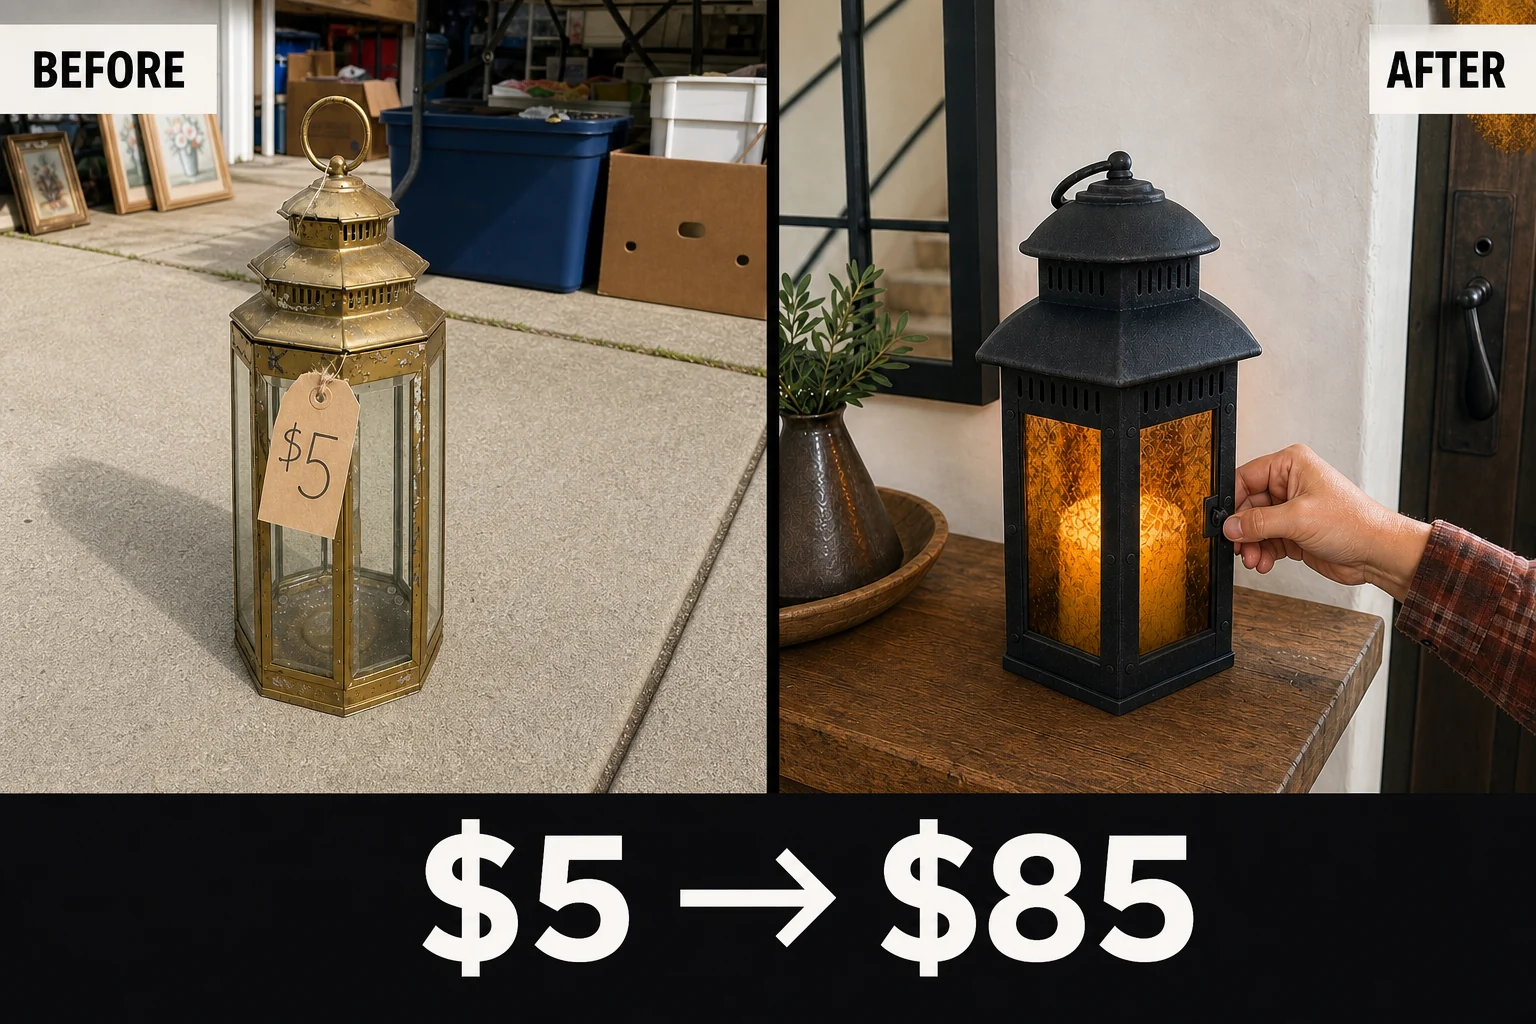
Spotted sitting on a driveway at a garage sale, this flimsy 1980s brass candle lantern needed a serious update. See how textured iron paint and faux amber mica glass transformed it into a heavy Spanish Mission piece.
Assessing the Garage Sale Lantern
Spotted sitting directly on the concrete driveway next to a box of old paperbacks, this lantern had a loose roof and peeling lacquer, but the hexagonal frame was completely intact. Upon closer inspection on the workbench, several major issues required immediate attention before any painting could begin:
- The metal roof canopy rattled and lifted slightly at one corner, making the lantern feel flimsy and unsafe to carry.
- Flaky, peeling clear lacquer covered the shiny brass plating, preventing new paint from adhering properly.
- The plain, transparent glass panels featured visible old wax drips and lacked the warm, diffused character required for a Spanish Mission aesthetic.
Step 1: Remove the Clear Glass Panels
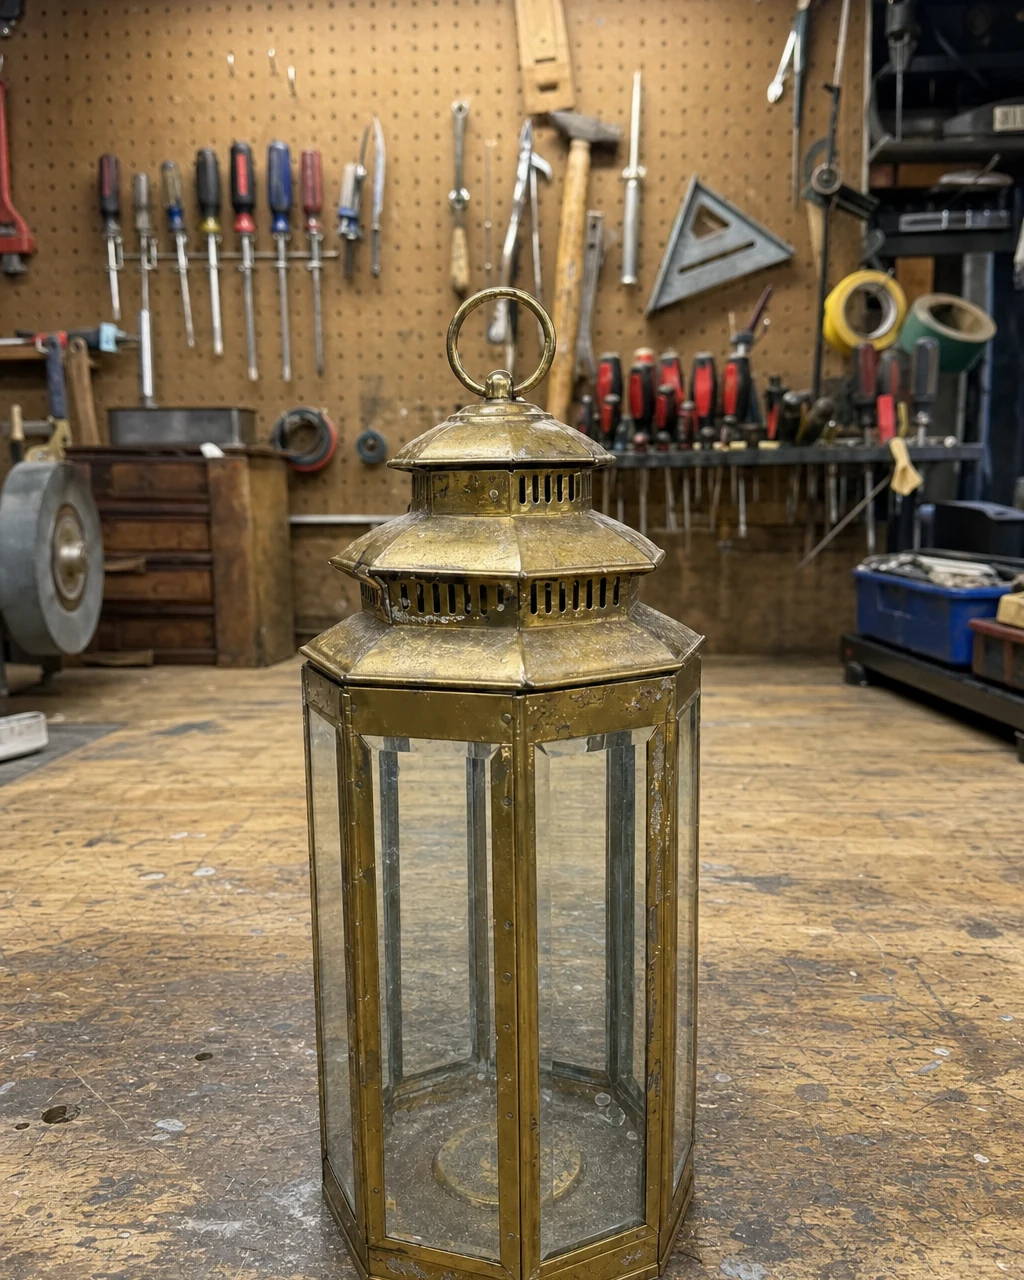
The found brass lantern sits on the workbench with its original clear glass intact. This 16-inch tall hexagonal upright body features a tiered, vented roof canopy and a large top carrying ring that defines its classic silhouette.
Releasing the Retaining Tabs
Evaluate the interior floor of the brass lantern frame and carefully bend back the small interior metal retaining tabs with a flathead screwdriver. Slide the six clear glass panels out and set them aside. Always wear leather gloves to prevent cuts.
Step 2: Fix the Rattling Roof Canopy
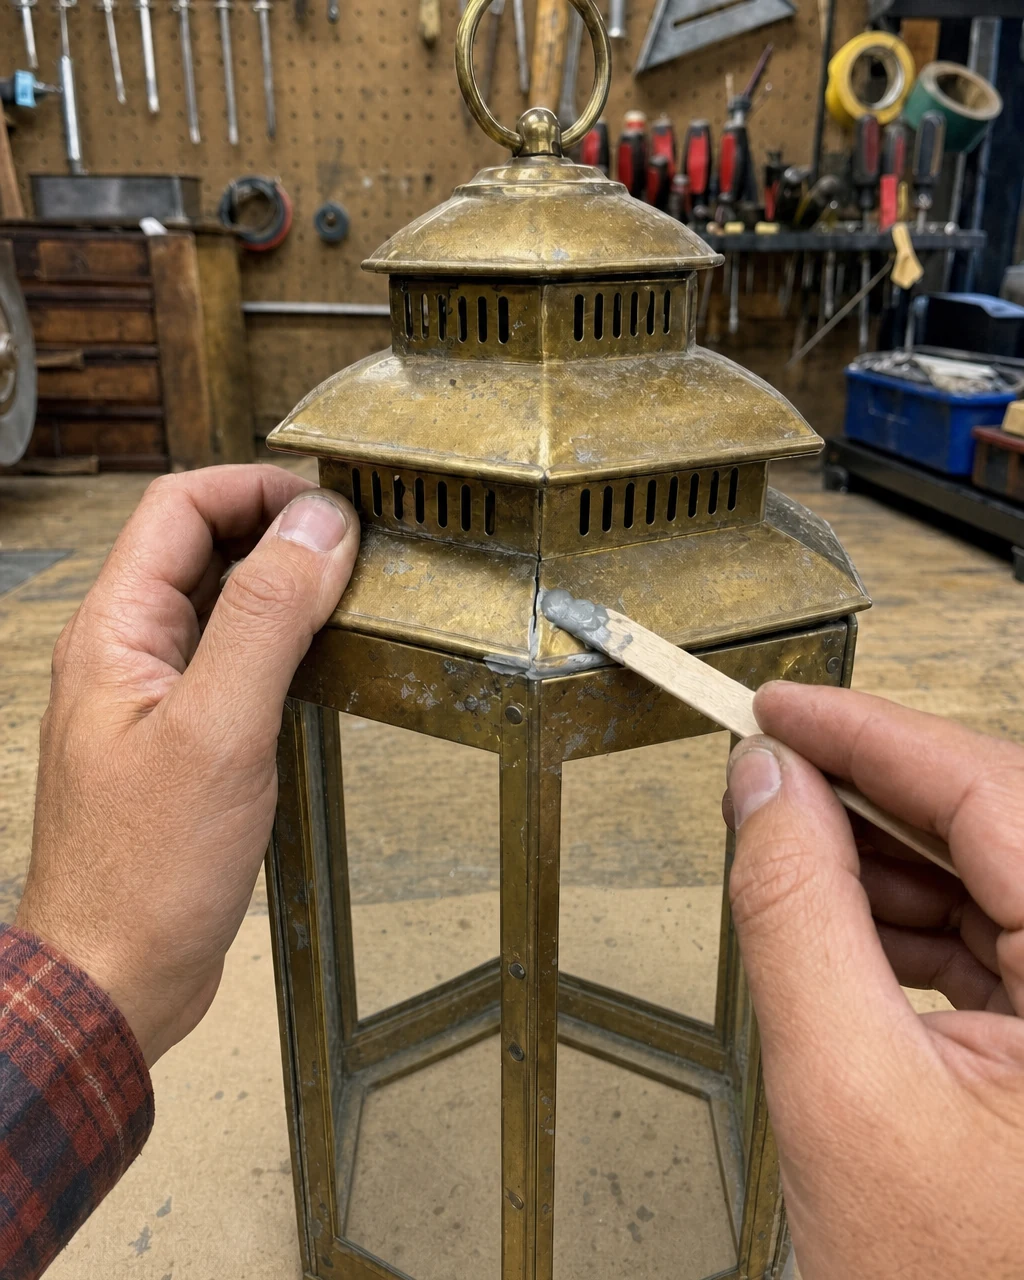
The empty brass frame has a loose, rattling roof canopy caused by a broken spot weld. Mix a two-part high-heat metal epoxy and press a bead into the broken upper corner seam between the roof canopy and the main frame using a wooden craft stick.
| Item | Cost |
|---|---|
| Purchase | $5 |
| Metal epoxy | $6 |
| Sanding sponge | $4 |
| Textured black paint | $9 |
| Amber glass paint | $5 |
| Sea sponge | $3 |
| Total Investment | $32 |
| Estimated Resale Value | $85 |
| Value Gain | $53 |
Materials checklist
Clamping the Glued Seam
Clamp the glued section with a spring clamp and let the epoxy cure for a full 24 hours. Mix epoxy in a well-ventilated area and avoid skin contact.
Step 3: Scuff the Shiny Brass Finish
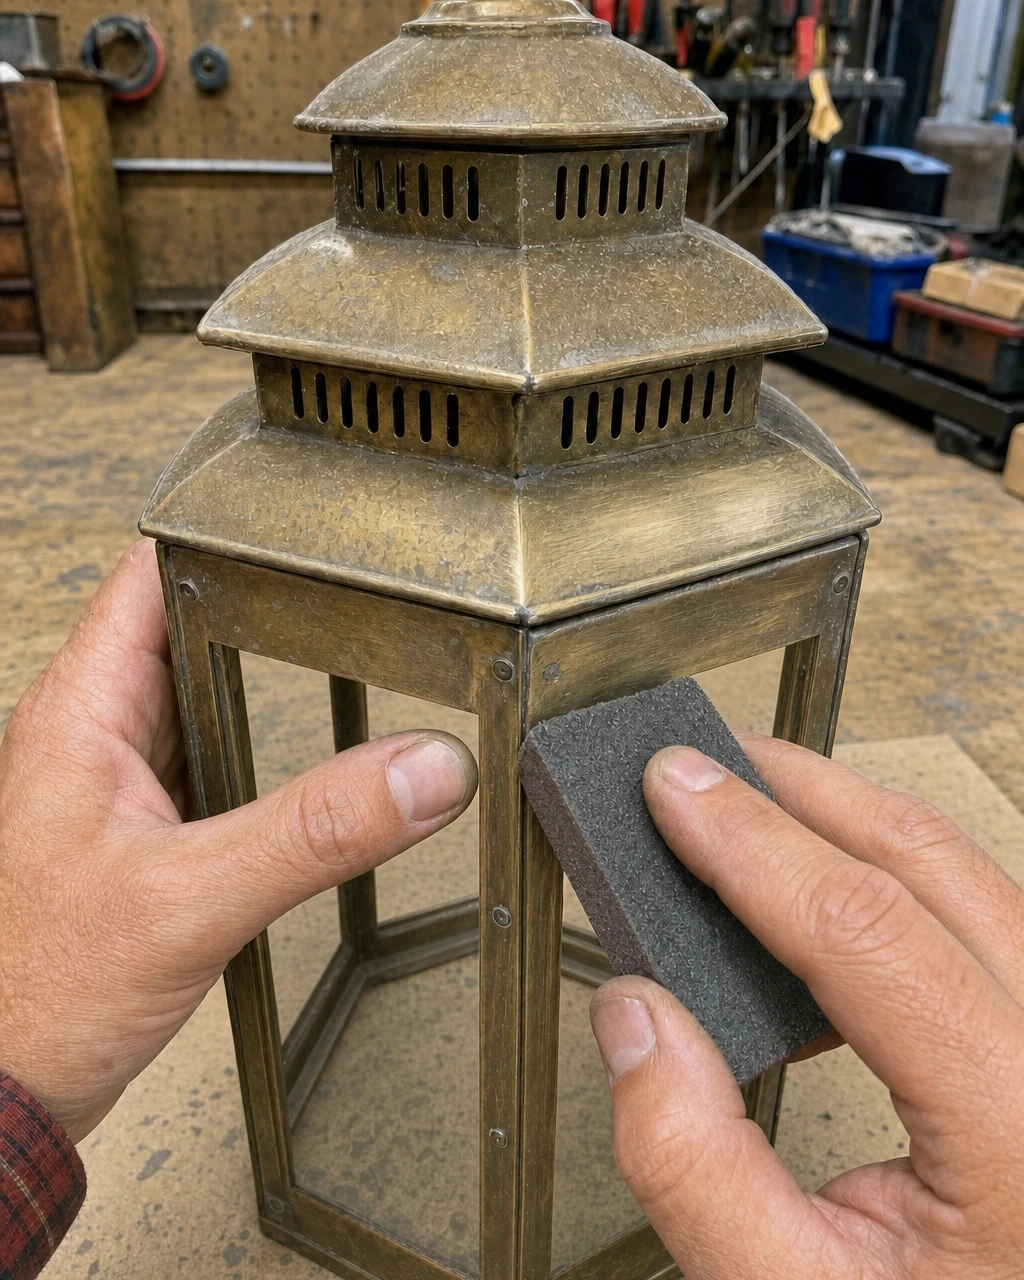
The brass frame is structurally sound but covered in peeling clear lacquer. Vigorously rub a medium-grit sanding sponge over the entire exterior brass framework, focusing on the exterior side struts of the lantern frame.
Prepping for Paint Adhesion
This removes the flaking clear lacquer and scratches the shiny plating to expose dull metal, creating a rough surface for permanent paint adhesion. The frame now has a dull, scratched appearance. Wear a dust mask to avoid inhaling dried lacquer dust.
Step 4: Apply the Forged Iron Texture
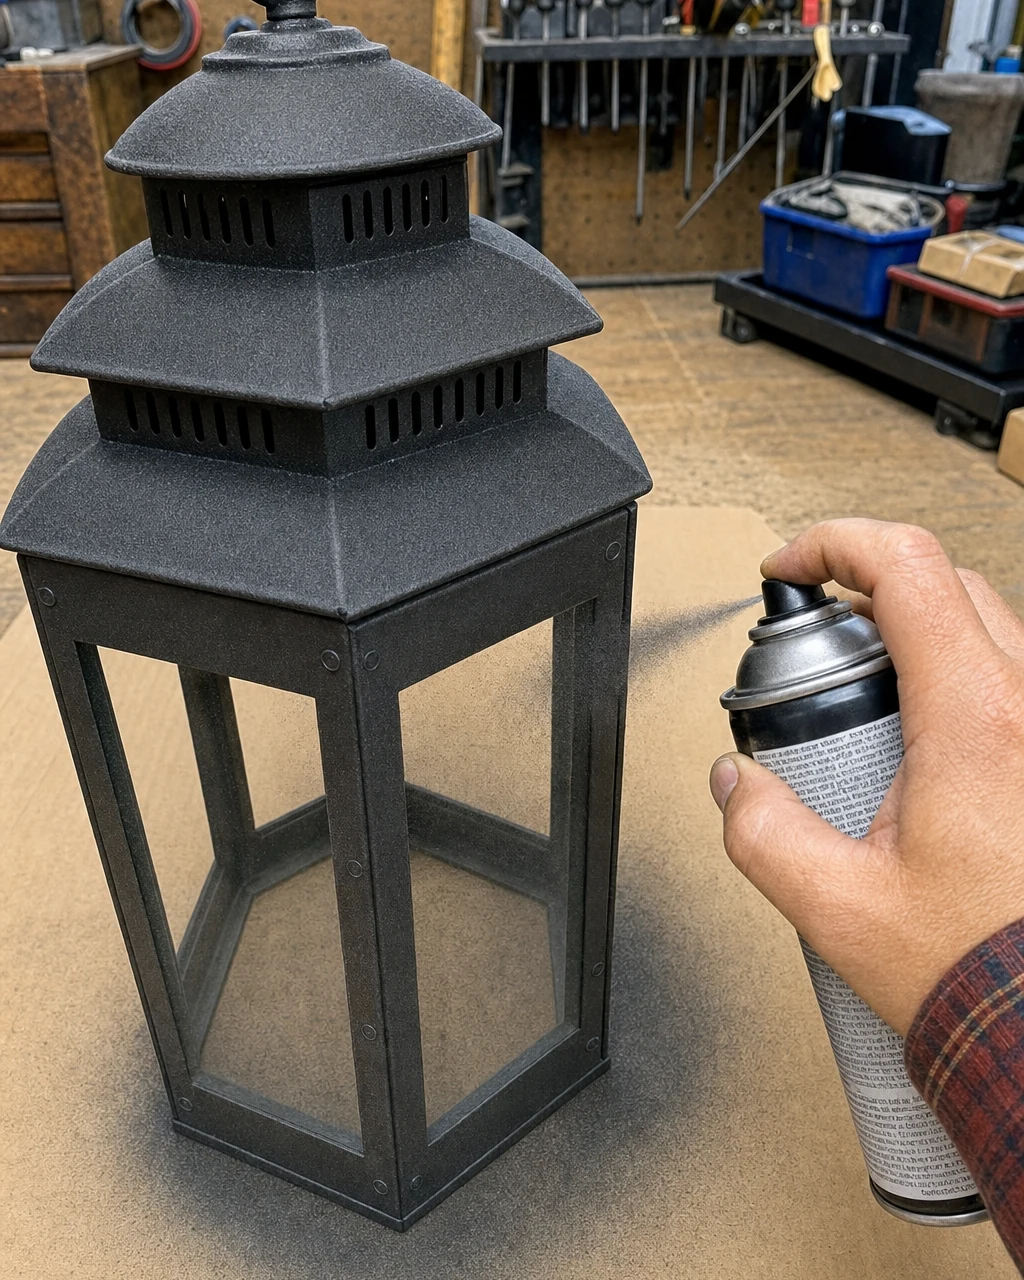
The frame is scuffed, dull, and wiped clean of dust. Place the full metal lantern frame on a cardboard drop cloth to protect your workbench. Spray two light, even coats of matte black textured paint across the sanded metal frame to mimic heavy forged iron.
Curing the Matte Finish
Allow 30 minutes of dry time between coats. The frame is completely coated in a rough, matte black finish that hides the dated 1980s brass. Spray paint outdoors or in a heavily ventilated garage wearing a respirator.
Step 5: Create Faux Amber Mica Glass
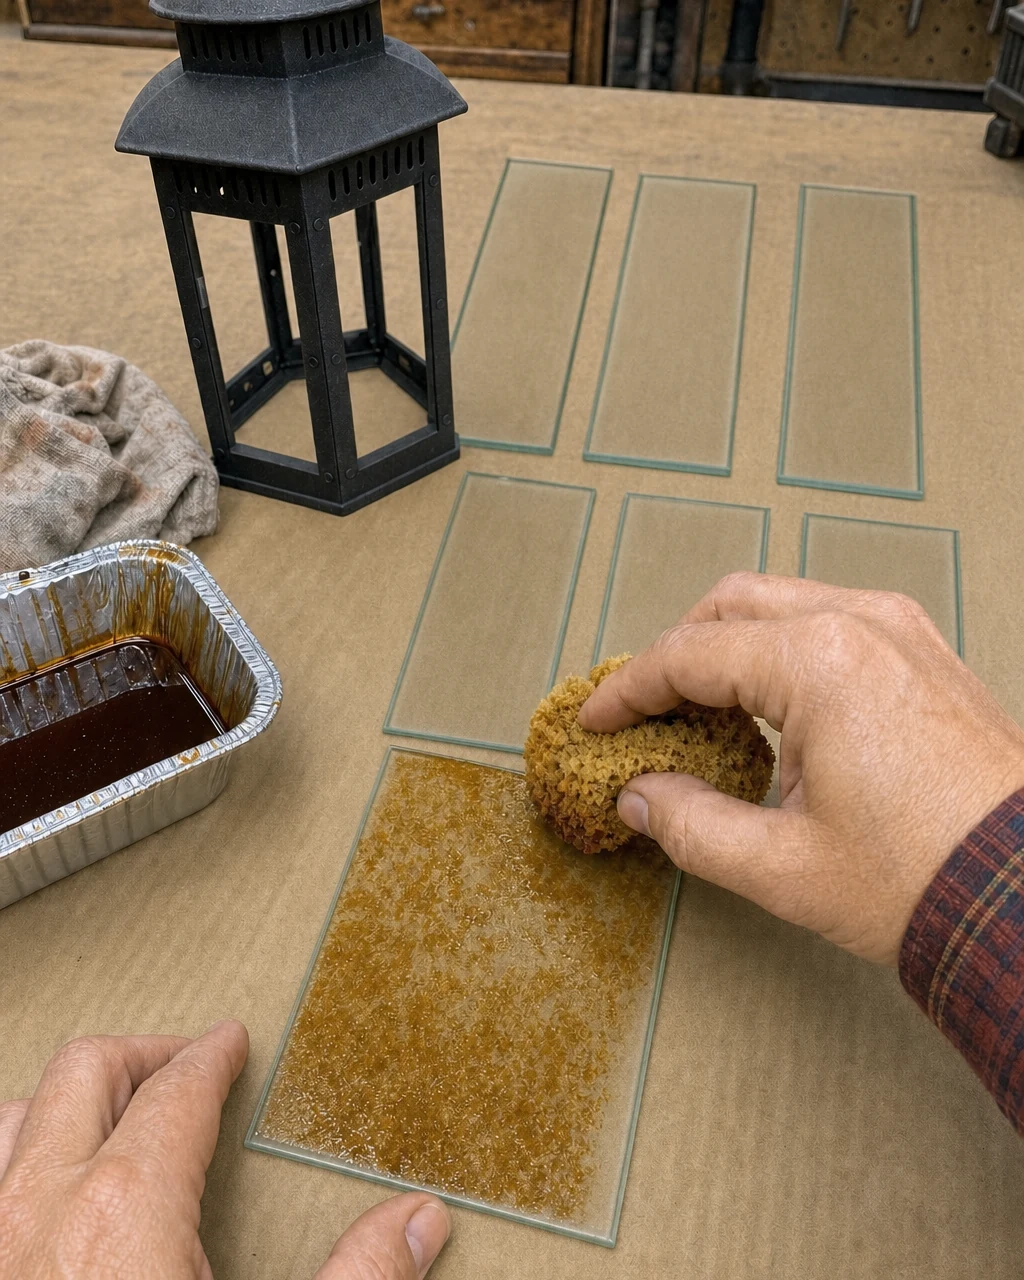
The clear glass panels are clean and laid flat on a protected work surface. Pounce translucent amber glass paint onto the clear panels using a natural sea sponge.
Achieving the Vintage Glow
Dabbing the paint creates a mottled, uneven texture that mimics traditional mission mica, then let it dry. Keep glass flat and fully supported on the table while pressing down with the sponge to avoid breaking the delicate panes.
Step 6: Reassemble the Mission Lantern
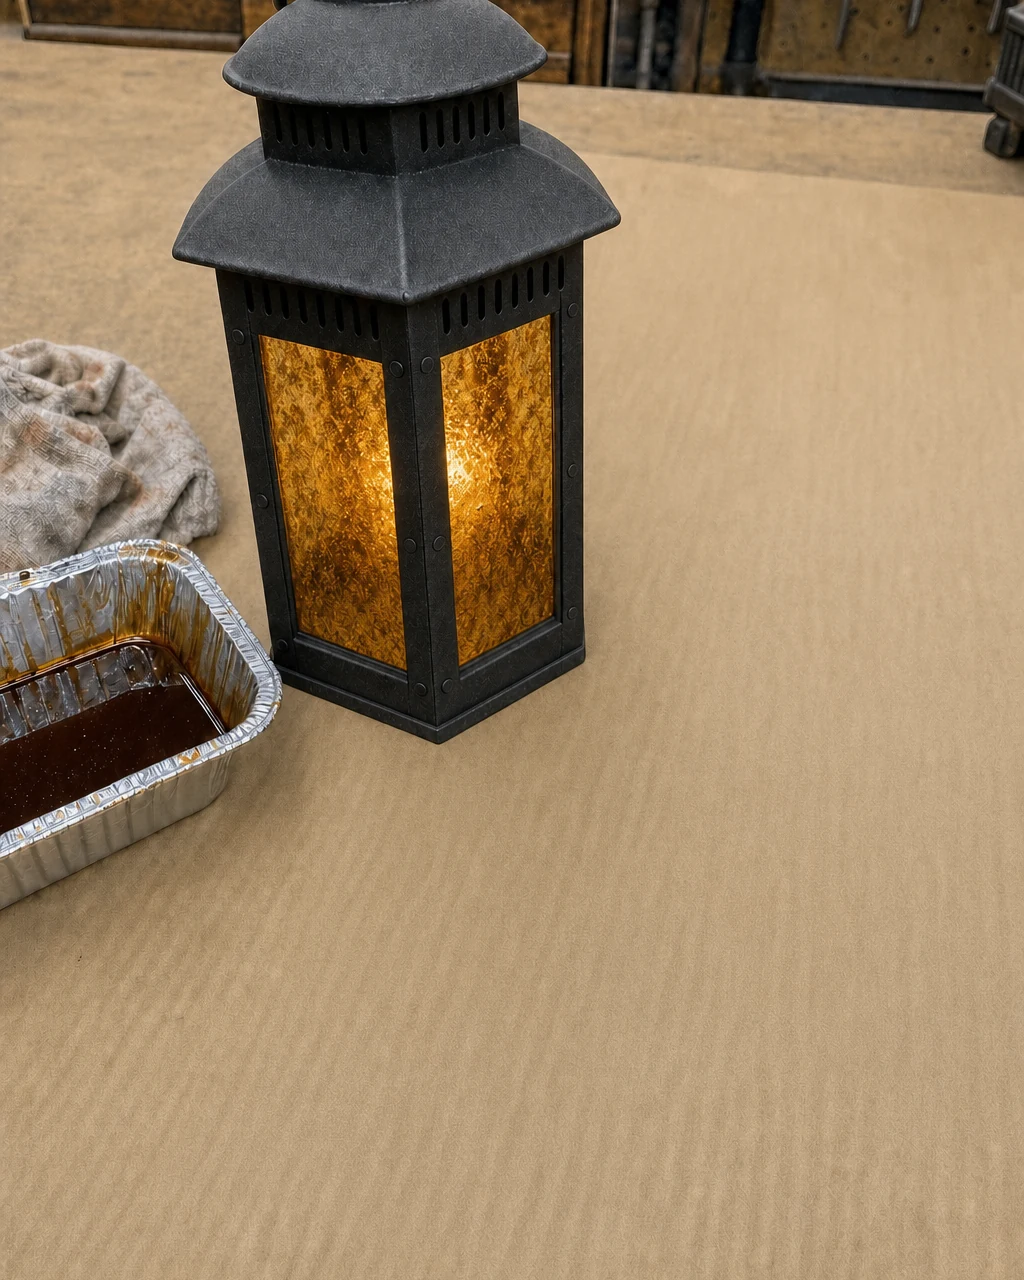
Once the black textured frame is dry and the amber glass panels are fully cured, carefully slide the panels back into their original slots along the interior floor and lower glass edge of the housing.
Securing the Glass Panels
Fold the metal interior tabs flat against the newly painted amber glass panels with a flathead screwdriver to lock them securely inside the black iron frame. Apply gentle pressure when bending the tabs to avoid cracking the newly painted glass.
Step 7: Style the Finished Piece
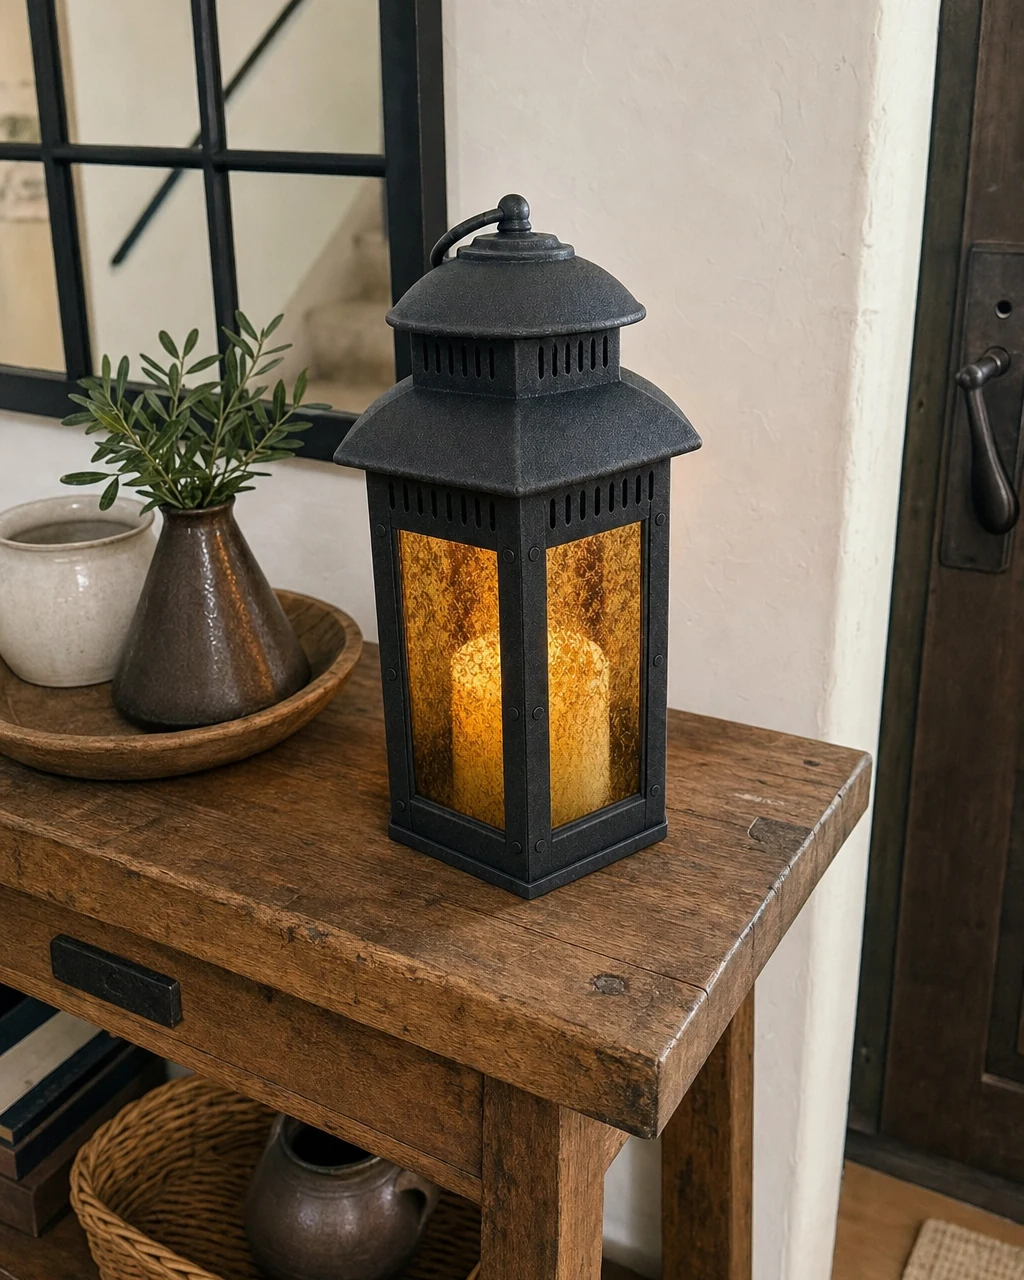
The fully assembled Spanish Mission style lantern sits empty, ready for display. Place a thick ivory pillar candle inside the finished black and amber lantern and set it on a rustic wooden entryway console table against a white plaster wall.
Highlighting the Amber Light
The lantern glows warmly from within, highlighting the diffused amber light glowing through the textured glass and showcasing the forged iron finish. Never leave a burning candle unattended.
Valuation and Resale Potential
The heavy forged-iron texture and custom amber glass elevate this from a mass-produced 1980s piece to a convincing Spanish Mission reproduction. This authentic, rustic aesthetic commands a premium in southwestern decor markets. Please note that the eighty-five dollar resale value remains an editorial estimate rather than a guaranteed sale price.
- Repairing the broken spot weld restores structural integrity, ensuring the piece feels heavy and substantial rather than flimsy.
- Scuffing the peeling clear lacquer guarantees the new textured paint adheres permanently without future flaking.
- Applying the matte black finish successfully mimics hand-forged iron, completely erasing the cheap brass-plated origins.
- Tinting the plain clear panels with a faux-mica effect provides the signature warm amber glow essential to mission styling.