
Vintage Suitcase Makeover with Gleaming Brass Hardware
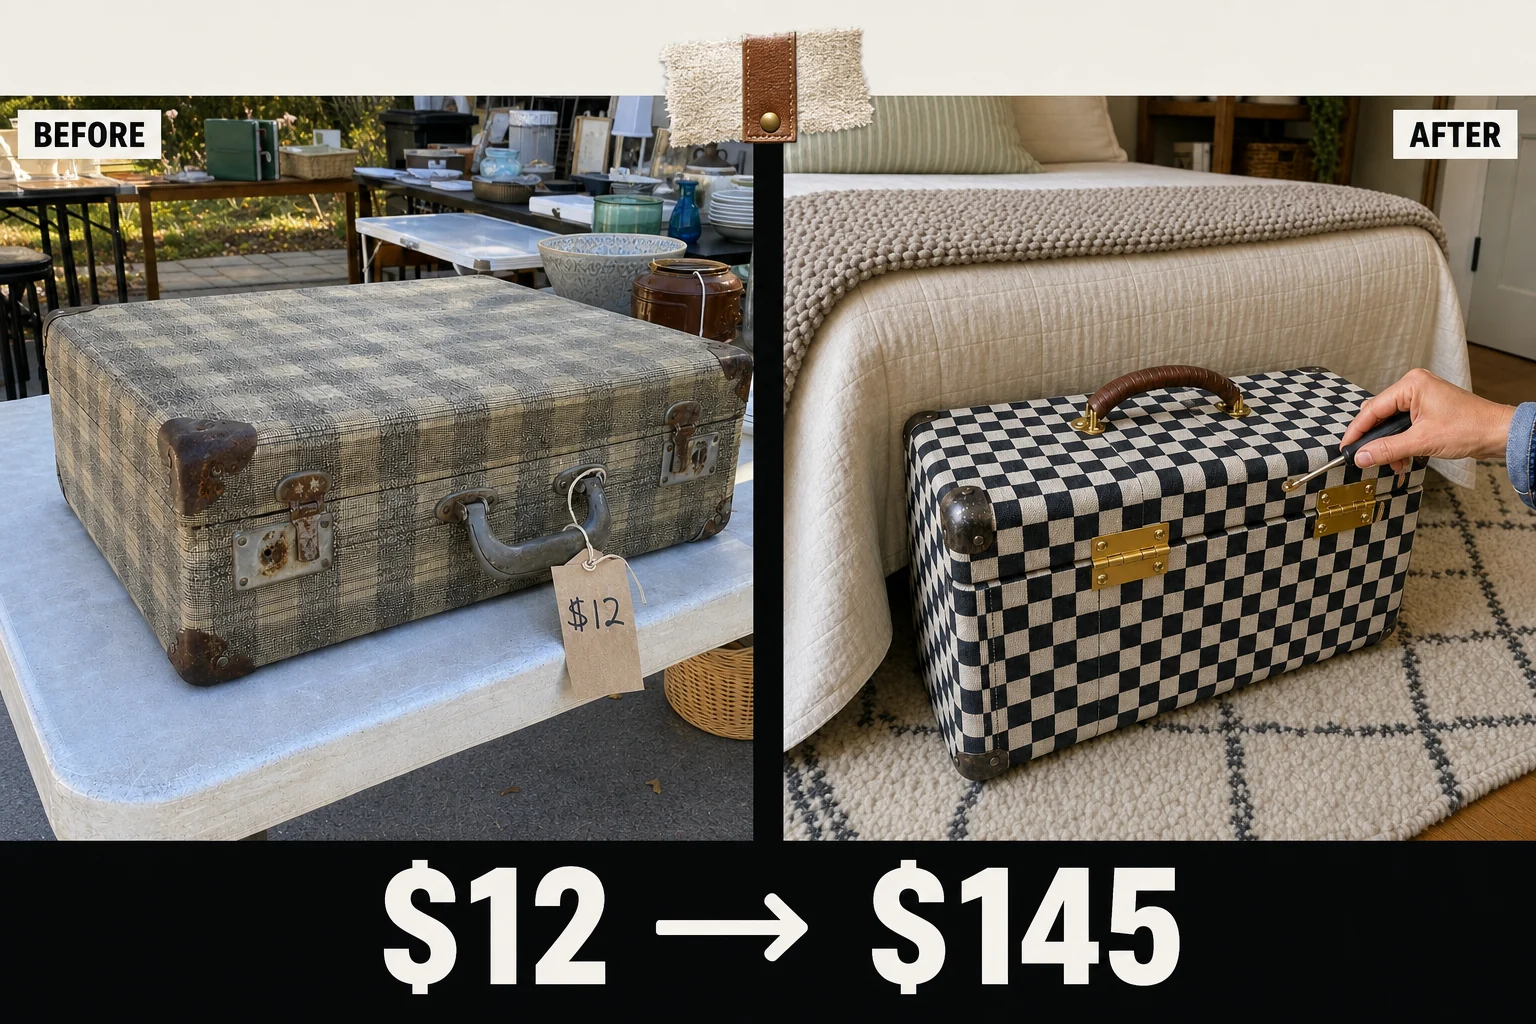
Spotted under a folding table at a garage sale, this 1950s suitcase hid a fantastic checkered pattern under decades of grime. We restored its structural integrity with solid brass hardware and revived the fabric for a premium storage piece.
Evaluating the Vintage Luggage Condition
Evaluating the vintage luggage revealed two primary issues that required immediate attention before the piece could be used in a home. Addressing these problems in the correct sequence ensures a successful restoration without damaging the fragile midcentury materials, preserving the unique character of the woven fabric and original metal corner bumpers.
- Loose back hinges: The original screws pull freely from the back edge of the thin wooden shell, causing the lid to shift out of alignment so it will not close squarely or latch securely.
- Embedded grime: The black and white checkered fabric looks uniformly gray and dull, causing the vintage geometric pattern to lose its visual punch and hiding the true midcentury aesthetic.
Step 1: Assess the Damage
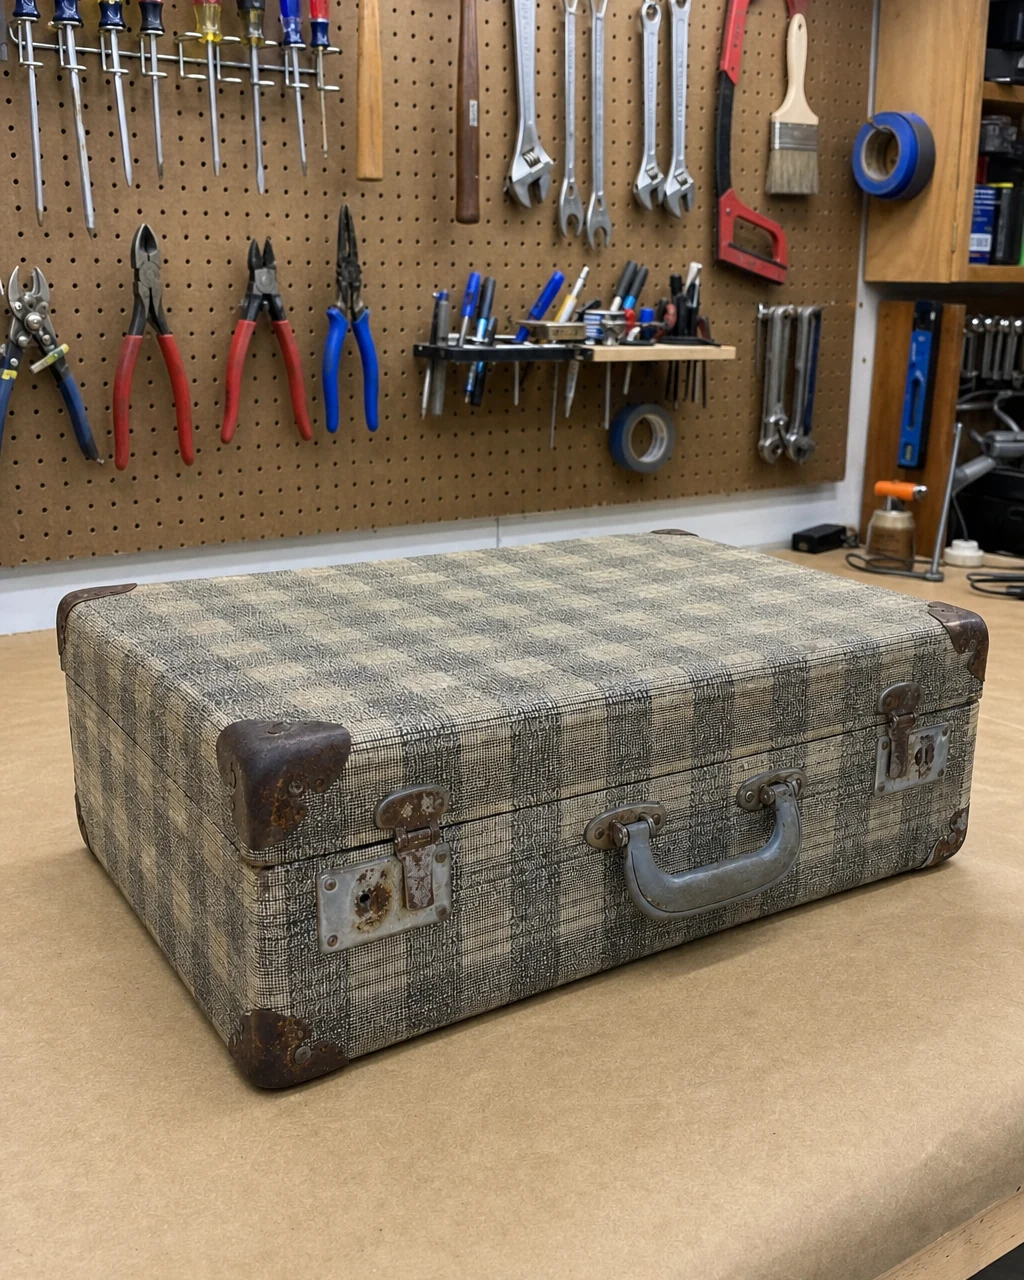
Evaluate the loose hinges and dirty fabric on the workbench to determine the required repairs before beginning the restoration. Rest the closed suitcase flat on the protective craft paper covering the workbench to clearly see the extent of the rust and fabric grime under the bright workshop lights. Ensure the workbench is stable before placing the luggage down.
| Item | Cost |
|---|---|
| Garage sale purchase | $12 |
| Solid brass hinges | $14 |
| Upholstery foam | $8 |
| Wood epoxy | $7 |
| Leather handle wrap | $12 |
| Materials total | $41 |
| Total investment | $53 |
| Estimated resale value | $145 |
| Value gain | $92 |
Step 2: Remove Old Hardware
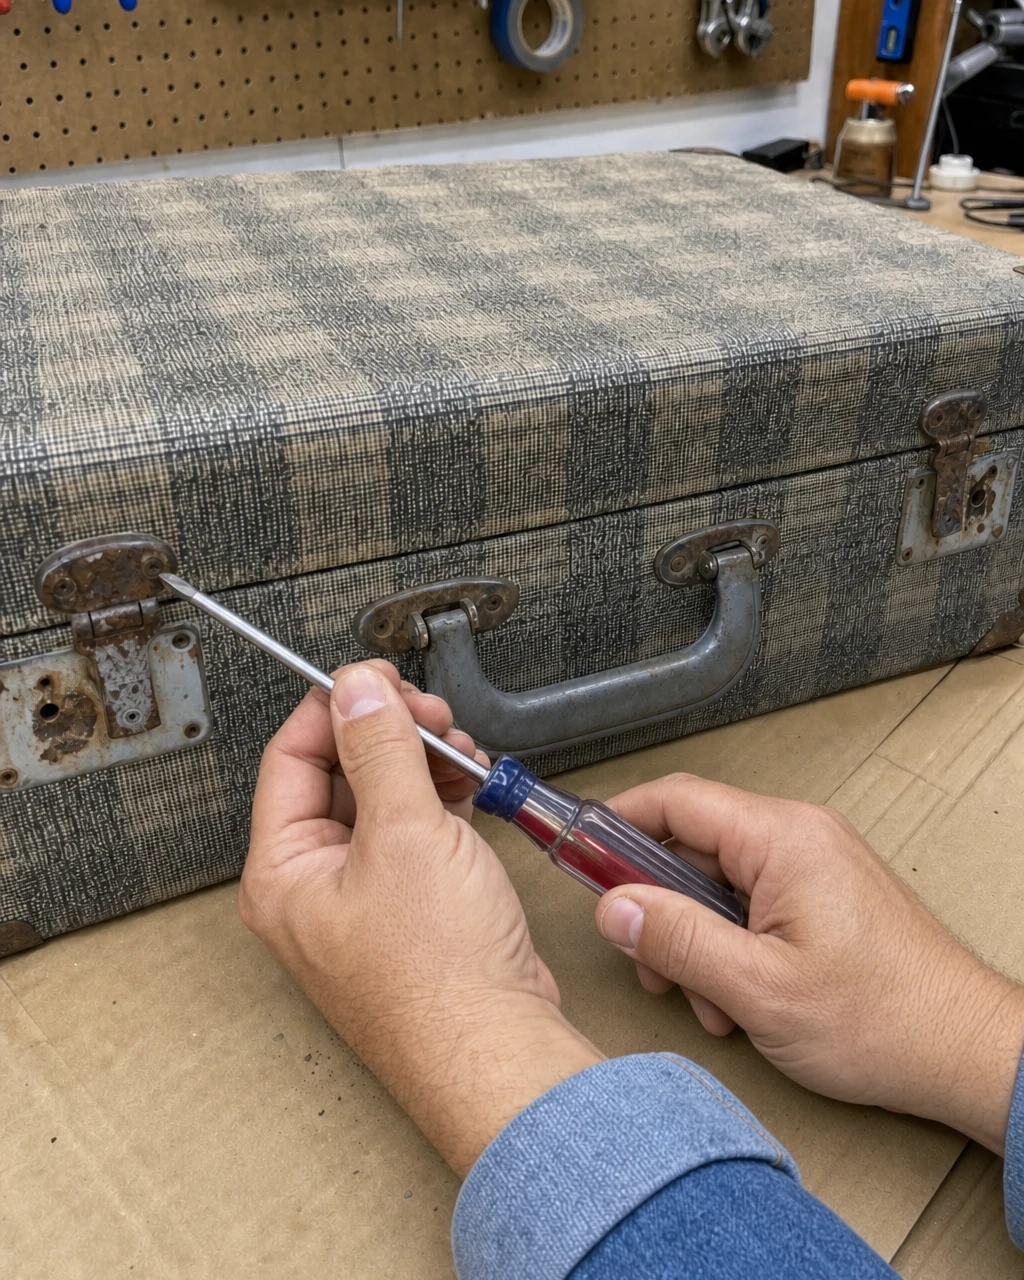
Unscrew and detach the loose rusty hinges from the wood shell, discarding the old hardware to prepare the surface for repairs. Extract the loose screws from the rusted back hinges using a manual Phillips screwdriver to expose the enlarged, stripped screw holes along the back edge.
- Use a manual screwdriver rather than a power drill to avoid further splintering the thin wooden shell.
- Clear away any loose wood fibers or rust flakes from the exposed holes to ensure a clean surface for the epoxy.
- Always wear work gloves to protect your hands from sharp rusted metal edges during the removal process.
Step 3: Scrub the Fabric
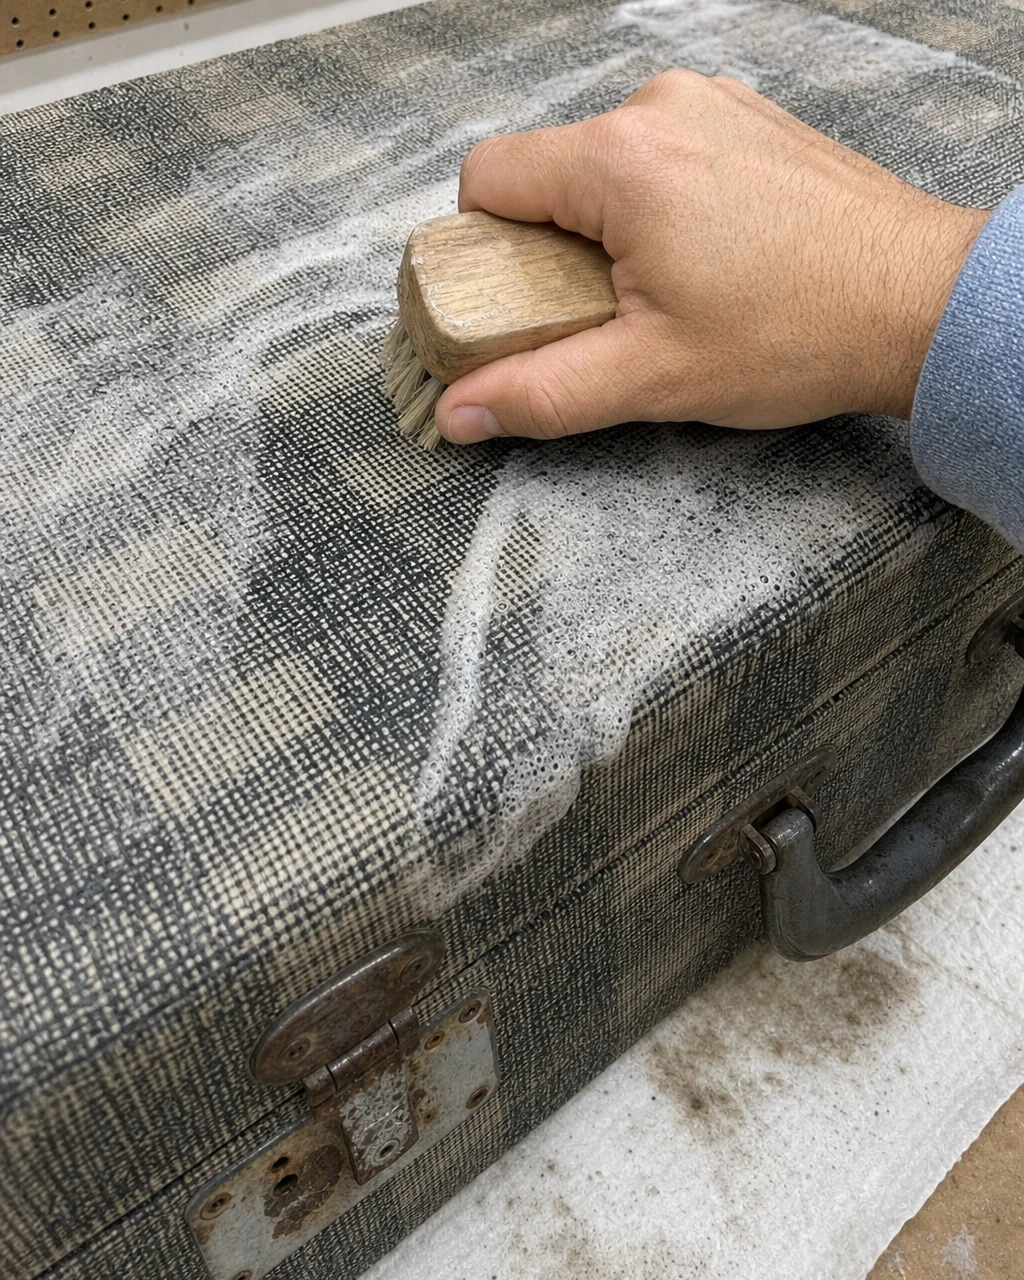
Apply upholstery foam and scrub with a soft bristle brush to lift decades of embedded gray dirt from the checkered pattern. Wipe away the residue with a microfiber cloth to reveal a crisp and bright black and white geometric design without soaking the wood core. Work in a well-ventilated area when using aerosol cleaning foams.
Step 4: Fill Stripped Holes
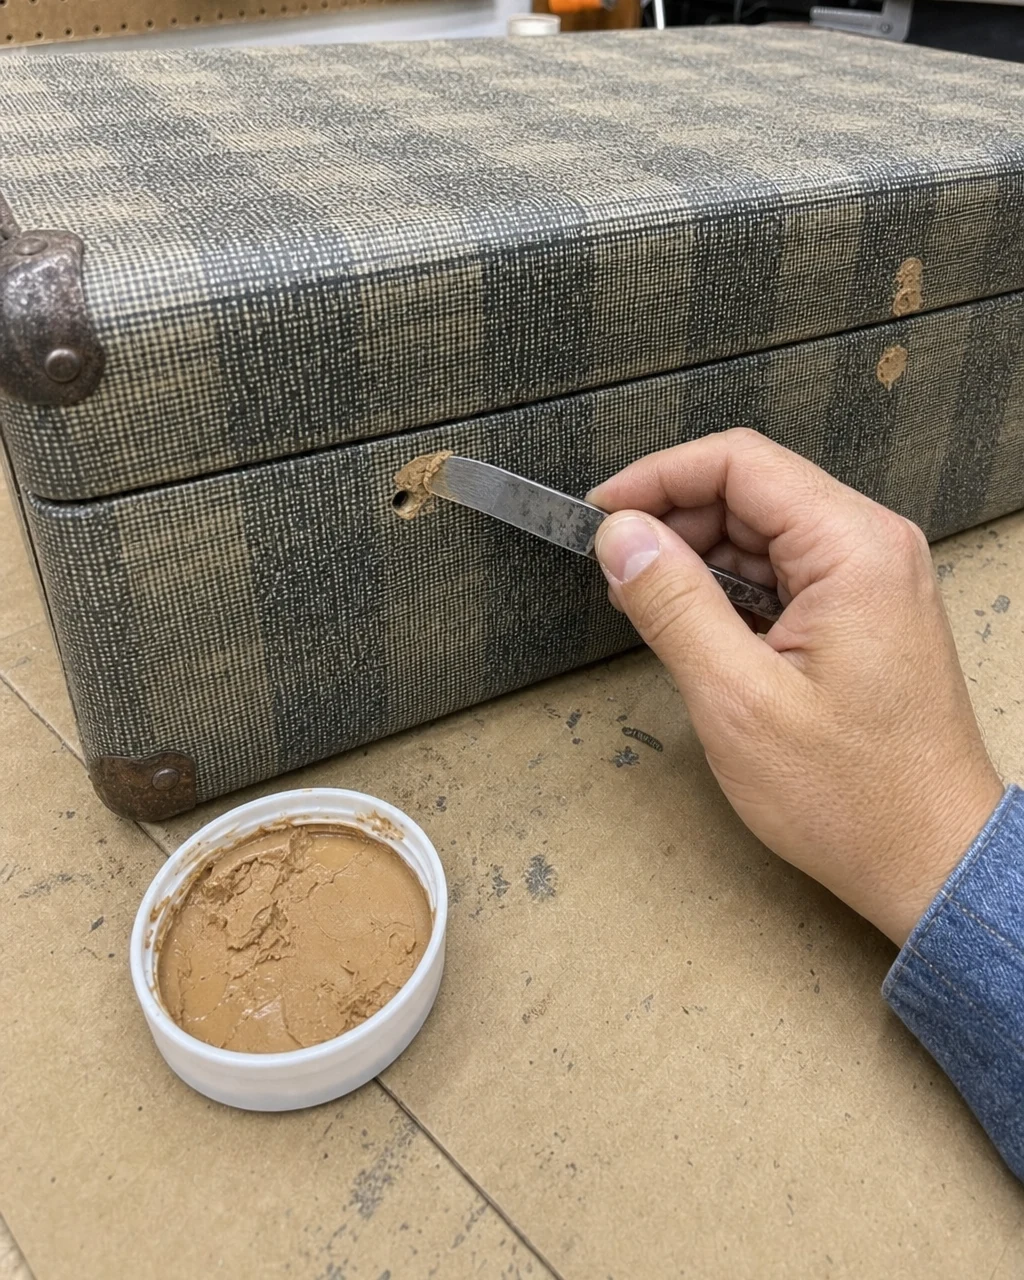
Knead wood epoxy and pack it firmly into the enlarged screw holes along the back wooden edge using a small metal putty knife. Allow the epoxy to cure for one hour until the old holes are completely plugged and flush with the wood surface, creating a new anchoring point. Wear nitrile gloves when mixing and applying two-part epoxy.
Step 5: Install New Hinges
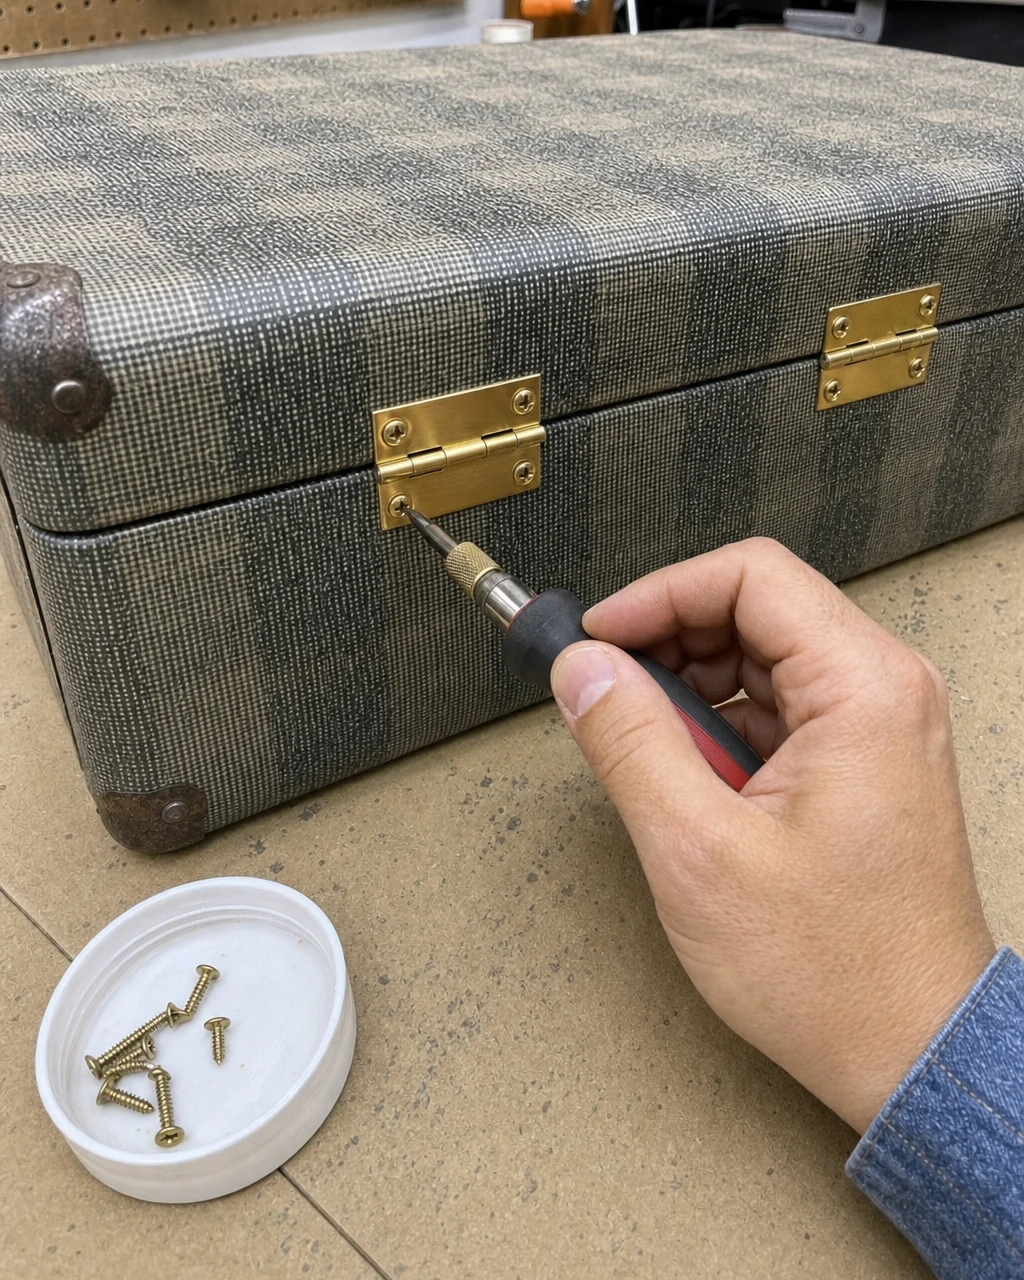
Align the new solid brass hinges over the fully cured epoxy plugs along the back edge of the suitcase. Drive new brass screws through the replacement hinge plates directly into the epoxy to secure the lid tightly and restore structural integrity. Drive screws by hand to avoid cracking the thin vintage wood frame.
Materials checklist
Step 6: Wrap the Handle
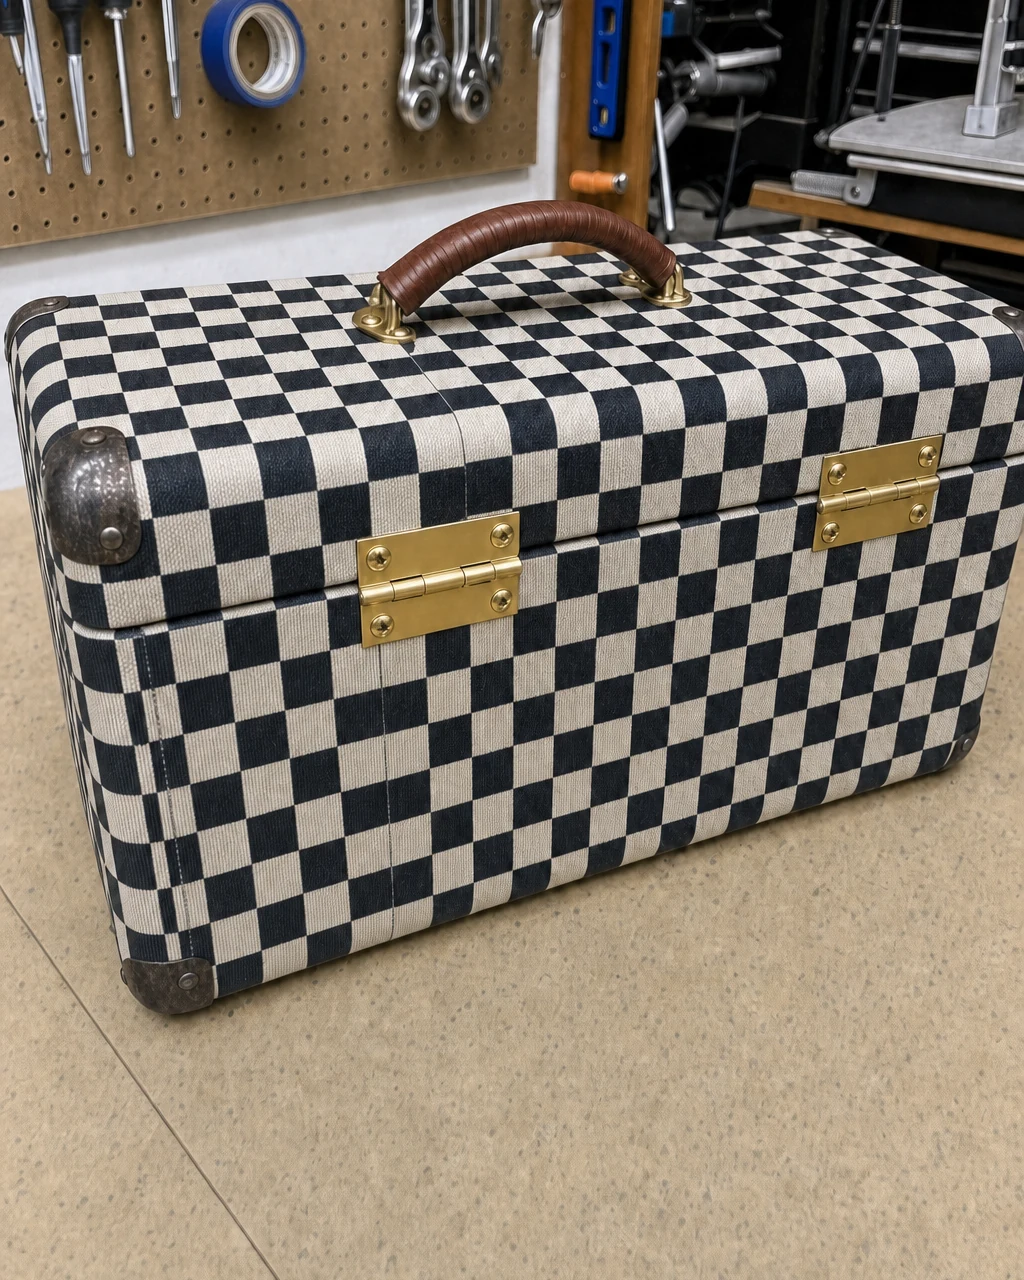
Lace the pre-punched leather wrap around the original cracked plastic handle to create a comfortable, premium grip. Pull the waxed cord tight with a stitching needle to encase the handle in smooth brown leather with neat, even stitching, completely hiding the damaged plastic underneath. Keep tension steady on the cord to prevent the needle from slipping.
Step 7: Style as Storage
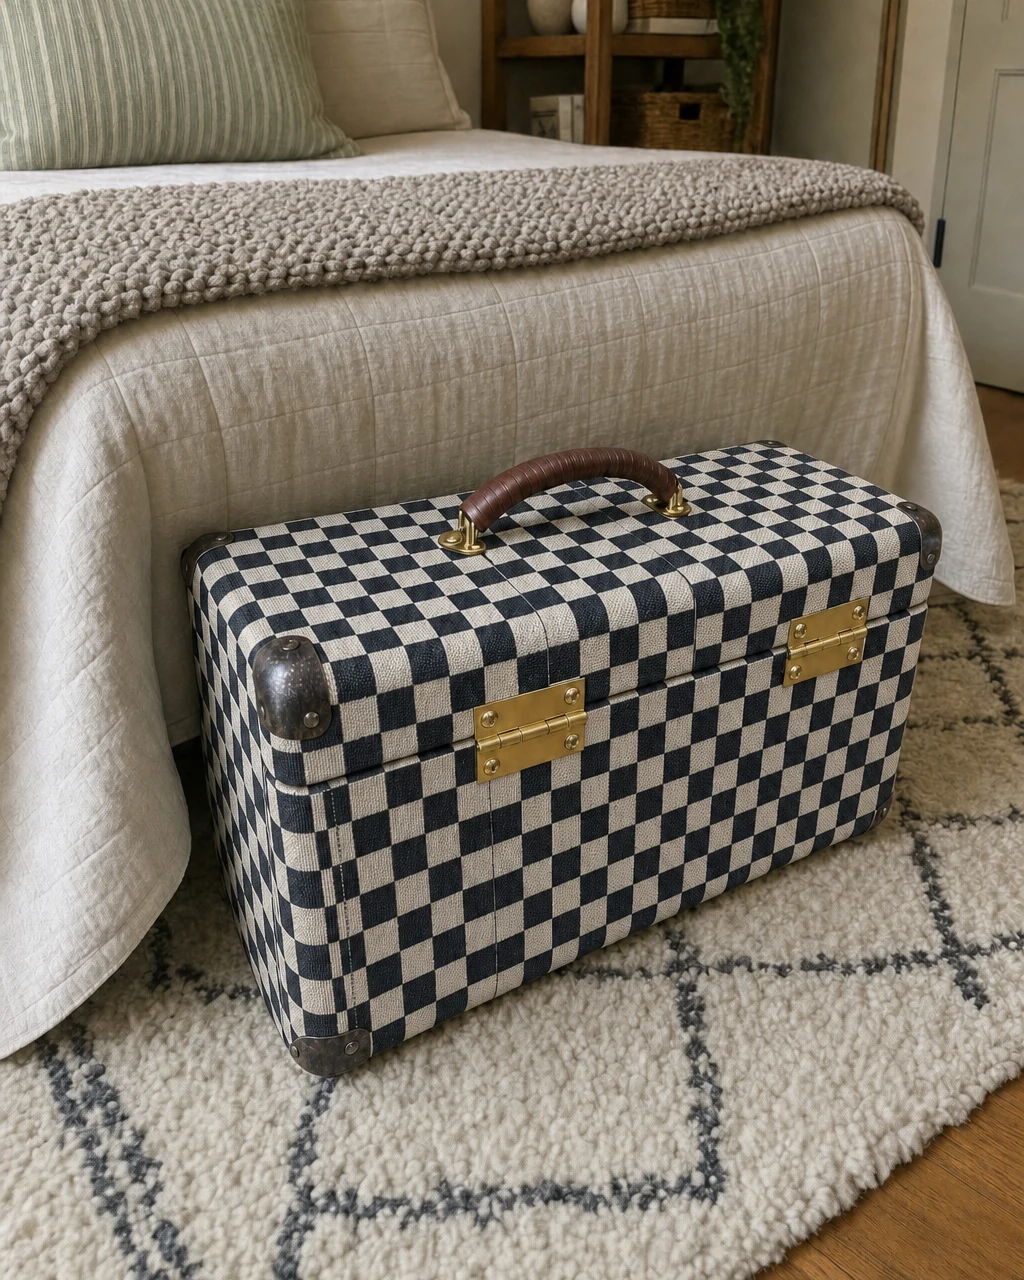
Place the fully restored, clean, and structurally sound suitcase at the foot of a guest bed to serve as stylish blanket storage. Position the suitcase on a bedroom rug where the gleaming brass and rich leather make it look like a deliberate, premium design element in the room. Ensure the latches are fully closed before moving the filled suitcase.
Vintage Suitcase Valuation and Resale Potential
Restoring the structural integrity with solid brass hinges and reviving the midcentury checkered pattern elevates this from a broken cast-off to a functional, premium vintage storage piece. The stated resale value remains an editorial estimate based on the upgraded hardware, the premium leather handle wrap, and the pristine condition of the original woven fabric.