
Above Ground Pool Deck Layout & Framing Guide for a Built-in Look
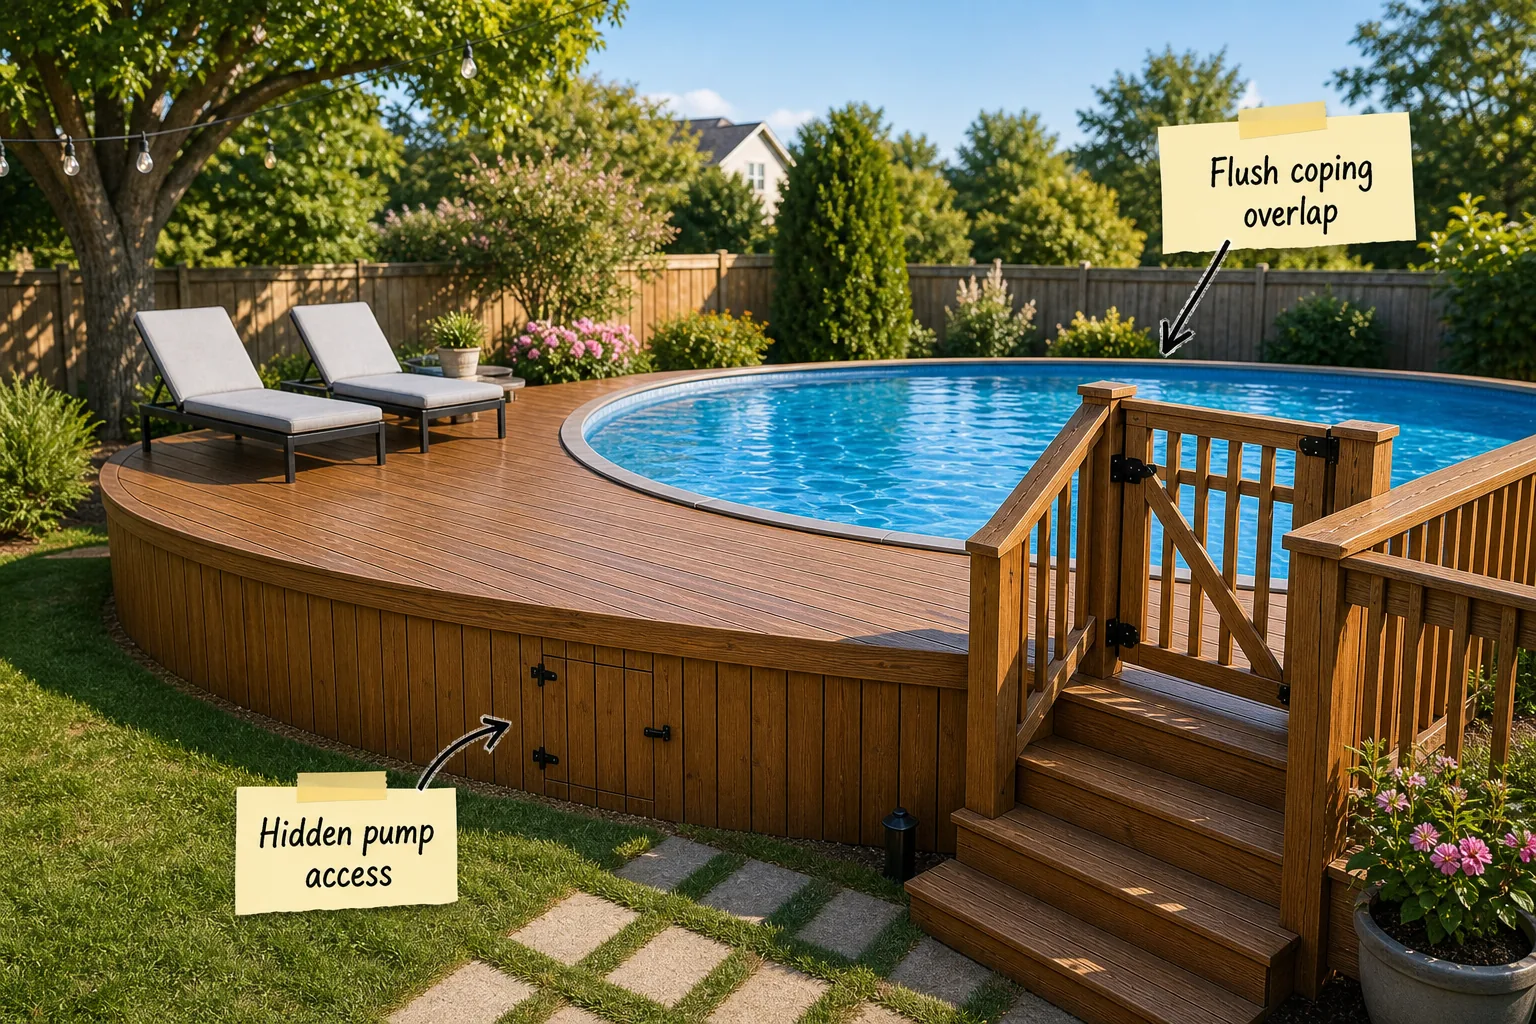
Transform your backyard with our complete above-ground pool deck layout and framing guide to achieve a seamless, custom half-wrap design. You will be able to plan the exact structural framing, surface layout, and finish details to make your pool look fully built-in.
Securing the Entry with a Self-Closing Gate
Start by planning a highly secure entry point at the top of the stairs that strictly requires a self-closing, self-latching gate. Standard pool safety codes mandate positioning the latch mechanism at least 54 inches from the bottom to keep it entirely inaccessible to small children.
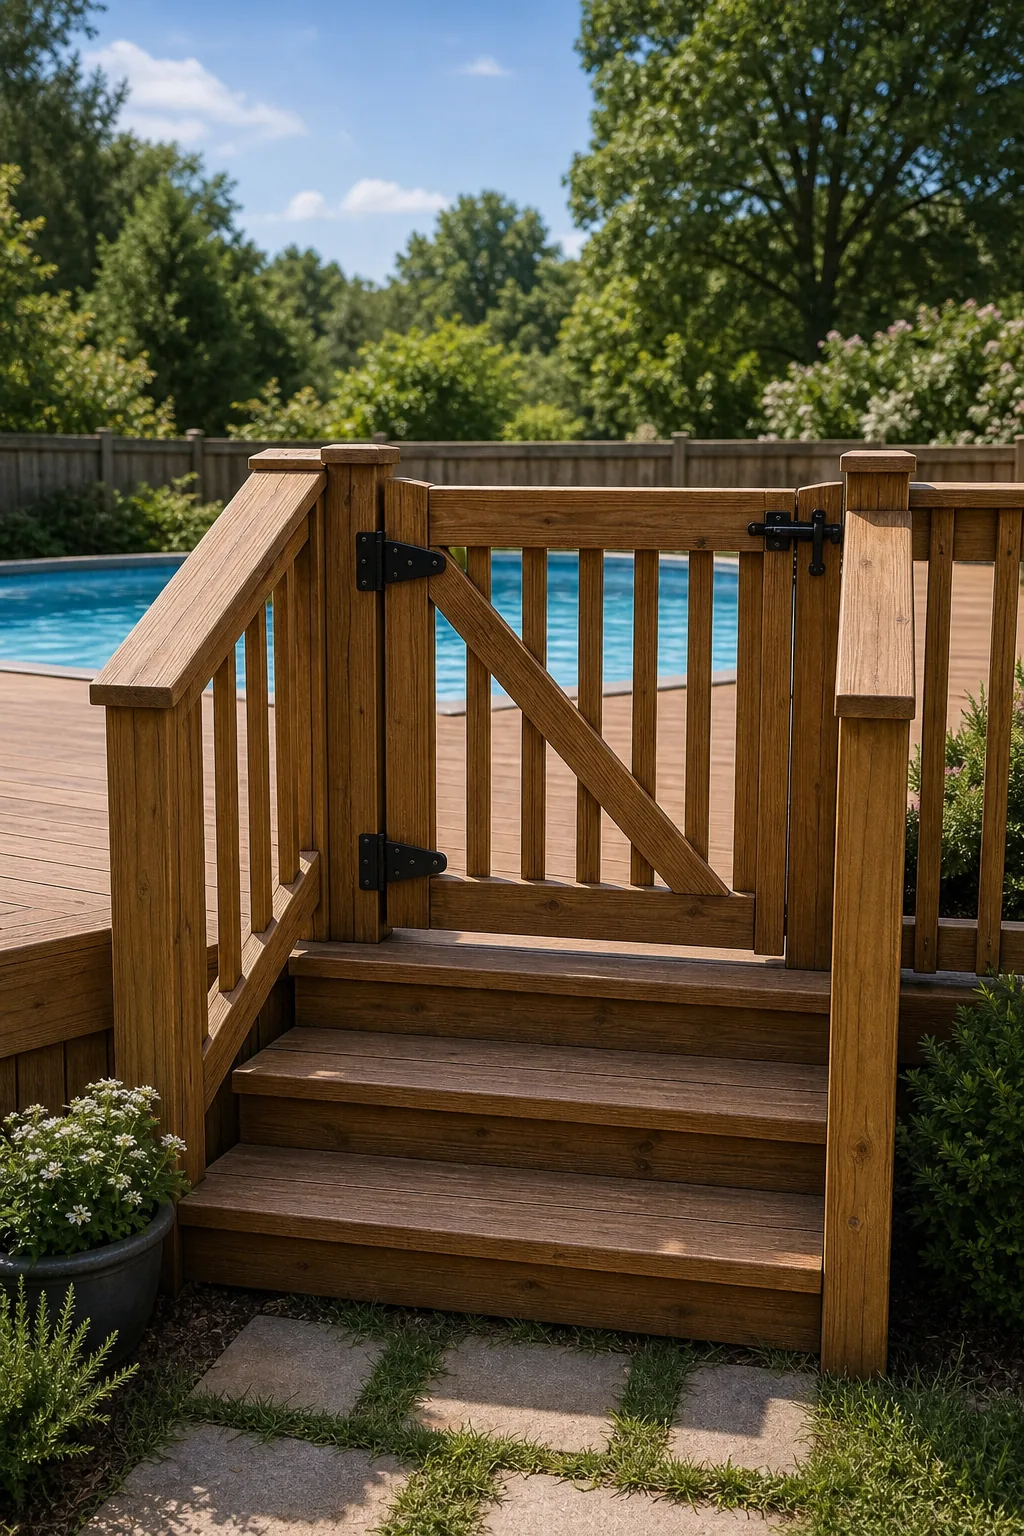
Before finalizing your overarching stair layout, carefully verify these exact hardware requirements and dimensions to ensure your new entry gate reliably passes local municipal safety inspections without requiring expensive structural modifications.
Engineering the Stair Stringers
Supporting that secure gate requires a rigid staircase built with heavily reinforced wooden stringers spaced no more than 12 inches on center. This tight structural spacing prevents the composite treads from sagging under the heavy impact of wet, running feet during active summer pool parties.
| Stair Component | Minimum Dimension |
| Tread Depth | 10 inches for secure footing |
| Riser Height | 7.5 inches maximum climb |
| Stringer Spacing | 12 inches on center |
| Post Footings | 36 inches deep minimum |
Always use heavy-duty galvanized joist hangers to attach these stringers directly to the main deck rim joist. This permanent hardware connection ensures the staircase remains structurally locked to the primary framing regardless of extreme weather or heavy seasonal usage.
Choosing Slip-Proof Composite Deck Boards
The surface material dictates both daily safety and long-term maintenance around the splash zone, making textured composite decking far superior to smooth traditional wood. This highly engineered material choice provides essential slip-proof traction when the surface inevitably gets soaked by energetic swimmers.
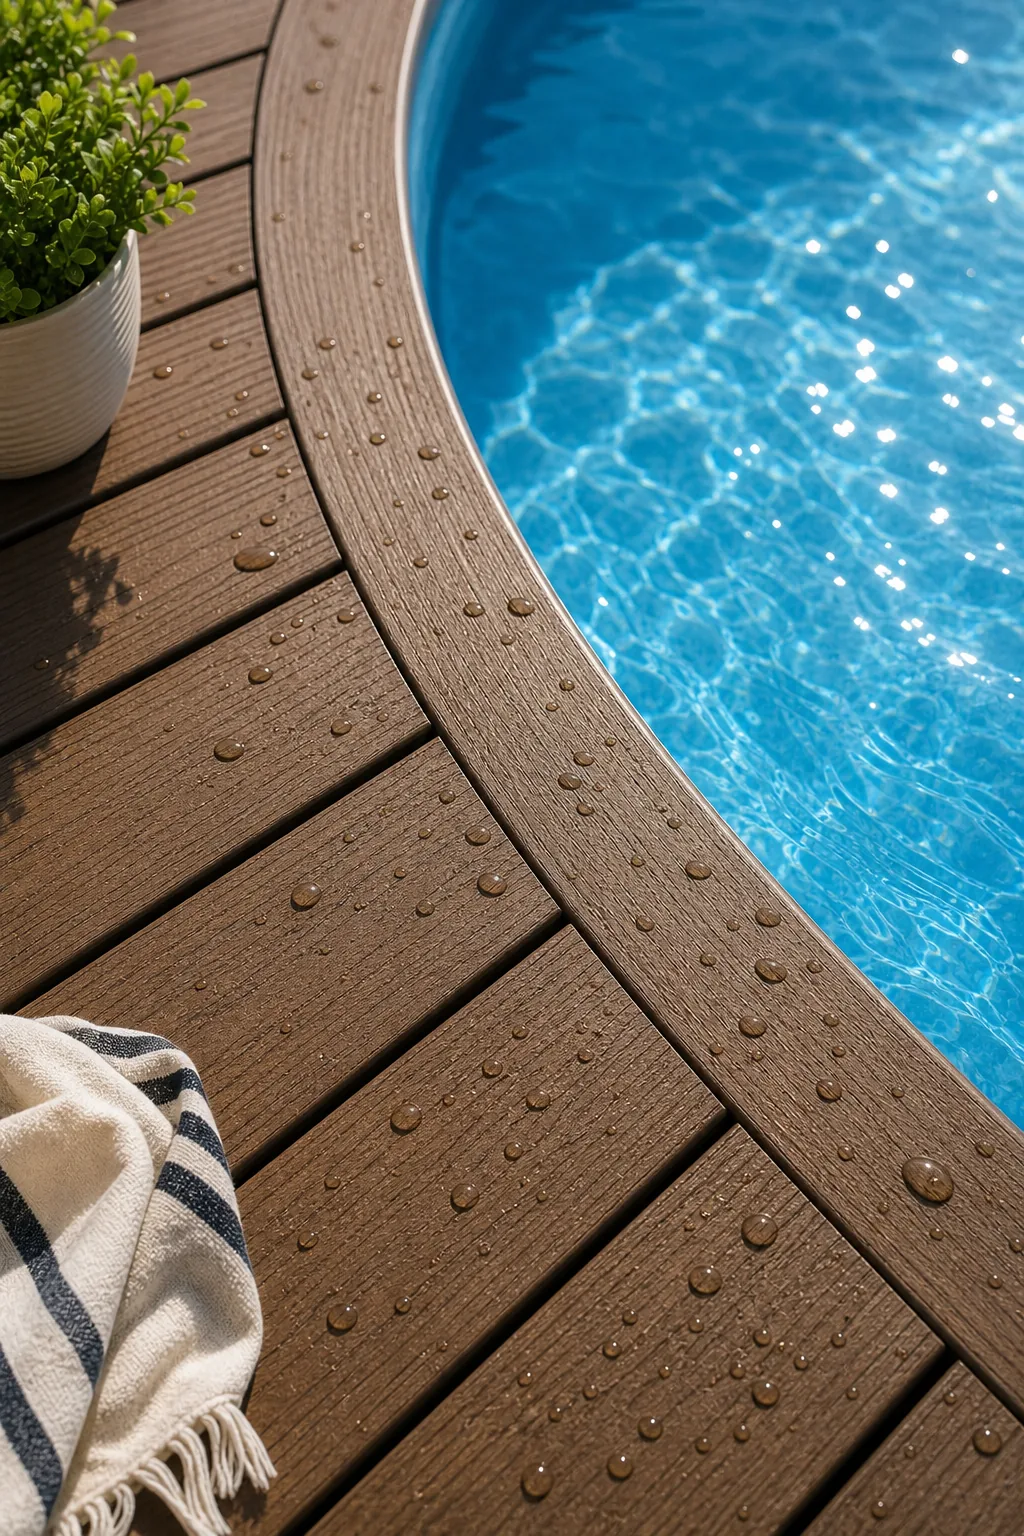
When calculating your materials order, you must deliberately account for a continuous 1/4-inch gap between boards. This specific spacing allows splashed pool water to drain instantly through the floor, keeping the walking surface reliably safe, completely dry, and resistant to dangerous mold growth.
Fastening Boards for a Barefoot-Safe Surface
Securing those premium composite boards requires specialized hardware to prevent painful toe injuries near the water. Always select a premium hidden fastener system rather than driving traditional face screws directly through the top layer of the expensive decking material.
These specialized clips automatically establish the required 1/4-inch drainage gap between each board while allowing the dense composite material to naturally expand and contract during extreme summer temperature swings without warping or buckling.
Sizing the Wet Lounge Zone
A highly functional deck requires dedicated space for relaxing without blocking the primary path to the water. Frame a specific wet lounge zone that measures at least 7 feet deep and 8 feet wide to comfortably accommodate two standard modern lounge chairs.
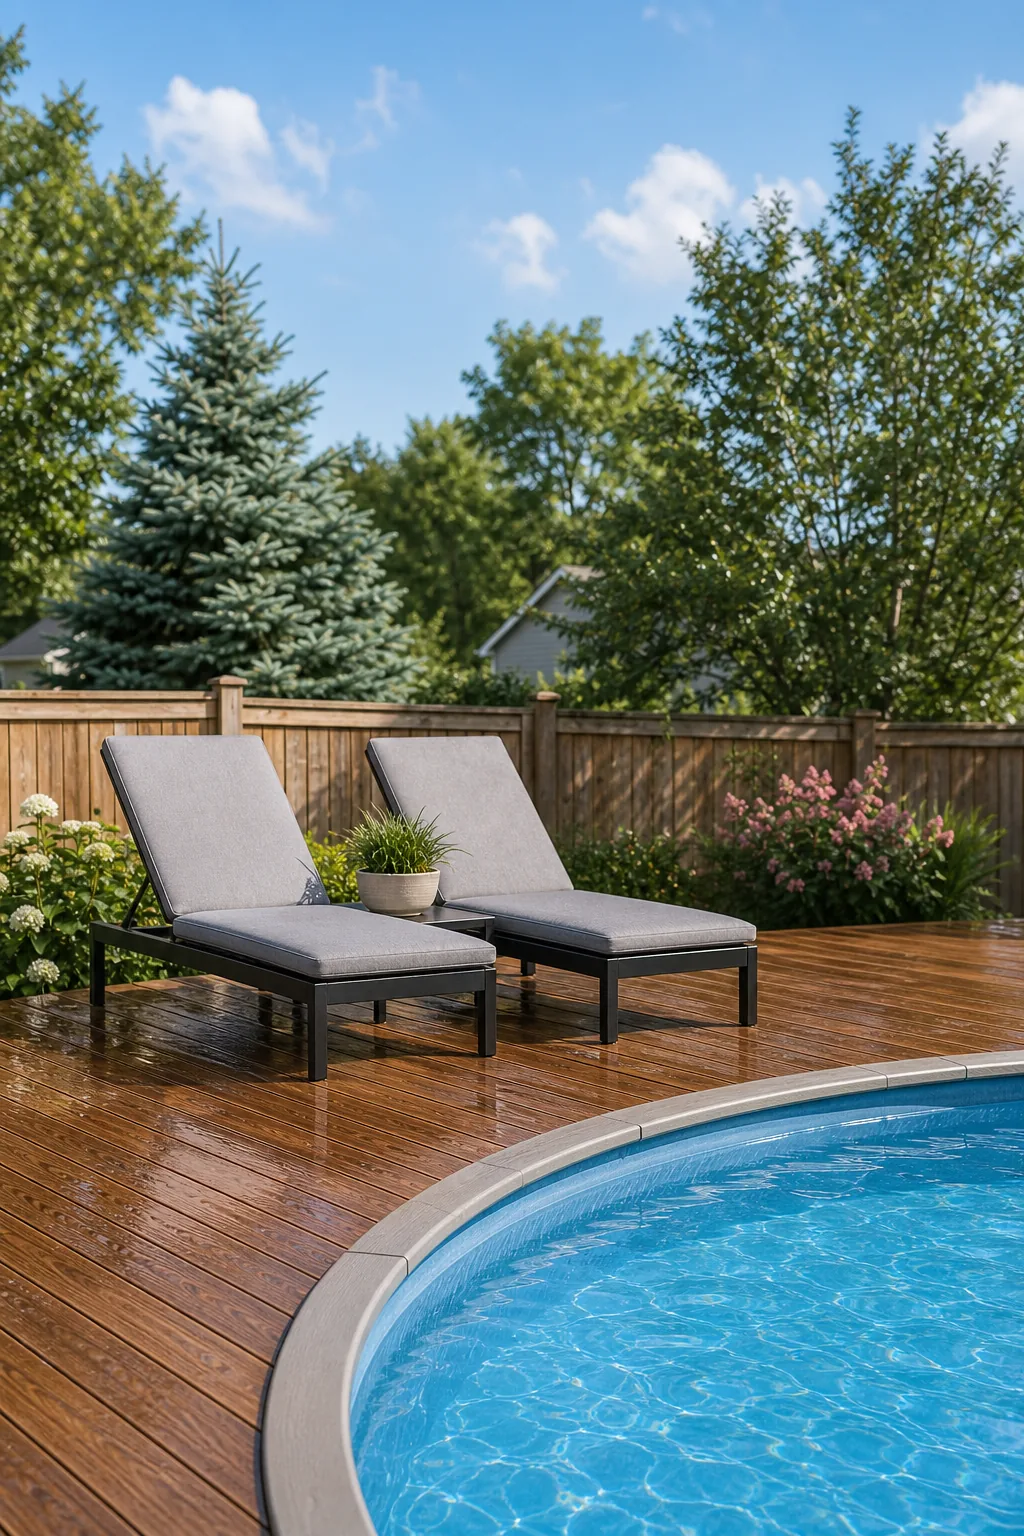
This generous footprint deliberately leaves a necessary 3-foot circulation path directly behind the seated guests. Preserving this unobstructed walkway prevents dangerous bottlenecks when swimmers enter or exit the active pool area carrying cumbersome towels and large inflatable toys.
Managing Splash Runoff Underneath
All the water draining rapidly through those composite board gaps must be actively managed before it reaches the ground. Failing to direct this runoff away from the pool base can quickly cause severe soil erosion and permanently compromise the structural integrity of the steel pool wall.
- Grade the soil under the deck footprint to slope away from the pool base at a strict 2-percent drop.
- Lay heavy-duty commercial landscape fabric over the graded dirt to block aggressive weed growth.
- Cover the entire fabric layer with three inches of crushed drainage gravel to safely disperse falling water.
Implementing this rigorous three-step drainage strategy ensures the shaded area beneath your deck remains completely dry and stable, entirely eliminating the dangerous risk of muddy sinkholes forming around your foundational support posts.
Achieving the Flush Coping Overlap
The ultimate secret to a premium built-in look is completely hiding the pool’s metal top rail with a precise flush coping overlap. You must skillfully cantilever the final deck boards exactly 1/2 to 1 inch over the inner edge of the pool coping.
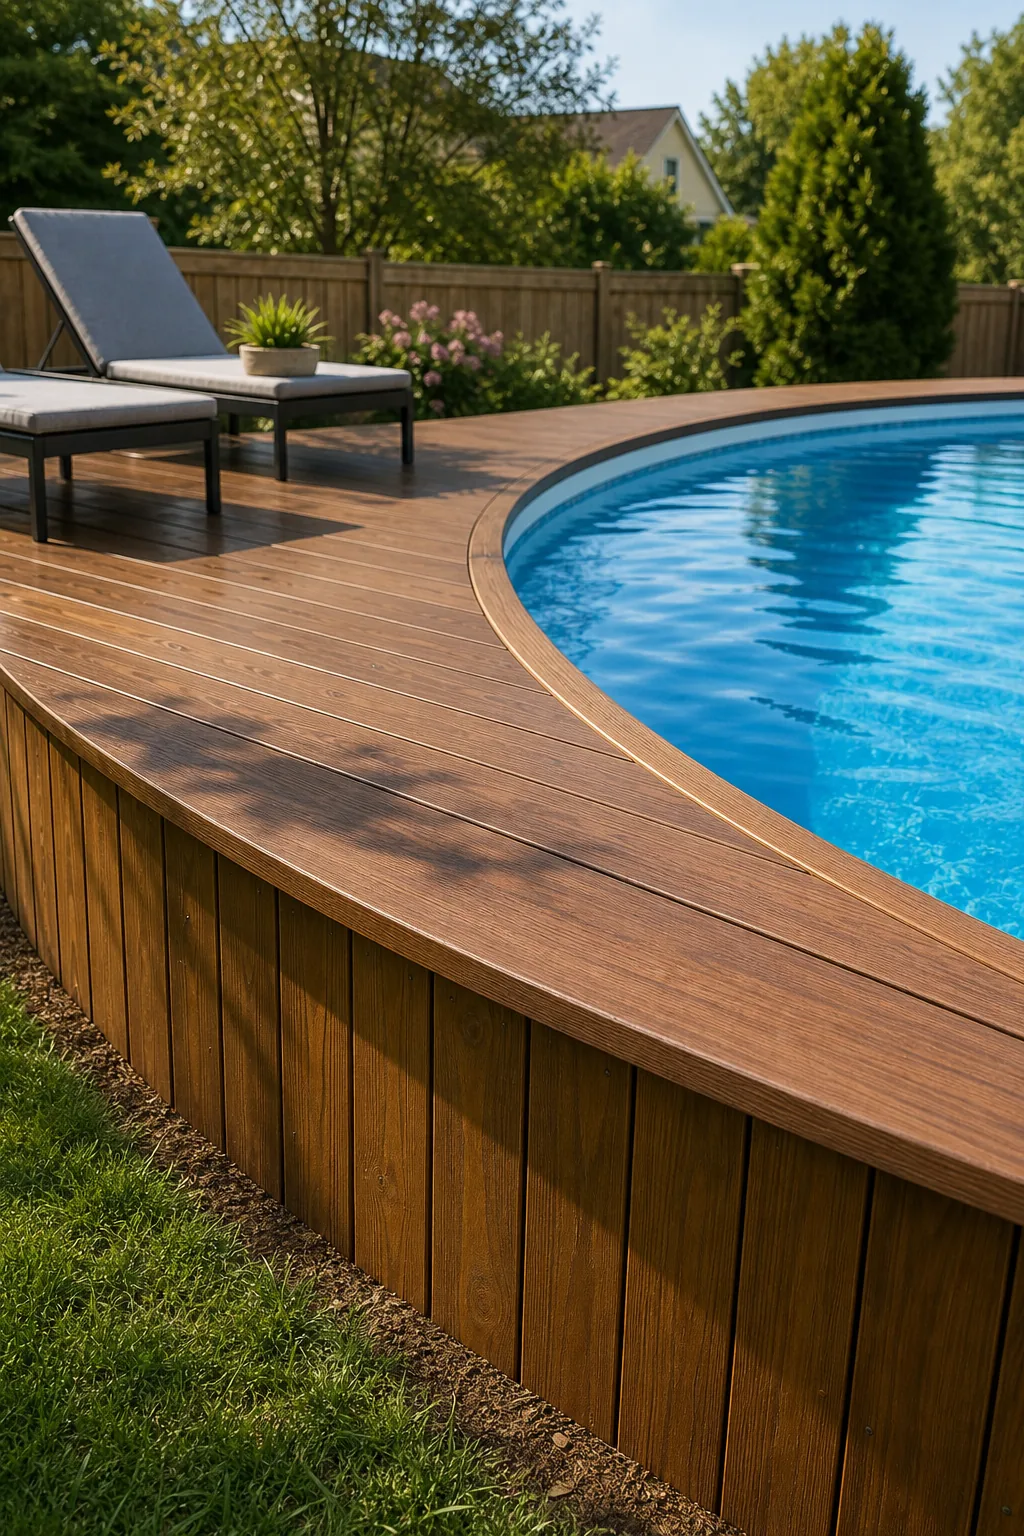
Getting this flush overlap exactly right requires extreme precision during the initial framing phase. You must actively avoid common structural mistakes that could accidentally transfer heavy deck loads directly onto the fragile pool wall.
Leveling the Freestanding Deck Frame
Establishing that perfect cantilever requires utilizing a highly accurate rotary laser level to set the main carrying beams exactly parallel to the pool’s top rail. This precision ensures the entire freestanding substructure hovers independently, never applying any dangerous lateral pressure against the thin steel pool walls.
Installing Vertical Wood Skirting
Enclosing the underside of the deck effectively hides the raw structural framing and gives the finished project a polished, solid appearance. Install 1×4 or 1×6 treated wood boards vertically around the curved perimeter to create this seamless, custom architectural base.
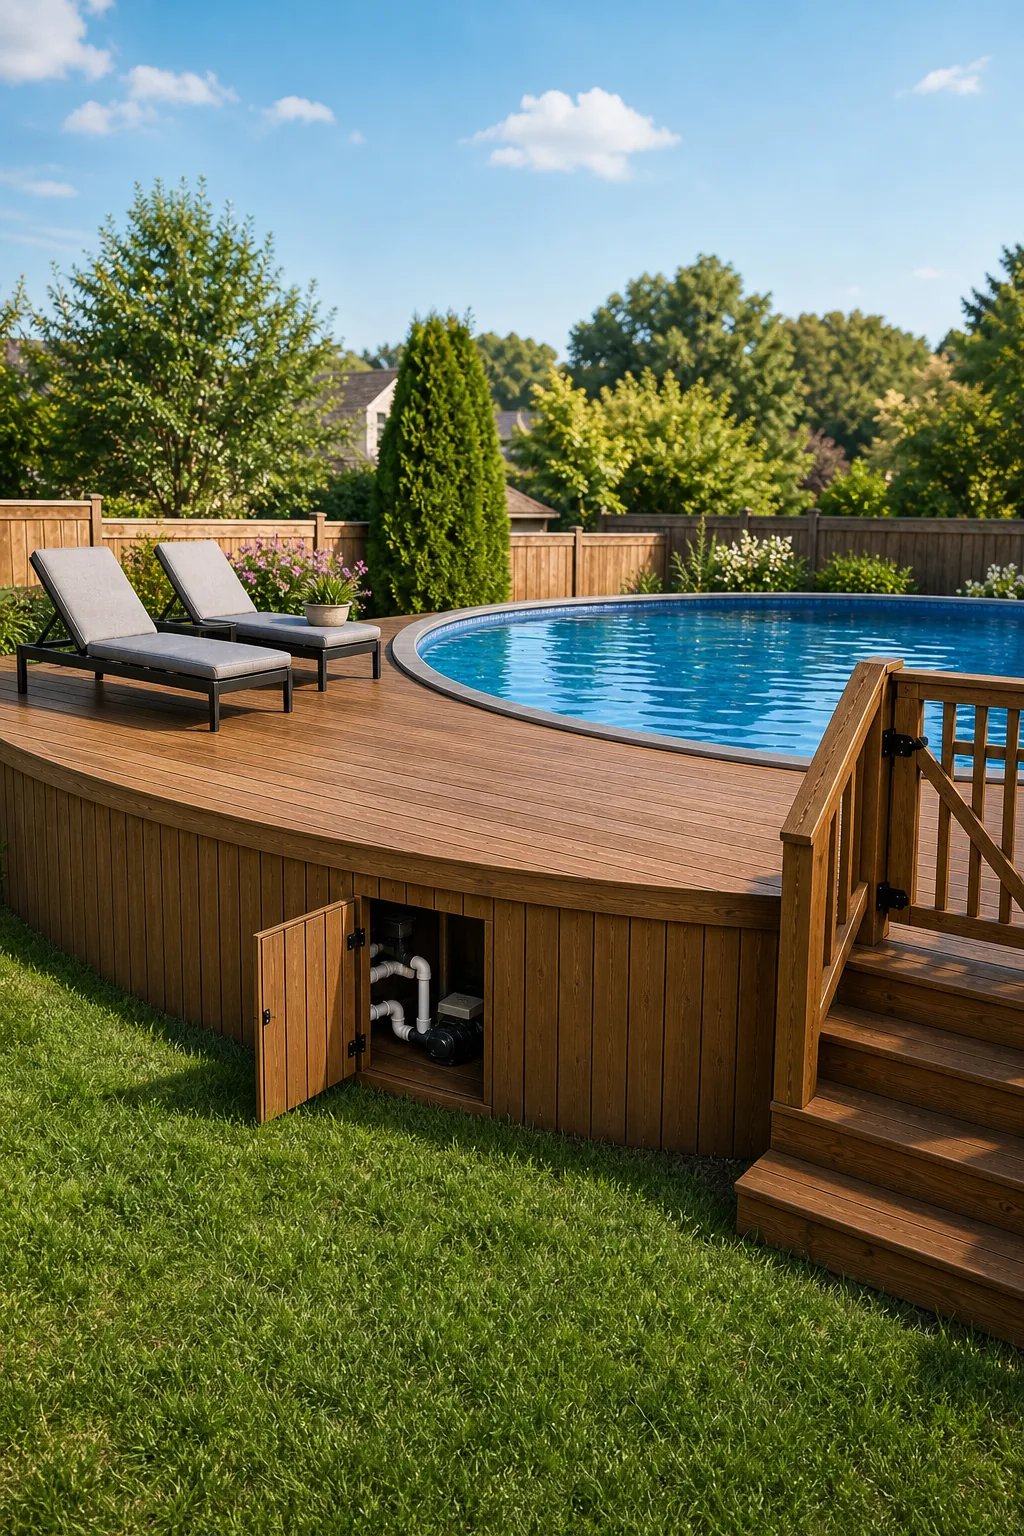
You must purposefully leave a 1/4-inch gap between each vertical board to ensure continuous cross-ventilation. This crucial airflow actively prevents trapped moisture, aggressive mold growth, and premature structural rot within your dark, hidden wood framing.
Protecting Skirting from Soil Moisture
To prevent the bottom edges of your vertical skirting from aggressively wicking moisture directly out of the damp ground, terminate the boards exactly two inches above the soil line. Fill this remaining visual gap with decorative river rock to beautifully maintain the seamless built-in illusion.
Building Hidden Pump Access Panels
While continuous skirting looks absolutely incredible, you still require daily access to the pool filter and pump equipment. Frame a discreet, seamless hidden pump access panel directly into the vertical skirting using heavy-duty, rust-proof stainless steel hinges.
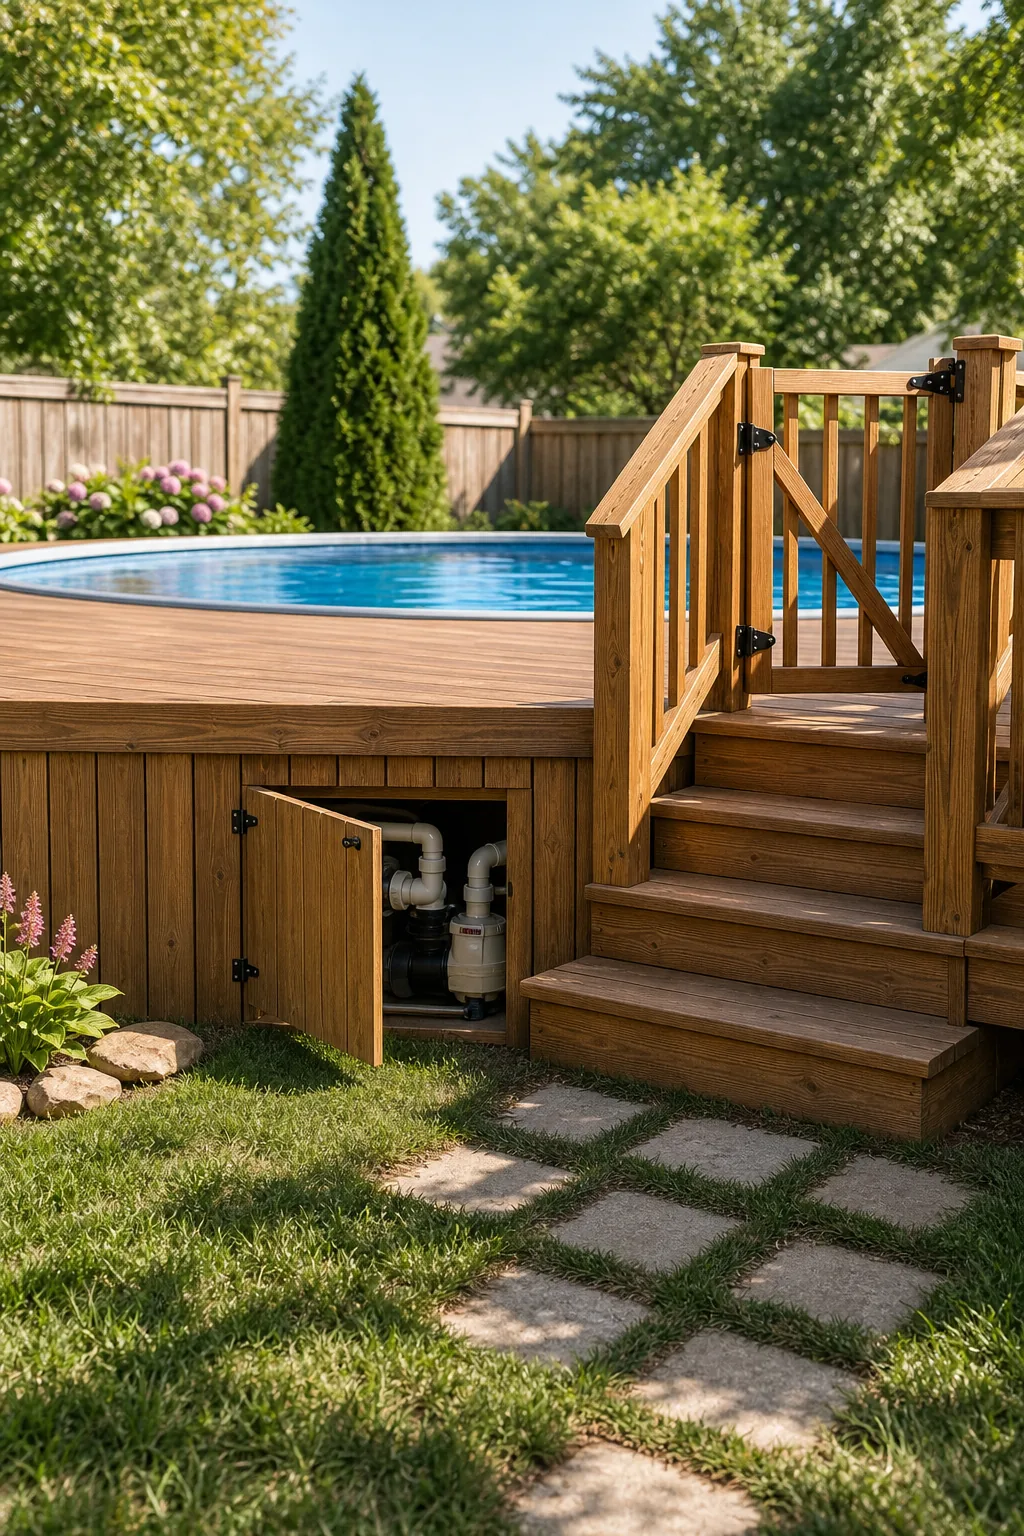
Size this custom opening to be at least 36 inches wide and 30 inches tall. This generous dimension guarantees you can easily reach the pressure valves and comfortably remove the heavy pump motor for safe indoor winter storage.
Routing the Filter Plumbing Lines
Position your concrete equipment pad so the rigid PVC plumbing lines run perfectly parallel to your floor joists, utilizing sweeping 45-degree fittings rather than sharp 90-degree elbows. This strategic routing maximizes water flow efficiency while keeping the vulnerable pipes safely tucked above the lower beam elevations.
Planning the Half-Wrap Deck Footprint
A half-wrap design offers the distinct luxury of a built-in pool without consuming the entire usable backyard. Carefully measure your pool’s exact radius to plot a perfectly curved footprint that hugs exactly 180 degrees of the perimeter.
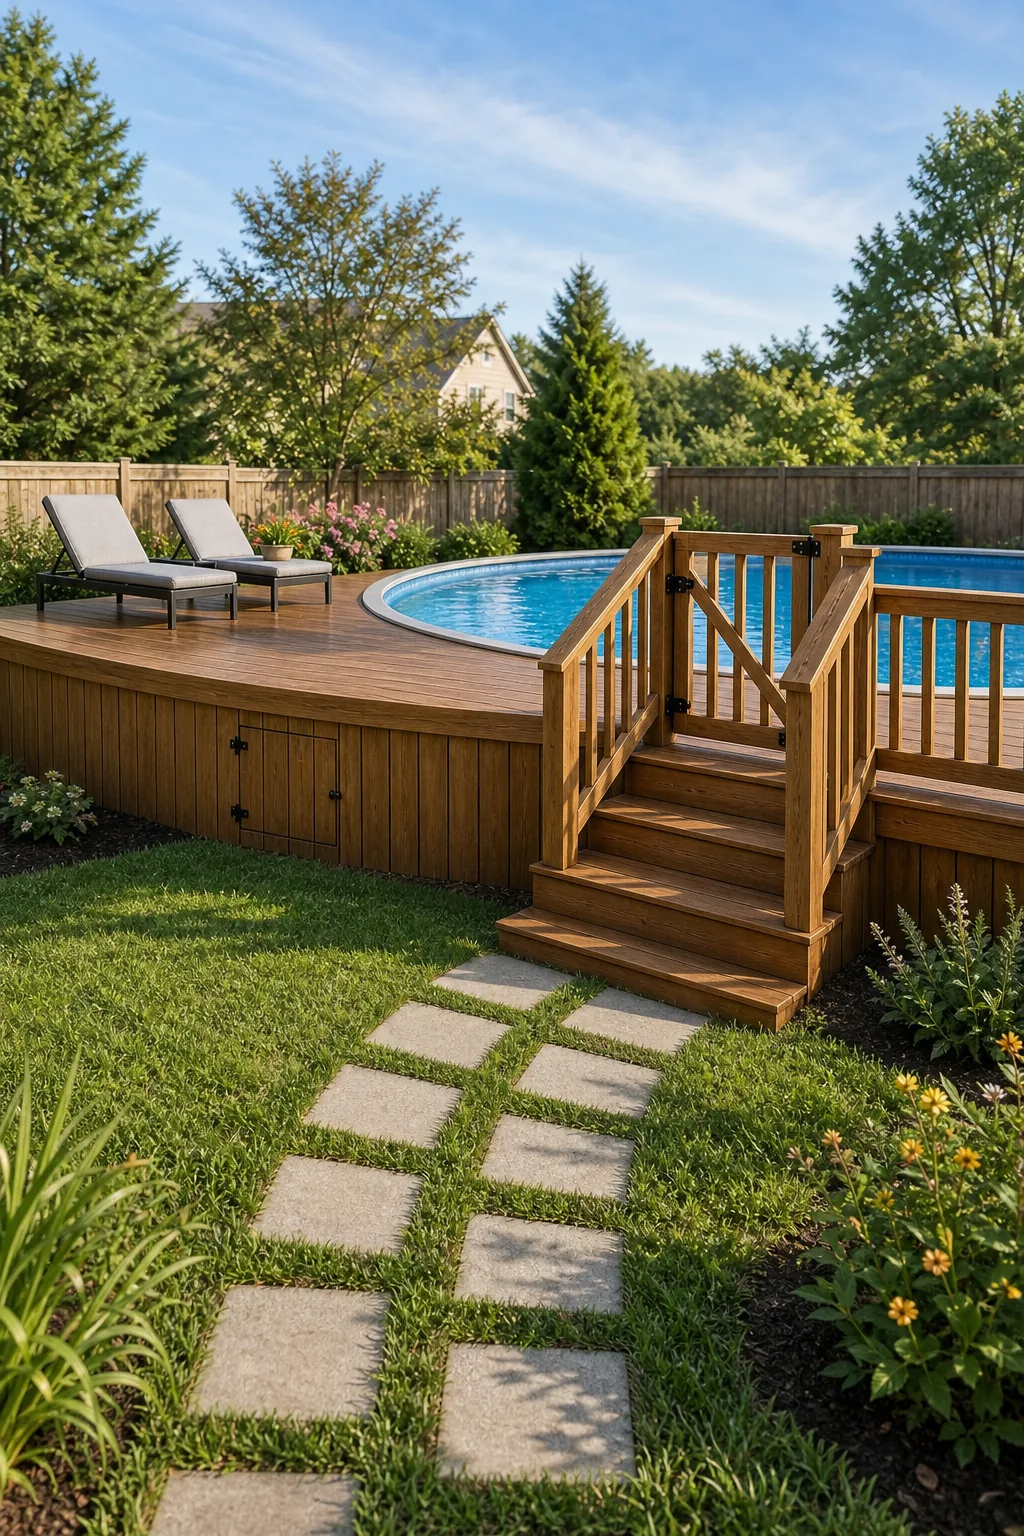
Incorporate large, textured stepping stones leading directly across the green lawn to the wooden deck stairs. This deliberate landscape transition visually anchors the elevated wooden structure into the surrounding yard, dramatically enhancing the high-end custom aesthetic.
Sizing the Concrete Footings
Supporting this massive curved footprint requires pouring heavy concrete footings using 12-inch cardboard tube forms set well below your local frost line. These deep, heavy piers provide the essential foundational strength required to permanently stabilize the deck against the dynamic shifting weight of thousands of gallons of splashing water.
The Complete Deck Layout and Framing Guide
Translating this conceptual design into reality requires a remarkably sturdy substructure designed specifically for heavy water loads. Space your floor joists strictly 16 inches on center for standard wood, or 12 inches on center if you plan on installing composite boards diagonally.
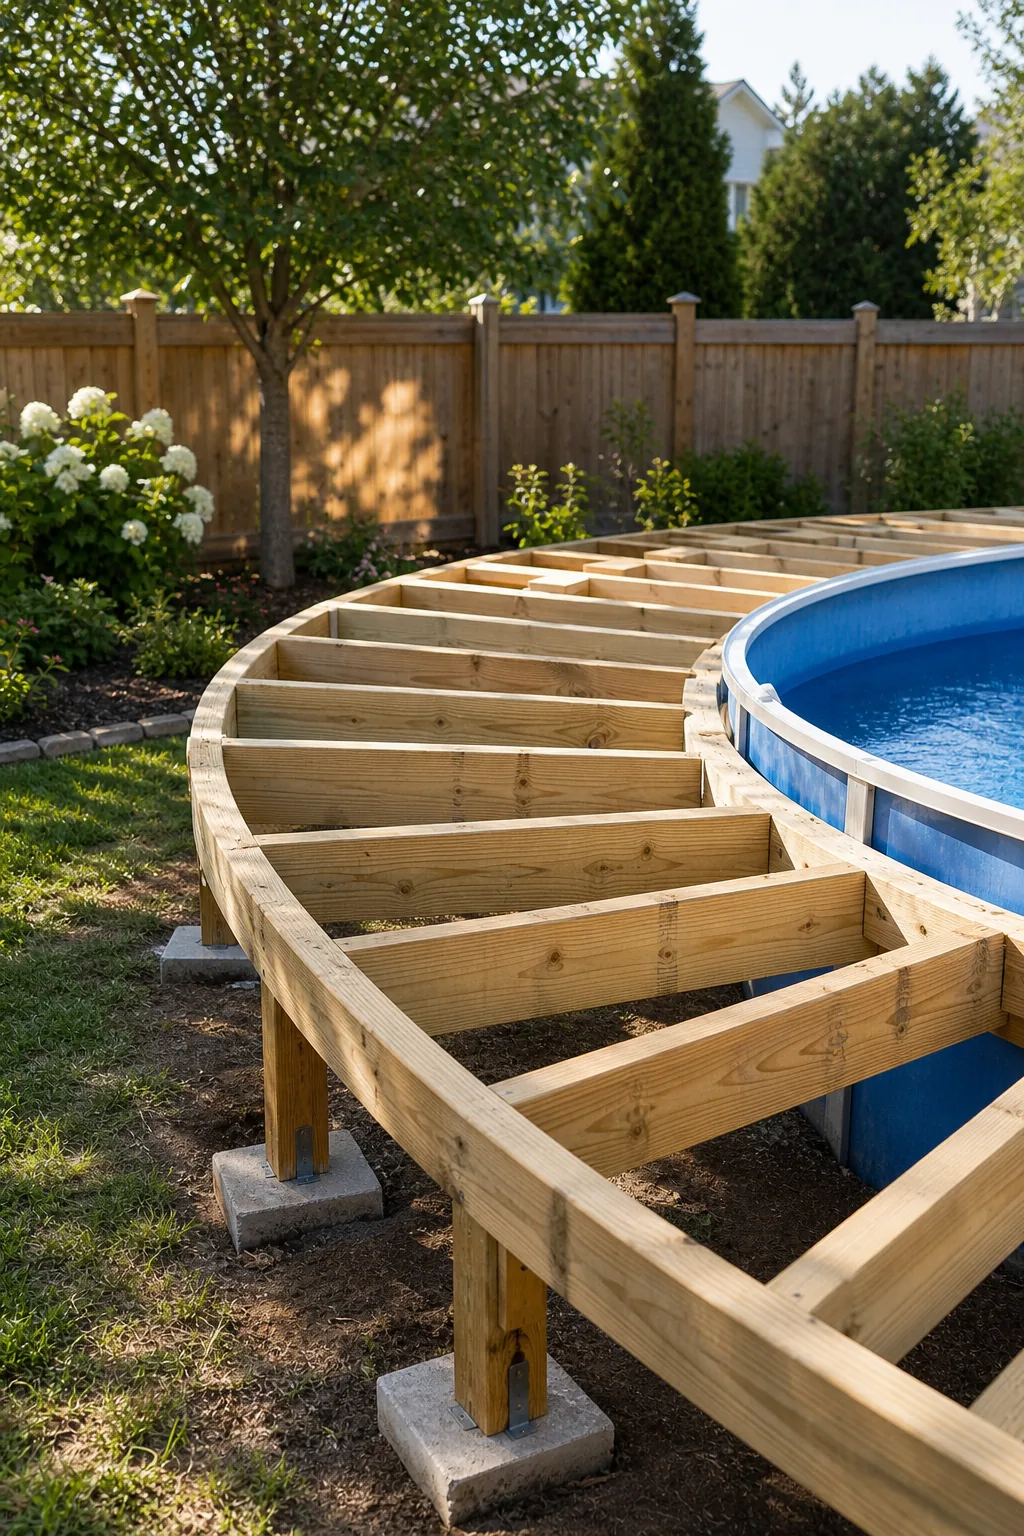
Download the complete deck layout and framing guide below to calculate your exact beam spans, precise post placements, and required concrete footing depths. This comprehensive blueprint delivers every structural measurement necessary to start building your permanent backyard oasis today.