
The No-Paint Boob Light Replacement and Fixture Swap Guide
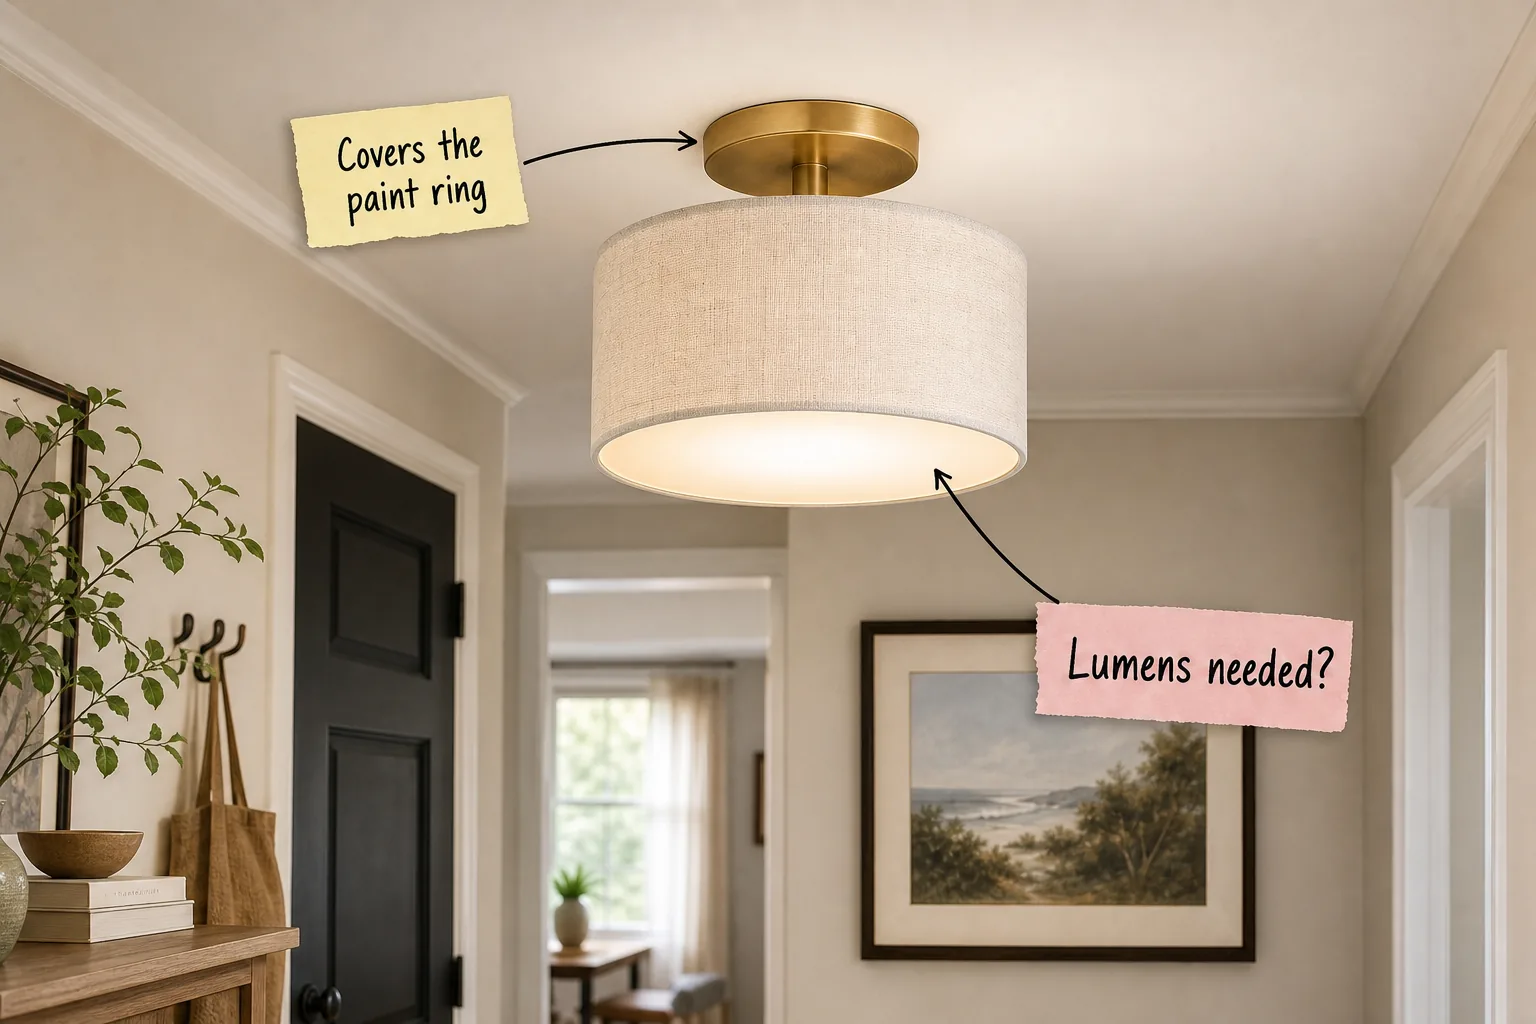
Replace your dated hallway lighting with our step-by-step no-paint fixture swap guide. You will learn how to measure your existing footprint and install a modern semi-flush mount that completely hides the old ceiling paint ring without requiring any drywall patching or sanding.
The Wide Canopy Strategy
Standard builder-grade fixtures often leave a deeply discolored ring or completely unpainted drywall behind when removed from the ceiling. Selecting a new canopy at least 1/2 inch wider than the old base eliminates the need for any frustrating ceiling touch-ups.
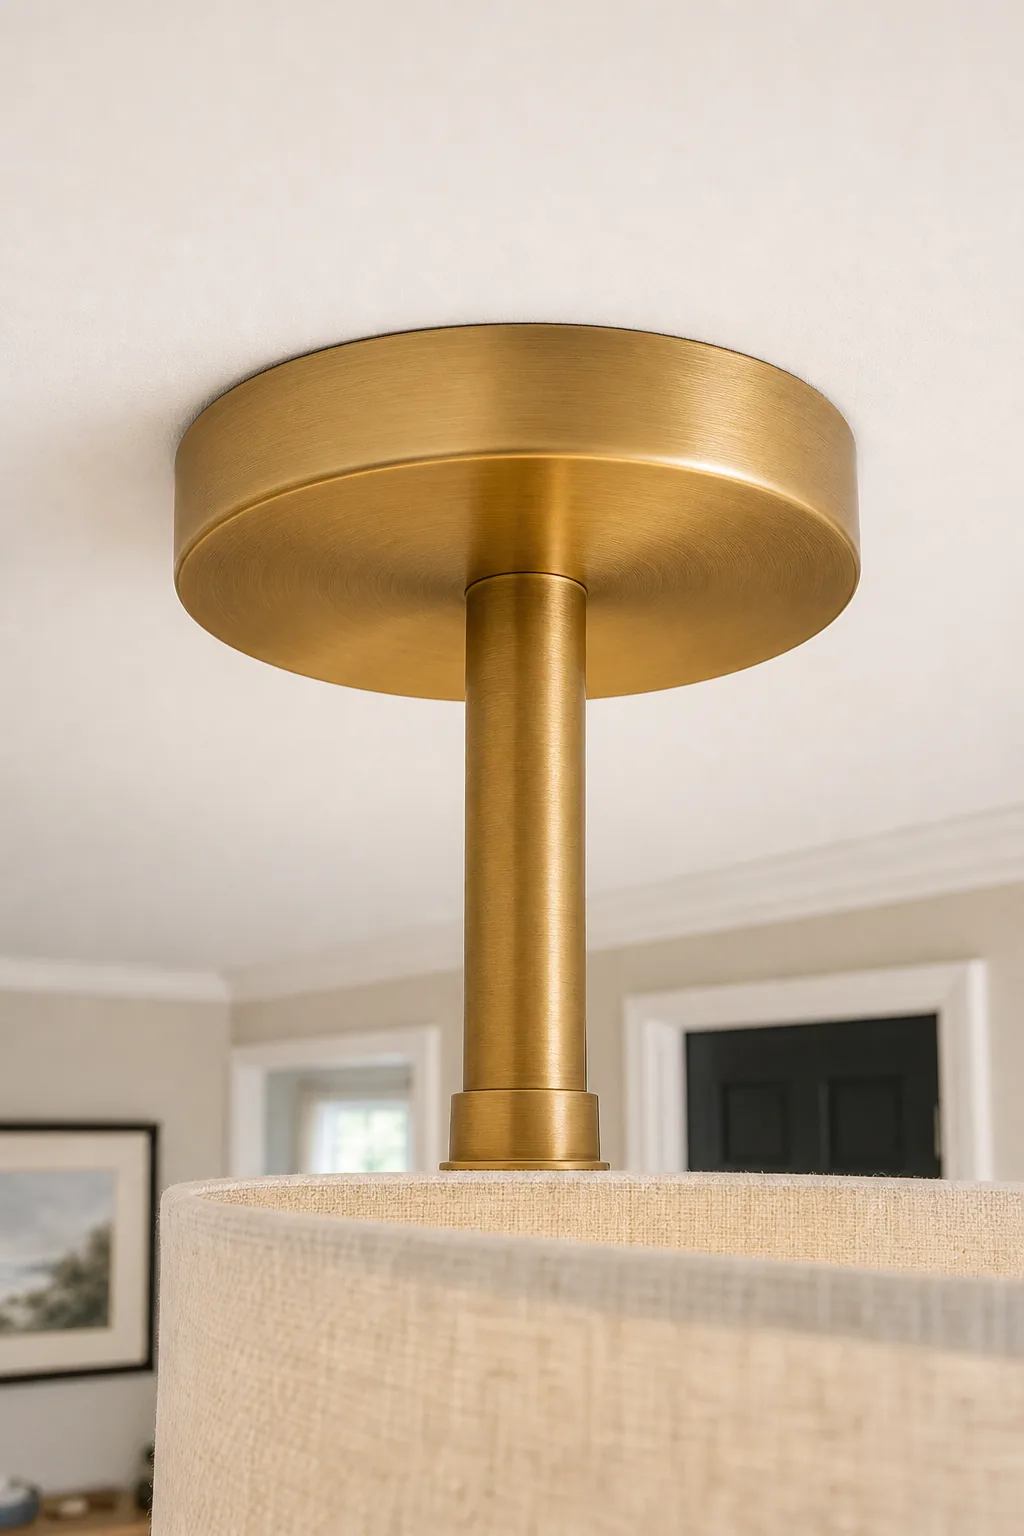
This physical overlap ensures the new fixture covers the paint ring completely, saving you hours of patching, sanding, and color-matching. A wider brass canopy instantly upgrades the ceiling line while hiding the old installation scars securely beneath the polished metal rim.
Sourcing the Right Replacement Canopy
Finding a fixture with a generously sized base requires checking the exact manufacturer specifications carefully before purchasing. Focus your search on designs specifically engineered for retrofit applications, which typically feature extended backplates designed to mask previous electrical box cutouts perfectly.
- Check the specification sheet for the exact backplate diameter rather than the overall fixture width to ensure coverage.
- Verify that the mounting hardware supports the wider canopy without leaving an unsightly shadow gap at the ceiling.
- Confirm the canopy finish matches the stem perfectly for a seamless and professional visual transition overhead.
Measuring the Old Paint Ring
Measure your existing fixture’s footprint before loosening any screws by running a flexible tape measure across the widest point of the glass dome base. This specific measurement dictates the absolute minimum diameter required for your replacement canopy to ensure full coverage.
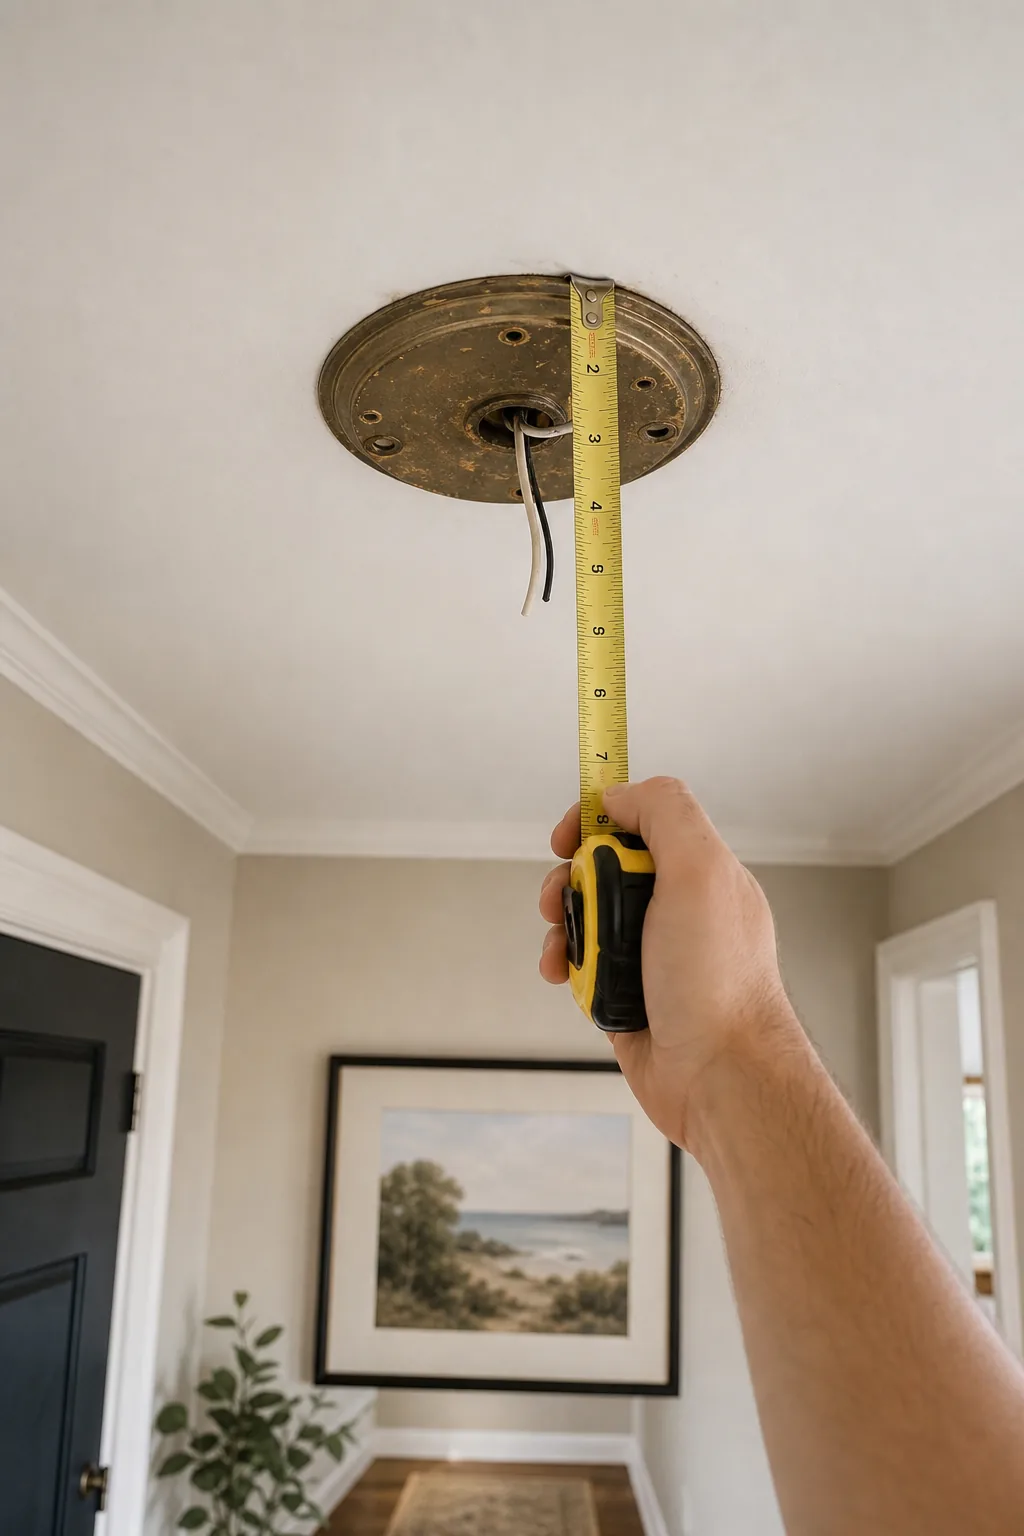
Before touching a screwdriver or climbing a step stool, confirm your new fixture will actually cover the old footprint completely. Taking accurate measurements now prevents the frustration of discovering an exposed ring of unpainted drywall after finishing the electrical wiring.
Understanding Junction Box Limits
Most standard ceiling junction boxes are rated to hold a specific amount of weight, which dictates what kind of semi-flush mount you can safely install. Always verify the structural capacity before hanging a heavy brass or glass replacement fixture overhead.
| Box Type | Material | Weight Limit | Typical Use |
|---|---|---|---|
| Standard Round | Plastic | 15 lbs | Basic lightweight domes |
| Standard Octagon | Metal | 35 lbs | Semi-flush fixtures |
| Ceiling Fan Box | Reinforced Metal | 50+ lbs | Heavy brass chandeliers |
| Pancake Box | Shallow Metal | 10 lbs | Wall sconces only |
The Semi-Flush Stem Advantage
A short metal stem creates essential visual breathing room compared to a traditional, bulky flush dome. Upgrading to a 2-inch to 4-inch drop stem bounces ambient light off the ceiling, making low hallways feel significantly taller and much more open.
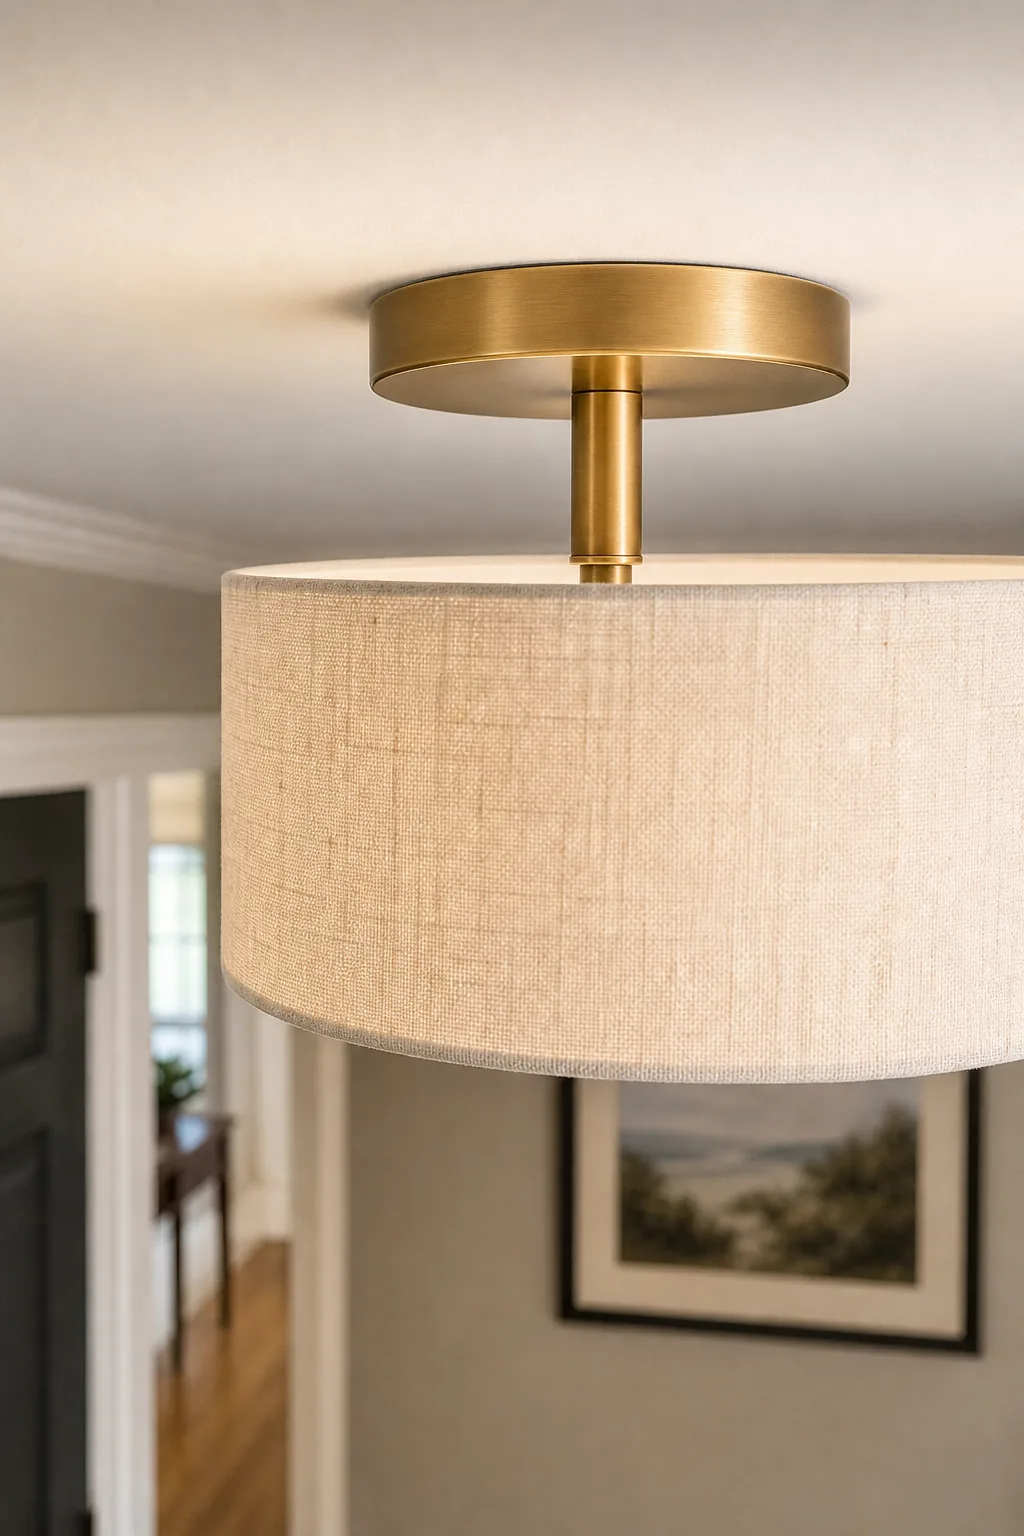
This purposeful gap allows illumination to wash across the drywall, reducing the cavernous feeling common in tight, windowless corridors. The semi-flush profile delivers the elegance of a chandelier while maintaining the safe clearance height required for standard residential ceiling traffic.
Optimal Drop Heights for Corridors
Building codes generally require maintaining a minimum clearance of seven feet from the finished floor to the bottom of any hanging light fixture. Measuring your ceiling height before selecting a stem length ensures you meet safety standards while maximizing aesthetic impact.
Upgrading to a Linen Shade
A fabric drum shade modernizes the space far better than the frosted glass typical of older, inexpensive installations. Choosing a white or oatmeal linen weave adds necessary organic texture to flat hallway walls while significantly softening the harsh ambient glare.
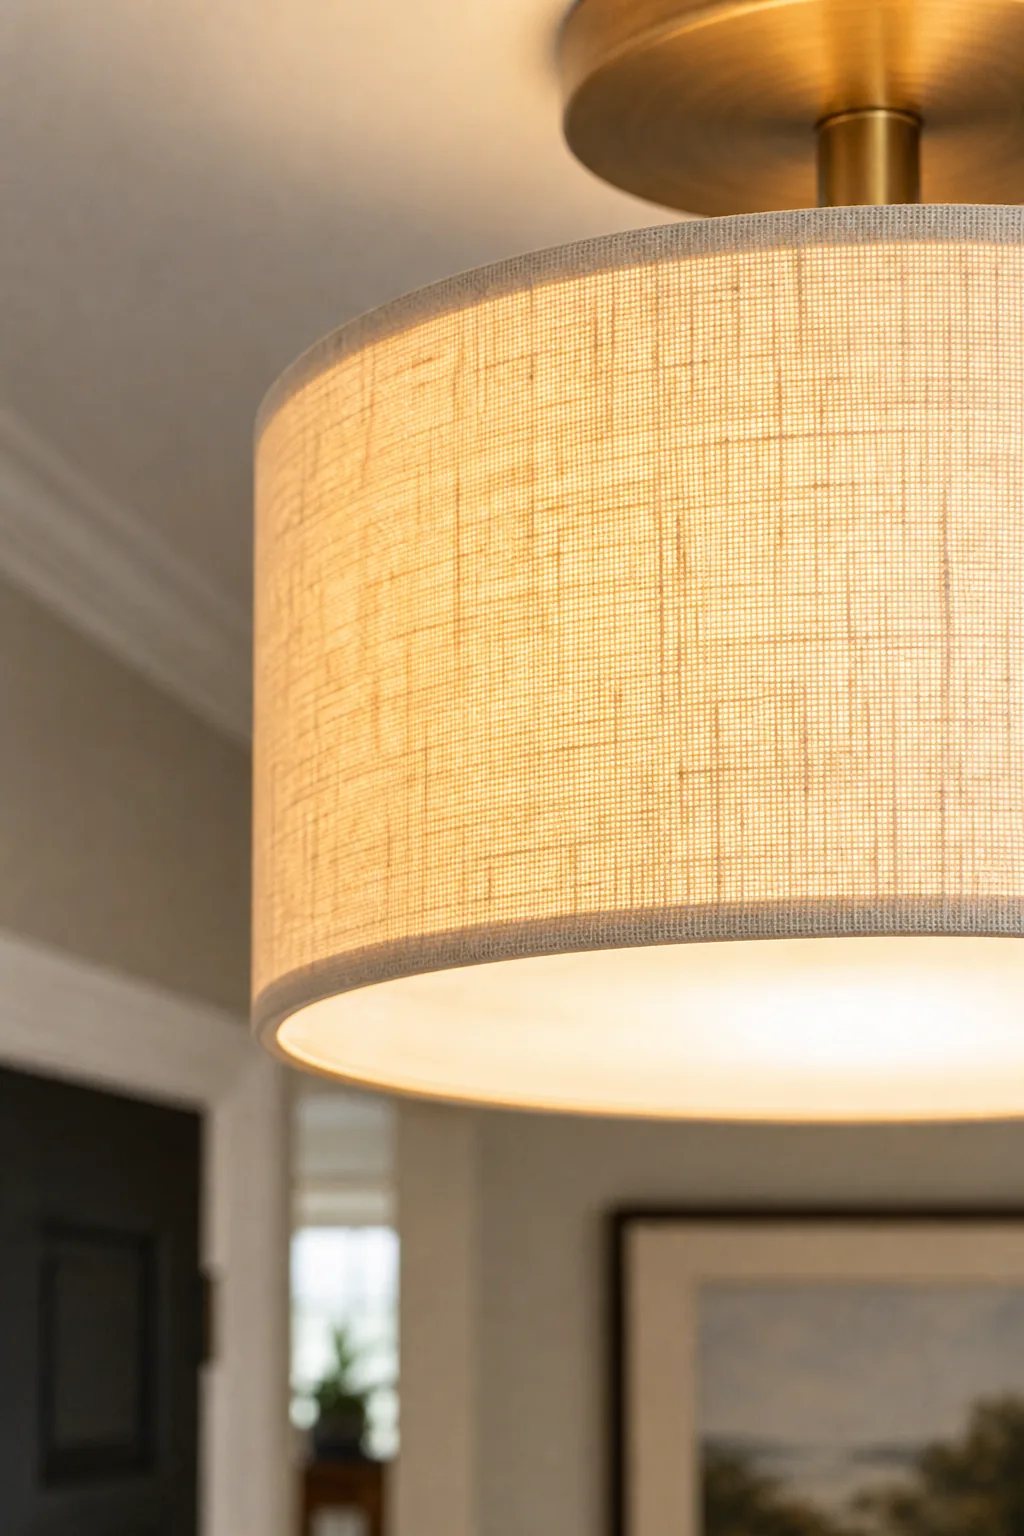
The woven material filters the light evenly, eliminating the harsh hot spots produced by bare bulbs resting against thin glass. This subtle fabric detail instantly elevates a basic thoroughfare into a thoughtfully designed transitional space with incredible professional polish and warmth.
Color Matching Fabric to Trim
Selecting the right shade tone depends entirely on your existing architectural woodwork and ceiling paint colors. An oatmeal linen shade warms up stark white corridors beautifully, while a crisp white fabric provides a clean, modern contrast against darker, moodier hallway paint.
Hiding Bulbs With a Diffuser
The bottom acrylic or glass plate serves as a crucial visual barrier when walking directly underneath the ceiling fixture. A frosted diffuser prevents harsh shadows and completely hides the physical LED bulbs from view during everyday use in the space.
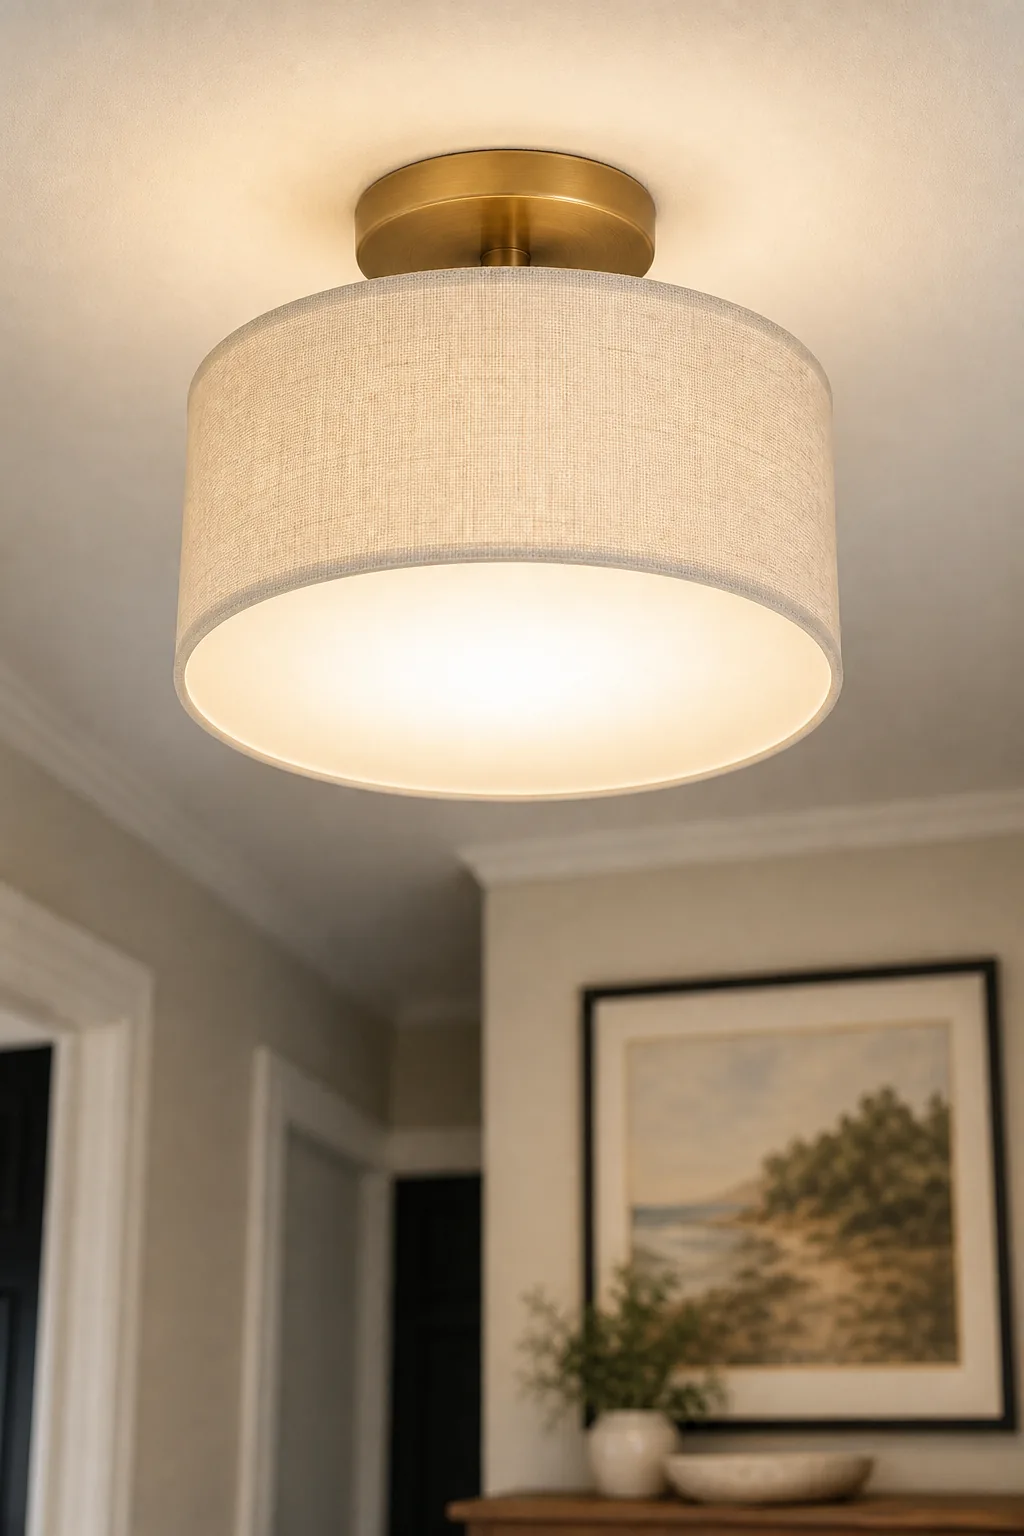
Without this bottom shield, the intense downward beam of modern bulbs can cause uncomfortable eye strain in a narrow corridor. The diffuser ensures the light spreads softly and evenly across your floor, highlighting vintage runners and framed wall art beautifully.
Maintaining the Acrylic Shield
Dust inevitably collects on the flat upper surface of the diffuser plate over time, slowly reducing the overall light output. Wiping the acrylic shield with a dry microfiber cloth every few months keeps the illumination bright and prevents dead bugs from casting visible shadows.
How Many Lumens Do You Need?
Calculating the correct light output prevents your corridor from feeling like a dim cave or a sterile hospital room. Multiply your hallway square footage by 20 to find the target lumen count necessary for safe and inviting navigation at night.
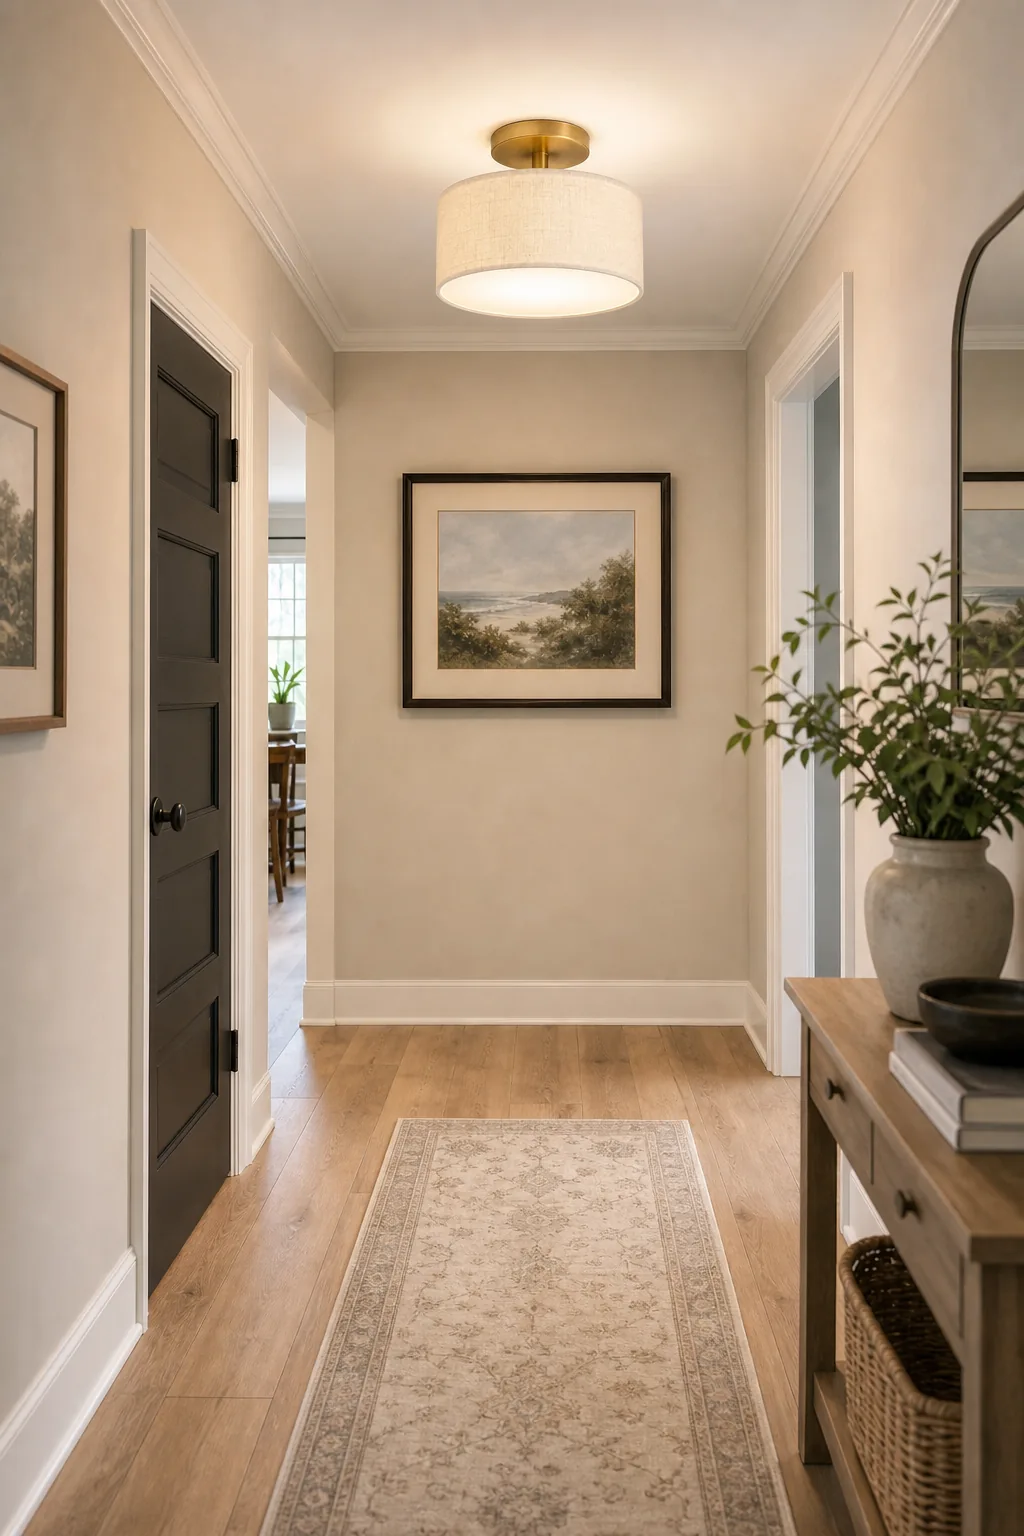
This simple calculation usually results in 800 to 1,200 lumens for a standard residential corridor. Select warm white bulbs in the 2700K to 3000K range to keep the high-lumen output feeling incredibly inviting rather than overly clinical or uncomfortably harsh.
Selecting the Proper Color Temperature
Lumens measure overall brightness, but Kelvin dictates the actual color of the light filling your narrow hallway. Mixing different color temperatures across adjacent rooms creates a disjointed experience, so always match your new hallway bulbs to the living spaces immediately connecting to it.
The Step-by-Step No-Paint Swap Guide
Begin the physical swap by shutting off the breaker, dropping the old dome, and securing the new mounting bracket to the junction box. Wire black-to-black and white-to-white, then secure the wide canopy over the old ring to finish the job.
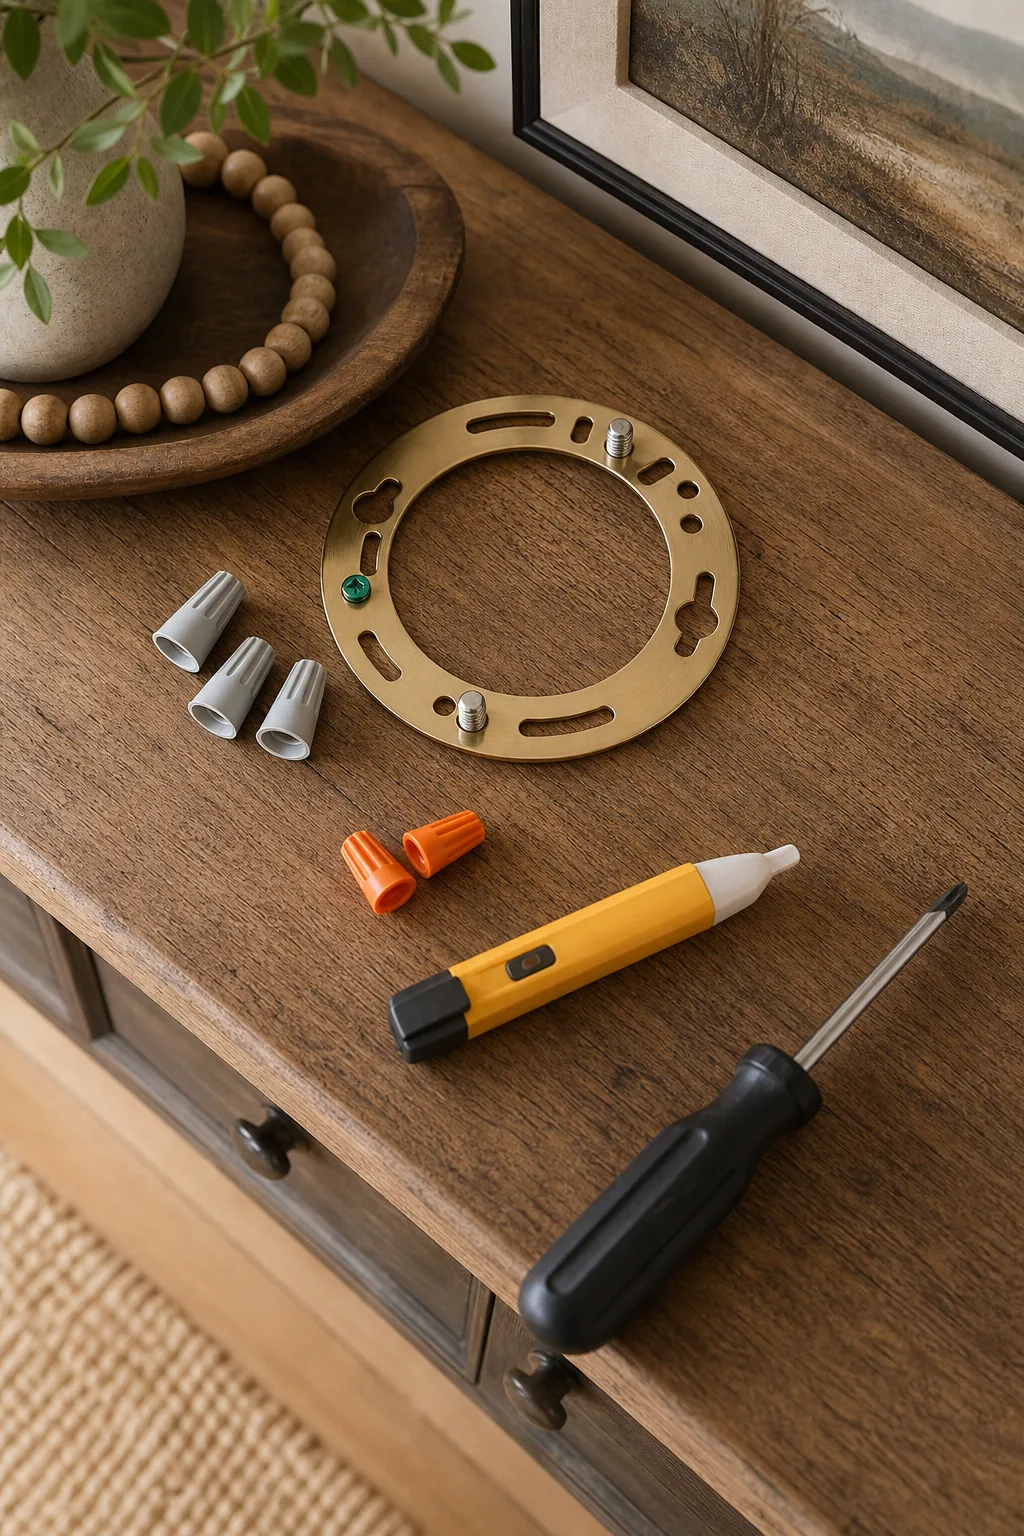
Even a simple fixture swap can go wrong if you rush the installation process and ignore basic safety protocols. Taking your time during the wiring phase ensures the new light functions perfectly and remains securely fastened to the ceiling box.
Testing the Final Connections
Before fully tightening the canopy flush against the ceiling drywall, turn the breaker back on temporarily to test the electrical connections. Confirming the bulbs light up properly while the fixture is still slightly loose saves you from having to unscrew the entire assembly if a wire slipped.
Styling the Upgraded Hallway
The new ceiling fixture acts as the foundational design element that ties the rest of the corridor together visually. Pairing the warm brass tones with a dark contrasting door and a framed landscape print completes the elevated transitional look effortlessly.
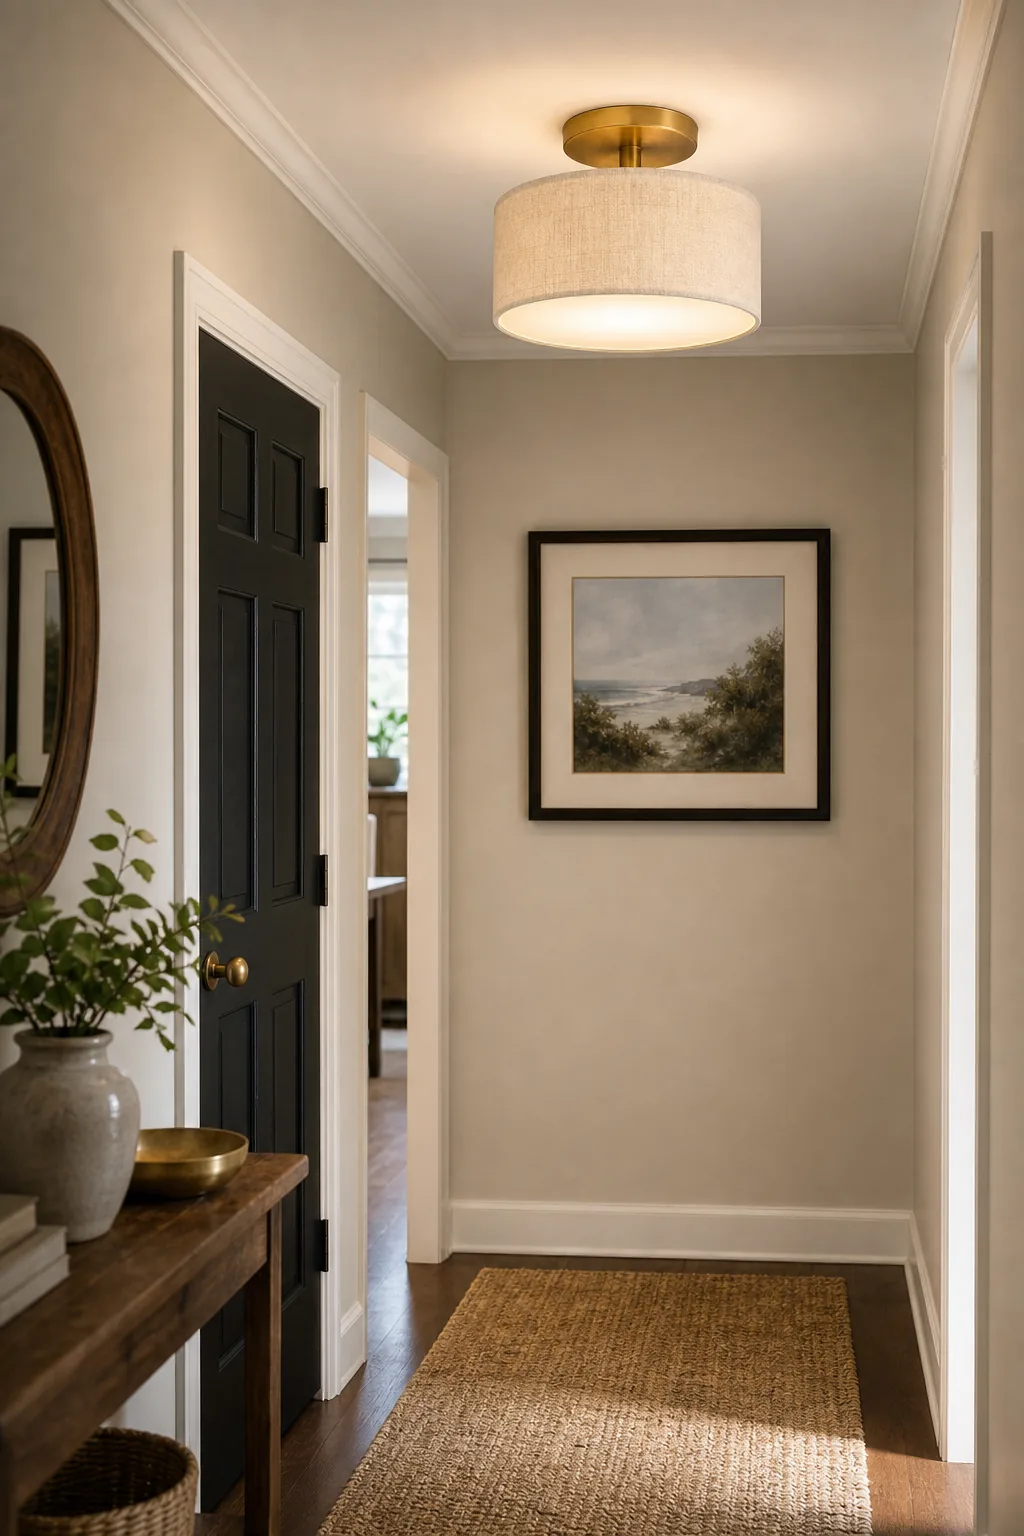
This cohesive styling approach draws the eye upward, celebrating the improved ceiling height and the elegant linen texture. The finished space proves that a simple, strategic lighting swap can entirely redefine a home’s transitional zones without requiring a single drop of wet paint.