
Studio Apartment Layout: The 3-Zone Rule & Measurements
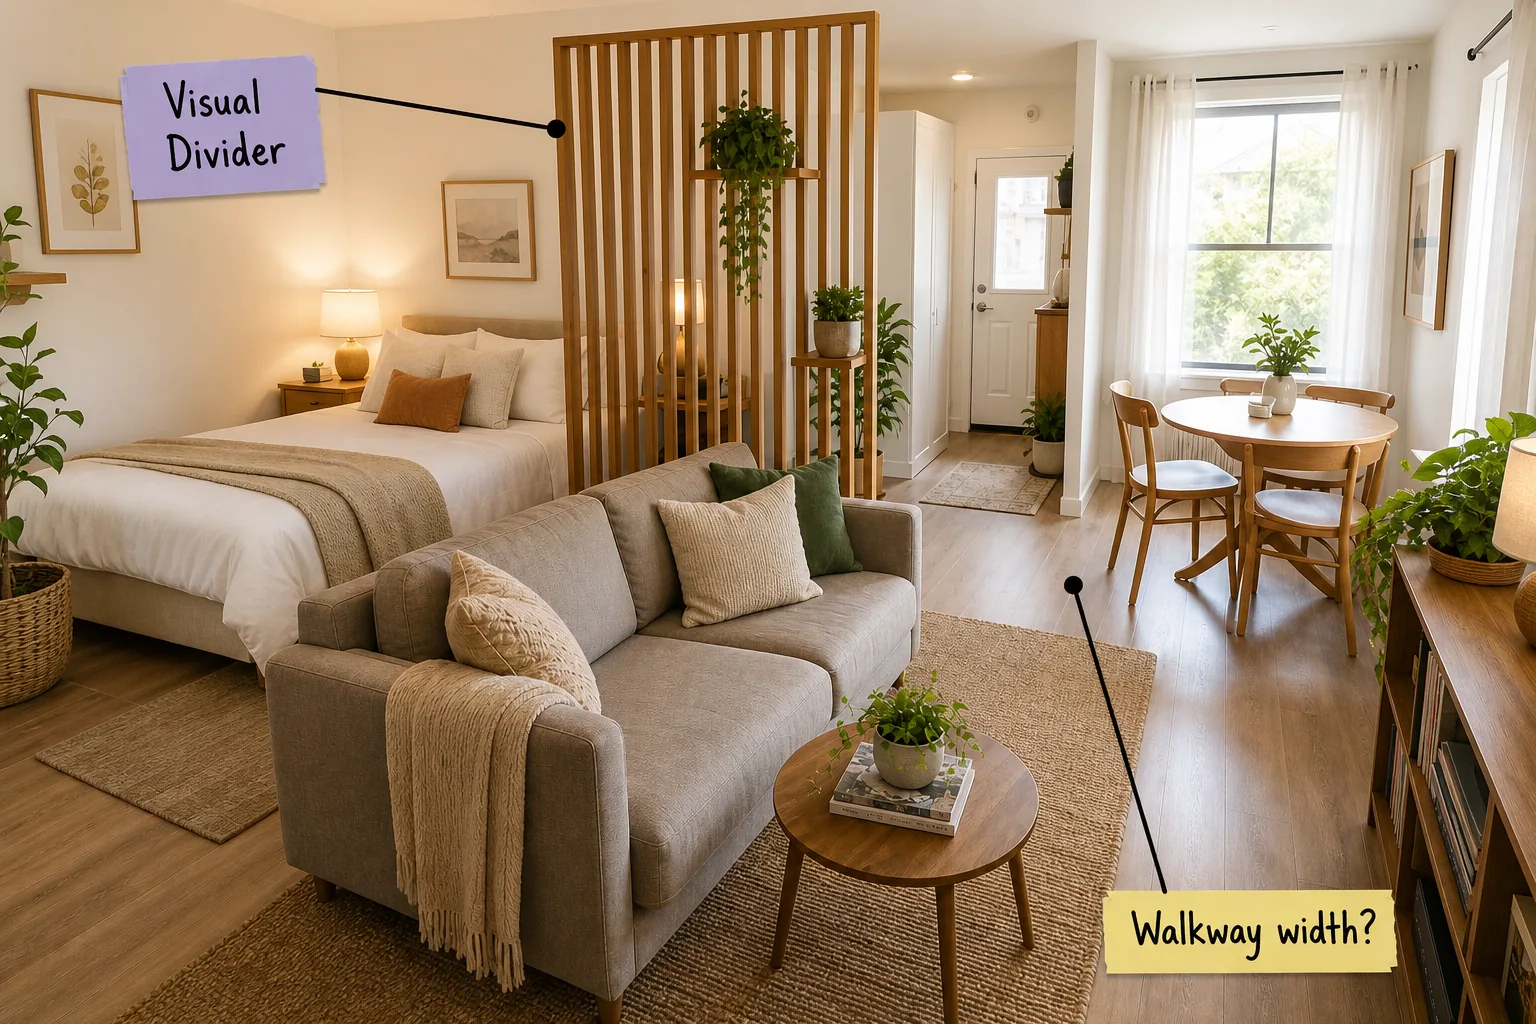
Master your open floor plan by transforming a single room into three distinct living areas using precise furniture placement. This complete 3-zone layout guide delivers the exact walkway widths, rug dimensions, and clearances you need for a comfortable studio apartment.
The 3-Zone Layout Guide
Dividing your open room into specific sleeping, living, and dining zones instantly creates a highly functional, house-like environment. Mapping out these dedicated areas before moving heavy furniture prevents the space from feeling like a cluttered dormitory and establishes a logical daily flow.
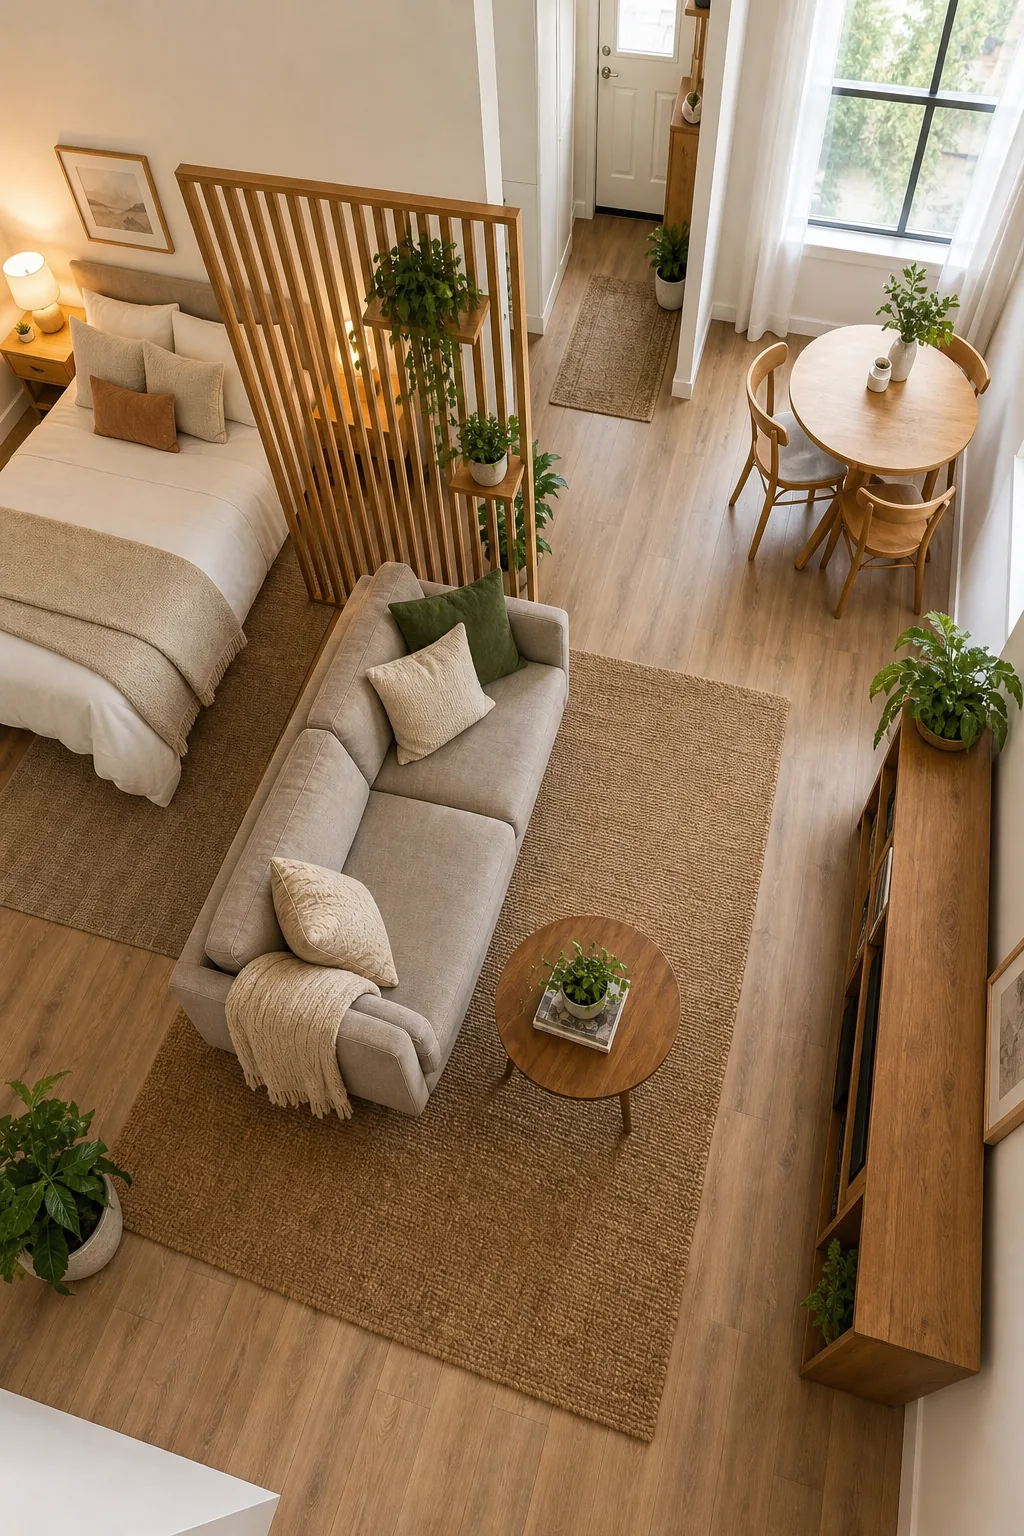
Maintain a strict 36-inch main walkway through the center, use an 8×10 or 6×9 rug for the living zone, and leave exactly 24 inches of clearance between your bed and any divider.
Defining the Sleep Zone
Tuck your bed into the quietest corner of the apartment to establish a dedicated retreat away from the main entrance. You must leave at least 30 inches of clearance on the open side of the mattress to allow for comfortable, frustration-free bed-making.
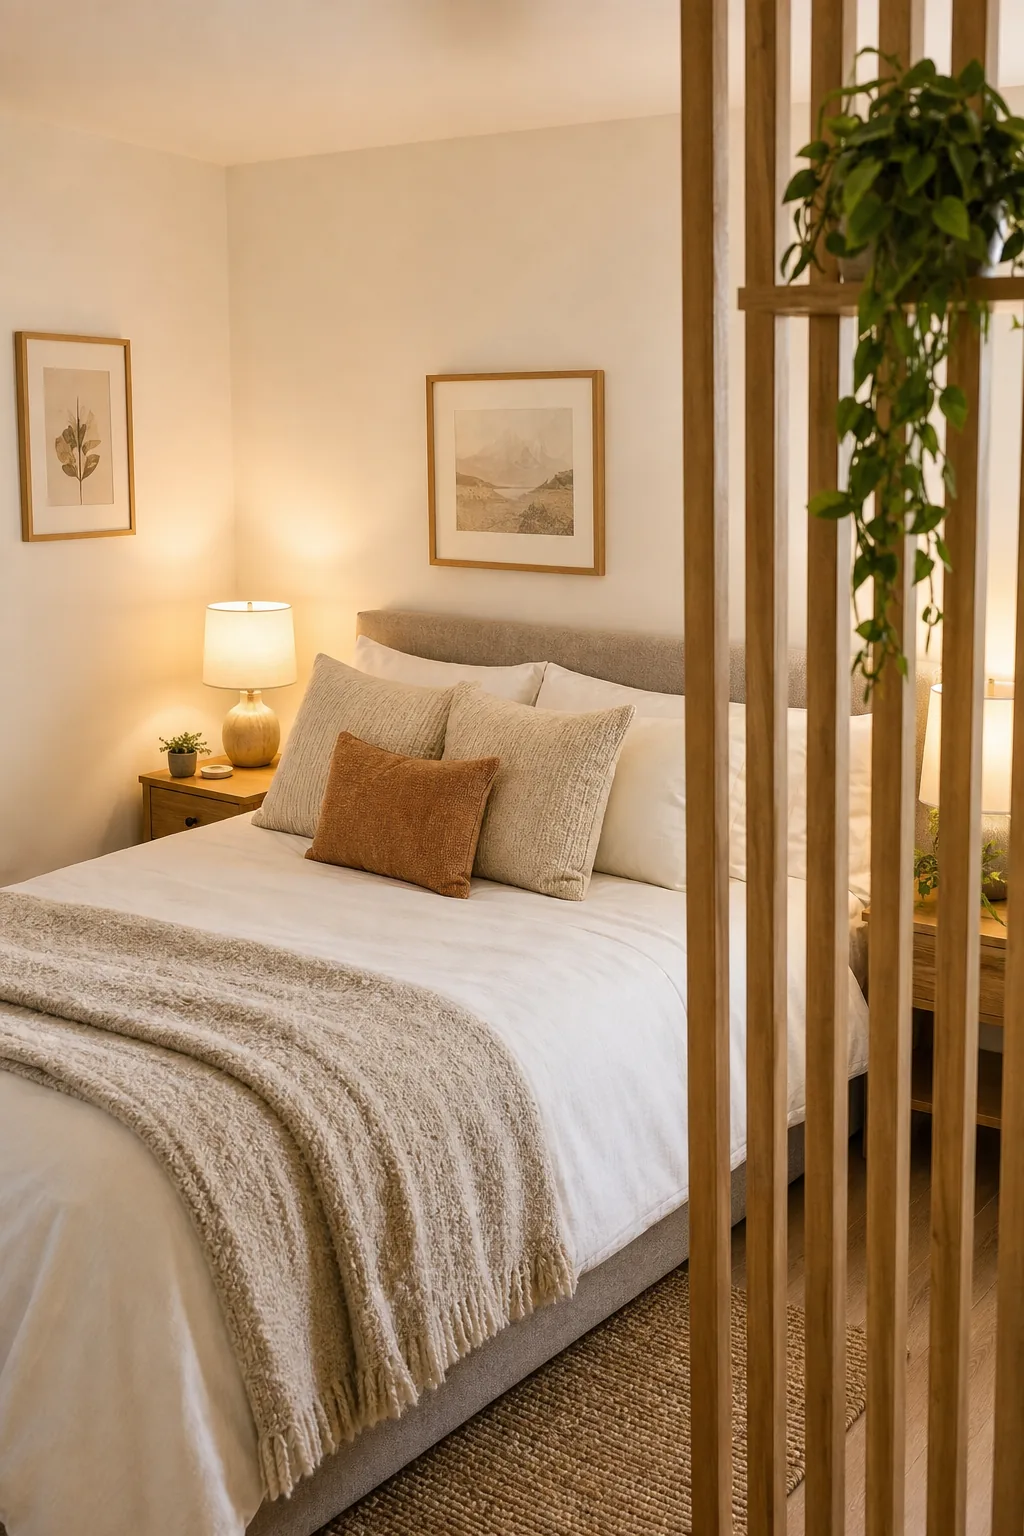
A bulky headboard can visually crowd a small corner and severely disrupt the circulation of your studio. Review standard clearance guidelines before purchasing your primary sleeping furniture to ensure a perfect fit.
Installing a Visual Divider
A slatted wood room divider successfully separates your private sleeping quarters from the public sofa area without completely blocking the room. This semi-open structure allows crucial natural sunlight to filter deeply into the sleeping zone throughout the day.
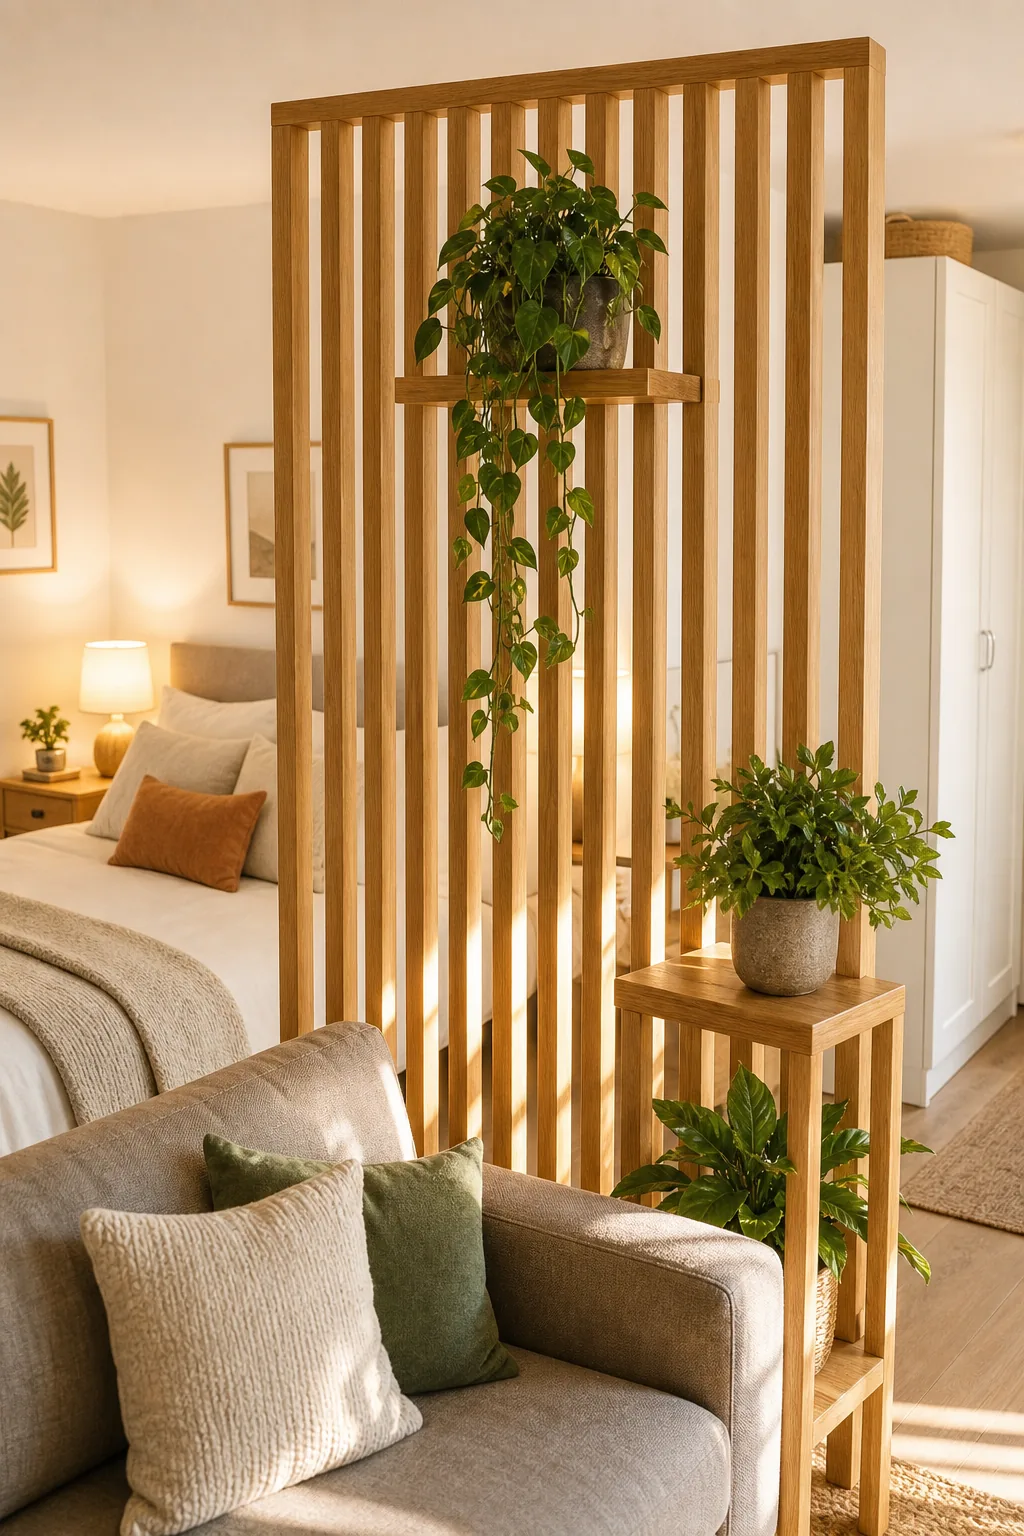
Position this Visual Divider directly at the foot or side of the bed, anchoring it securely to the floor. Follow these structural spacing requirements to maintain both stability and visual harmony in your layout.
| Divider Type | Light Penetration | Distance from Bed |
|---|---|---|
| Slatted wood screen | High | 24 inches |
| Open bookshelf | Medium | 30 inches |
| Solid folding screen | Low | 36 inches |
| Curtain on ceiling track | Variable | 18 inches |
Grounding with an Anchor Rug
Deploy a large textured rug to visually contain your living room furniture and establish clear boundaries without relying on physical walls. This foundational layer dictates the exact footprint of your primary entertainment space.
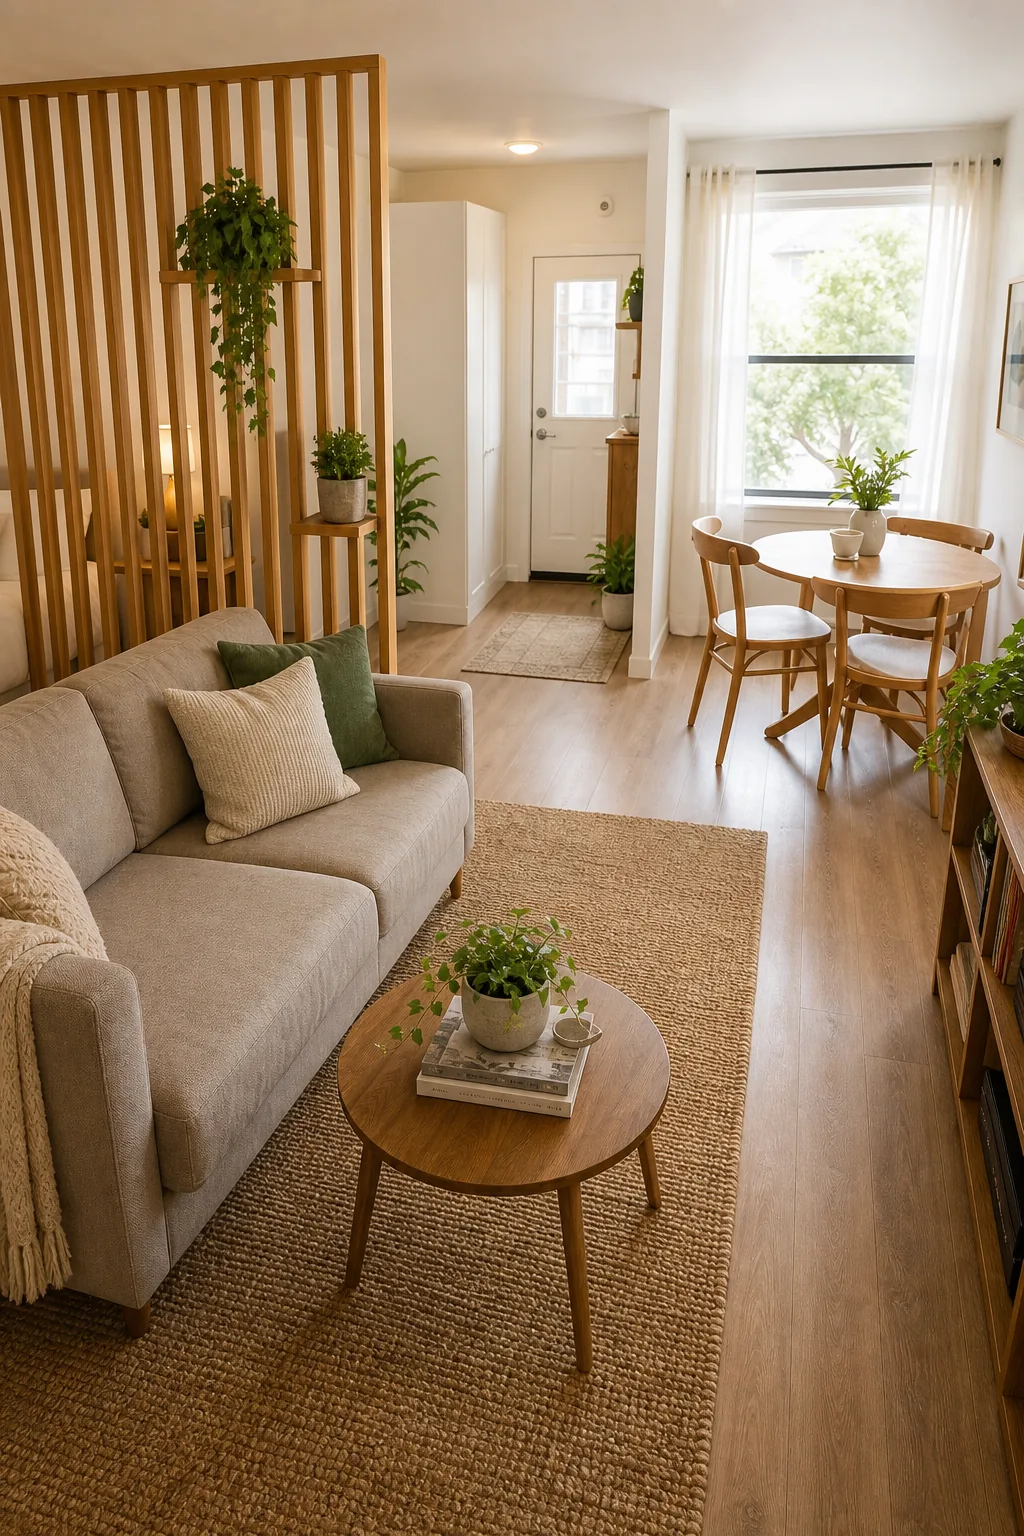
Your Anchor Rug must be large enough that the front legs of your sofa and any accent chairs sit entirely on the fibers. Select a durable material like jute or wool to withstand heavy daily foot traffic.
- Choose an 8×10 rug for standard studio living areas.
- Opt for a 6×9 rug if your total room width is under twelve feet.
- Ensure all front sofa legs rest fully on the fibers.
- Leave at least 12 inches of bare floor exposed around the rug edges.
- Use a non-slip rug pad to prevent bunching in high-traffic zones.
Calculating Walkway Width
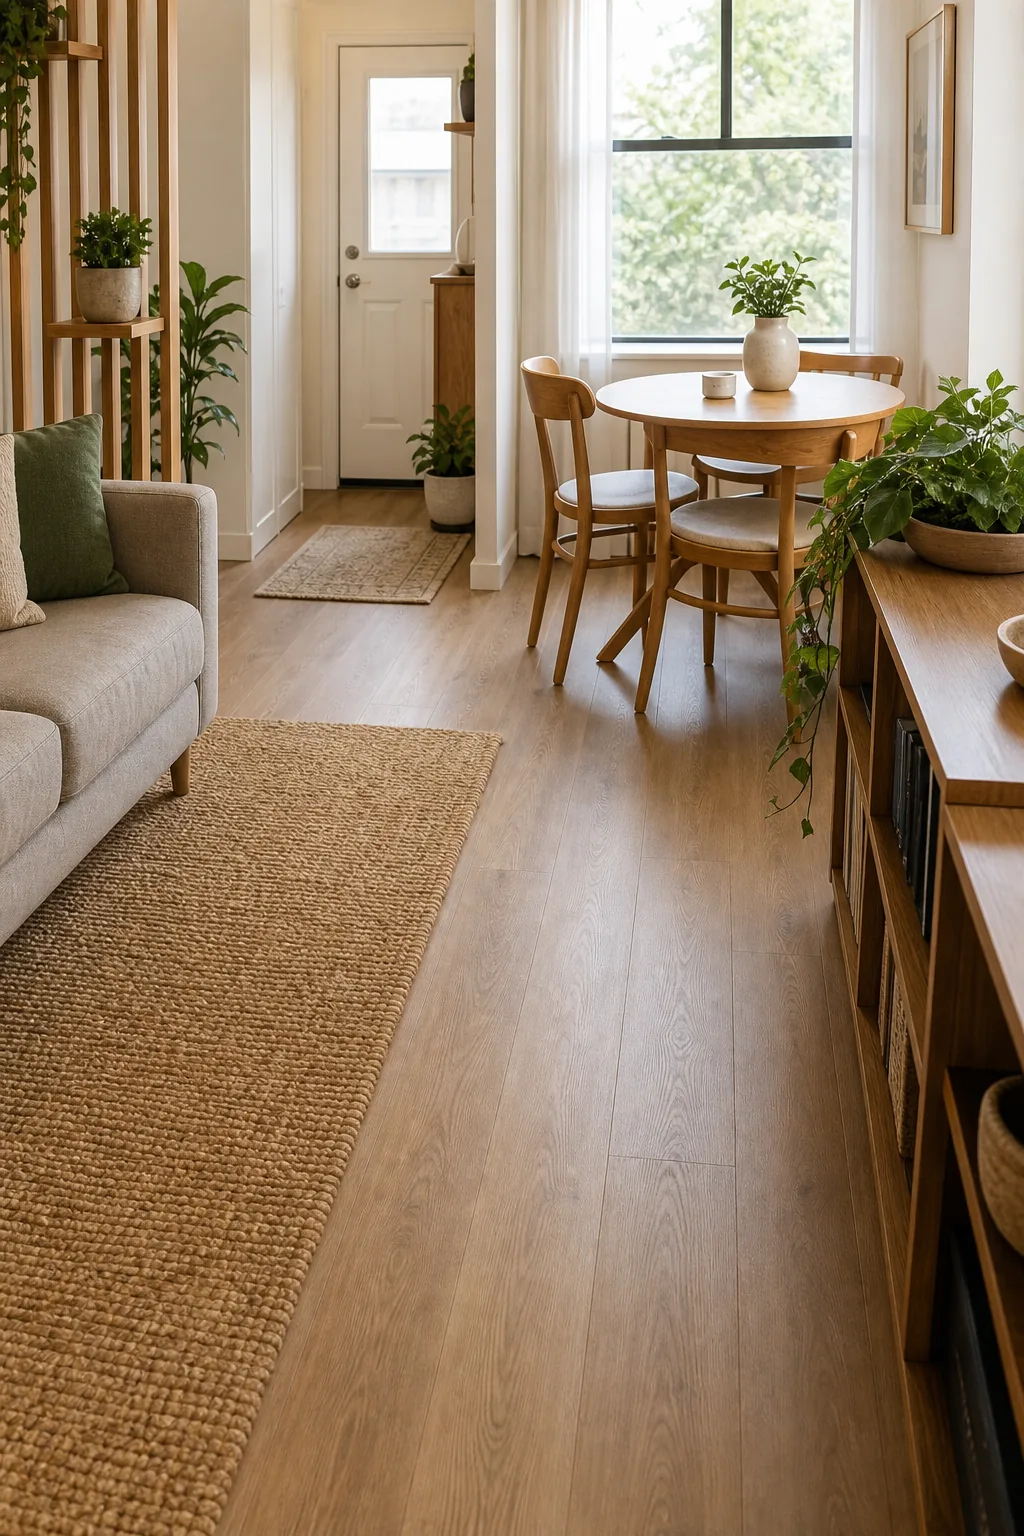
Establish your primary traffic path by strictly maintaining a 36-inch clear walkway between the edge of your living area rug and the dining nook. This dedicated corridor acts as the invisible spine of your apartment.
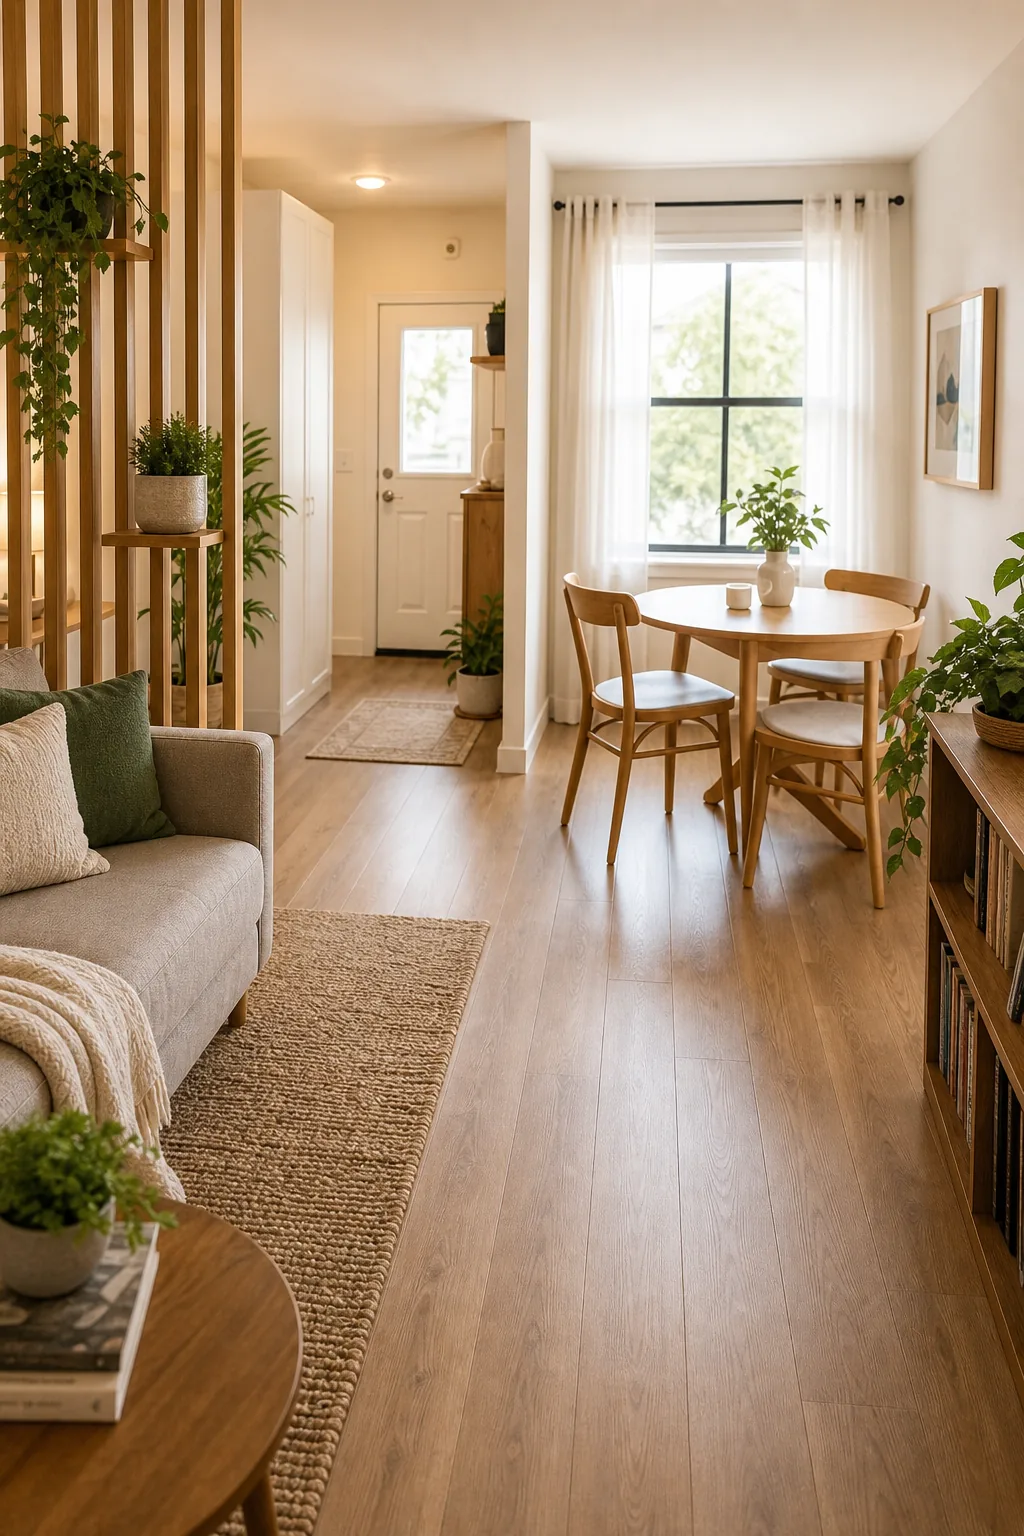
This exact clearance prevents bottlenecks during daily movement and ensures two people can pass each other comfortably. Never let chair legs, floor lamps, or side tables encroach upon this vital circulation route.
Setting Up the Multi-Use Table
Choose a round table with a 36-inch diameter to serve as both a dining spot and a desk. The curved edges prevent sharp corners from obstructing your main traffic flow when navigating tight studio proportions.
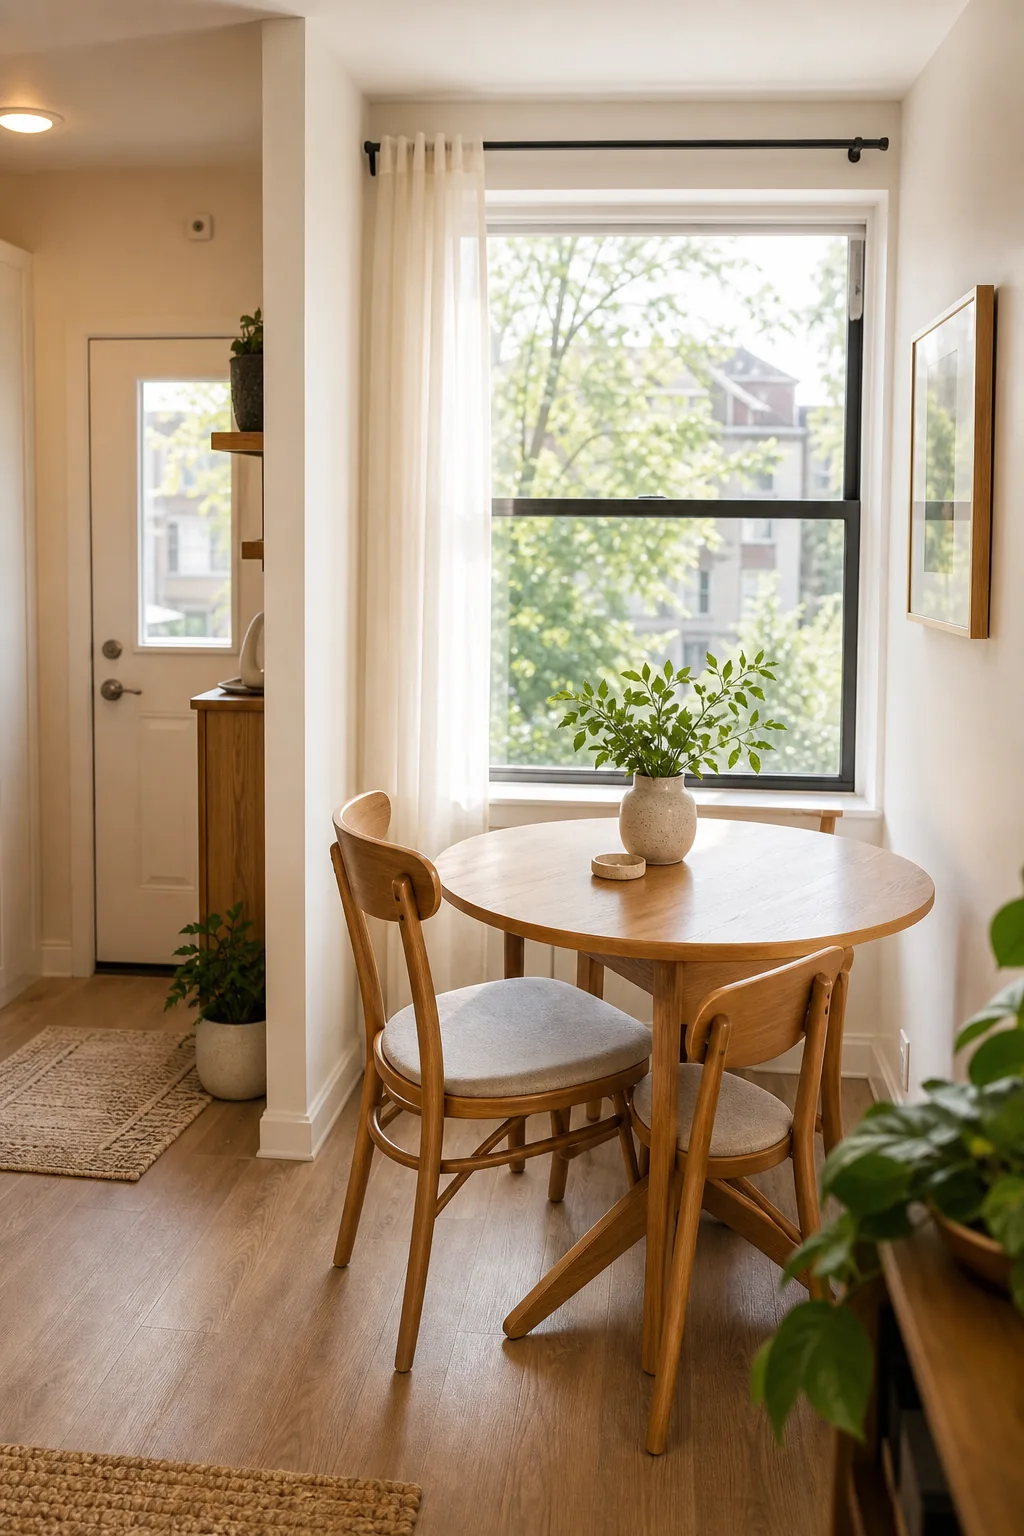
Place this versatile Multi-use Table near a bright window to maximize daytime illumination for working from home. Keeping this active zone near natural light reduces eye strain and leaves the center of the apartment completely clear.
Balancing Visual Weight
Distribute heavy furniture strategically by placing tall storage pieces against perimeter walls to keep the center of the room feeling expansive. Pushing massive wardrobes to the edges prevents the studio from feeling top-heavy or claustrophobic.
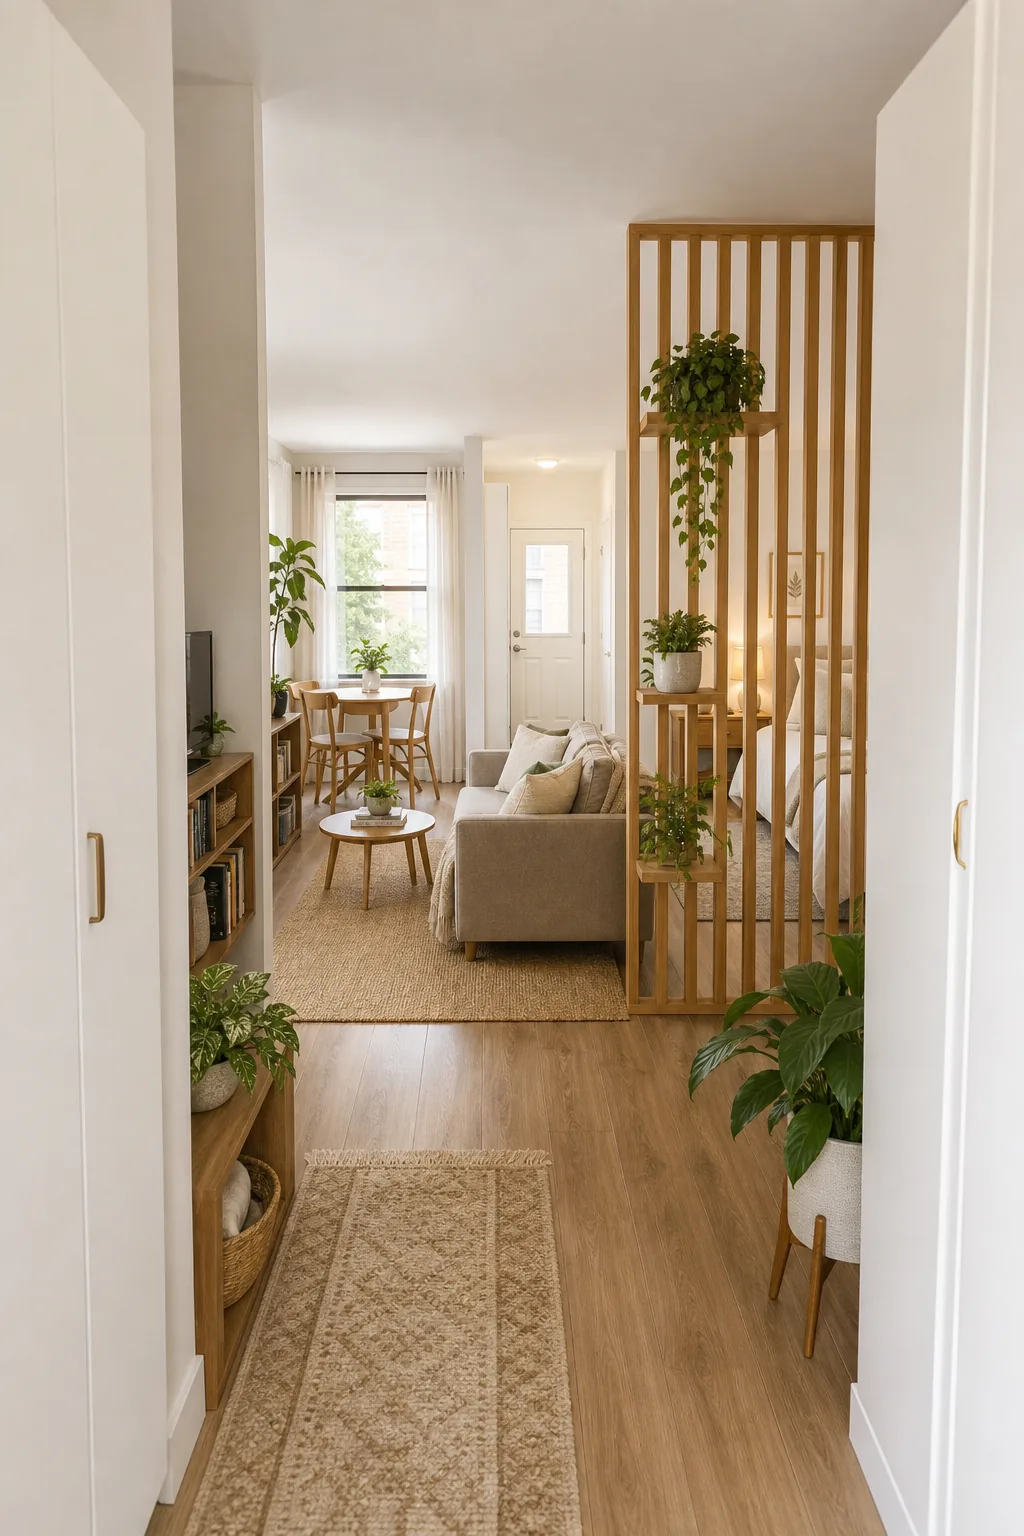
Using low-profile sofas and media consoles in the middle of your layout preserves unbroken sightlines from the front door all the way to the windows. This horizontal alignment tricks the eye into perceiving a much larger floor plan.
Final Layout Checks
Test your completed arrangement by checking that all drawers, cabinet doors, and appliances can open fully without hitting adjacent furniture. A layout only succeeds if it supports the practical realities of cooking, cleaning, and dressing.
Before finalizing your heavy furniture placement, run through these quick functional tests to ensure daily comfort. Grab your tape measure one last time to verify every critical dimension.